Join the fastest growing Craft community on Pinterest!
When my kid and I finished the mini craft wardrobe for dolls we’d been working on all week, I thought the excitement would last but nope, twenty minutes after finishing, I heard the dreaded “I’m bored.” That’s when I knew it was time to look for something new.
So I started searching for a slime recipe, something simple and stretchy enough to keep little hands busy (and maybe give me a break).
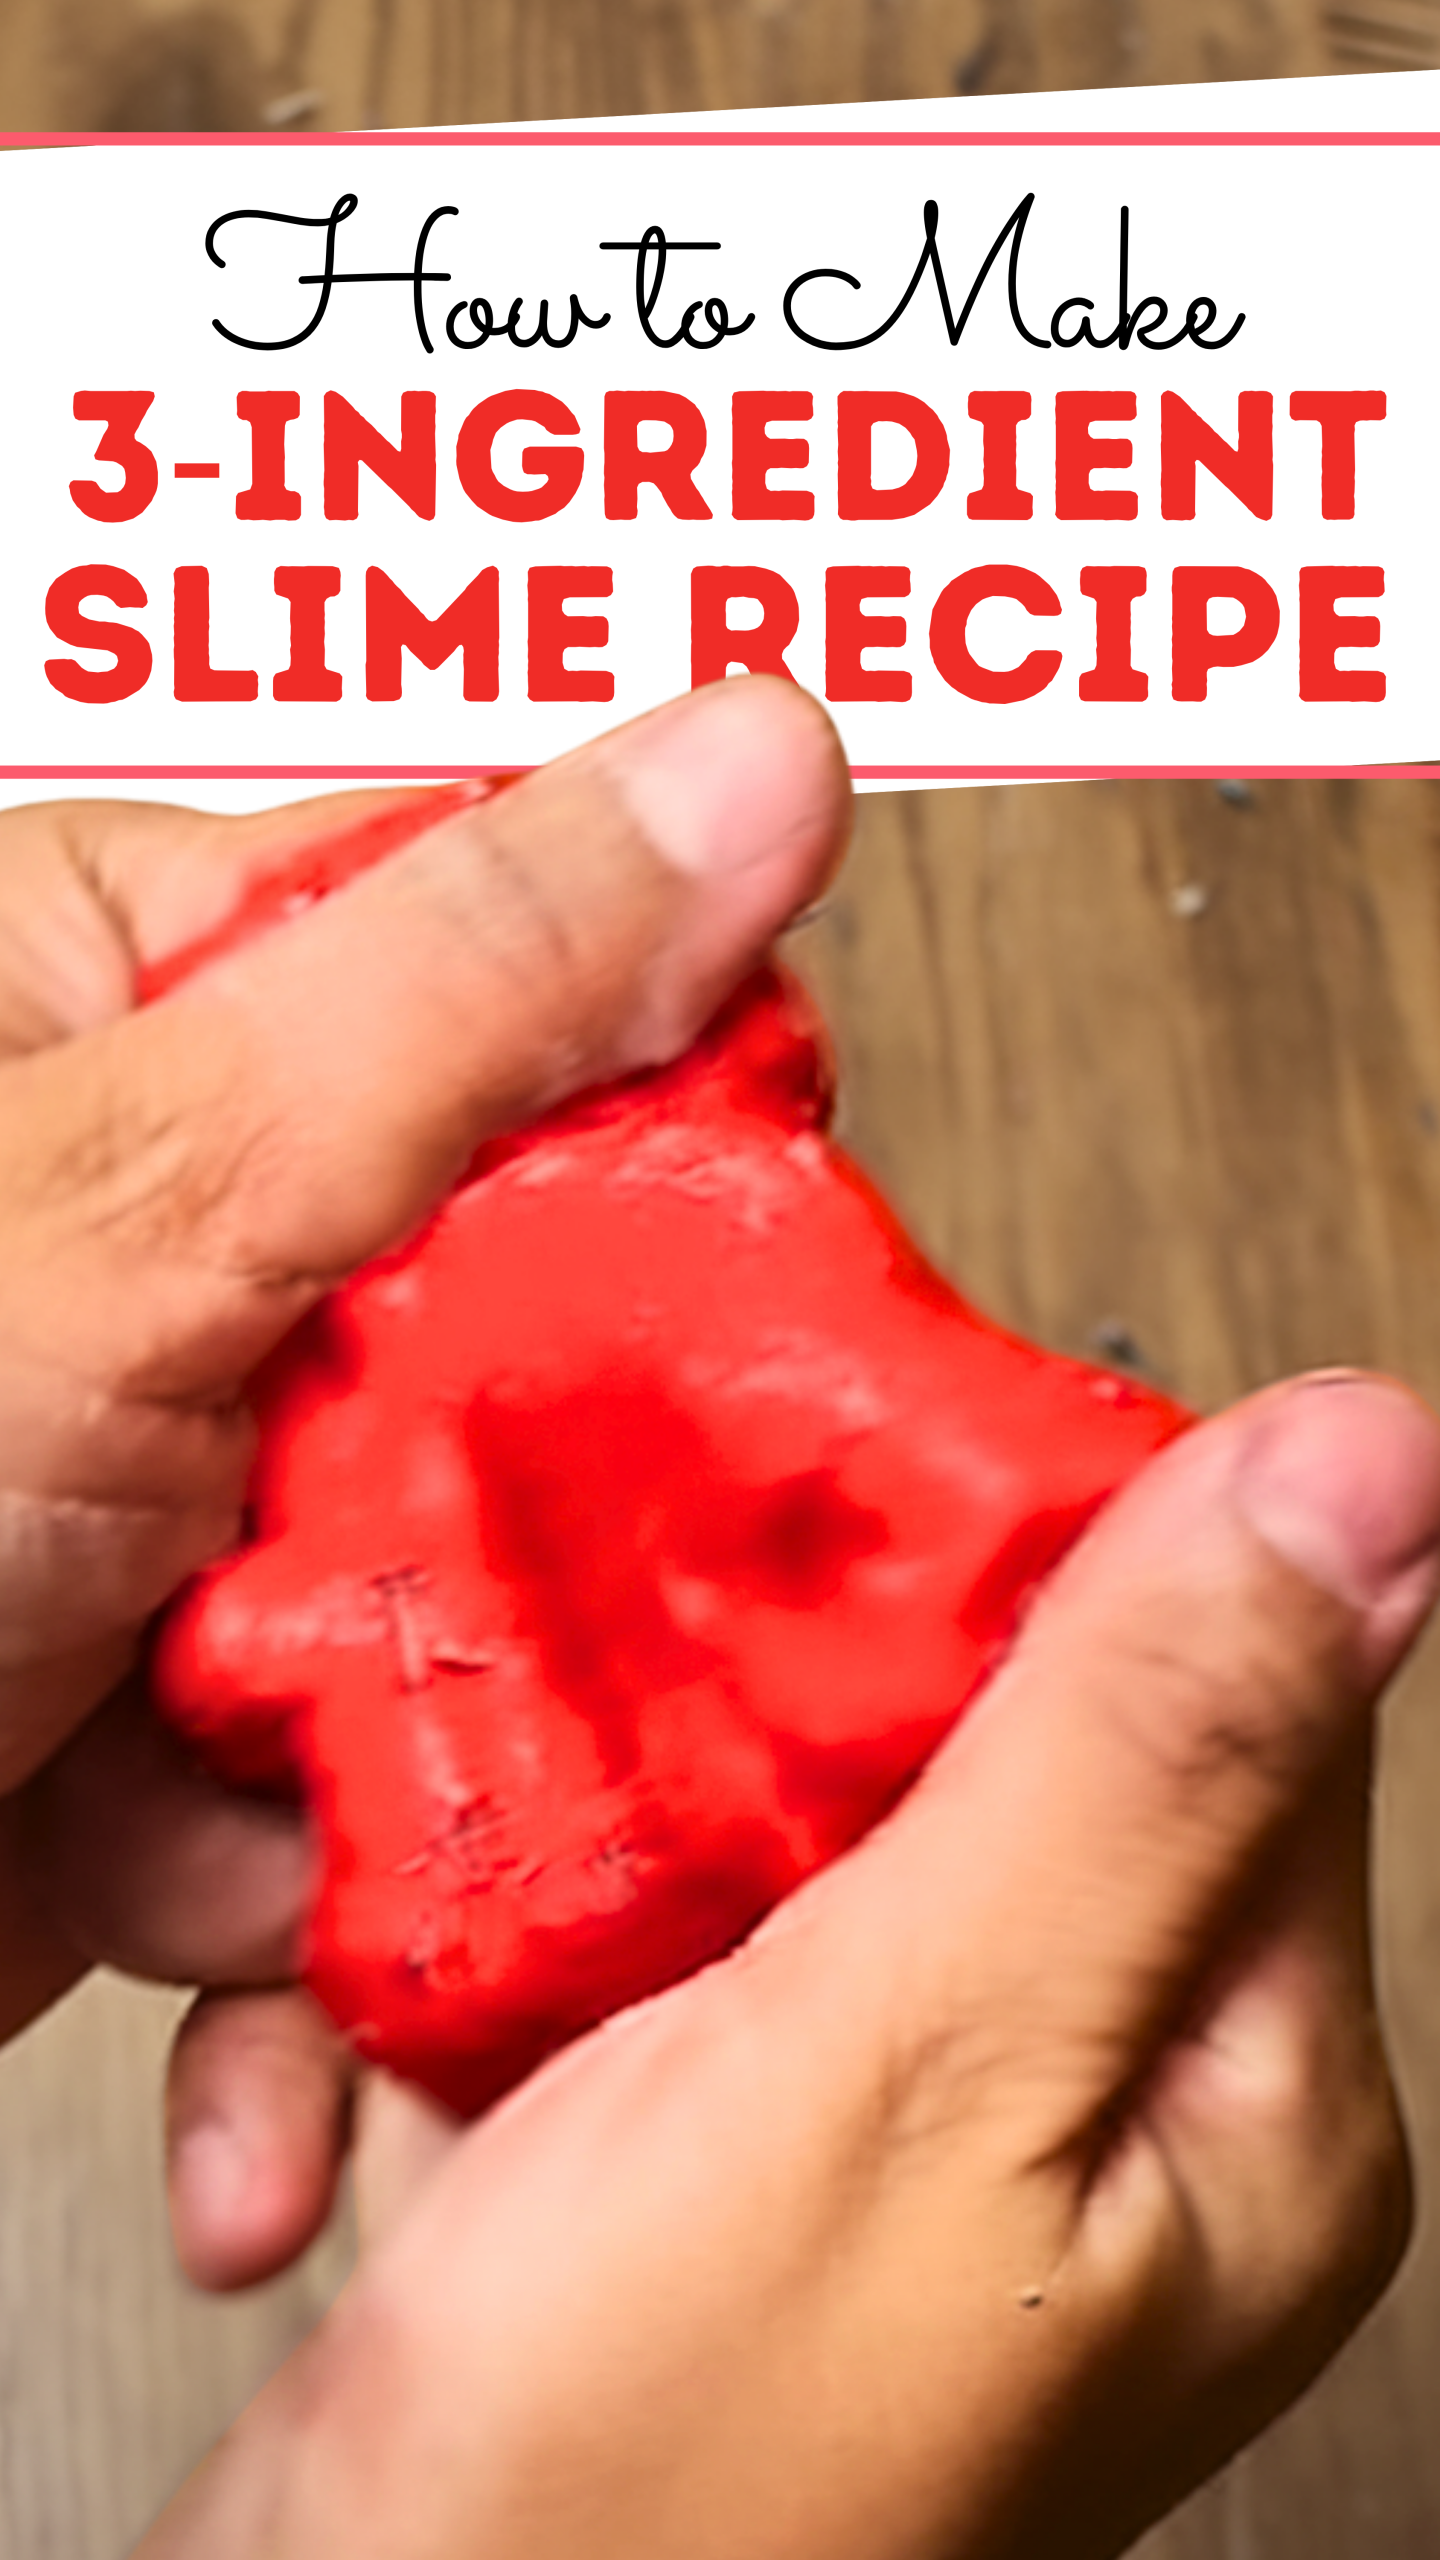
The world of slime is massive: OG slimes, cloud creams, jelly slimes with instant snow… It was overwhelming at first. But after too many deep dives into Reddit threads and YouTube tutorials, I found that the real magic starts with just three ingredients: PVA glue, baking soda, and contact lens solution.
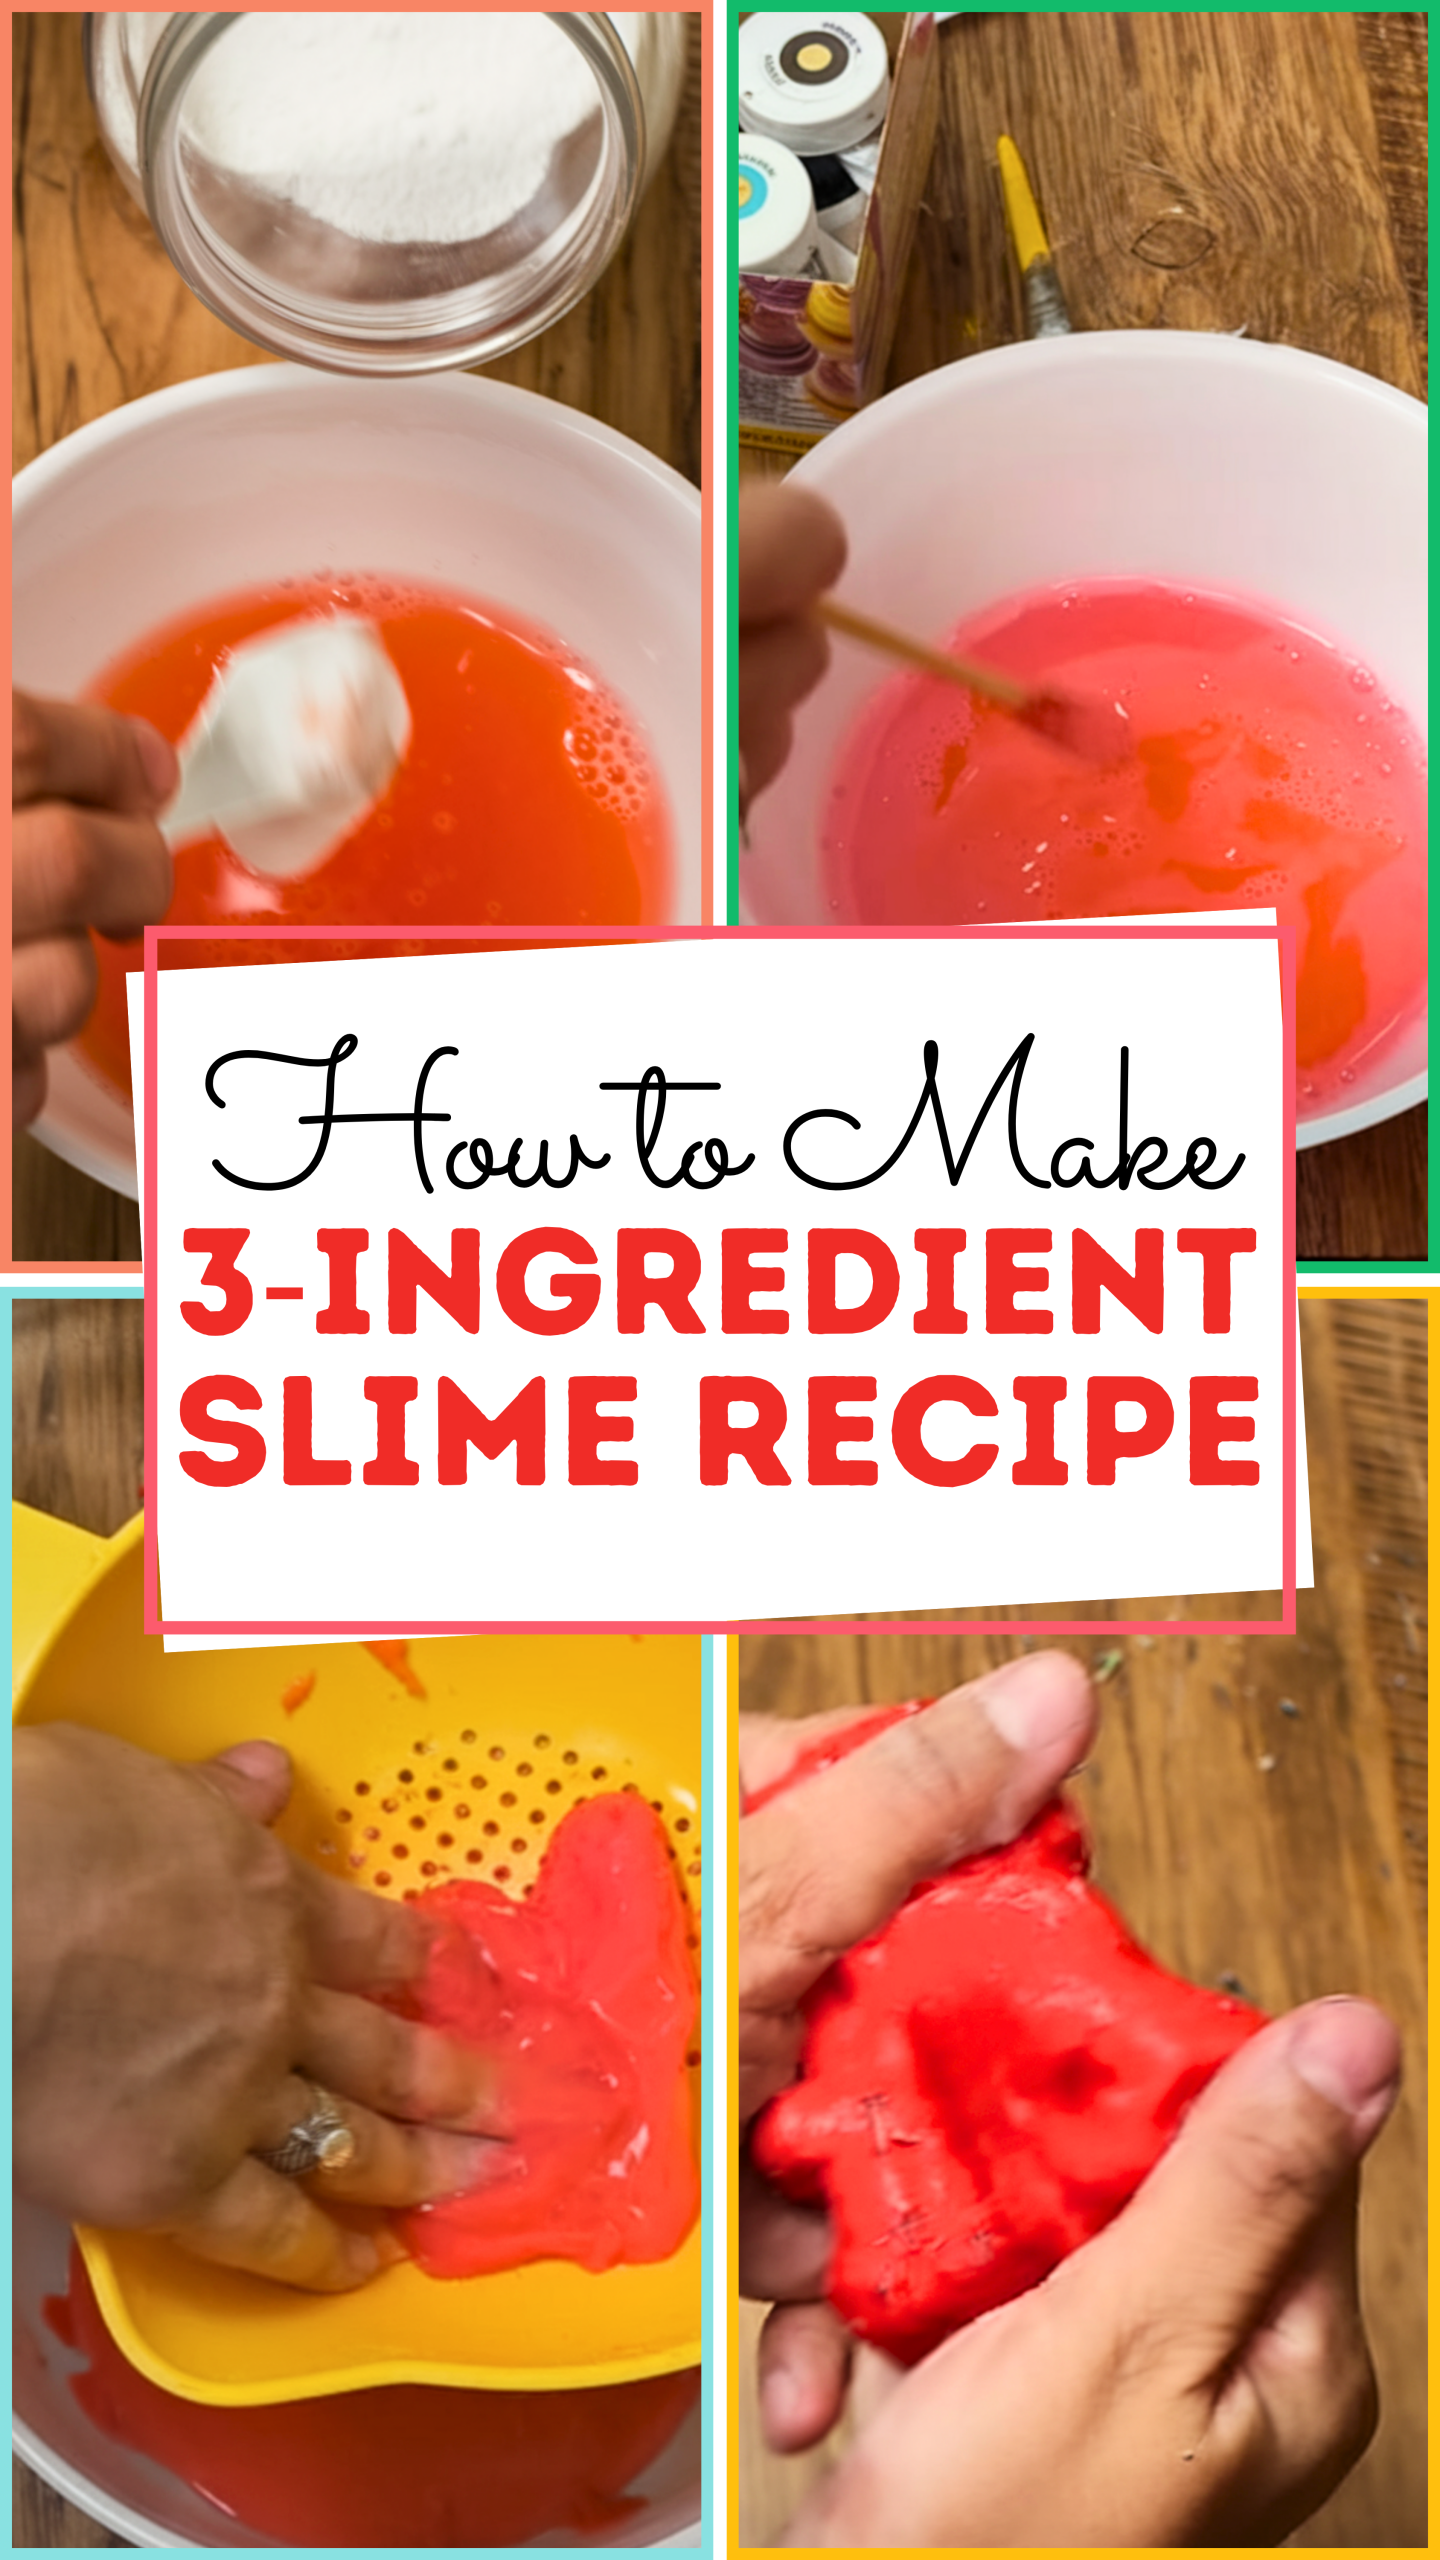
That’s it. Add some food coloring based on my kid’s preferred color. This basic slime recipe is the perfect base. It’s easy for kids to mix by hand (which, let’s be honest, is half the fun).
And unlike more advanced tutorials that require fake snow or air-dry clay, this one doesn’t need a craft store haul to work.
So if you’re looking for a fun project to follow up your mini craft marathon, this 3-ingredient slime recipe is a total win. It’s easy to prep ahead for a playdate or a solo afternoon craft.
Plus, you can turn it into a sensory station with beads or even tiny doll accessories from your kid’s last project.
Here’s how to make this slime at home with materials you probably already have.
Materials Needed
- PVA glue
- Baking soda
- Contact lens solution
- Optional: Glitter, food coloring, or foam beads for texture
Step-by-Step Instructions
Step 1: Pour the Glue
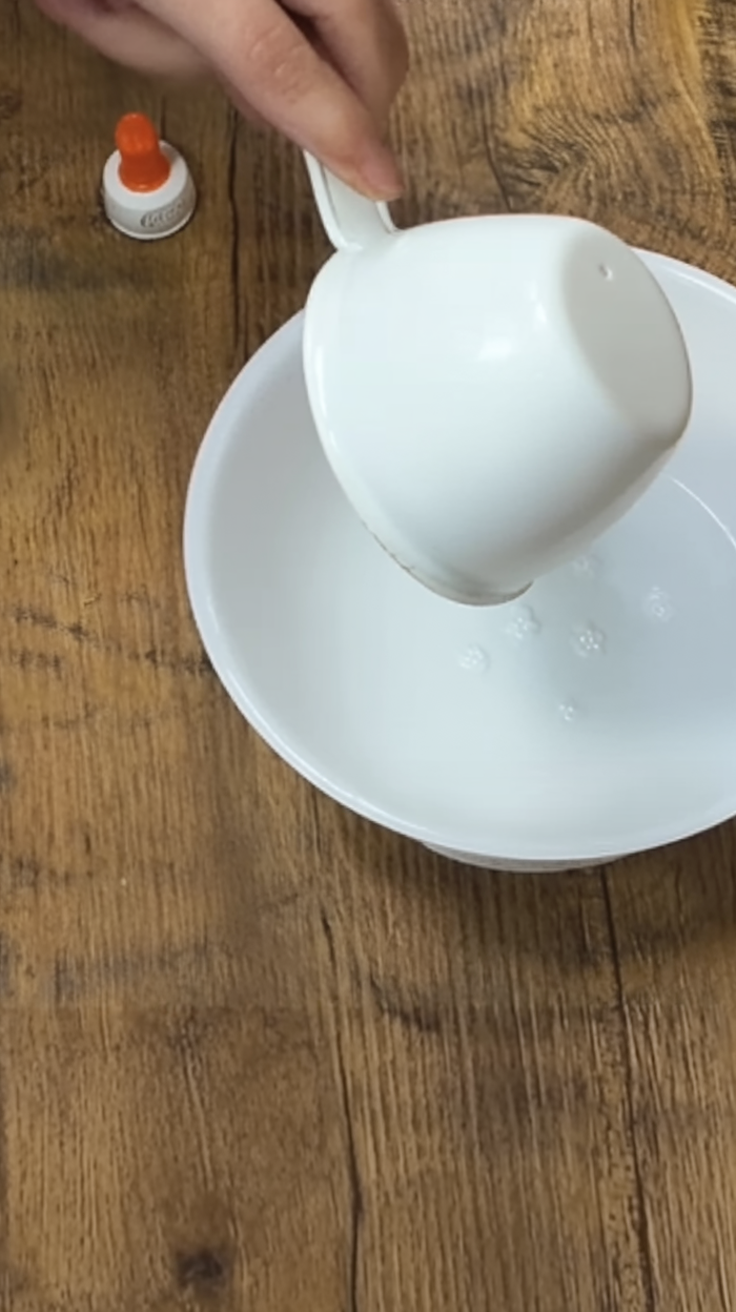
Empty about 4 oz of white school glue into a bowl. Use a mixing bowl that fits the amount and lets your kids stir without spilling.
Step 2: Add Baking Soda
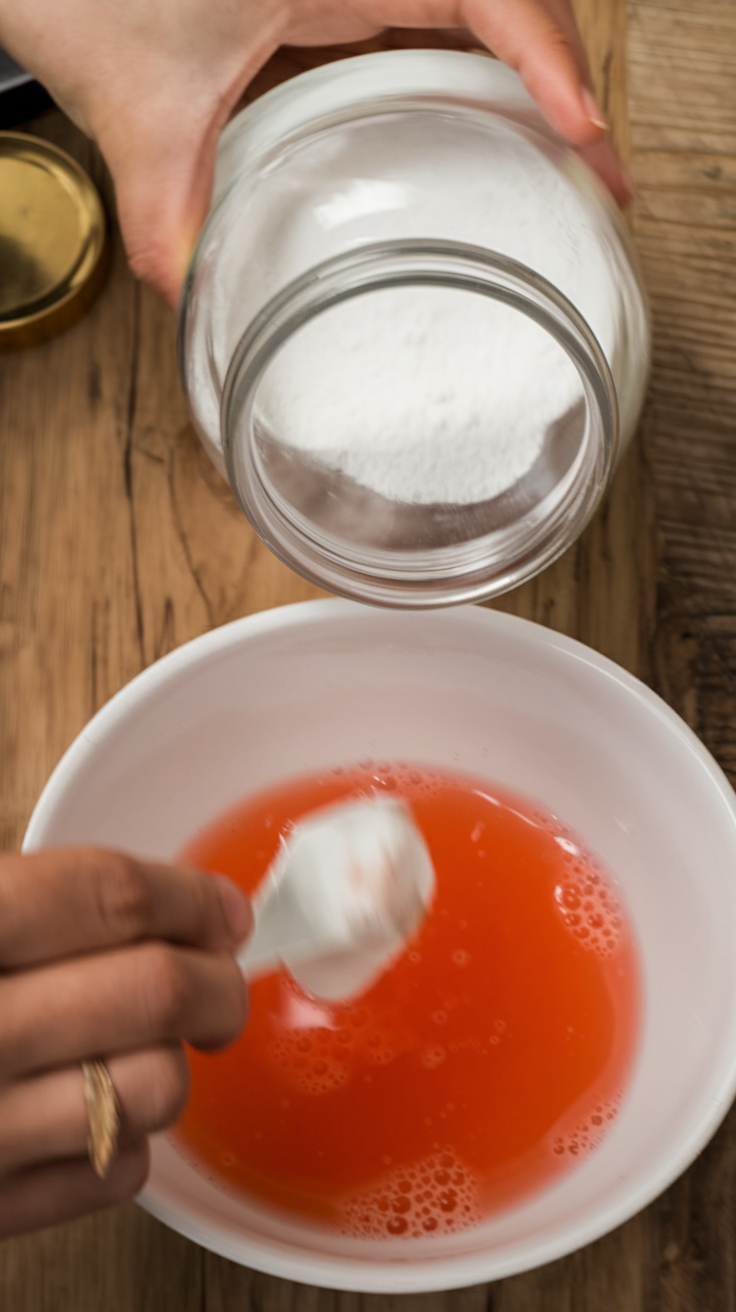
Mix in 1 teaspoon of baking soda thoroughly. This helps thicken the slime and gives it the right consistency.
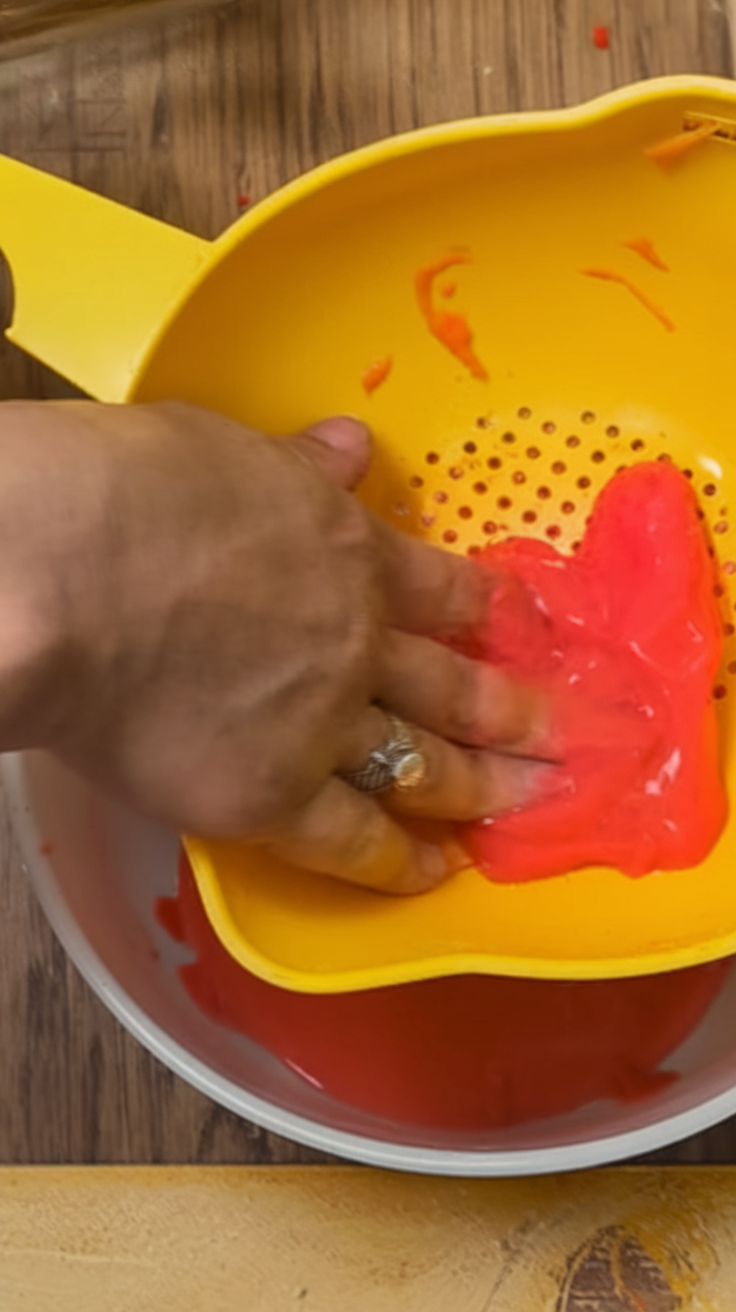
Step 3: Add Contact Solution and Mix
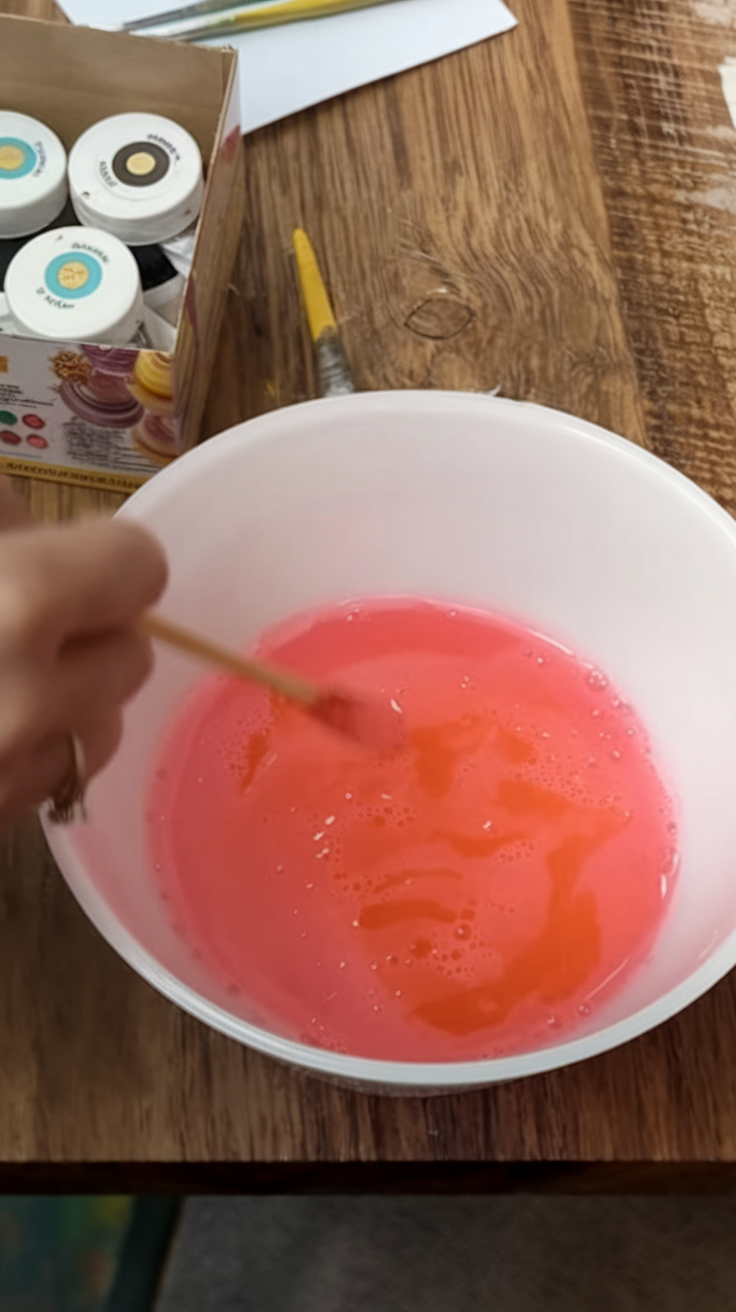
Add 2 teaspoons of contact lens solution. Stir slowly; the slime will begin forming almost instantly, becoming gooey and pulling away from the bowl edges.
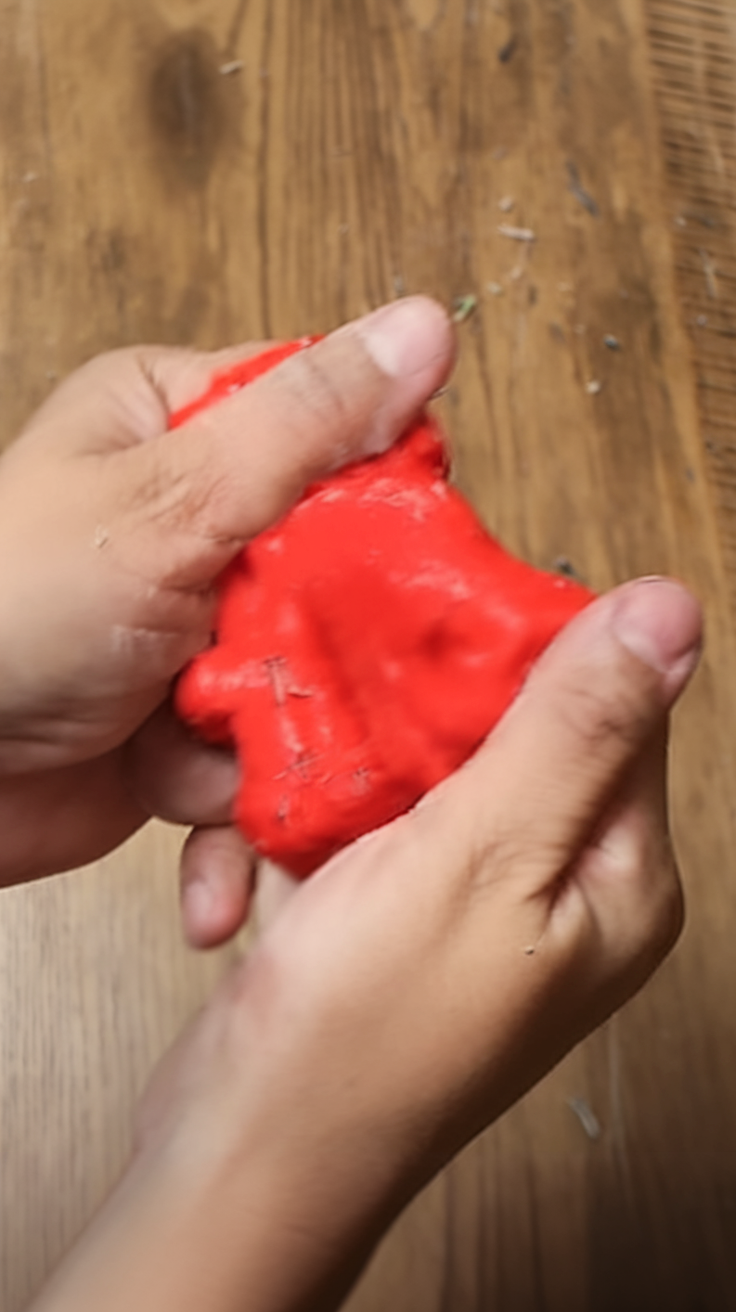
Step 4: Knead the Slime by Hand
When it gets too stiff to stir, take it out and knead with clean hands for a few minutes. It should become smooth, stretchy, and less sticky.
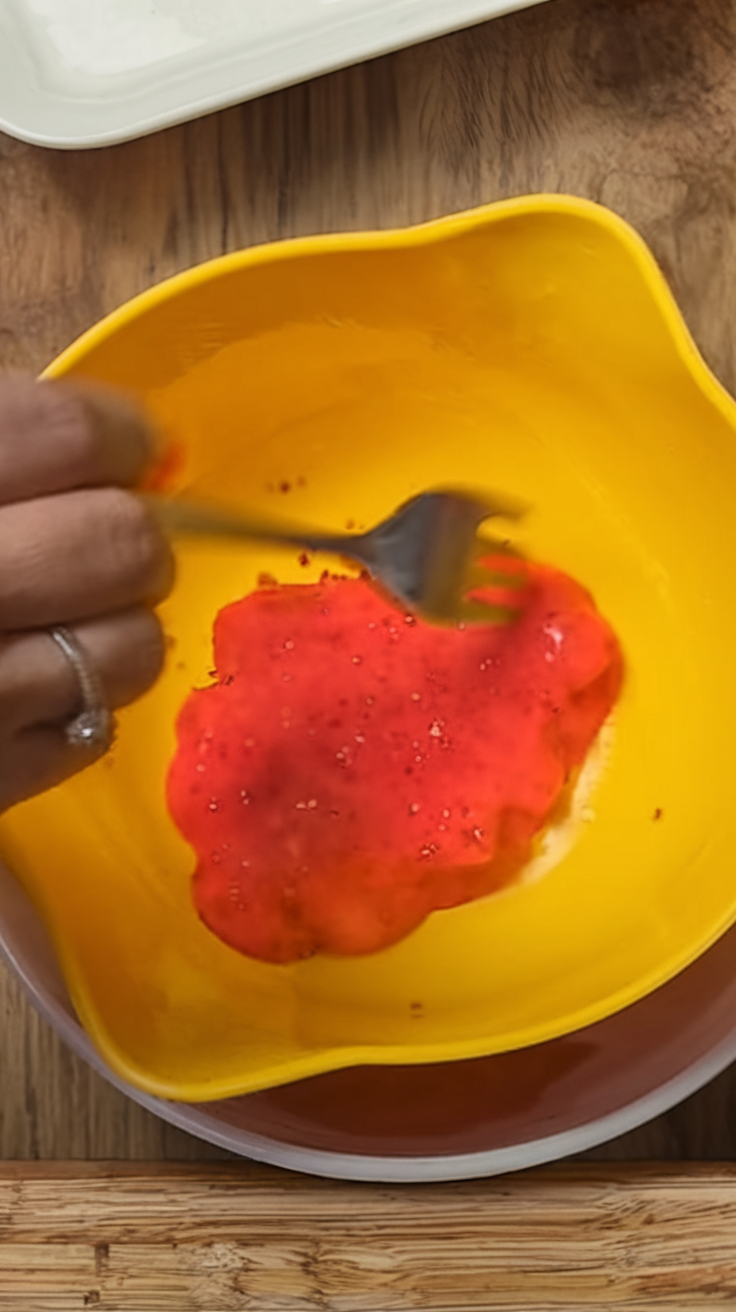
Step 5: Customize It
- Add a few drops of food coloring to tint it.
- Sprinkle glitter or foam beads inside for sparkles and texture.
Step 6: Store Properly
Keep your slime in an airtight container or zip-top bag. It typically lasts 1–2 weeks. If it dries out, simply knead in a few drops of water.
Pro Tips
- Use clear glue for transparent slime or glitter glue for sparkle.
- Add a small spoonful of lotion to make it softer.
- Make fluffy slime by swapping some glue with foaming shave cream.
- Always check for boric acid in contact solution.
- Supervise young kids during making, especially with boric acid solutions.
FAQs
1. Is this slime safe for kids?
Yes, this classic recipe is widely used in classrooms and home crafts.
2. What if the slime recipe is too sticky?
Add a tiny drop of contact solution and knead until it firms.
3. How can I make the slime recipe softer?
Add a few drops of lotion or baby oil and knead .
4. Does the slime recipe stain clothes?
Usually not, but colored glue can sometimes stain.
5. How long does slime last?
It lasts about 1–2 weeks.
6. Can I add scents or essential oils?
Absolutely, just do a patch test first.
Conclusion
This easy 3‑ingredient slime recipe is perfect for crafting with kids, simple, safe, and awesome sensory play. These DIY projects encourage creativity and hands-on learning for your little ones.