Join the fastest growing Craft community on Pinterest!
It all started with a problem that many brides-to-be know all too well: I wanted to give a handcrafted wedding gift without spending my fortune. I wanted something that would last longer than a fresh bouquet.
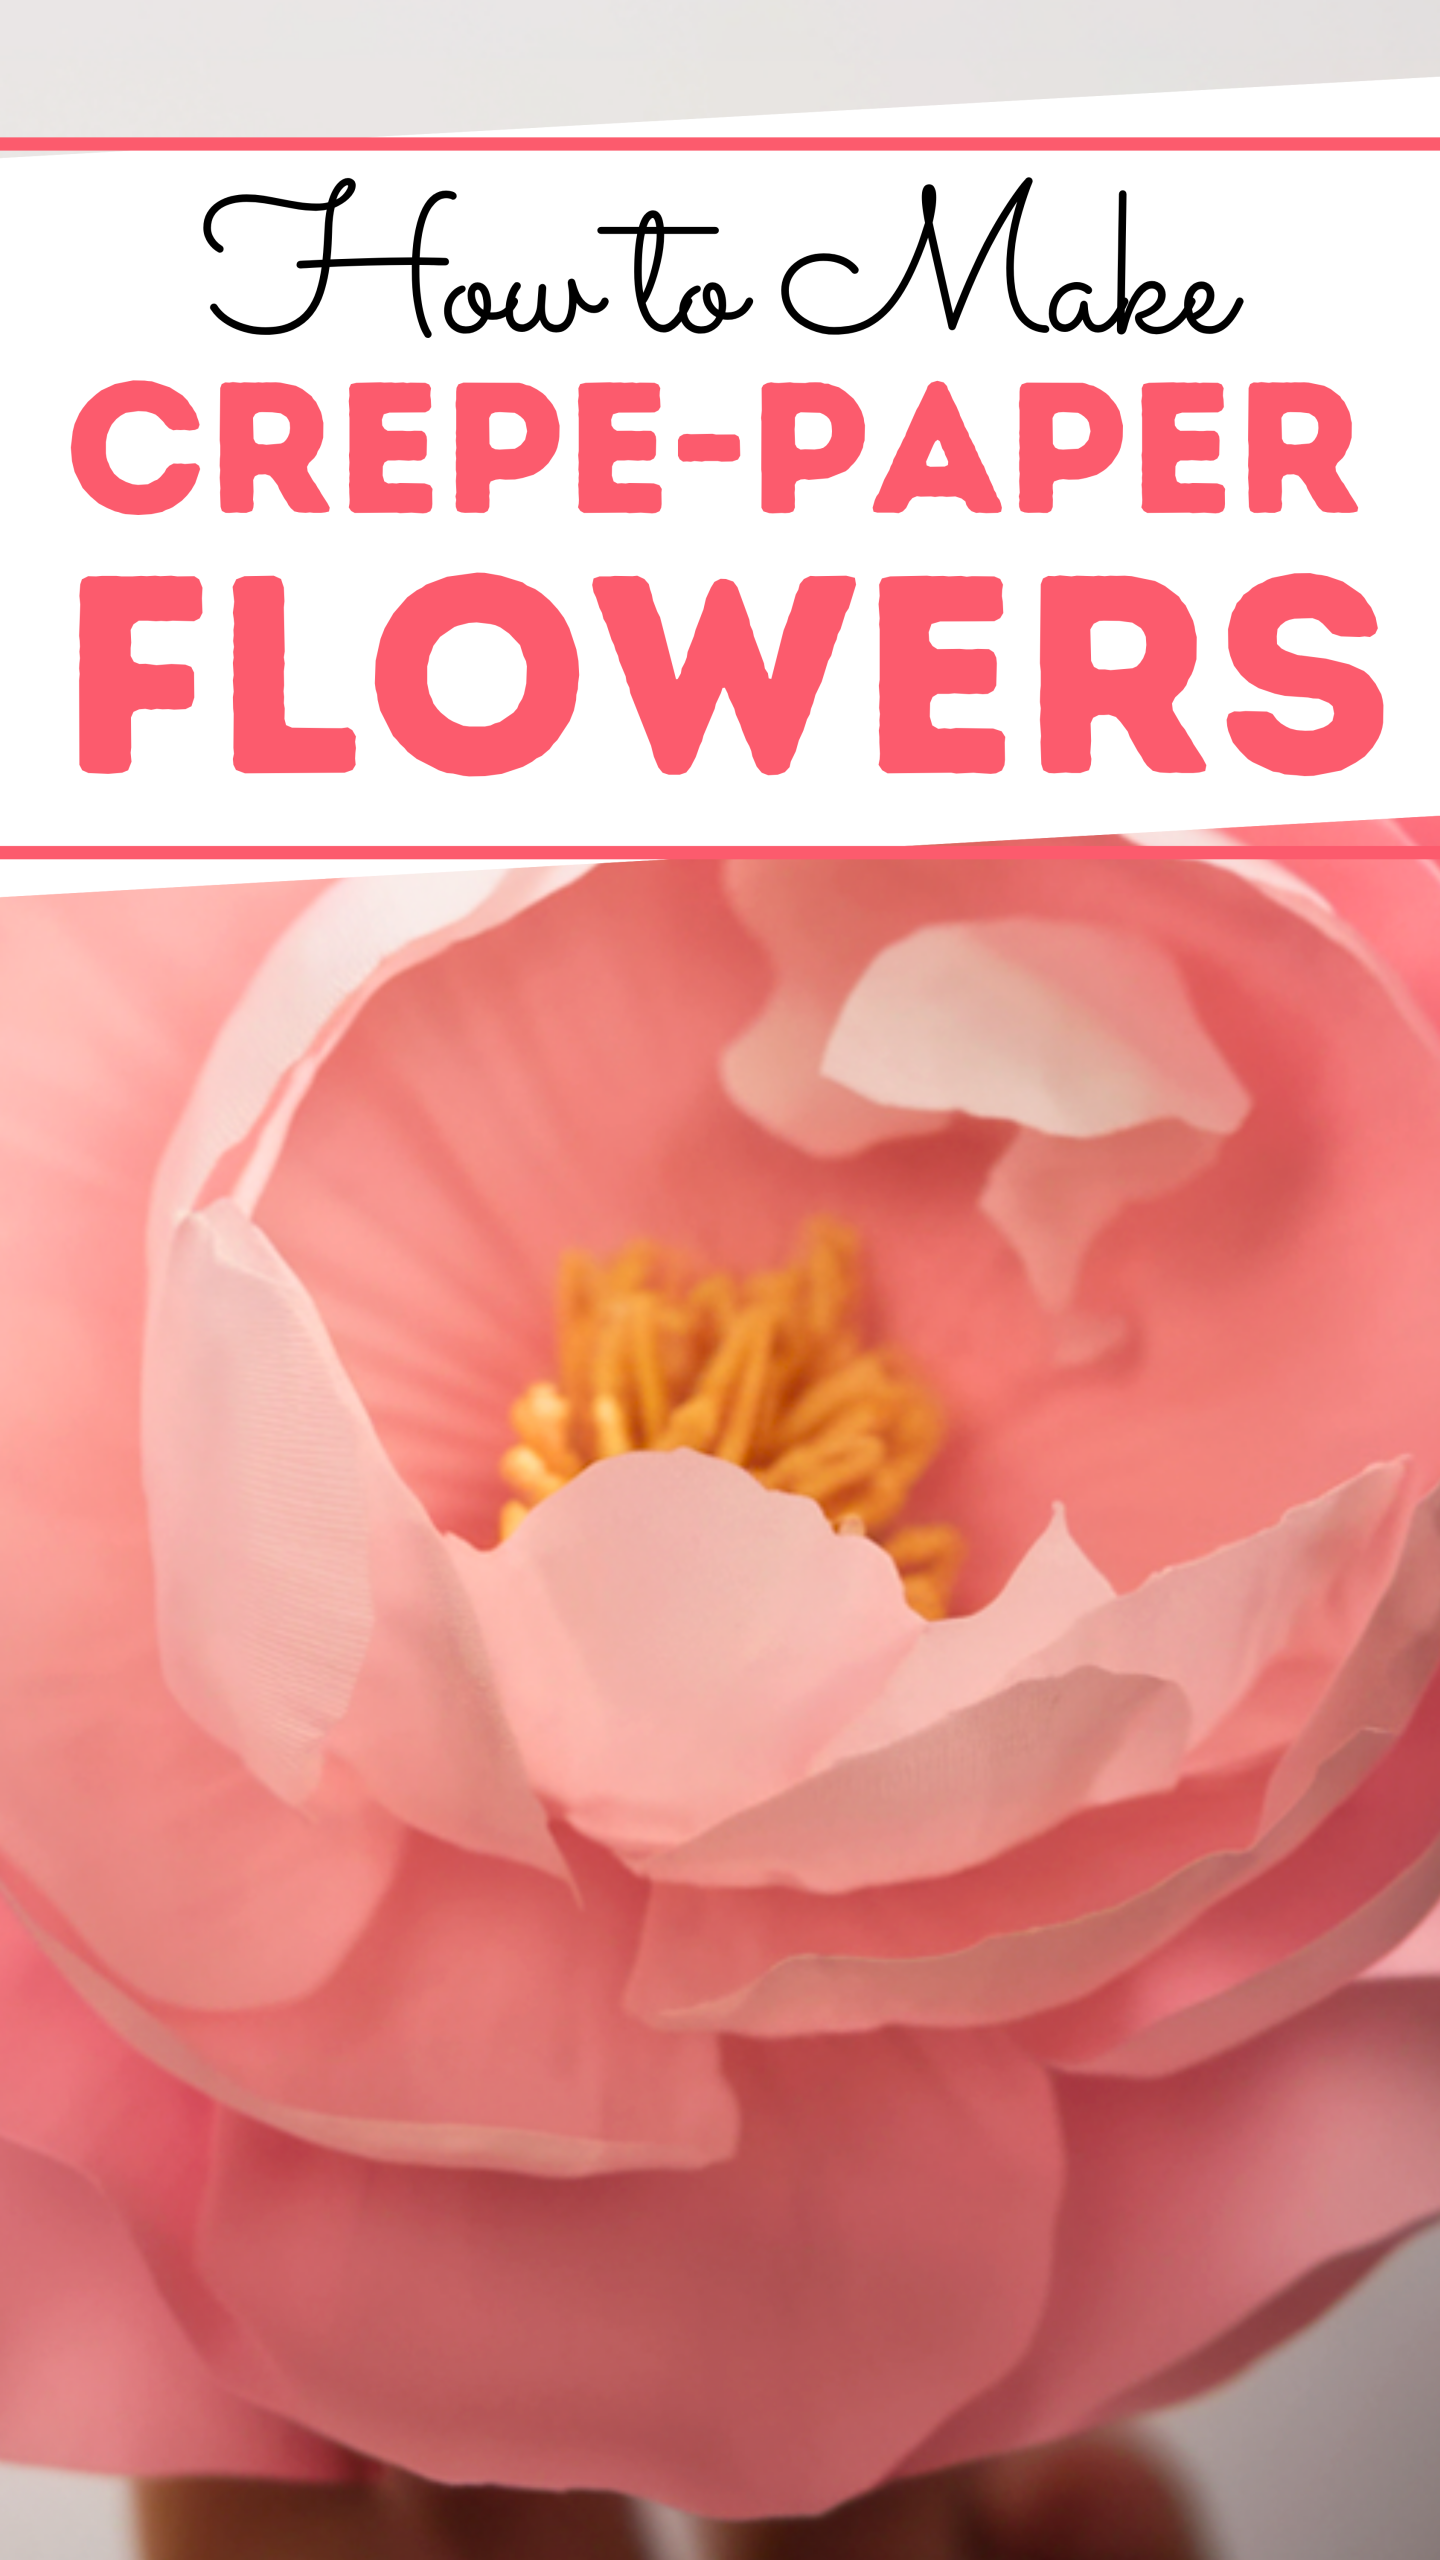
That’s when I stumbled upon crepe-paper flowers, and they completely changed the game. These delicate yet durable blossoms looked so real, I was shocked they weren’t fresh from a florist.
The best part? I could customize them in every color, shape, and size, and they would never wilt. If you’re looking for an unforgettable DIY gift for a wedding, this is it. For more crafty inspiration, I also share quick tutorials like Beaded Friendship Bracelets in Under 2 Minutes on my blog.
At first, I was intimidated. Paper flowers for a whole wedding? But after watching a few YouTube videos and picking up guides like Crepe Paper Flowers by Lia Griffith and The Fine Art of Making Flowers by Tiffanie Turner, I realized just how approachable the process really is.
To get started, I gathered my supplies: high-quality heavyweight crepe paper (140–180 gsm), floral wire, floral tape, scissors, glue (either PVA or a hot-glue gun), a pencil for shaping petals, and some watercolor pencils to add depth and color to the edges.
Before long, my craft table was covered in petals, stems, and blooms in full blush and ivory glory. One afternoon turned into an entire weekend of creativity, and suddenly, I had a bouquet that looked straight out of a dream, and cost a fraction of what a florist would charge.
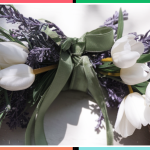
Creating crepe-paper flowers became more than just a DIY project; it was a way to pour love into a gift that would be cherished. You can craft bridal bouquets or even flower crowns for flower girls.
The texture and realism of heavyweight Italian crepe paper make each bloom feel lifelike, while their longevity turns them into keepsakes. And if you’re short on time or want to mix mediums, they pair beautifully with dried or silk flowers.
Whether you’re making a wedding gift, personal decor, or just exploring a new hobby, this is one project where heart and hands come together beautifully.
So yes, you can create something magical, and if you need more ideas, head over to my blog, where I keep creativity blooming all year long.
Materials Needed
- Crepe paper (choose high-quality, heavyweight paper ideally 140–180 gsm)
- Floral wire (stems for flowers)
- Floral tape (to secure pieces)
- Scissors
- Glue (PVA or hot-glue gun)
- Pencil or dowel (for shaping petals)
- Optional: Watercolor pencils or pastels for coloring edges
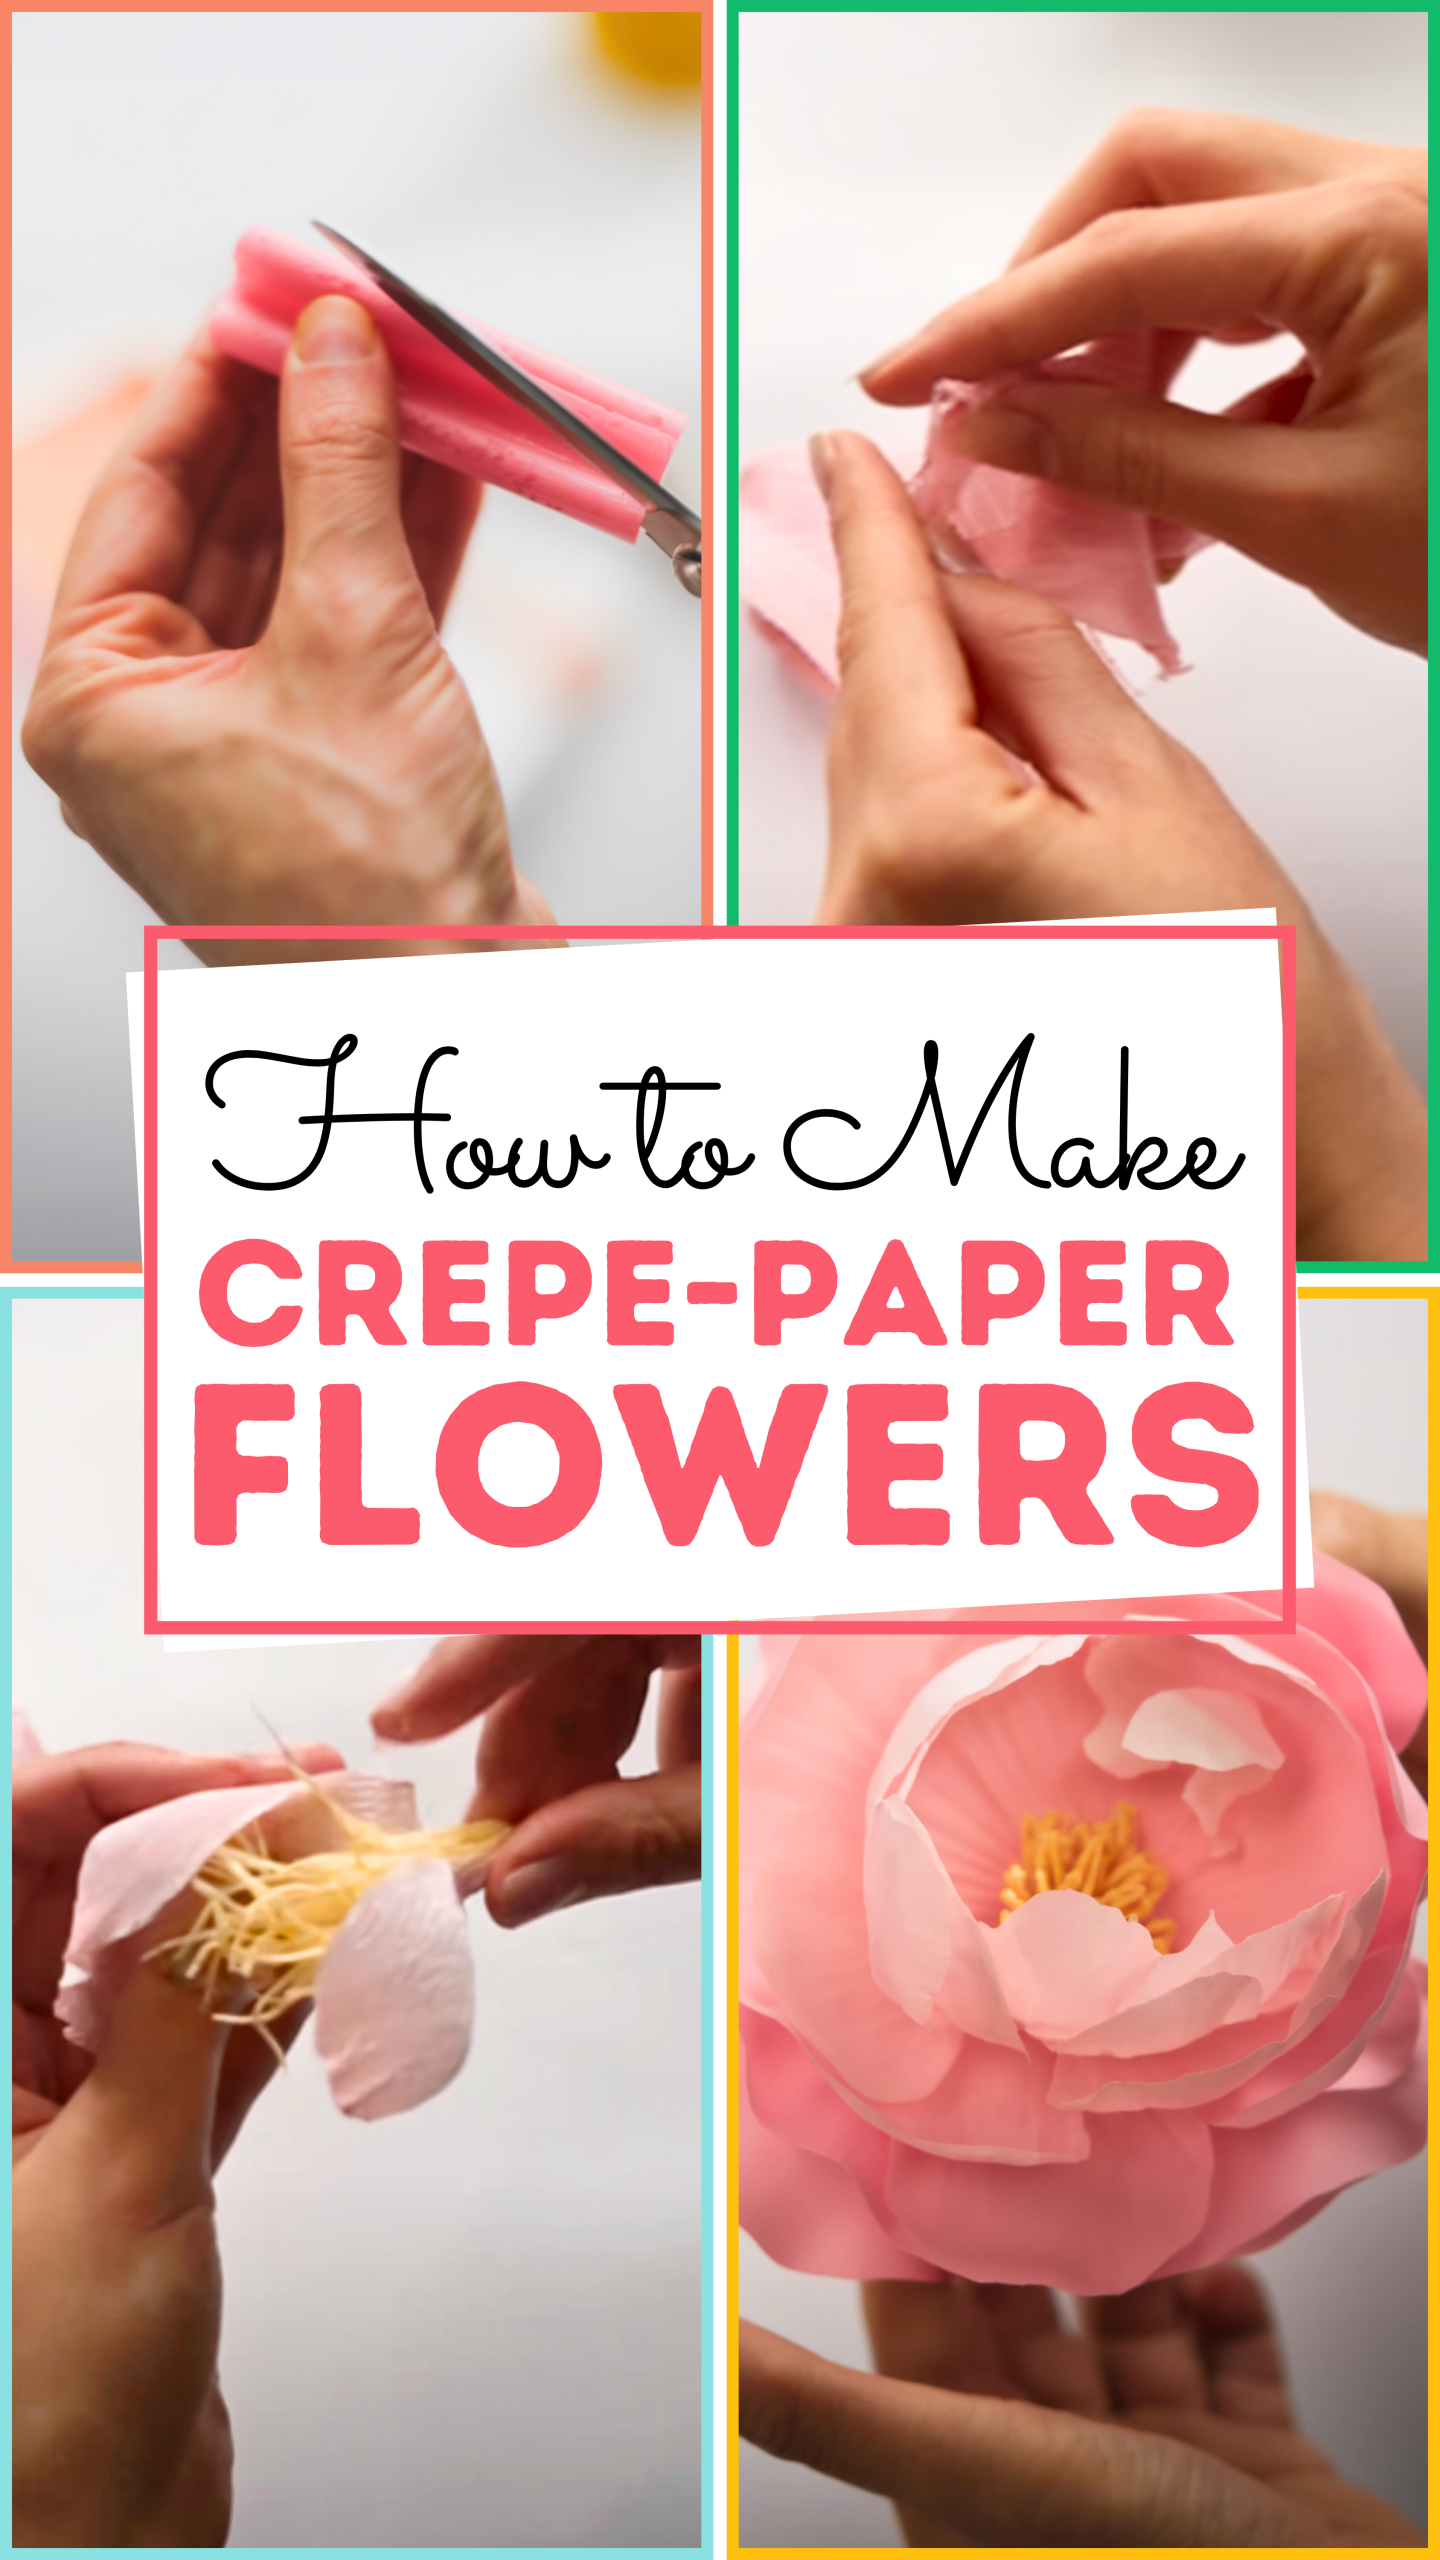
How to Make Crepe-Paper Flowers
Step 1: Pick & Prep Your Paper
Select crepe paper in your desired hues (e.g., soft pinks, vibrant yellows). Higher GSM paper holds shape better and looks more natural. Cut paper into manageable strips (e.g., 3″×7″ for petals).
Step 2: Cut Petals
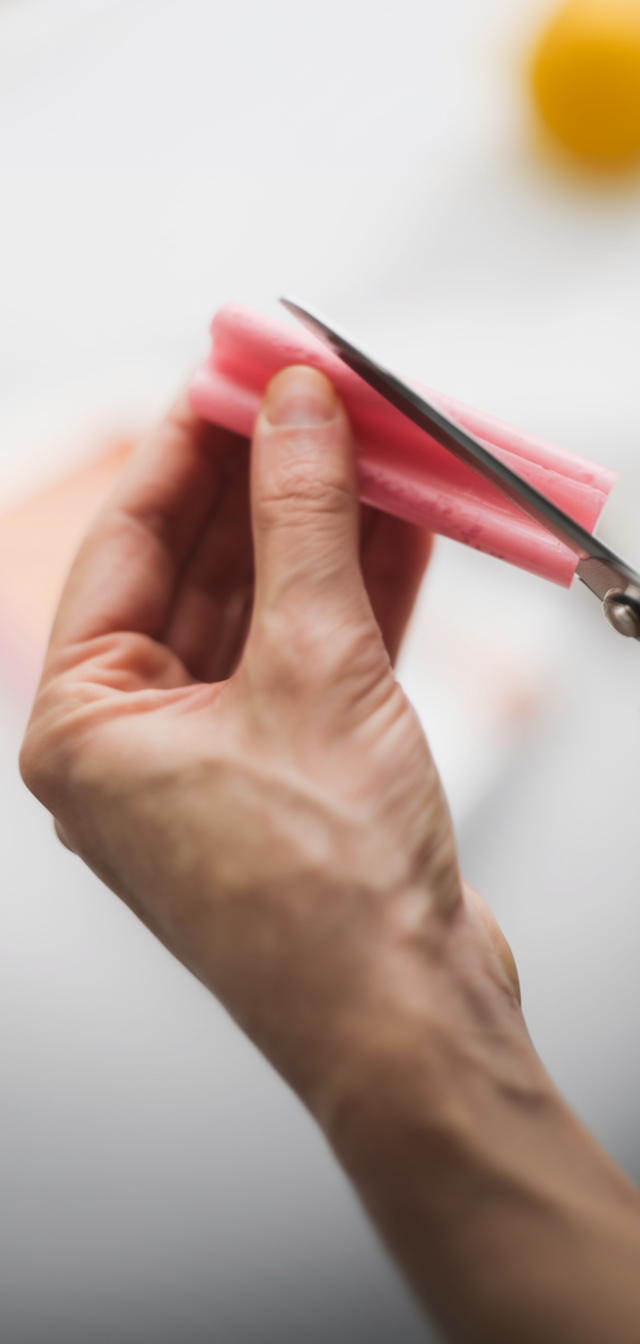
Fold strips in half and cut simple petal shapes. Aim for 5 petals per row, depending on flower size. No need for templates; eye-cutting works fine.
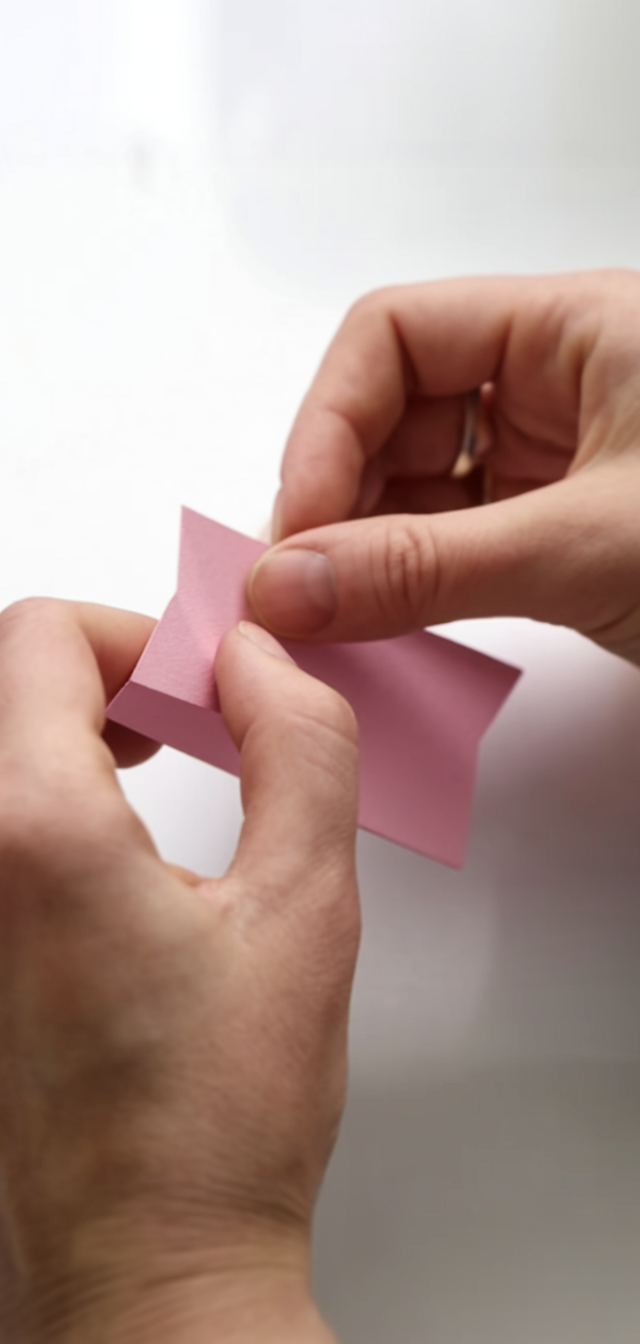
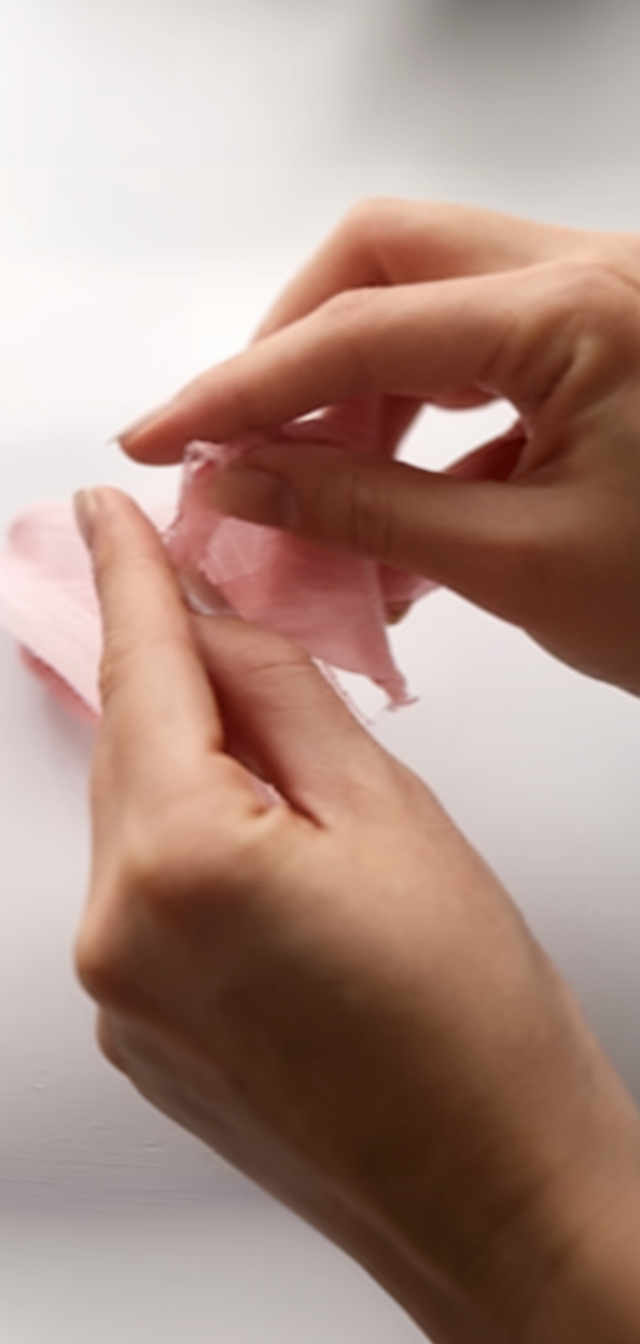
Step 3: Shape the Petals
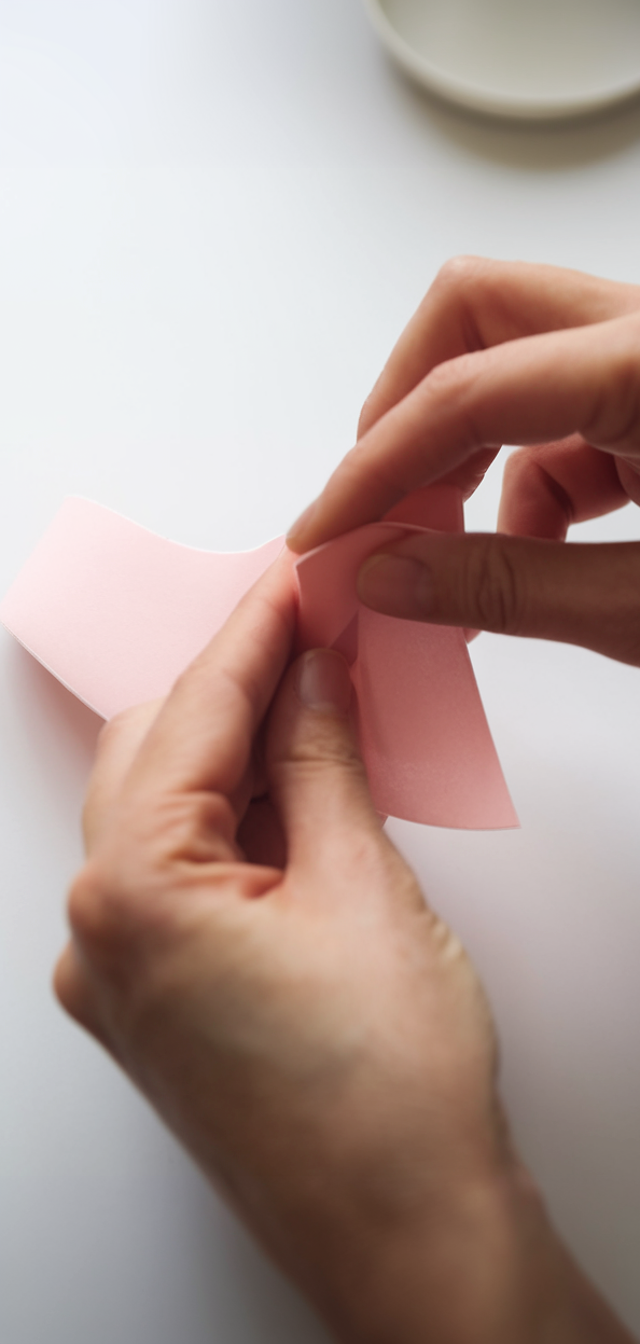
Stretch, curl, or crimp each petal.
- Gently stretch the center to create a cupped, natural look.
- Curl edges around a pencil or dowel for a realistic form.
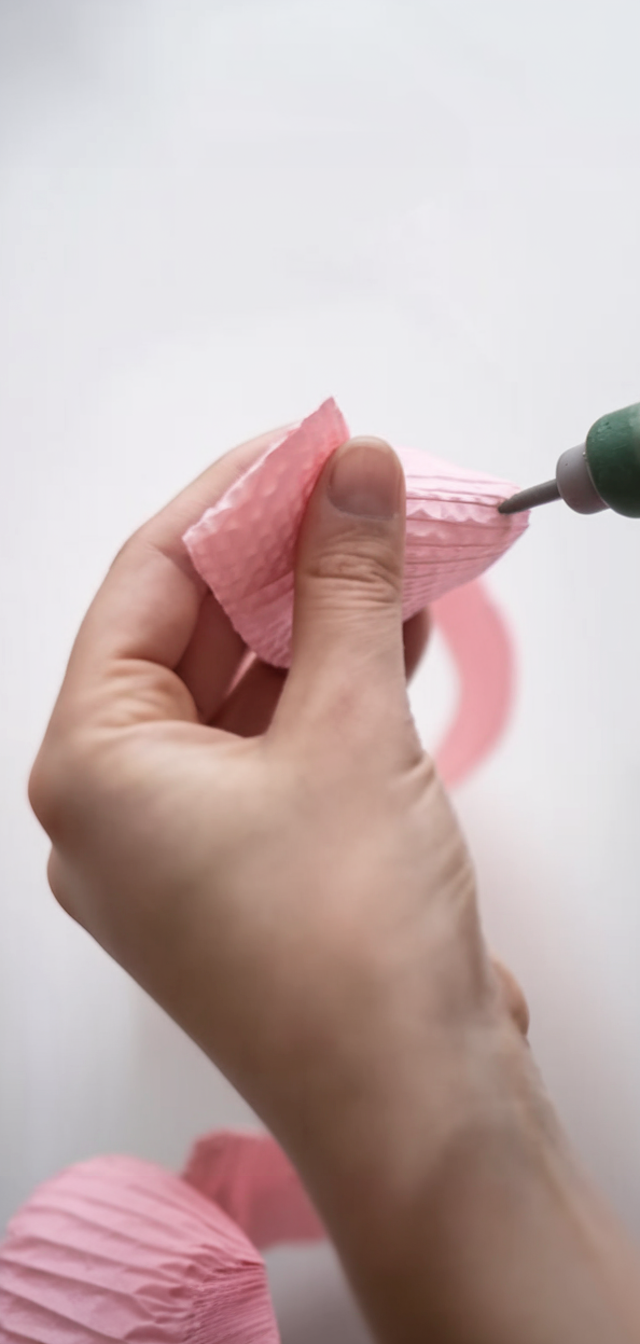
Step 4: Make the Flower Center
- Pistil: Twist a small strip of crepe paper tight, stretch out the ends, secure with glue, and bundle 2–3 pieces together .
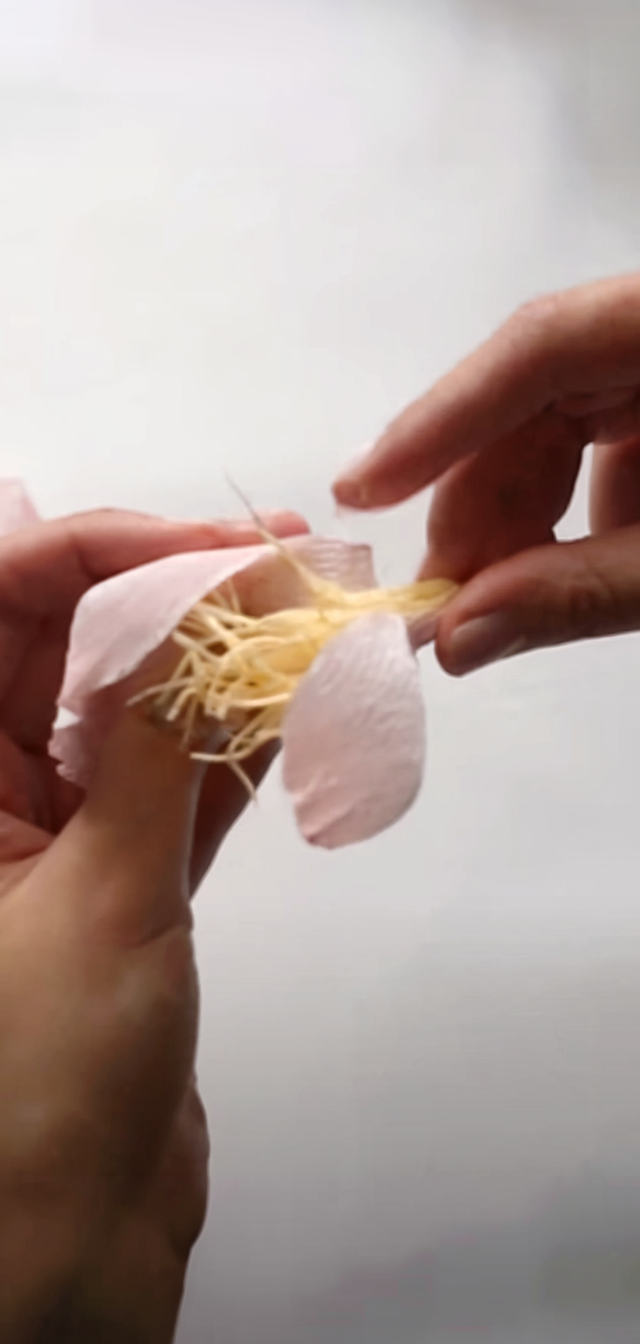
- Stamens: Cut a longer strip (e.g., 12″×3″), fringe one edge, twist strips, and glue around the pistil.
Step 5: Glue Petals in Layers
- Attach the first row of 5 petals around the pistil on a thick base (like cardstock).
- Add successive rows, staggering petals inward.
- For middle and inner rows, gently lift and bend bases to build volume.
Step 6: Secure the Stem
- Wrap floral wire in tape, then attach your flower base.
- Wrap petals and leaves into the stem, securing with tape as you go.
Step 7: Finish and Fluff
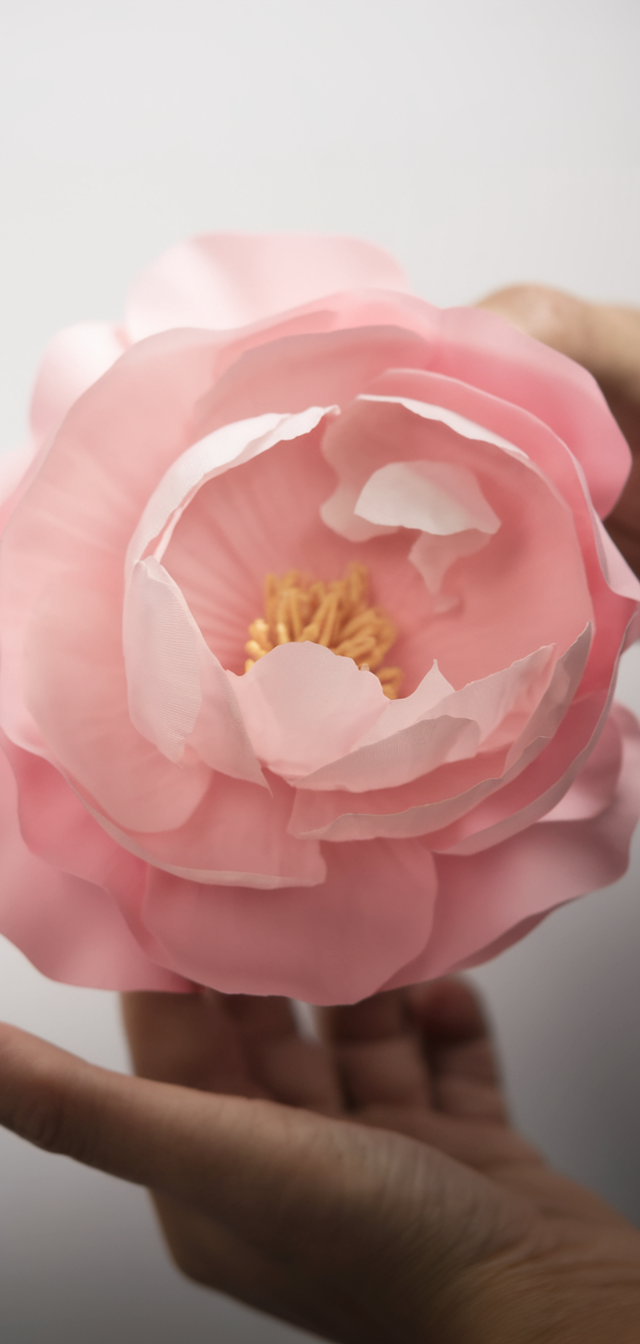
Once assembled, shape petals further, fluff, separate, and curl edges. Optionally, brush with pastel or watercolor to add depth and realism.
crepe-paper flowers Pro Tips
- Use heavyweight paper (140–180 gsm) for sturdy petals for your crepe-paper flowers.
- Practice shaping a few petals first to get comfortable with stretching and curling.
- Frame your crepe-paper flowers: Add leaves or cluster multiple blooms for an arrangement.
- Color edges with pastels or pencils to mimic natural variation.
- Store in a dry place; crepe-paper flowers can last for years if cared for properly.
FAQs
How long do these Crepe-Paper Flowers last?
They can keep their shape for years when stored away from sunlight and moisture.
What kind of crepe paper works best?
Choose medium to heavyweight crepe paper (140–180 gsm) for lasting, realistic blooms.
Do I need templates to cut petals?
Not at all.
Can I add natural-looking details?
Absolutely, use watercolors or pencils to shade edges.
Are these Crepe-Paper Flowers suitable for kids?
With supervision, yes.
What other flowers can I make?
Once you master crepe-paper flower petals and centers, you can try peonies or dahlias by adjusting petal counts and shapes.
Conclusion
Making crepe-paper flowers is a wonderfully creative craft that yields stunning results. With just a few materials and simple shaping steps, you can craft lifelike blooms perfect for bouquets, wreaths, or home accents.