Join the fastest growing Craft community on Pinterest!
Ever since I shared how I can make beaded bracelets in under 2 minutes, my inbox has been flooded with one question: “Are you selling these online?” At first, I laughed, but then I thought, why not explore something new?
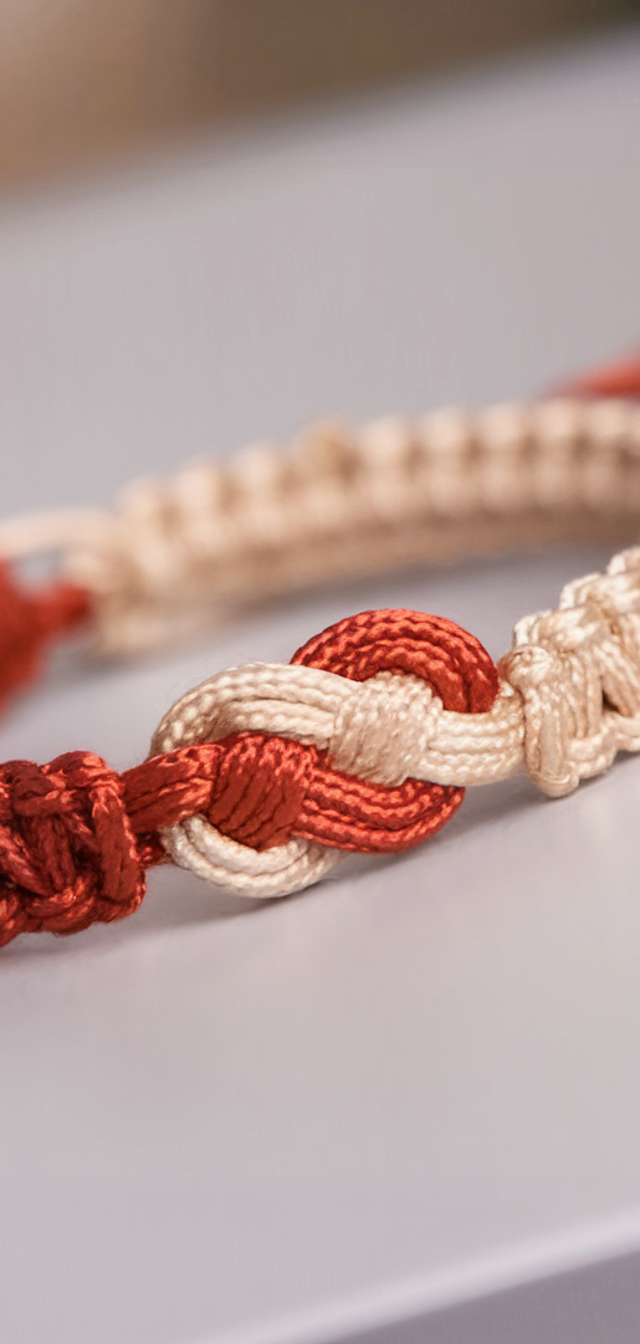
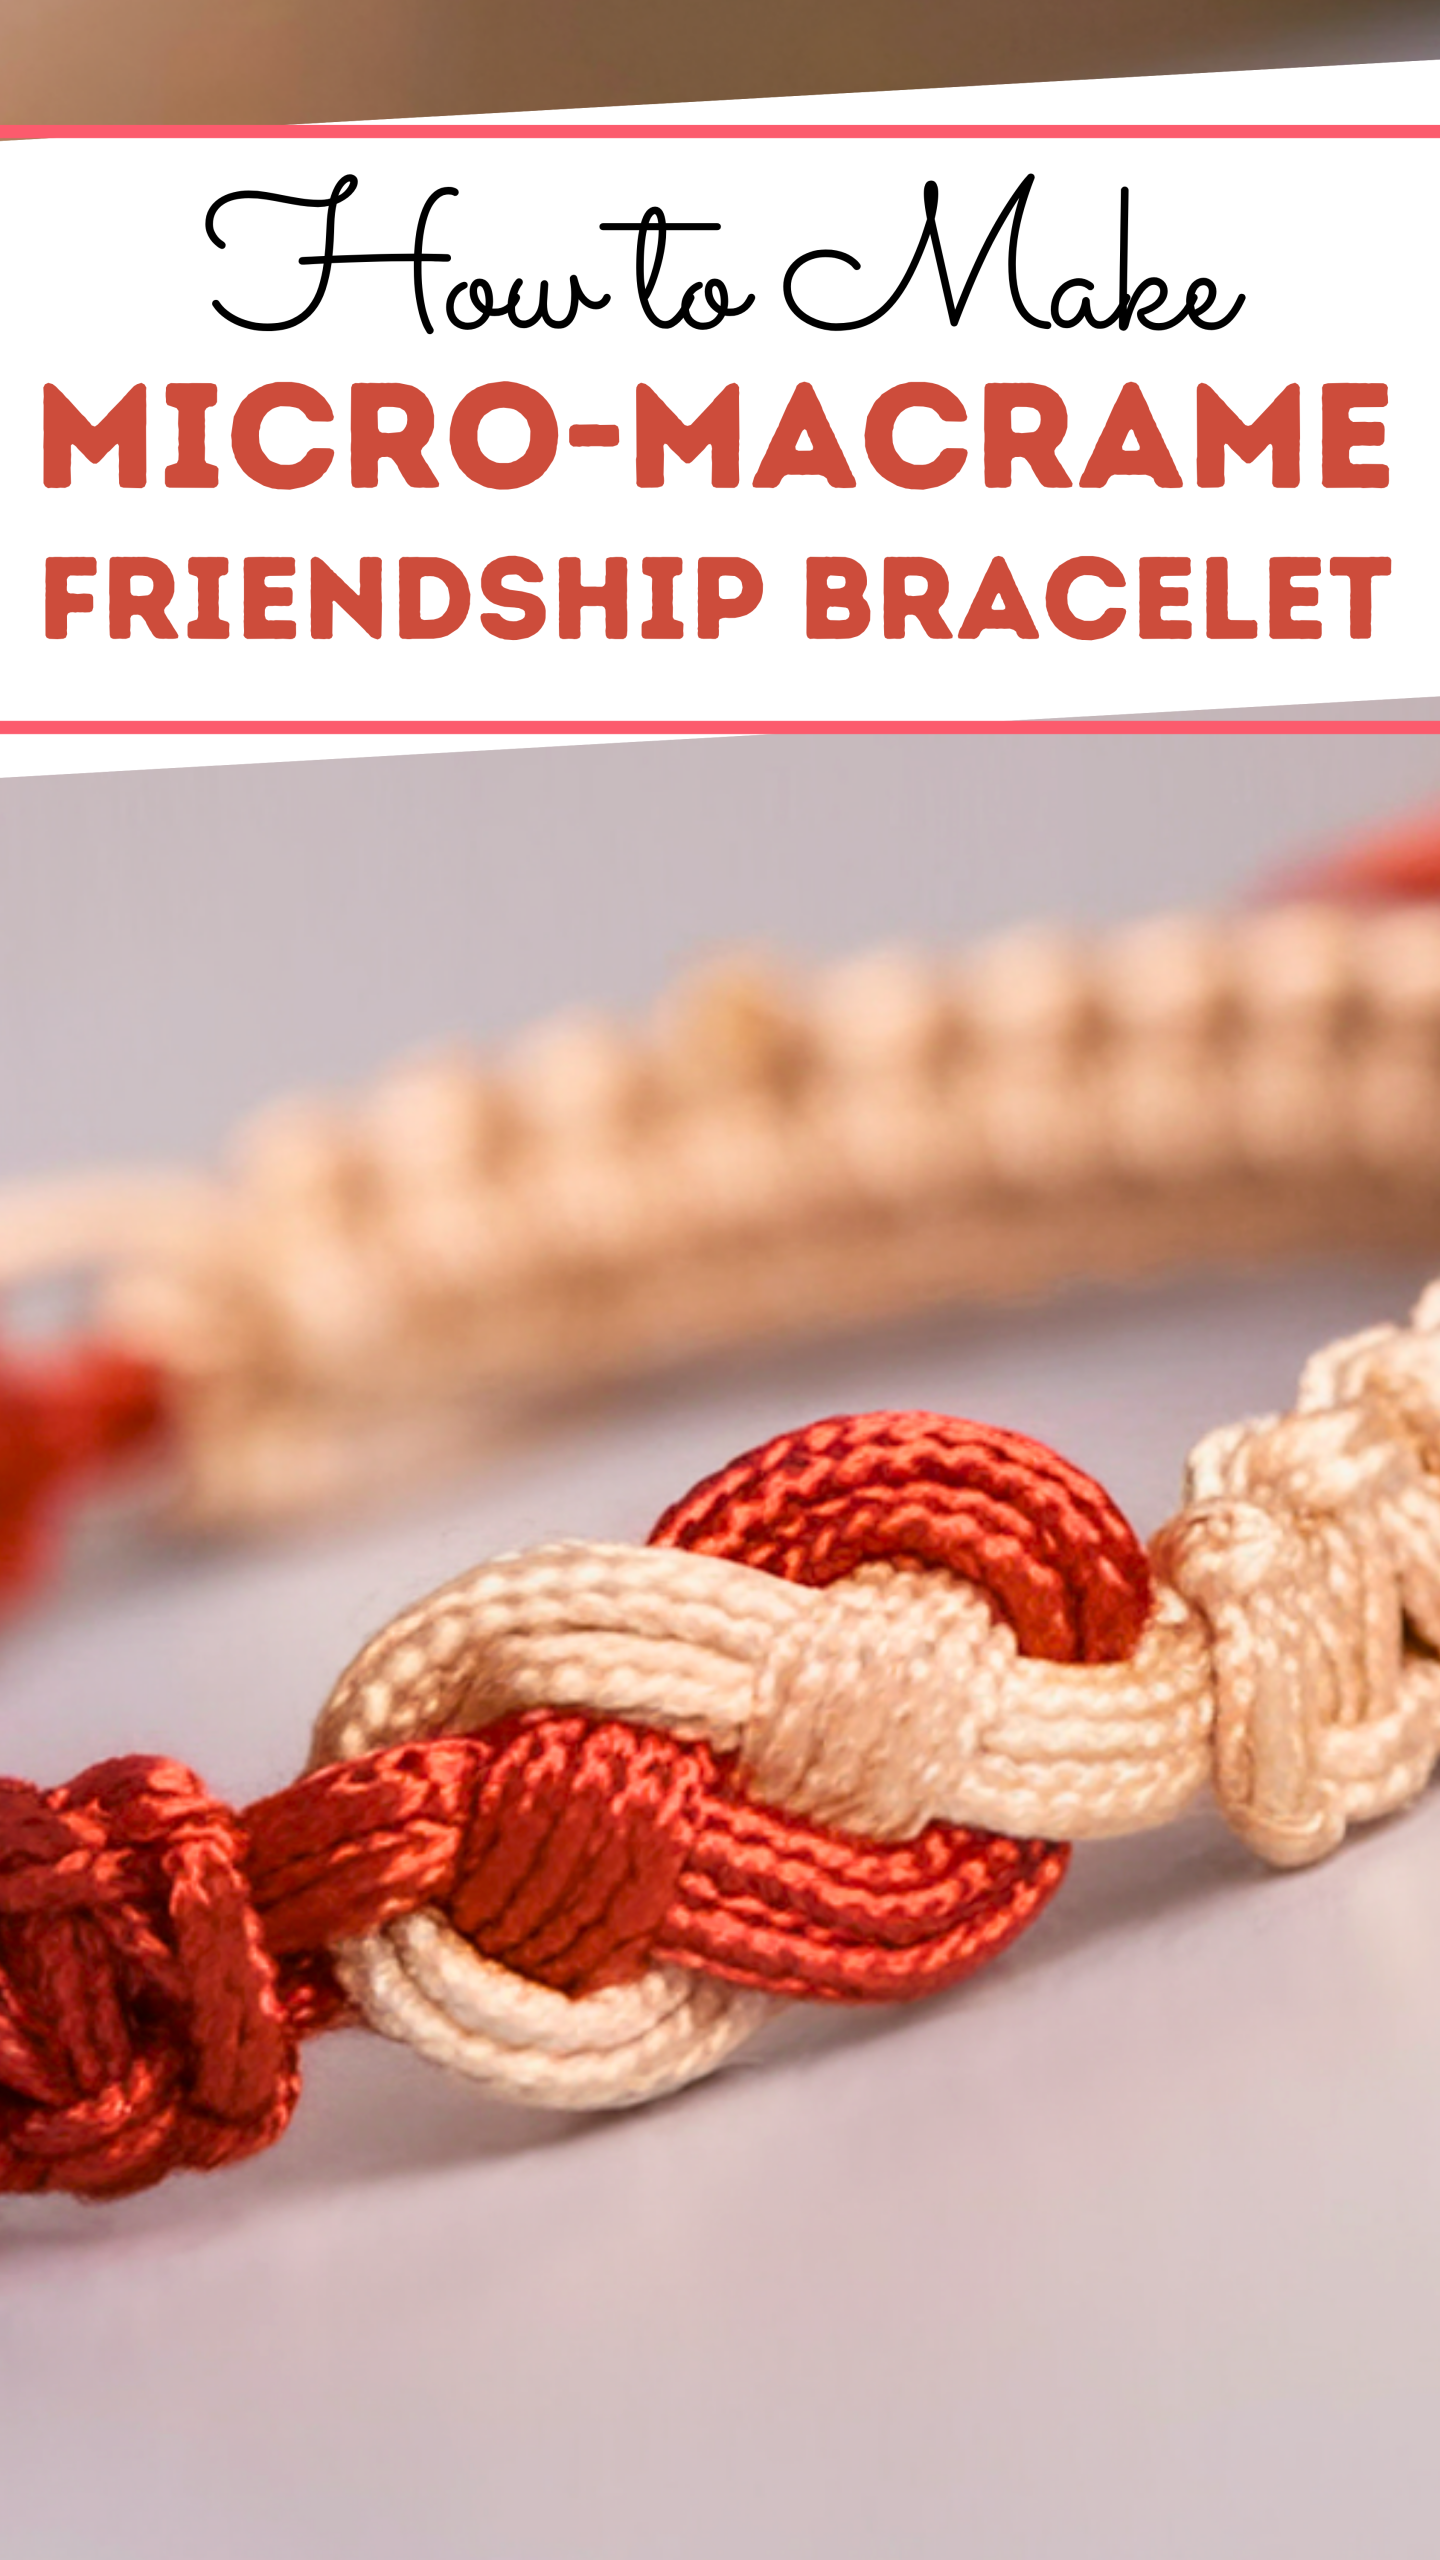
Since I’ve always liked quick projects, making a micro-macrame friendship bracelet seemed like the ideal way to add to my collection of crafts. I rolled up my sleeves and started knotting because I already had plenty of cord and an efficient clipboard.
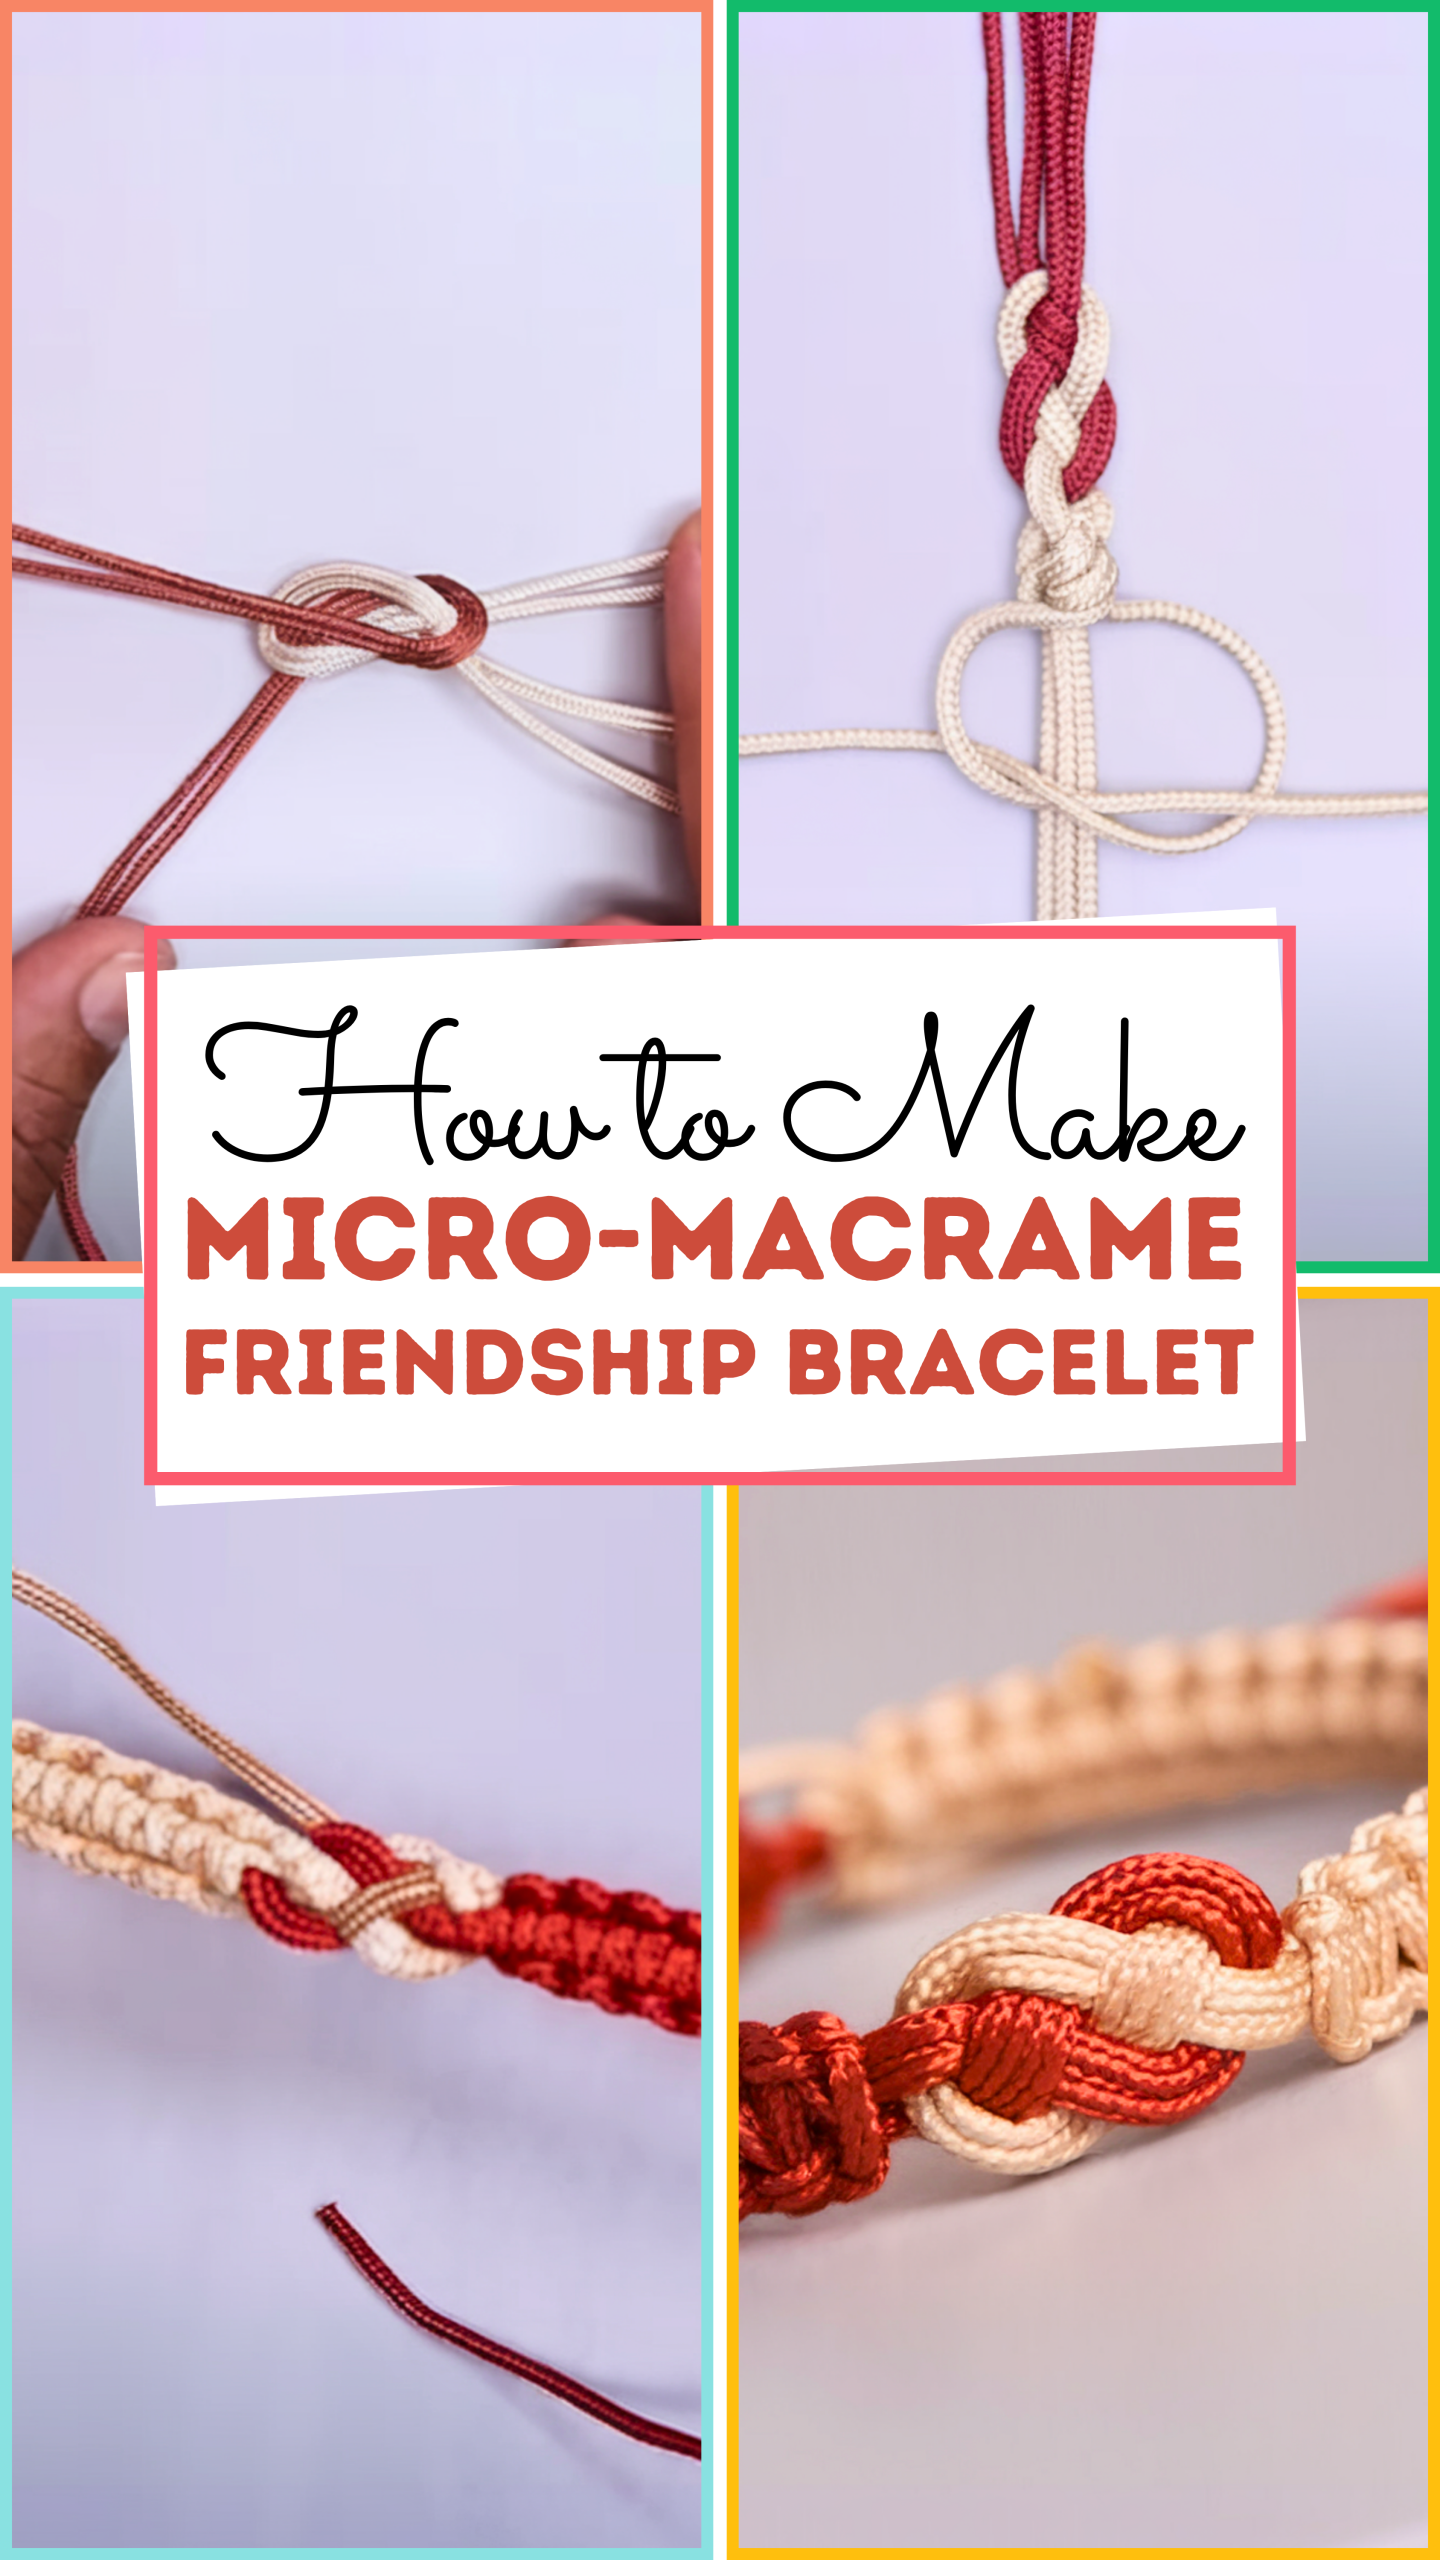
Using strong nylon thread (S-Lon, my favorite), I measured and cut my base cords, secured them to my clipboard, and began knotting simple square knots to form the foundation.
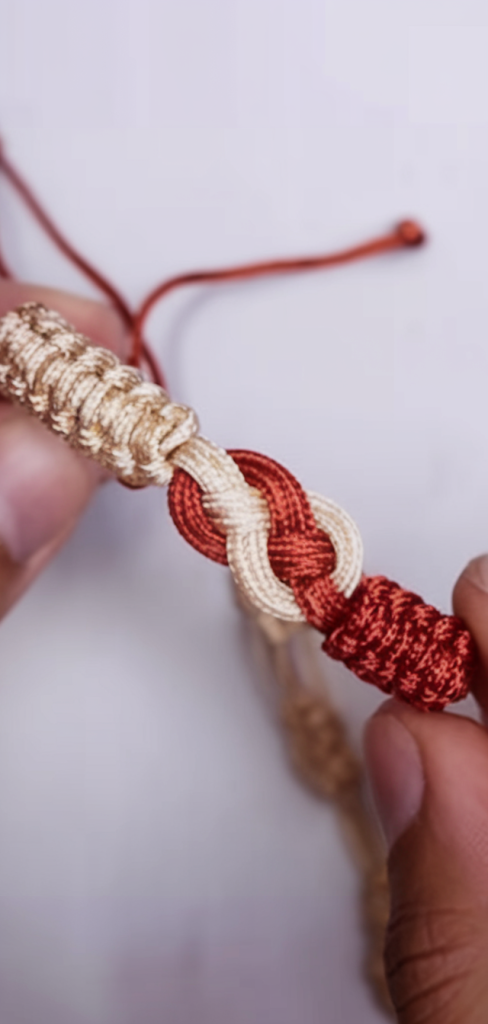
Now, my micro-macrame friendship bracelet sits proudly next to my beaded ones, each one carrying a story and style of its own. They’re a hit at craft swaps, and I’ve even started trading them for crocheted goodies and handmade bow ties (yes, even for pets).
Making these bracelets is a lot of fun, and sharing them is even more enjoyable, whether you’re a stress-crafter or want to make meaningful presents. Try it out; like me, you might become addicted.
What You Will Need
- Strong cord or nylon thread (0.5–1 mm thickness macrame, S‑lon, or perle cotton works well)
- Small rings or metal clasp findings (for closures or accents)
- Beads (glass, wooden, or metal)
- Clipboard or pinboard (to anchor your work while knotting)
- Jewelry pliers (if using clasps or rings)
- Scissors
- Measuring tape
how to make a Micro-Macramé Friendship Bracelet
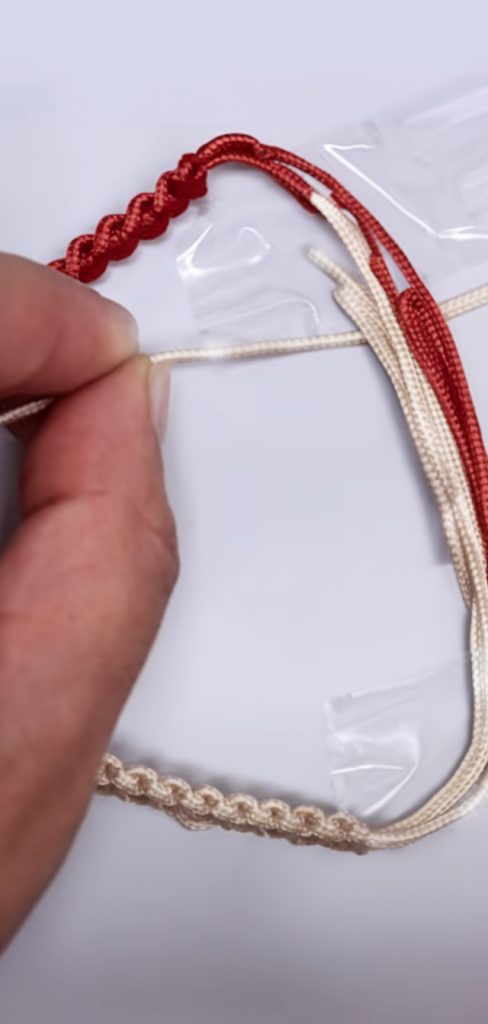
Step 1: Prepare and Secure Your Work
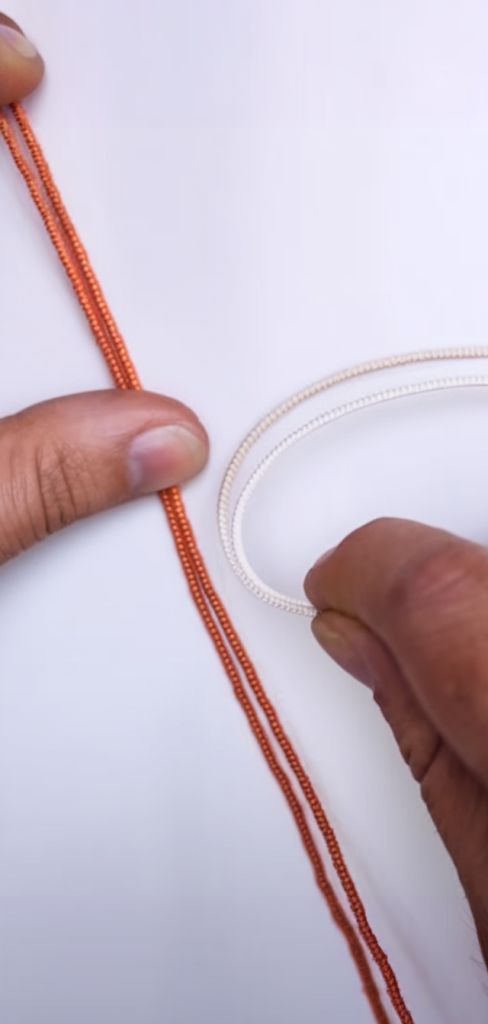
- Cut 6–8 strands of cord, each about 36–40″ long; add length for adjustable closures.
- If using, attach central strands to a small ring with lark’s head knots. Anchor the ring or cords to a clipboard or pinboard to keep tension consistent.
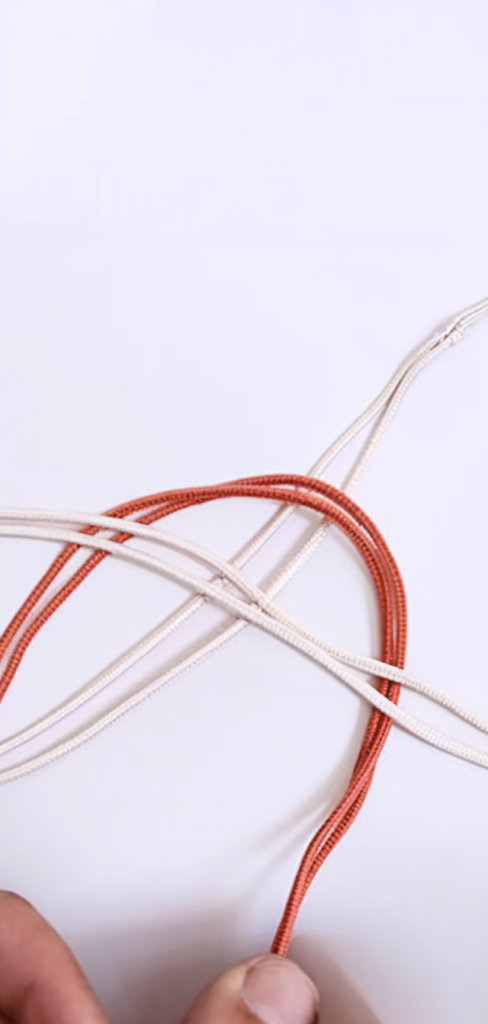
Step 2: Learn Double Half-Hitch Knots
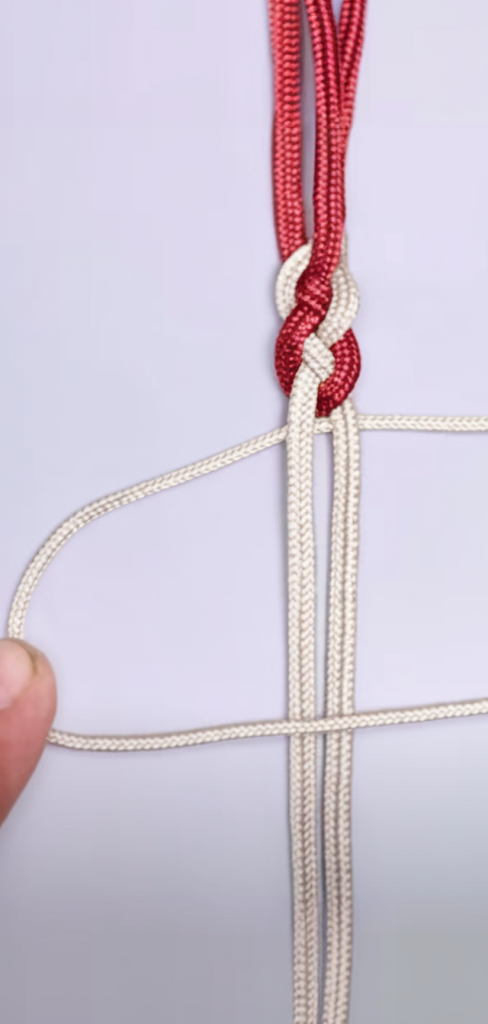
To create textured rows, the micro-macramé friendship bracelet pattern uses tight double half-hitch knots.
- Working outward from the center, wrap the leftmost cord over the adjacent ones, knotting it tightly across.
- Repeat symmetrically from the right side. Continue alternating until you have created around 4 rows of diamond shapes.
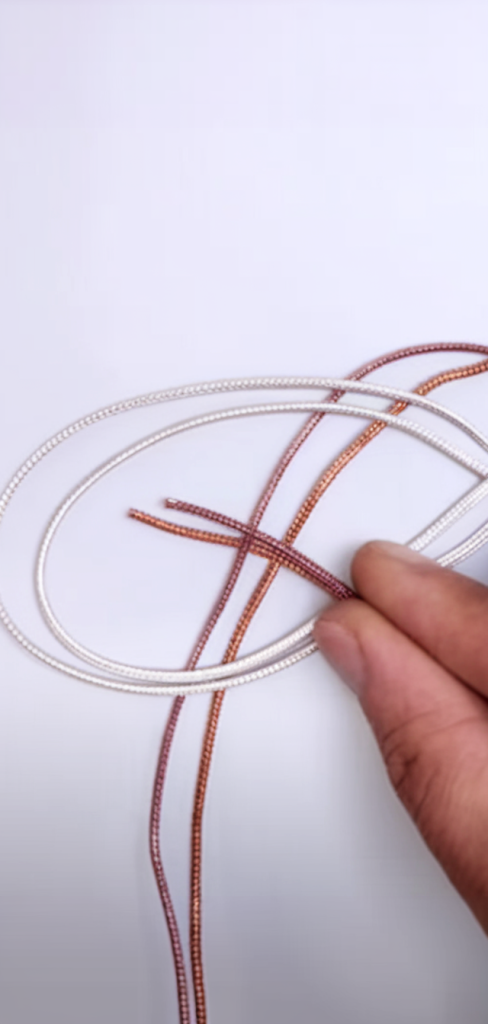
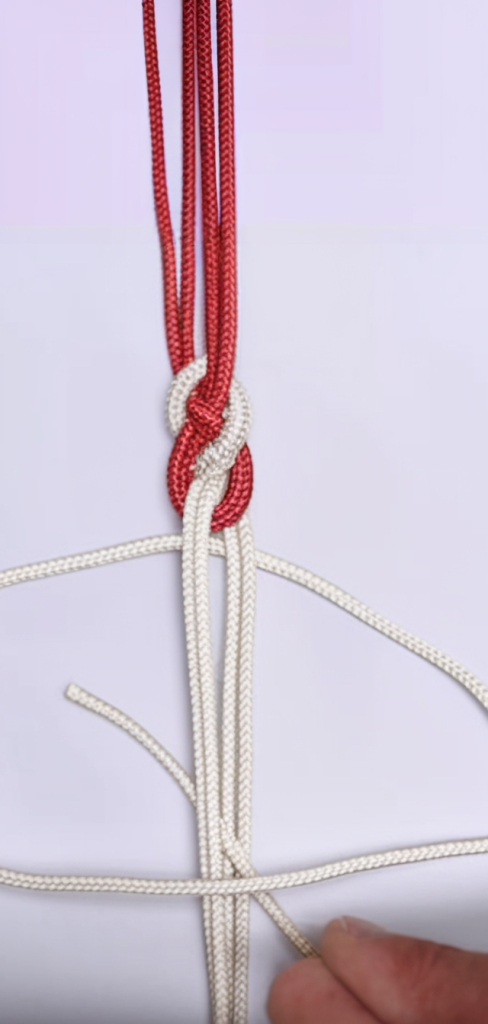
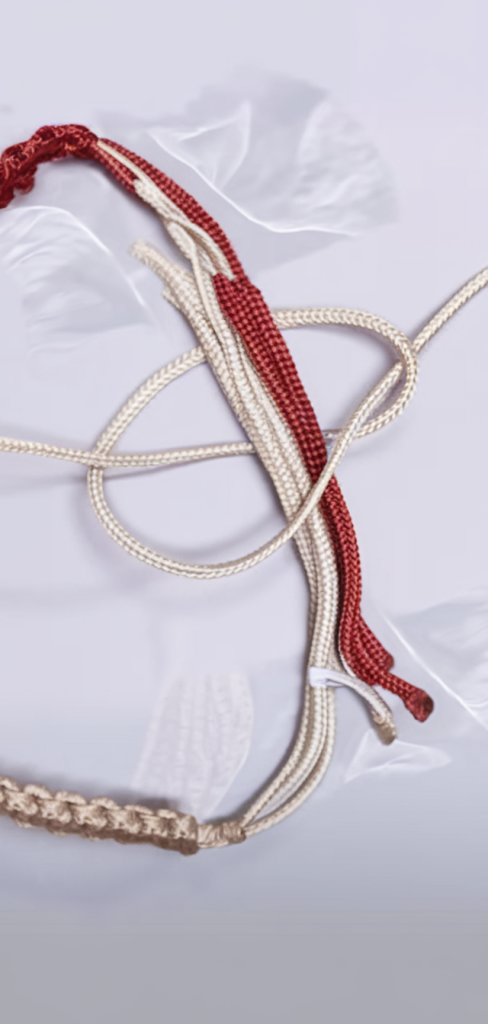
Step 3: Continue your bracelet pattern.
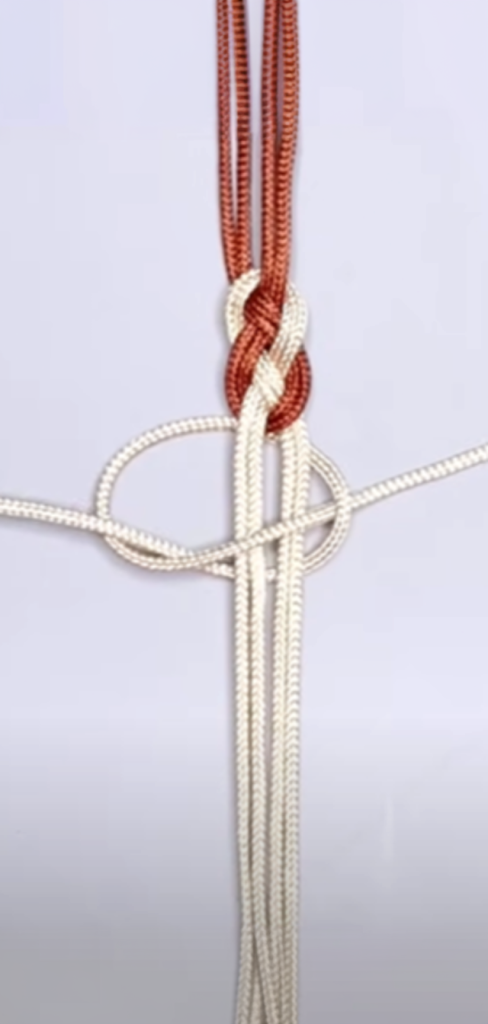
I repeat the knotting pattern left, then right, for another 4–6 rows, depending on your wrist size. This builds a symmetrical, polished pattern with a tight finish.
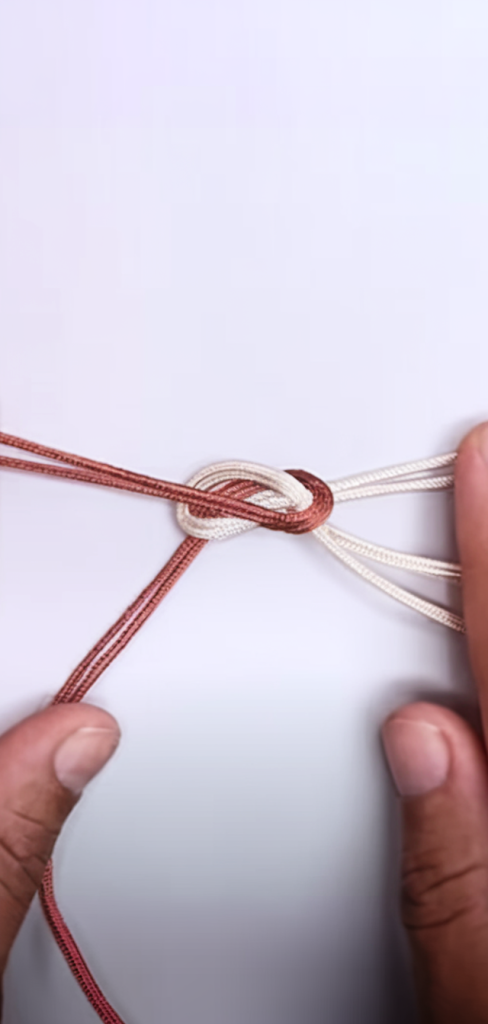
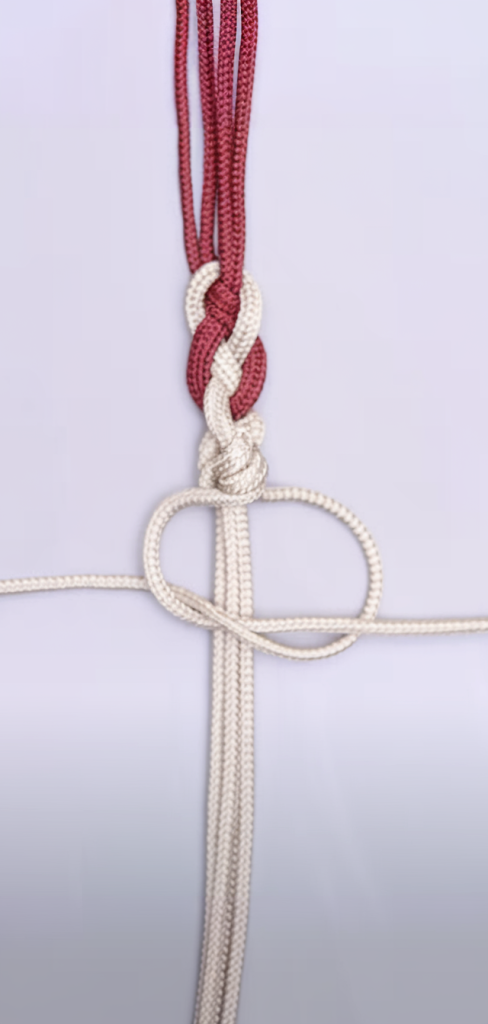
Step 4: Finish the micro-macramé friendship bracelet edges.

Half the strands may be tied off on one side, and the rest on the opposite, creating a neater rear.
- On the back, treat the finish like the front; use tidy knots to form a clean hem that stays hidden when worn.
Step 5: Add the Clasp or Sliding Closure
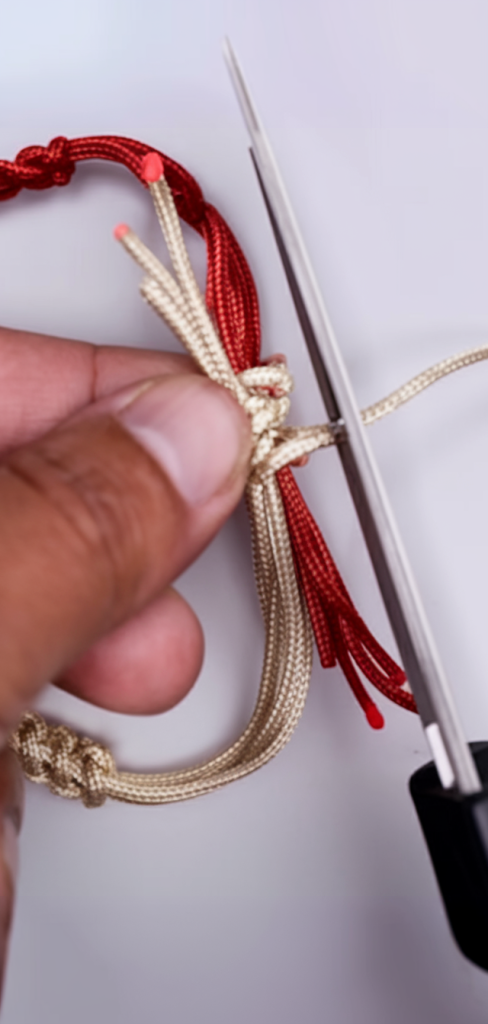
If you look for decoration, use jump rings and jewelry clasps. To guarantee a perfect fit, attach one end to every ring. Or create a sliding knot like I do; just cross the ends and tie an adjustable square knot.
Trim excess cord and apply a small dab of clear glue or fray-preventing solution at the ends for durability.
micro-macrame friendship bracelets Pro Tips
- Clip cord ends evenly: Use clothespins or binder clips on your knotting board to prevent slippage.
- Maintain consistent tension: tight knots give a professional look. Practice on scrap first.
- Size before you finish by checking wrist fit midway to have a snug but not too tight fit.
- Mix textures: Combine cord colors or mix in metallic beads for visual pop.
FAQs
Is this micro-macrame friendship bracelet for beginners?
Yes, the repetitive pattern is easy.
What cord should I use?
Use thin and strong cord like S‑lon. Aim for around 0.5–1 mm for a refined, neat braid.
How do I make it adjustable?
Use sliding square knots at the ends for flexibility.
Can beads damage the cord?
Choose beads with holes slightly larger than your cord to prevent fraying. Seal ends if needed.
How long should cords be?
Start with ~40″ per working strand. It’s better to have extra than run short mid-bracelet.
How do I stop fraying?
A drop of Fray Check at the ends to give the friendship bracelet a portable look.
Conclusion
With the help of this tutorial, you will be able to create a lovely friendship bracelet using micro-macramé. This micro-macramé friendship bracelet has a nice appearance thanks to the tiny knots and many possible decorations you can add, like rings or beads.