Join the fastest growing Craft community on Pinterest!
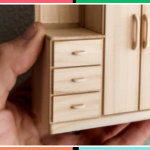
Lately, I’ve been on a mission to bring more personality into my house, and it all started with a DIY cube storage unit I was decorating. The compartments were coming together but something was missing: a functional piece that would double as stylish decor.
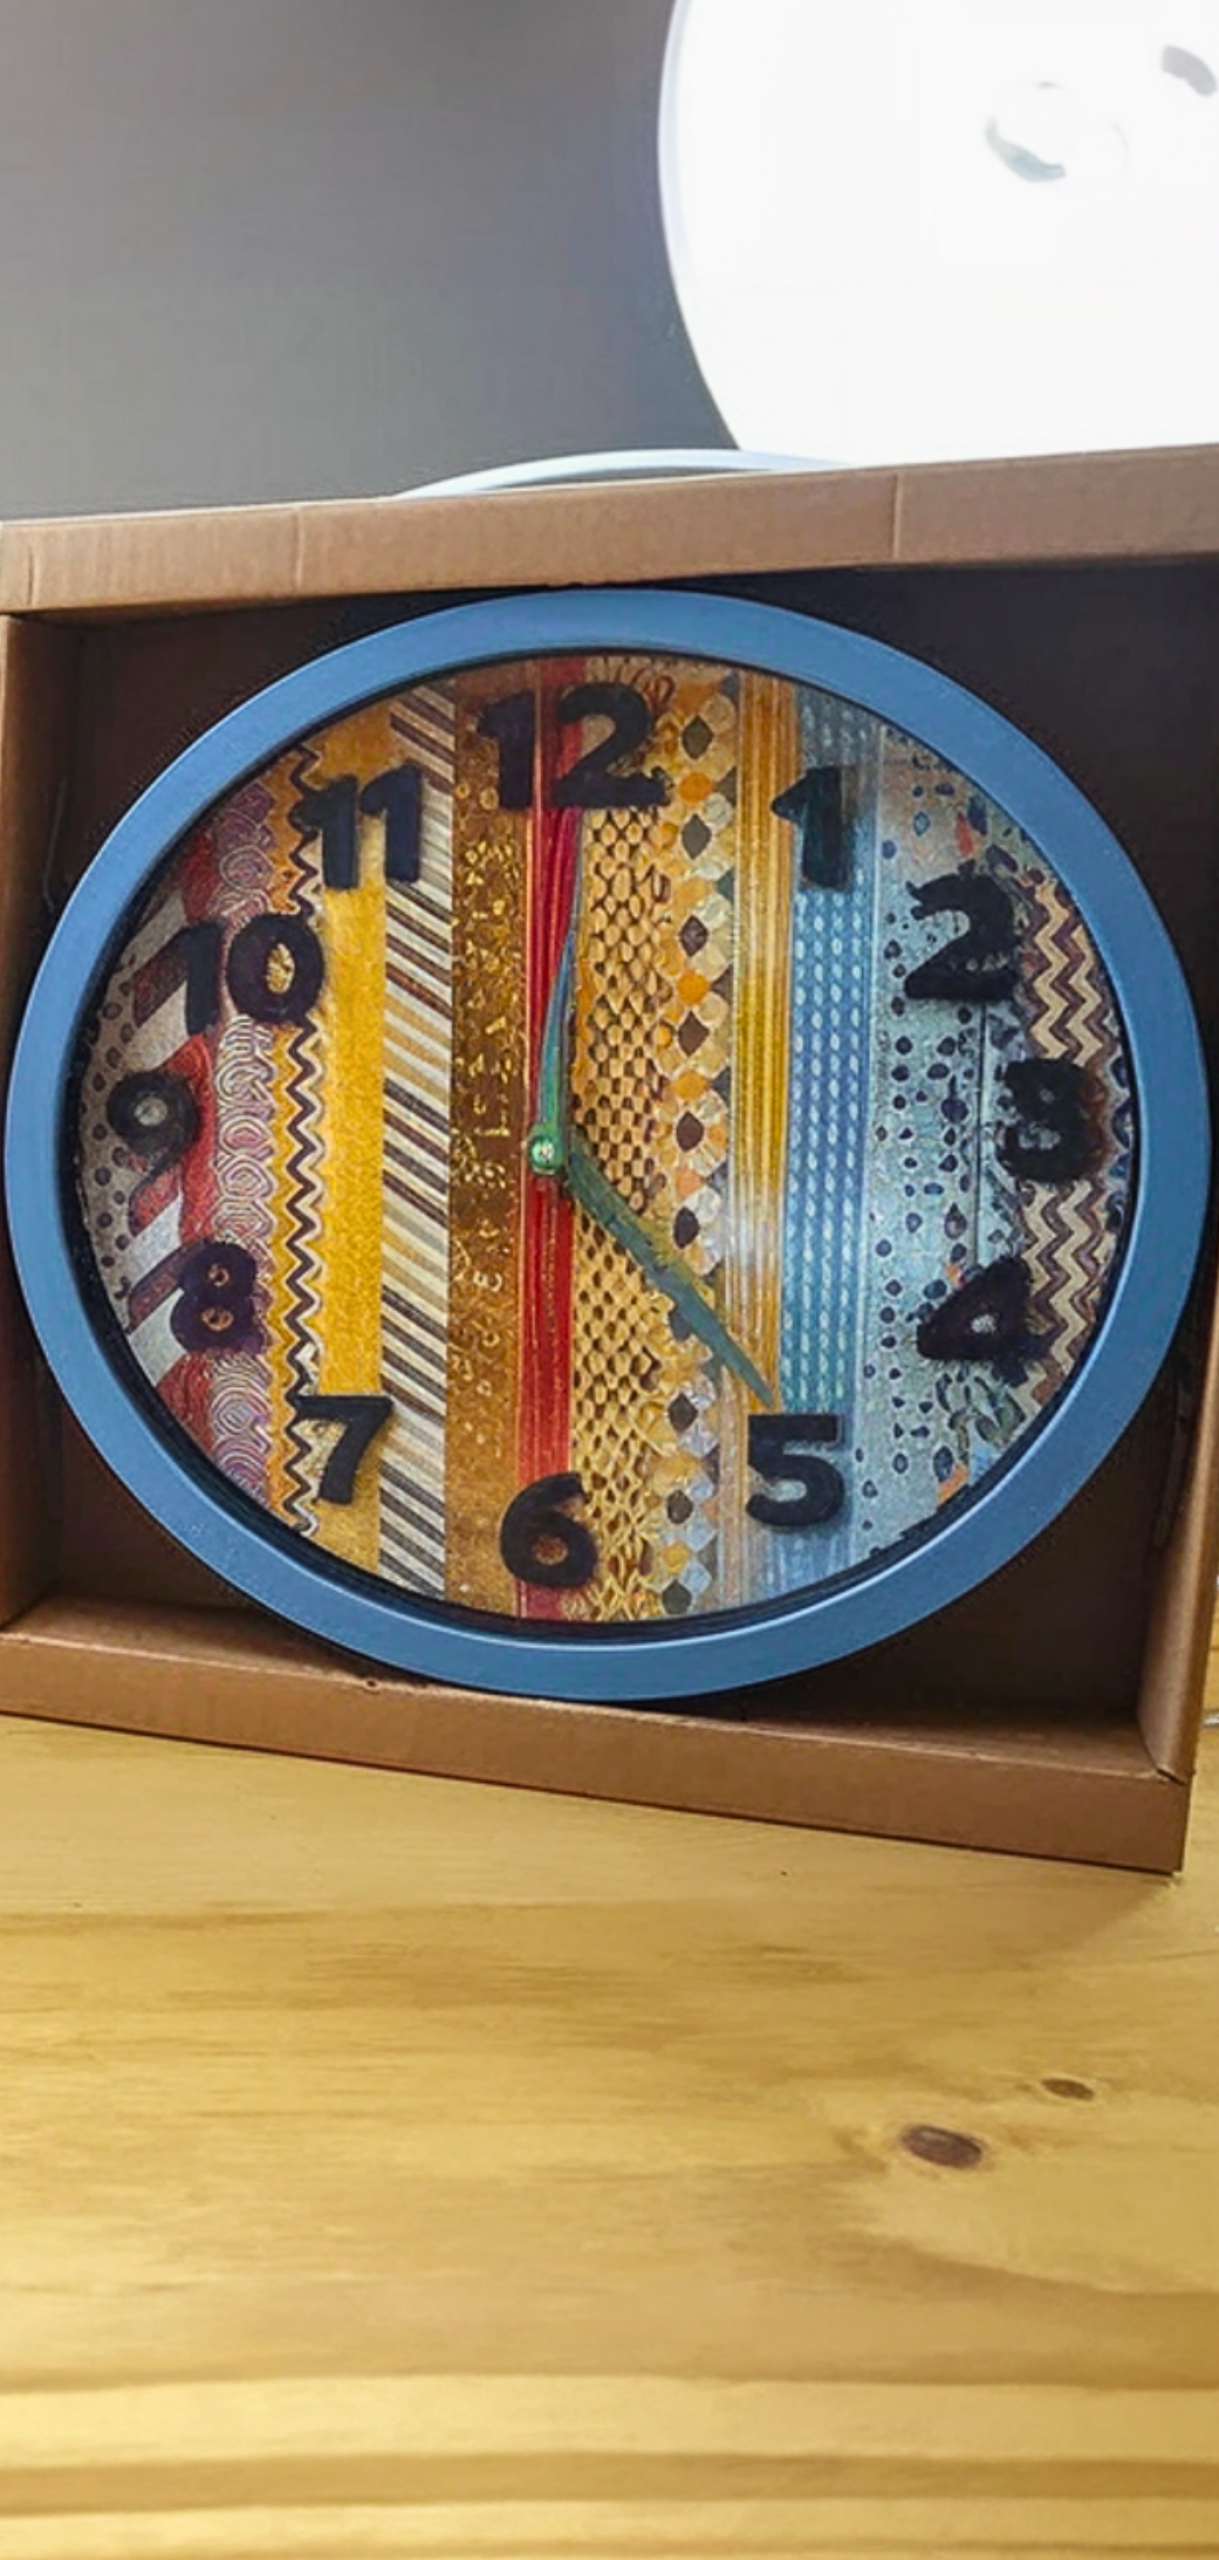
That’s when I realized a bold upcycled clock could be the perfect centerpiece. The only problem? I didn’t have anything remotely stylish on hand. Just a basic, flat-faced clock tucked away in a drawer… and a whole lot of washi tape waiting to be used.

Armed with my First Edition Textured Card Stock, Dovecraft Washi Tapes, and Simply Creative Foam Alphabet Stickers, I got to work. I used the Needcraft Clock Making Kit as the foundation, and from there, the possibilities were endless.
After covering the face with plain cardstock to give the washi tape a smooth surface to stick to, I used a compass and pencil to mark the center for the clock mechanism.
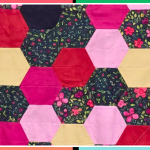
Then I moved to the fun part, designing the clock face. I played with different patterns and landed on vertical stripes for a colorful finish that matches my room. Thanks to the washi tape, it was easy to create crisp lines. My recycled clock was changed quickly thanks to a little tape that made sure everything stayed in place.
Now, sitting proudly above my cube storage unit with my kids, my upcycled clock adds a nice vibe to my room. This DIY project shows how a basic clock can be transformed into something genuinely unique with a few crafting tools and a little creativity.
What You Will Need
- First Edition Textured Card Stock
- Dovecraft Washi Tapes
- Simply Creative Black Foam Alphabet Stickers
- A Clock (we used a basic model from Argos, but any flat-faced clock works)
- Compass
- Scissors or craft knife
- Pencil
- Double-sided tape or glue (optional, for extra hold)
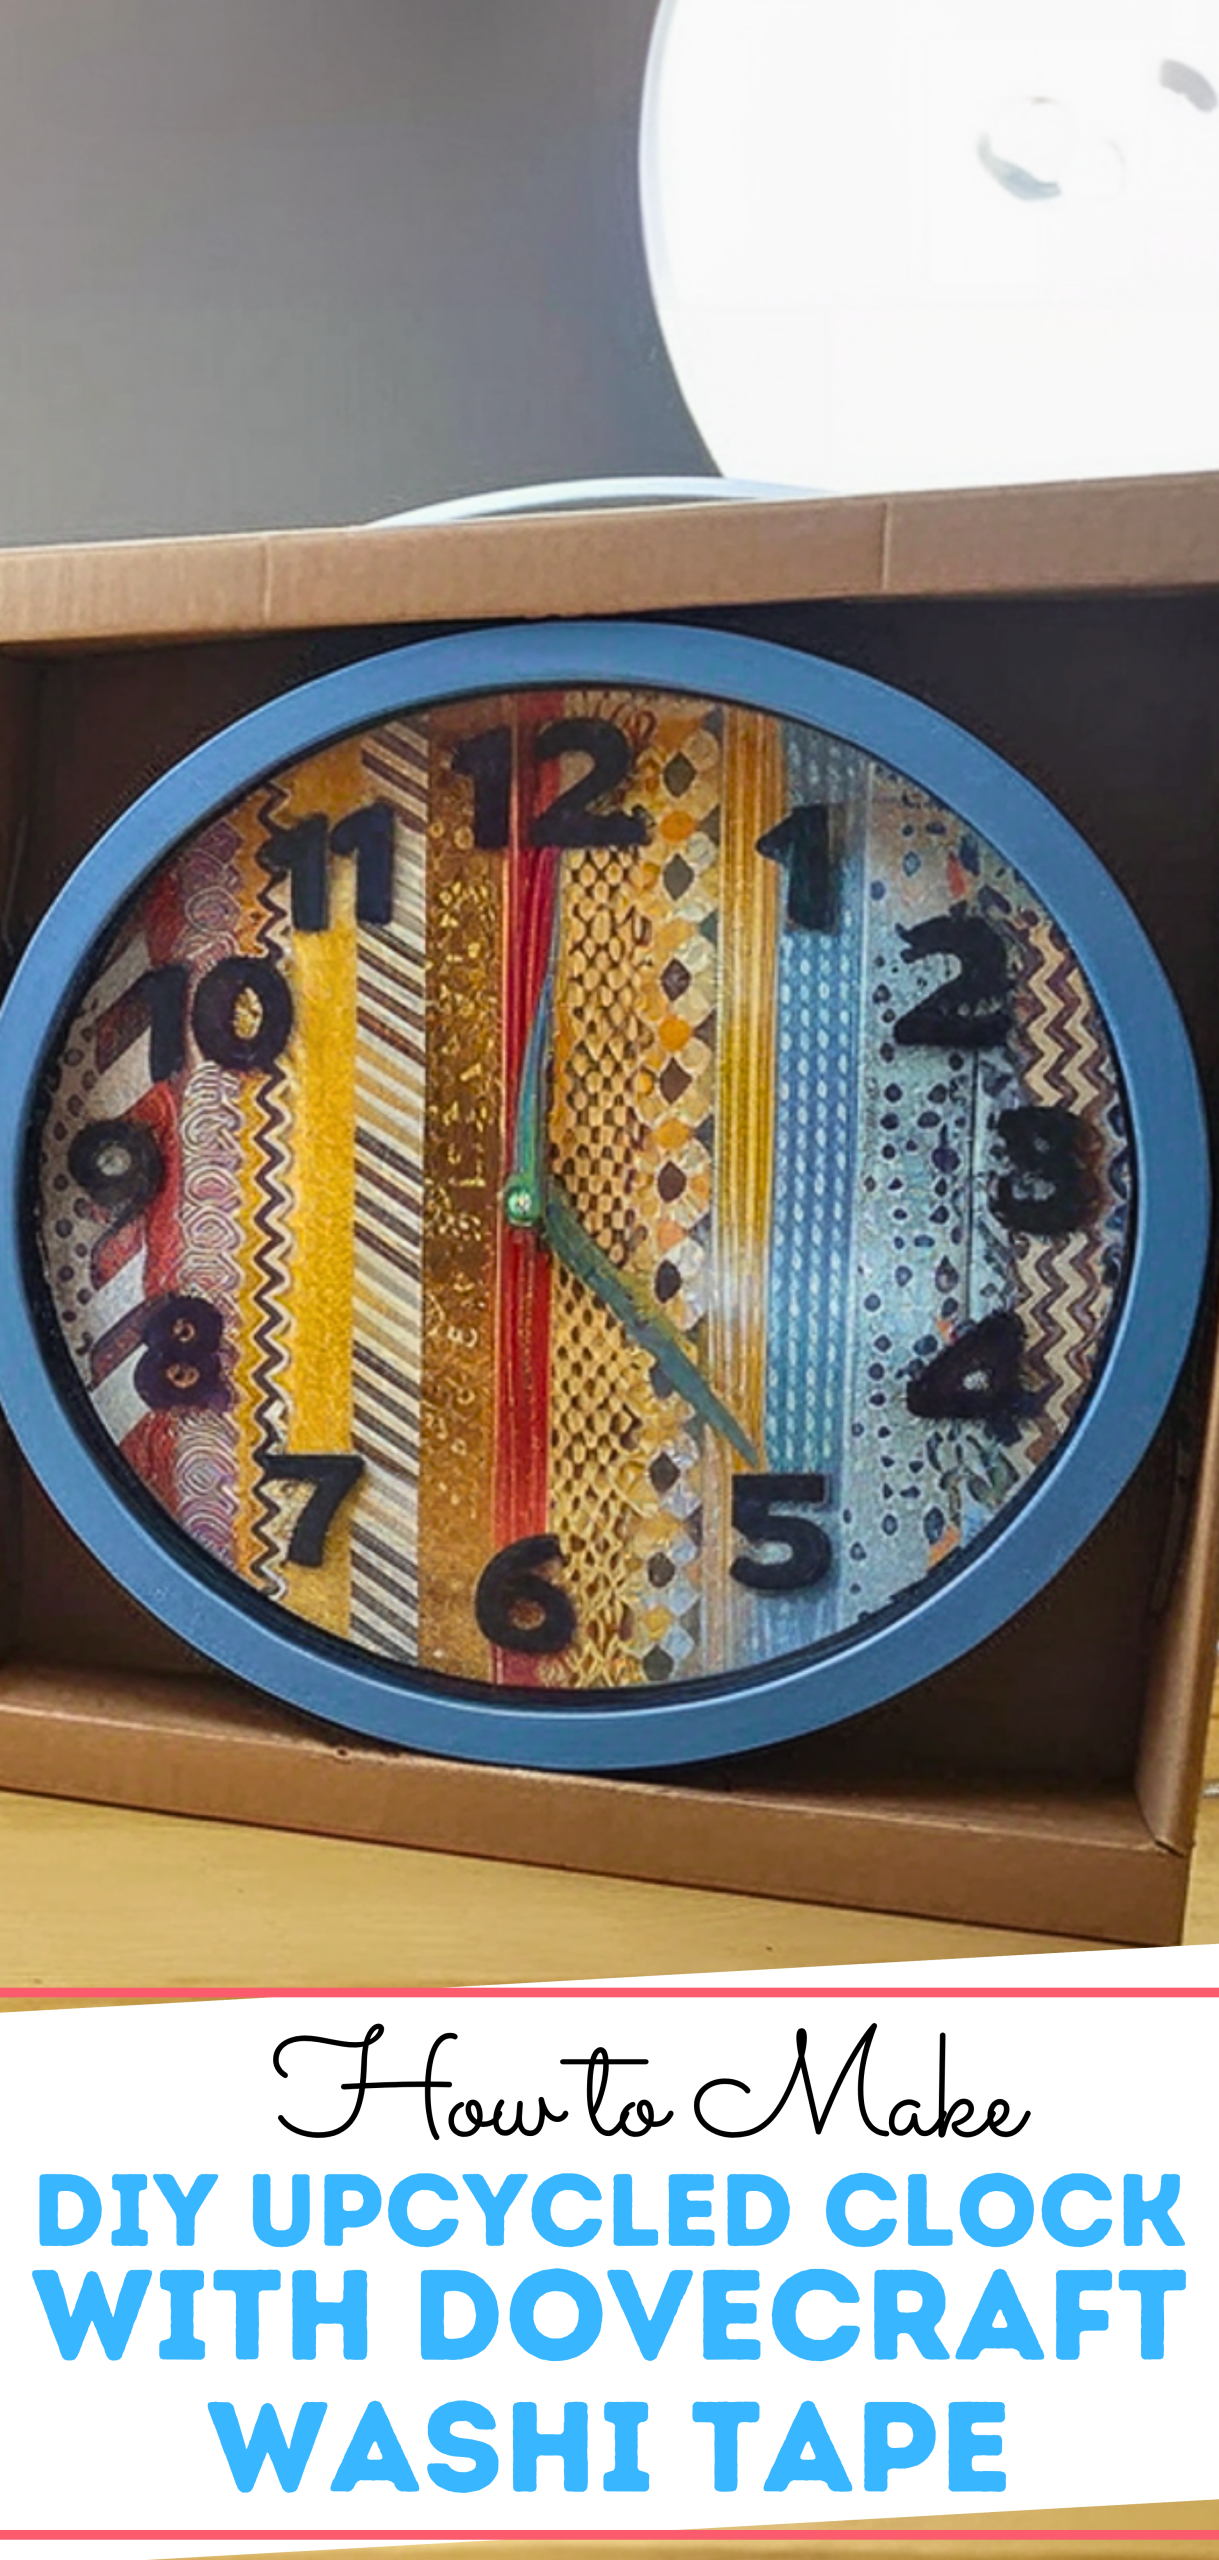
how to make Upcycled Clock with Dovecraft Washi Tape
Step 1: Measure and Cut Your Background
Remove the faceplate or glass cover of your clock (if applicable). Use a compass to measure the width of the clock’s face. Then, on the First Edition Textured Card Stock, draw a circle using this measurement. Carefully cut it out; this will serve as the decorative background for your new clock face.
Tip: Choose a cardstock color that complements your washi tape designs.
Step 2: Apply the Washi Tape
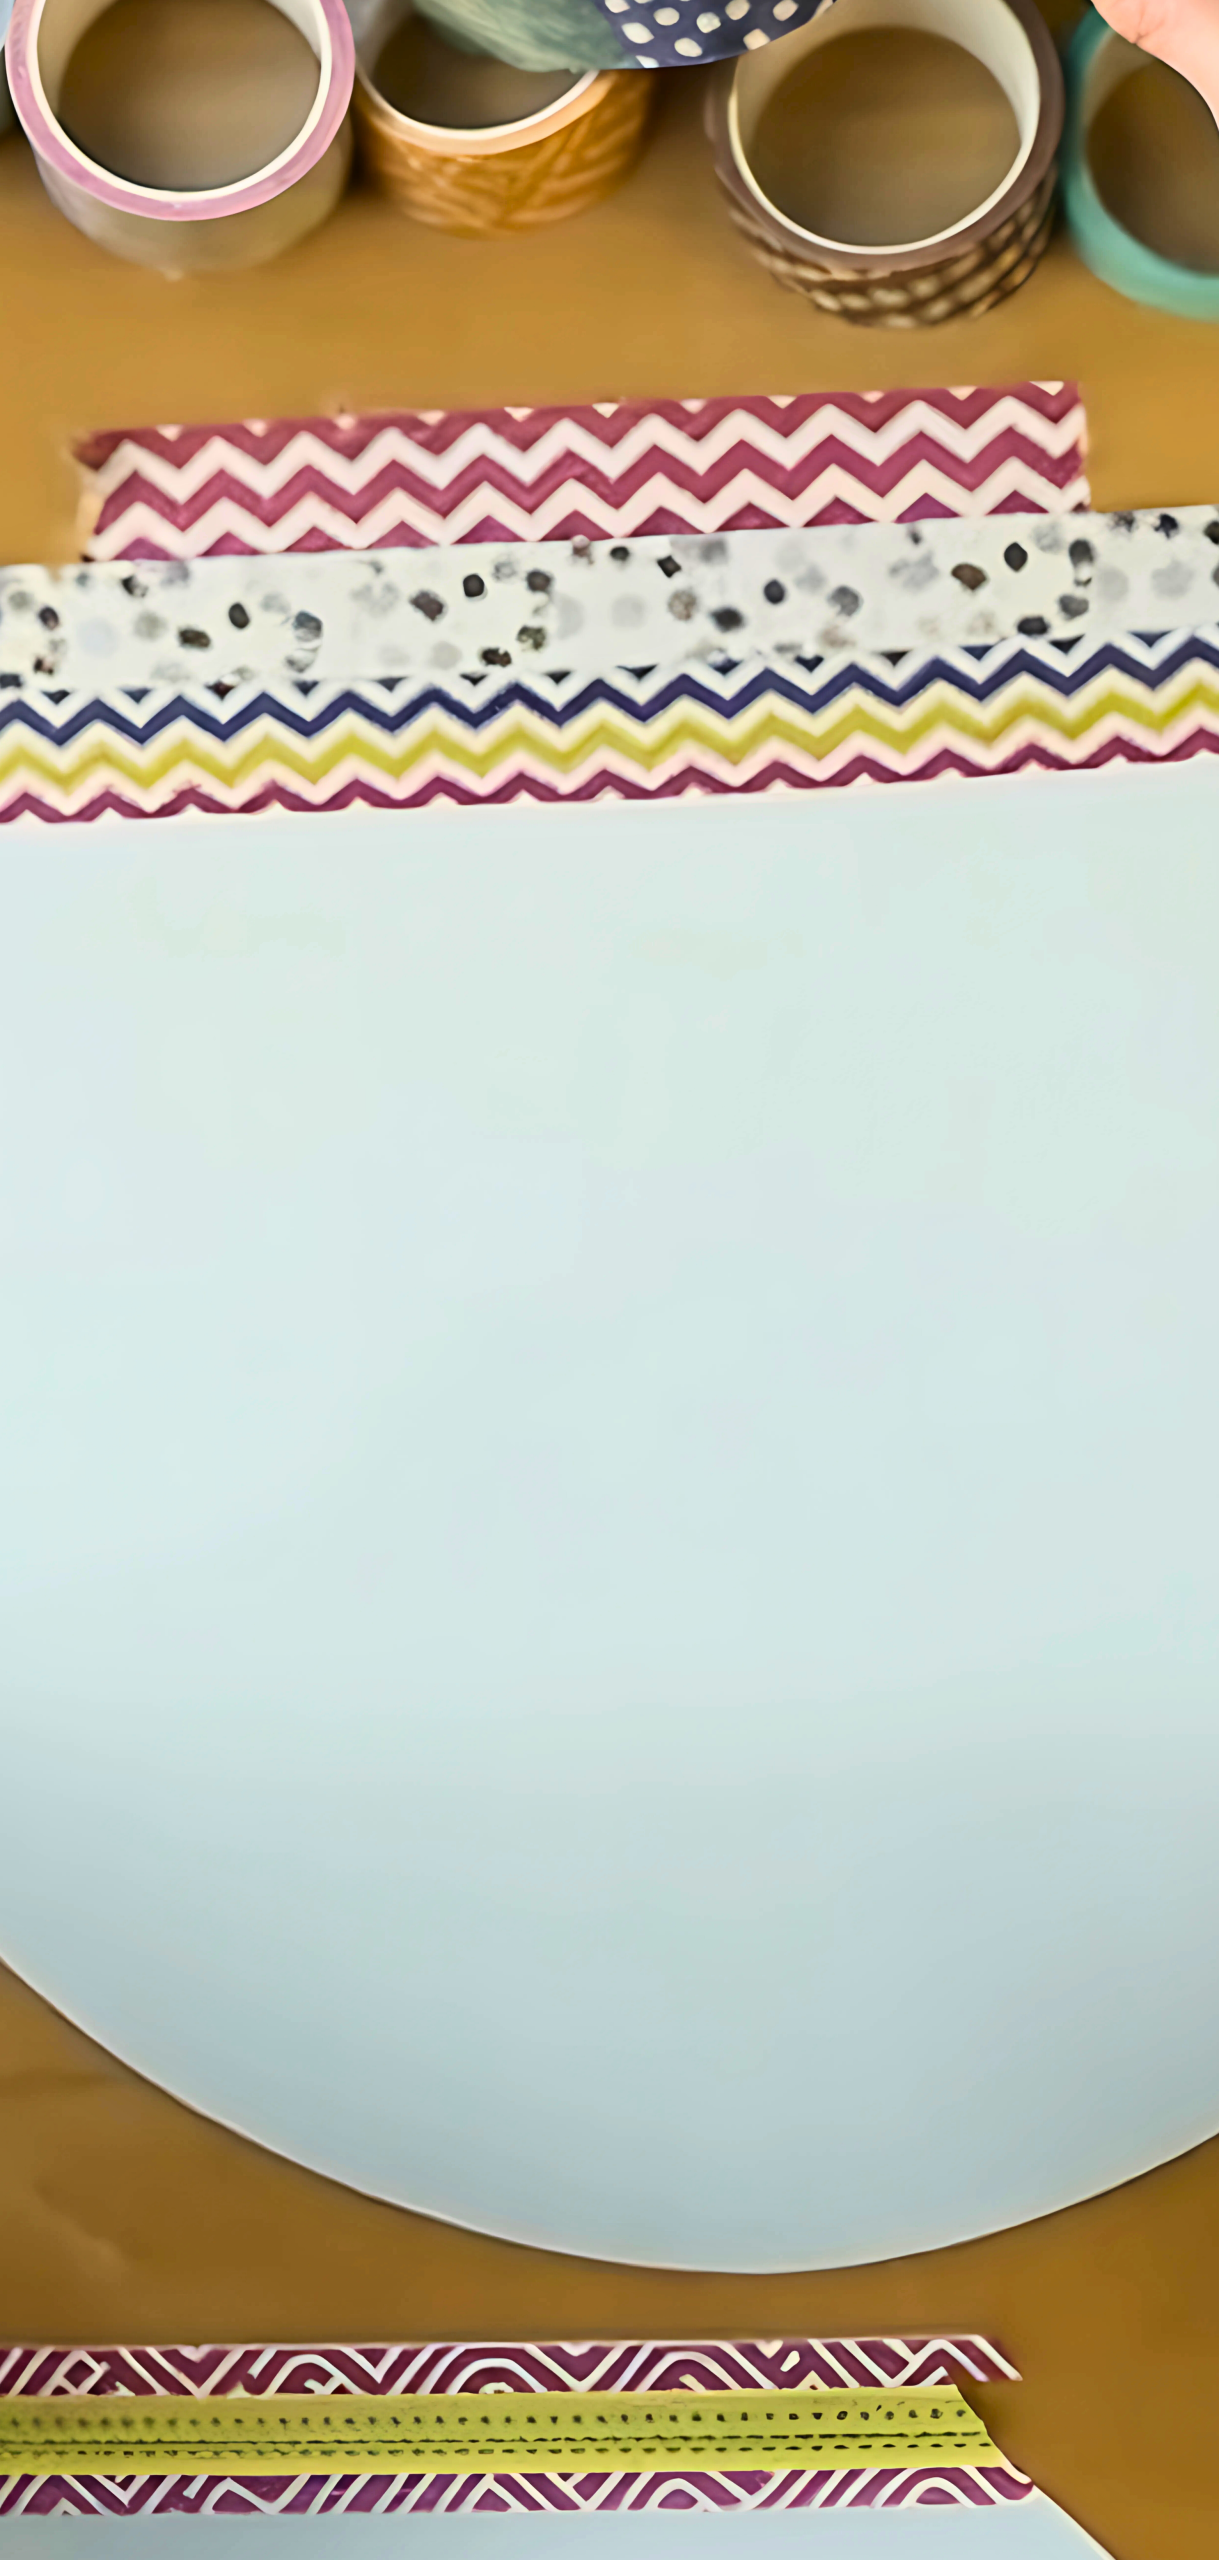
Start decorating your circle by sticking strips of Dovecraft Washi Tape across the cardstock. You can go horizontally, vertically, or diagonally or create a unique pattern by alternating directions and spacing. This is your chance to play with textures, colors, and shapes.
Design Tip: Overlap some tape edges for dimension or leave small gaps for a subtle grid effect.
Step 3: Trim the Excess

Once your circle is fully covered in washi tape, turn it over and use scissors or a craft knife to trim the excess tape around the edges. Make sure your circle remains clean and neat, this will make the final clock look polished and professional.
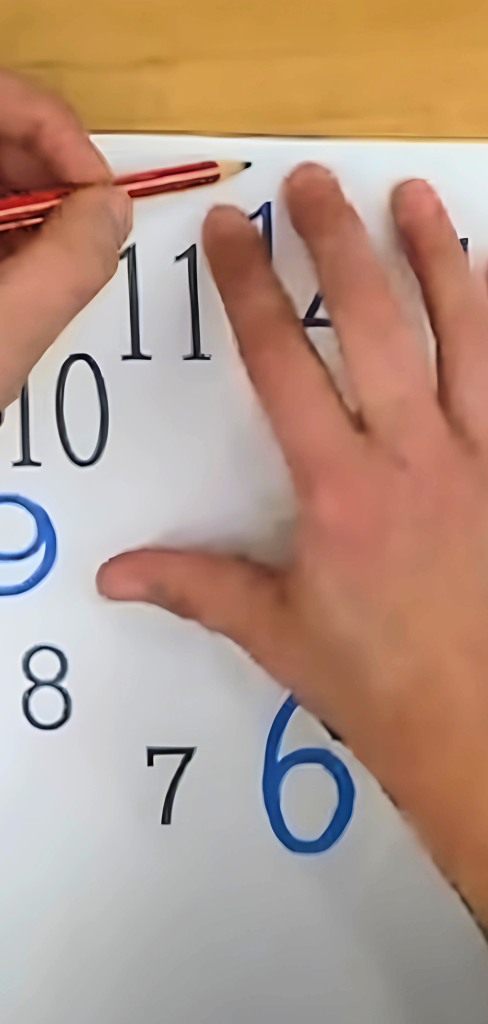
Step 4: Customize with Numbers or Letters
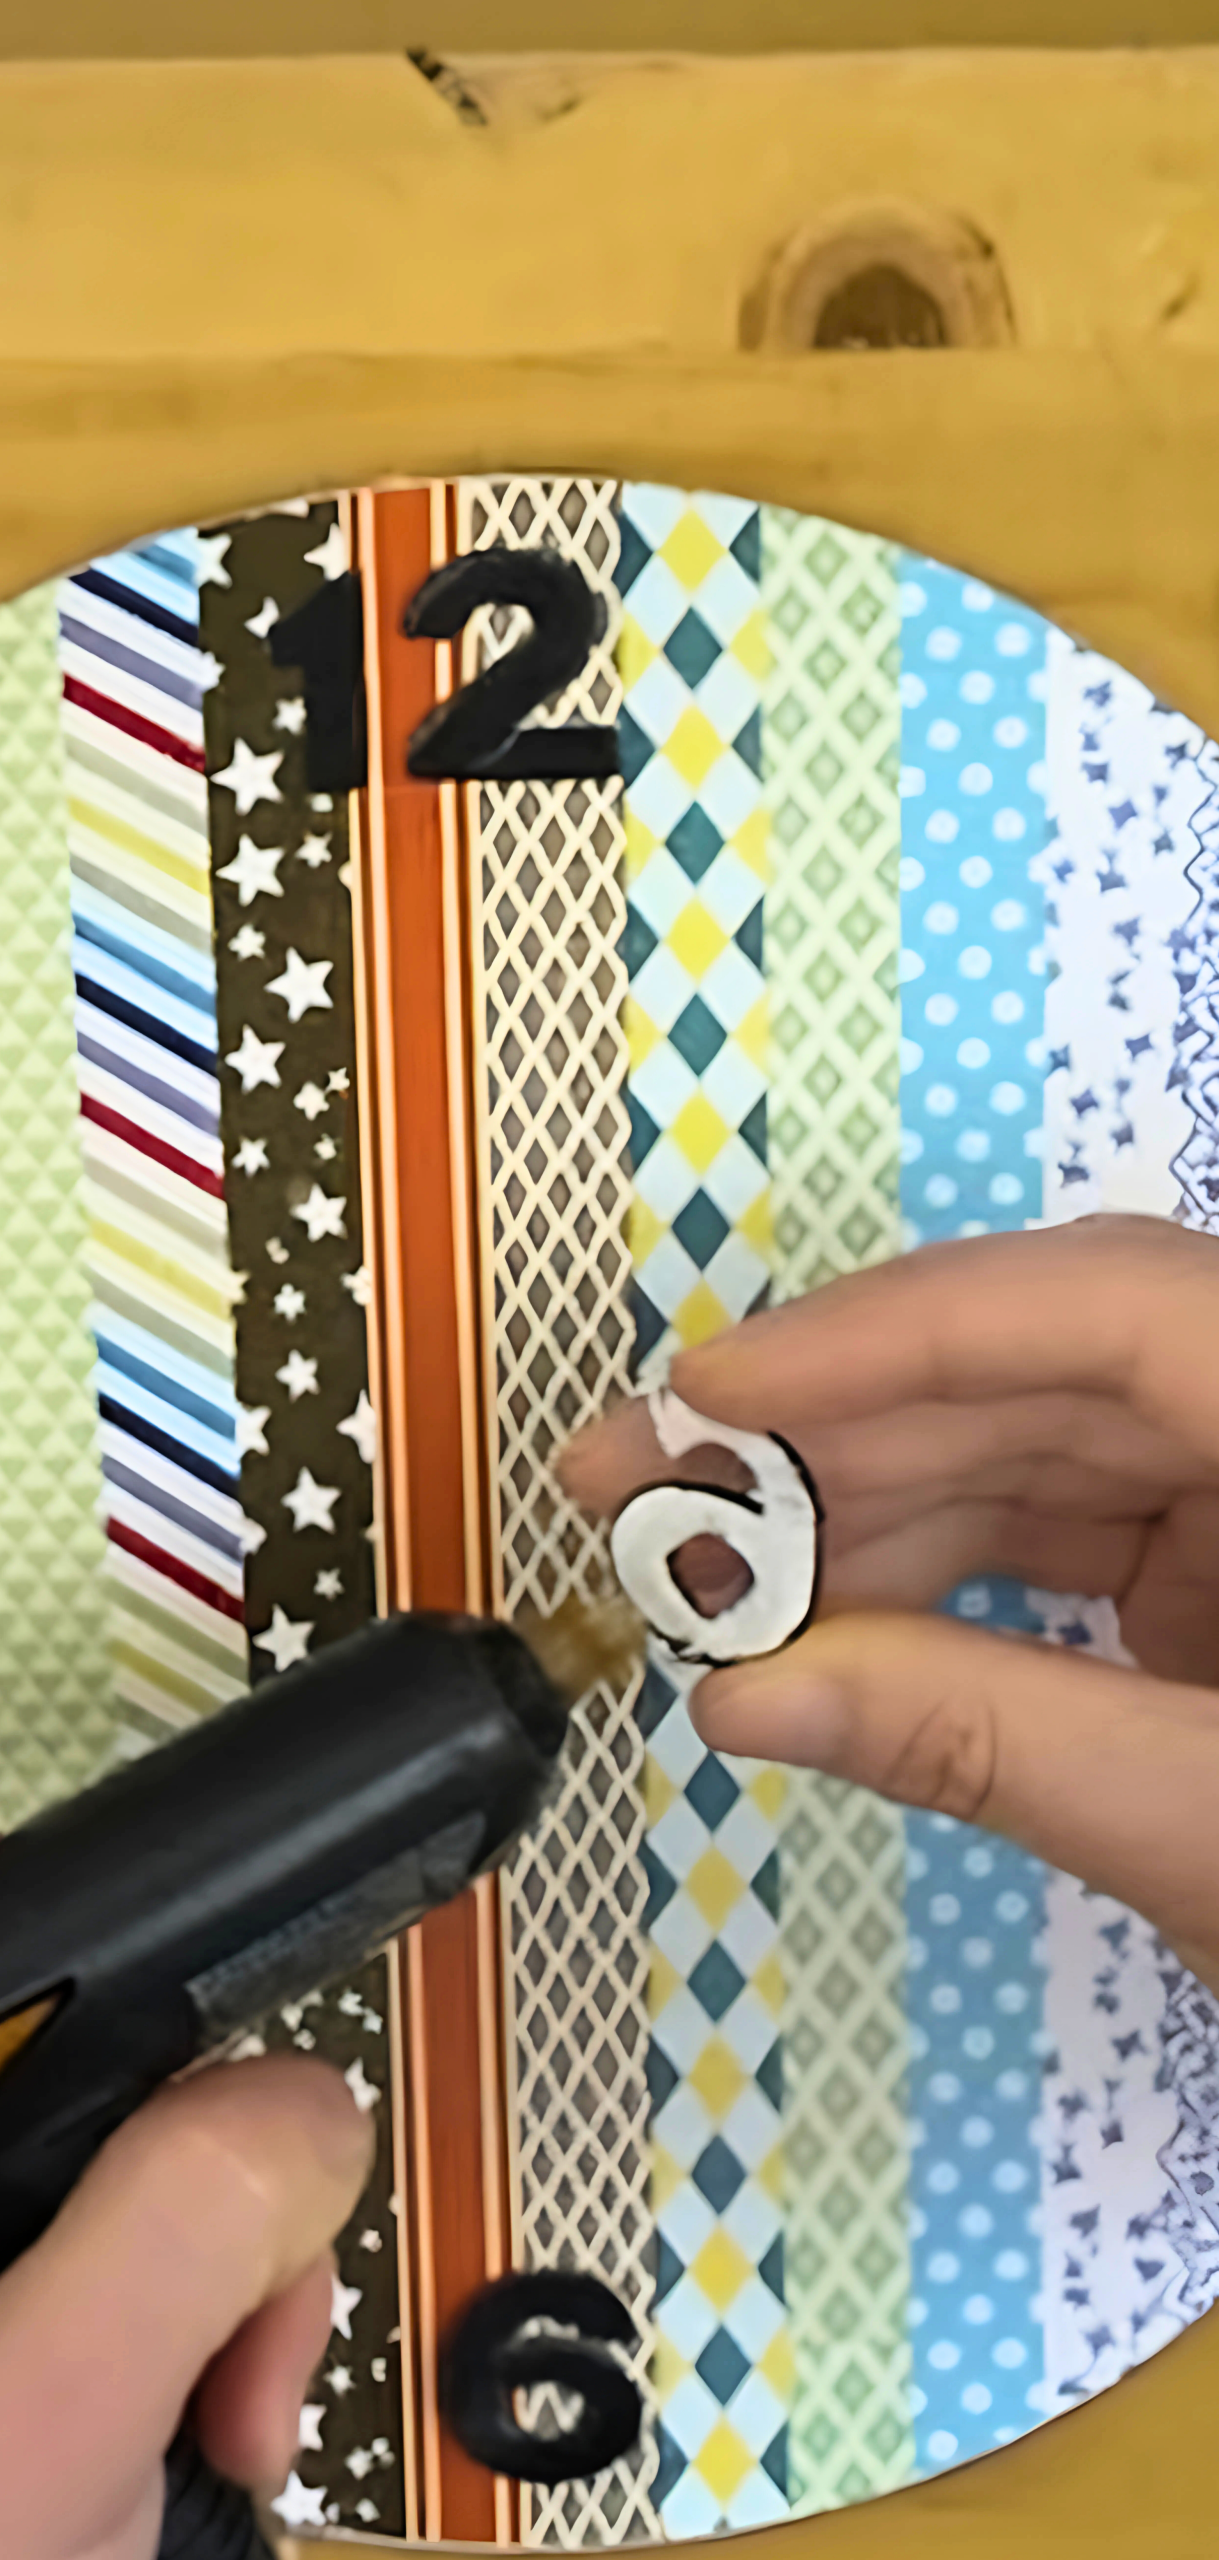
Using Simply Creative Black Foam Alphabet Stickers, label your clock. You can stick with traditional numbers (1–12), spell out fun words like “CREATE” or “TIME FLIES”, or go minimalist with just the 12, 3, 6, and 9 positions.
Step 5: Assemble Your Upcycled Clock
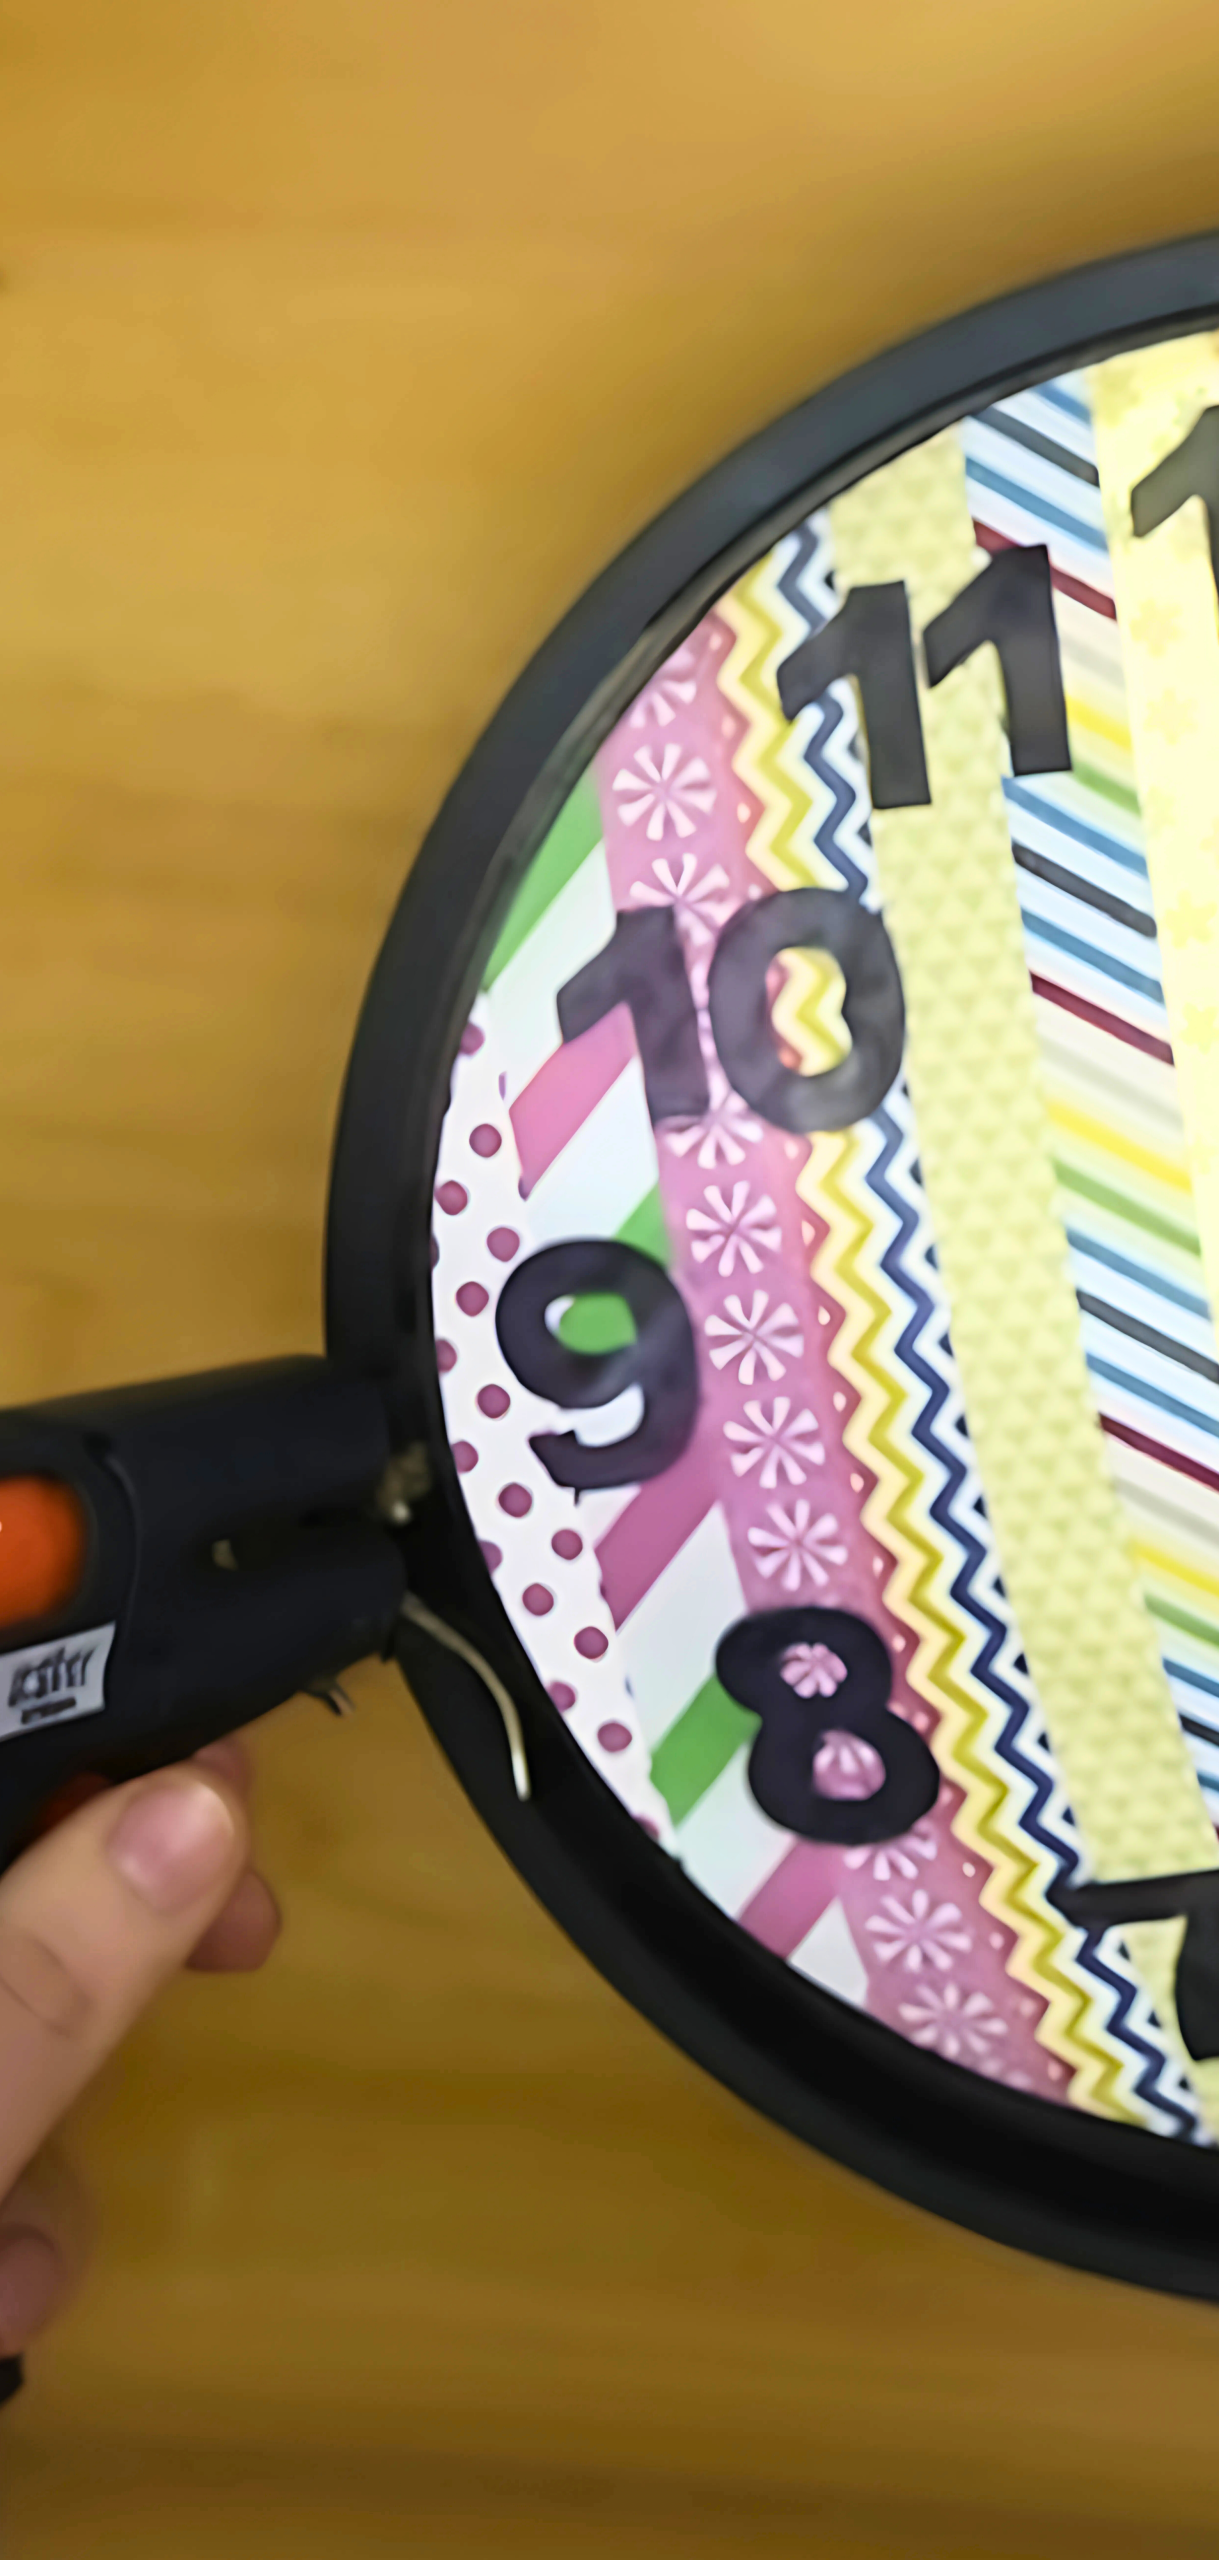
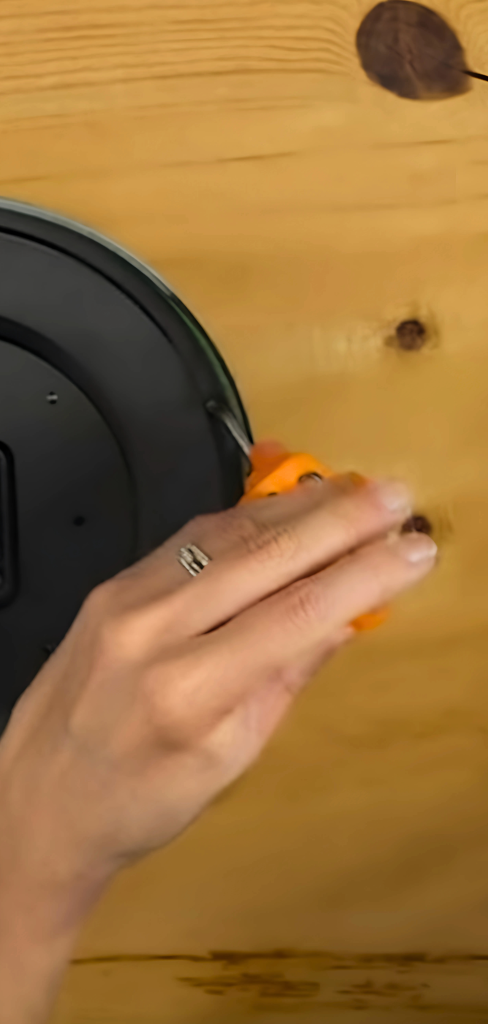
Carefully cut a small hole in the center of your cardstock circle for the upcycled clock hands to fit through. Place the decorated circle onto the clock face, aligning the center hole with the clock mechanism. Reattach the clock hands and battery cover.
Optional: Secure the cardstock with a few pieces of double-sided tape or glue to prevent movement.
Step 6: Display Your New Upcycled Clock
Put the clock back together and hang it proudly on your wall. Your DIY upcycled clock is now a one-of-a-kind décor piece that’s both functional and fashionable!
Upcycled Clock Pro Tips
- Match Your Room’s Palette: Choose washi tape colors that complement your room for a coordinated look.
- Seasonal Theme: Try holiday patterns or color schemes to make a clock for each season.
- For Kids’ Rooms: Let them choose the washi tape and add their name or favorite phrase with foam letters.
- Go Minimalist: Use a monochrome washi palette and keep the numbers subtle for a modern look.
FAQs
What type of clock works best for this project?
Flat-faced clocks with removable covers are ideal.
Can I use regular paper instead of textured cardstock?
You can, but First Edition Textured Card Stock adds more durability.
What if I don’t have a compass?
Use the existing clock face as a template by tracing it onto your cardstock.
Will the washi tape peel over time?
Washi tape holds well.
Can I change the design later?
Yes, just peel off the cardstock layer.
Conclusion
This DIY upcycled clock with Dovecraft washi tape project is a fun way to breathe new life into something simple. It’s creative and totally customizable. Plus, it makes for a unique handmade gift or an eye-catching piece of home decor.