Join the fastest growing Craft community on Pinterest!
After adding a farmhouse wood window valance to my living room, I realized the space still didn’t feel quite finished. The wall behind the couch felt flat, and I wanted something to pull everything together.
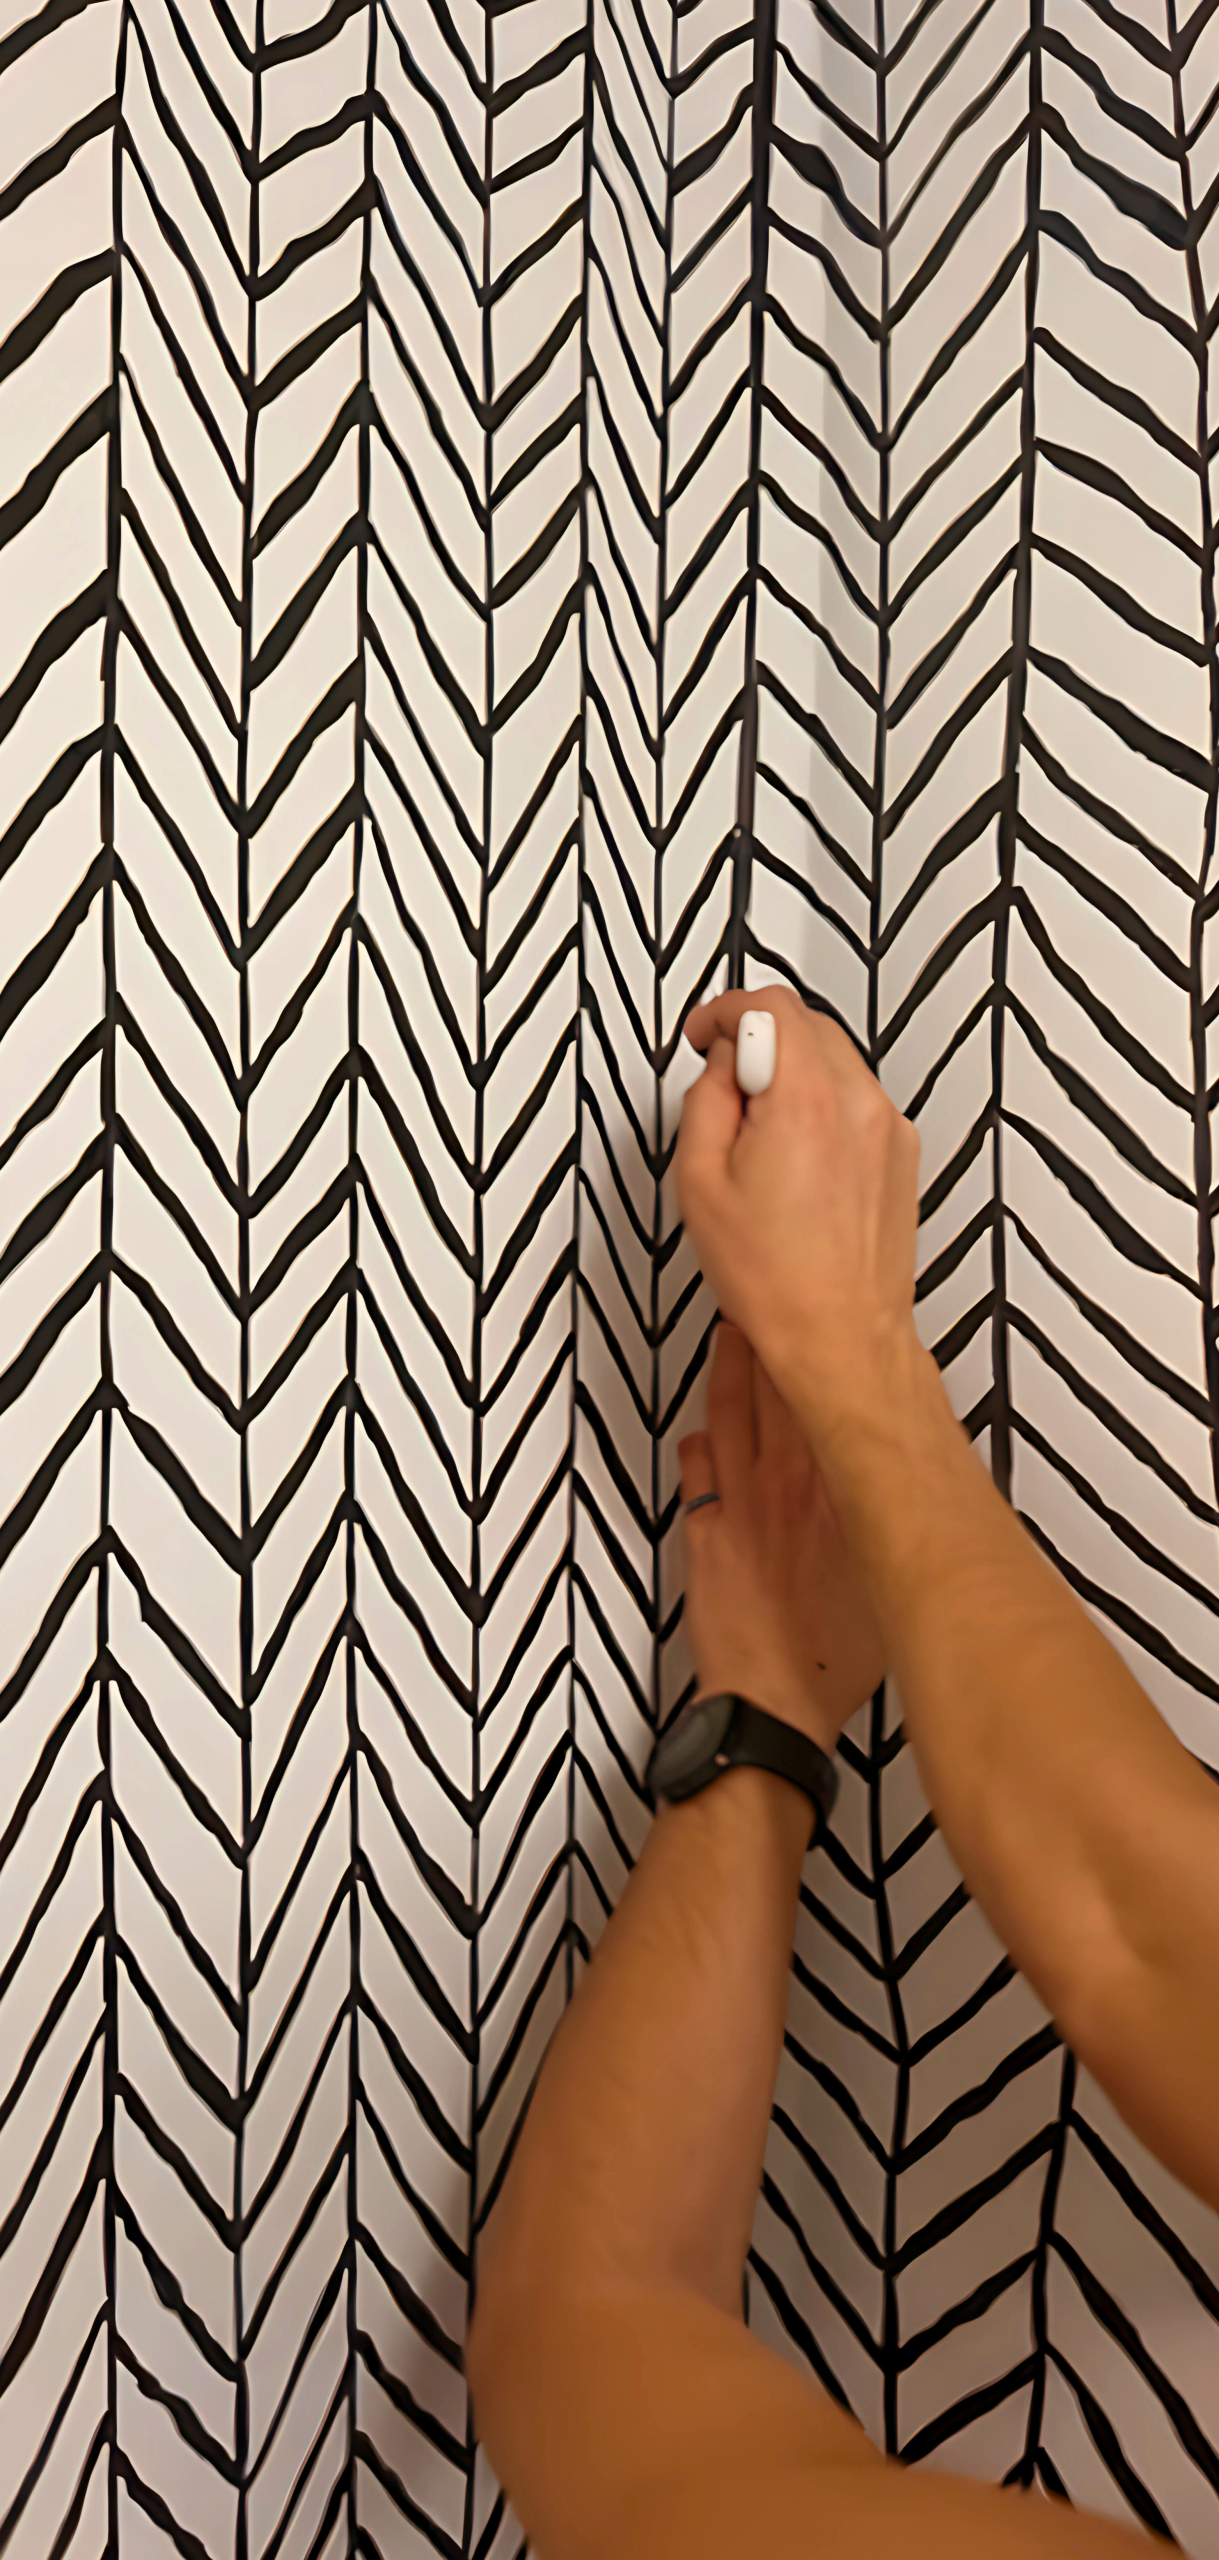
That’s when peel and stick wallpaper came to mind. I chose a simple black and white pattern that complemented the natural wood of the valance, and I was excited to give the room a cozier feel without the mess of paste or permanent changes.
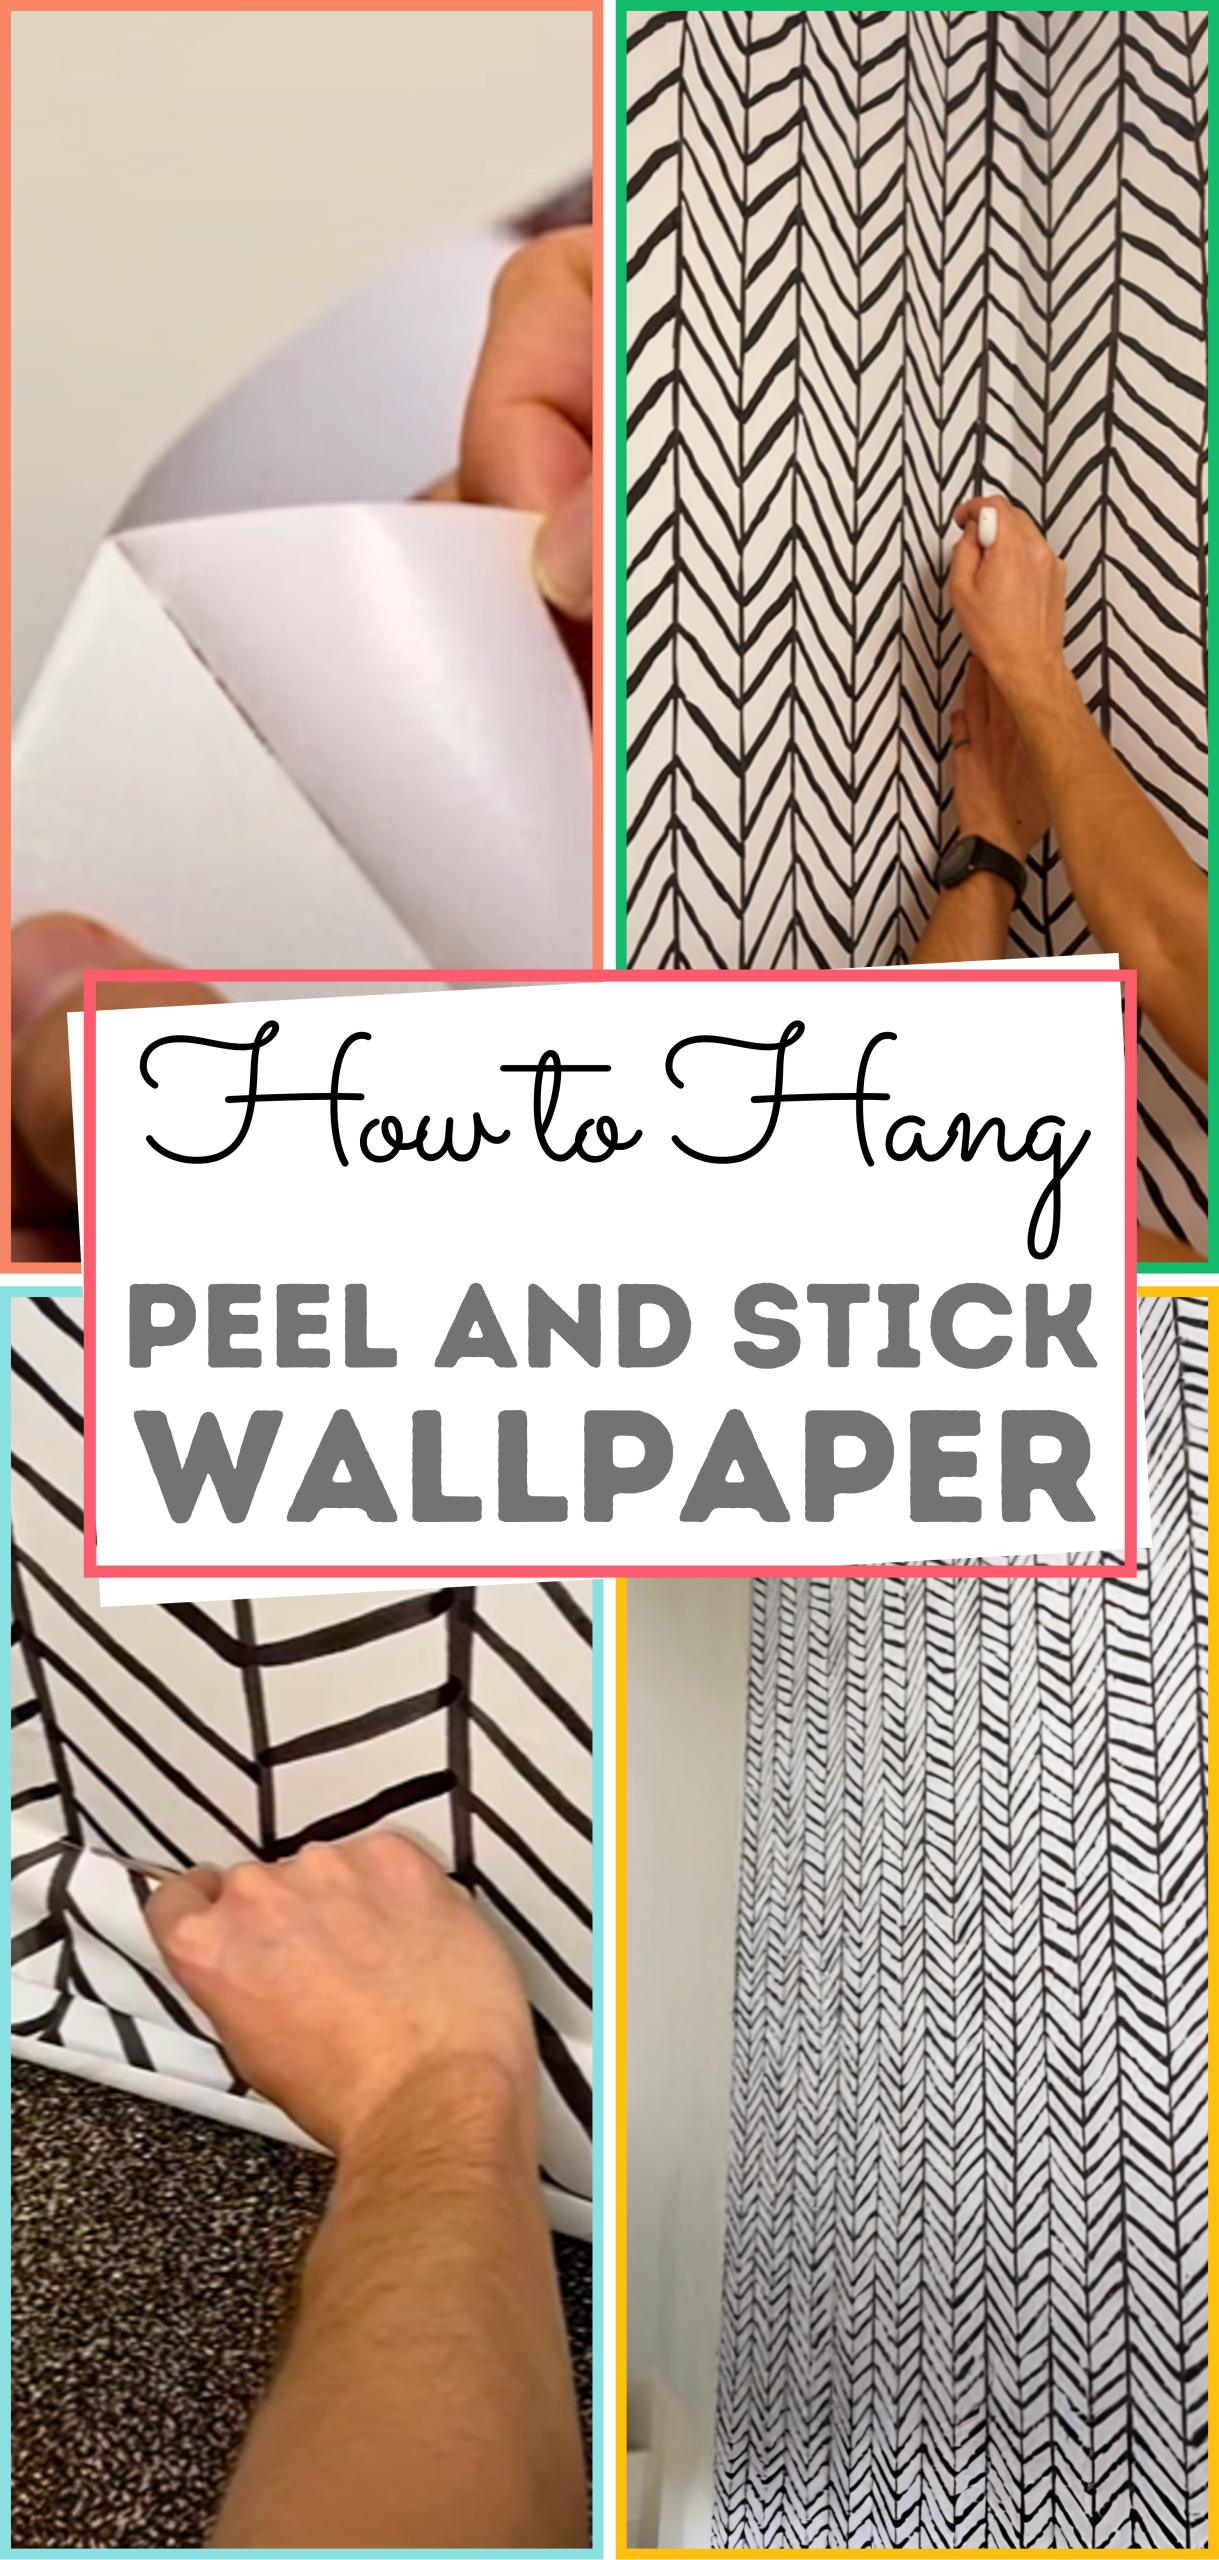
The prep work turned out to be the most important part. I carefully measured my wall and added an extra 10–15% of peel and stick wallpaper to account for mistakes.
Using a level and a pencil, I marked straight guidelines. Then I cleaned the wall with isopropyl alcohol and to make sure the adhesive would stick properly.
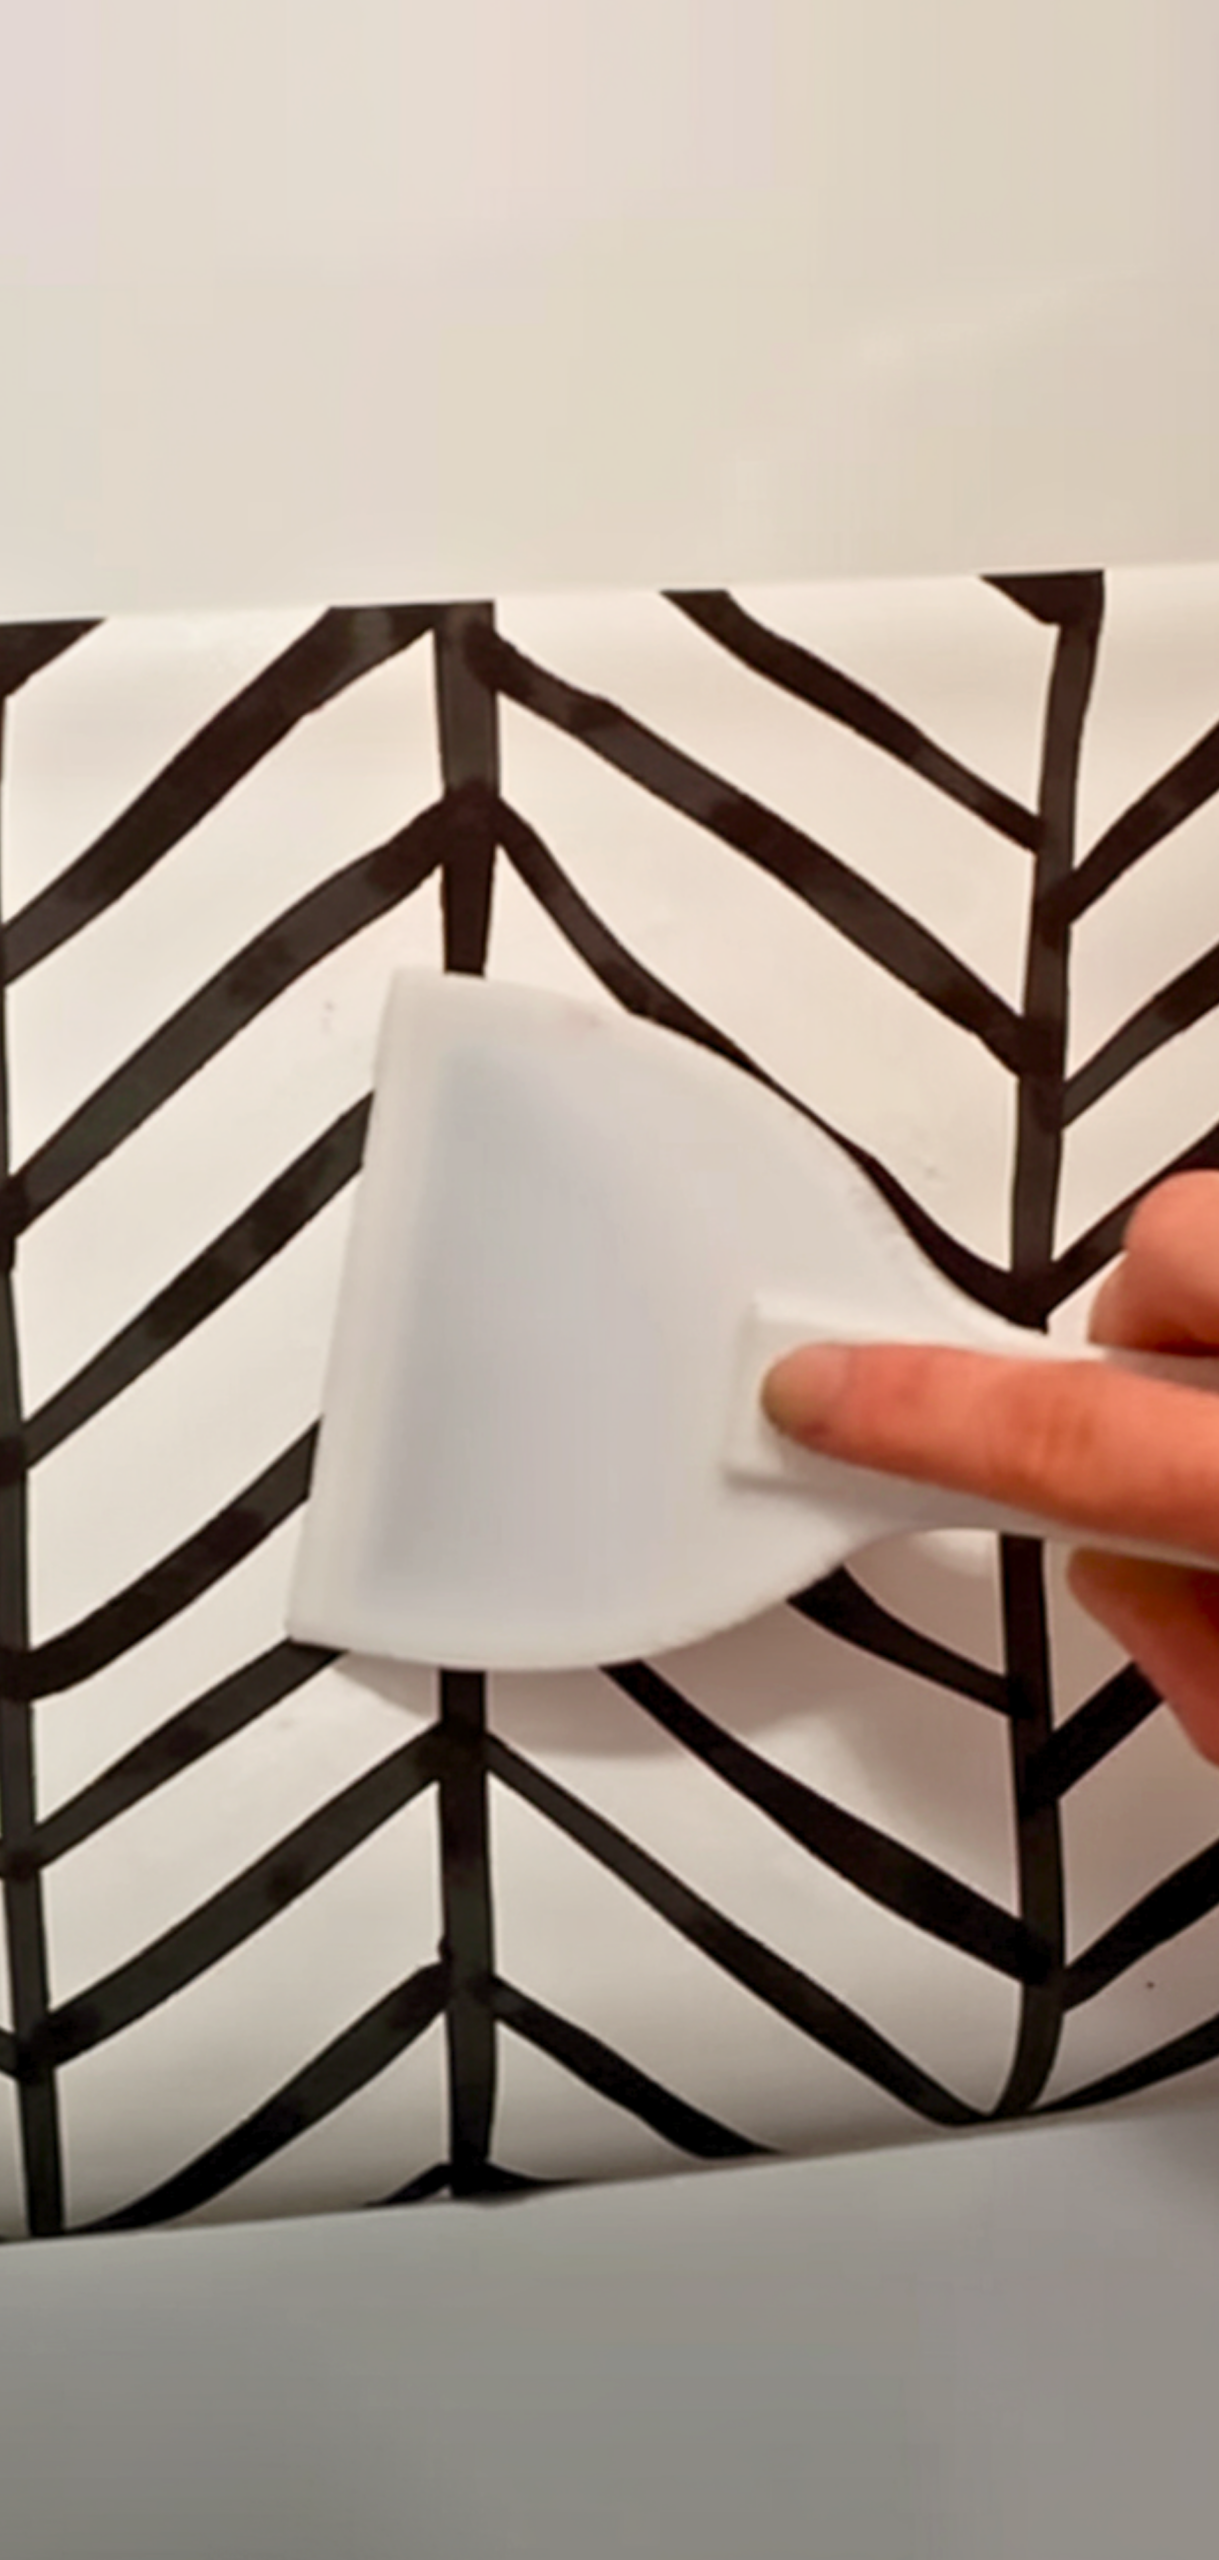
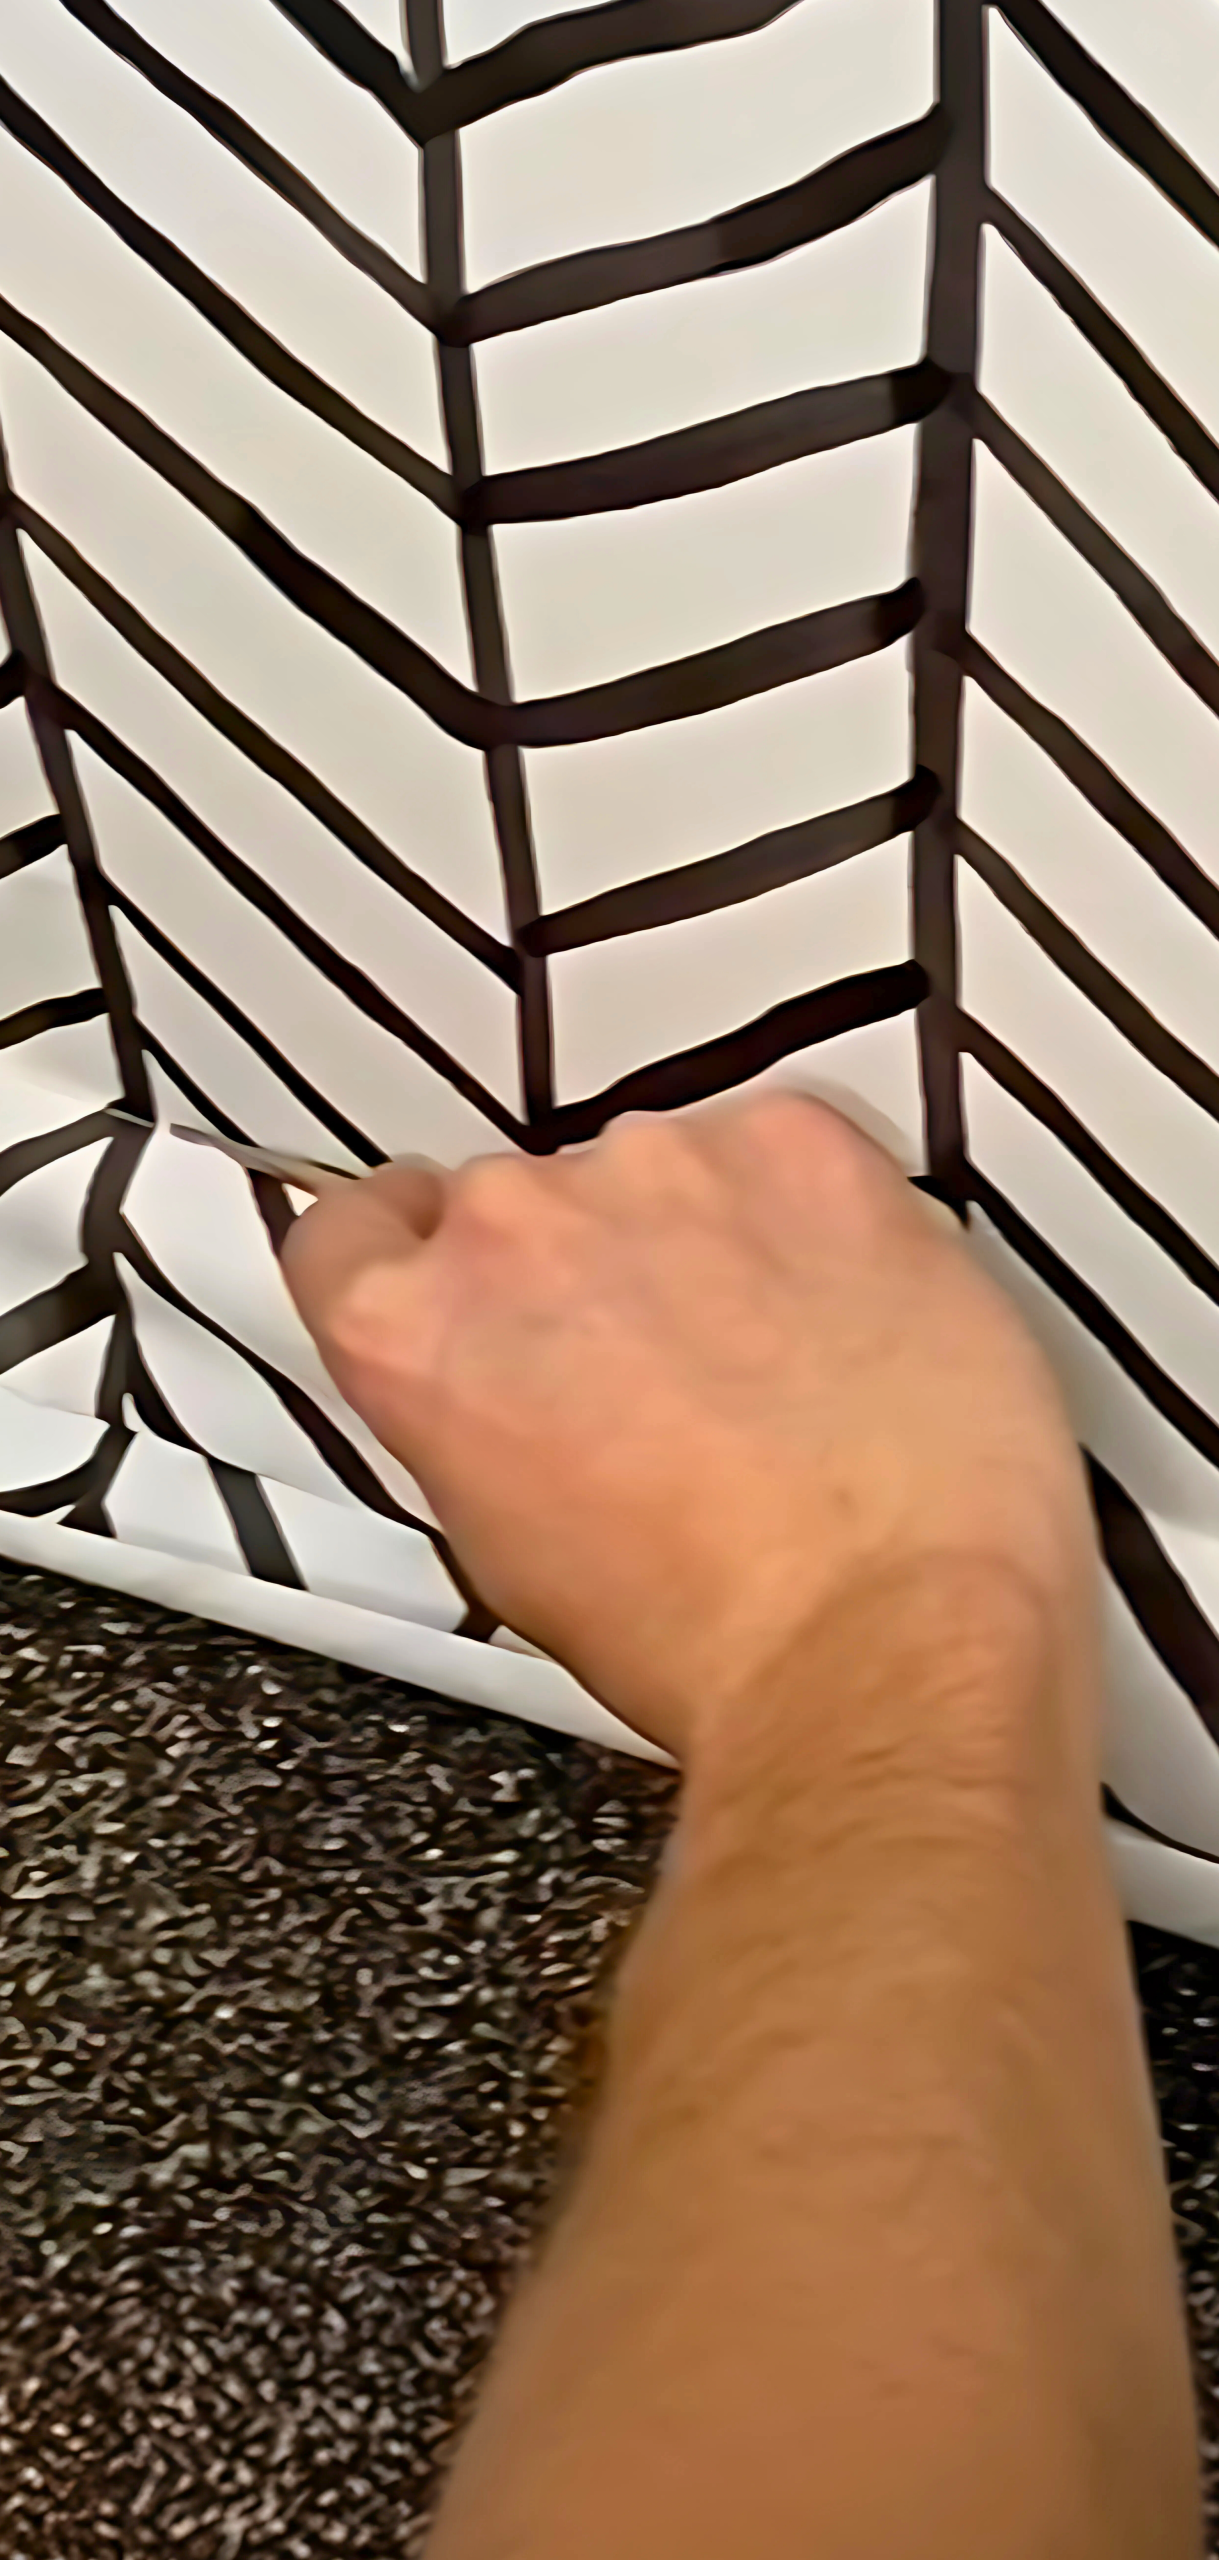
With the help of a plastic smoothing tool (a credit card works too), I slowly peeled back the wallpaper and pressed it down inch by inch. Trimming around outlets and corners with an X-Acto knife and metal ruler made the process feel precise and satisfying.
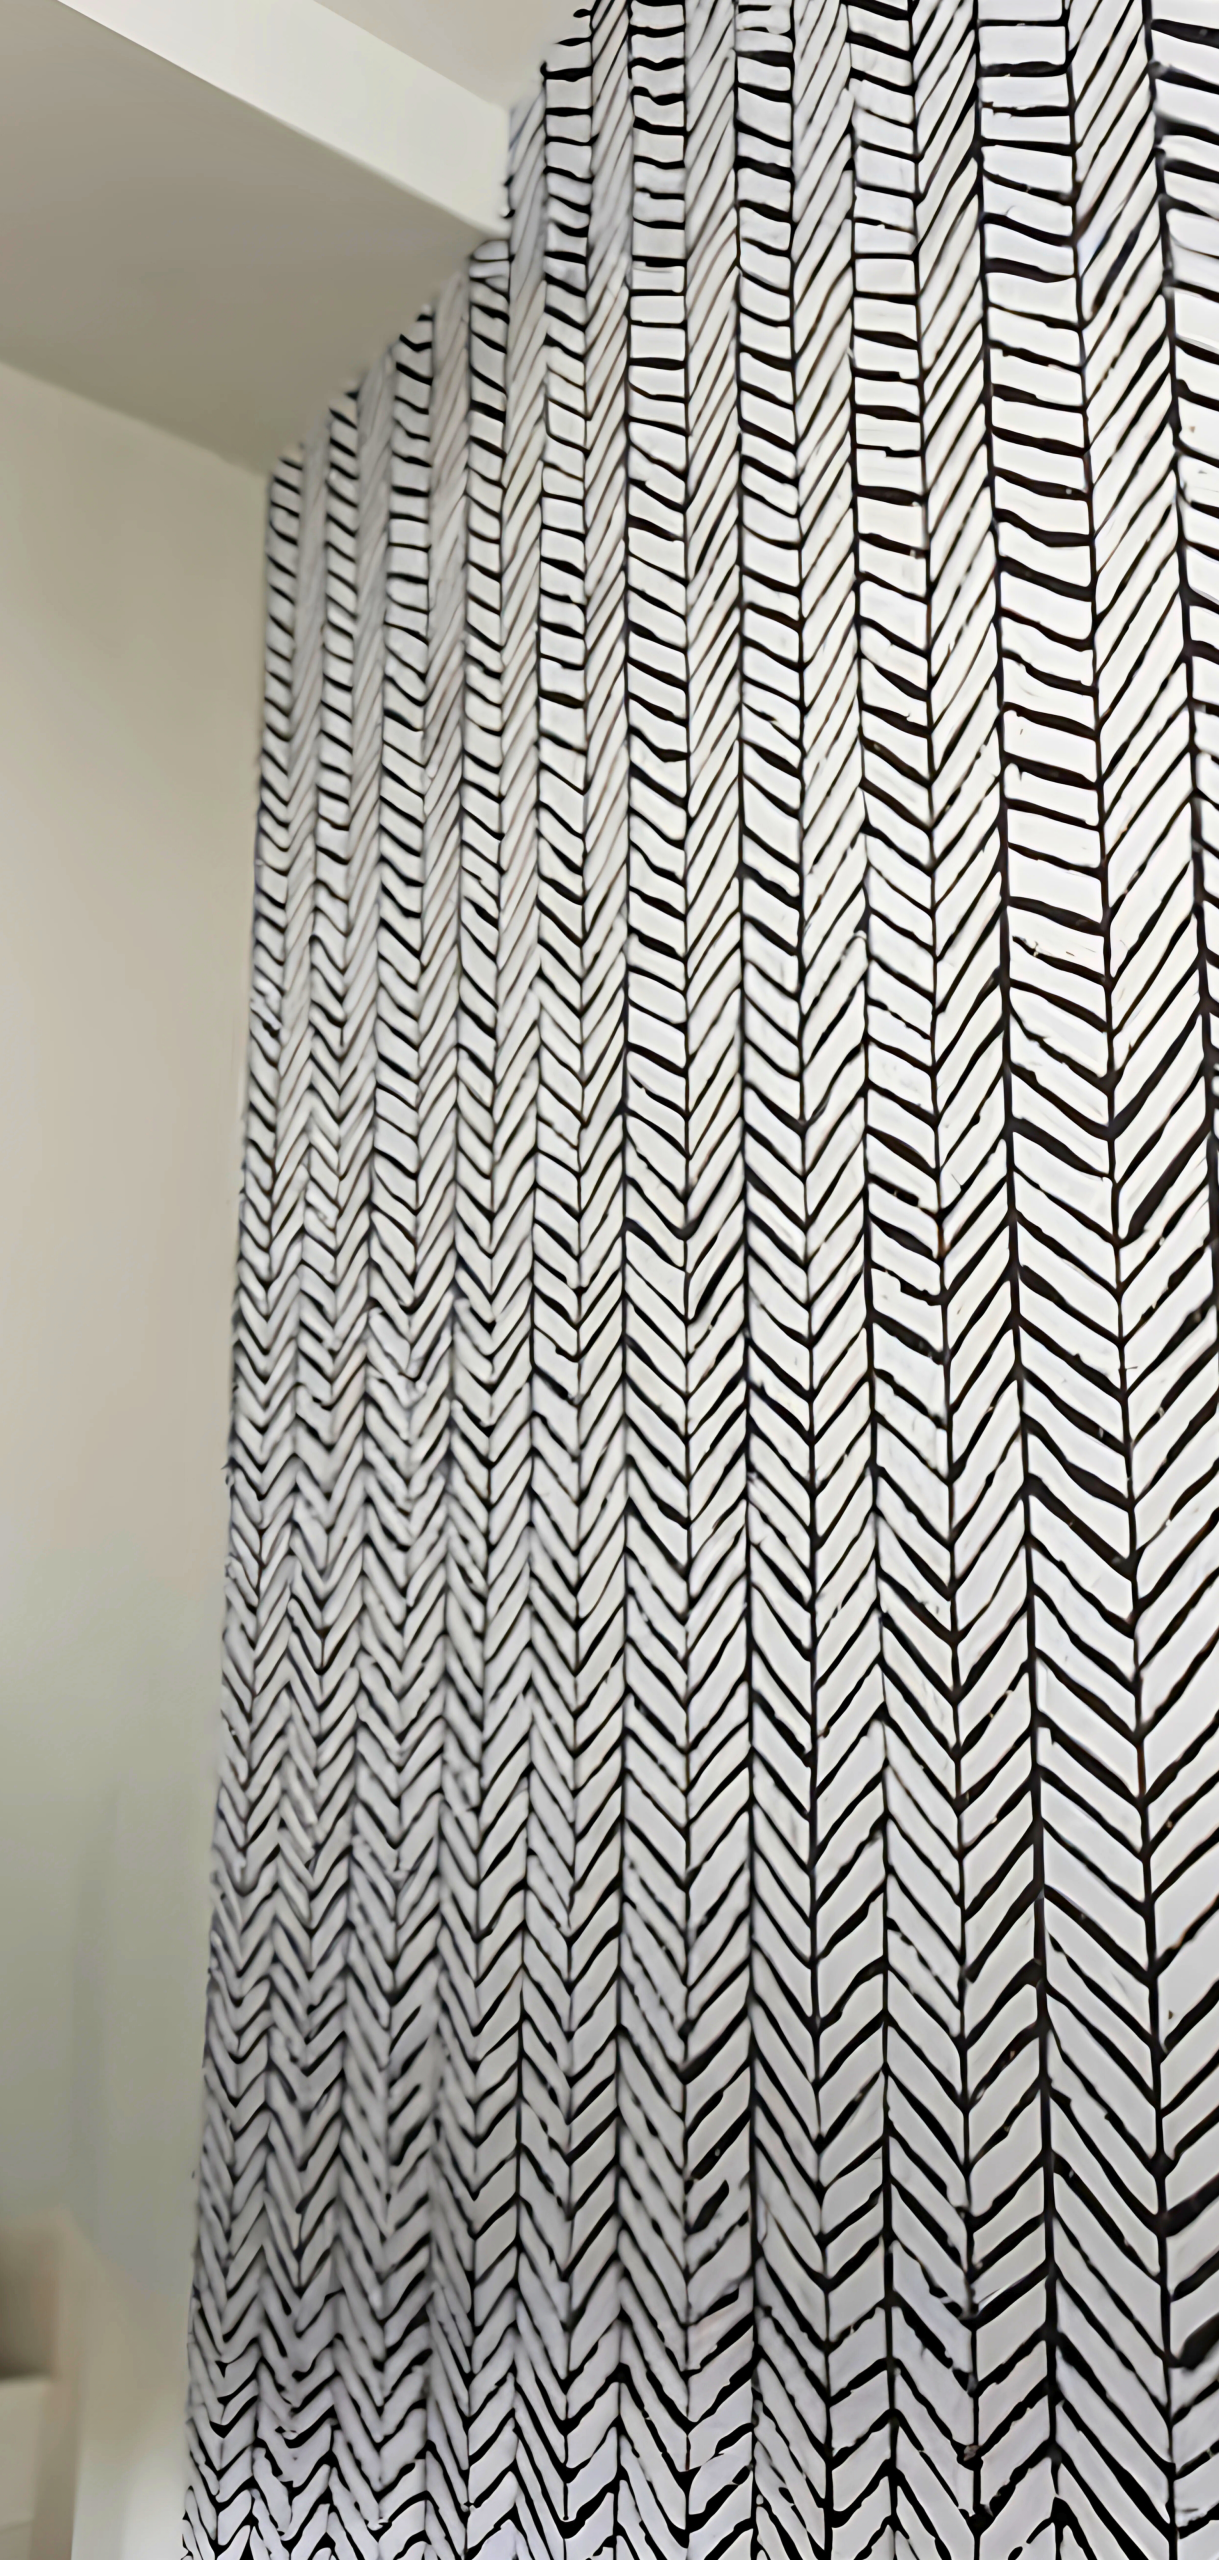
By the time the final panel was in place, the transformation was without a doubt. What had been a blank wall now looked more inviting and ready for fall, all thanks to peel and stick wallpaper.
The wallpaper gave my living room depth, tied in perfectly with the wood tones from the valance, and added that final layer I’d been craving. If you’re working with bare walls and want a quick upgrade, I can’t recommend this process enough.
Just gather your tools, take your time, and enjoy the magic of a DIY that actually looks high-end.
What You Will Need
- Peel and stick wallpaper (measure wall and buy an extra 10–15%)
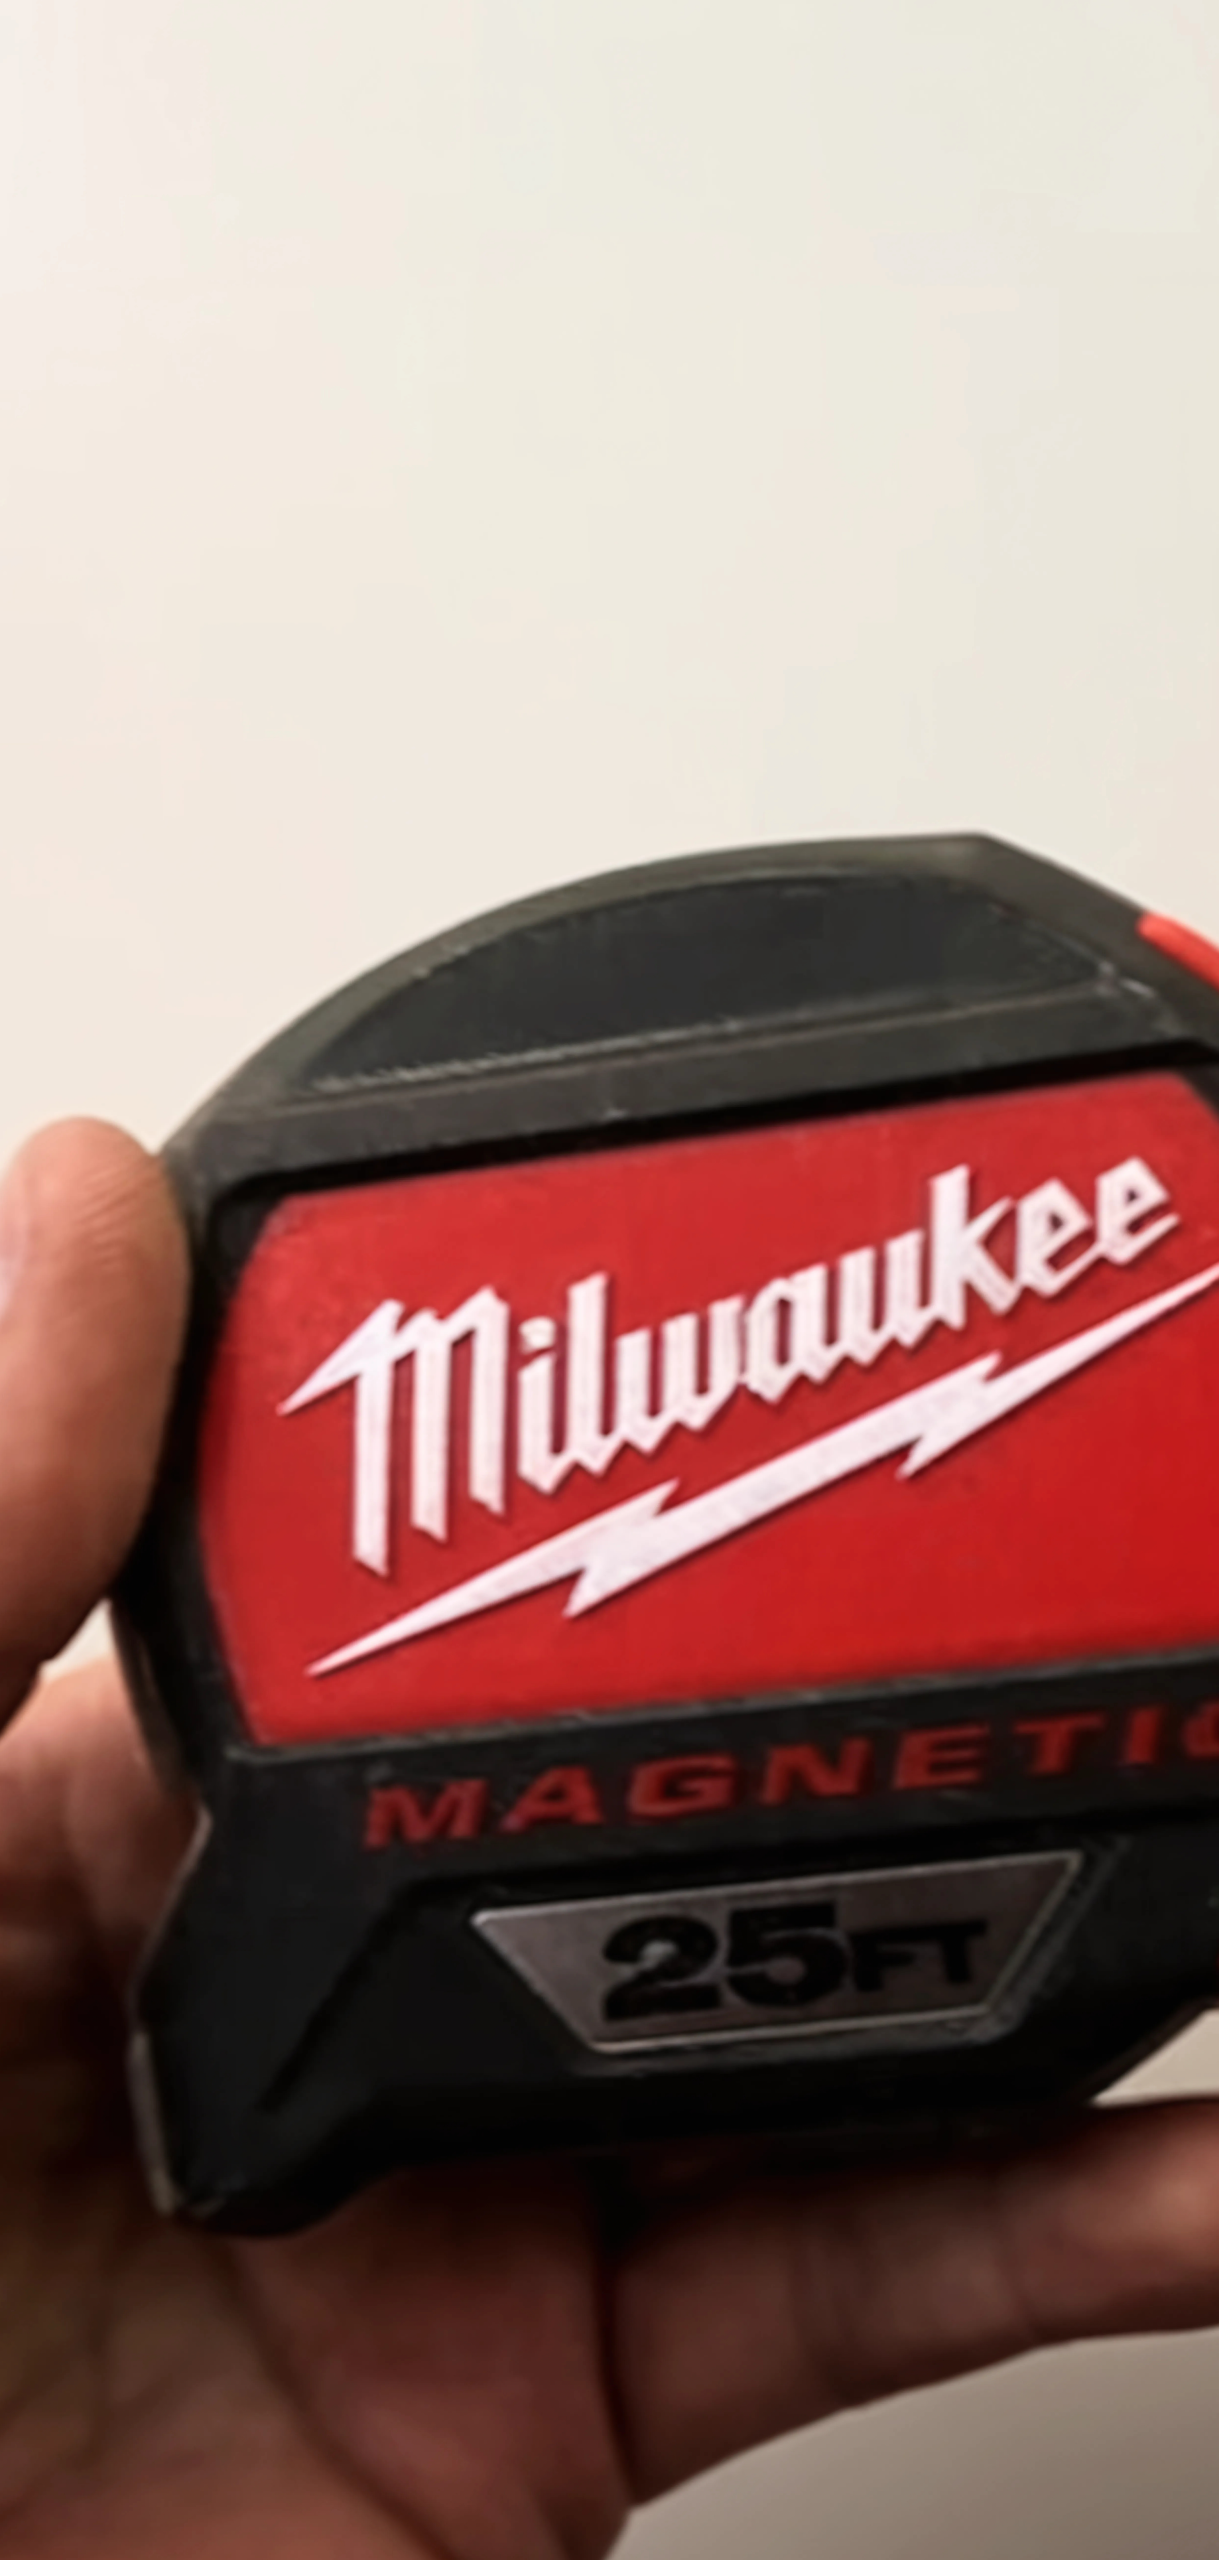
- Measuring tape and pencil
- Level (4–6 ft for best accuracy)
- Isopropyl alcohol + lint-free rag (for cleaning walls)
- Smoothing tool (plastic or credit-card edge)
- Utility/X-acto knife & replacement blades
- Straightedge/metal ruler
- Scissors
- Painter’s tape
- Ladder or stepstool (for high areas)
How to hang peel and stick wallpaper
Step 1: Prep Your Walls
Clean walls thoroughly to ensure a smooth surface. Wipe with isopropyl alcohol or mild detergent and let dry completely; you want no dust, dirt, or grease. Fill in any imperfections and use 150–200 grit sandpaper to smooth the surface; bubbles show up more on textured walls.
Tip: Smooth, primed drywall in eggshell or satin offers ideal adhesion. If your wallpaper isn’t made for rough surfaces, stay away from them.
Step 2: Measure and Plan Your Layout
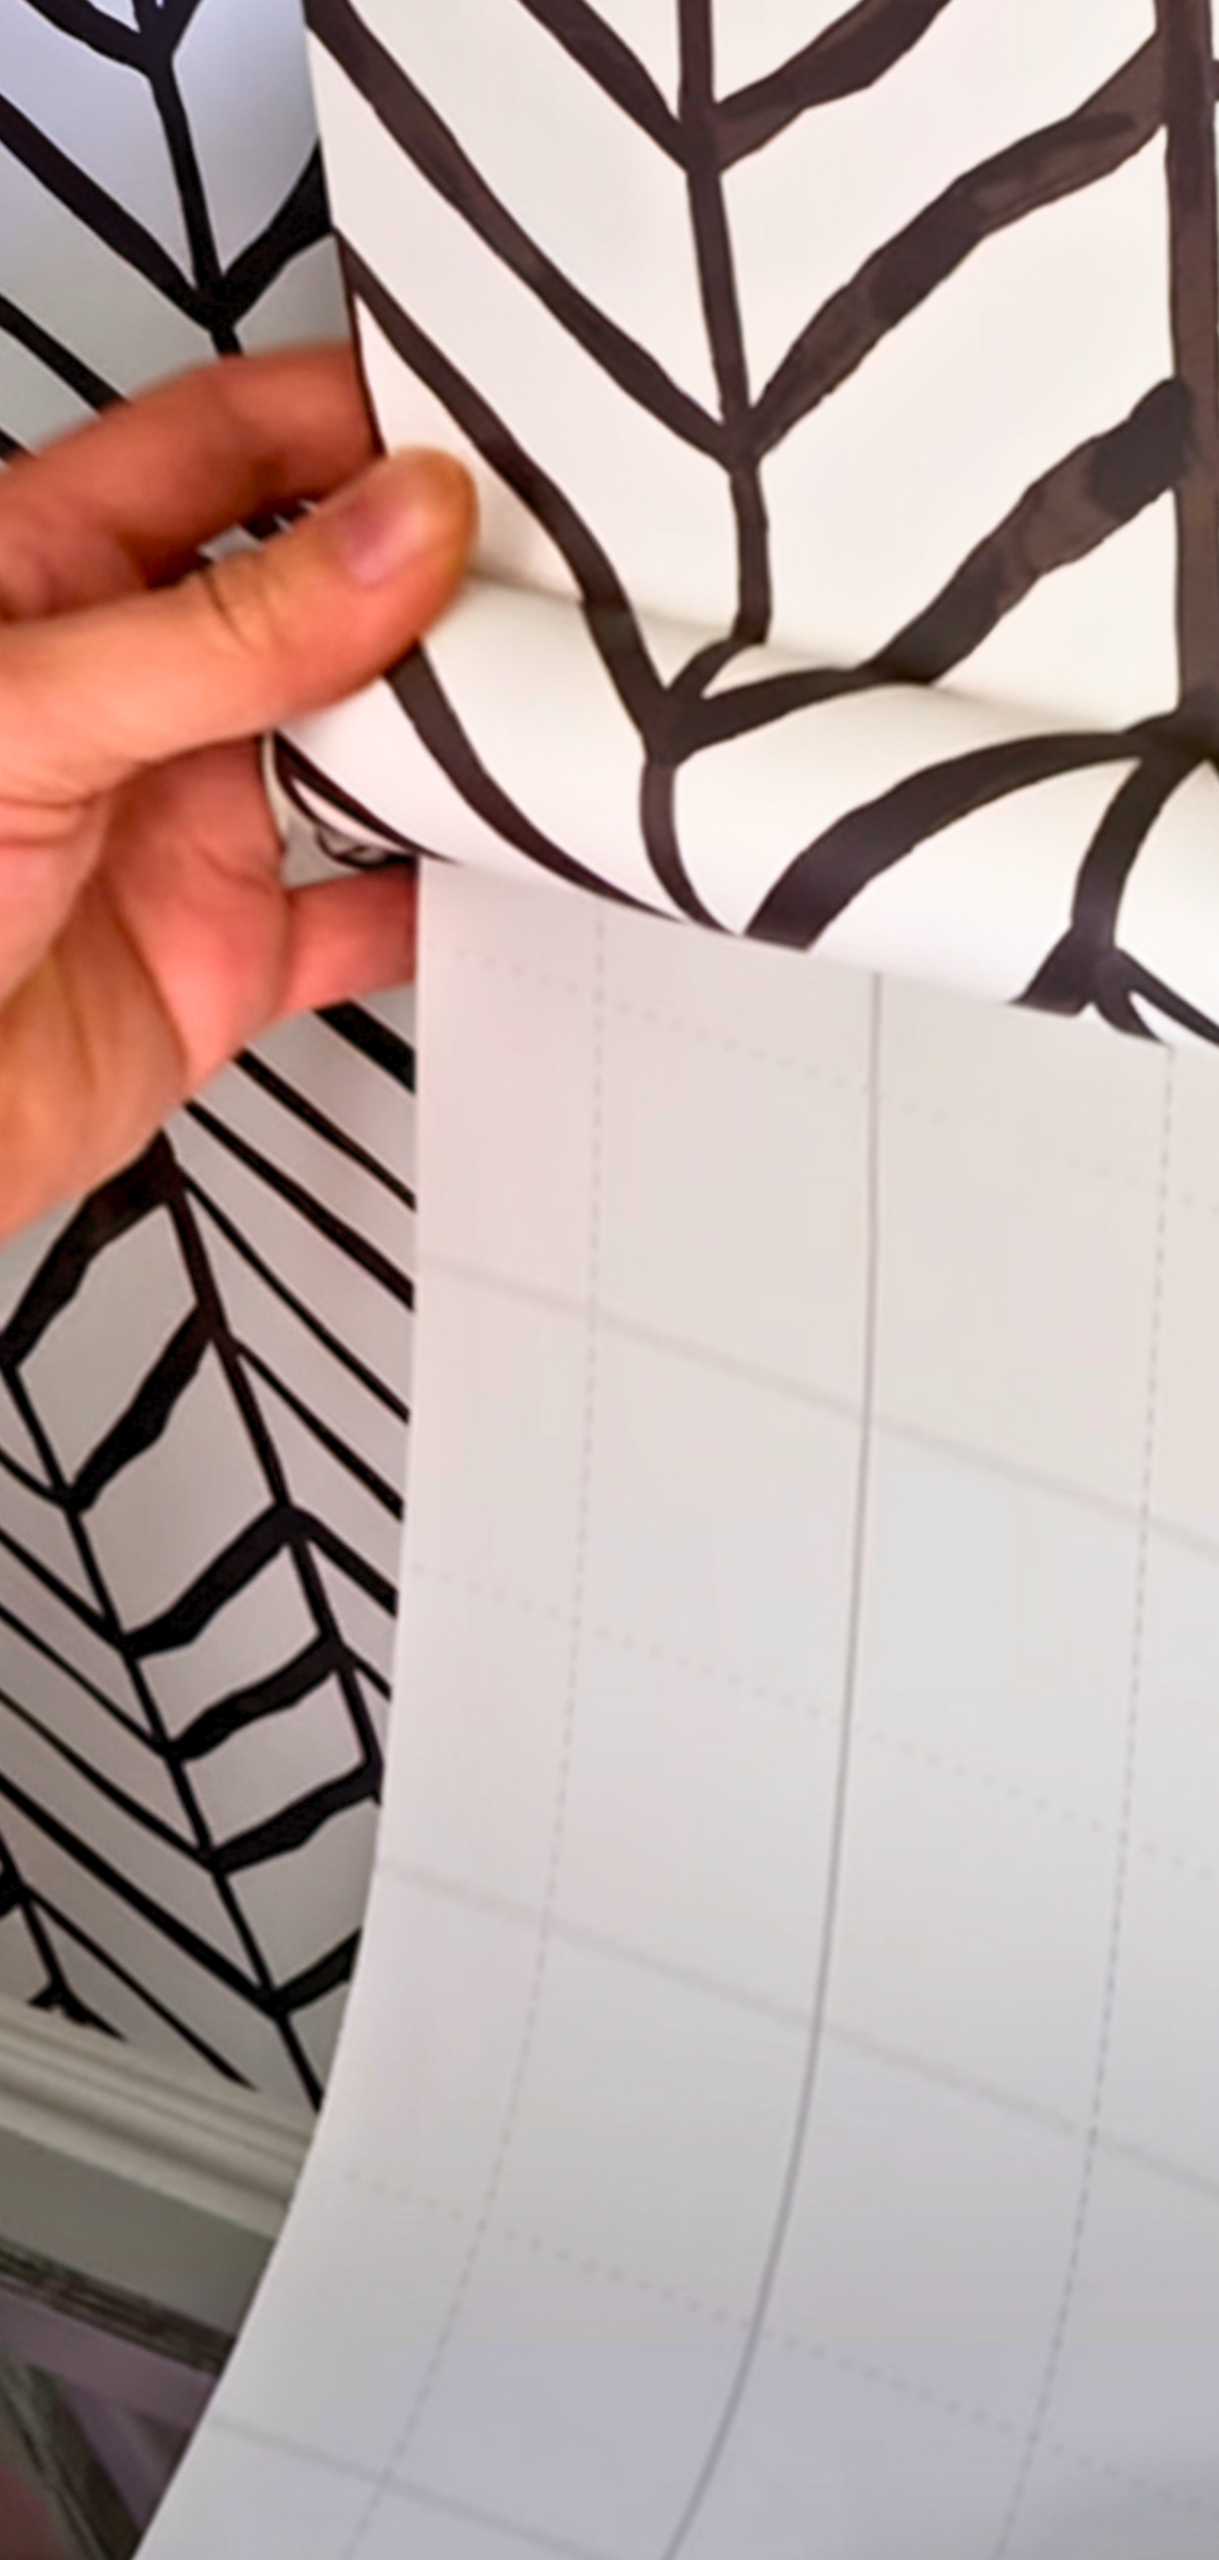
Measure the full height of your wall and add 4–6″ extra for trimming the top and bottom. Pre-cut several strips, aligning the pattern across strips. Number them lightly on the back to keep the installation order straight.
Mark a plumb (vertical) line on the wall, 1″ less than your peel and stick wallpaper width, using a level. This line becomes your guide for the first strip. Corners aren’t always square, so this line ensures your stripes hang straight.
Step 3: Hang the First Strip
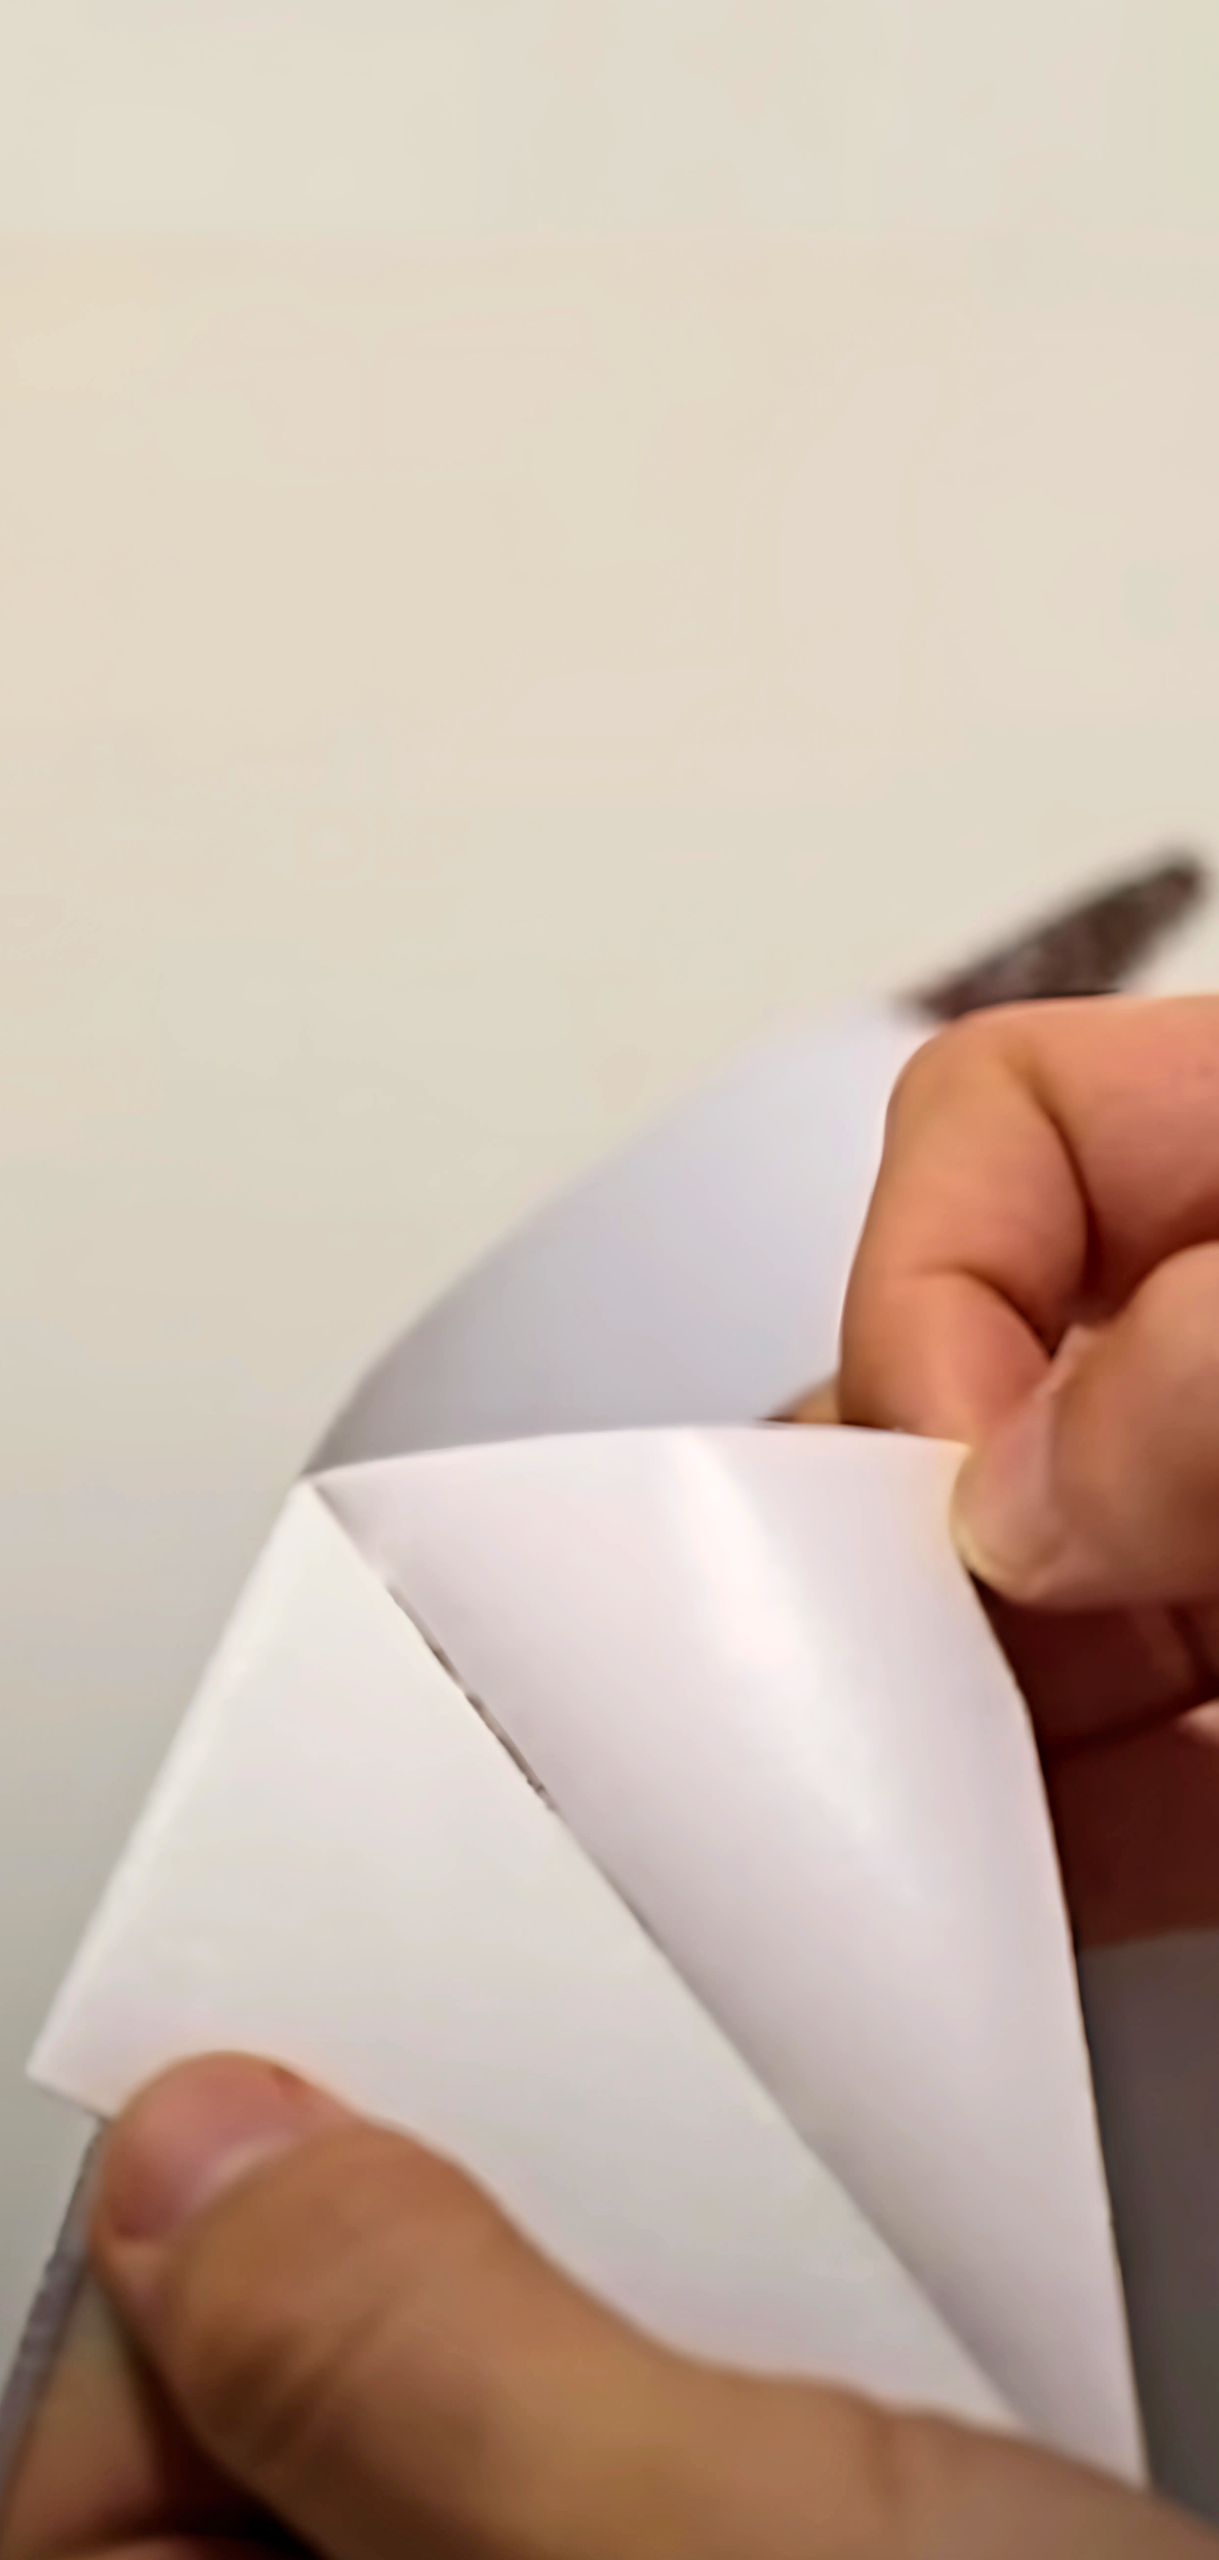
Peel back 12–18″ of the backing and align the paper with your plumb line. Smooth it gently from the center outward to avoid bubbles. Don’t worry if you need to adjust, it’s peelable and repositionable!
Use painter’s tape to hold the top while you aligne it before fully pressing it in place.
Step 4: Smooth and Trim
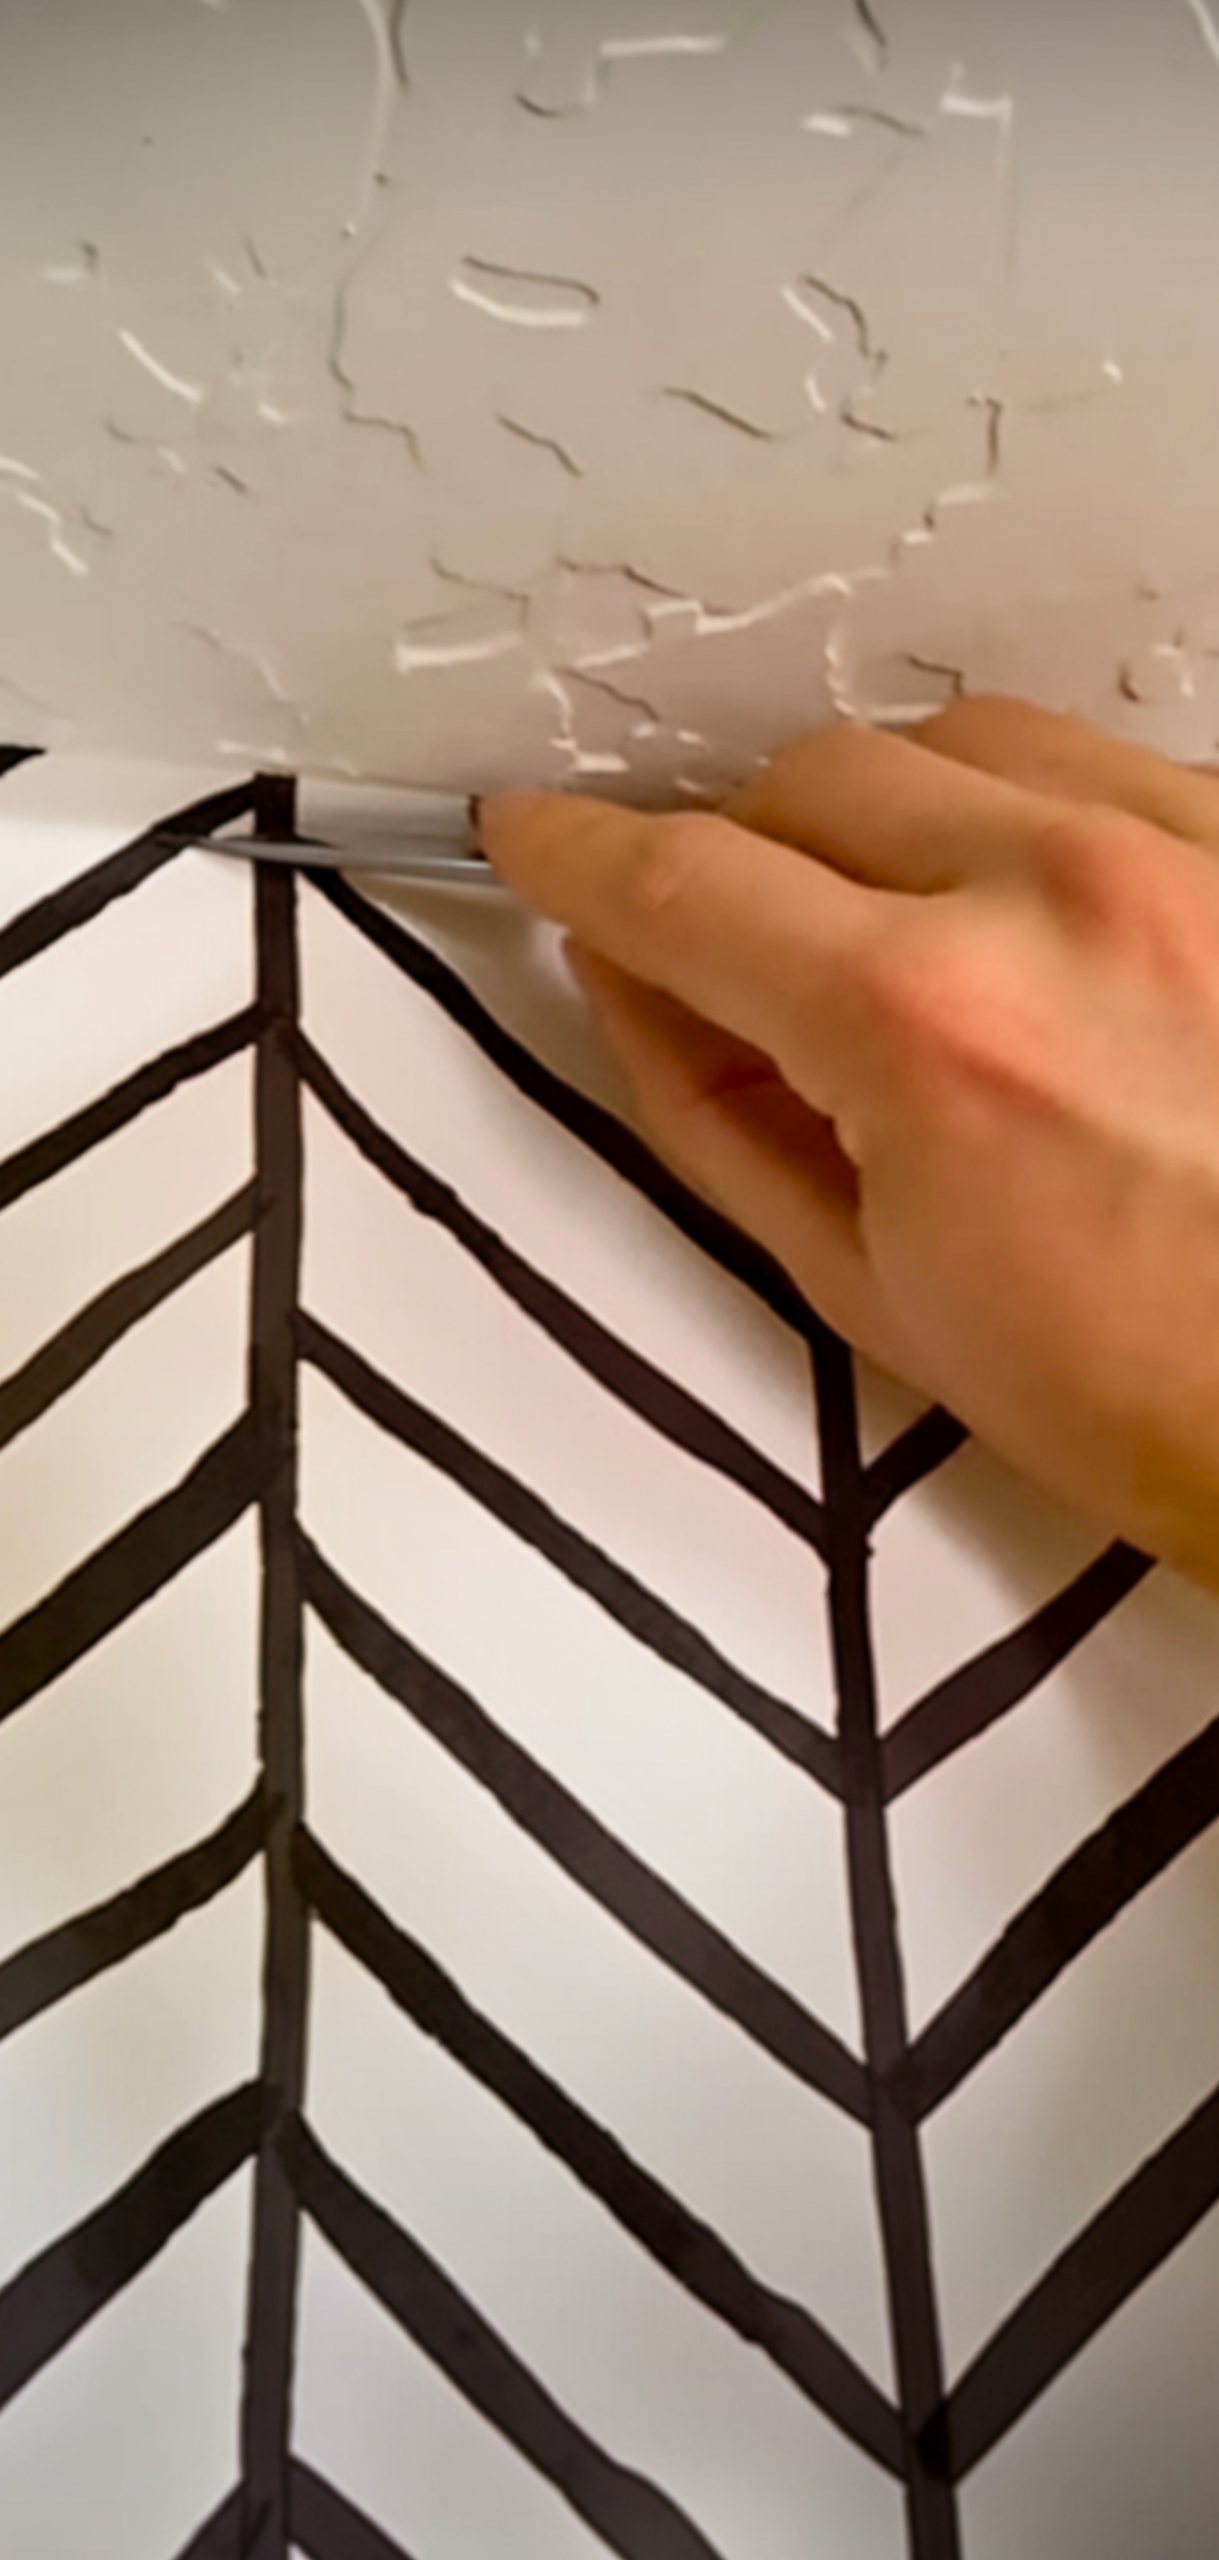
With your smoothing tool and downwards to remove bubbles. Then use your straight edge and knife to trim excess at the top and bottom.
Step 5: Install Additional Strips
Overlap the edge with the previous strip by 1/8″ to 1/2″, aligning the pattern as instructed. Continue peeling the backing and smoothing every 12–18″. Work from top to bottom, smoothing as you go.
Step 6: Around Obstacles
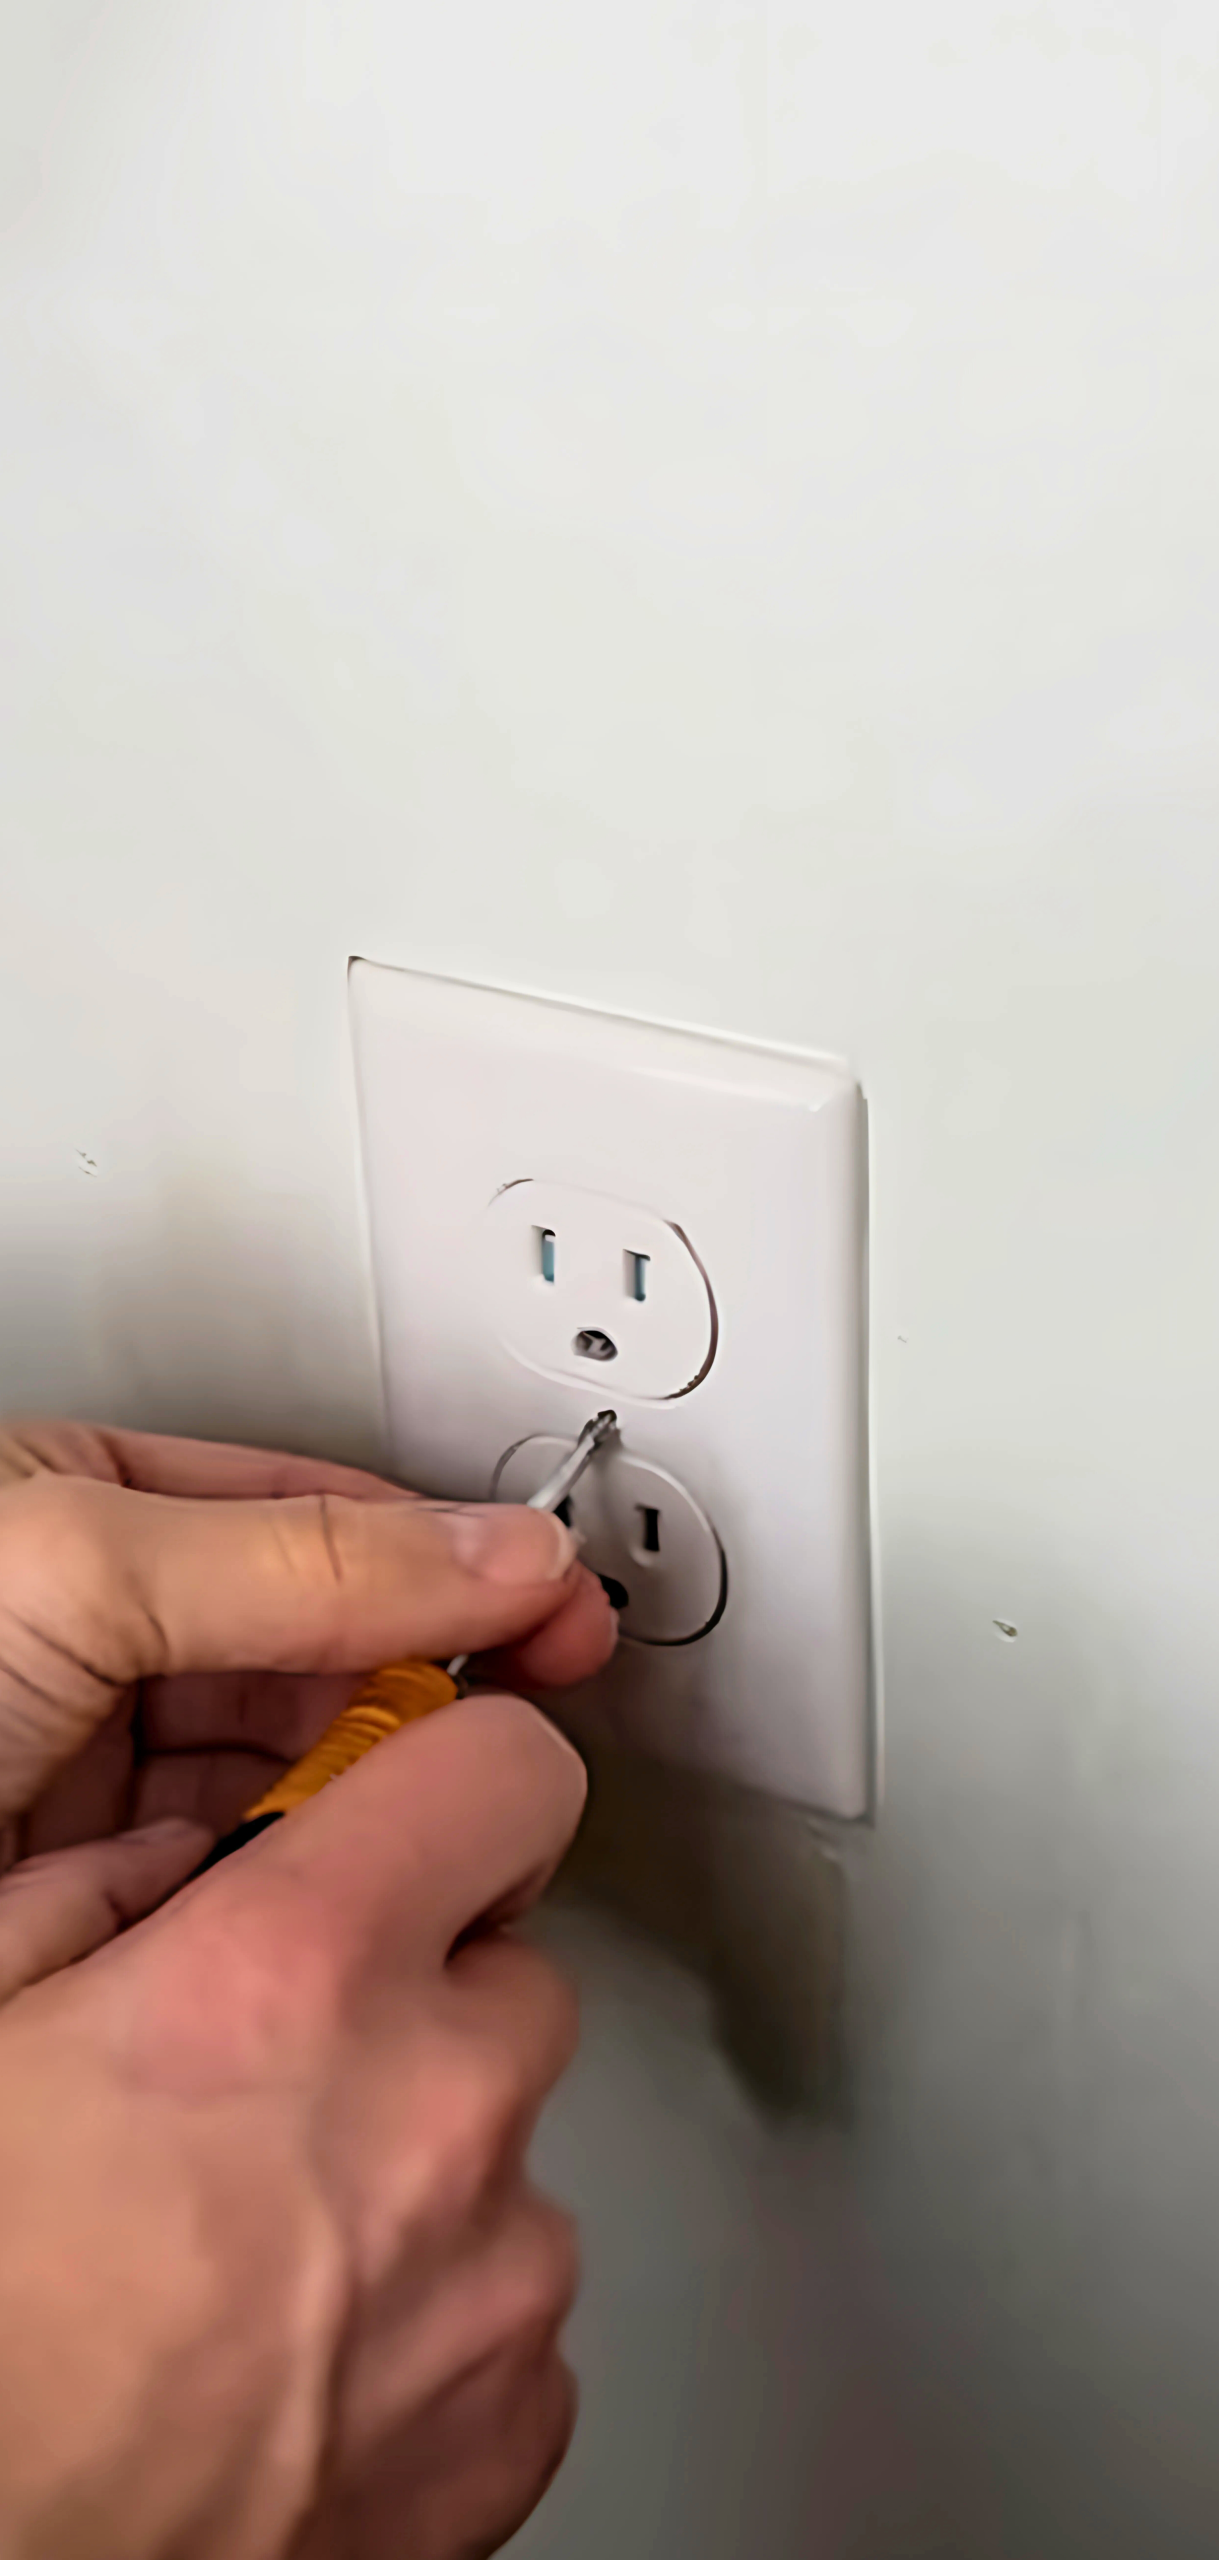
For outlets, switches, windows, or trim, cut an “X” overlay on the paper and trim along edges. Smooth the flaps down for a seamless finish. Always switch off electricity before working near outlets.
Step 7: Final Smoothing and Inspection
Step back at least 6 feet and look for misalignments or bubbles; these disappear once you step away. If necessary, lift the edge and smooth it again carefully.
Pro Tips
- Always measure walls and doors before ordering; add extra to account for pattern matching and mistakes.
- Use a helper for wide walls or high ceilings; having someone hold strips makes alignment easy.
- Work slowly; perfect alignment takes patience, not pace.
- If bubbles appear later, puncture and smooth them; they’re not permanent unless sealed incorrectly.
- For renters or regular updates, choose powder-room-sized walls or closets for easy wallpaper swaps.
FAQs
Can I install it on any wall?
Best on smooth, clean surfaces.
Is peel and stick wallpaper removable?
Yes.
How much wallpaper do I need?
Measure precisely and order at least 10–15% more for pattern repeats and errors.
How long will it stay?
On a smooth wall, it lasts indefinitely if well installed.
Can I reuse my peel and stick wallpaper again?
Some wallpapers can be removed and reapplied.
High ceilings?
Use a ladder and an extra helper from your family.
Conclusion
You now have all the steps to transform any room with removable peel and stick wallpaper. With a clean surface and precision, your walls will look professionally decorated in no time.