Join the fastest growing Craft community on Pinterest!
I’ve been looking at my front porch lately, feeling like it needed something to balance my woven fall wreath. That’s when the idea hit me: a fairy house planter.
Not only would it add a storybook touch to my porch, but it could be a fun way to combine my love of plants and crafting. The only catch? I’d never made one before.
I didn’t want it to look childish or store-bought. I wanted it to feel natural, like it had always been there, nestled between potted mums and golden leaves. But between figuring out the right materials and how to make it weatherproof, I wasn’t sure where to start.
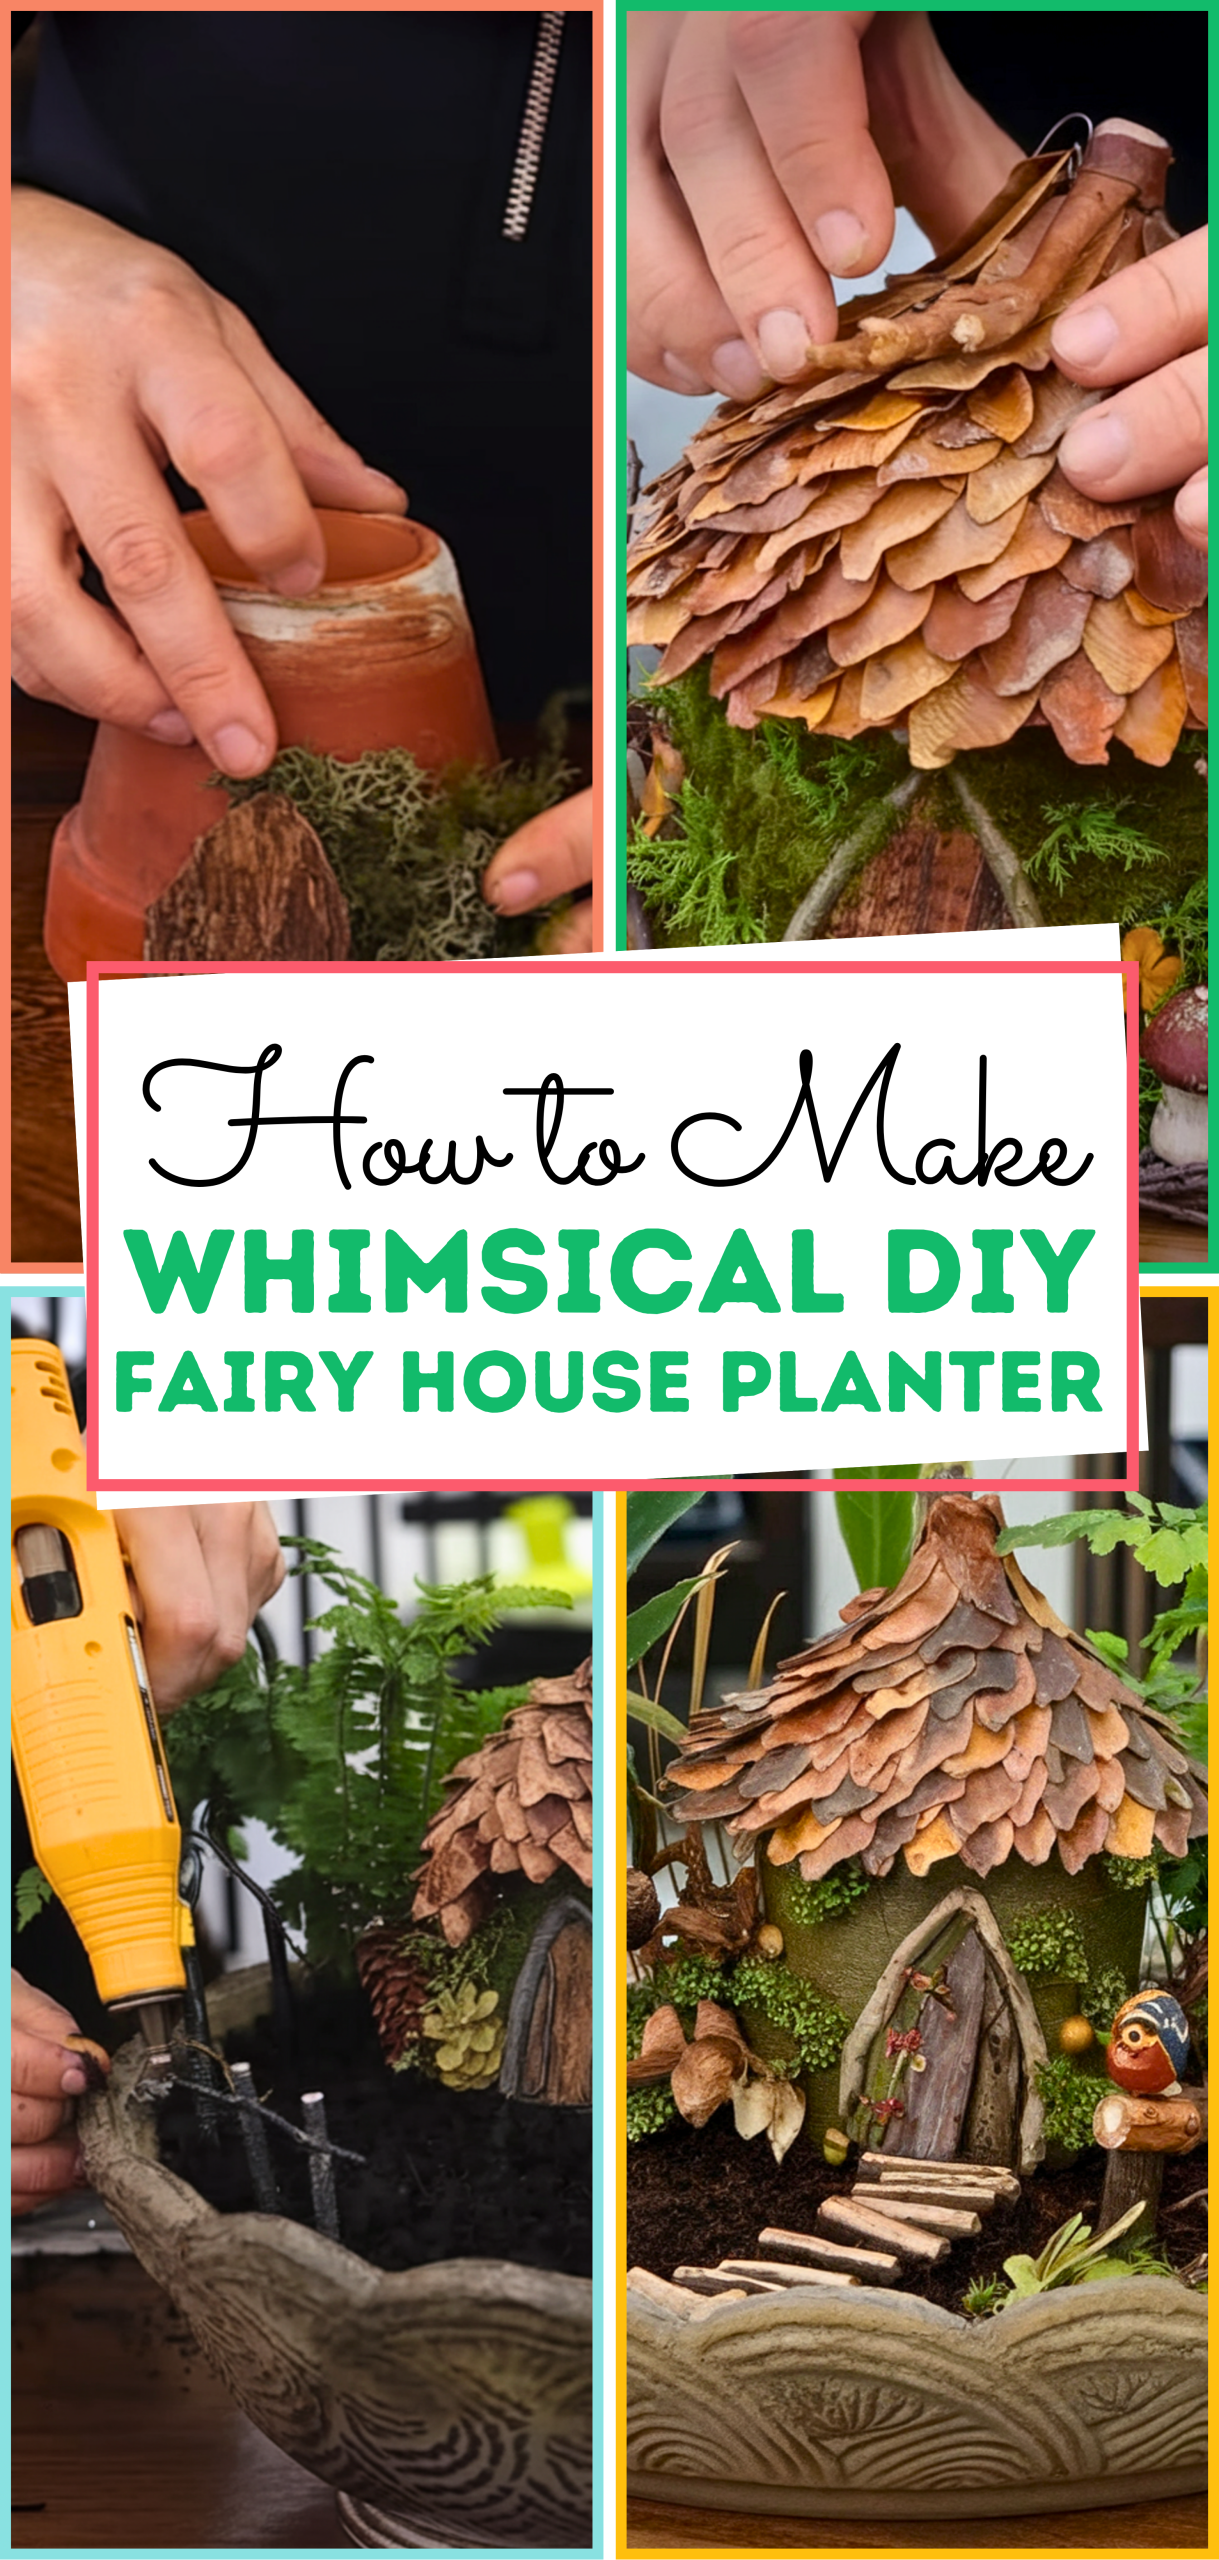
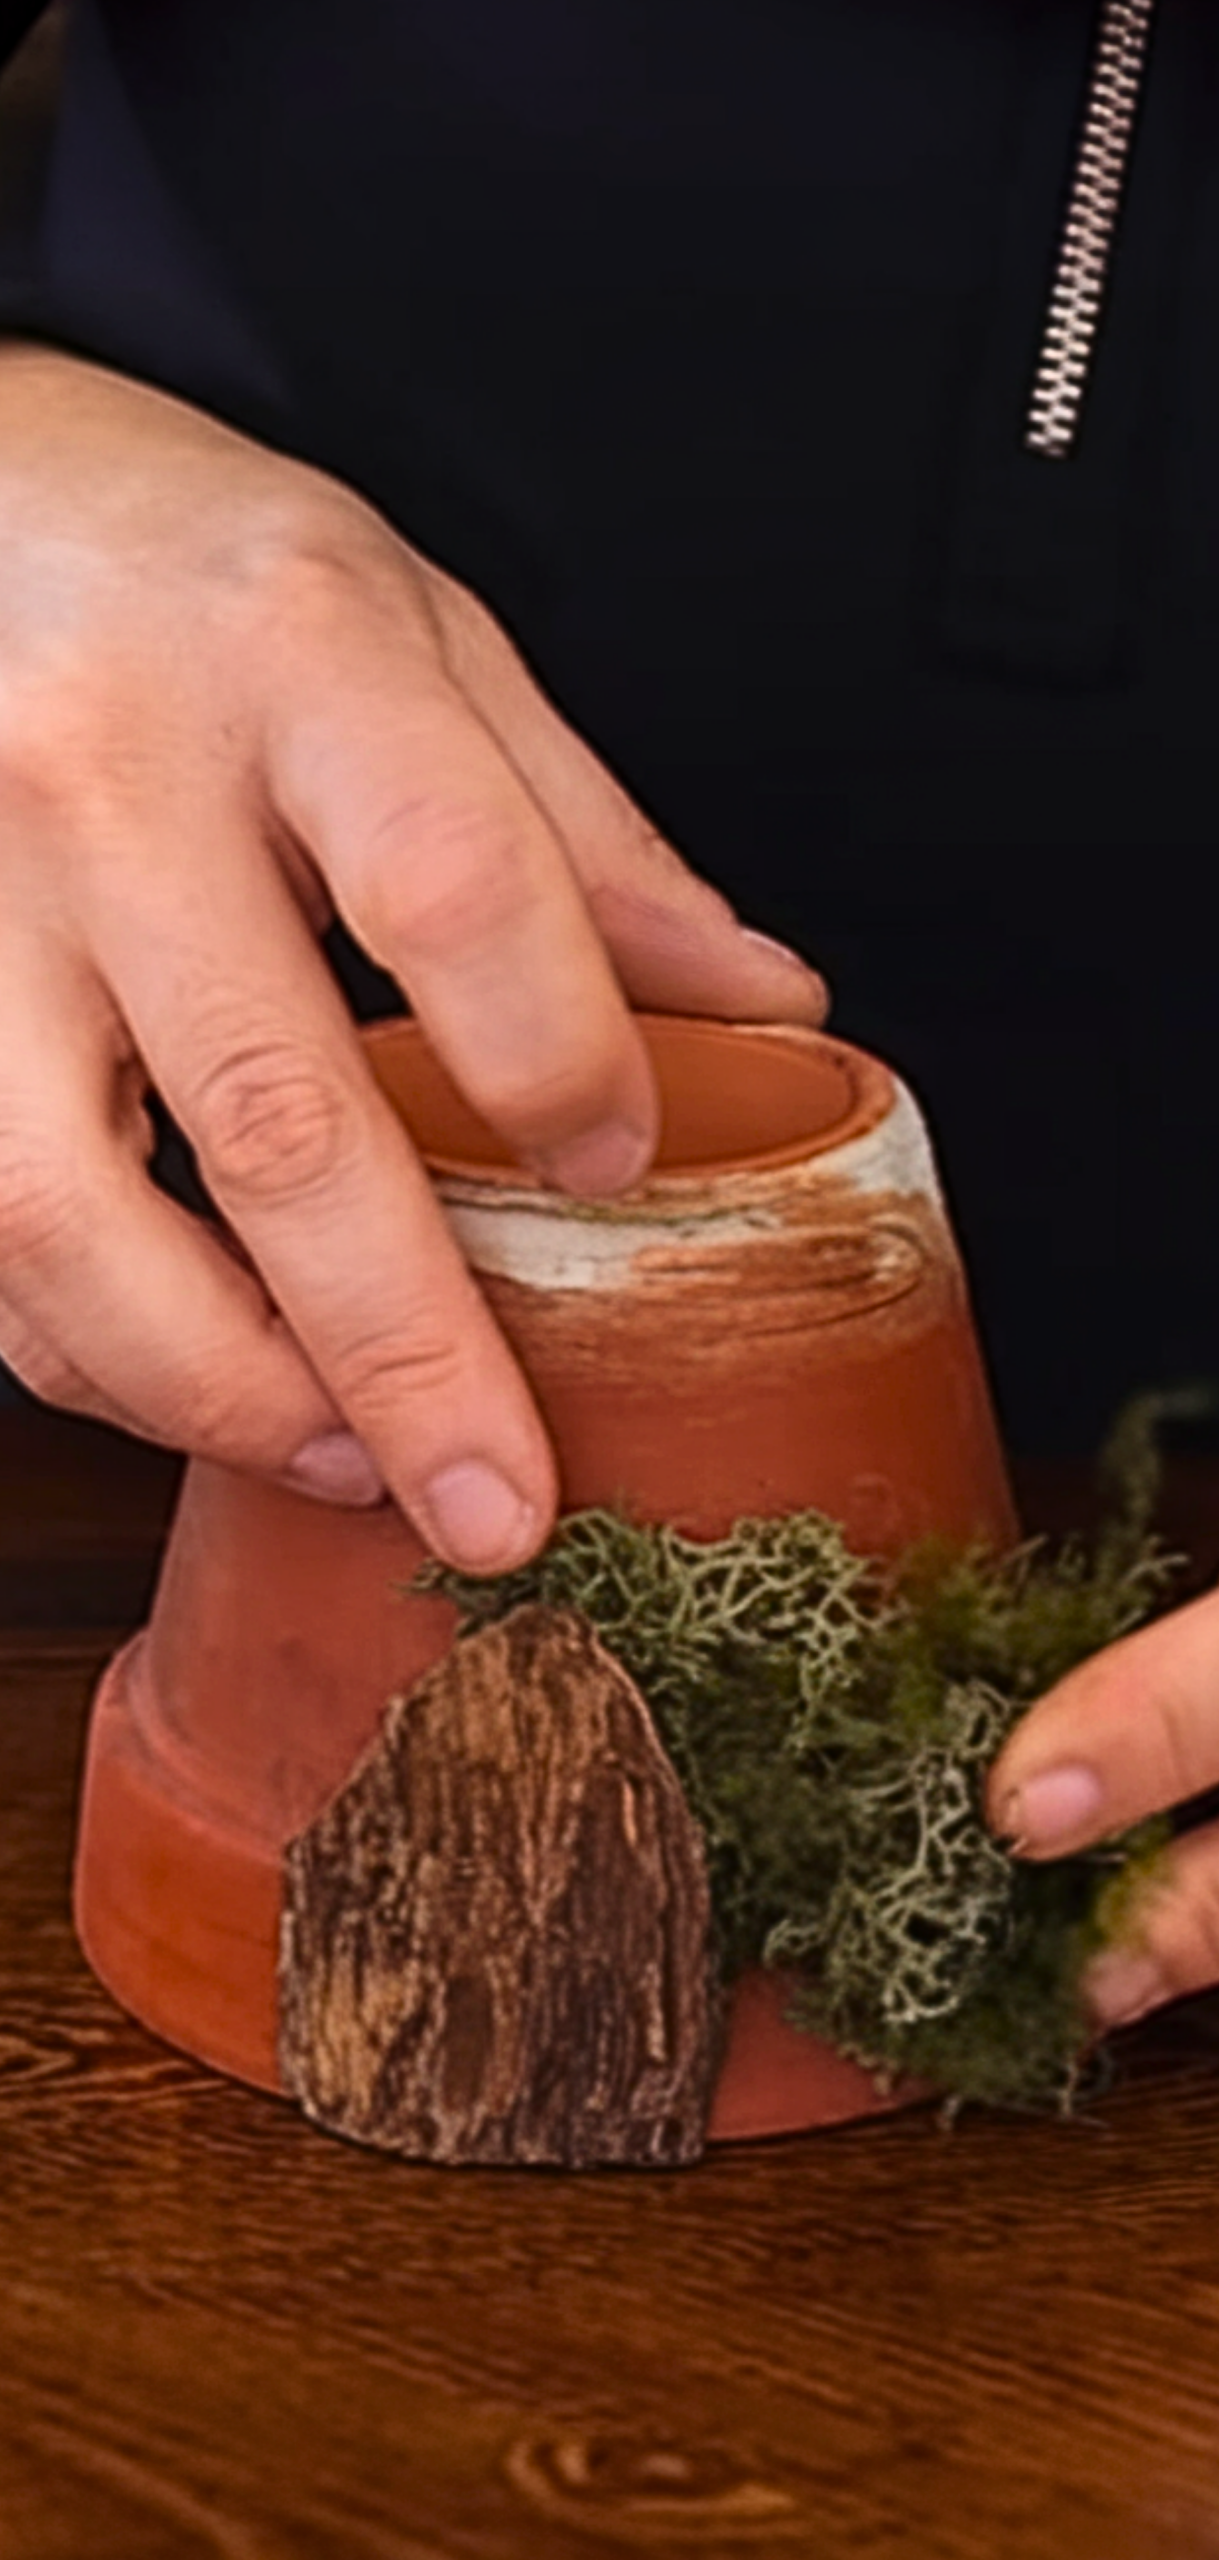
Luckily, I had a few supplies already on hand to build the perfect fairy house planter. I started with a classic terracotta pot and filled the base with a layer of old foam to reduce the soil needed, thanks to a tip I found in a gardening group.
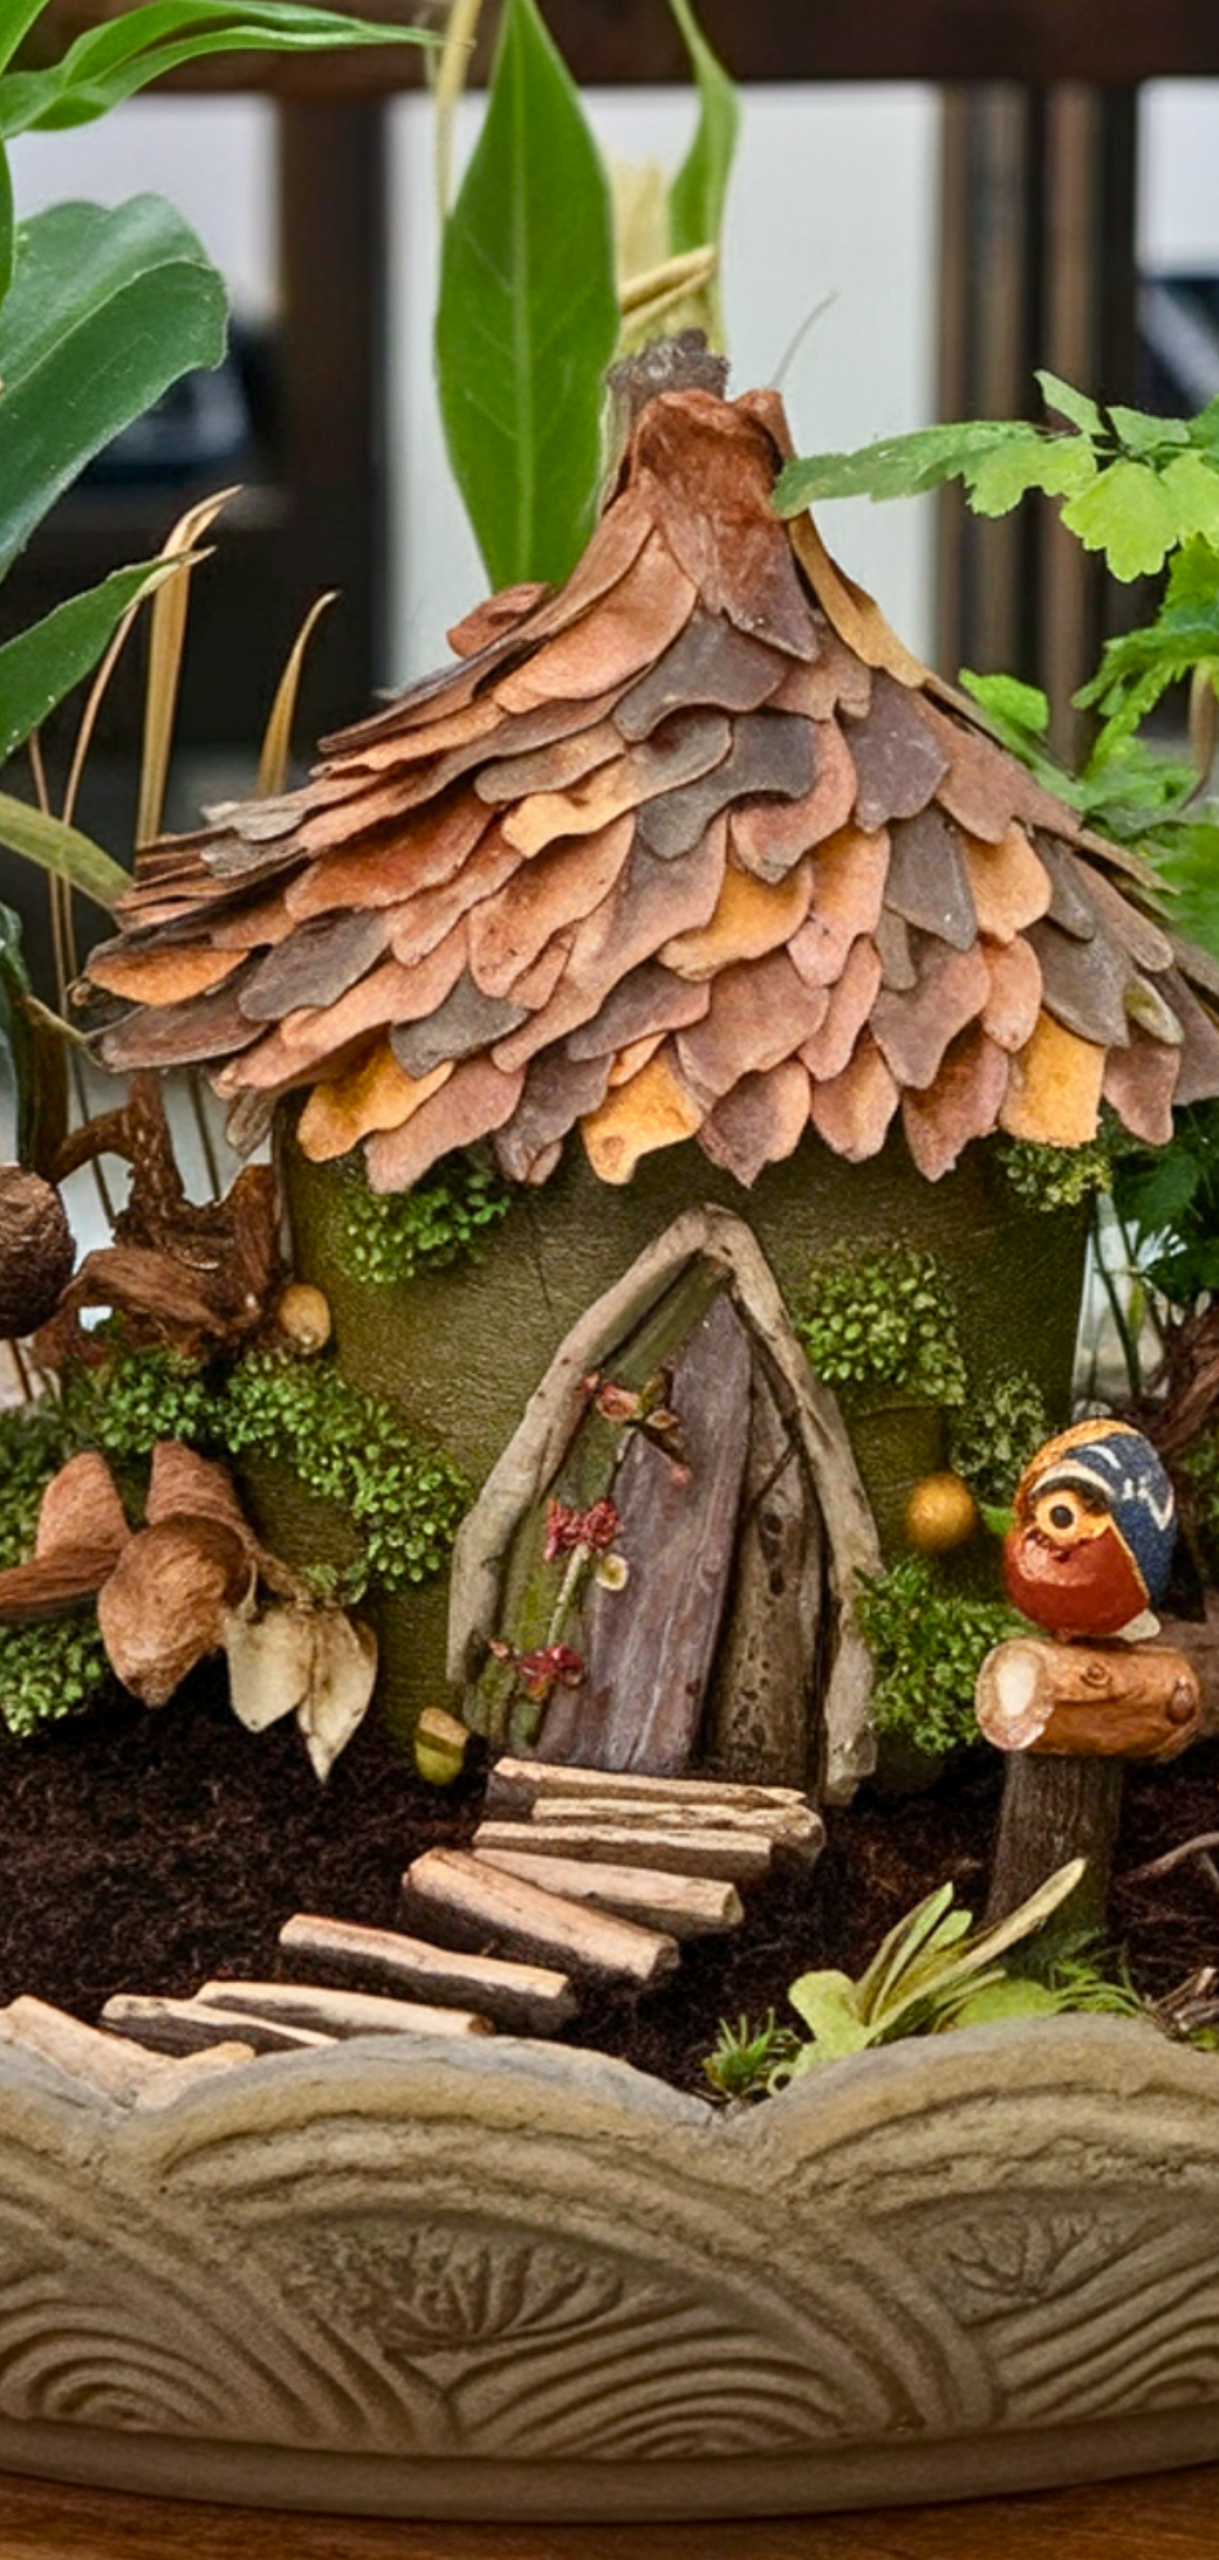
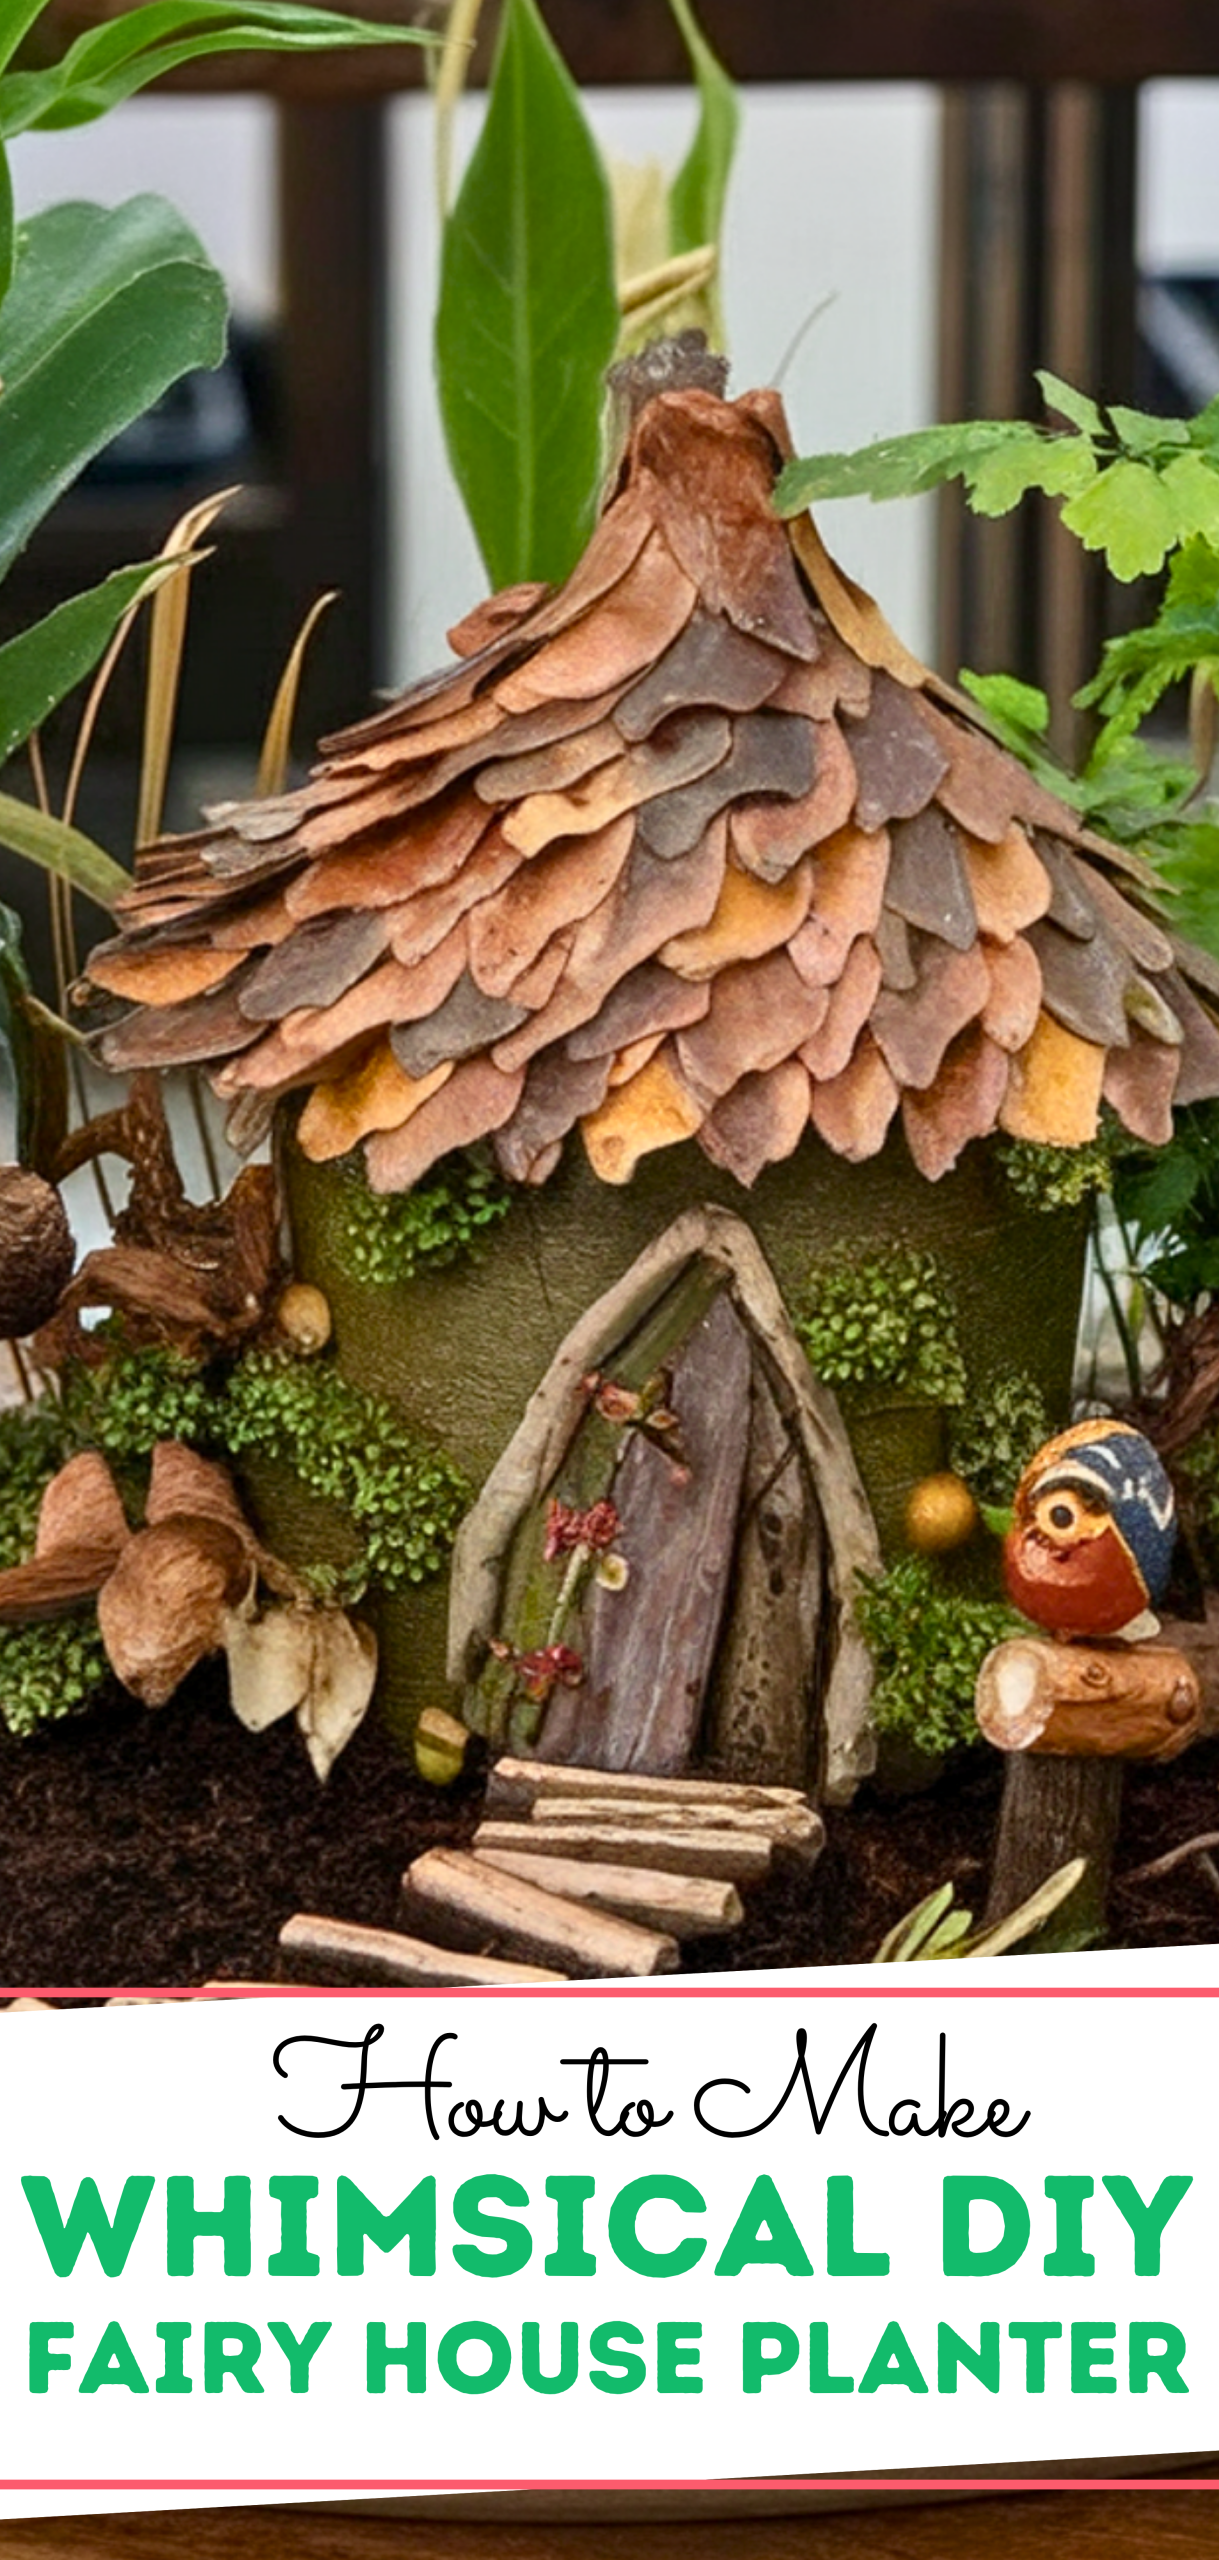
From there, I added potting soil and tucked in hardy little succulents and moss to give it that soft, enchanted garden feel. To bring the fairy world to life, I glued on a tiny wooden door, built shutters from craft sticks, and used twigs and pebbles to resemble a cottagey forest home.
Best of all, it’s easy to maintain, and the natural materials mean it blends perfectly with my other planters. If you’re thinking of adding a handcrafted element to your porch or garden, don’t hesitate. Grab a terracotta pot, some glue, and your imagination; your fairy neighbors are waiting.
What You Will Need for your fairy house planter
- Terracotta pot
- Potting soil
- Small plants
- Pebbles or twigs
- E6000 or hot glue
how to make a Fairy House Planter
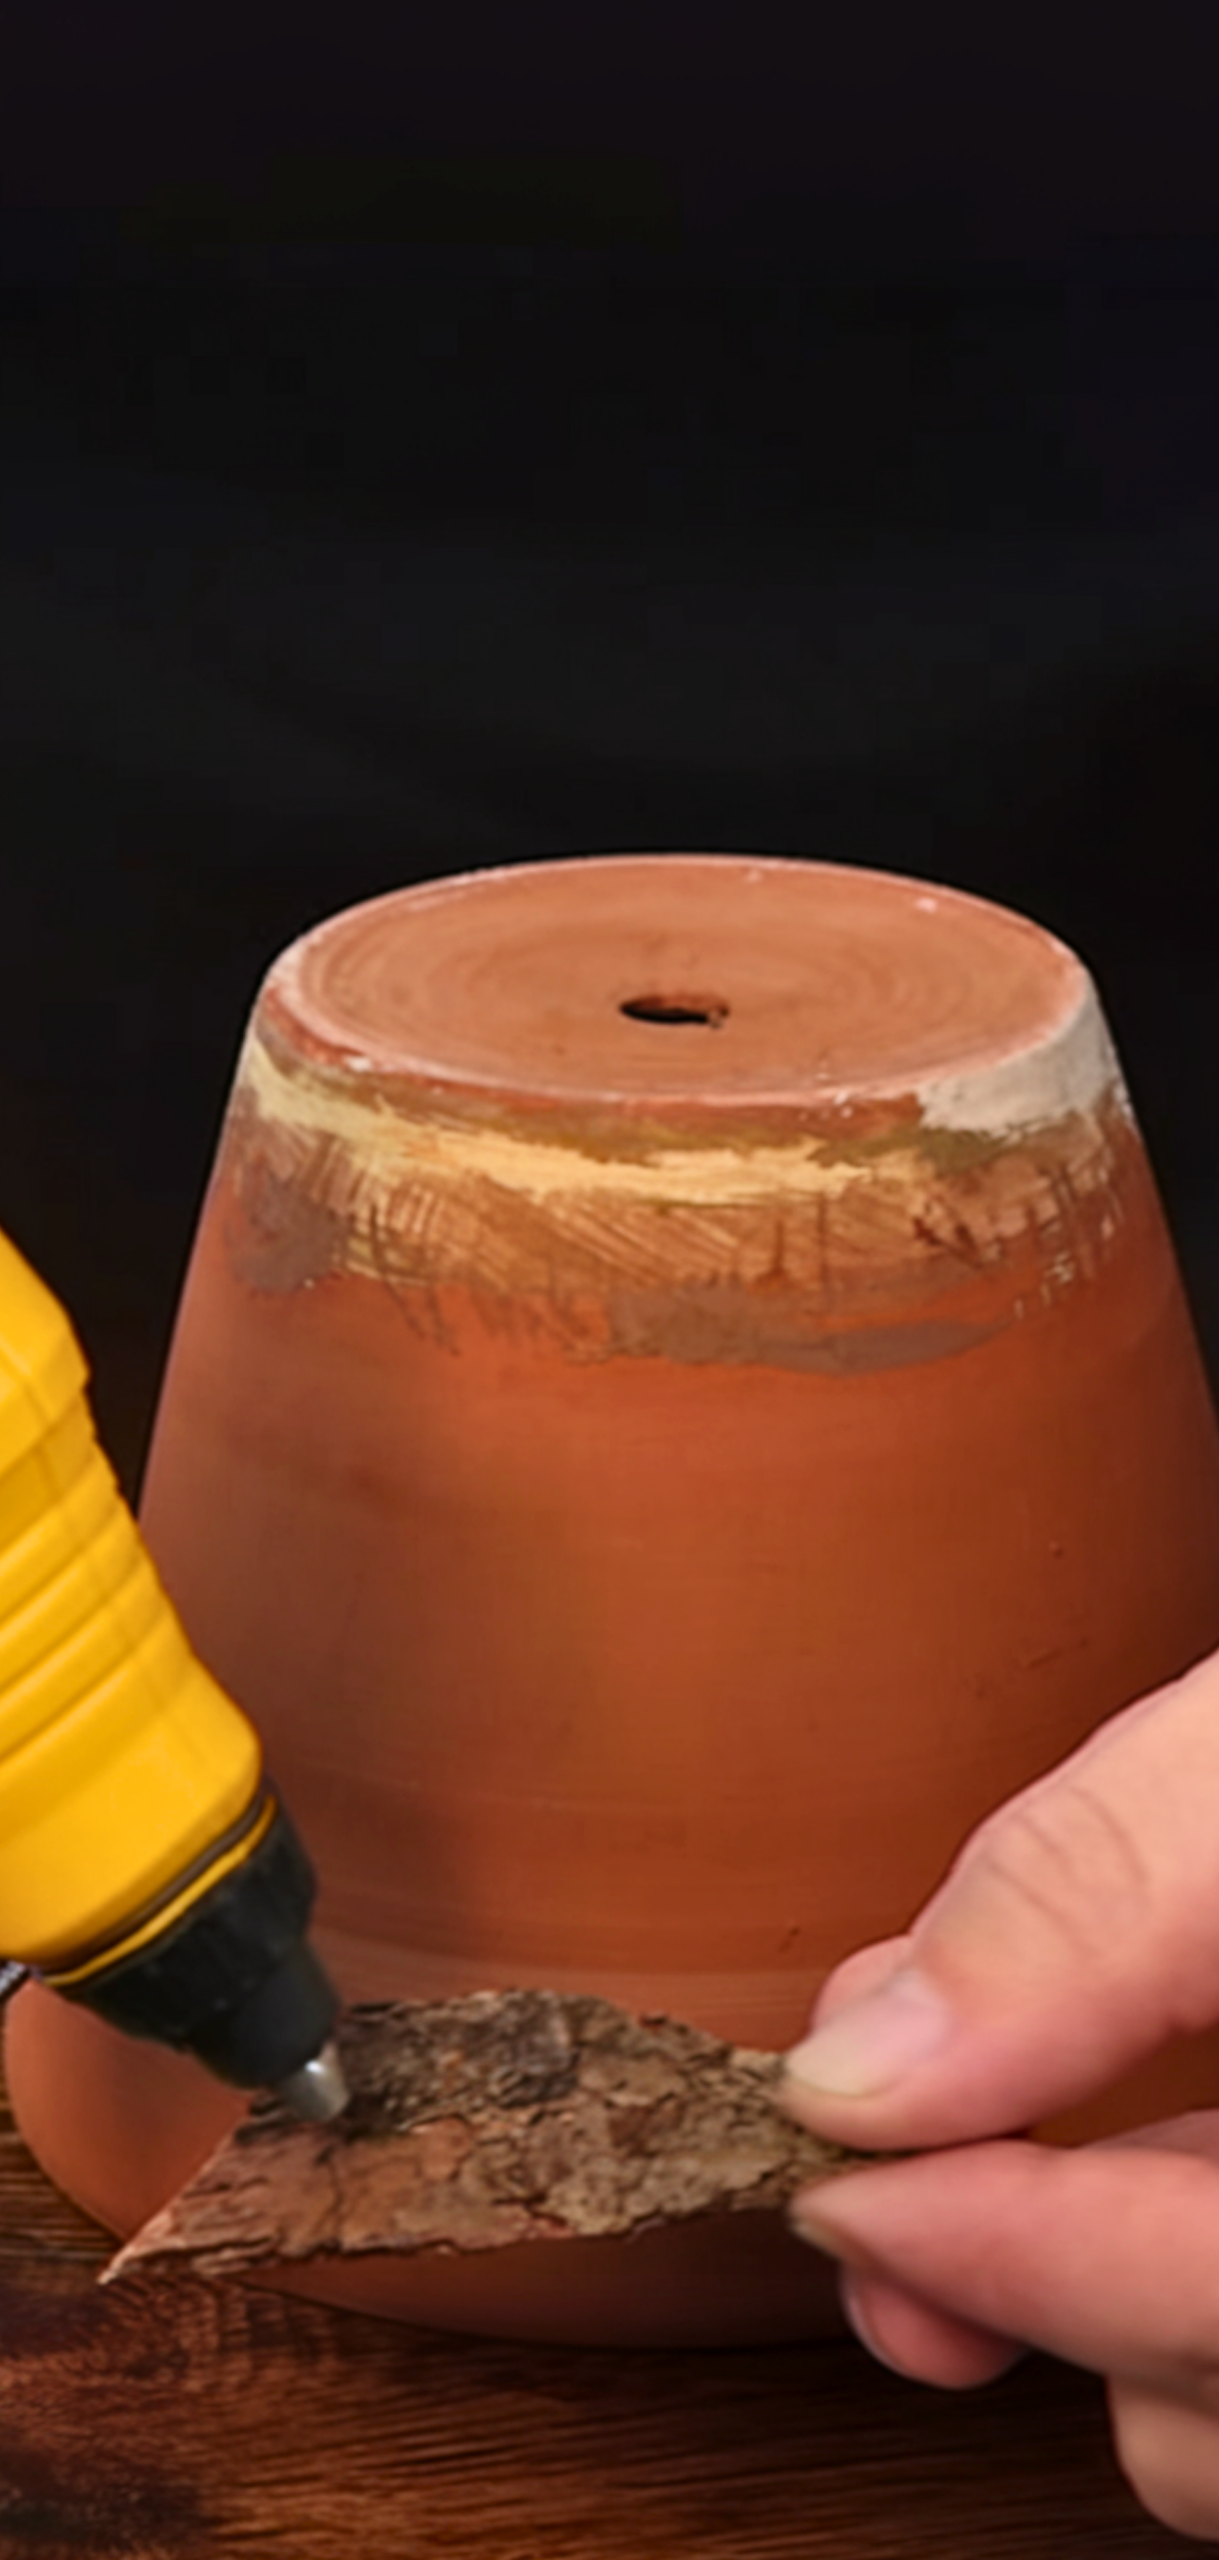
Step 1: Prep the Pot

Clean any labels or debris from a terracotta pot. Choose small plants that won’t overwhelm your fairy house planter.
Step 2: Create the Fairy Door/Window


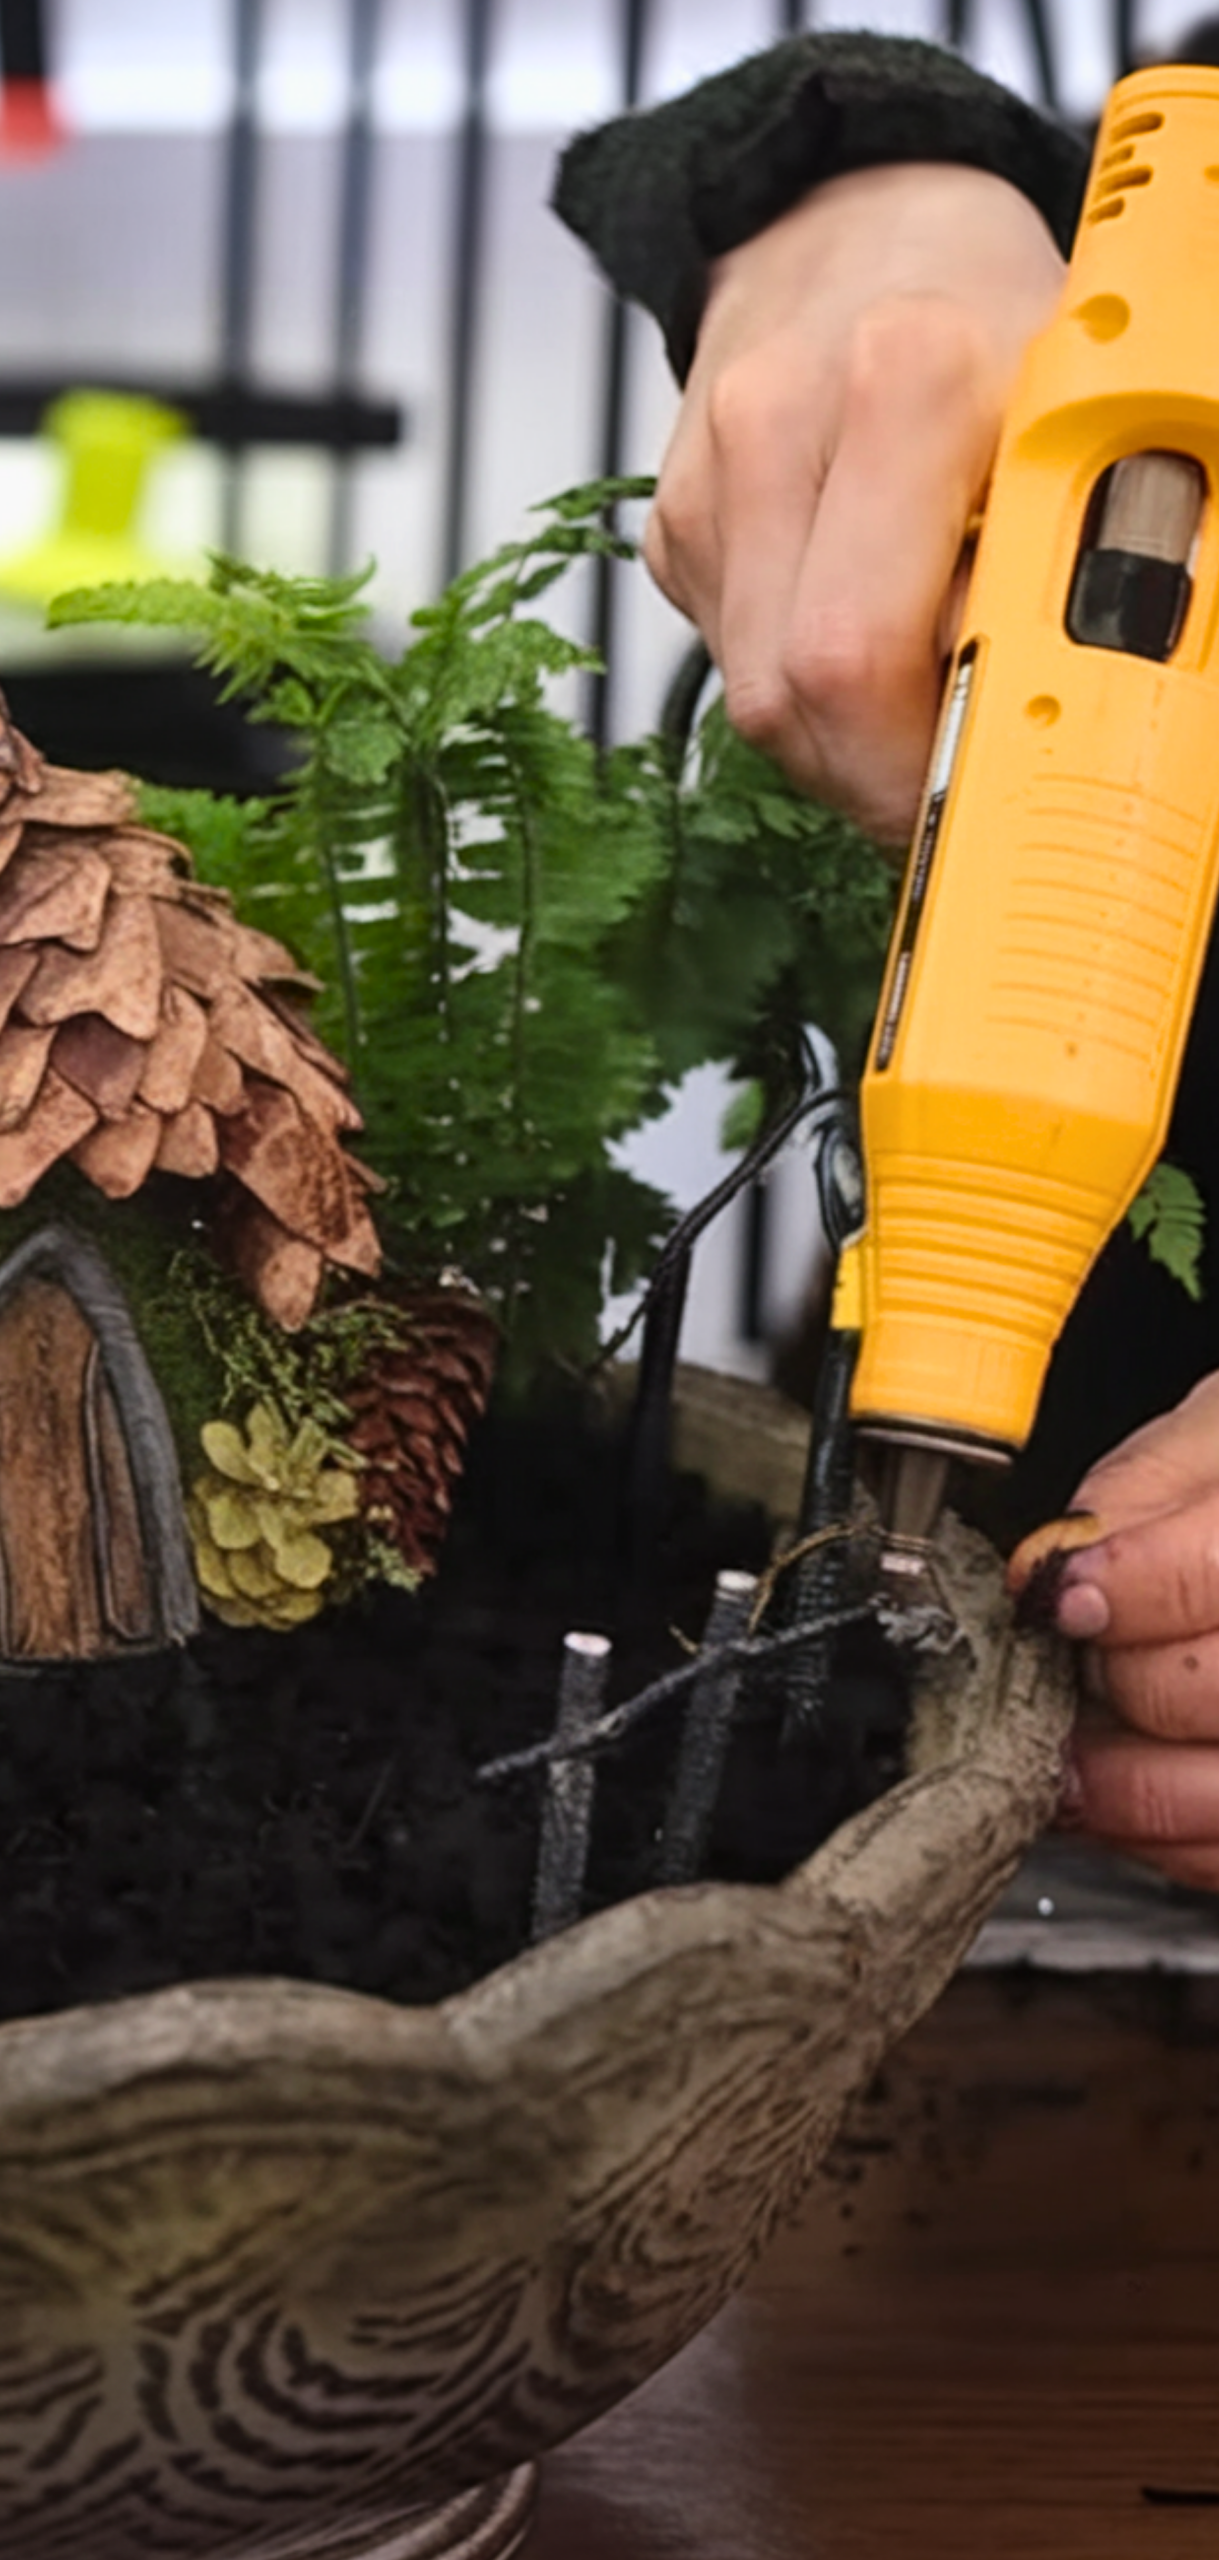
Craft your own door following my steps. Trim it so it fits snugly on the pot’s side. Attach it with outdoor-safe glue. If the pot is broken or tipped, you can even make it a miniature doorway to an underground world!
Step 3: Build a Pebble or Bark Roof/Base


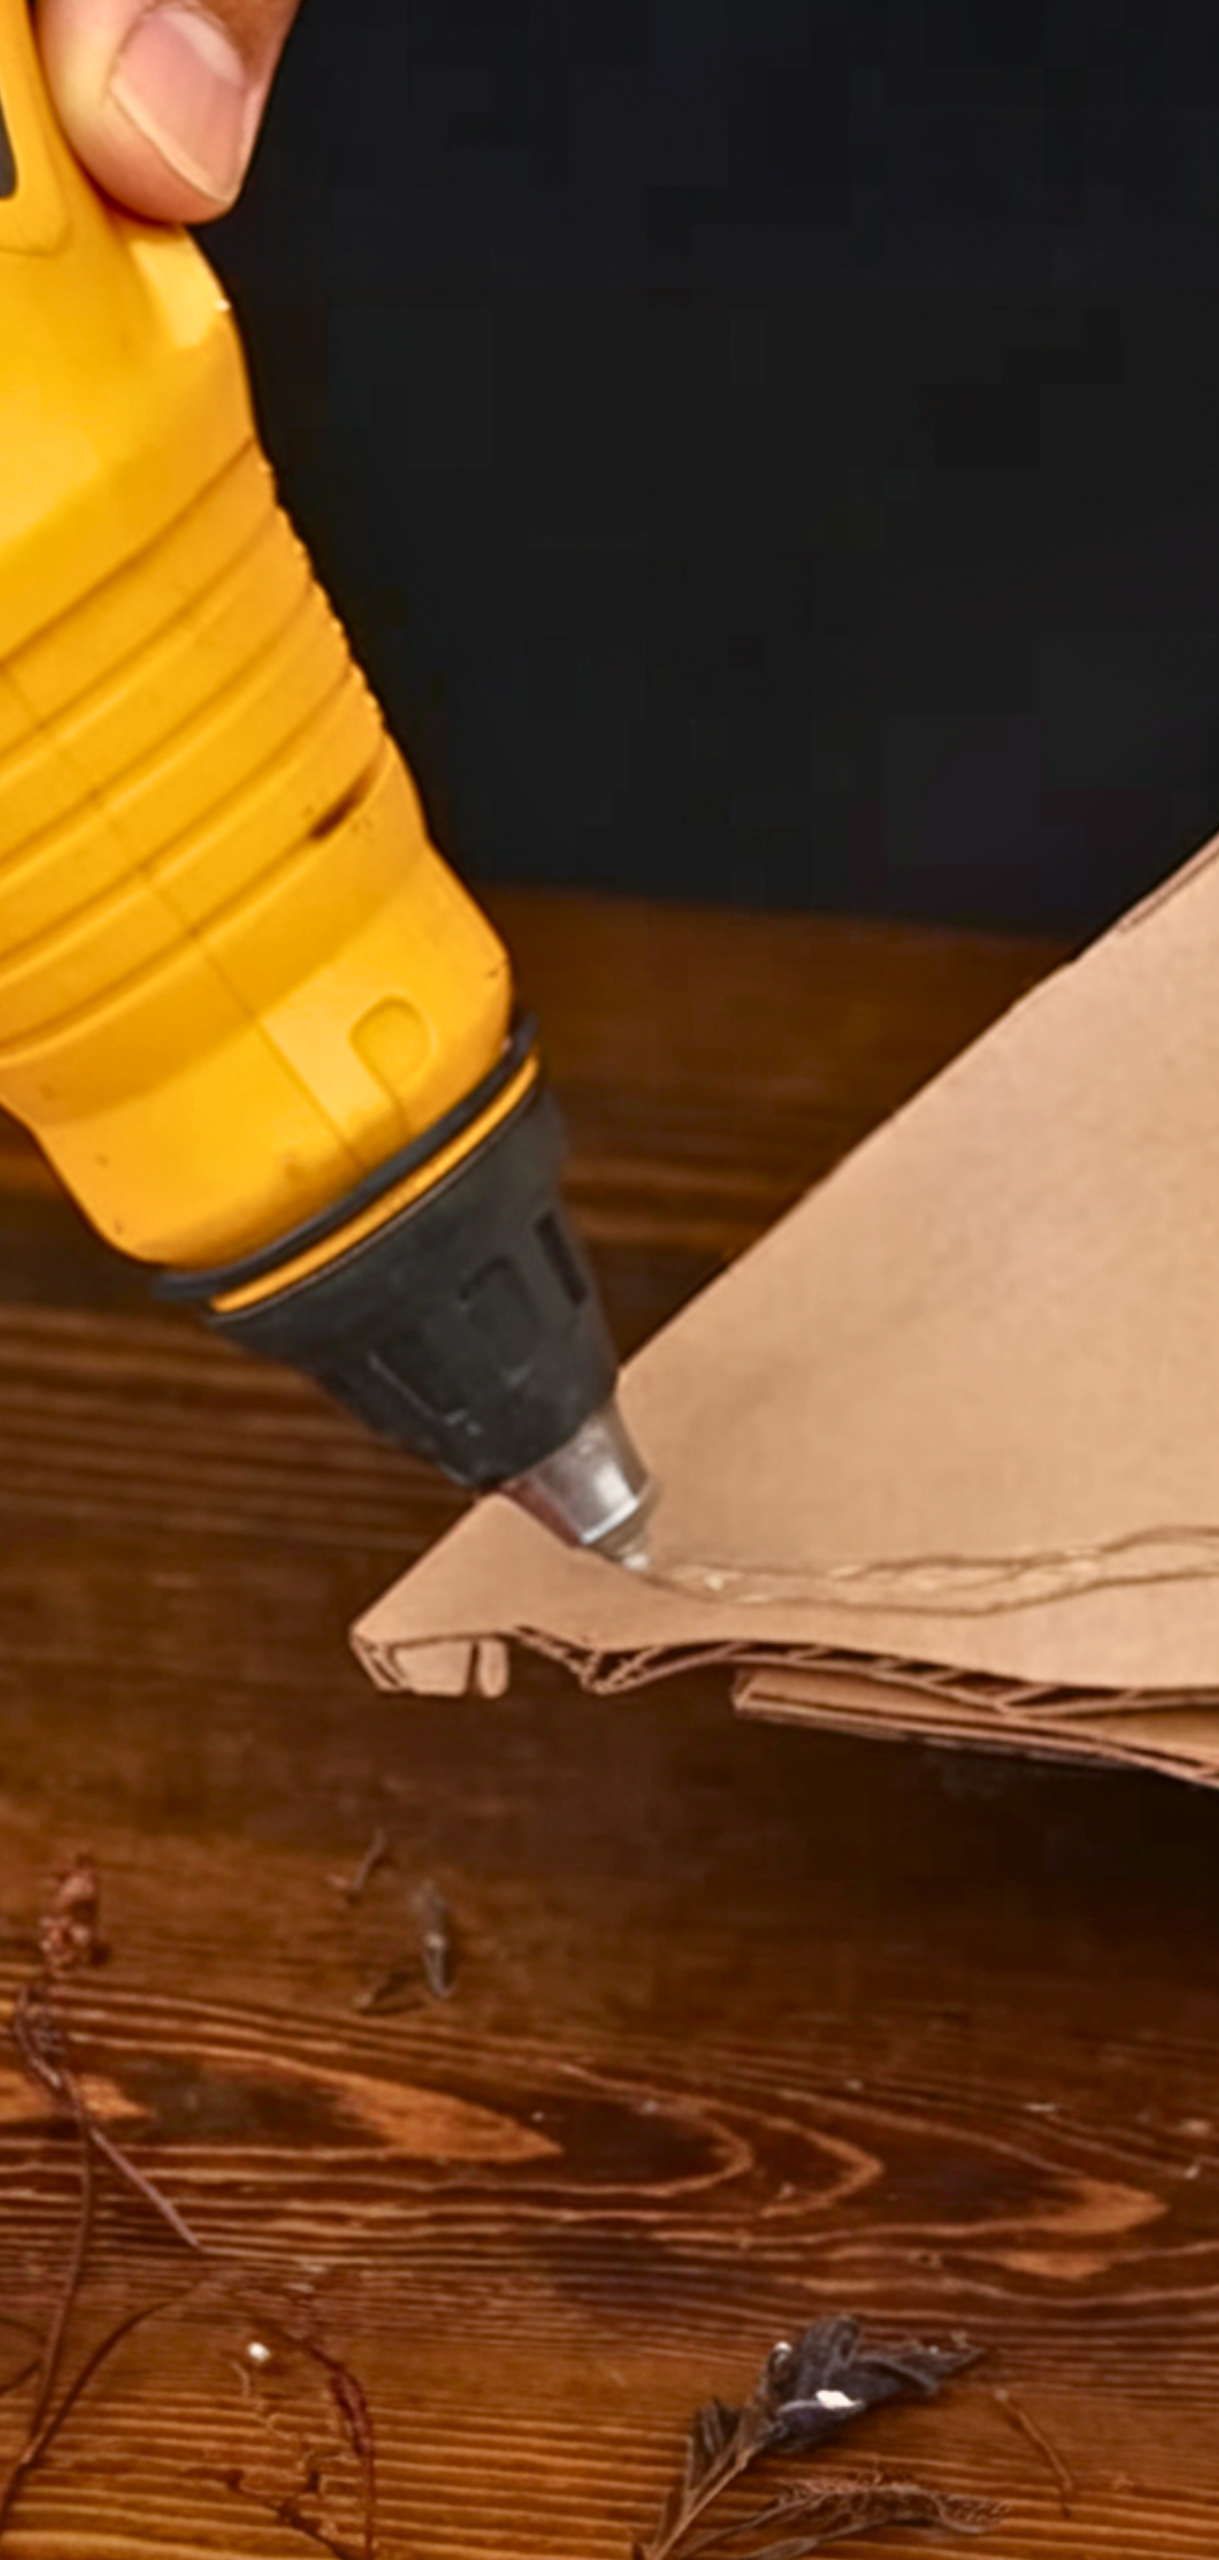
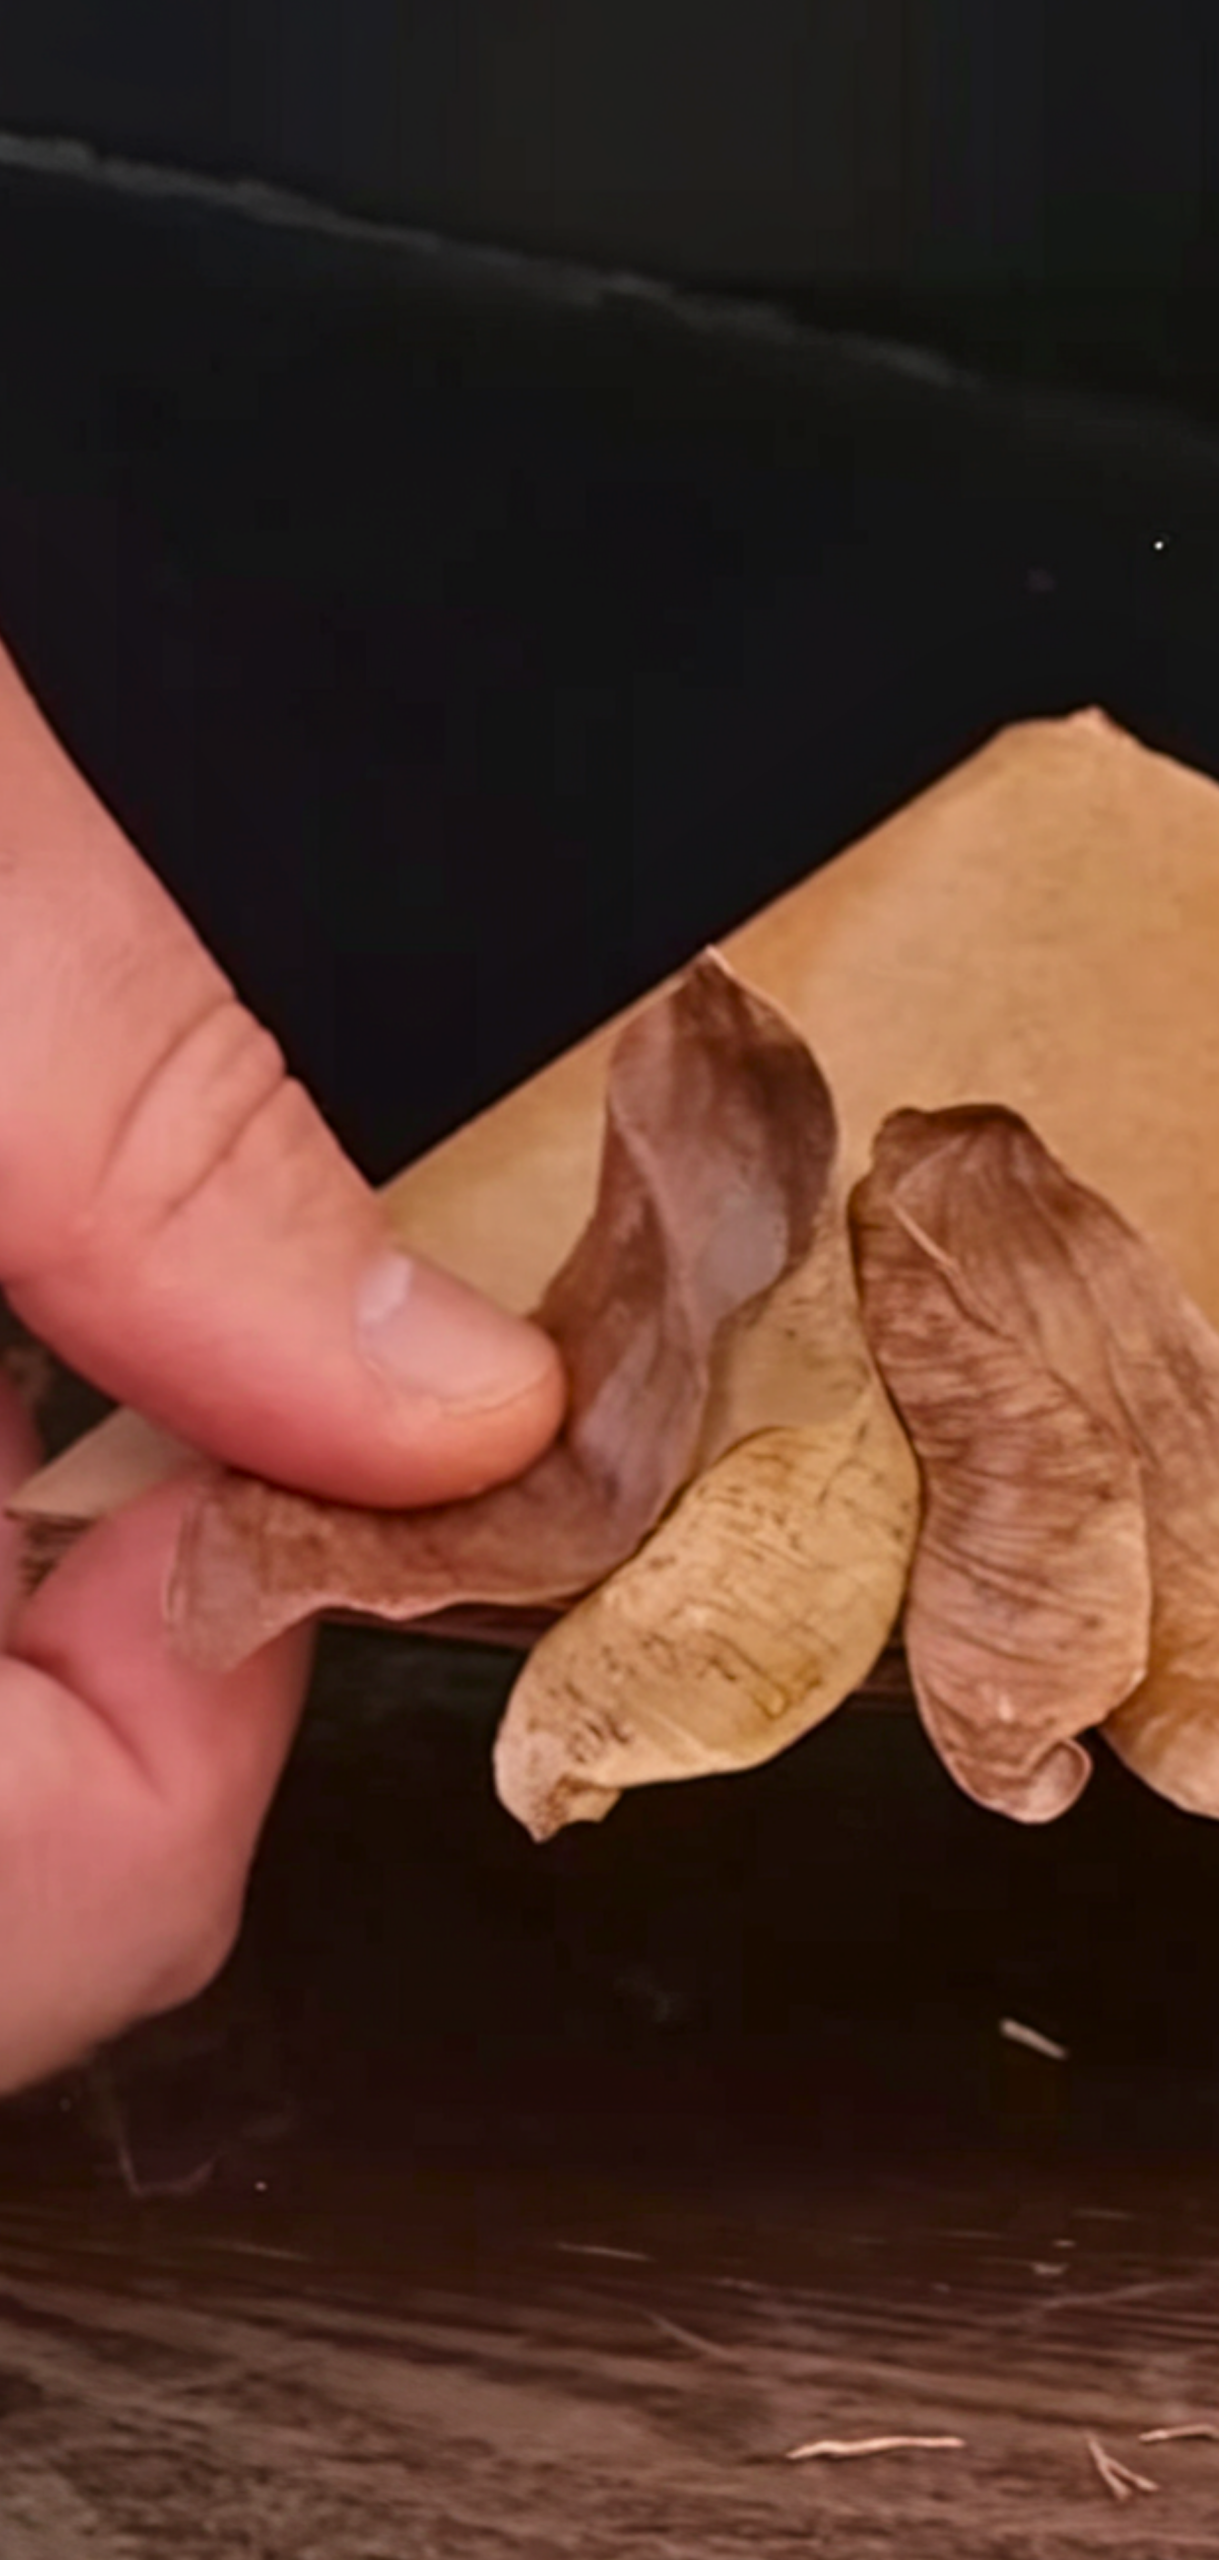
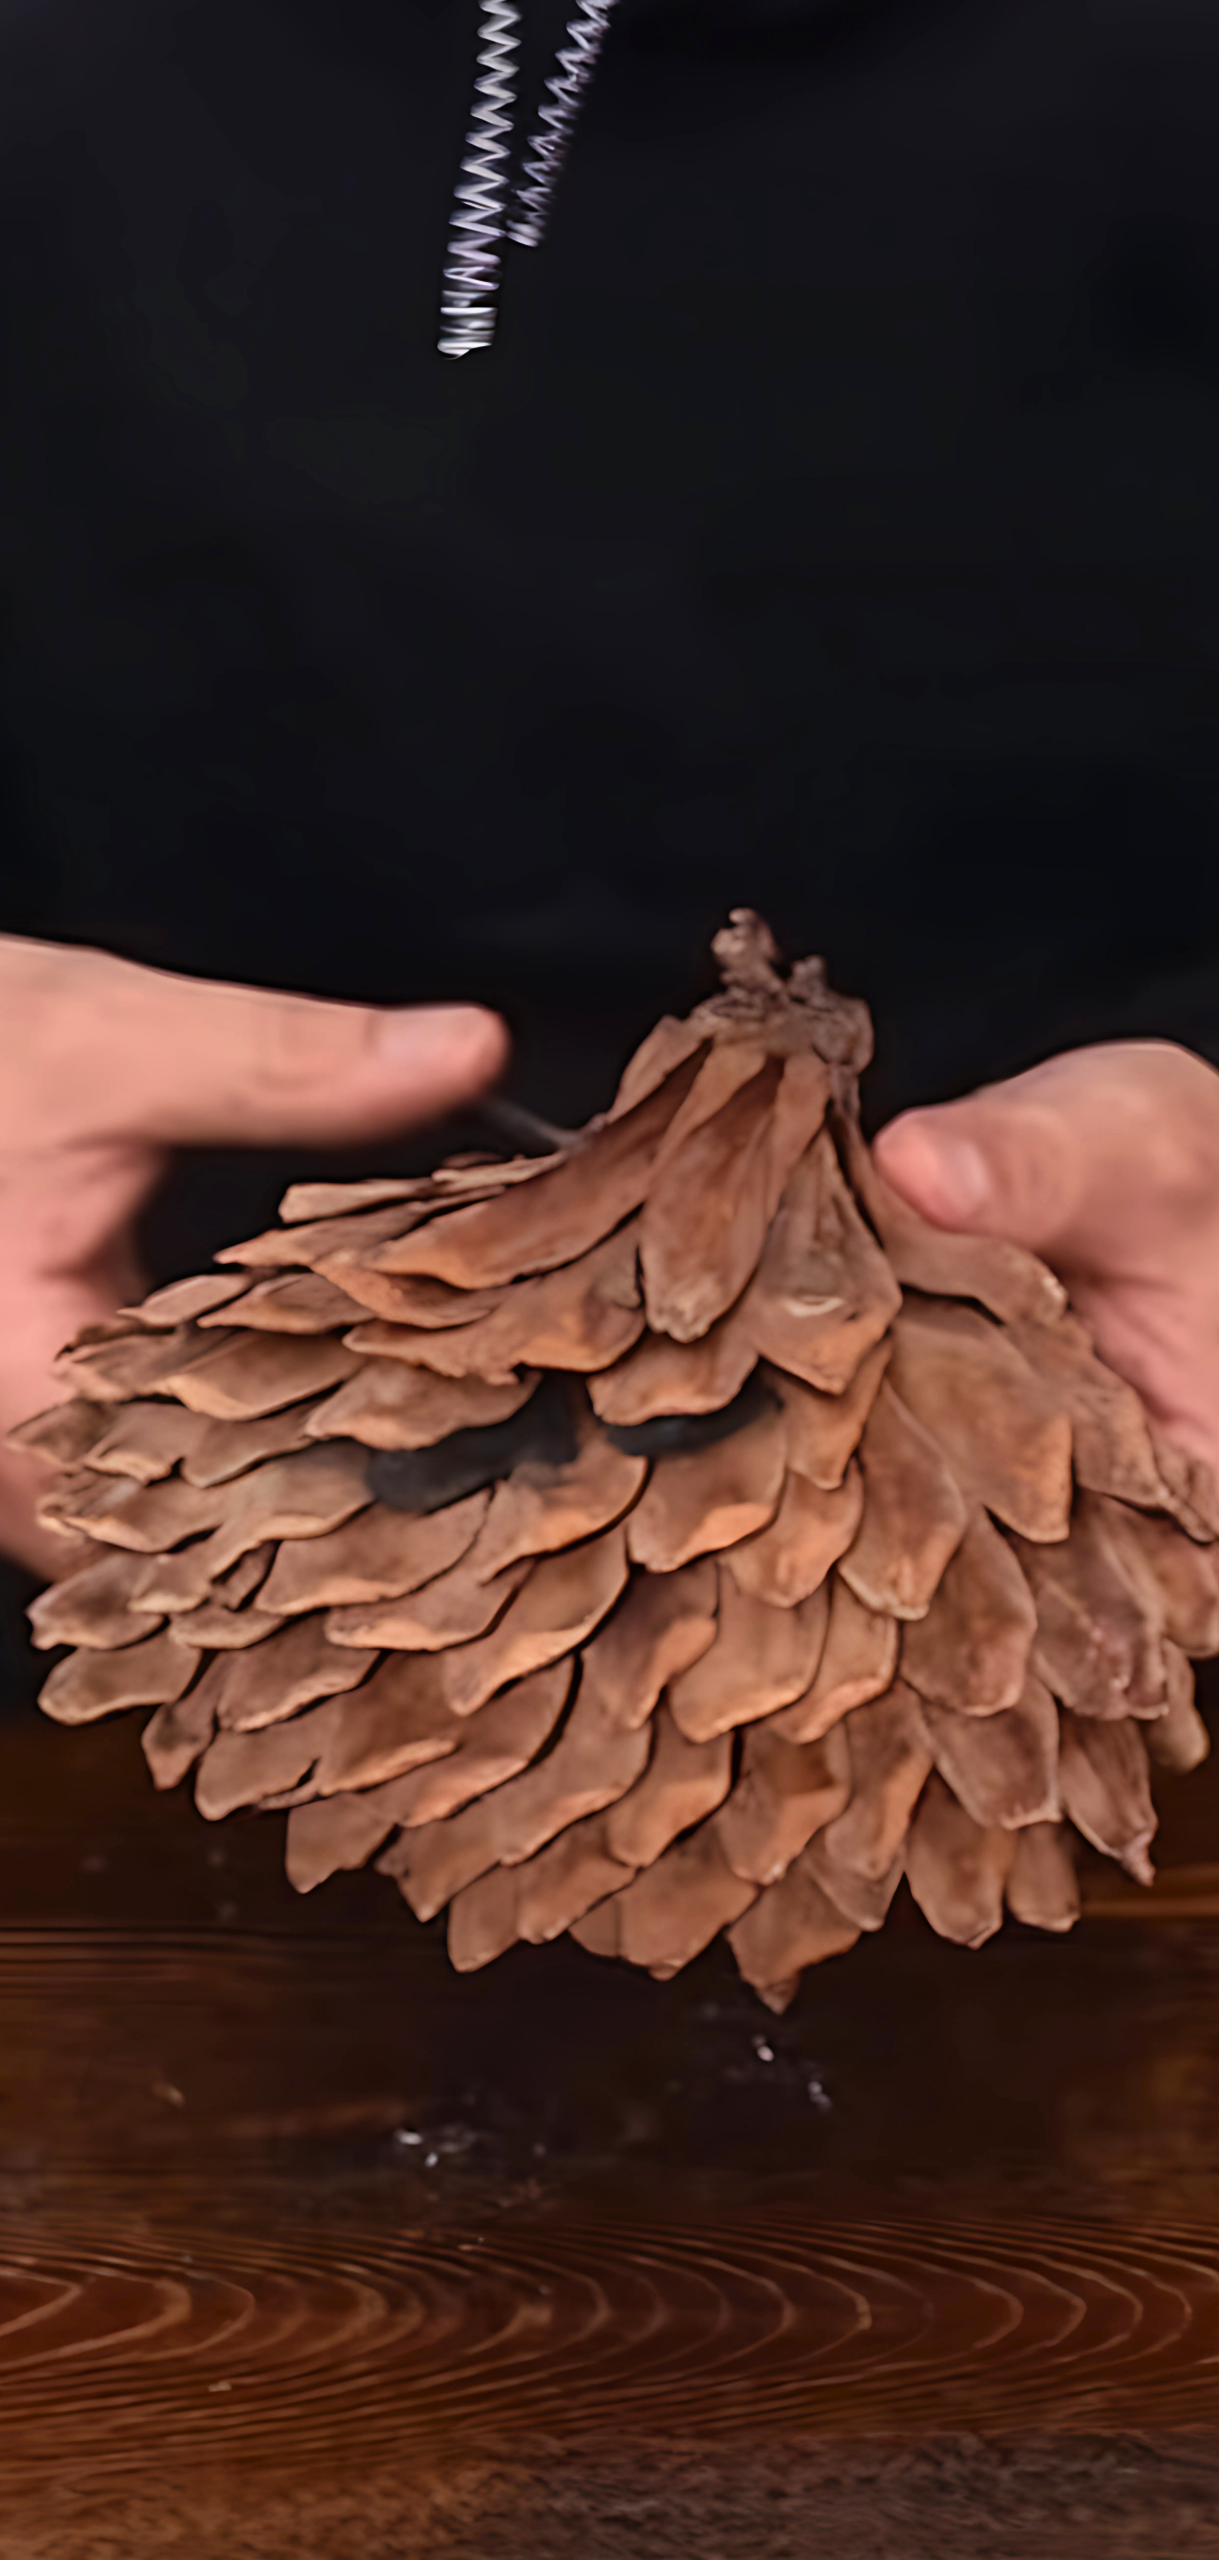
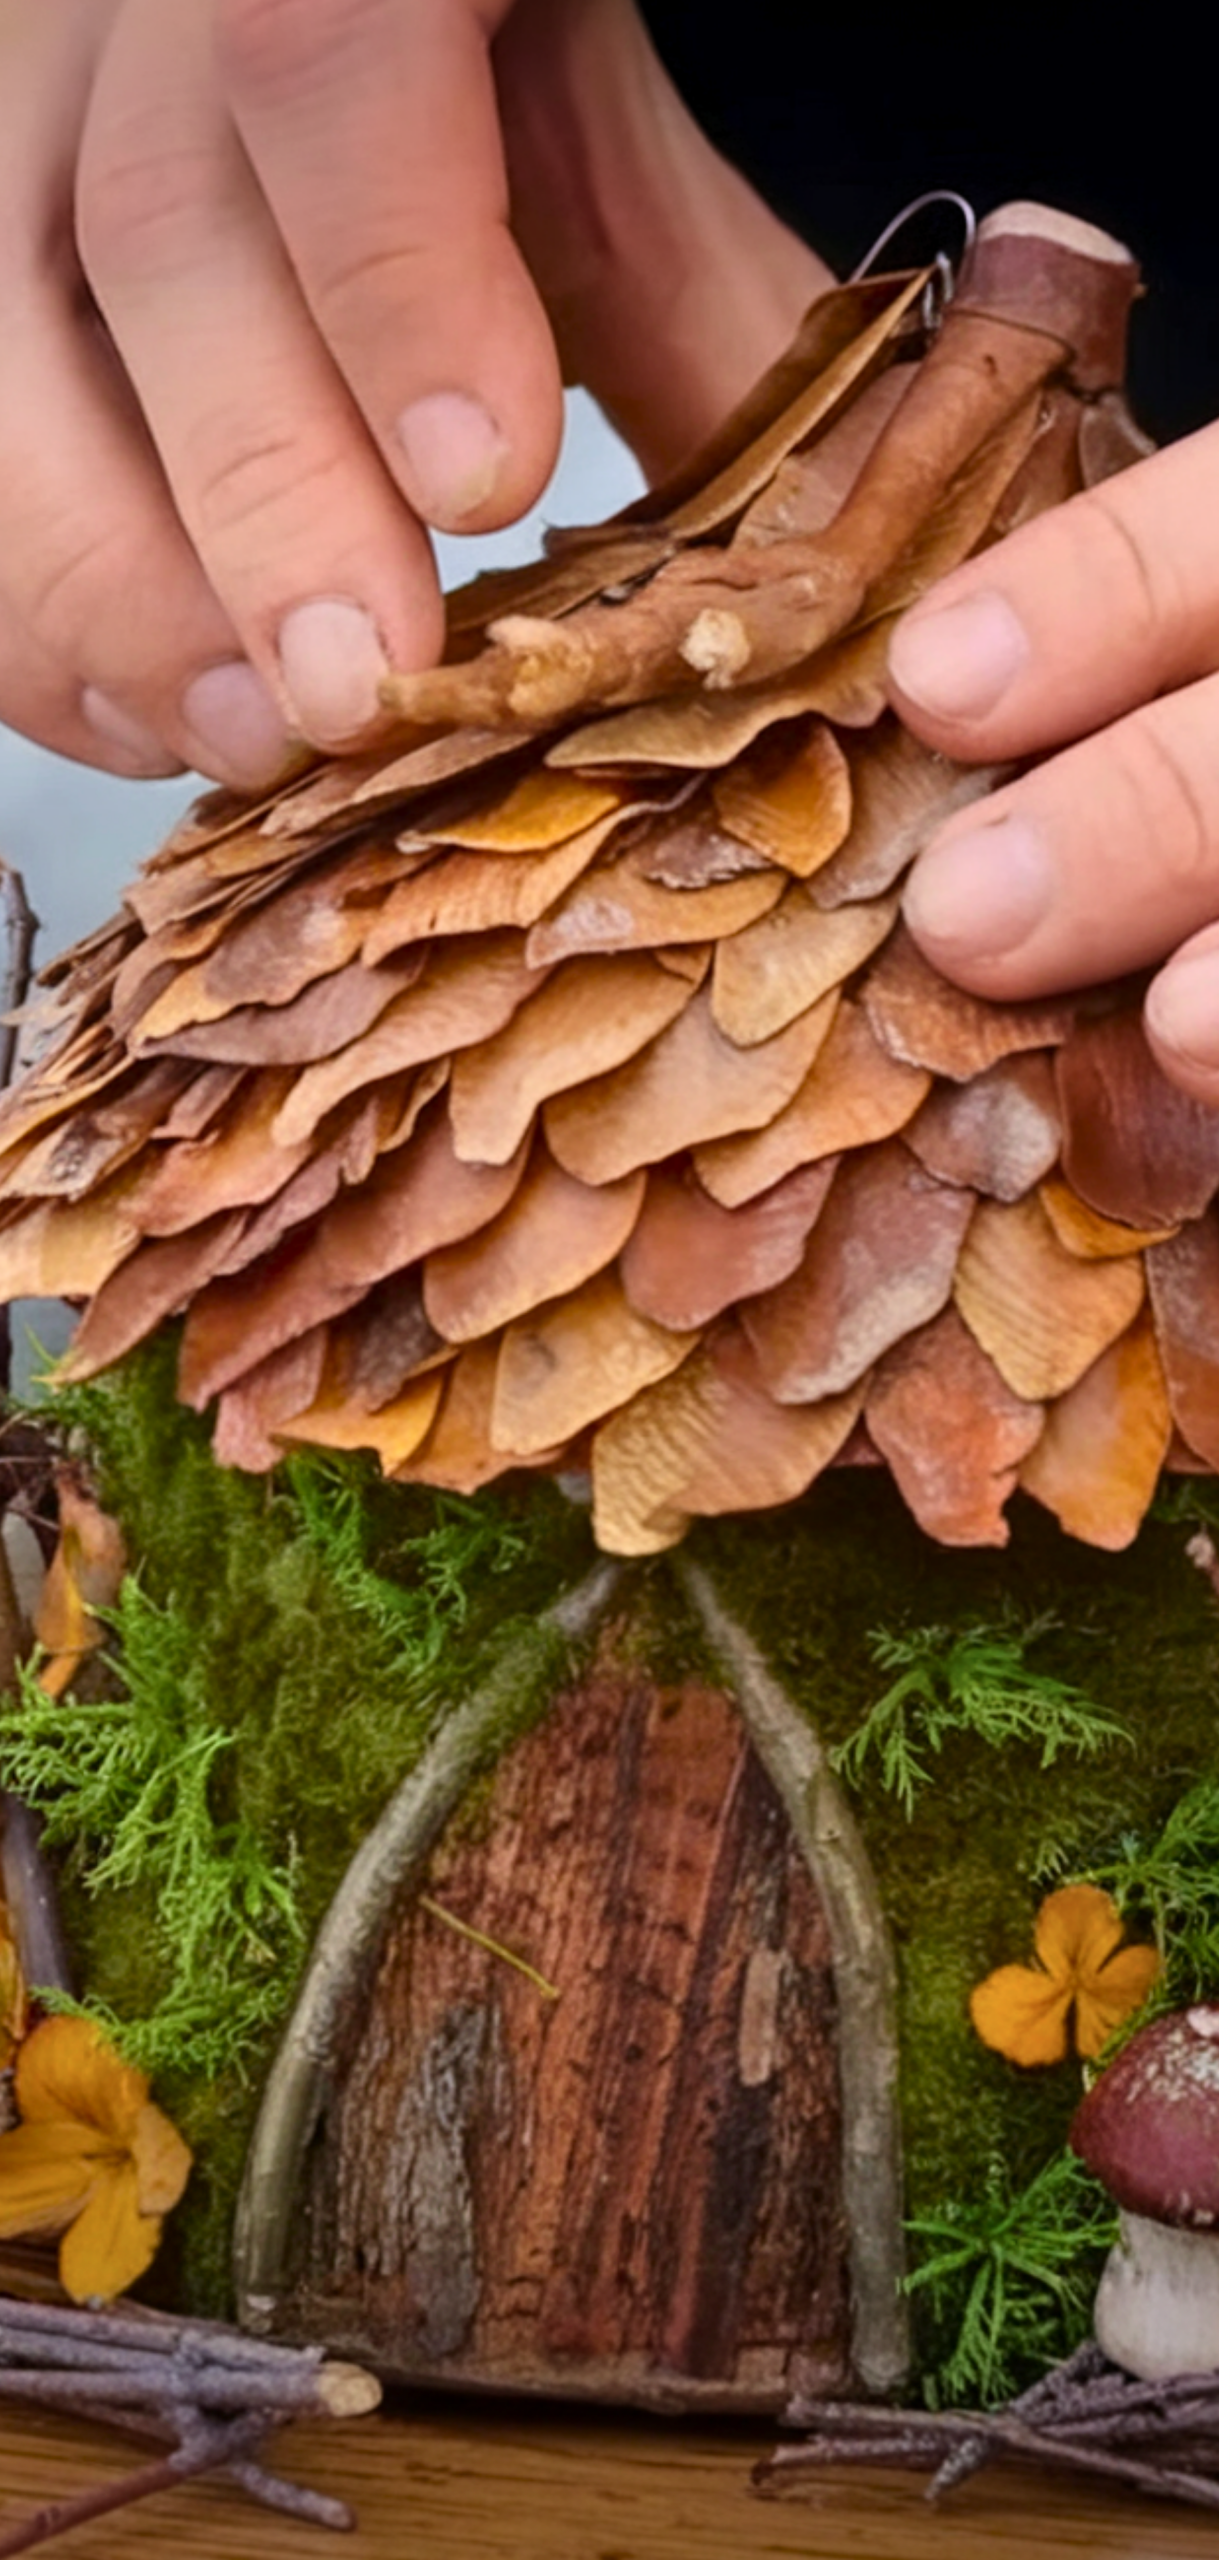
Above your entrance, glue bark pieces on a carton. You can also line the pot’s rim with bark to create a roof-like effect.
Step 4: Add Texture & Moss
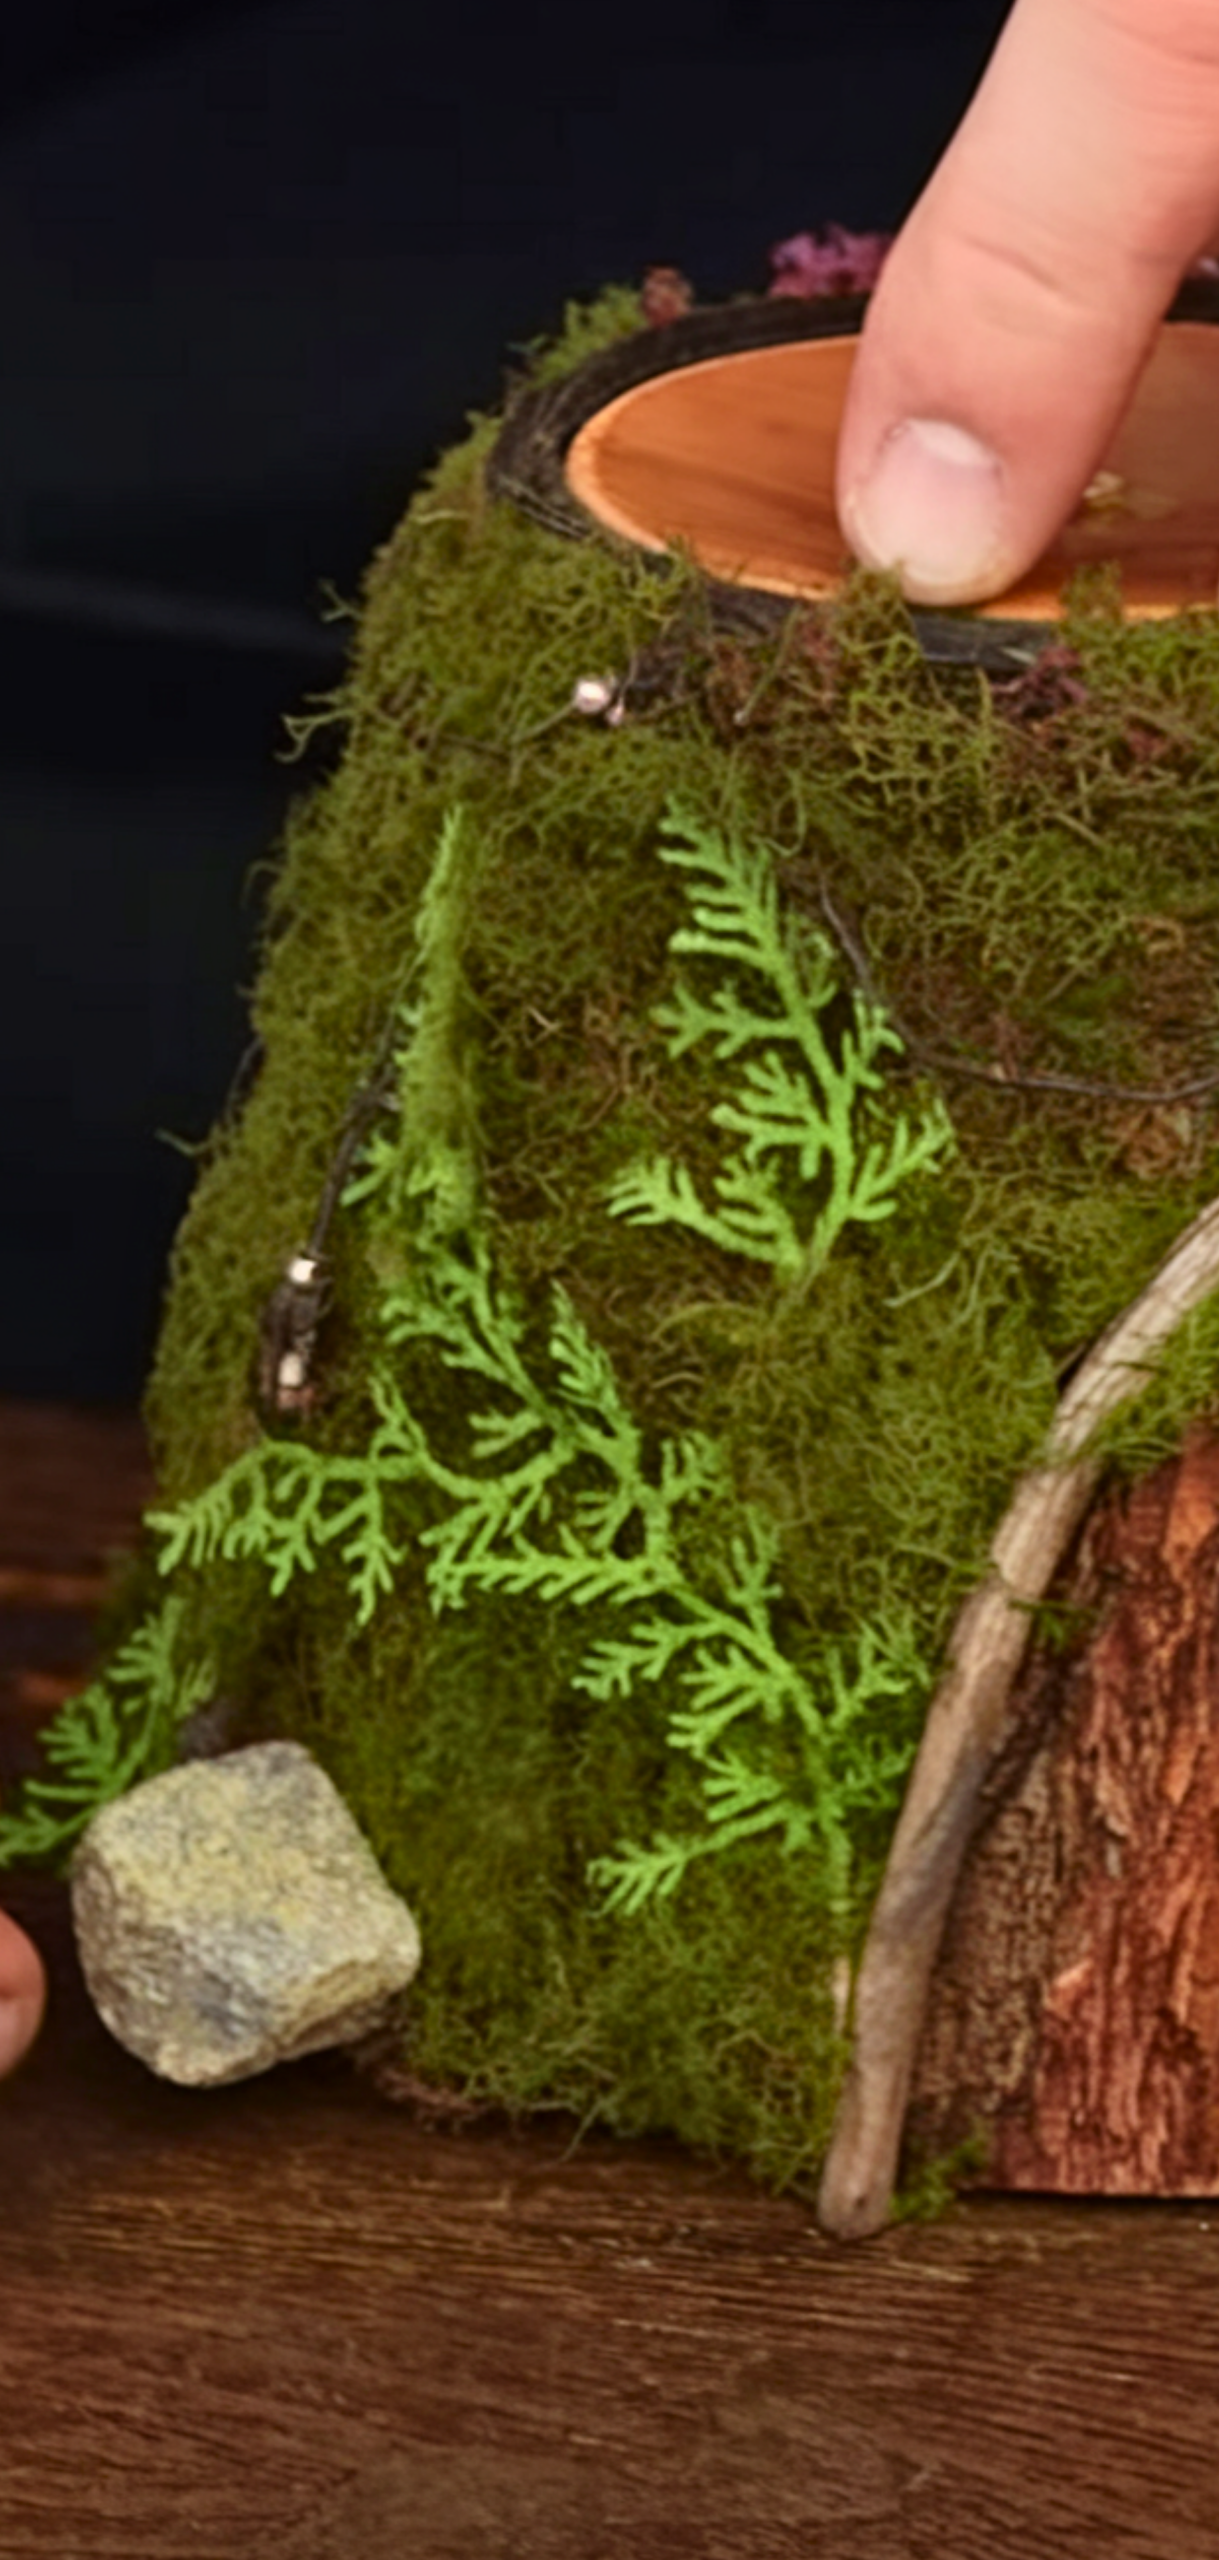
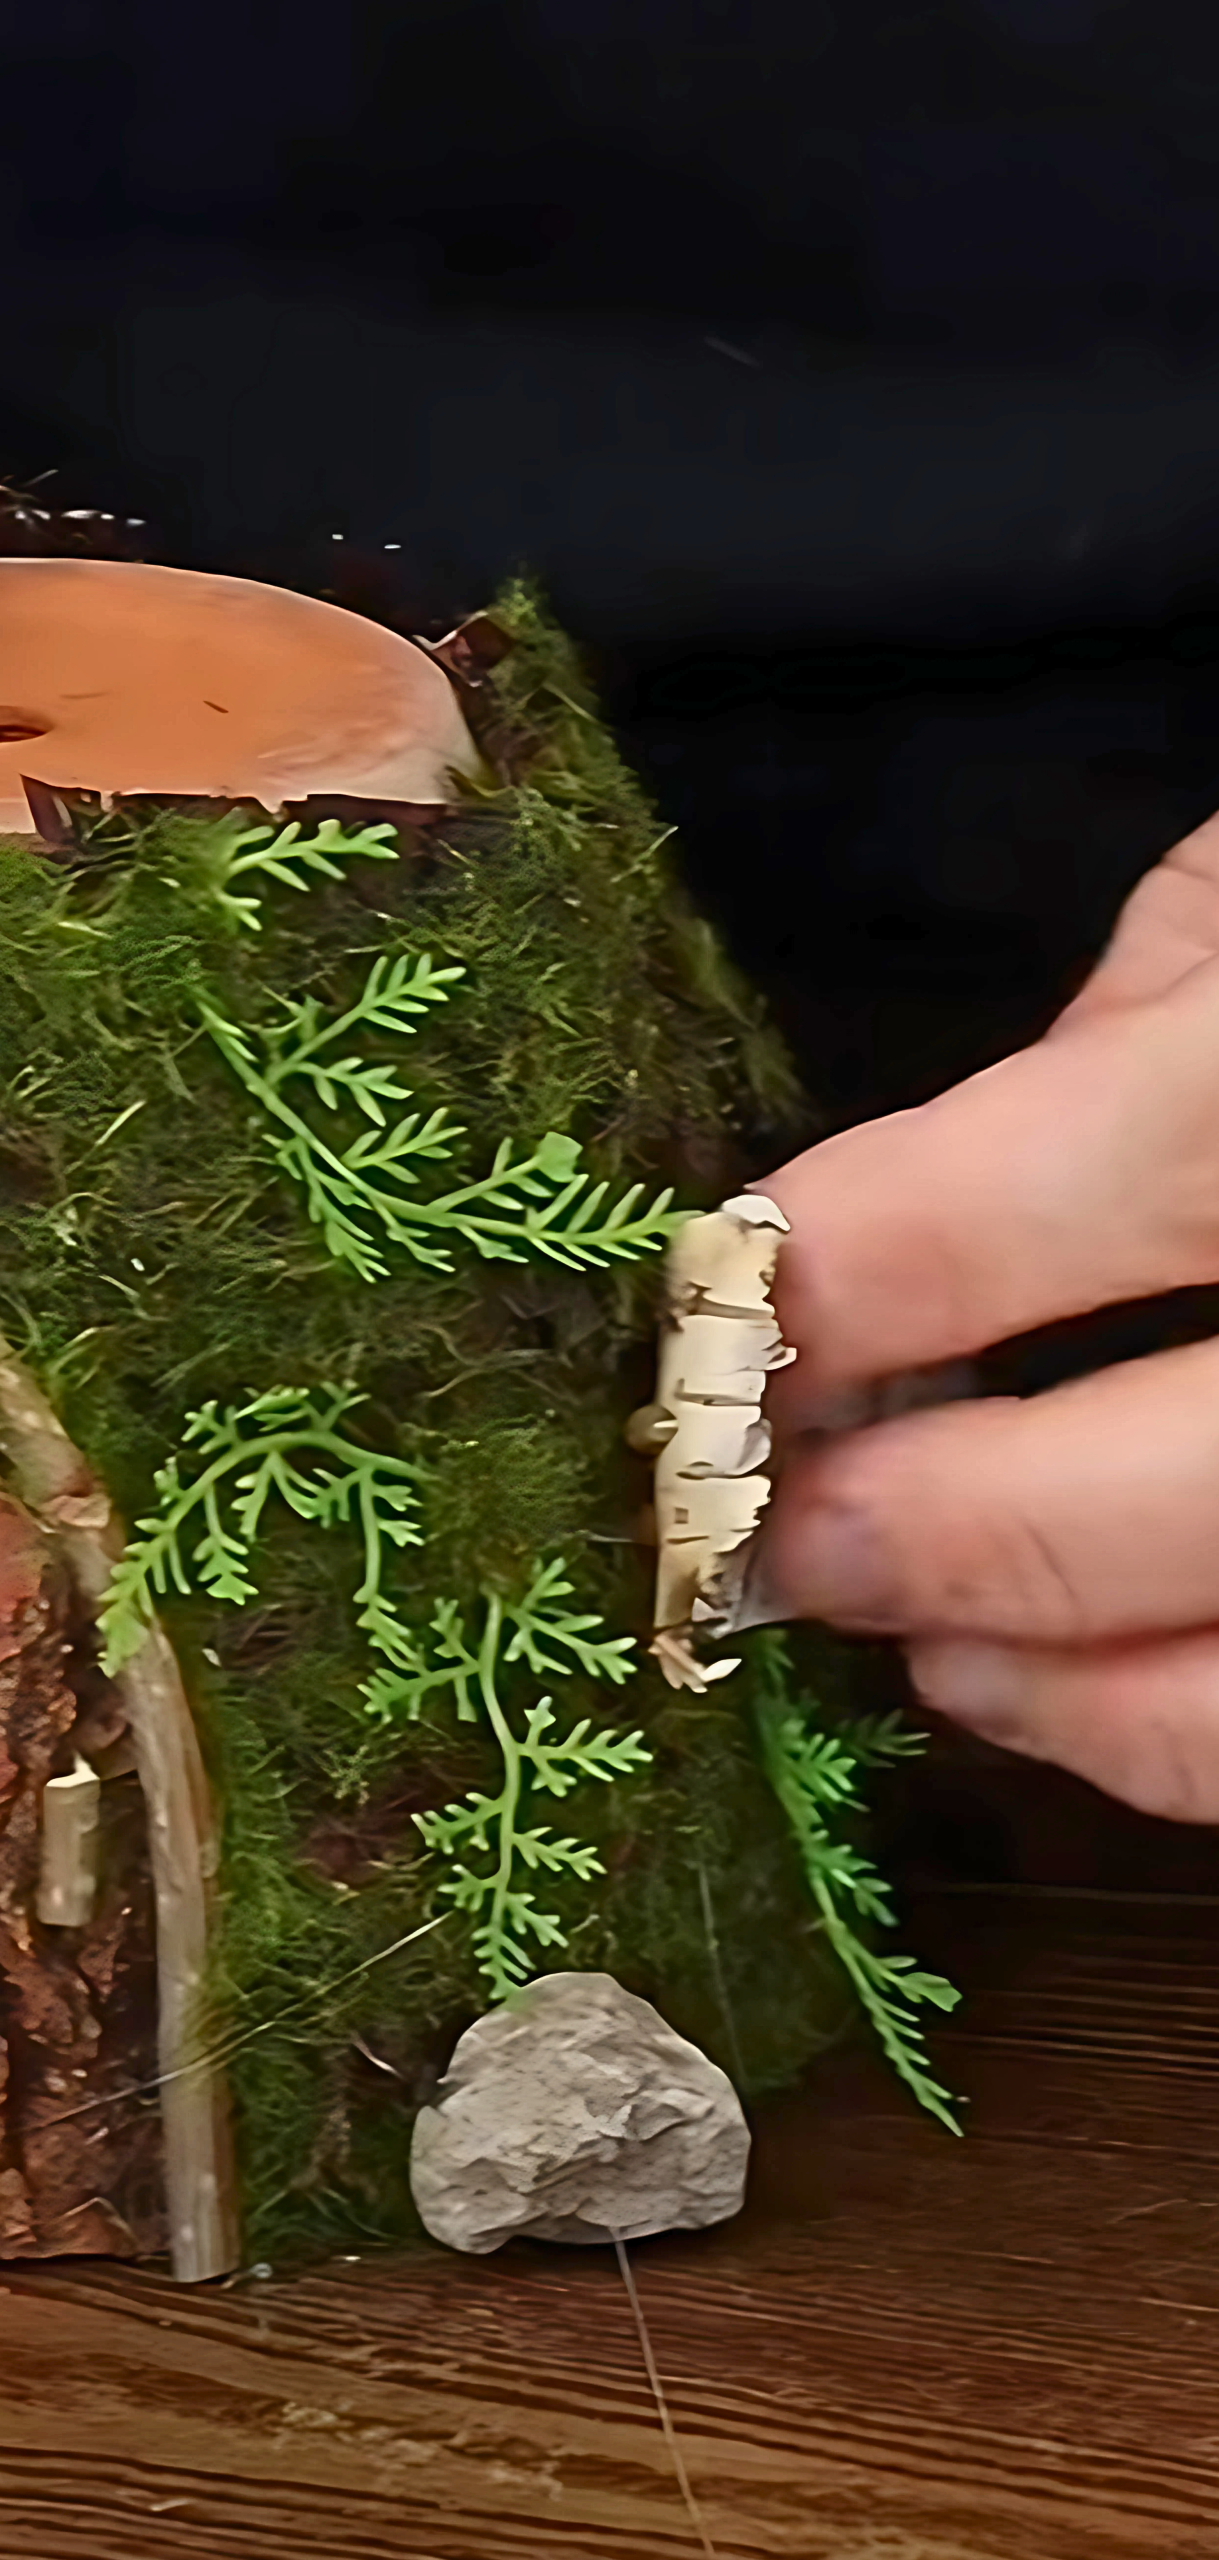
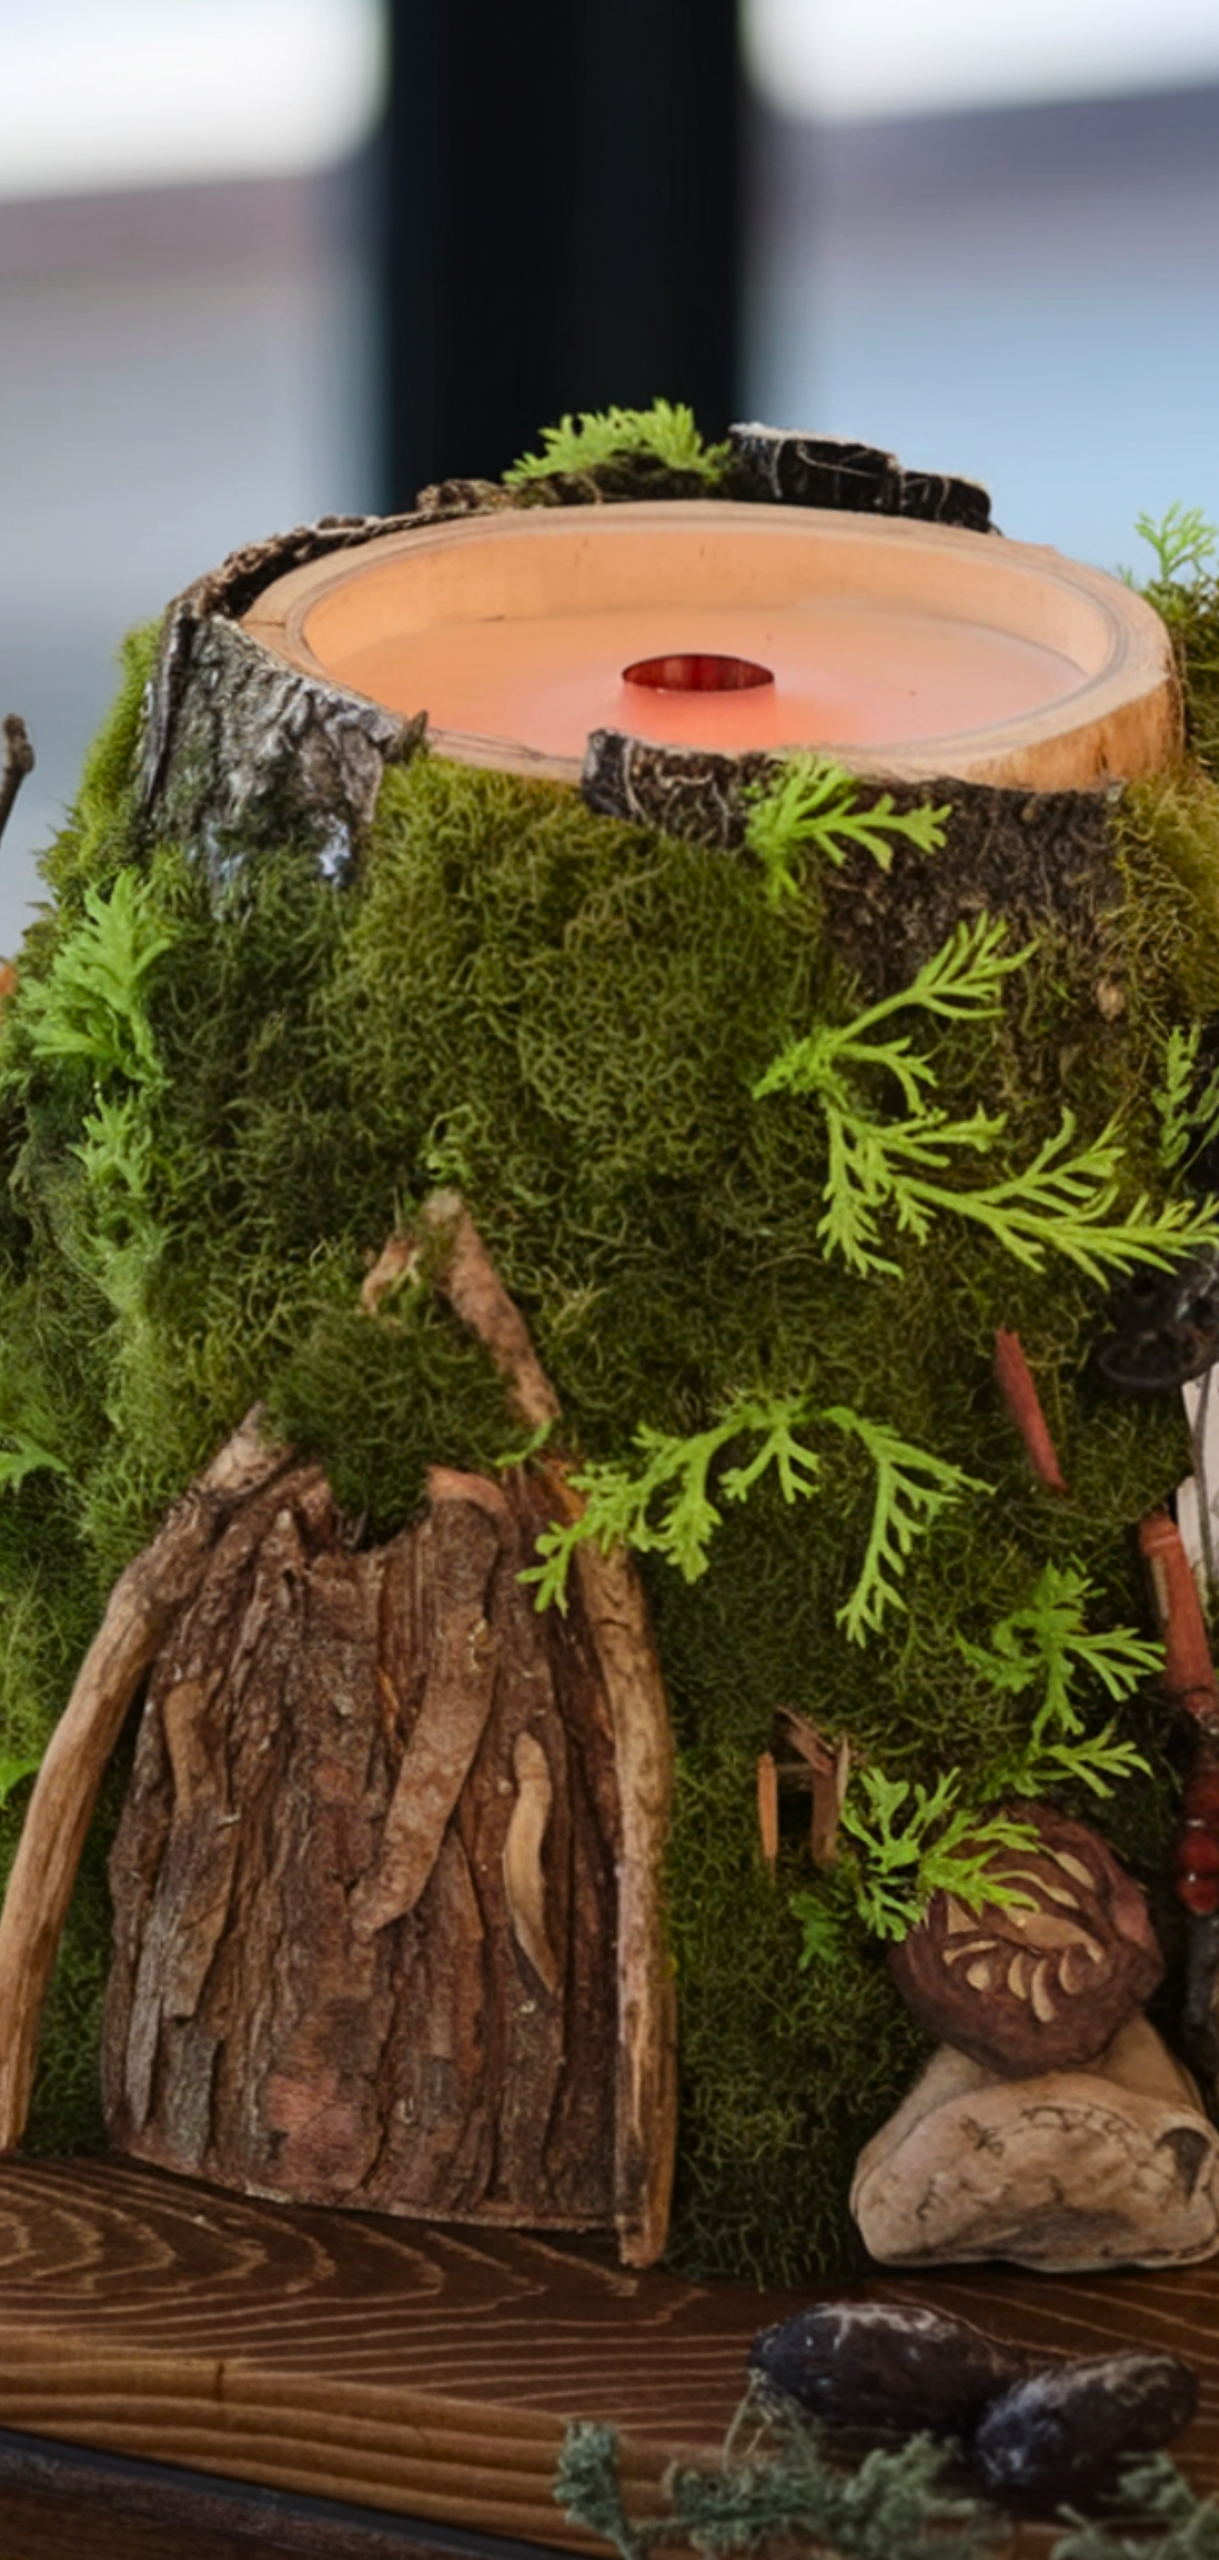
For an organic appearance, glue moss patches along the pot and around the door. With these simple steps, my fairy house planter looks more beautiful.
Step 5: Plant Your Mini Garden
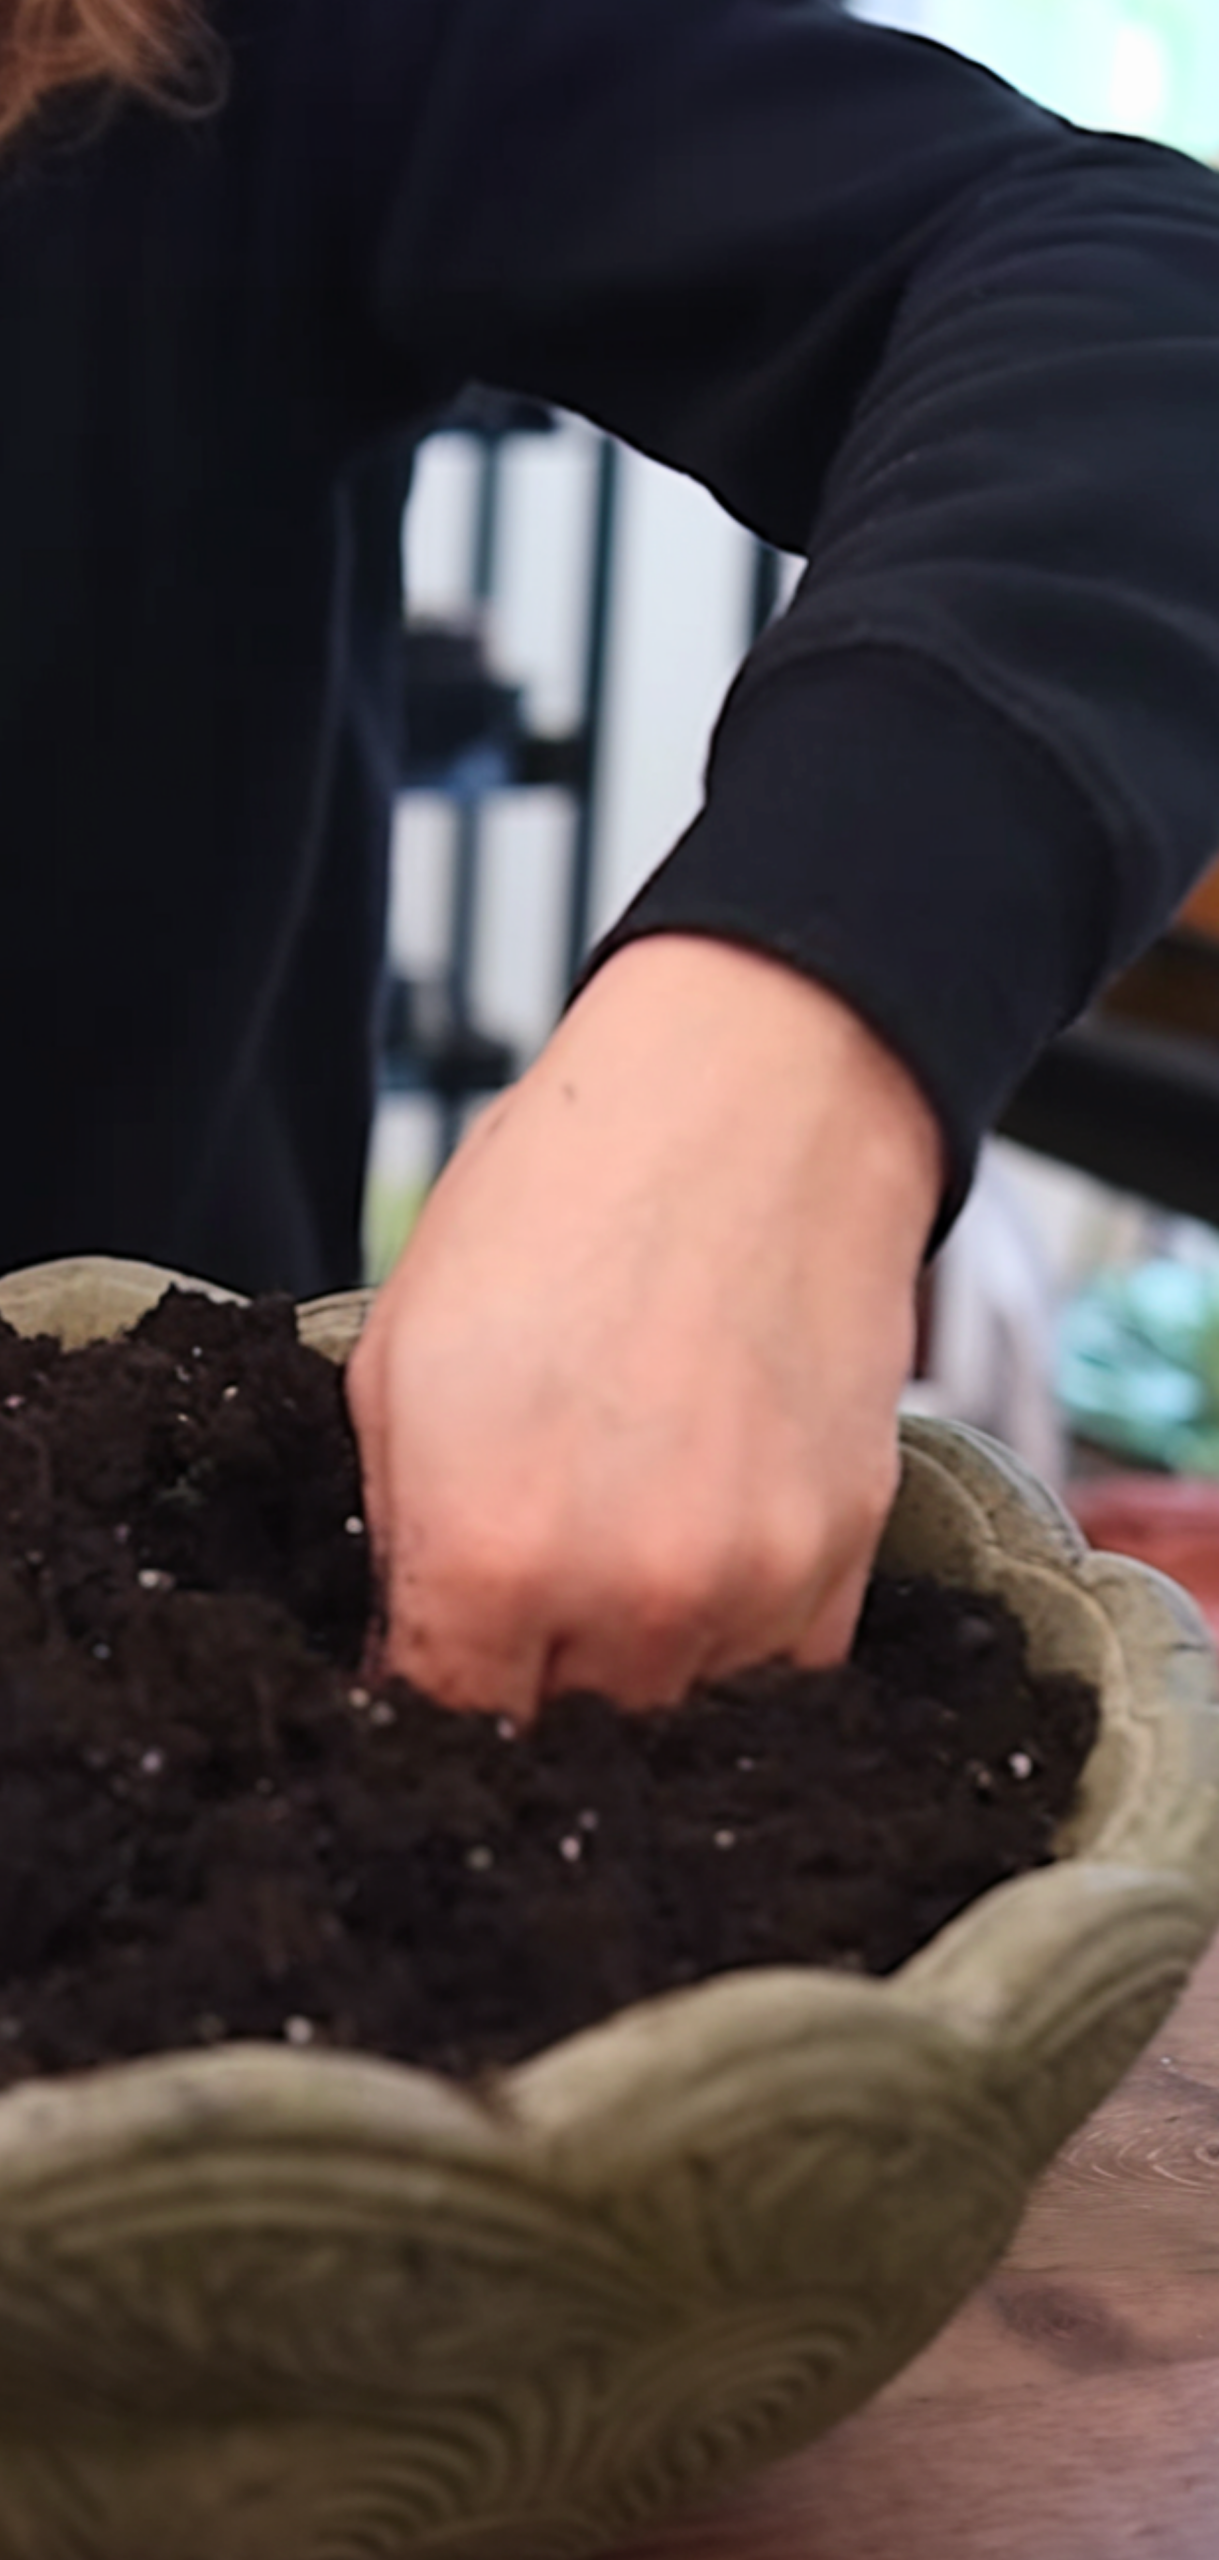
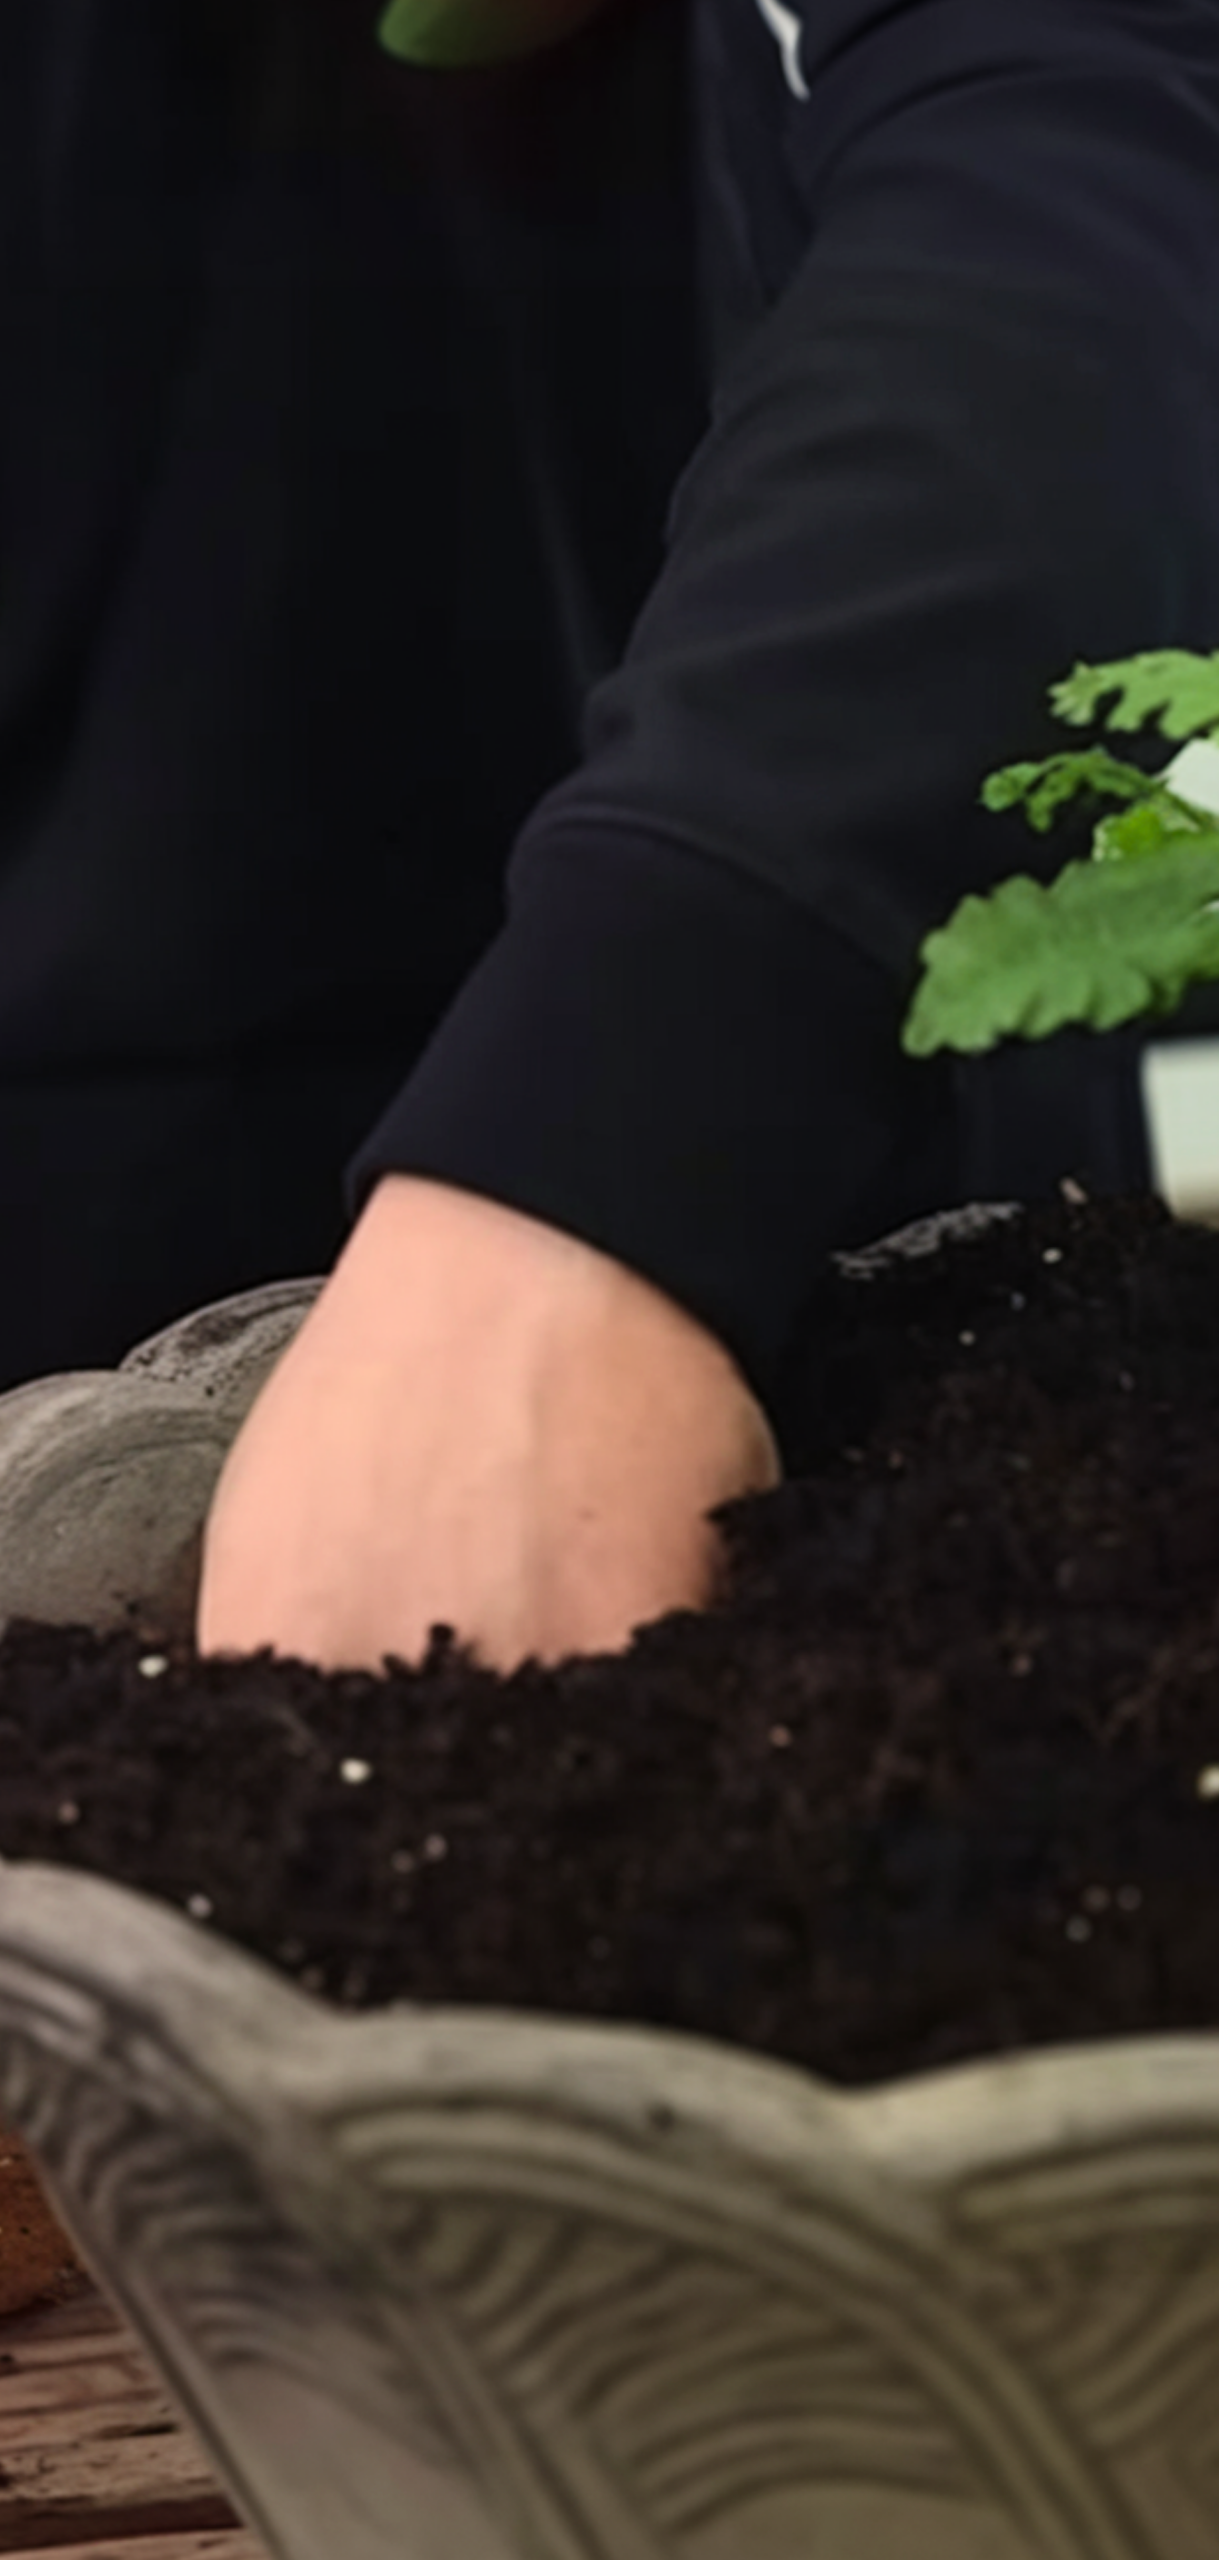
Carefully plant your chosen greenery inside the pot. The plants act like a stunning backyard.
Step 6: Embellish with Mini Accents
Include small sculptures of fairies or mushrooms. It gave me a charming atmosphere and stronger impression just by adding final touches.
Step 7: Set Up and Enjoy
Place your fairy house planter in a bright spot on your porch. Water lightly, and enjoy the whimsical atmosphere it brings!
Pro Tips
- Use hot glue to withstand your moisture.
- For a miniature roof, glue bark pieces at an angle above the door.
- Choose plants like succulents if you want to forget maintenance.
- If displaying outdoors, apply a weatherproof sealant over glue areas to protect from rain.
FAQs
Can I use painted pots instead of terracotta for these fairy house planters?
Yes.
Can my kids help me with this craft?
Absolutely.
What plants work best for these fairy house planters?
I used succulents because they won’t outgrow my pot quickly.
Will the decorations hold up outside?
Yes, for that I used my outdoor-safe glue.
How often should I water it?
Water based on your plant choice.
Can I recreate this with other pots or containers?
Yes.
Conclusion
This charming DIY fairy house planter combines craft and gardening into one lovely project. You may create a fairy haven that gives personality to any place with basic supplies and your little imagination.