Join the fastest growing Craft community on Pinterest!
When I decided to add a whimsical gnome to my fairy garden planter, I imagined something like a gnome with a cheerful hat and maybe even tiny moss boots.
But the moment I pulled out my clay, my excitement quickly turned to hesitation. Which type should I use? Would it hold up outdoors? Would the details I wanted, those little curls in the beard or the tilt of the hat, be ruined by sticky fingerprints or brittle cracks?
I had just added a fairy house planter to my front porch to match my woven fall wreath, and this gnome was supposed to complete the scene, not frustrate me halfway through the process.
After a few experiments (and a few collapsed hats), I landed on a combination that worked beautifully. Using air-dry clay in neutral tones for the body and bright red for the hat, I built the gnome shape around a simple tinfoil core to avoid cracking.
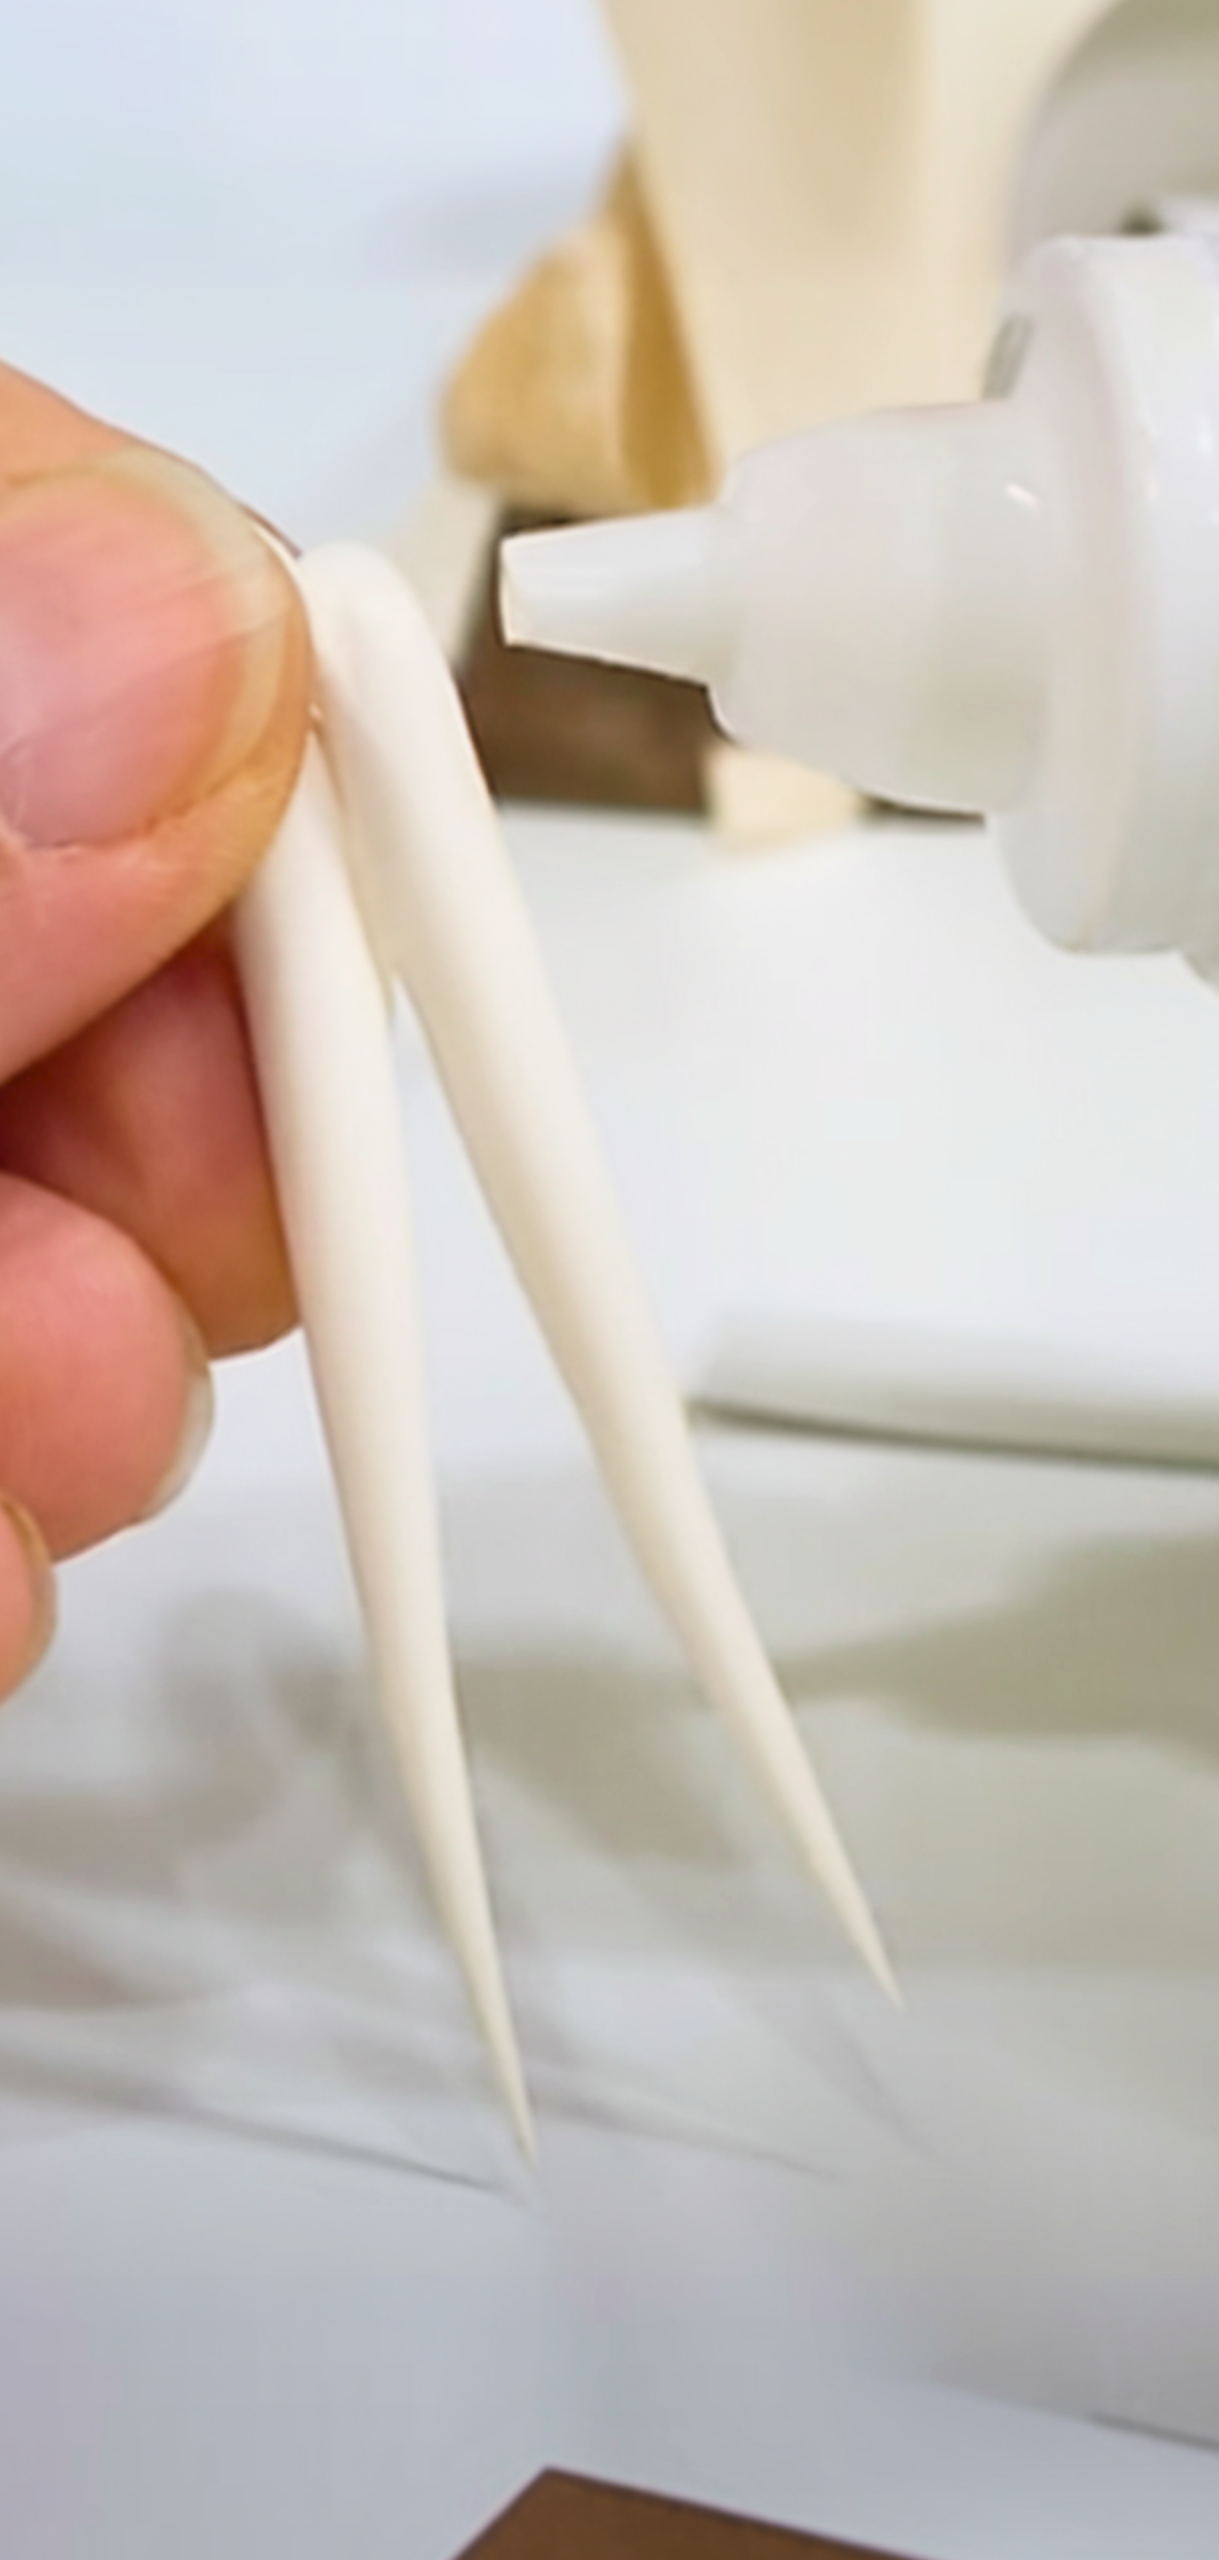
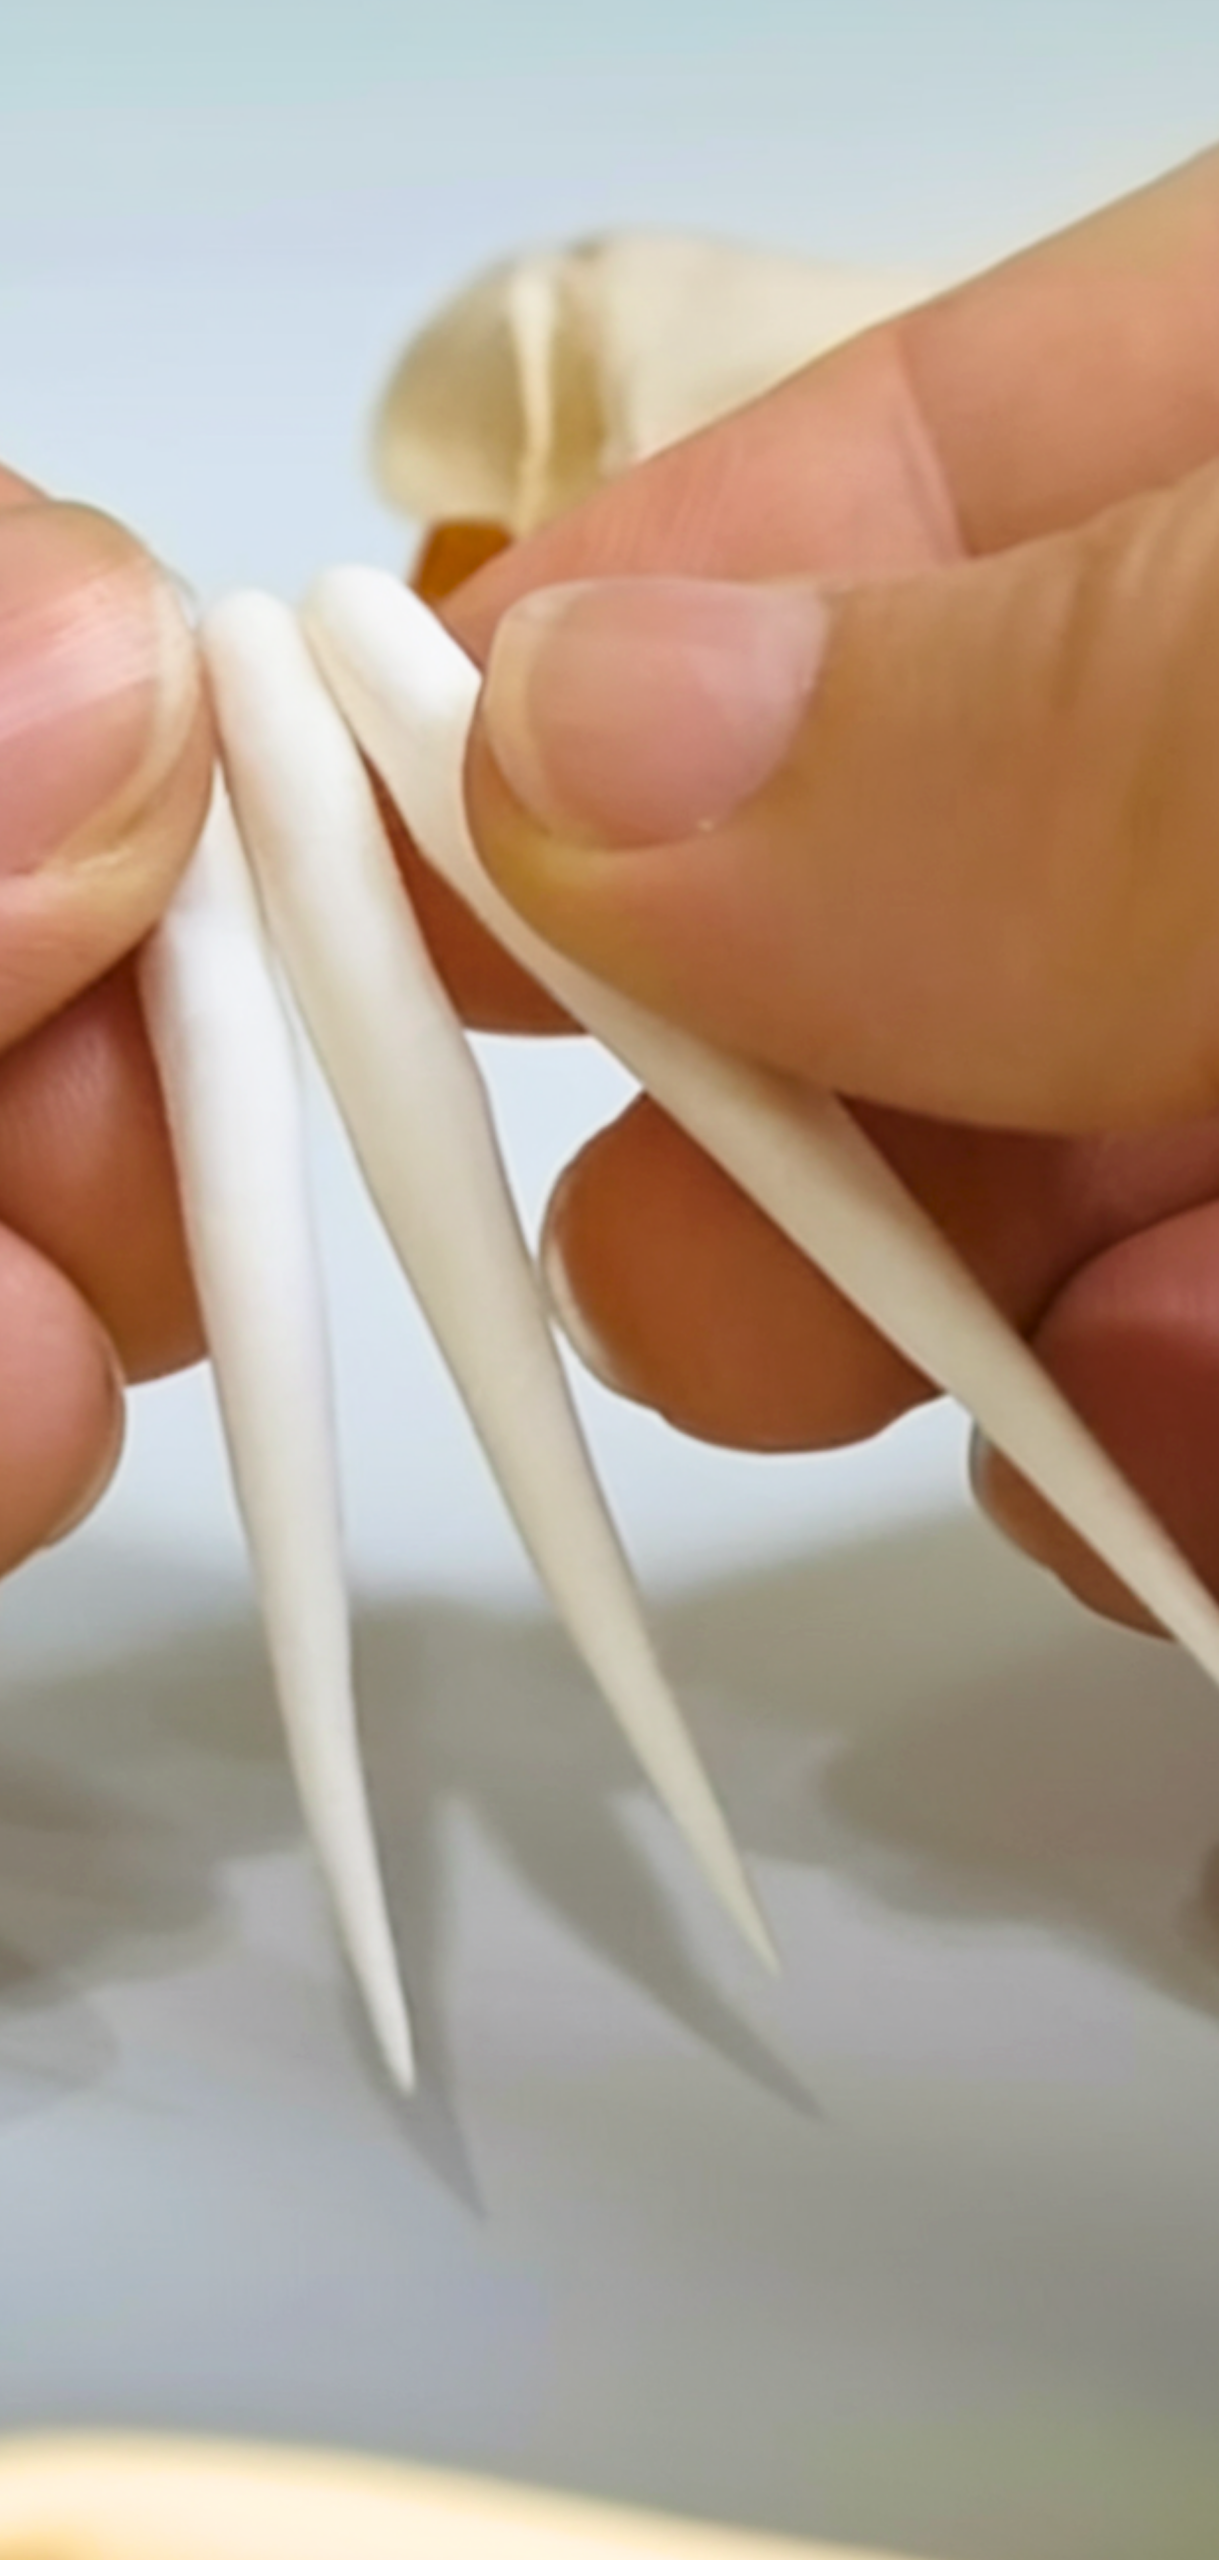
A toothpick helped with sculpting the beard, and I used a silicone-tipped tool to carve lines into the boots and hands. Once dried, I added a pop of character with acrylic paints and a smudge of green on his boots, like he’d just wandered in from the mossy shade. I finished with a coat of sealant for weather resistance to avoid damage from the rain, since my gnome will be out there.
Now, the gnome sits proudly at the base of my fairy house planter, between succulents and bark, with a grin that makes visitors smile. He’s tiny but with a lot of charm, an addition to my farmhouse porch that invites you to look closer and imagine the stories hiding in the orange leaves.
With just a bit of clay and patience, this little guardian turned my planter into a true garden fantasy.
What You Will Need
- Air-dry clay (or polymer clay)
- Sculpting tools
- Acrylic paints
- Paintbrushes
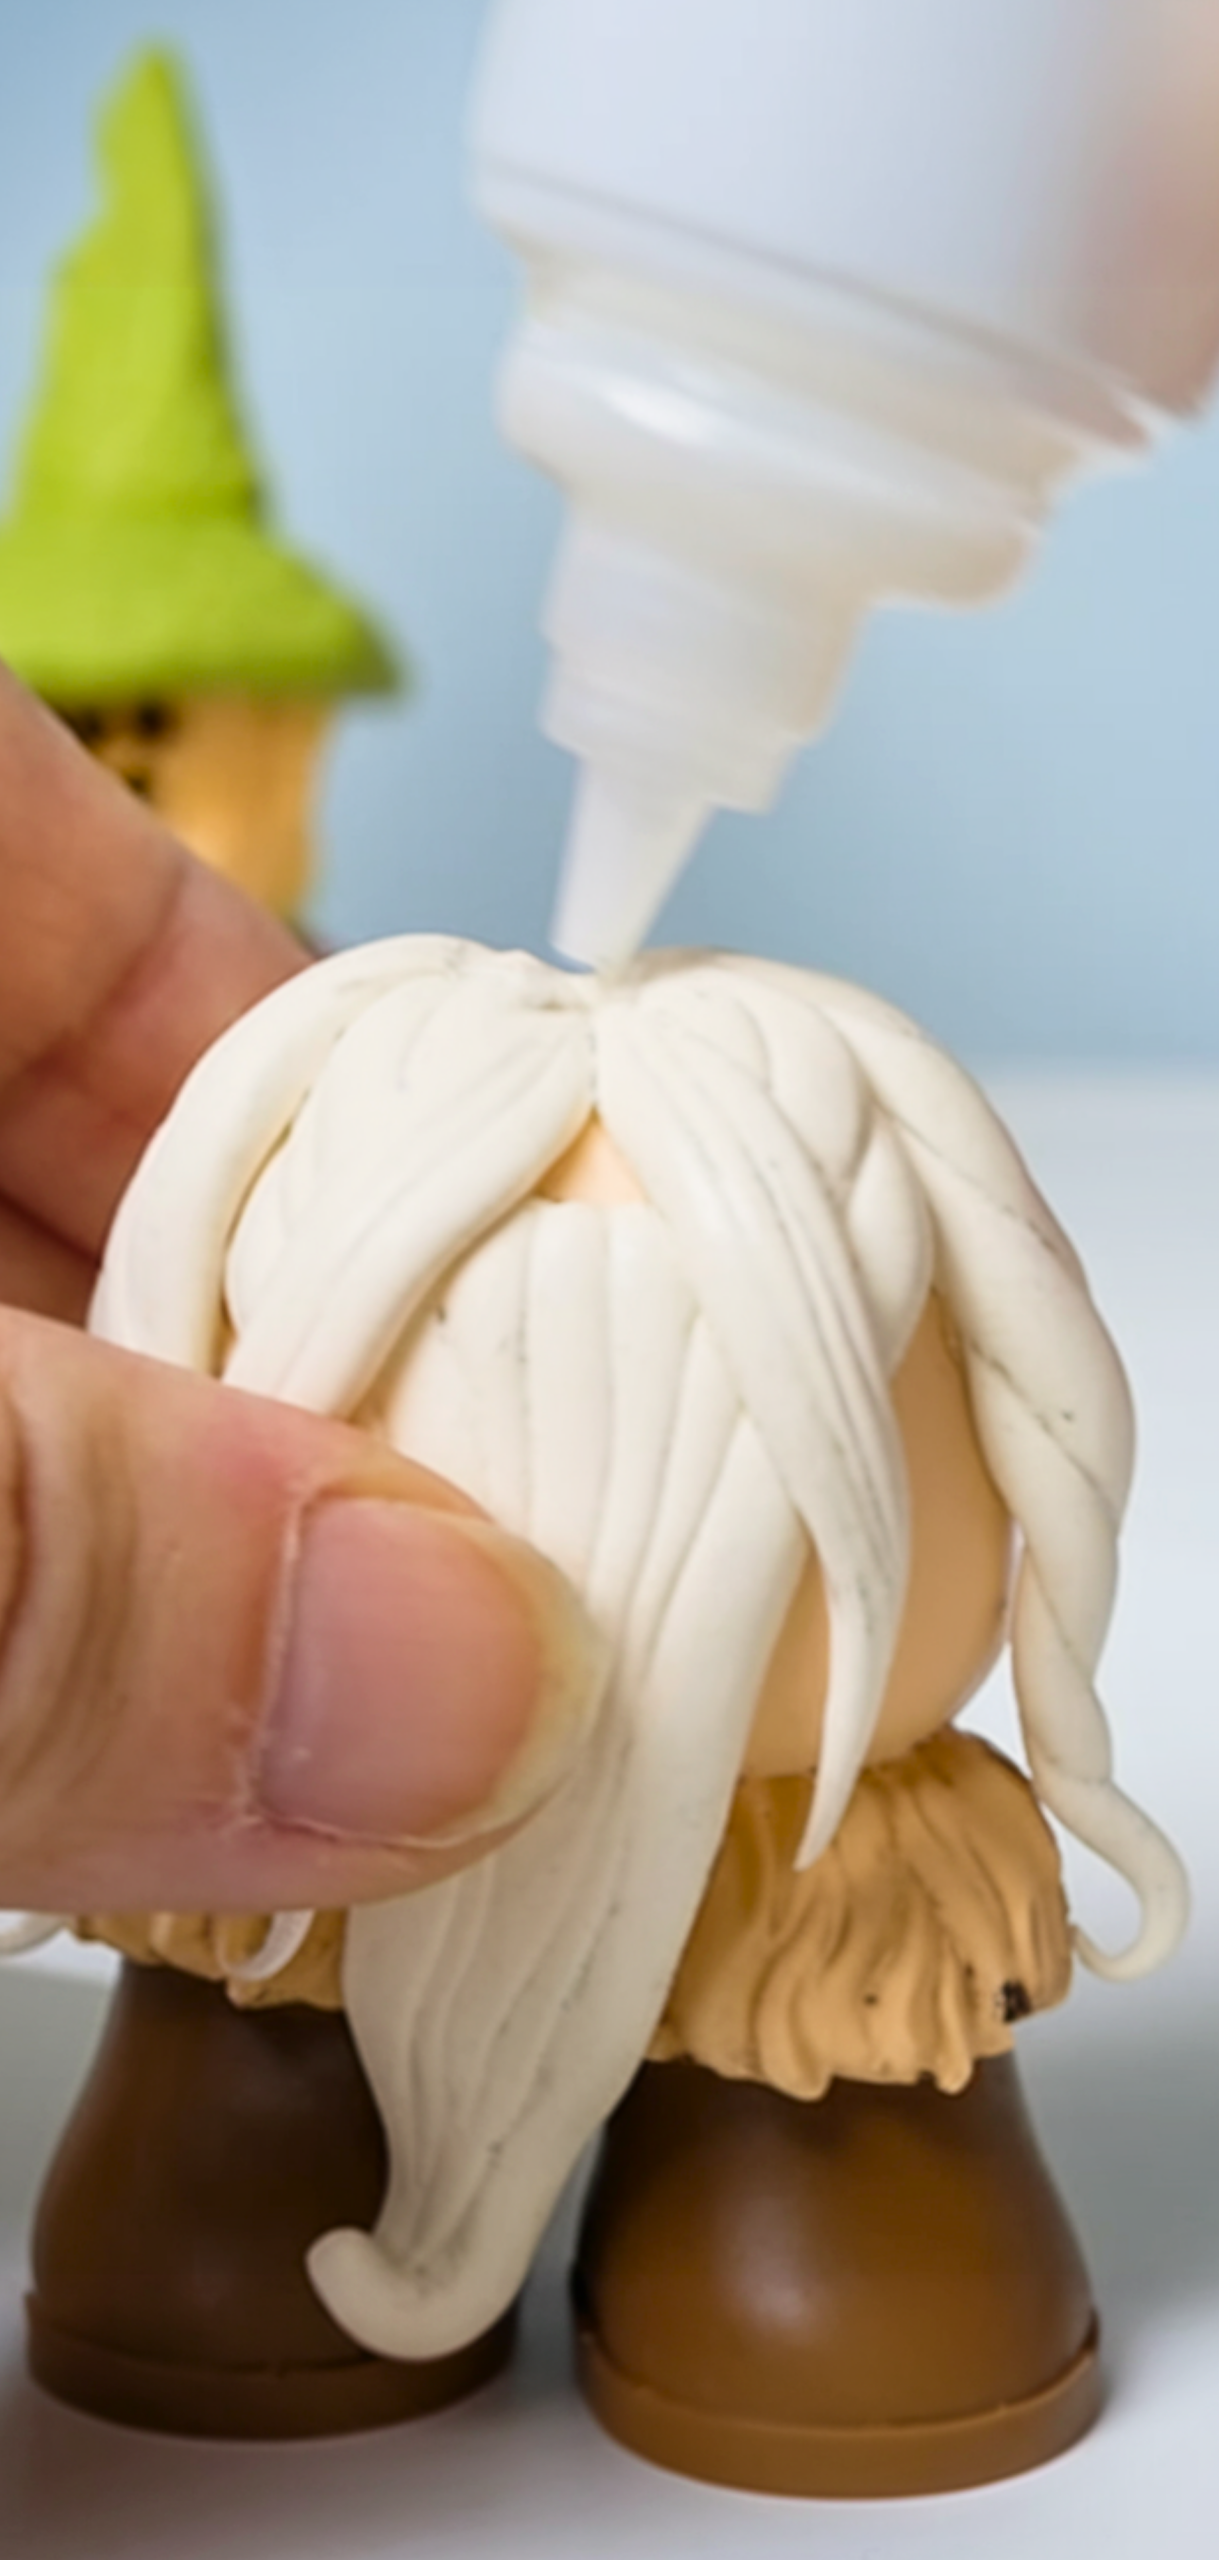
- Glue (optional)
- Varnish or sealant
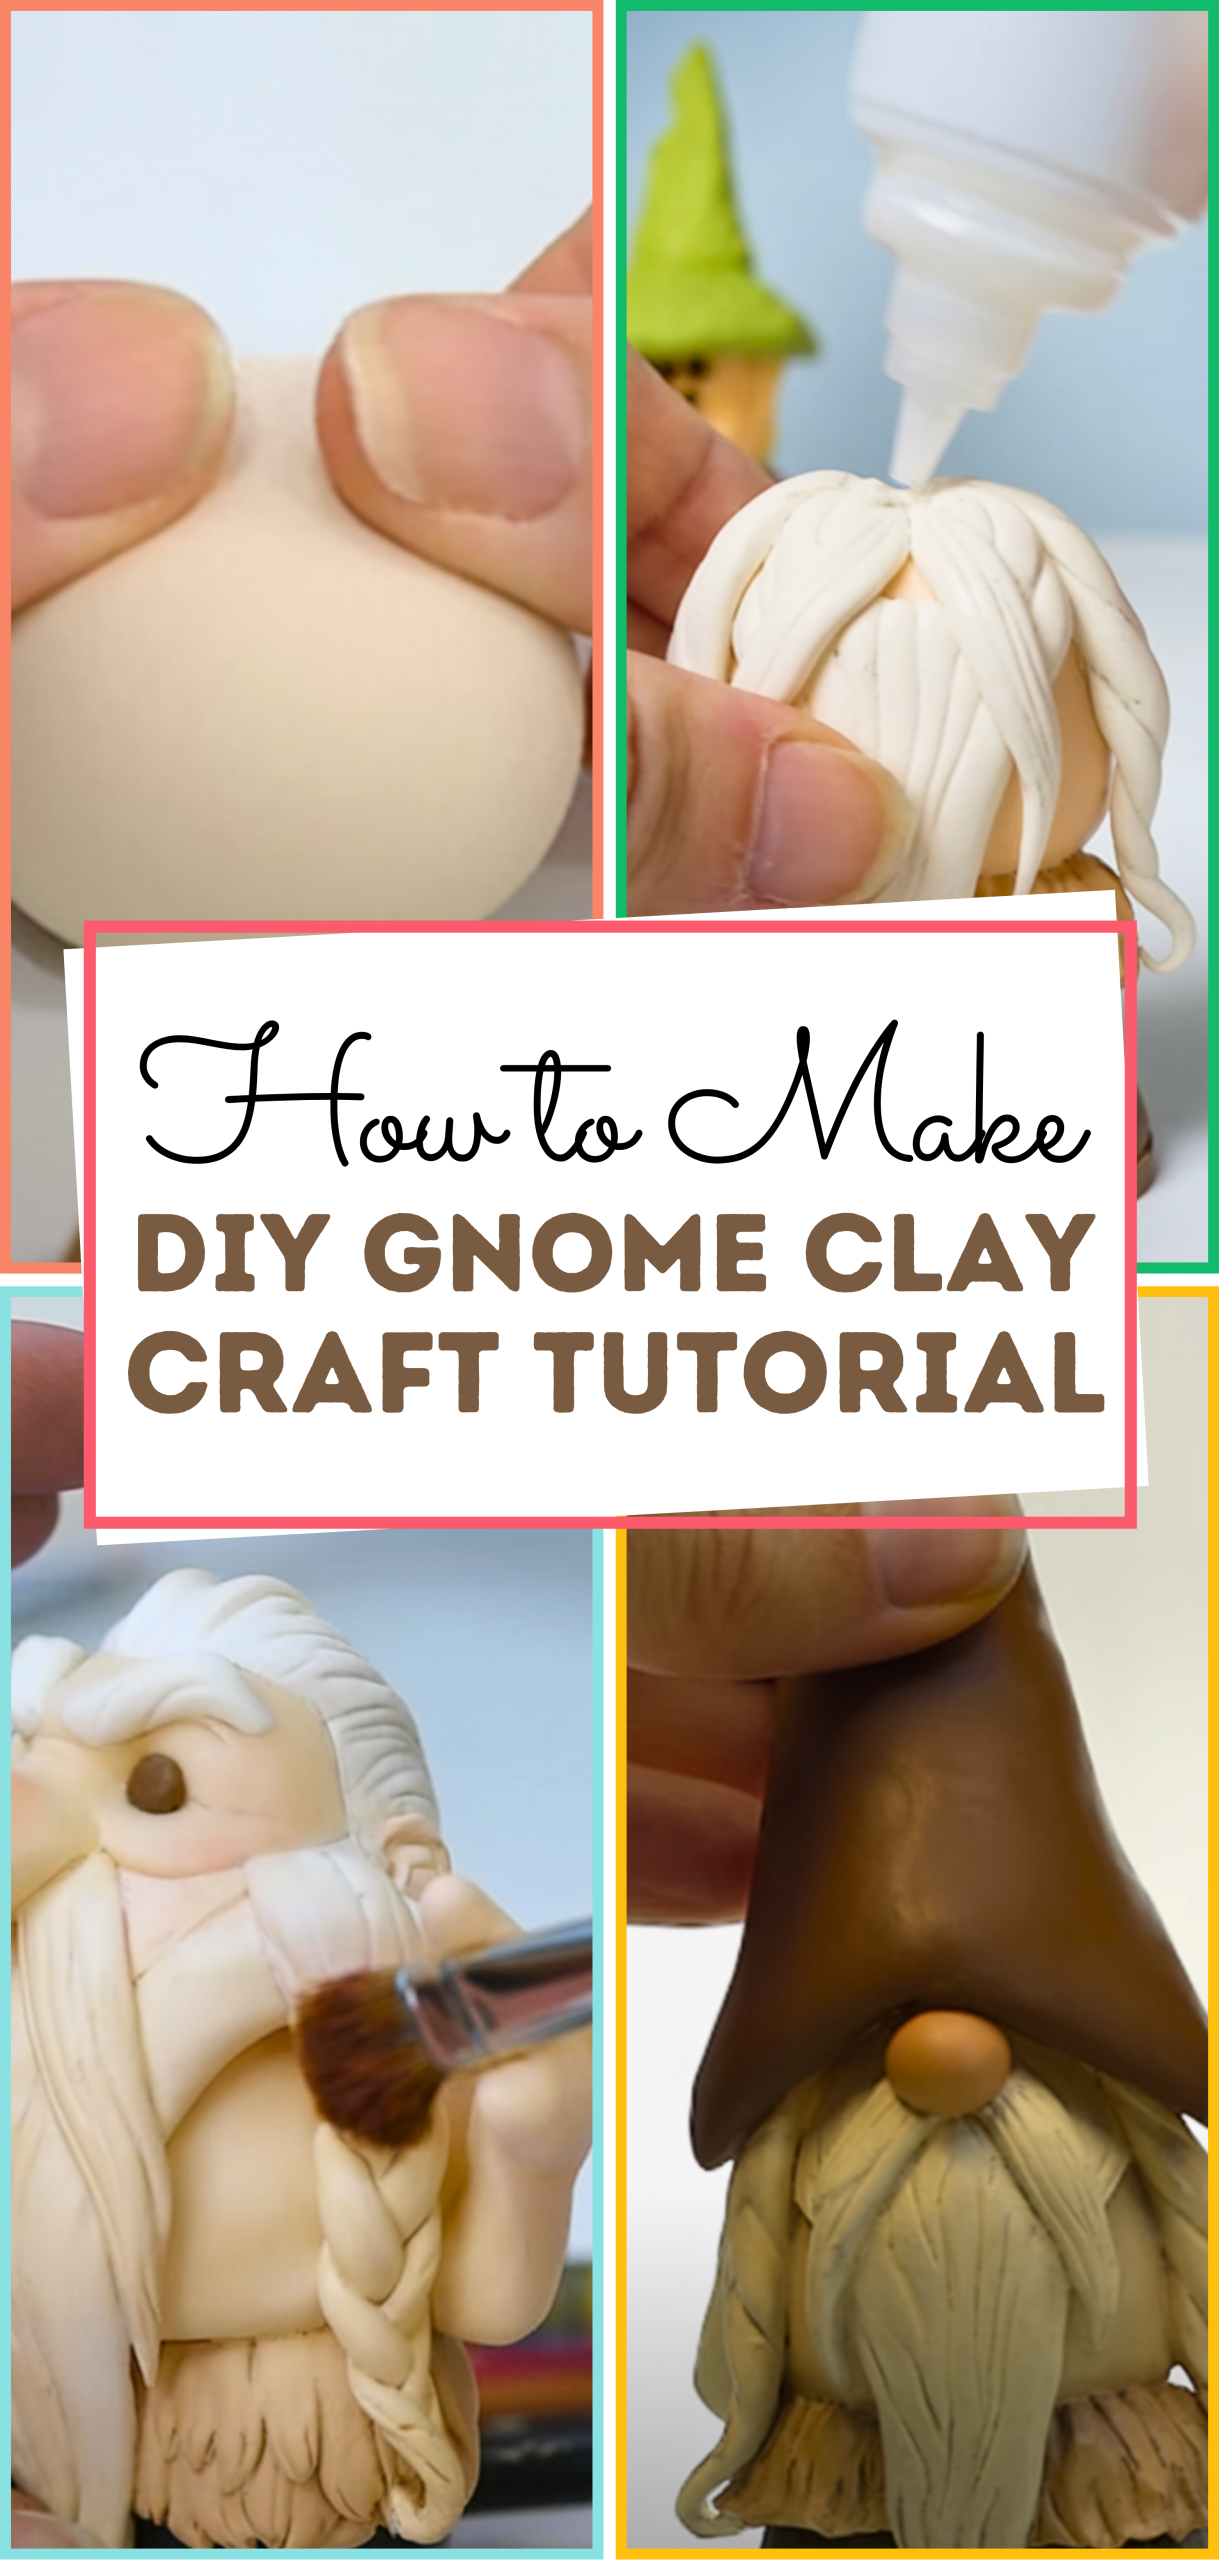
how to make Gnome
Step 1: Prepare the Clay and Workspace
I lay down a clean surface. I knead enough clay to form a sturdy cone-shaped body, about 6–8 cm tall. For polymer clay, you should ensure the surface is free of lint to avoid imperfections.
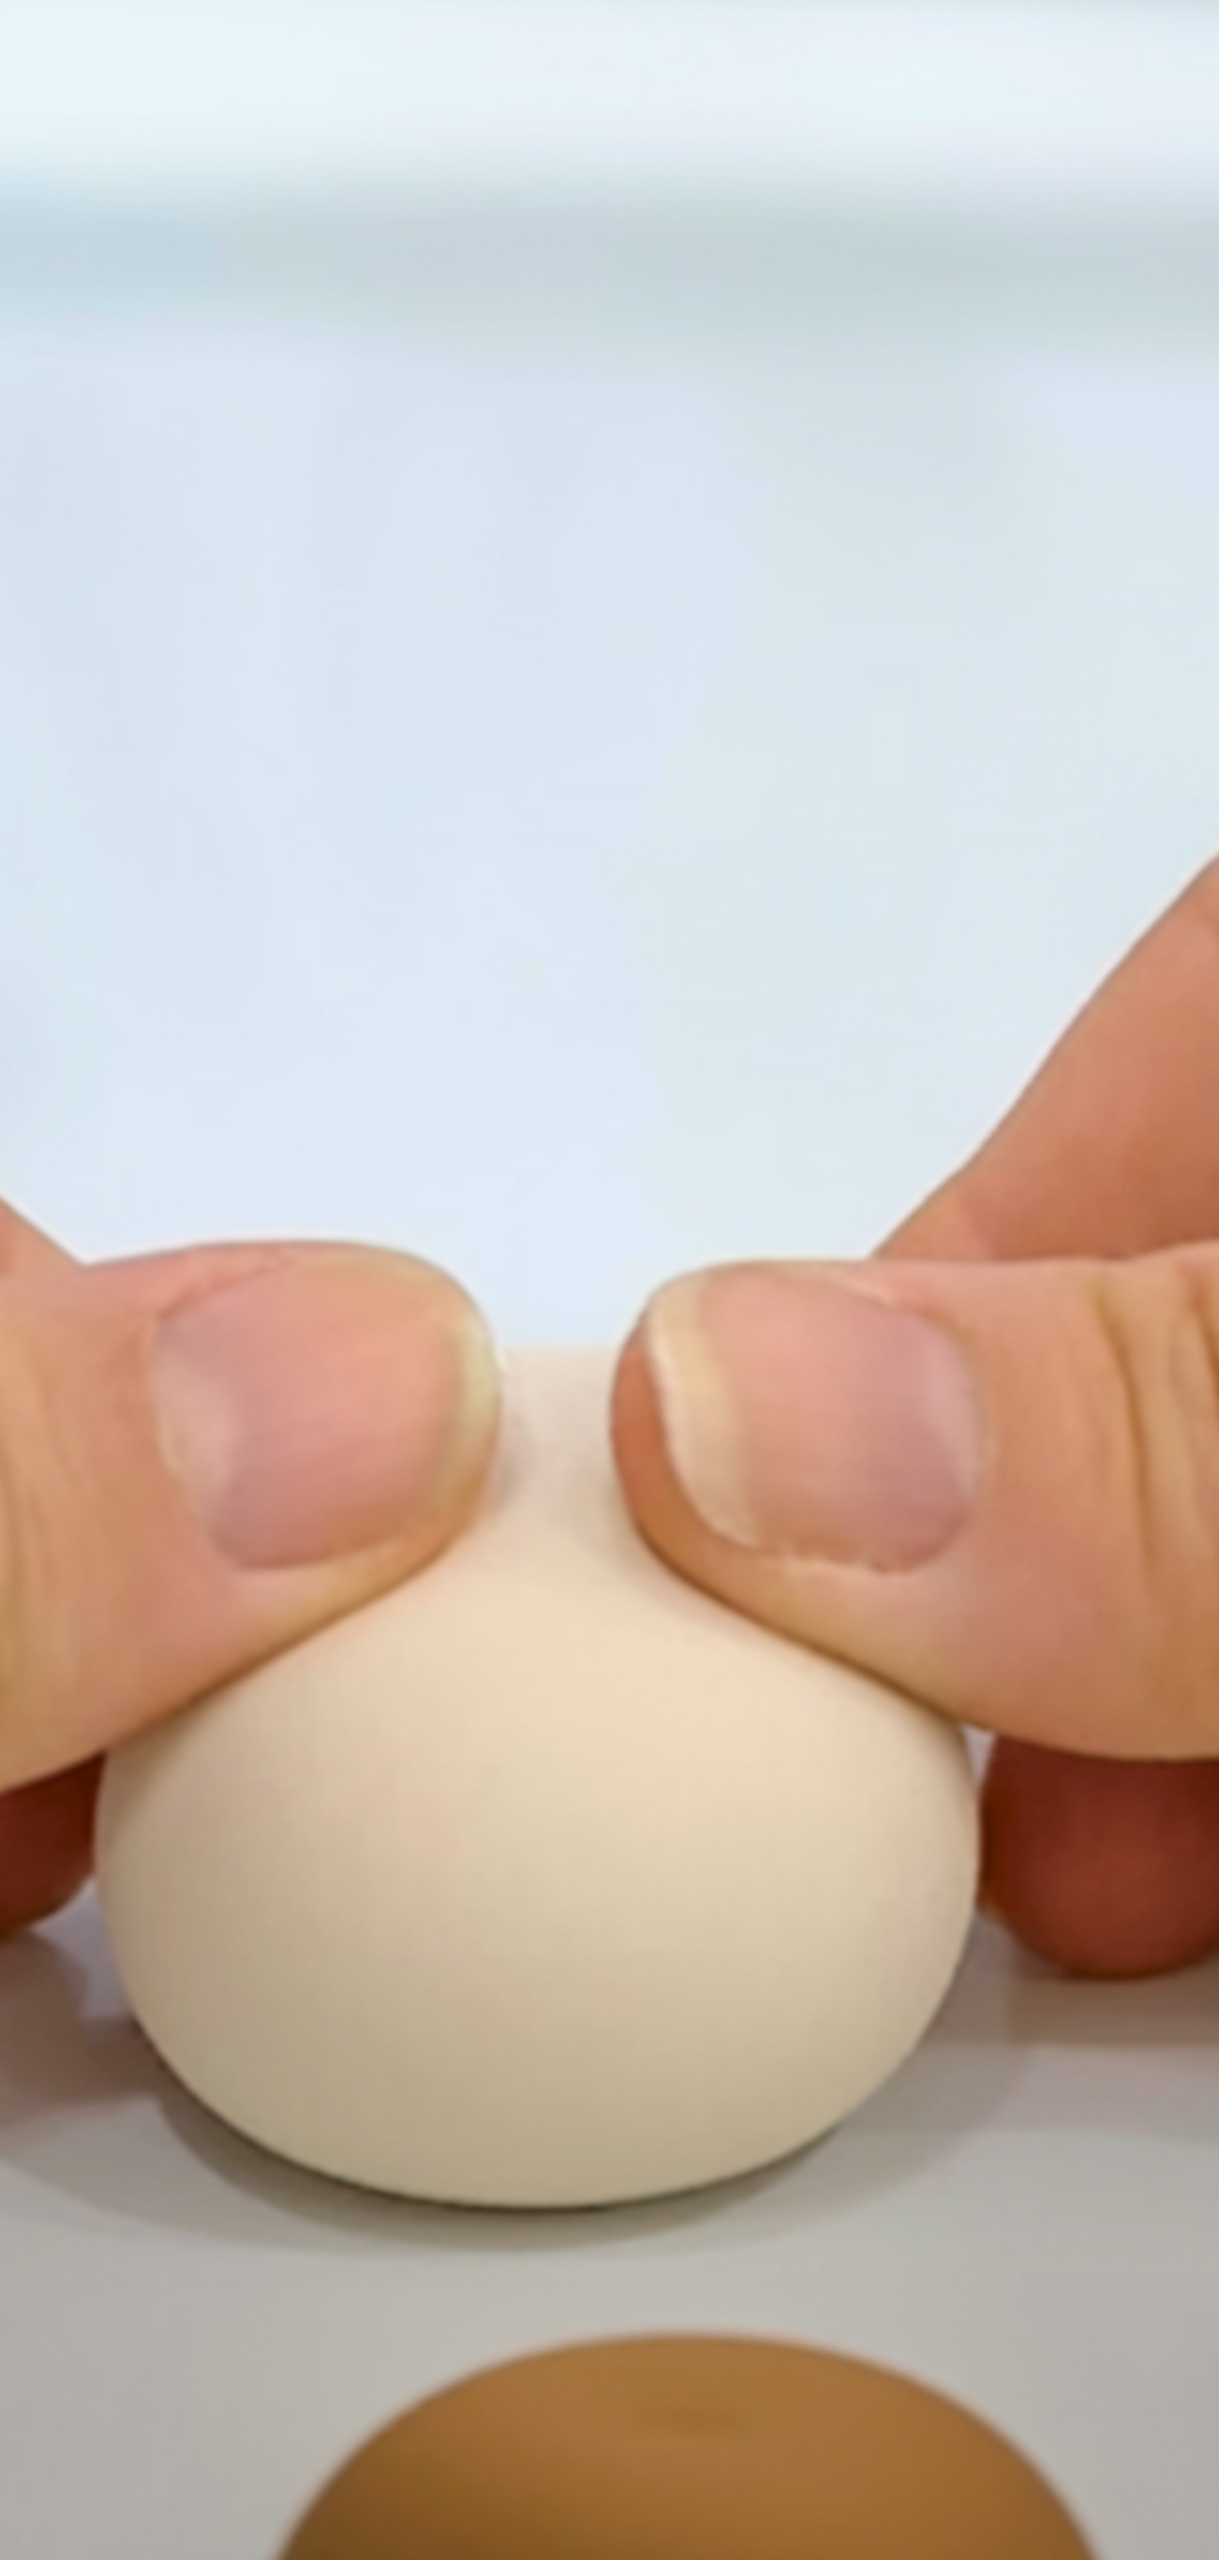
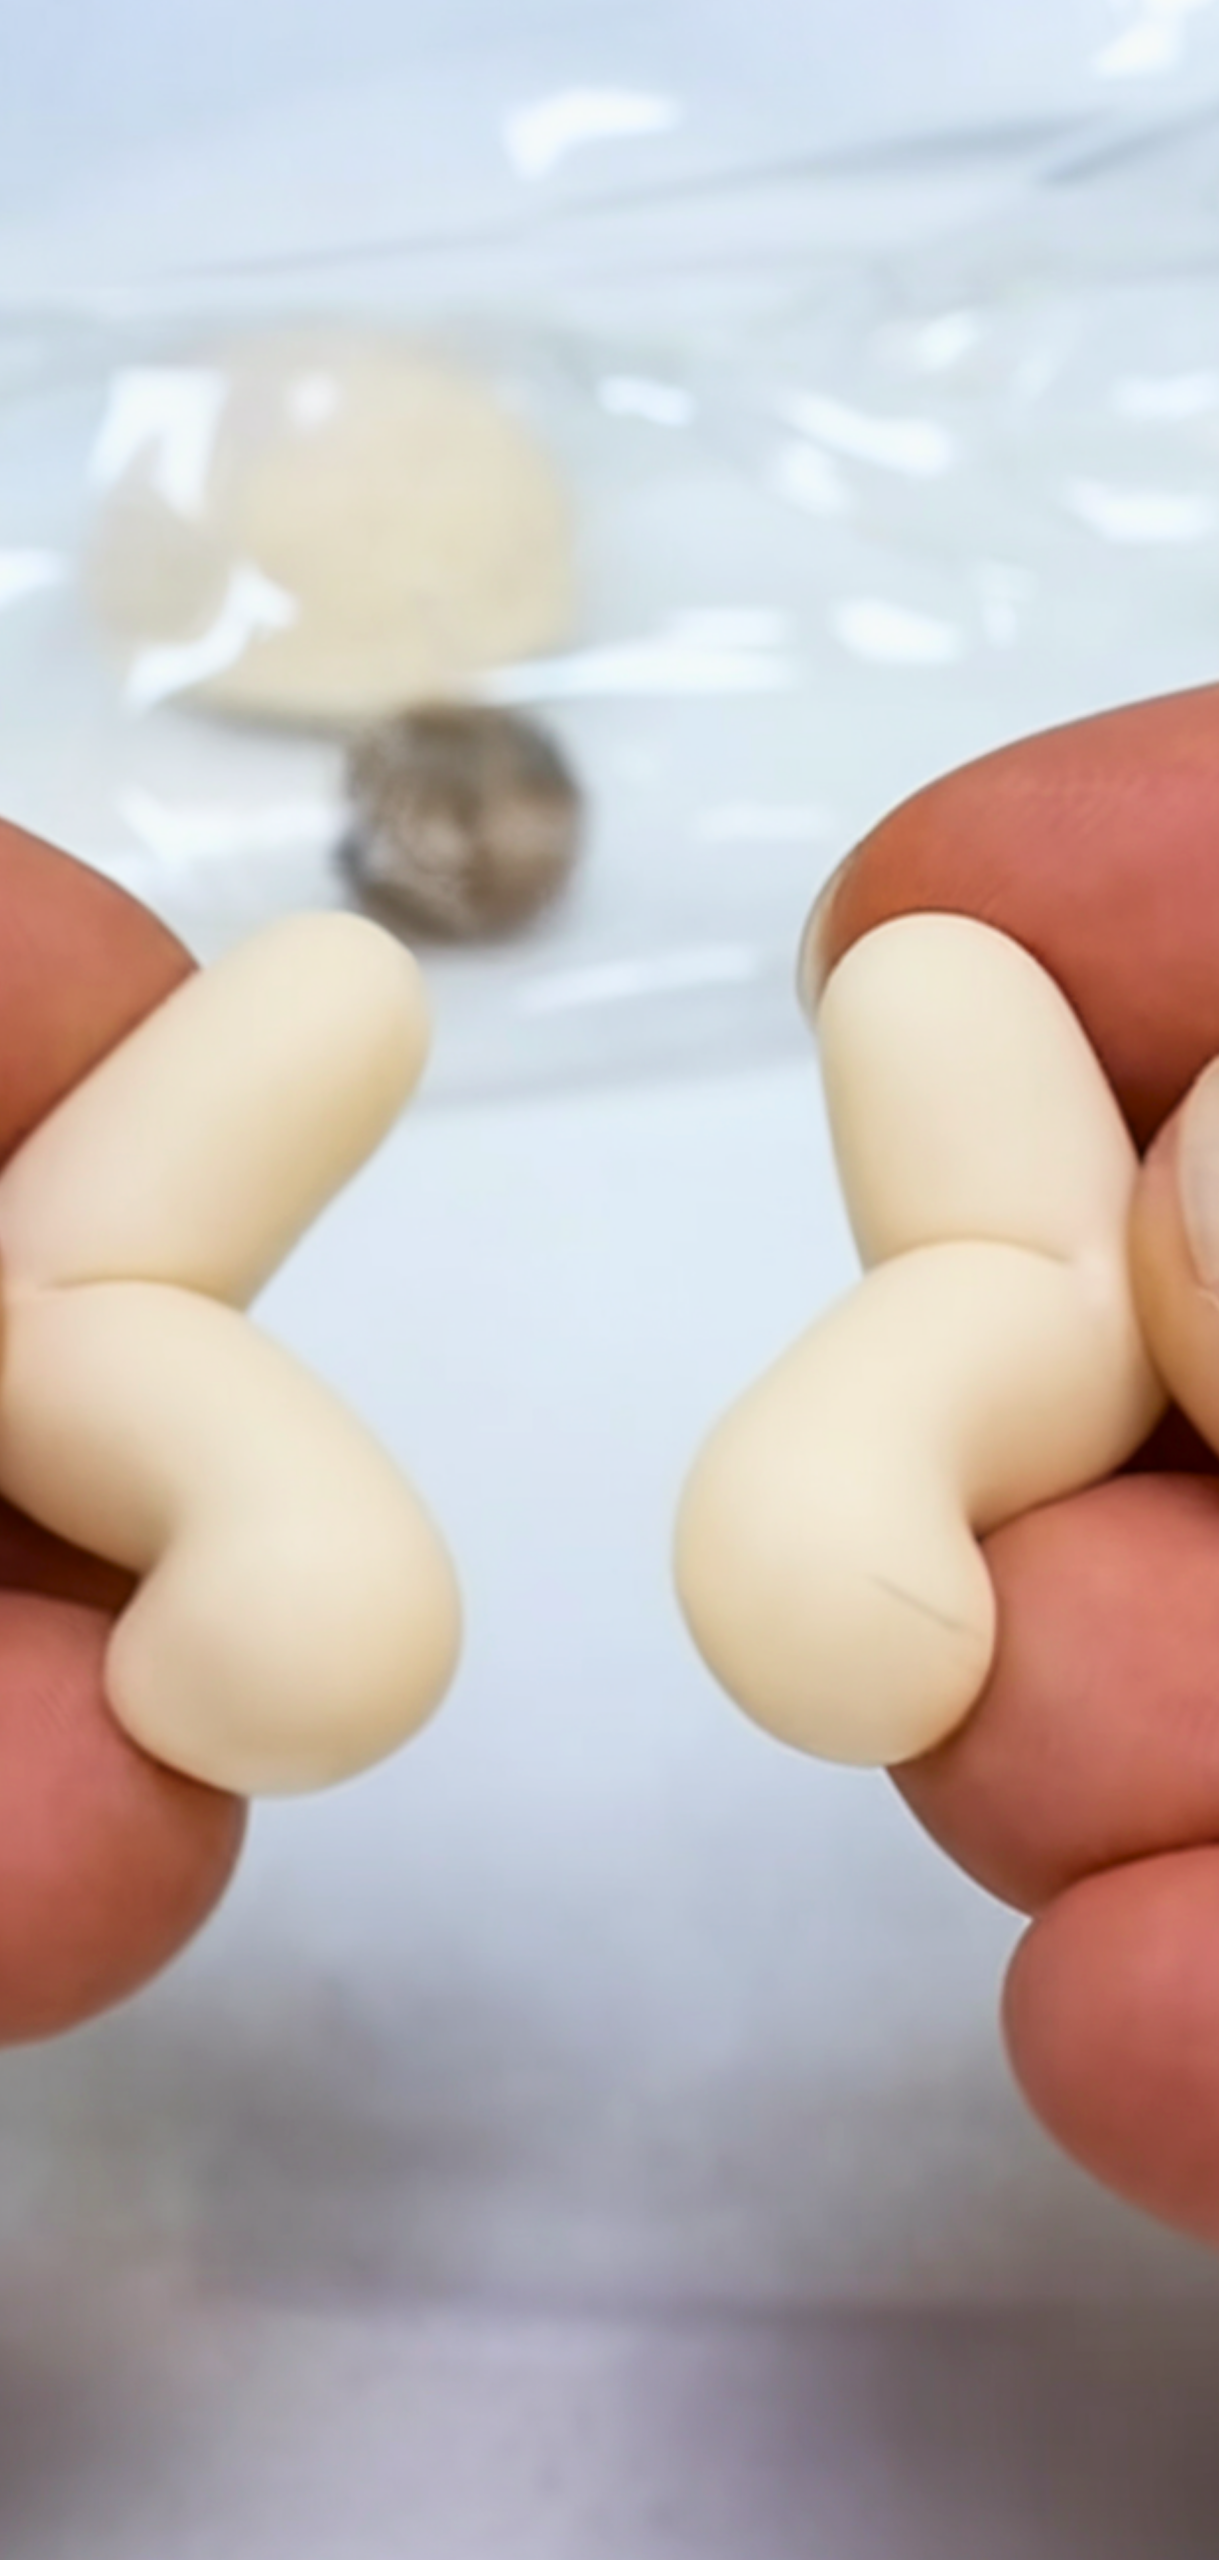
Step 2: Shape the Body
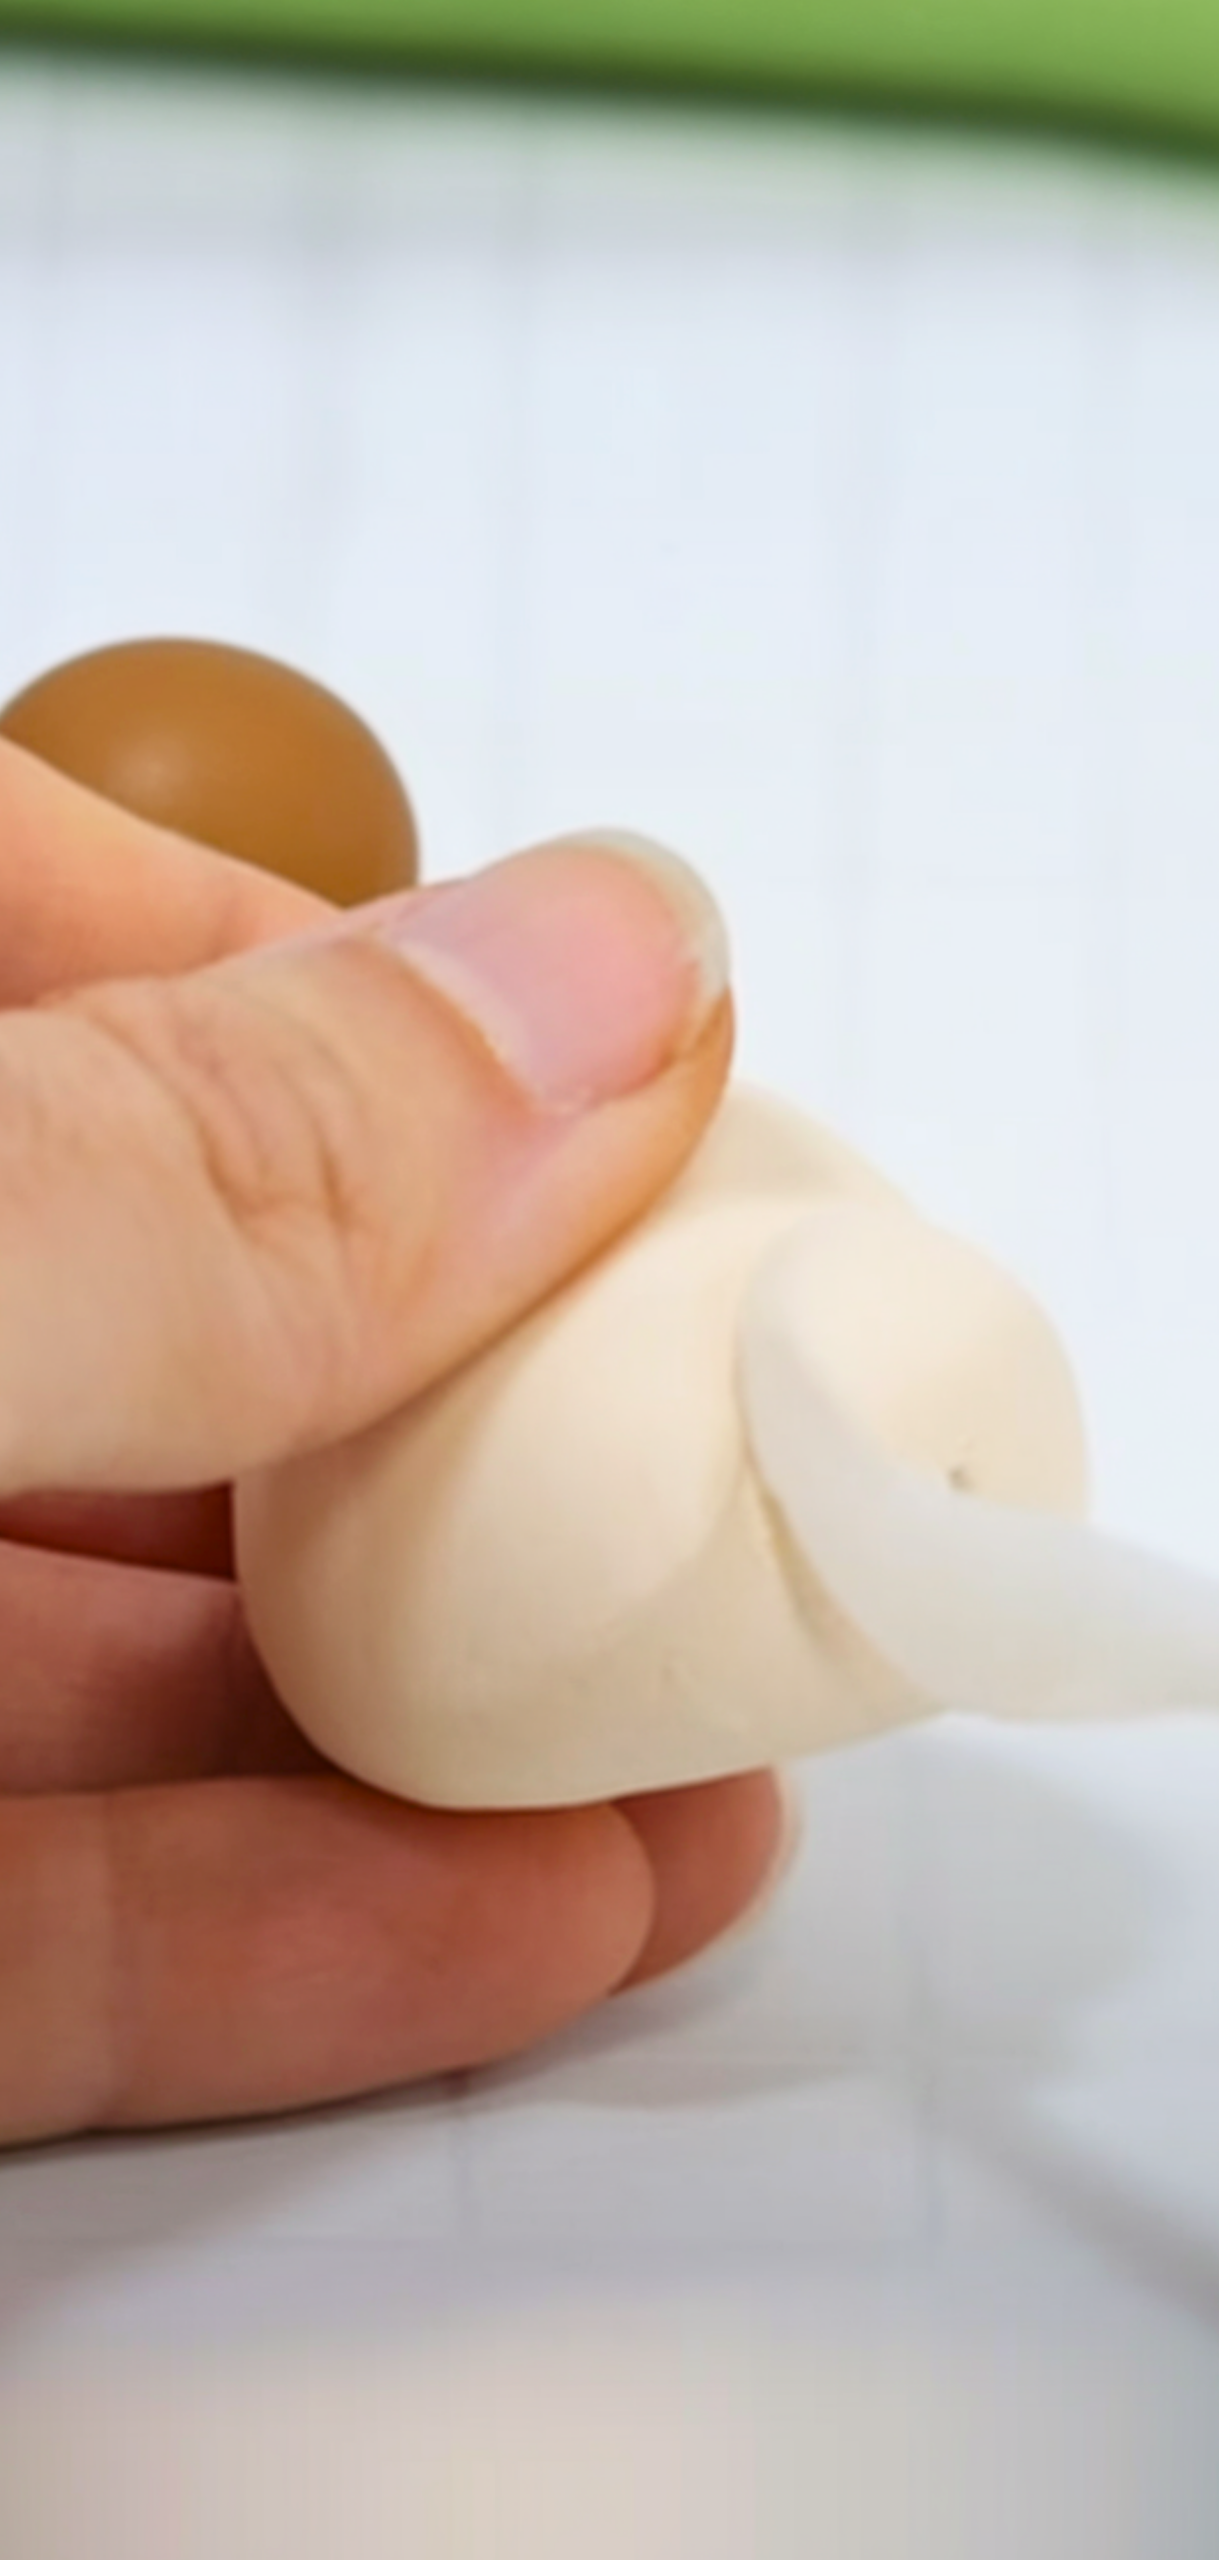
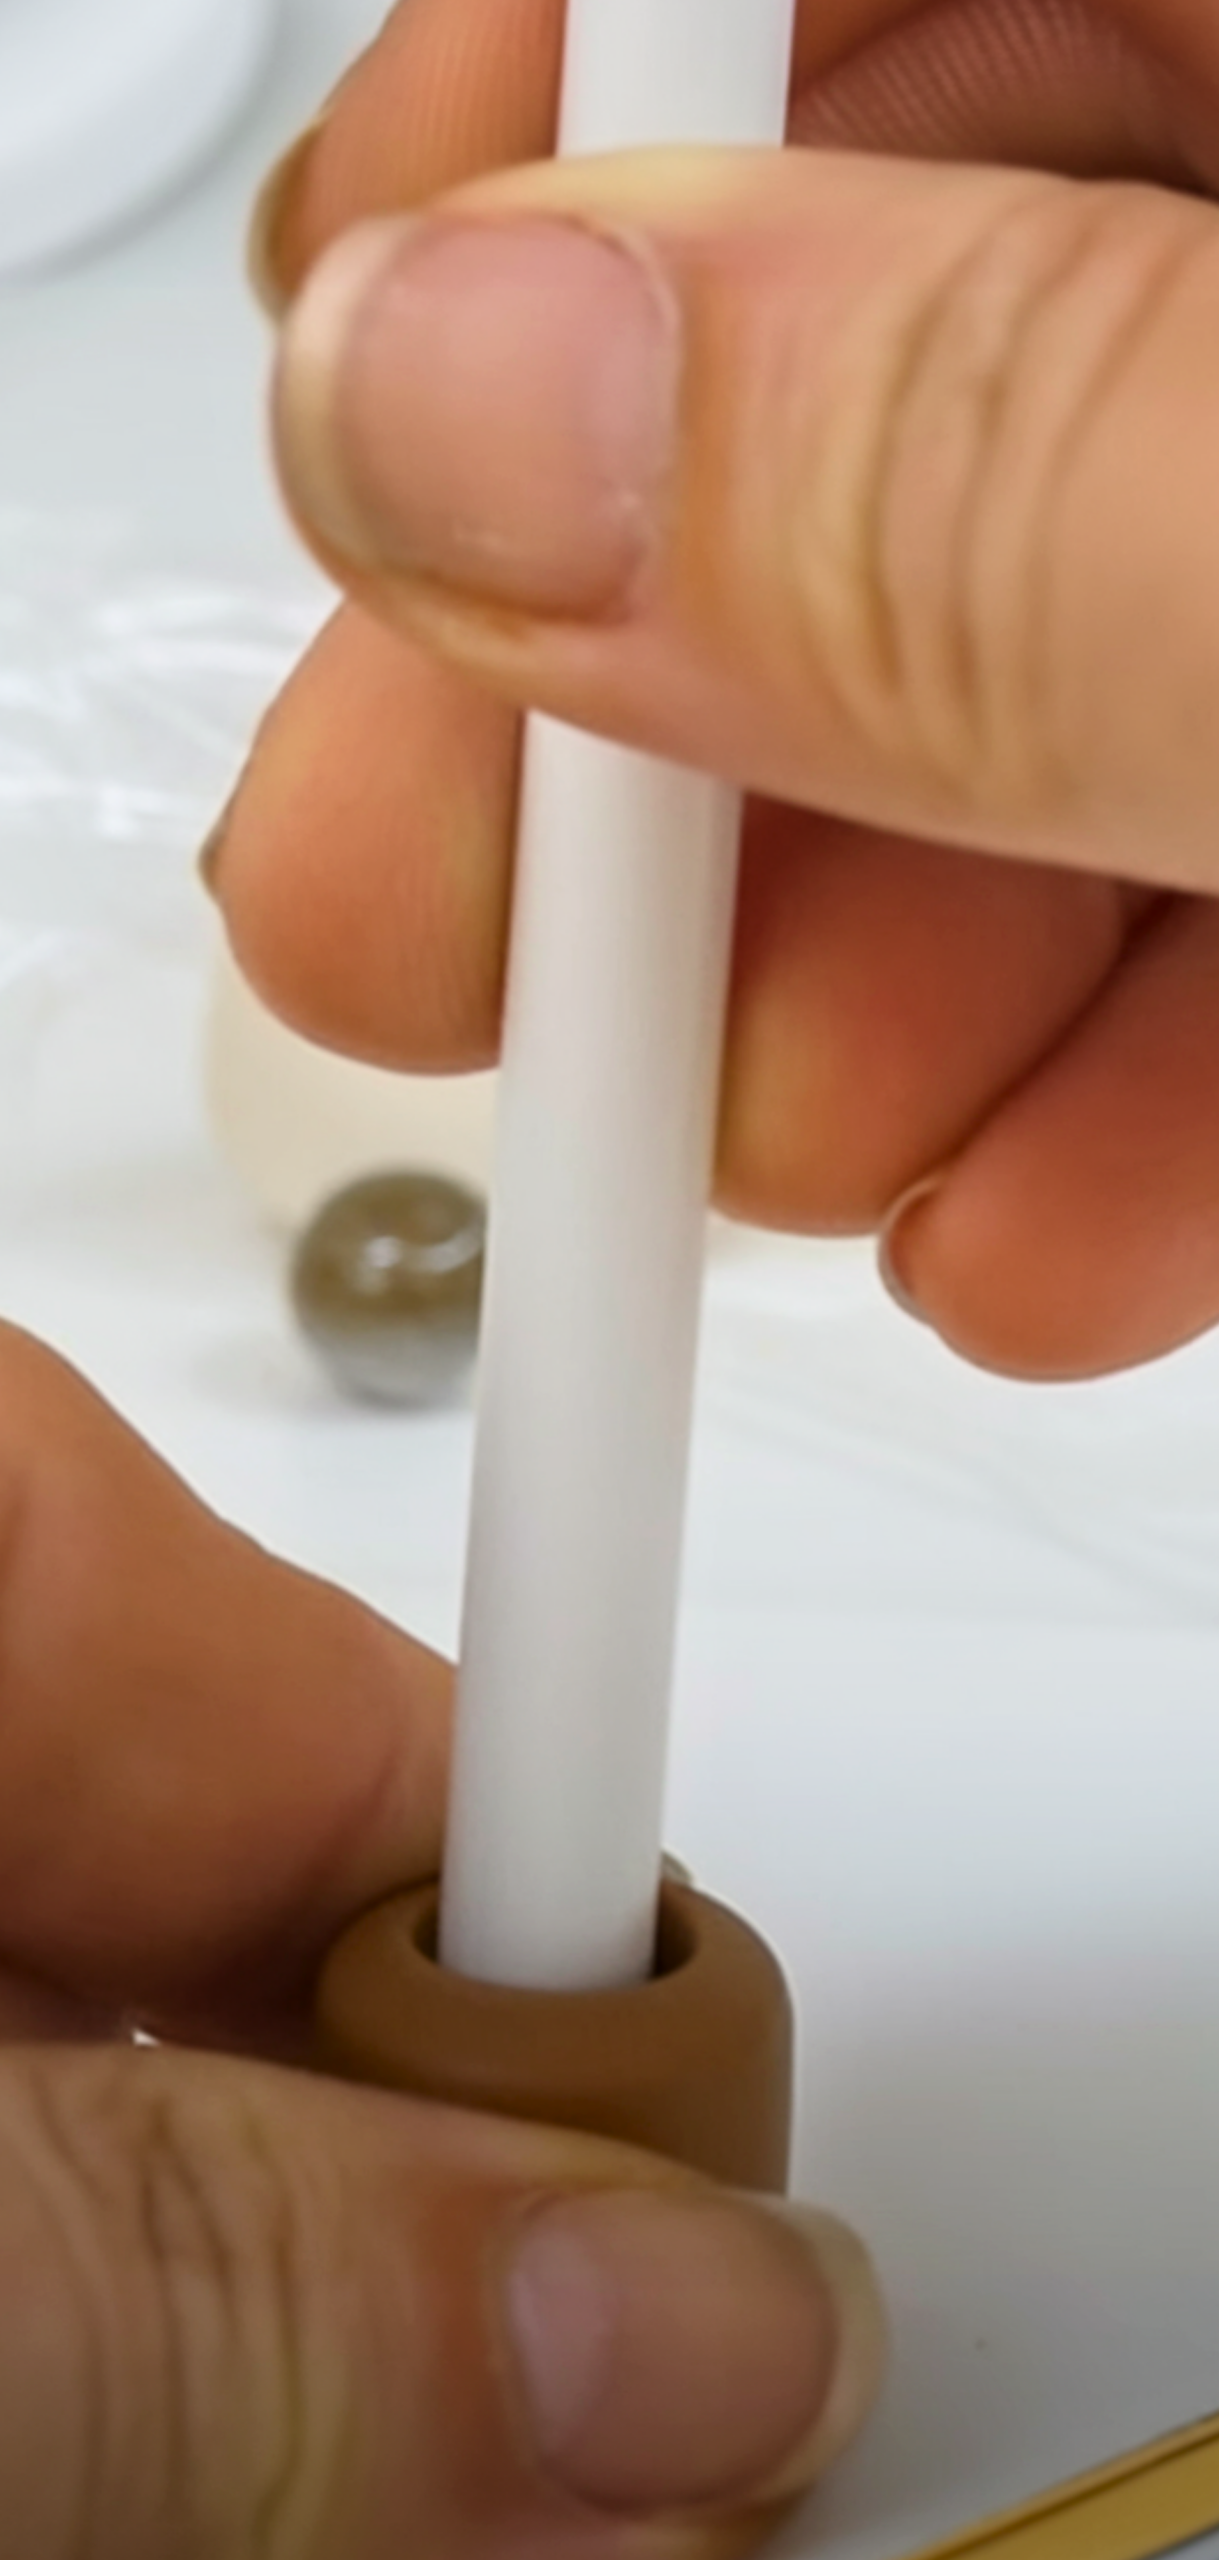
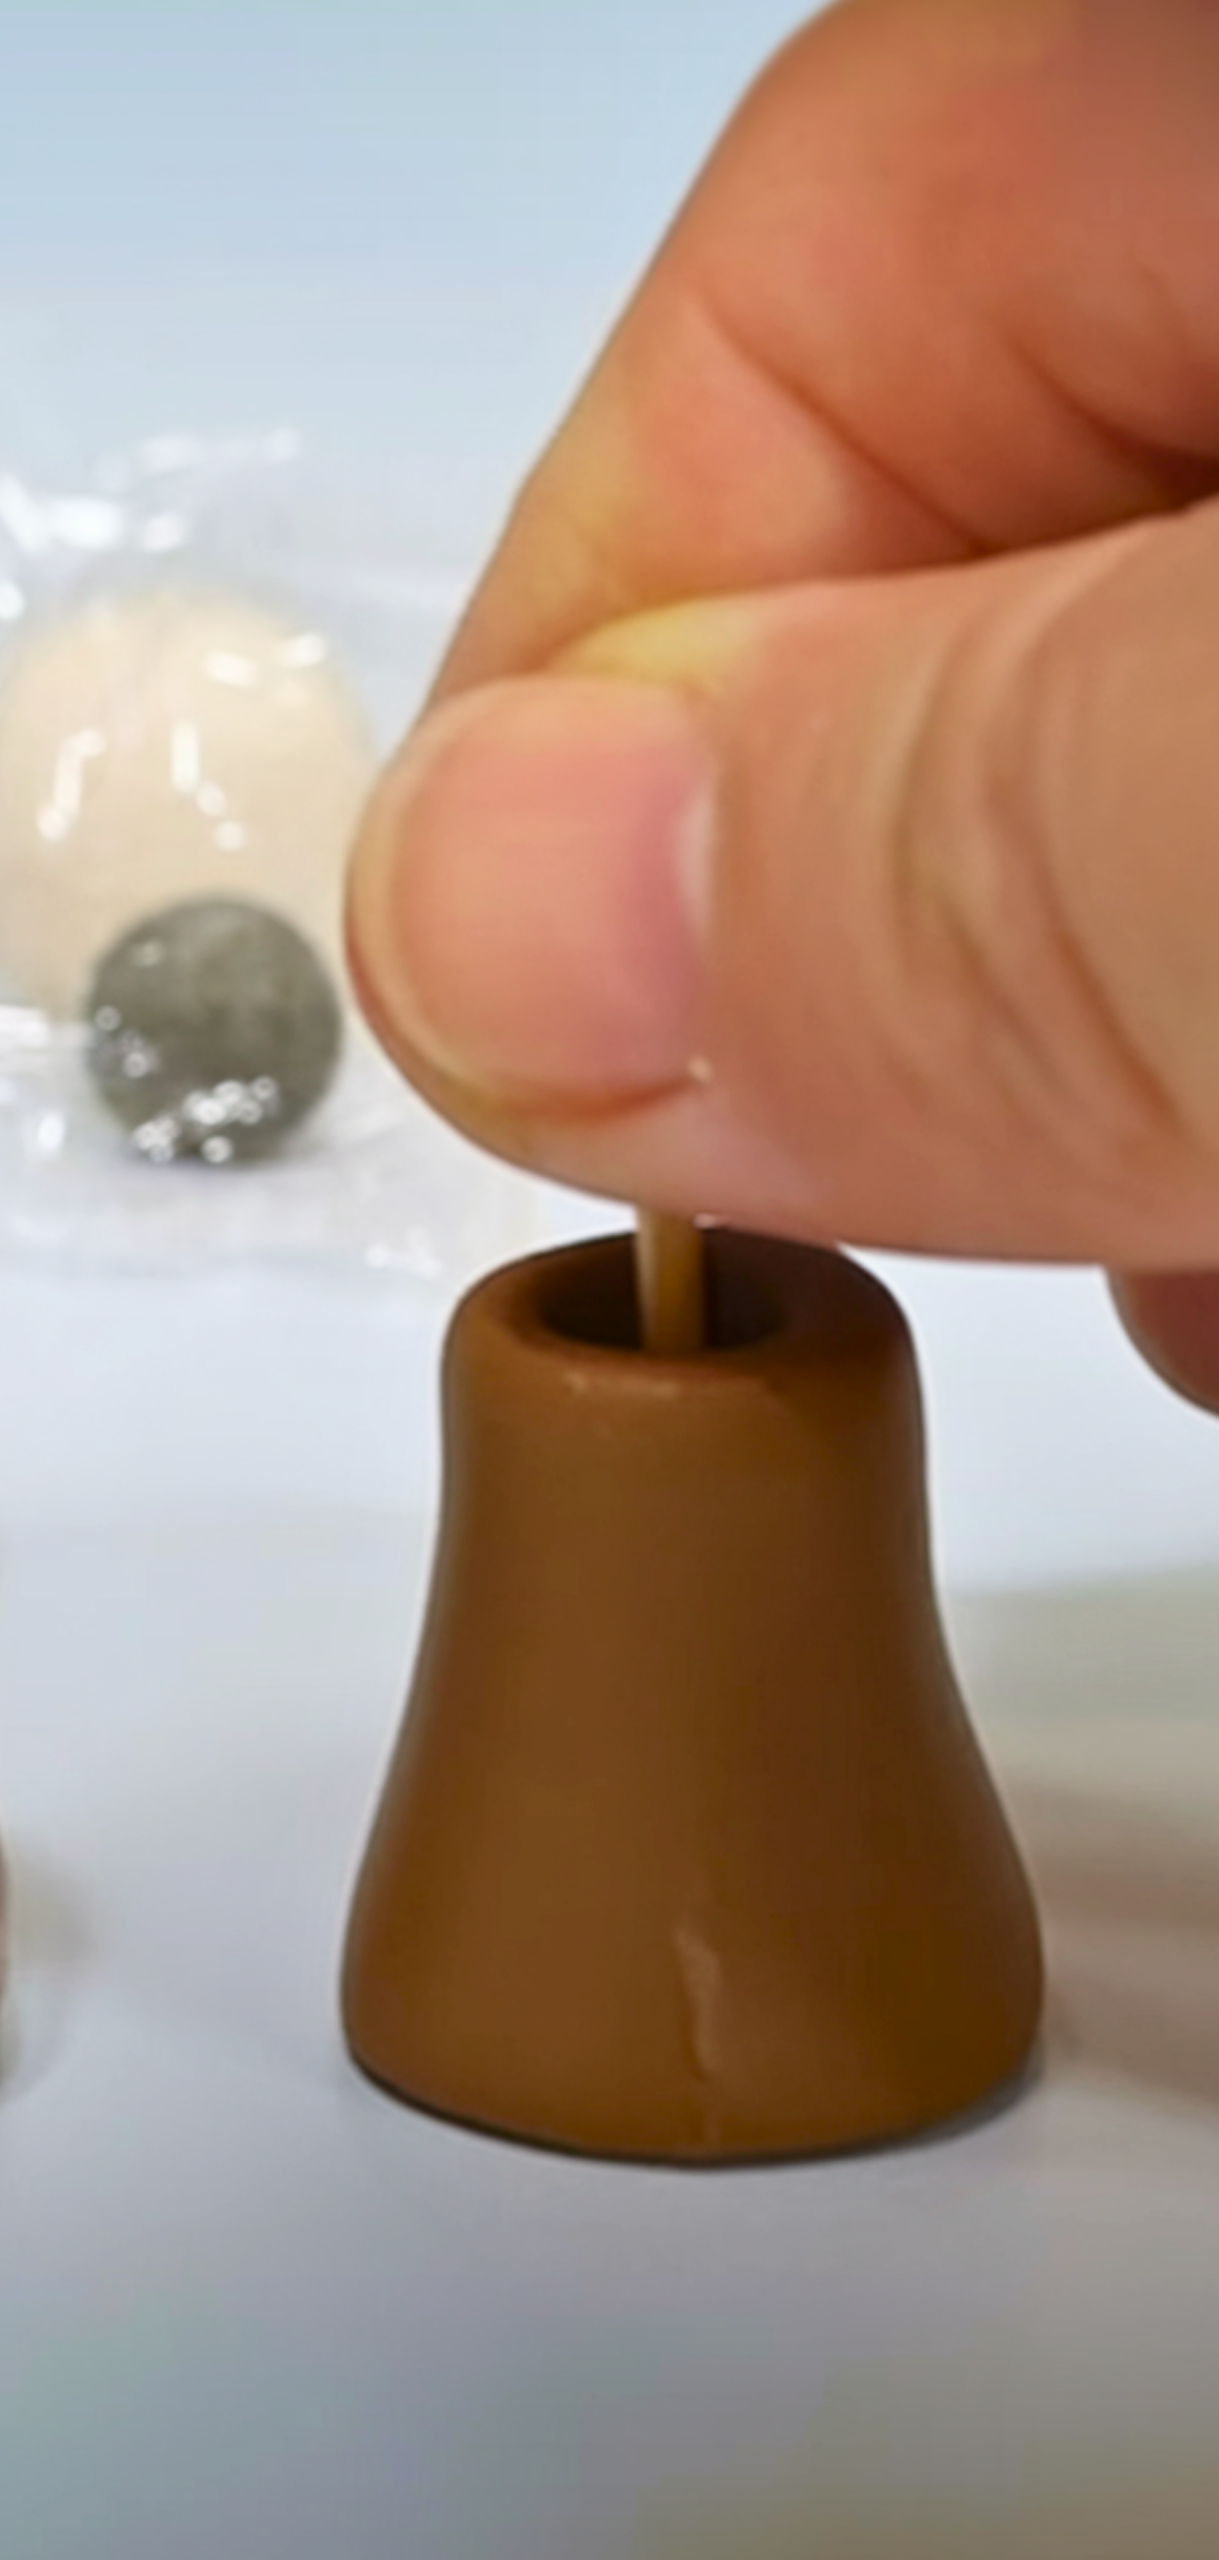
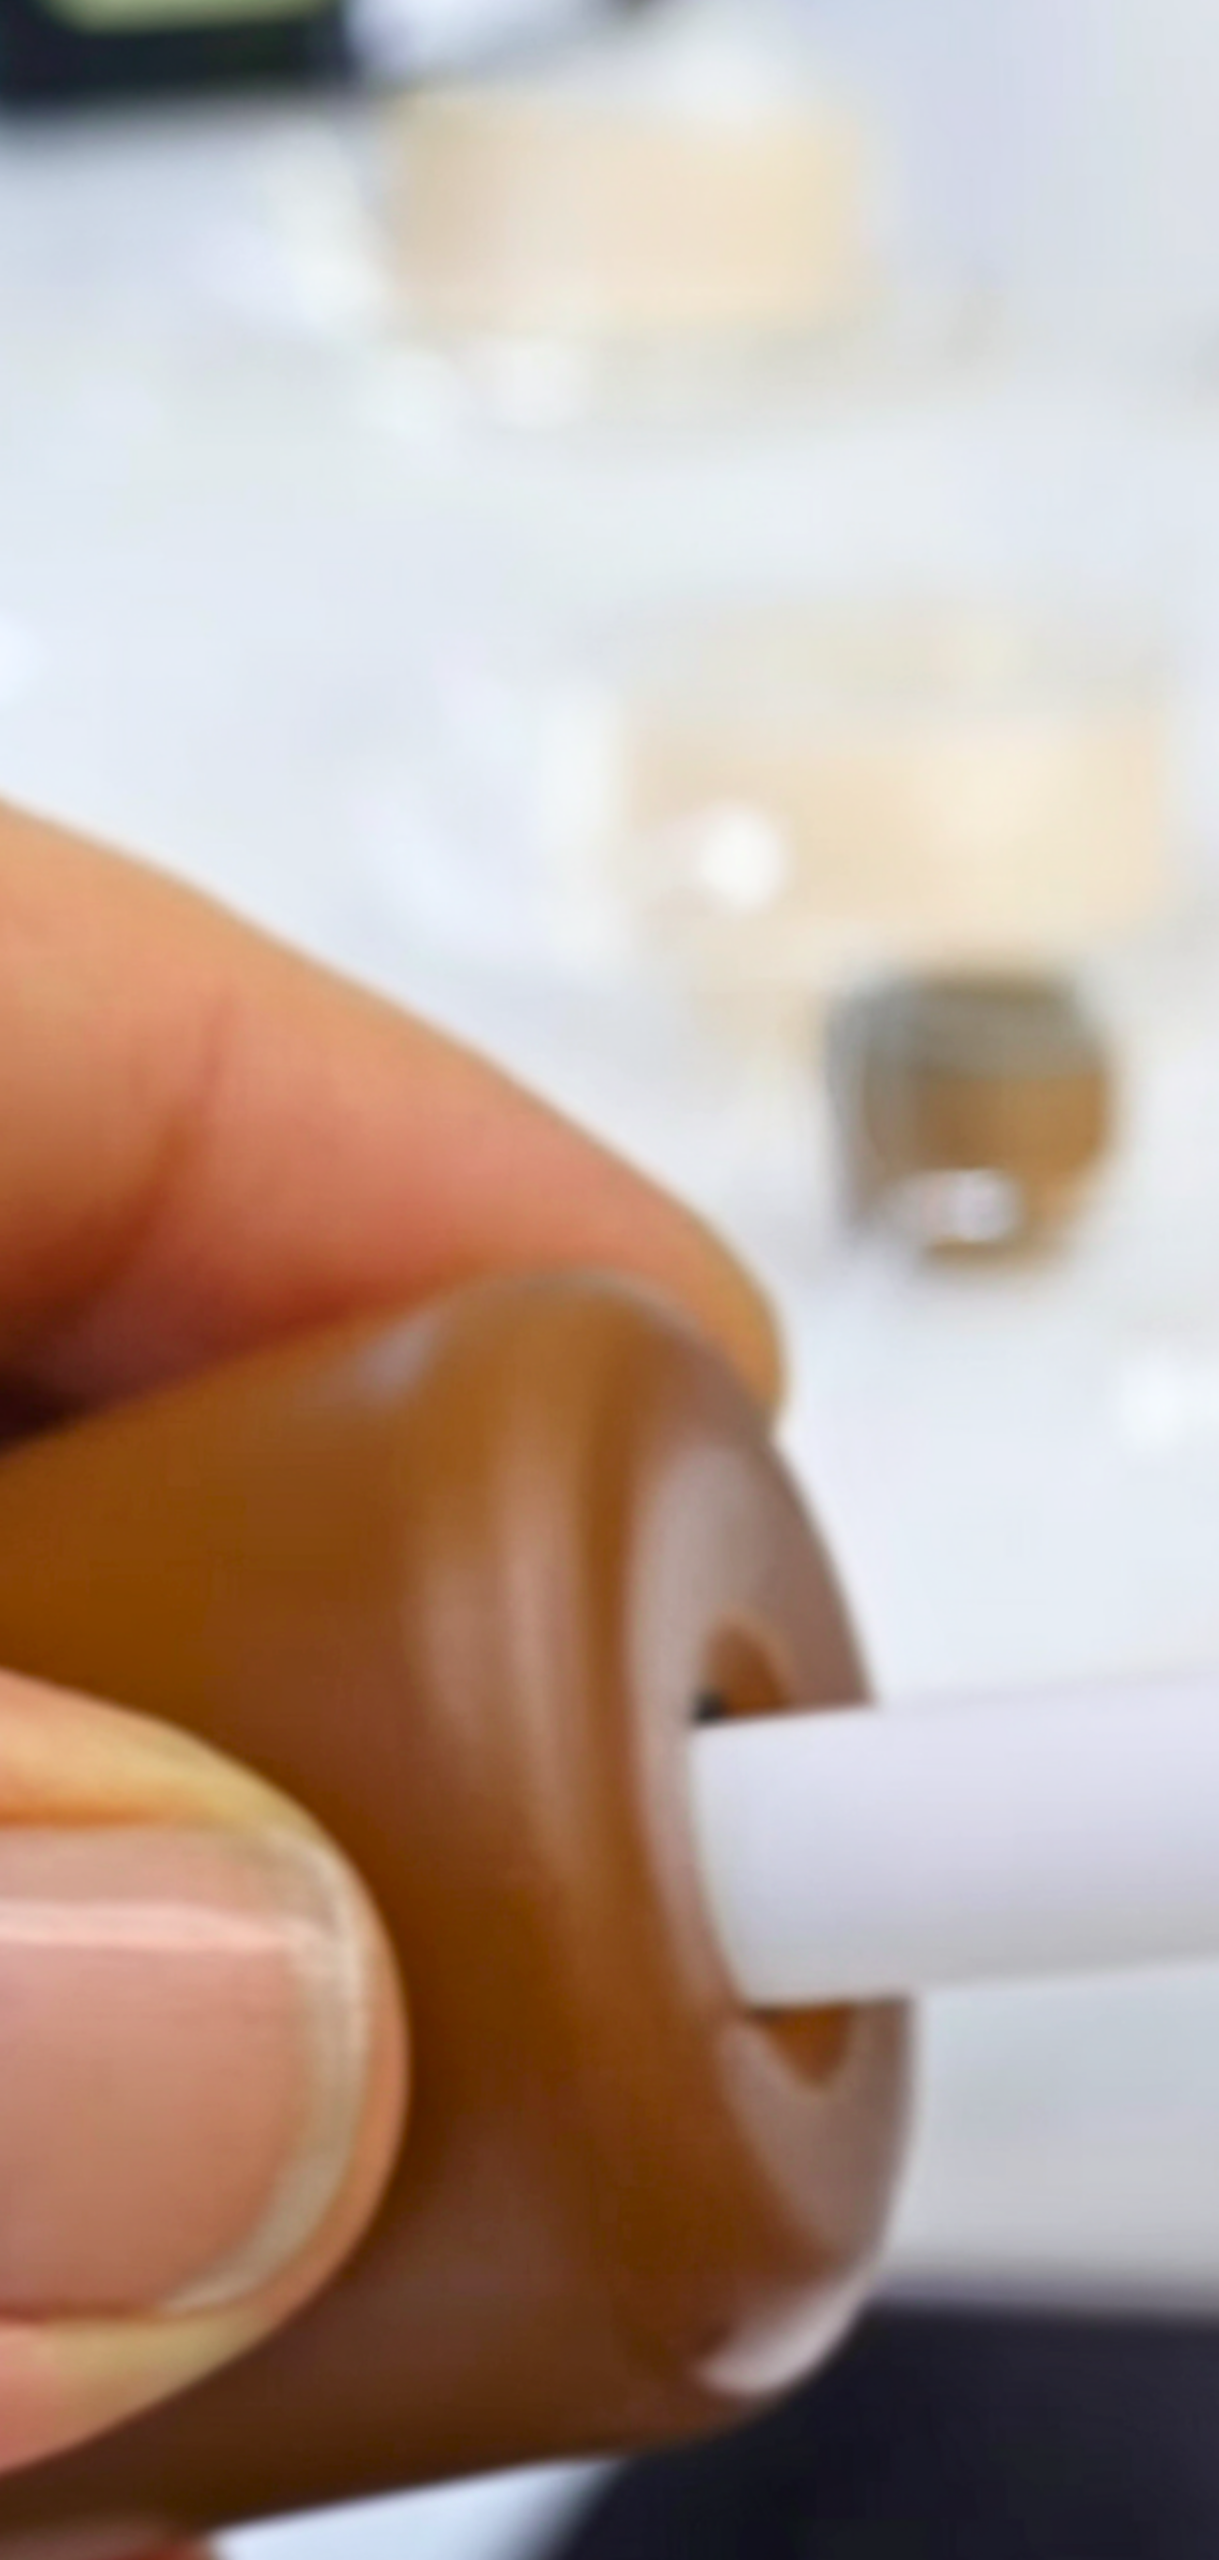
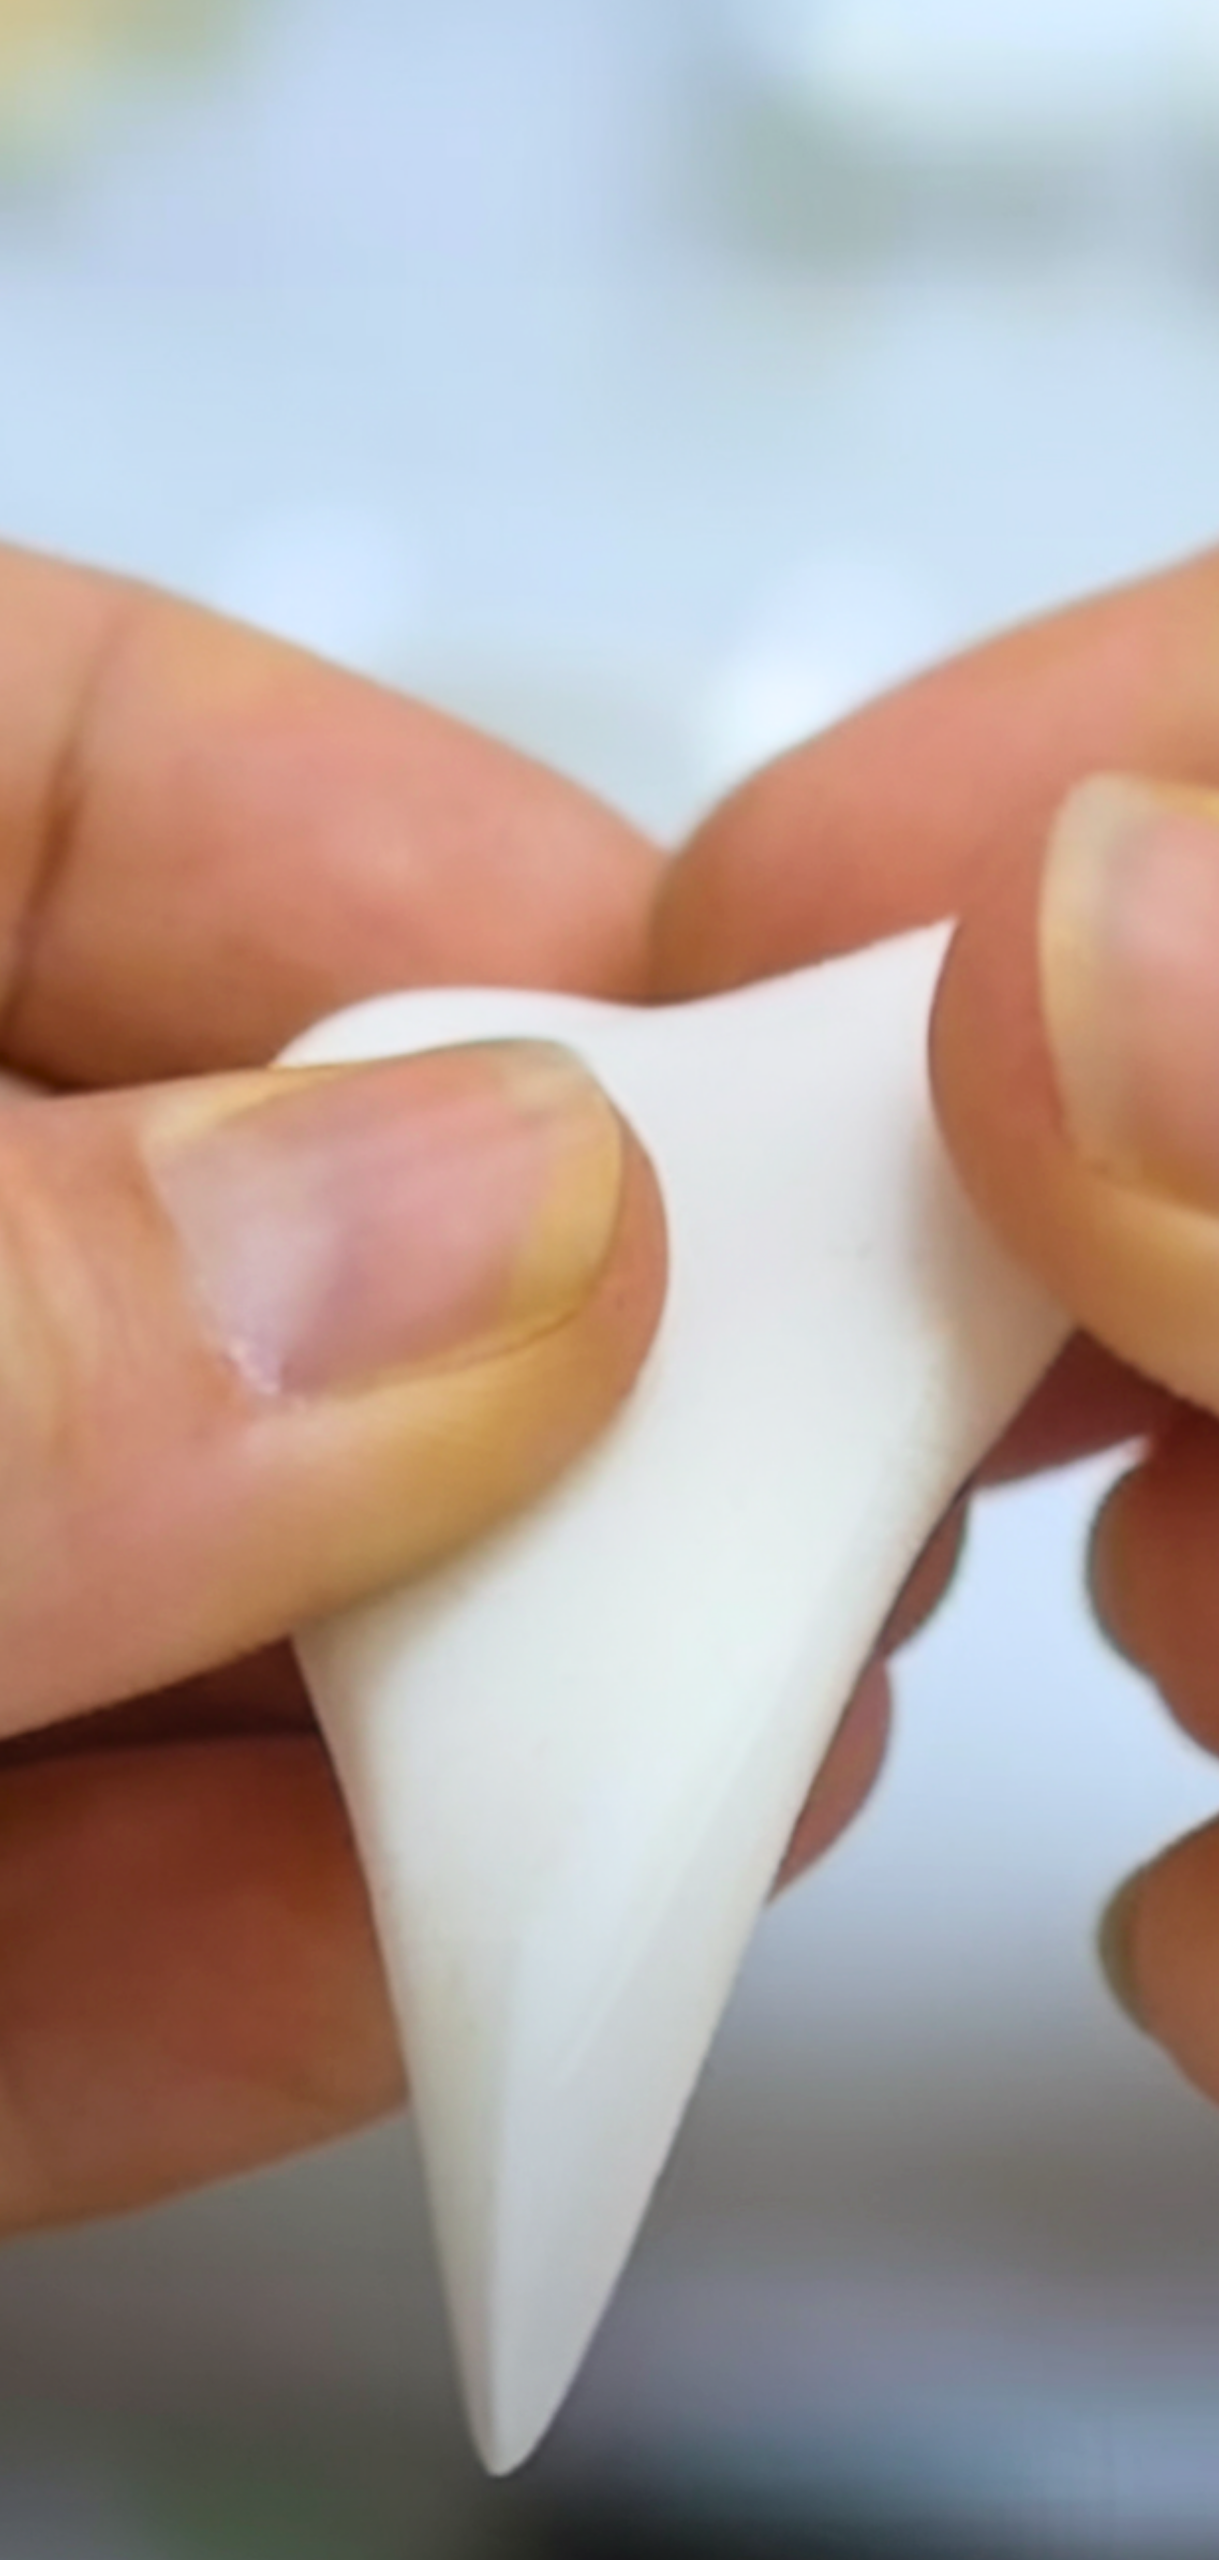
Roll the clay into a ball, then taper it into a cone, the spine of your gnome. To make the base stable and ready to sit upright, flatten it.
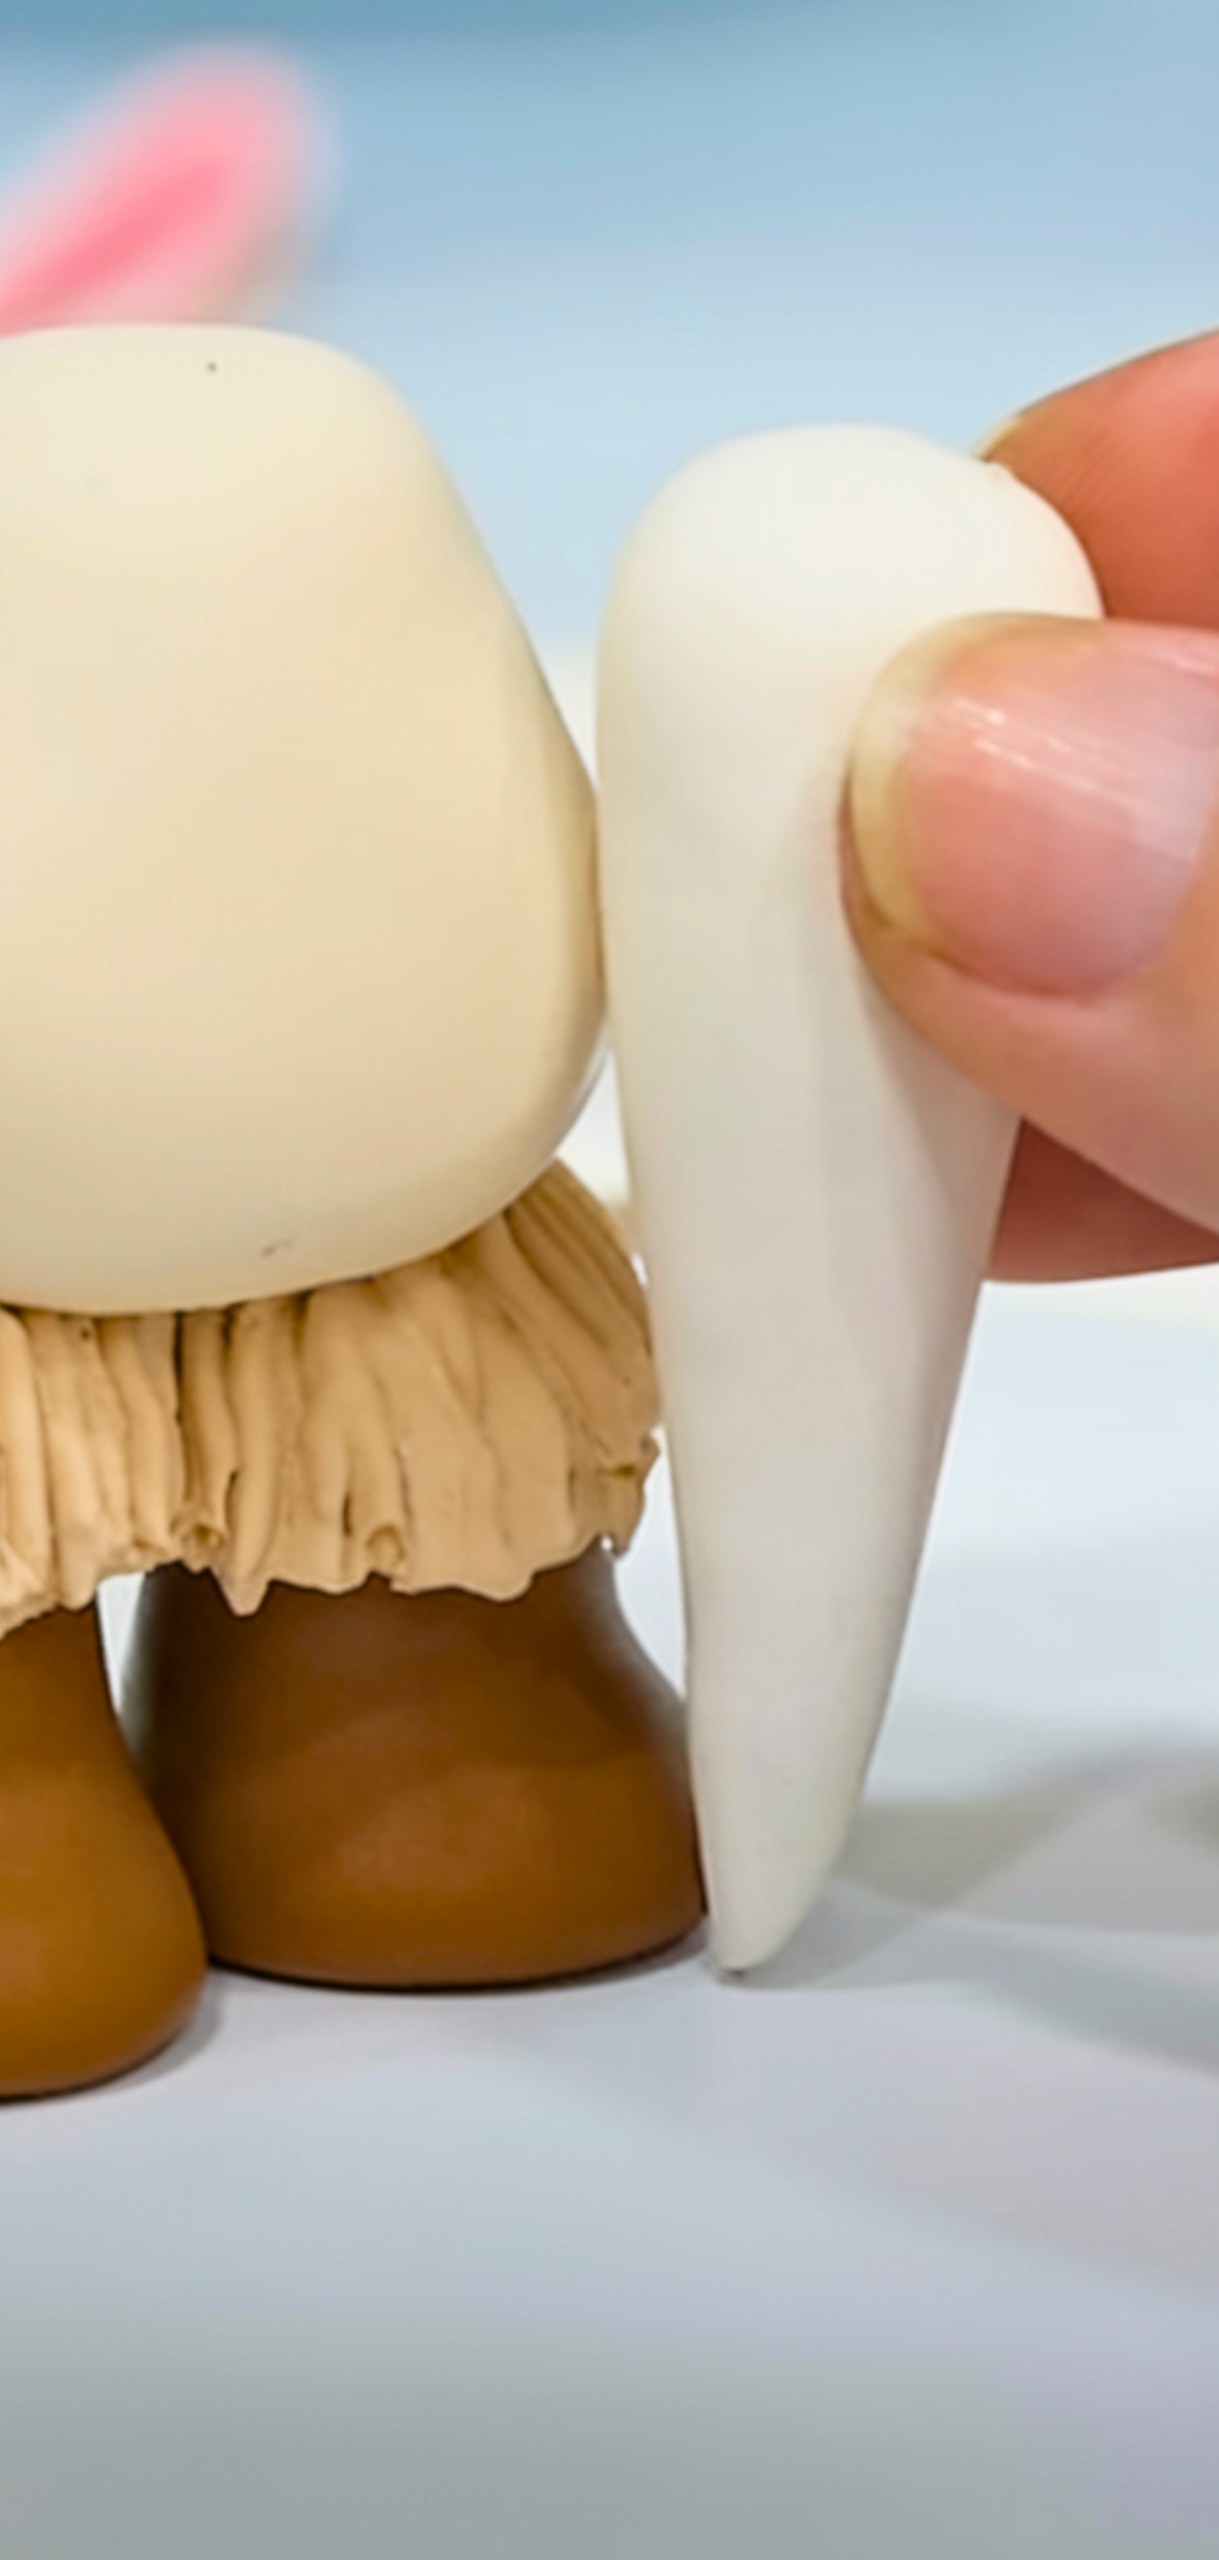
Step 3: Add the Hat
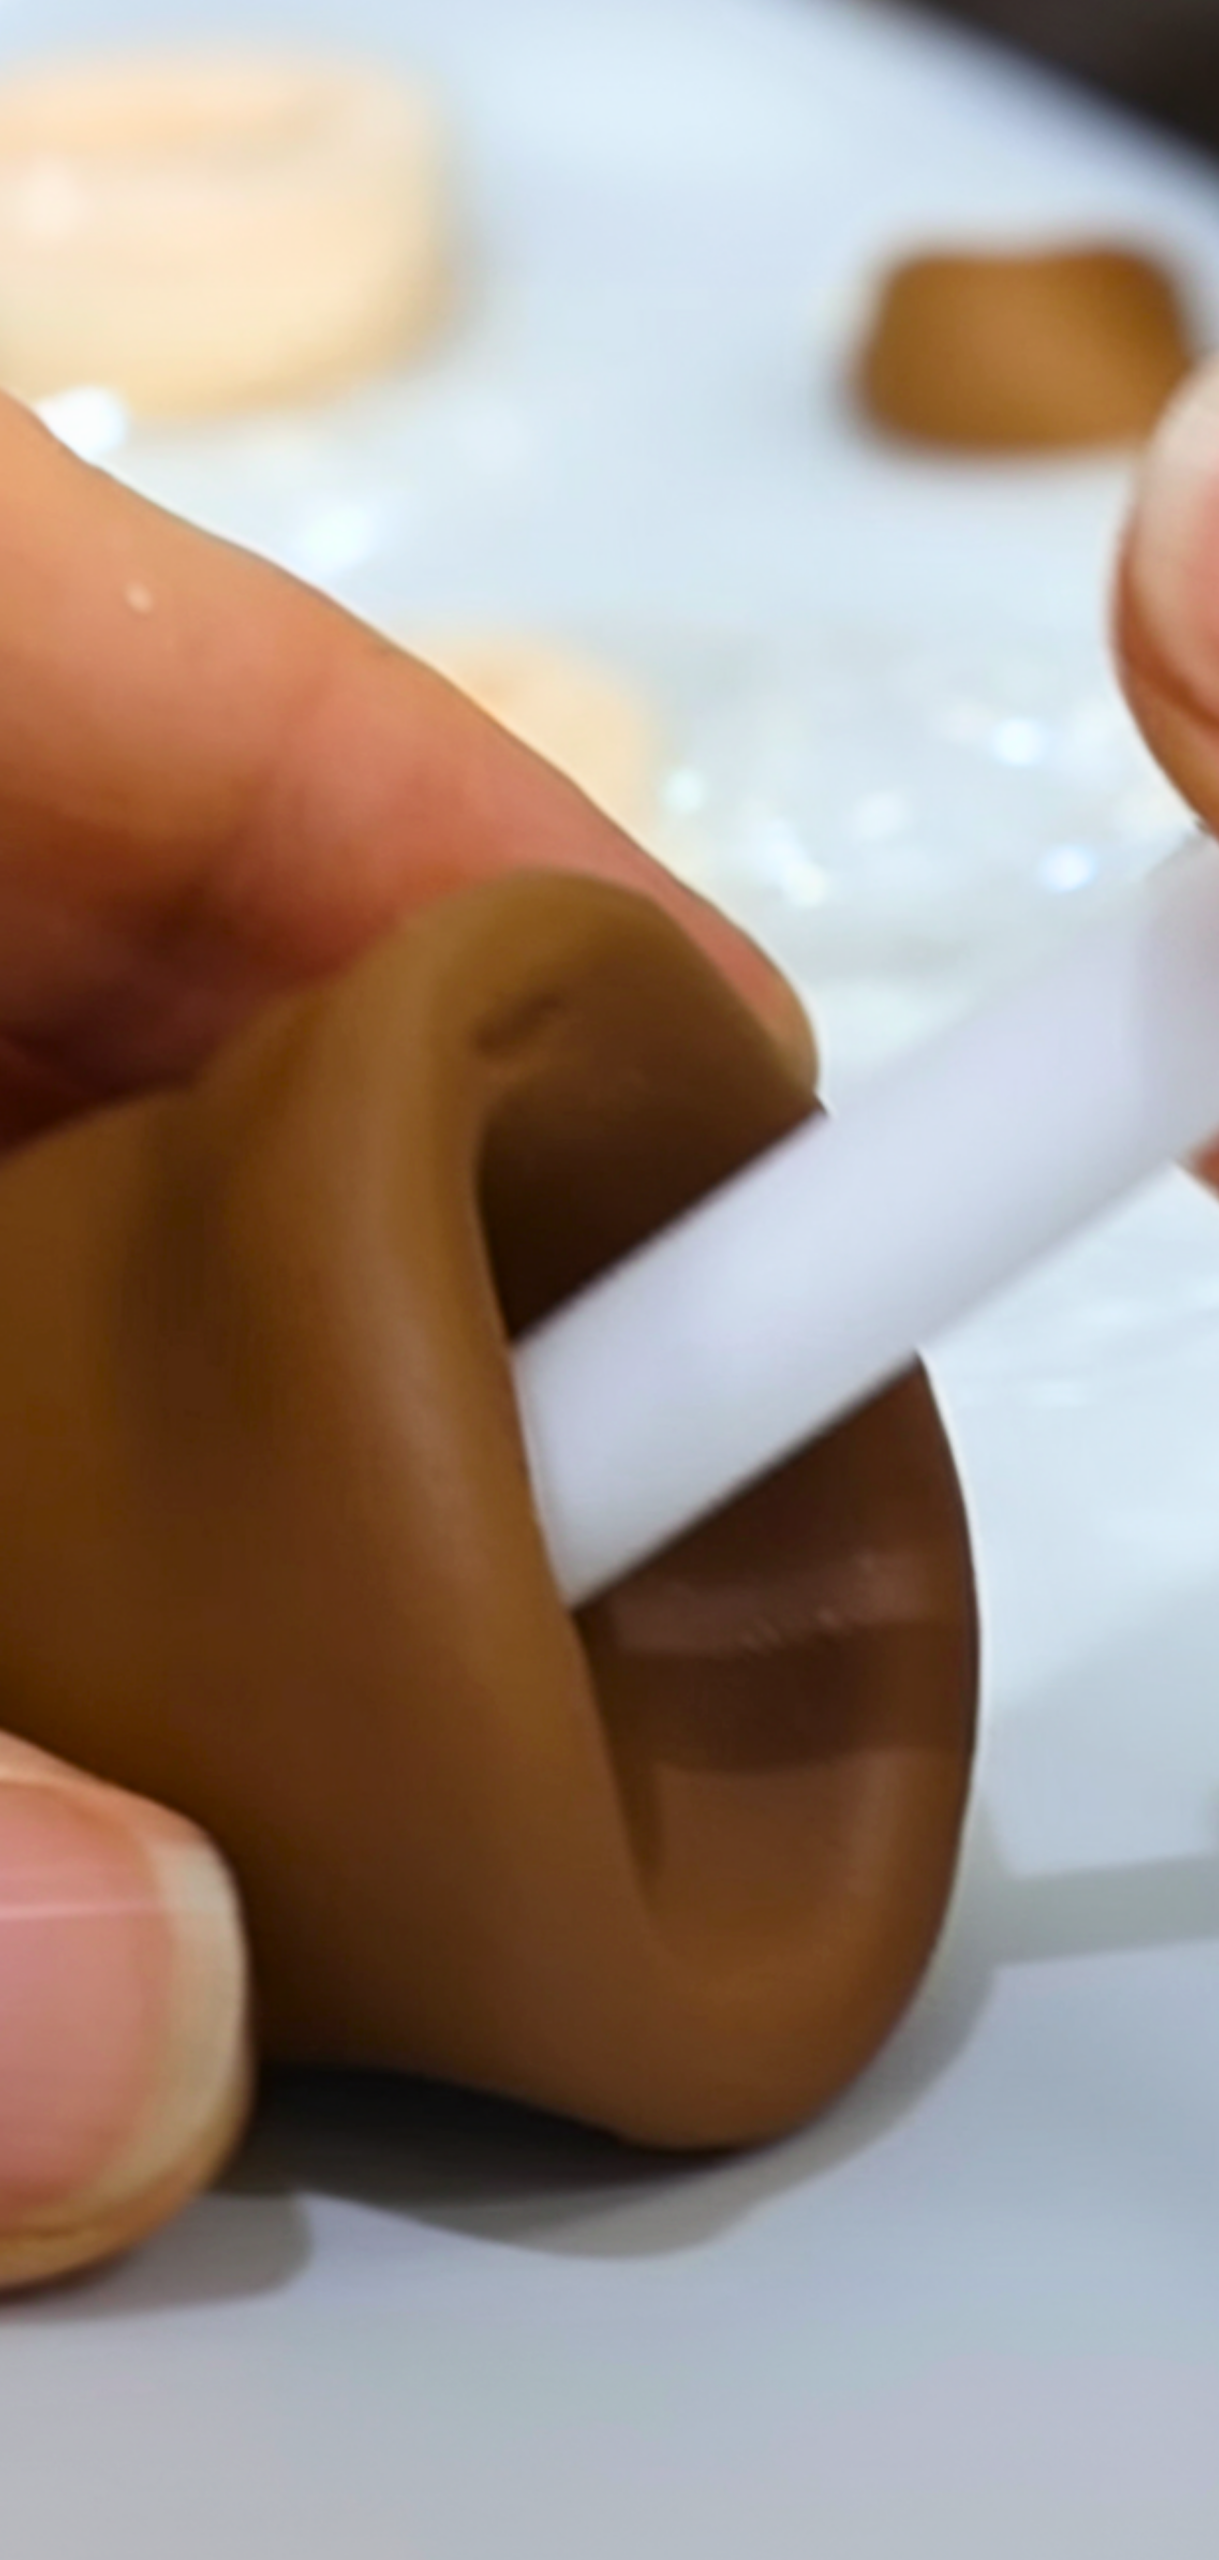
Roll out a separate piece of another colored clay into a cone to form the hat. Gently press the hat onto the top of the body, leaving a bit of the “nose” area exposed. Curl the hat tip; no tools are needed.
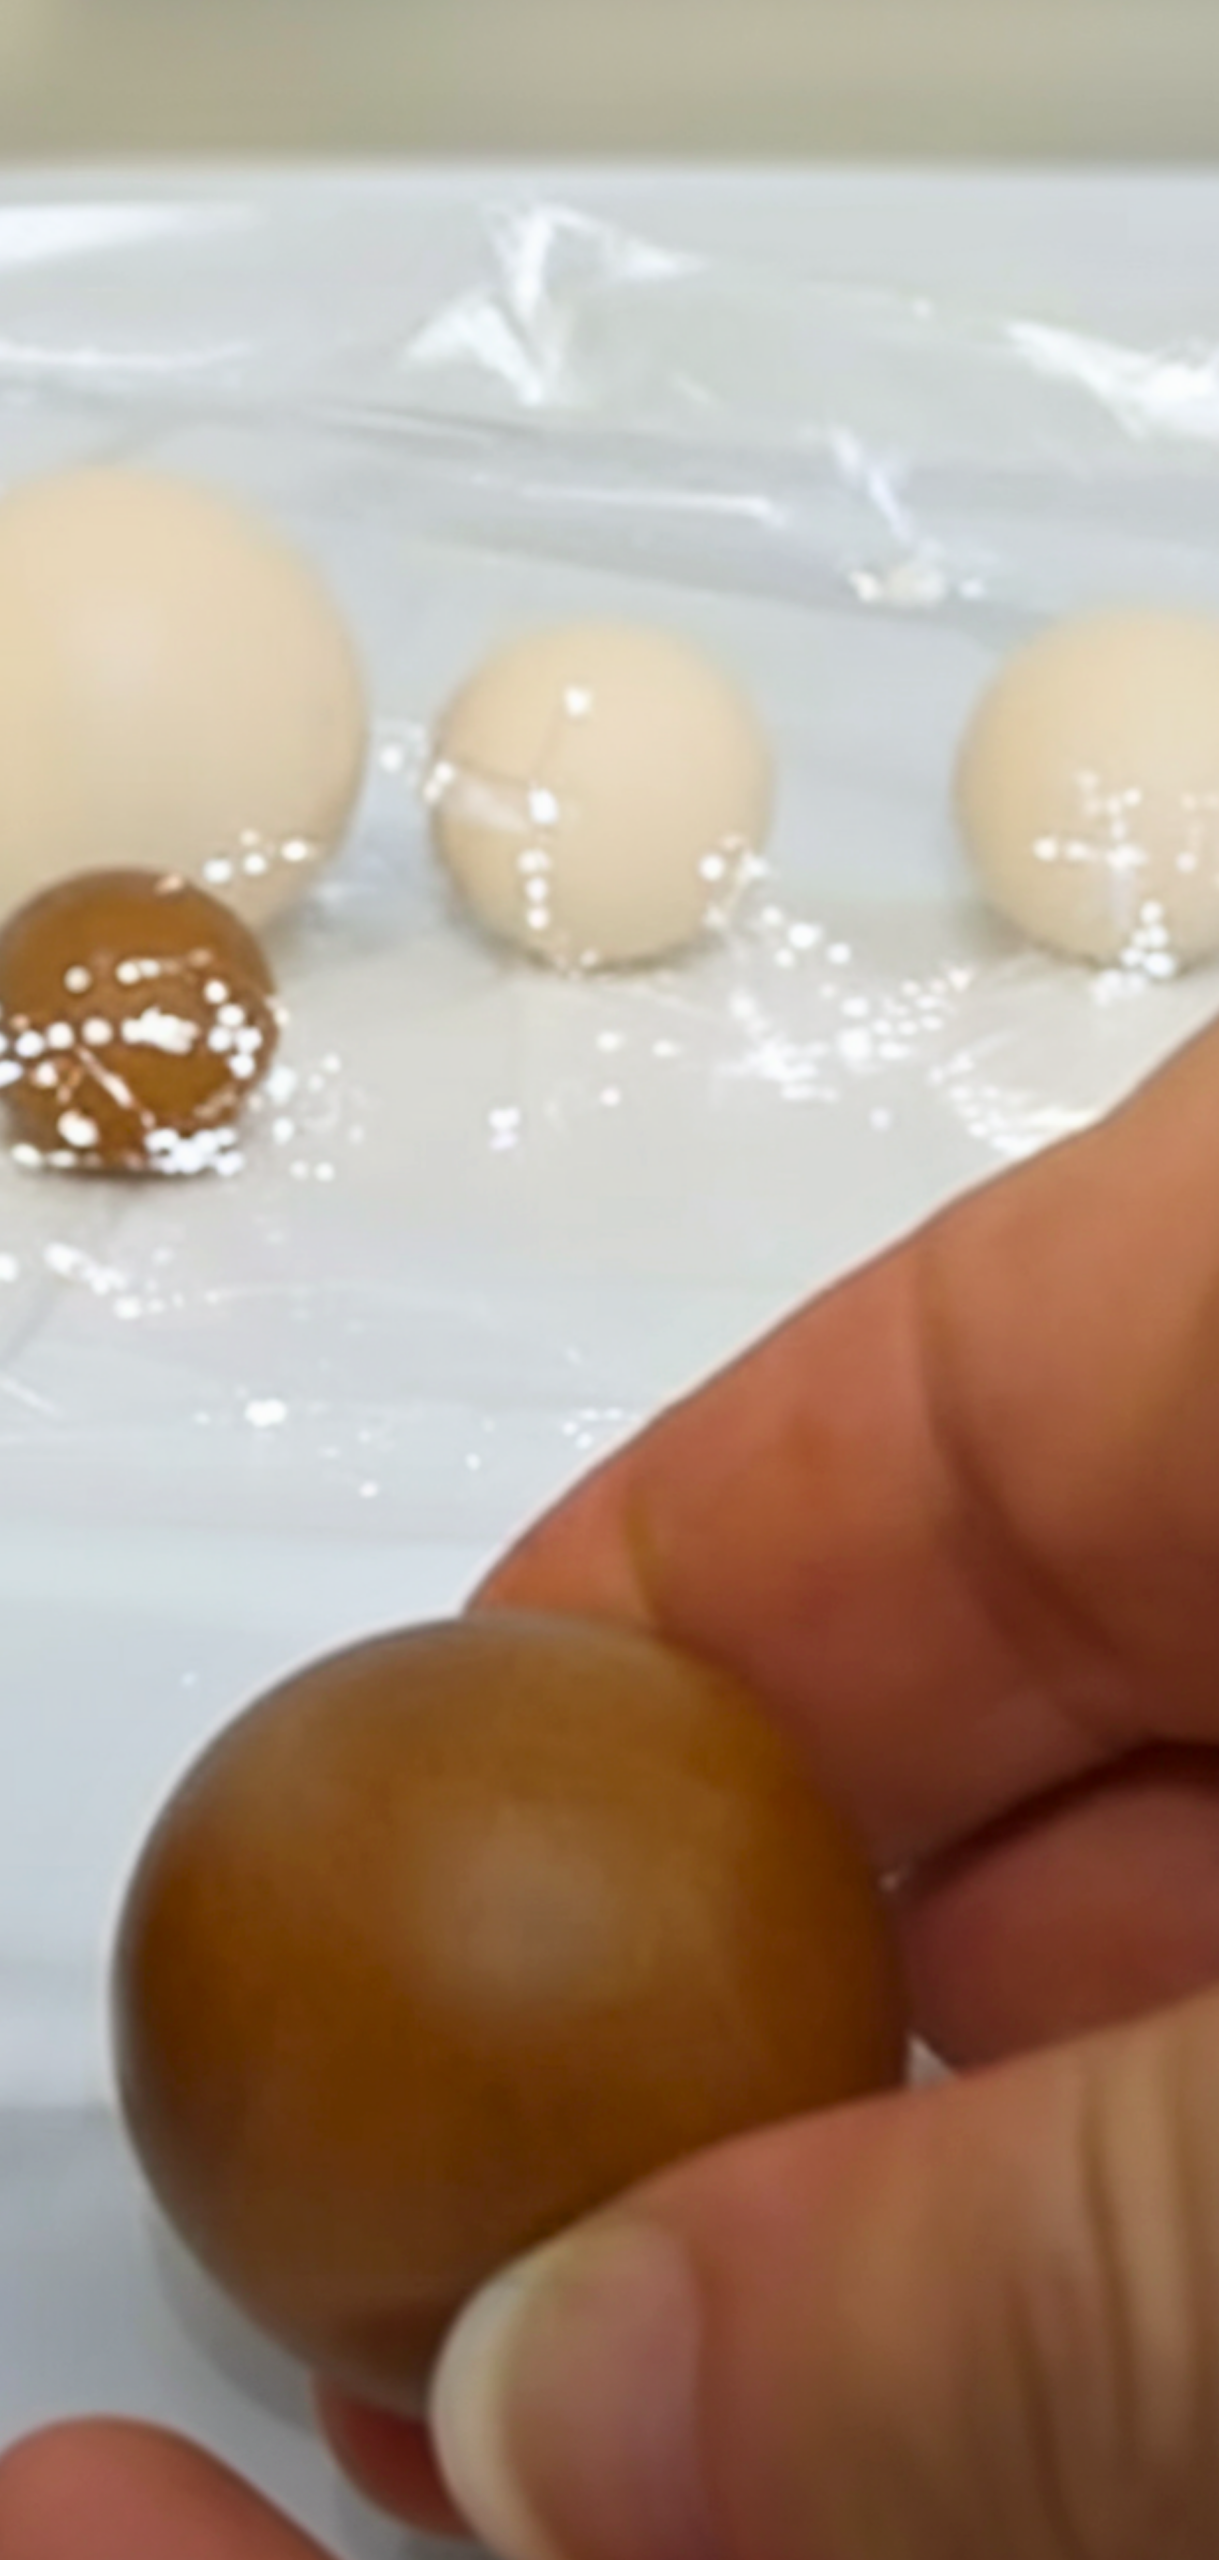
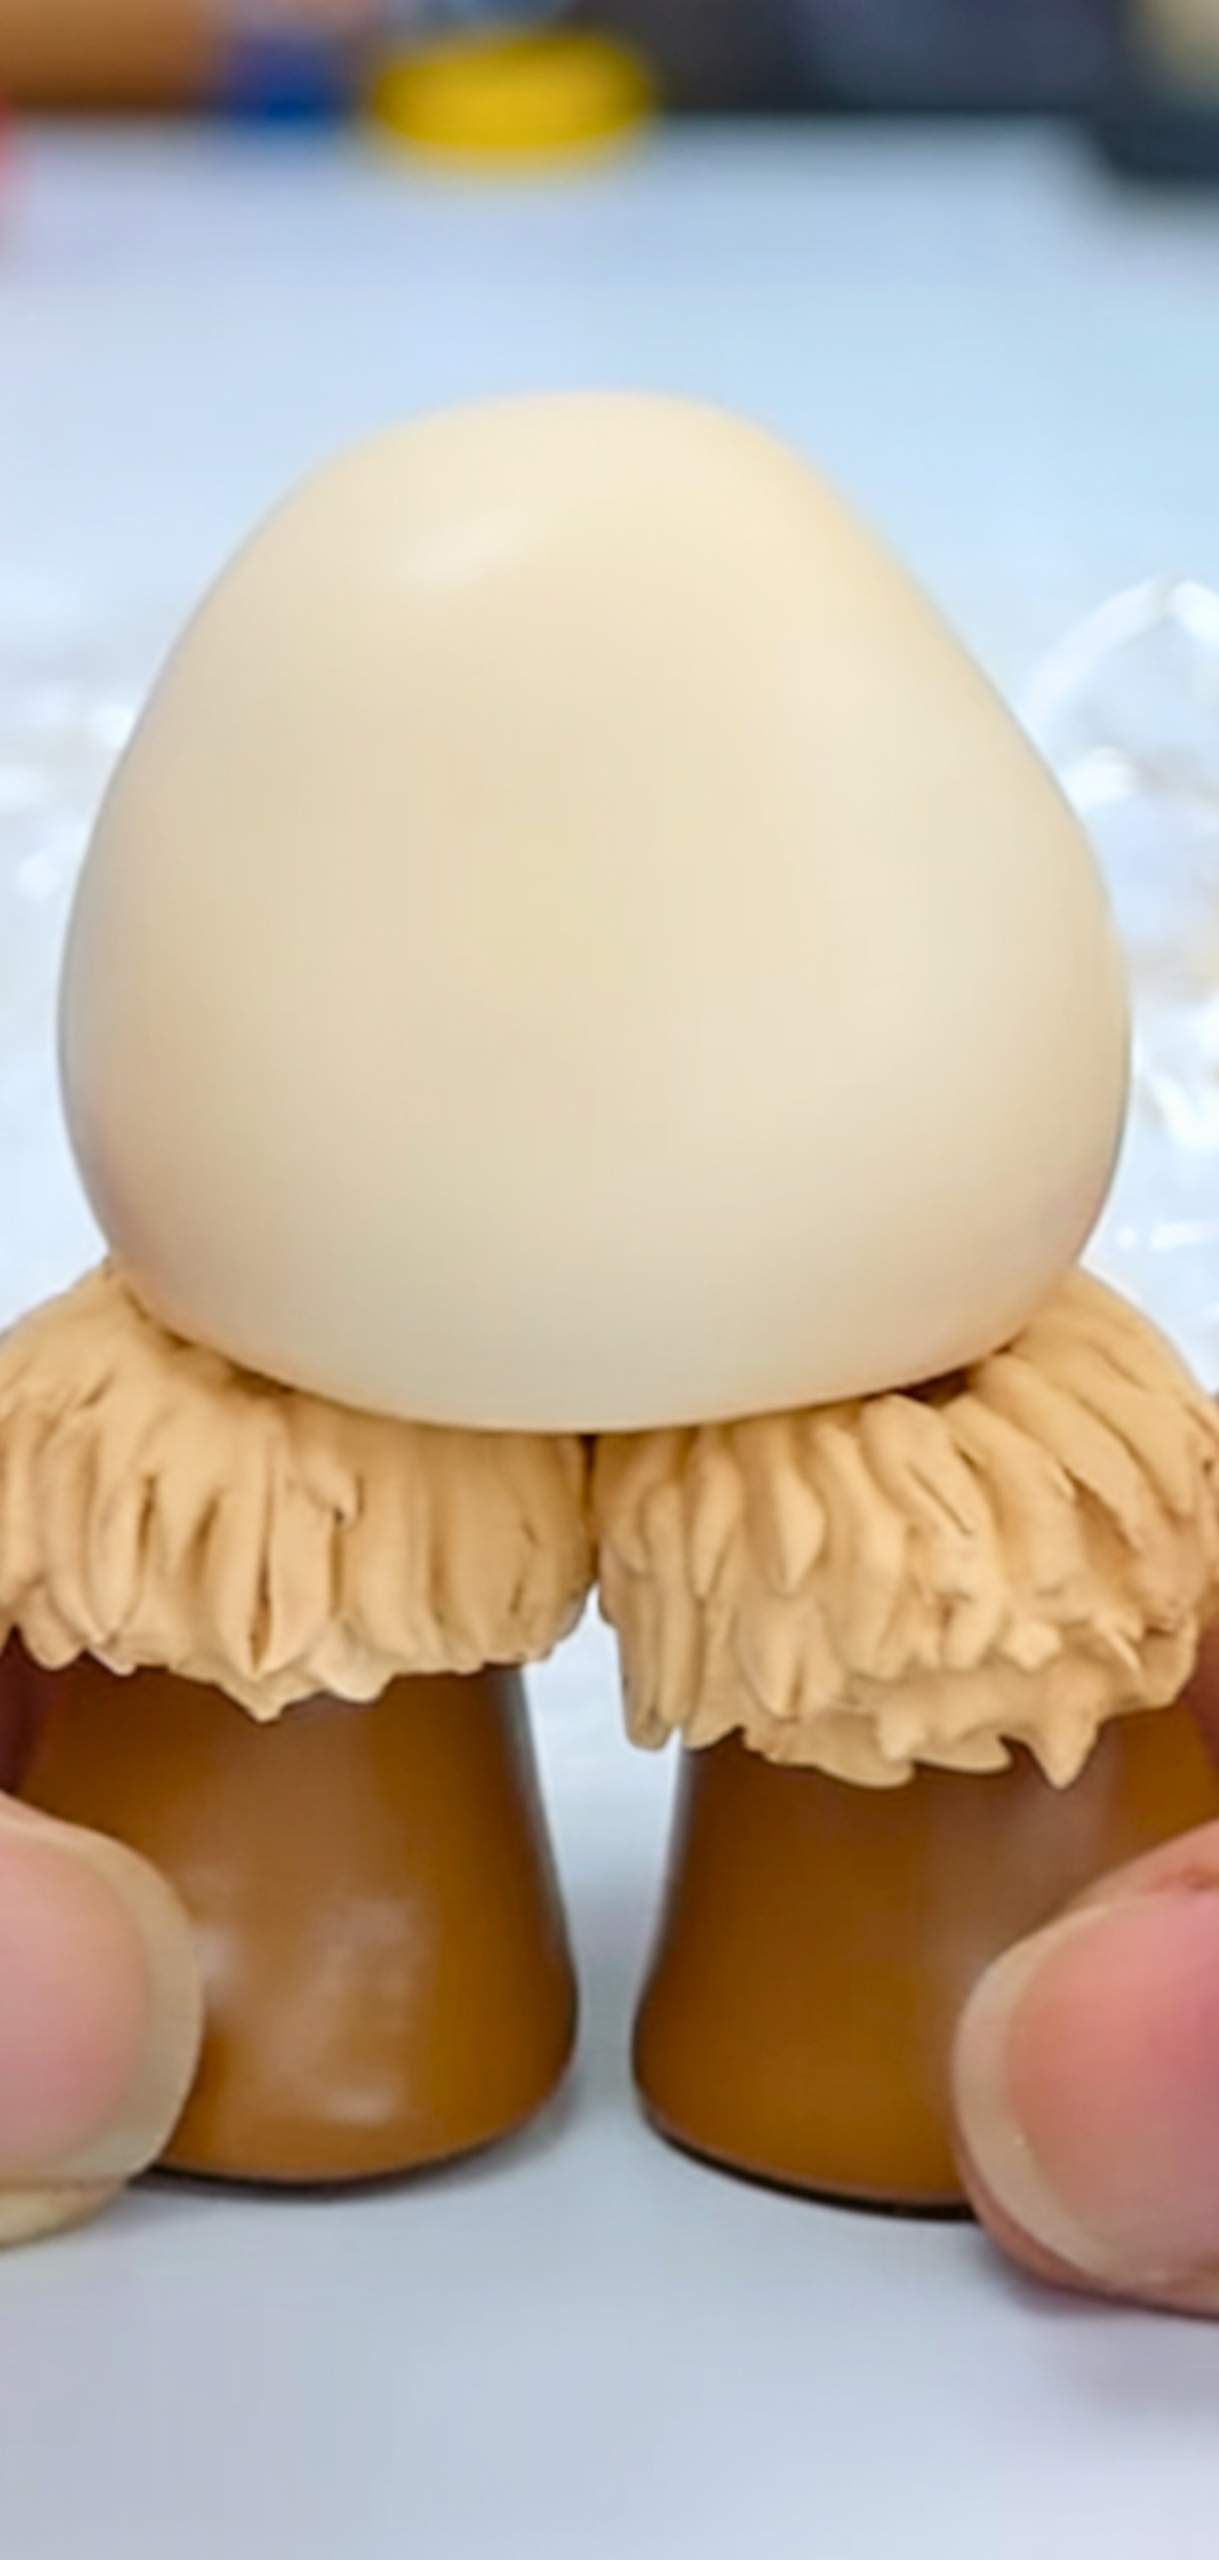
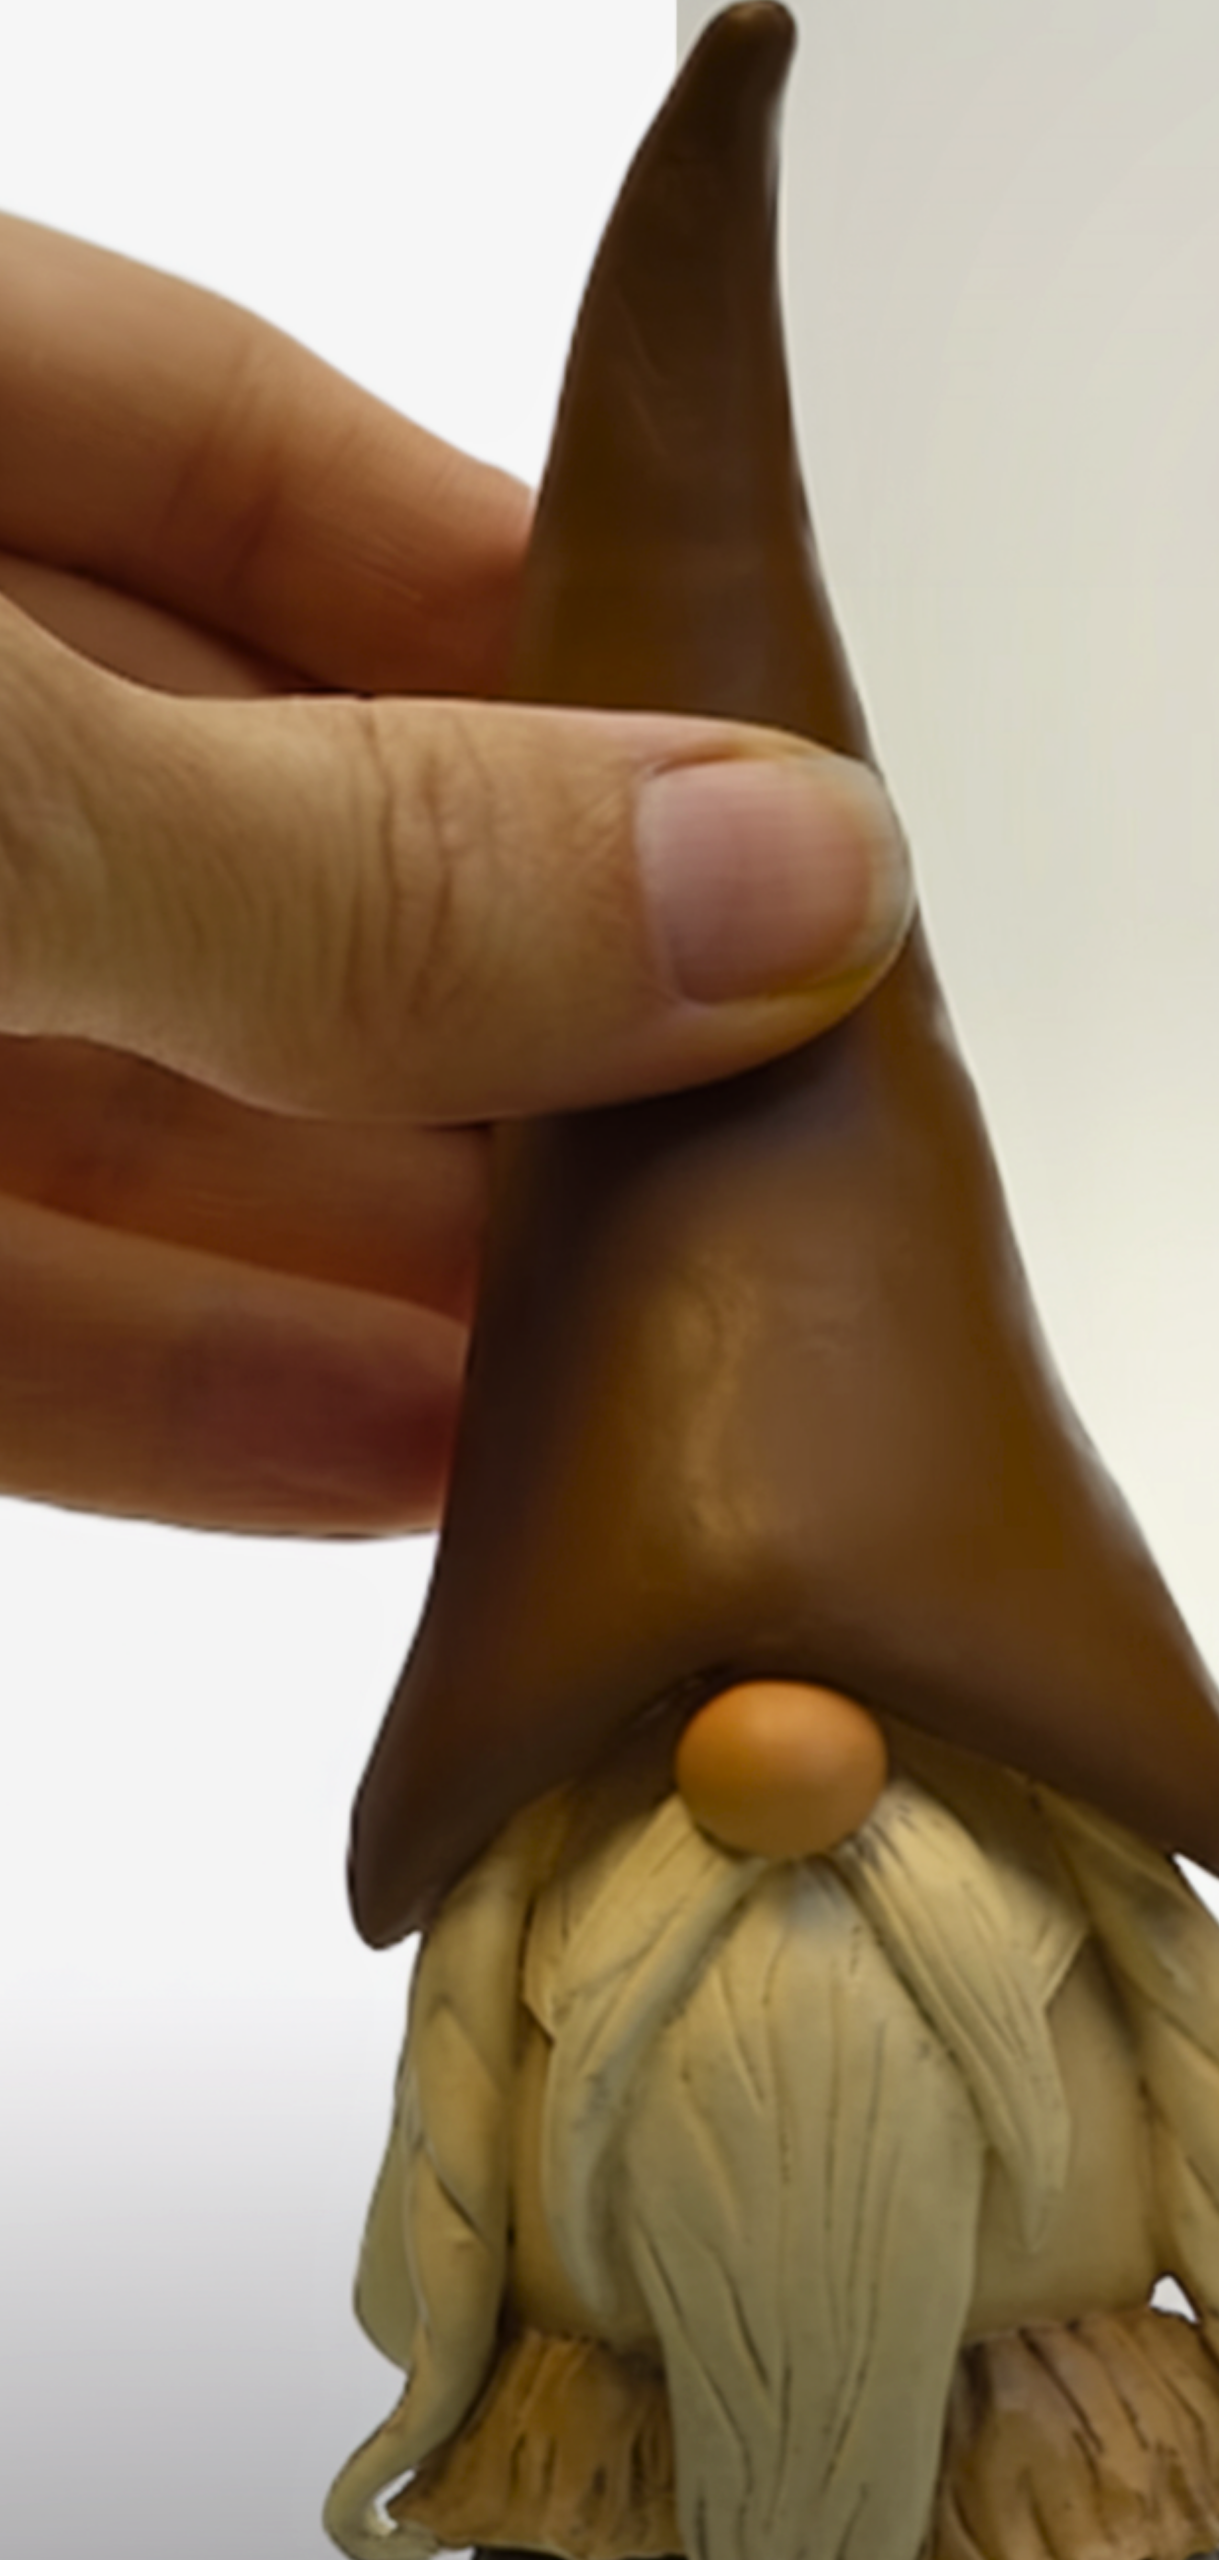
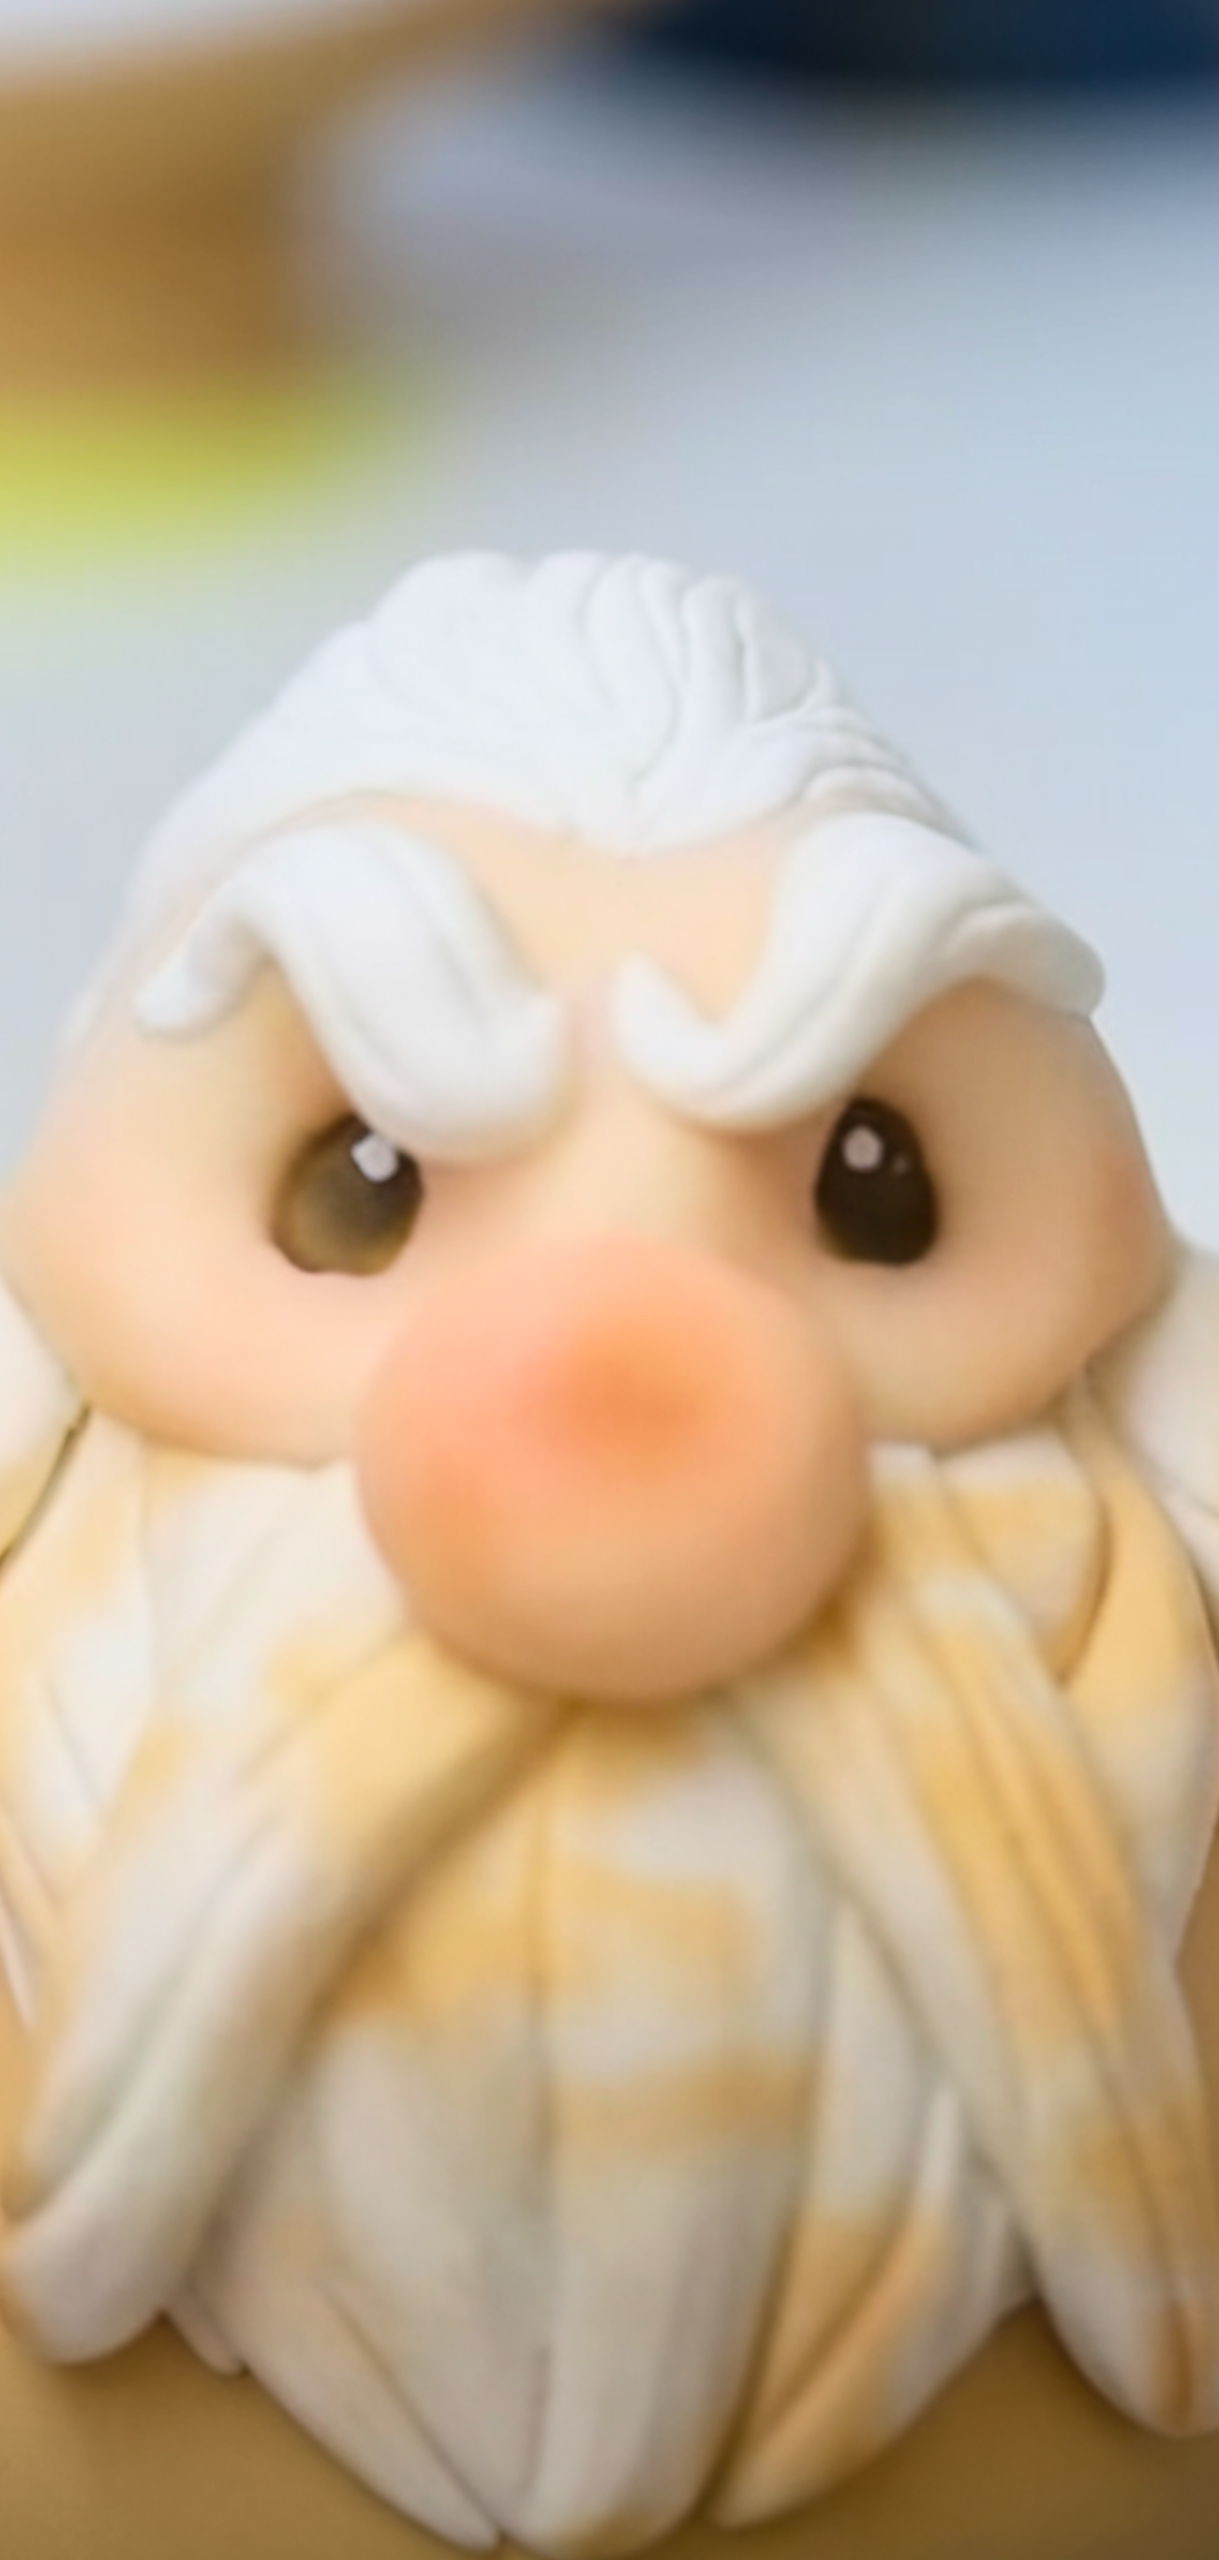
Step 4: Attach Nose & Beard
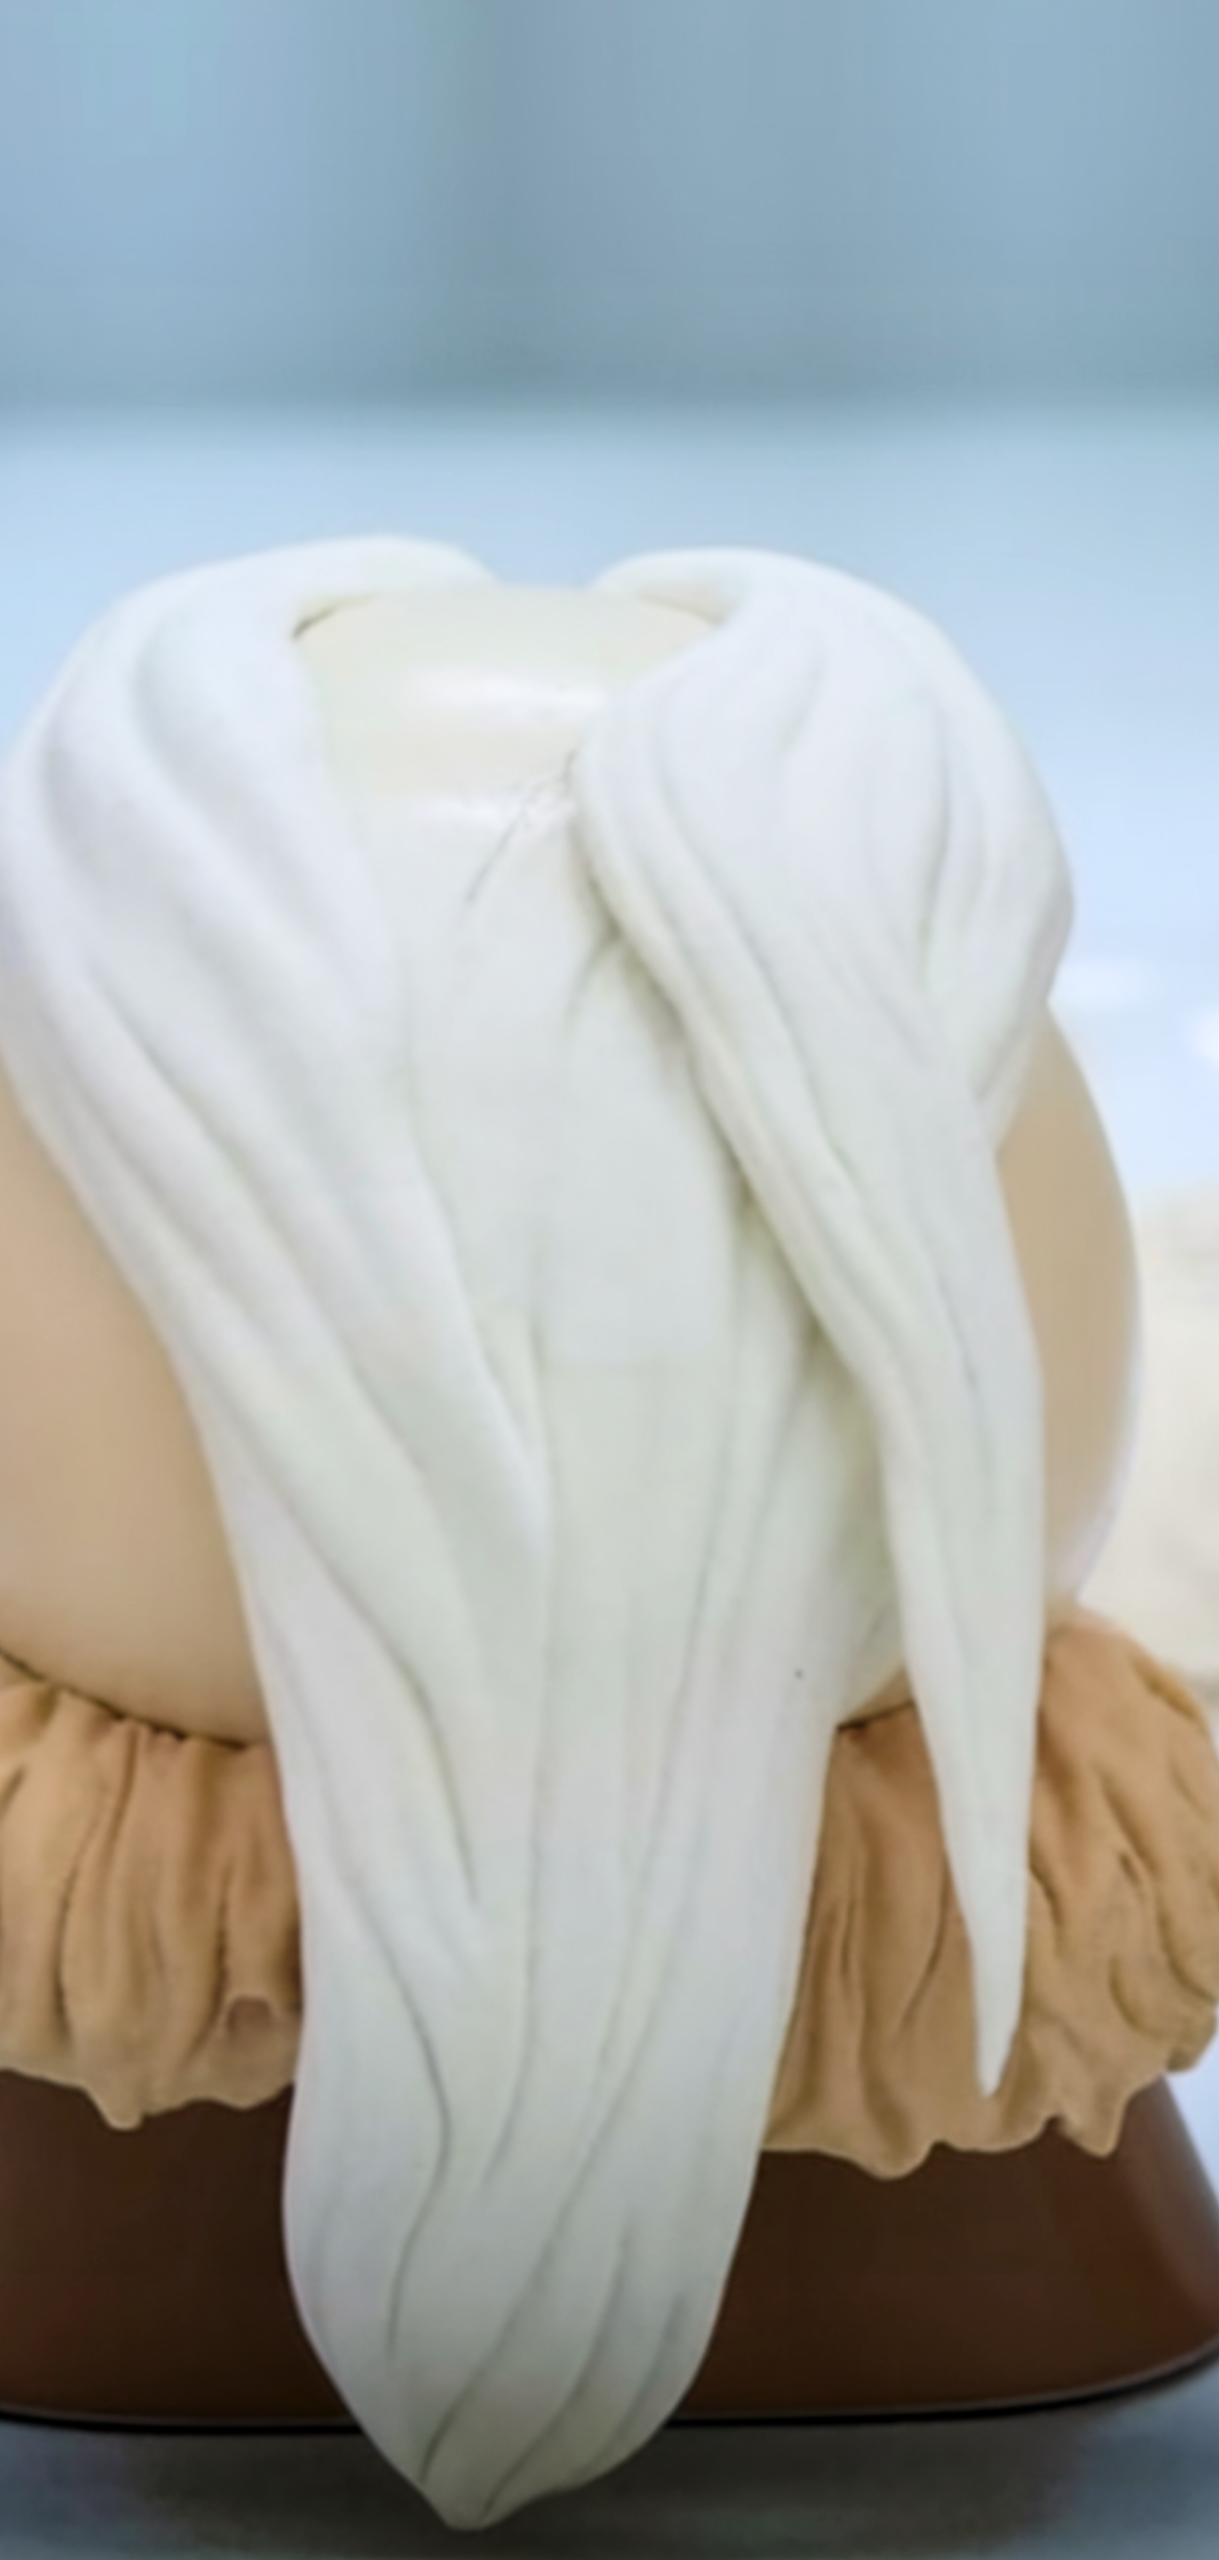
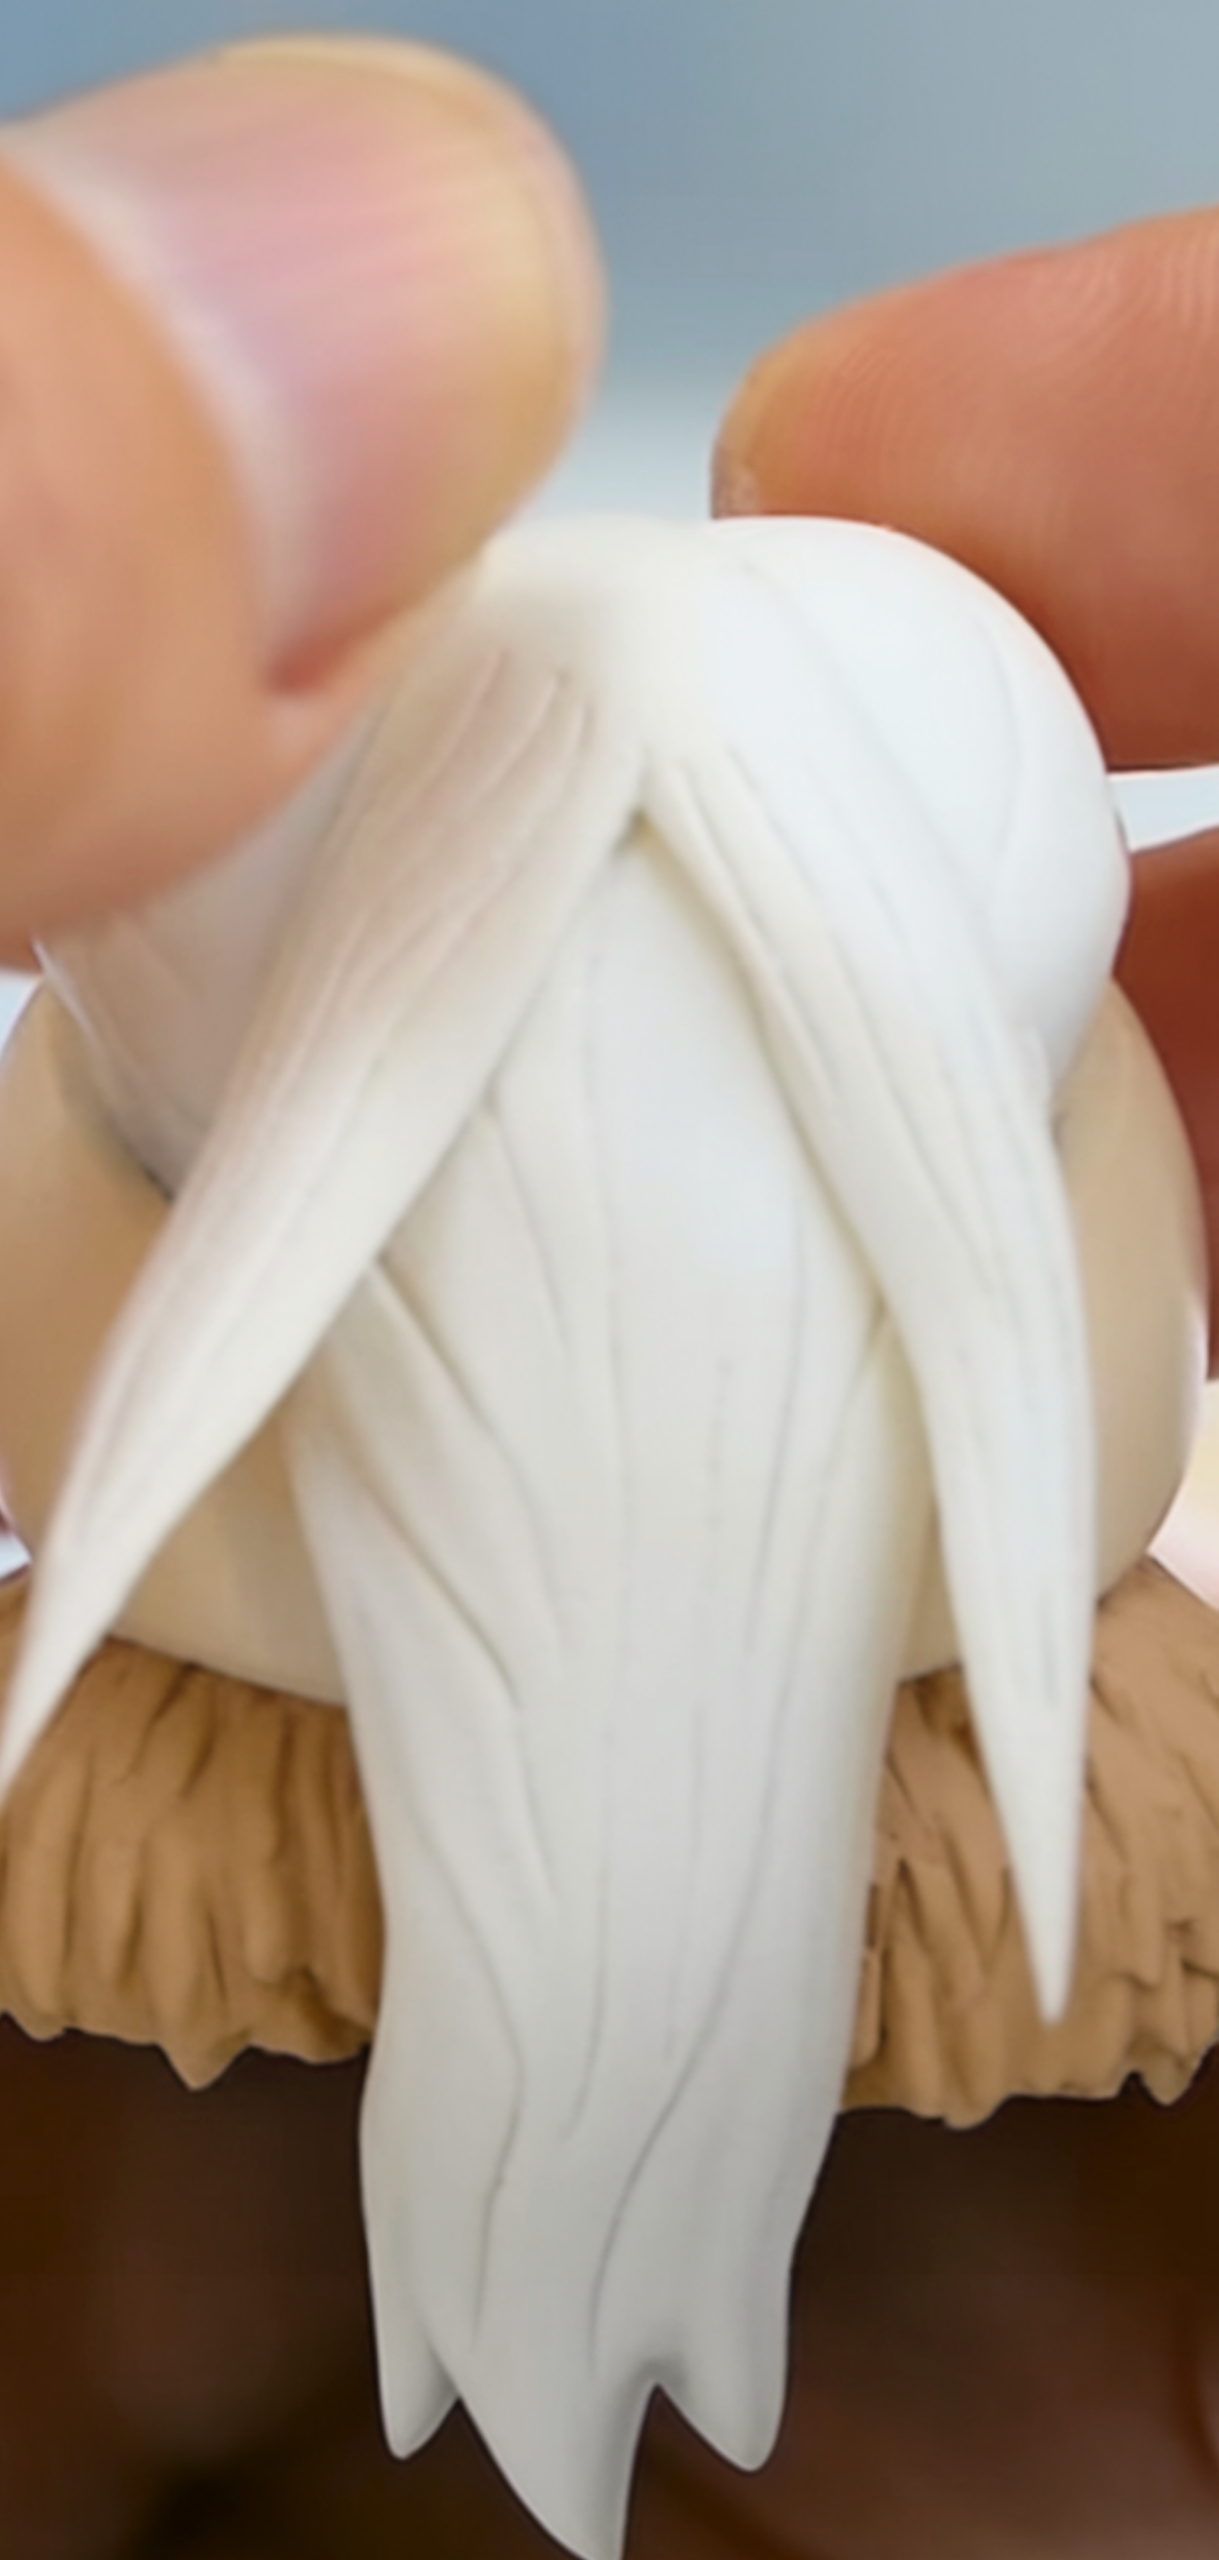
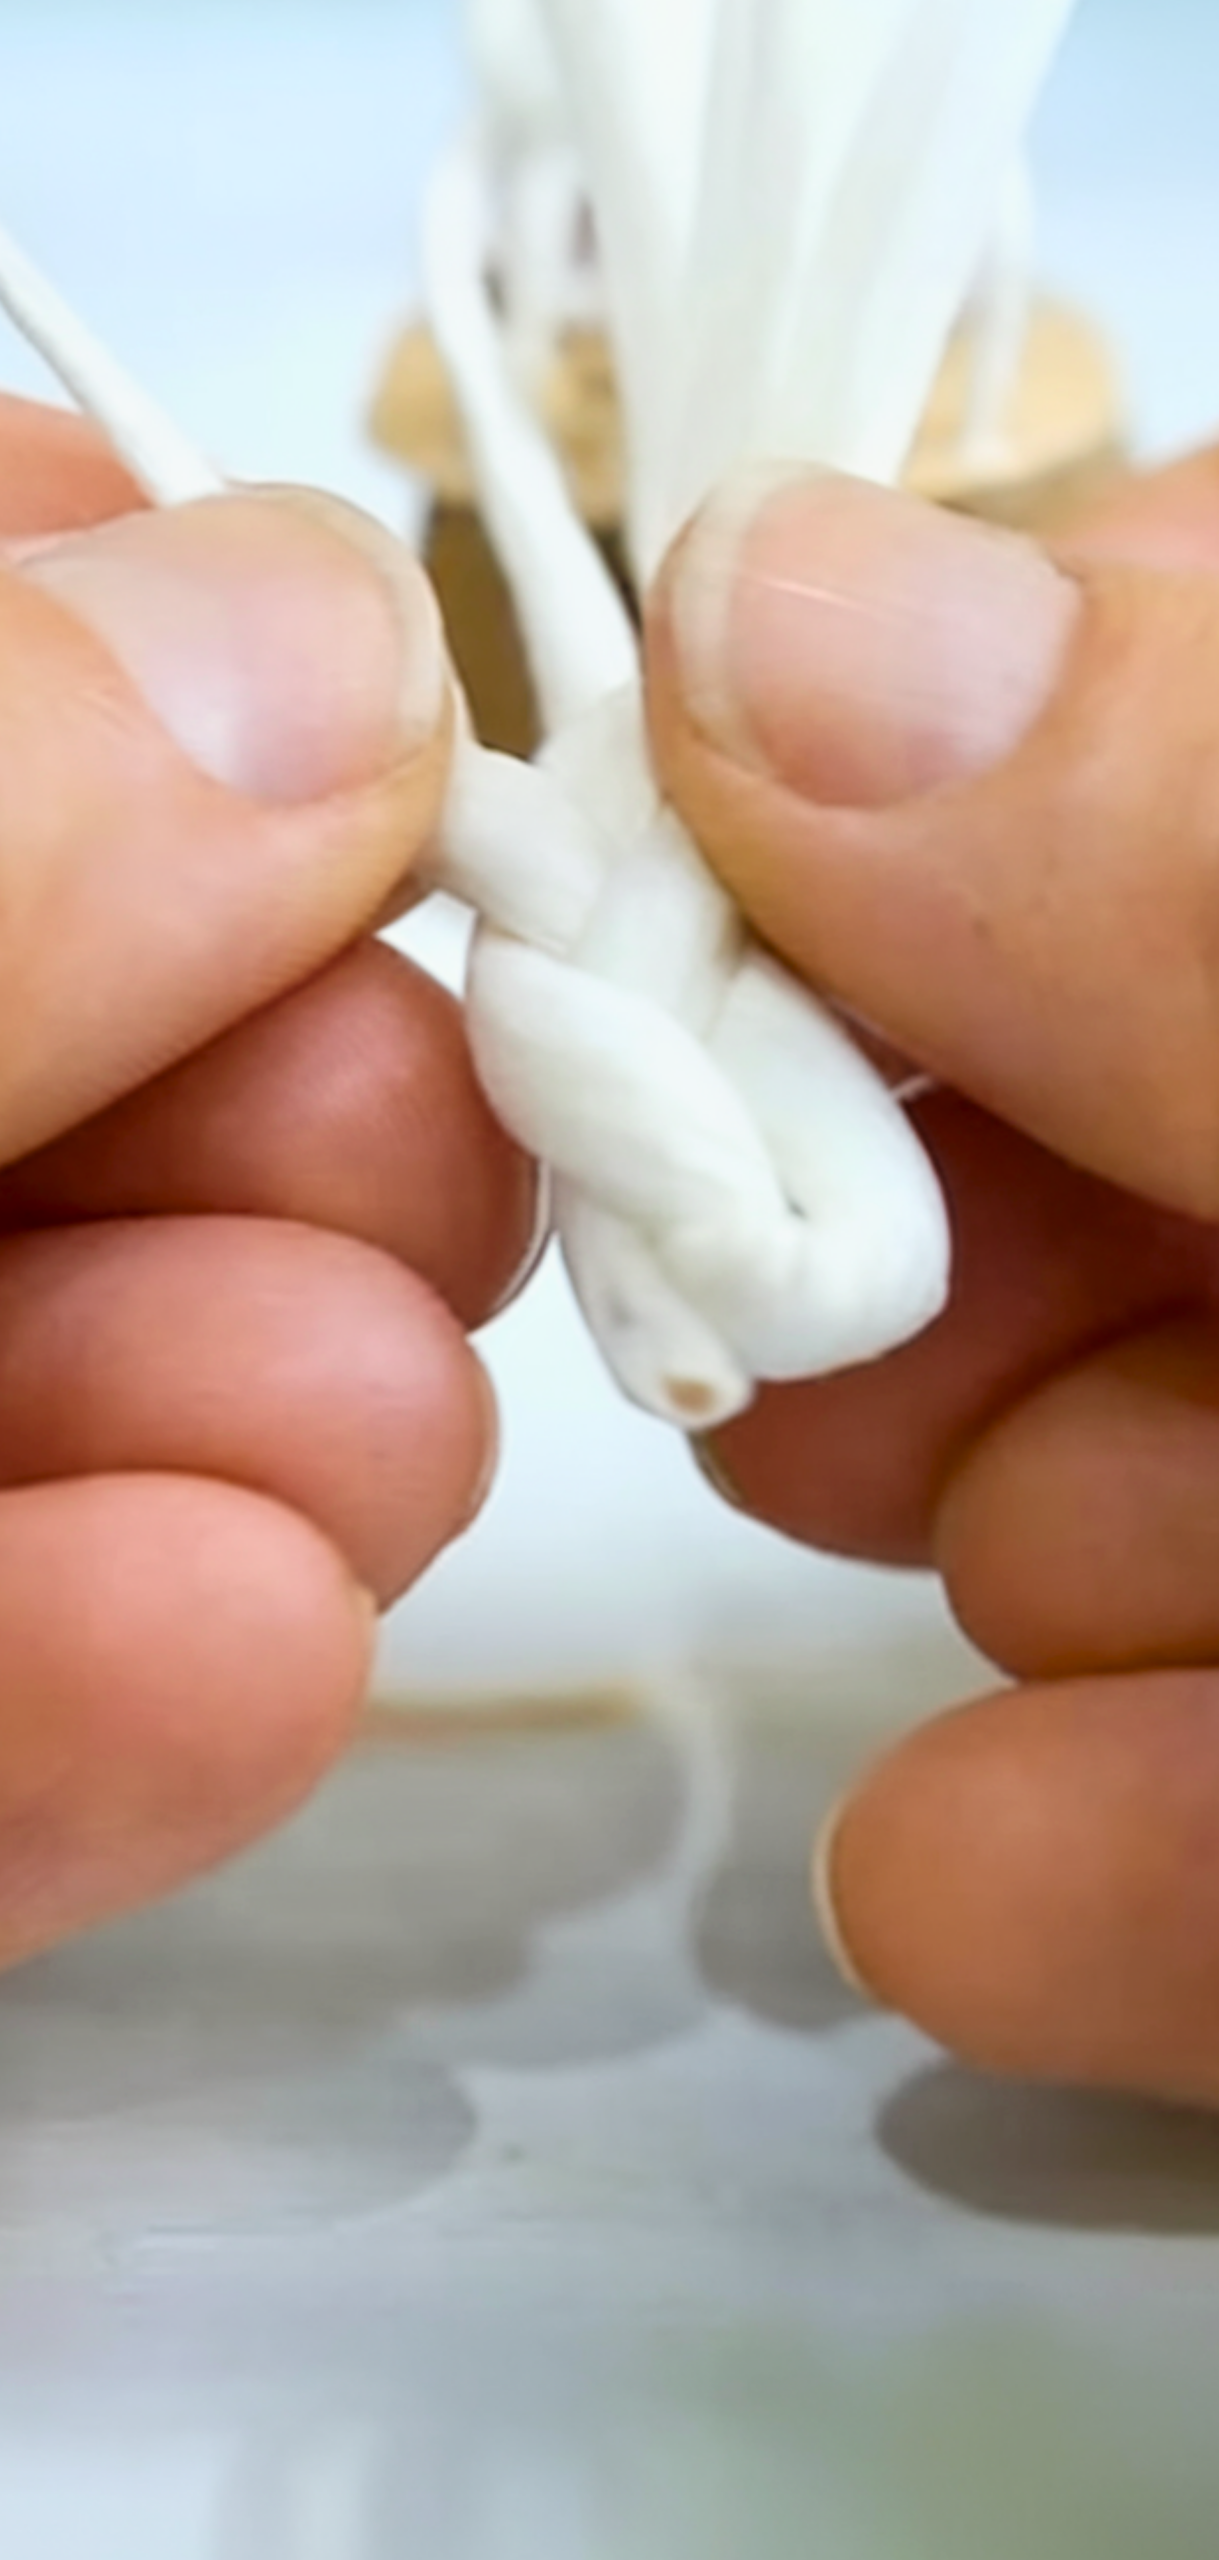
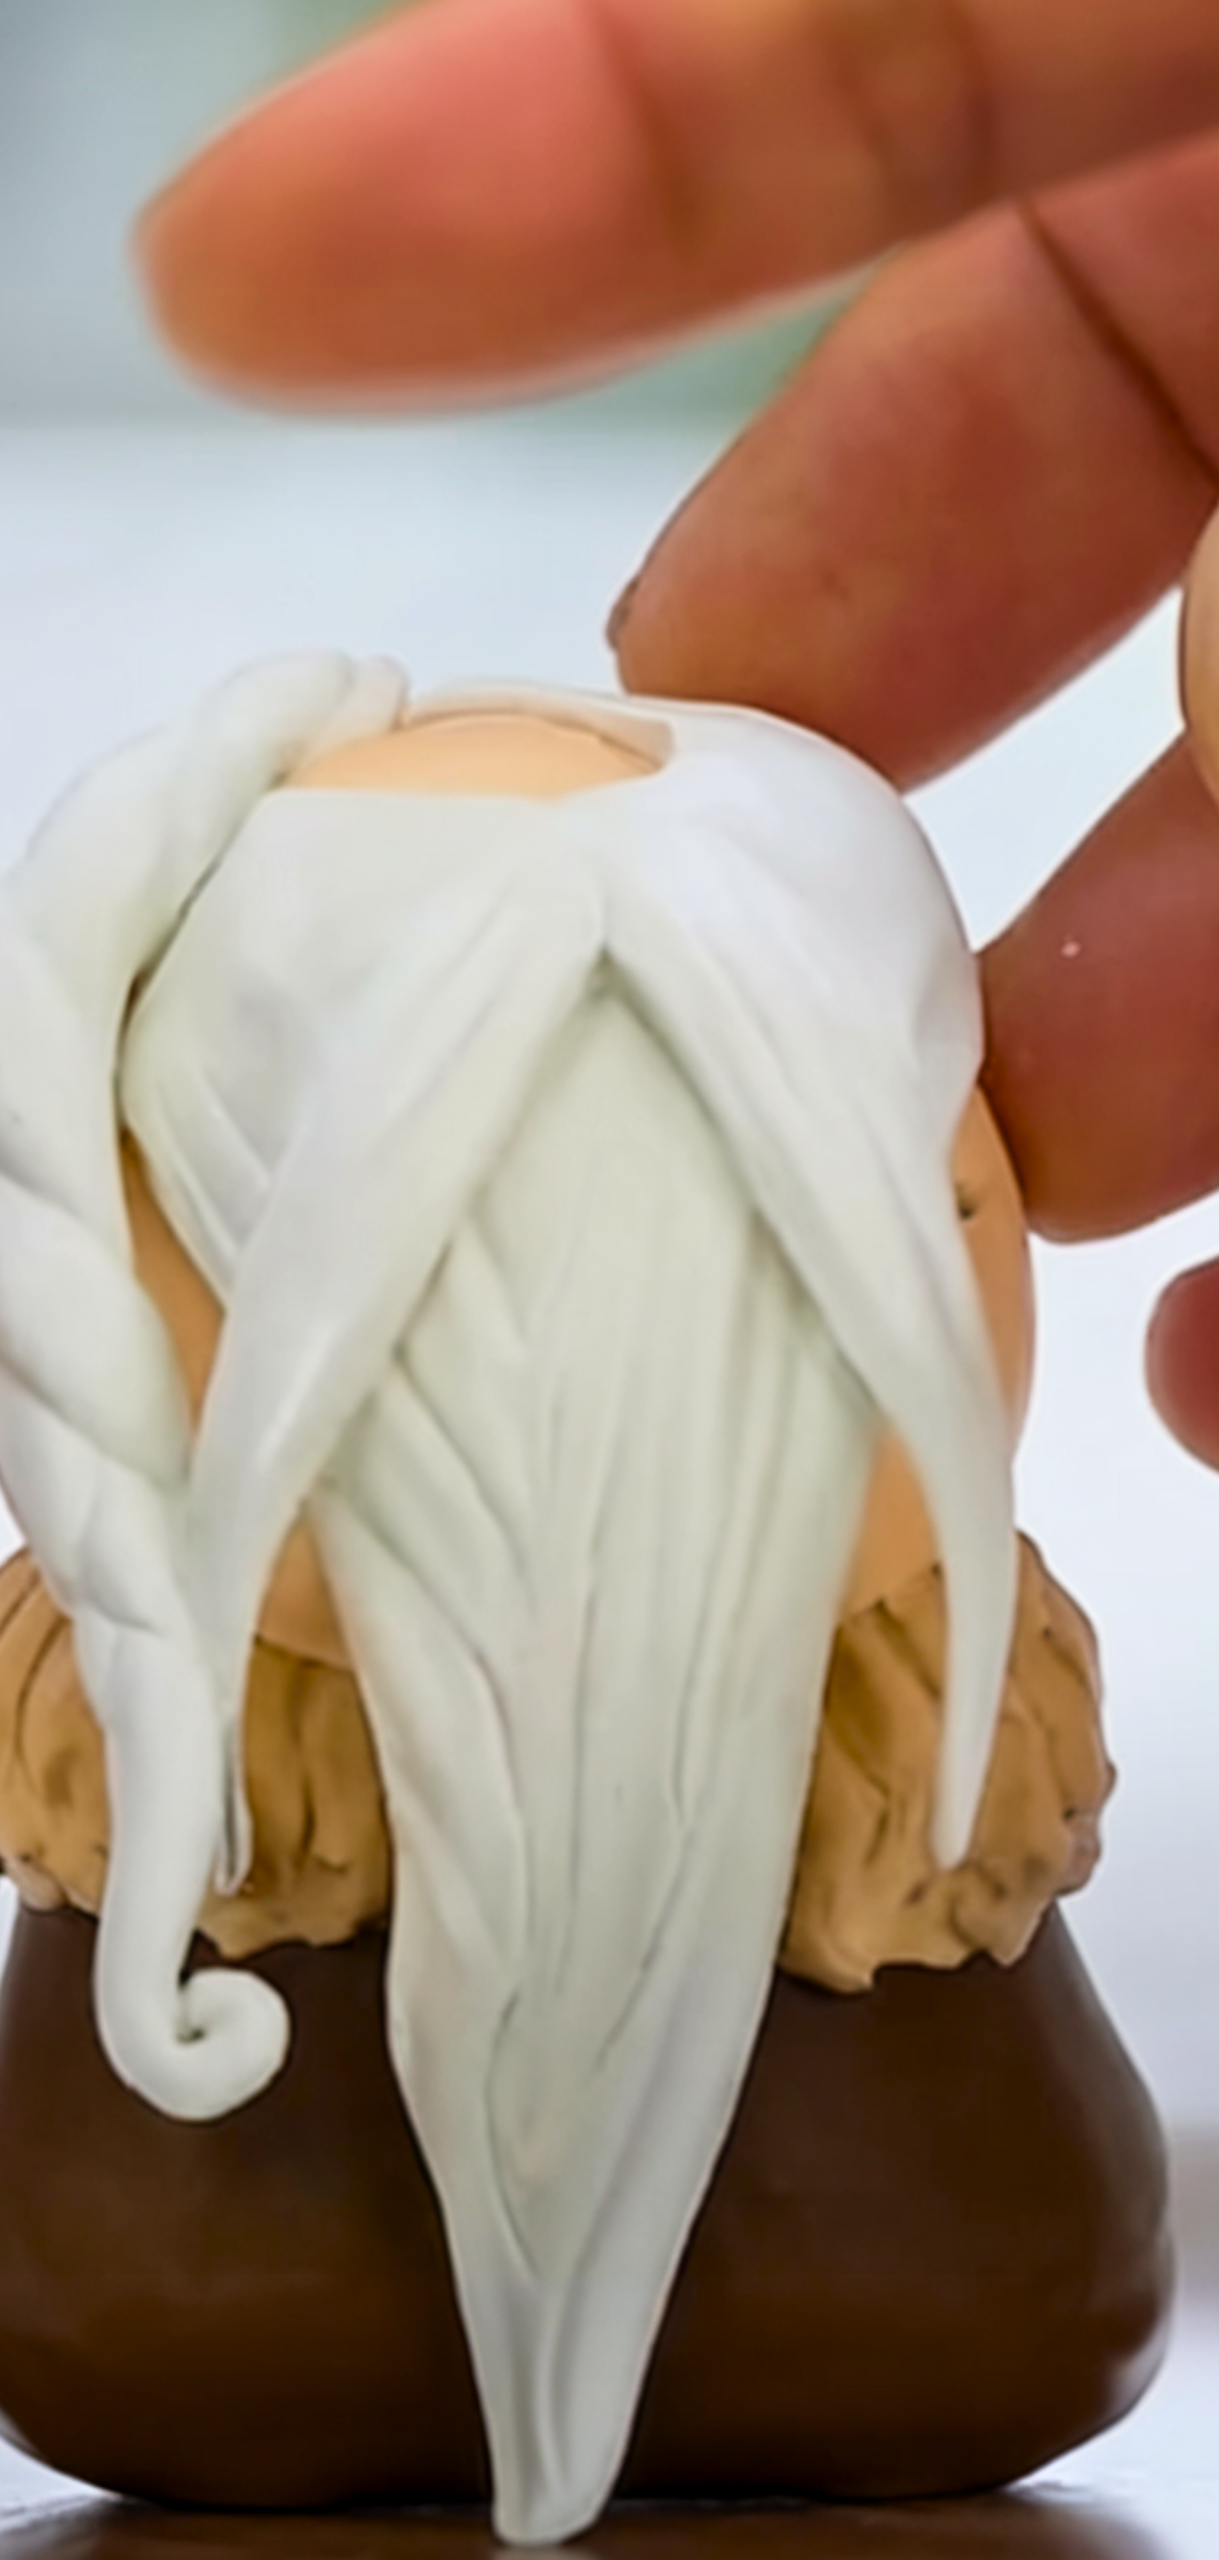
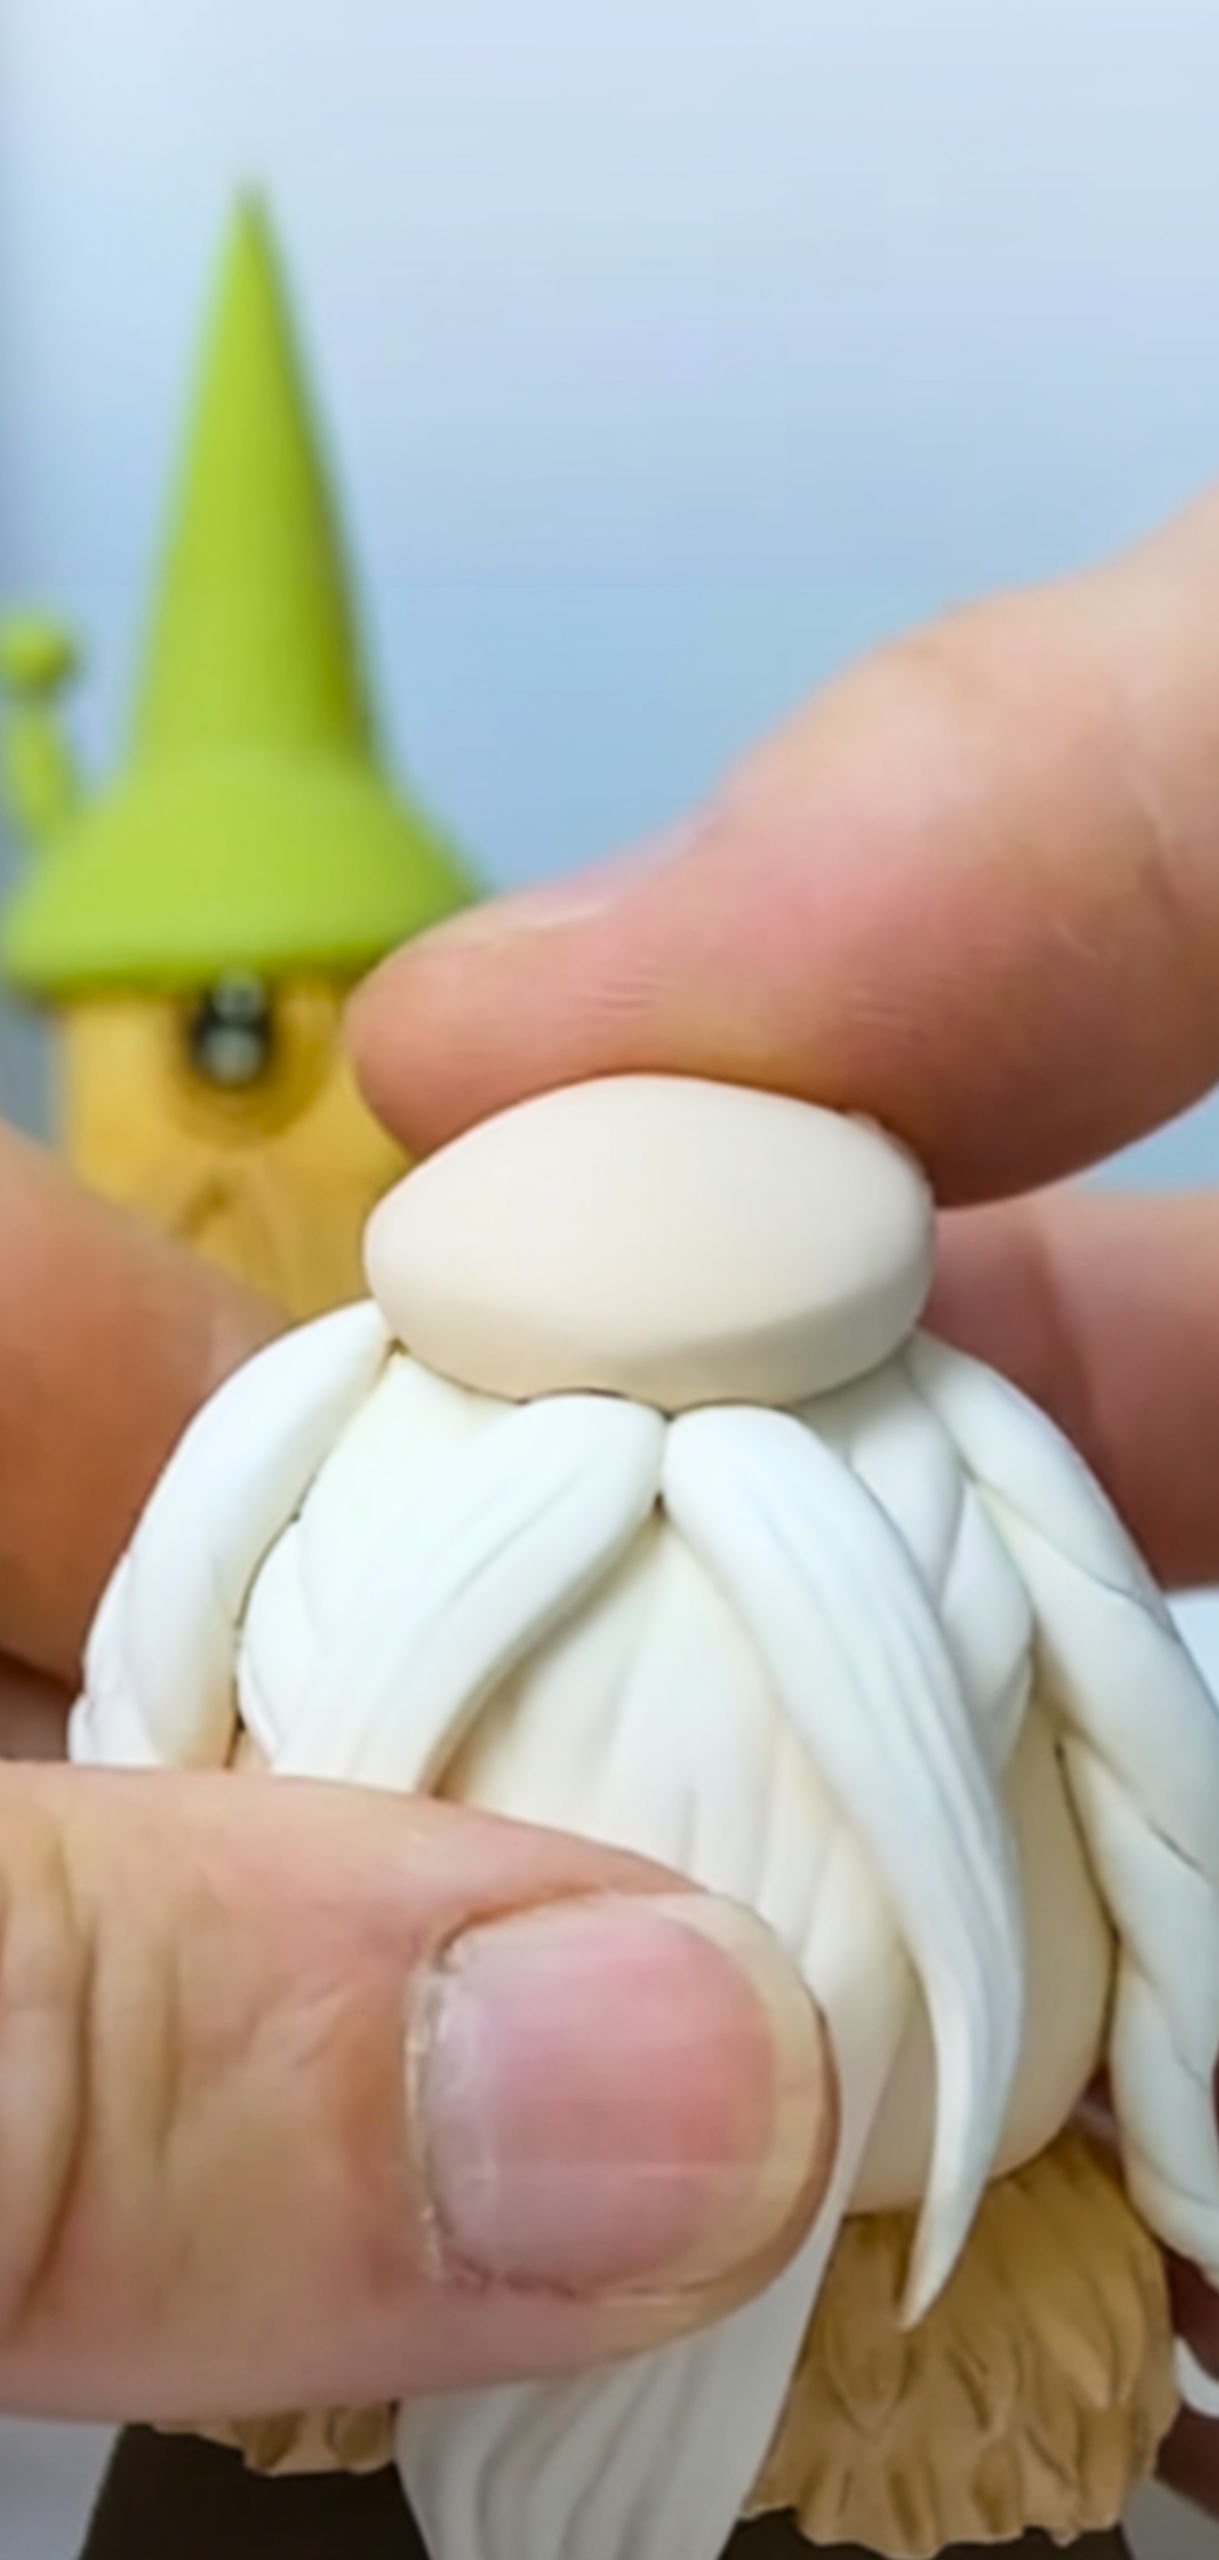

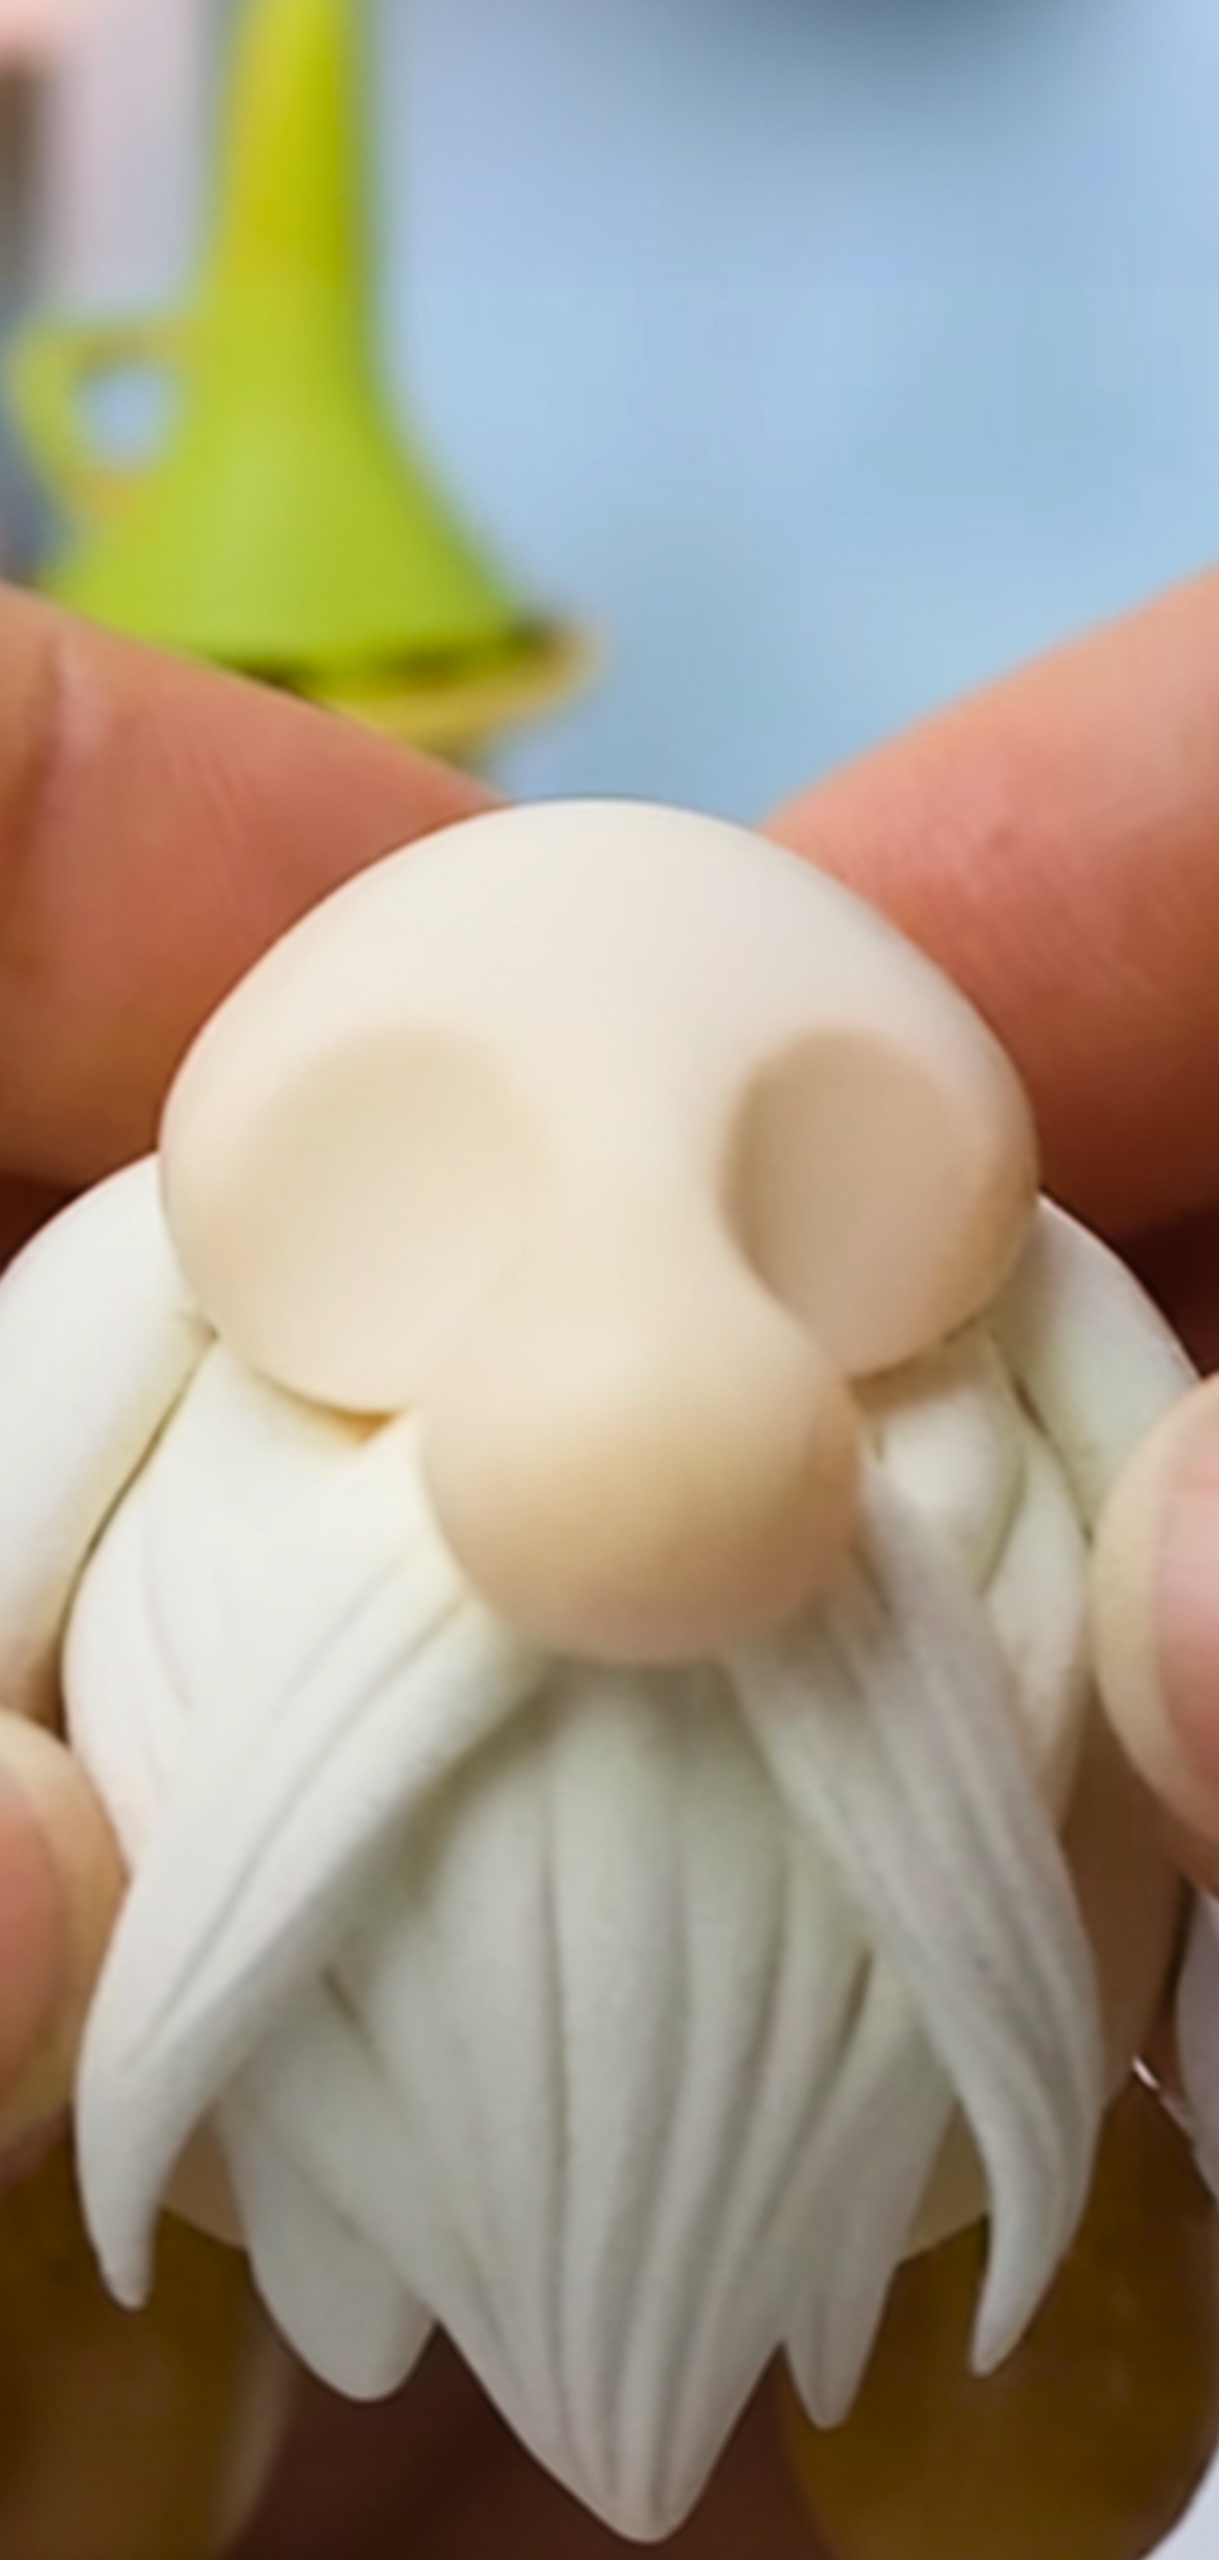
Pinch a small ball of tan or peach clay and press it halfway into the body just below the hat’s brim. This becomes the gnome’s nose. Then, flatten white or grey clay into a beard shape and press it beneath the nose. Use a toothpick to texture the beard, creating soft, hair-like lines.
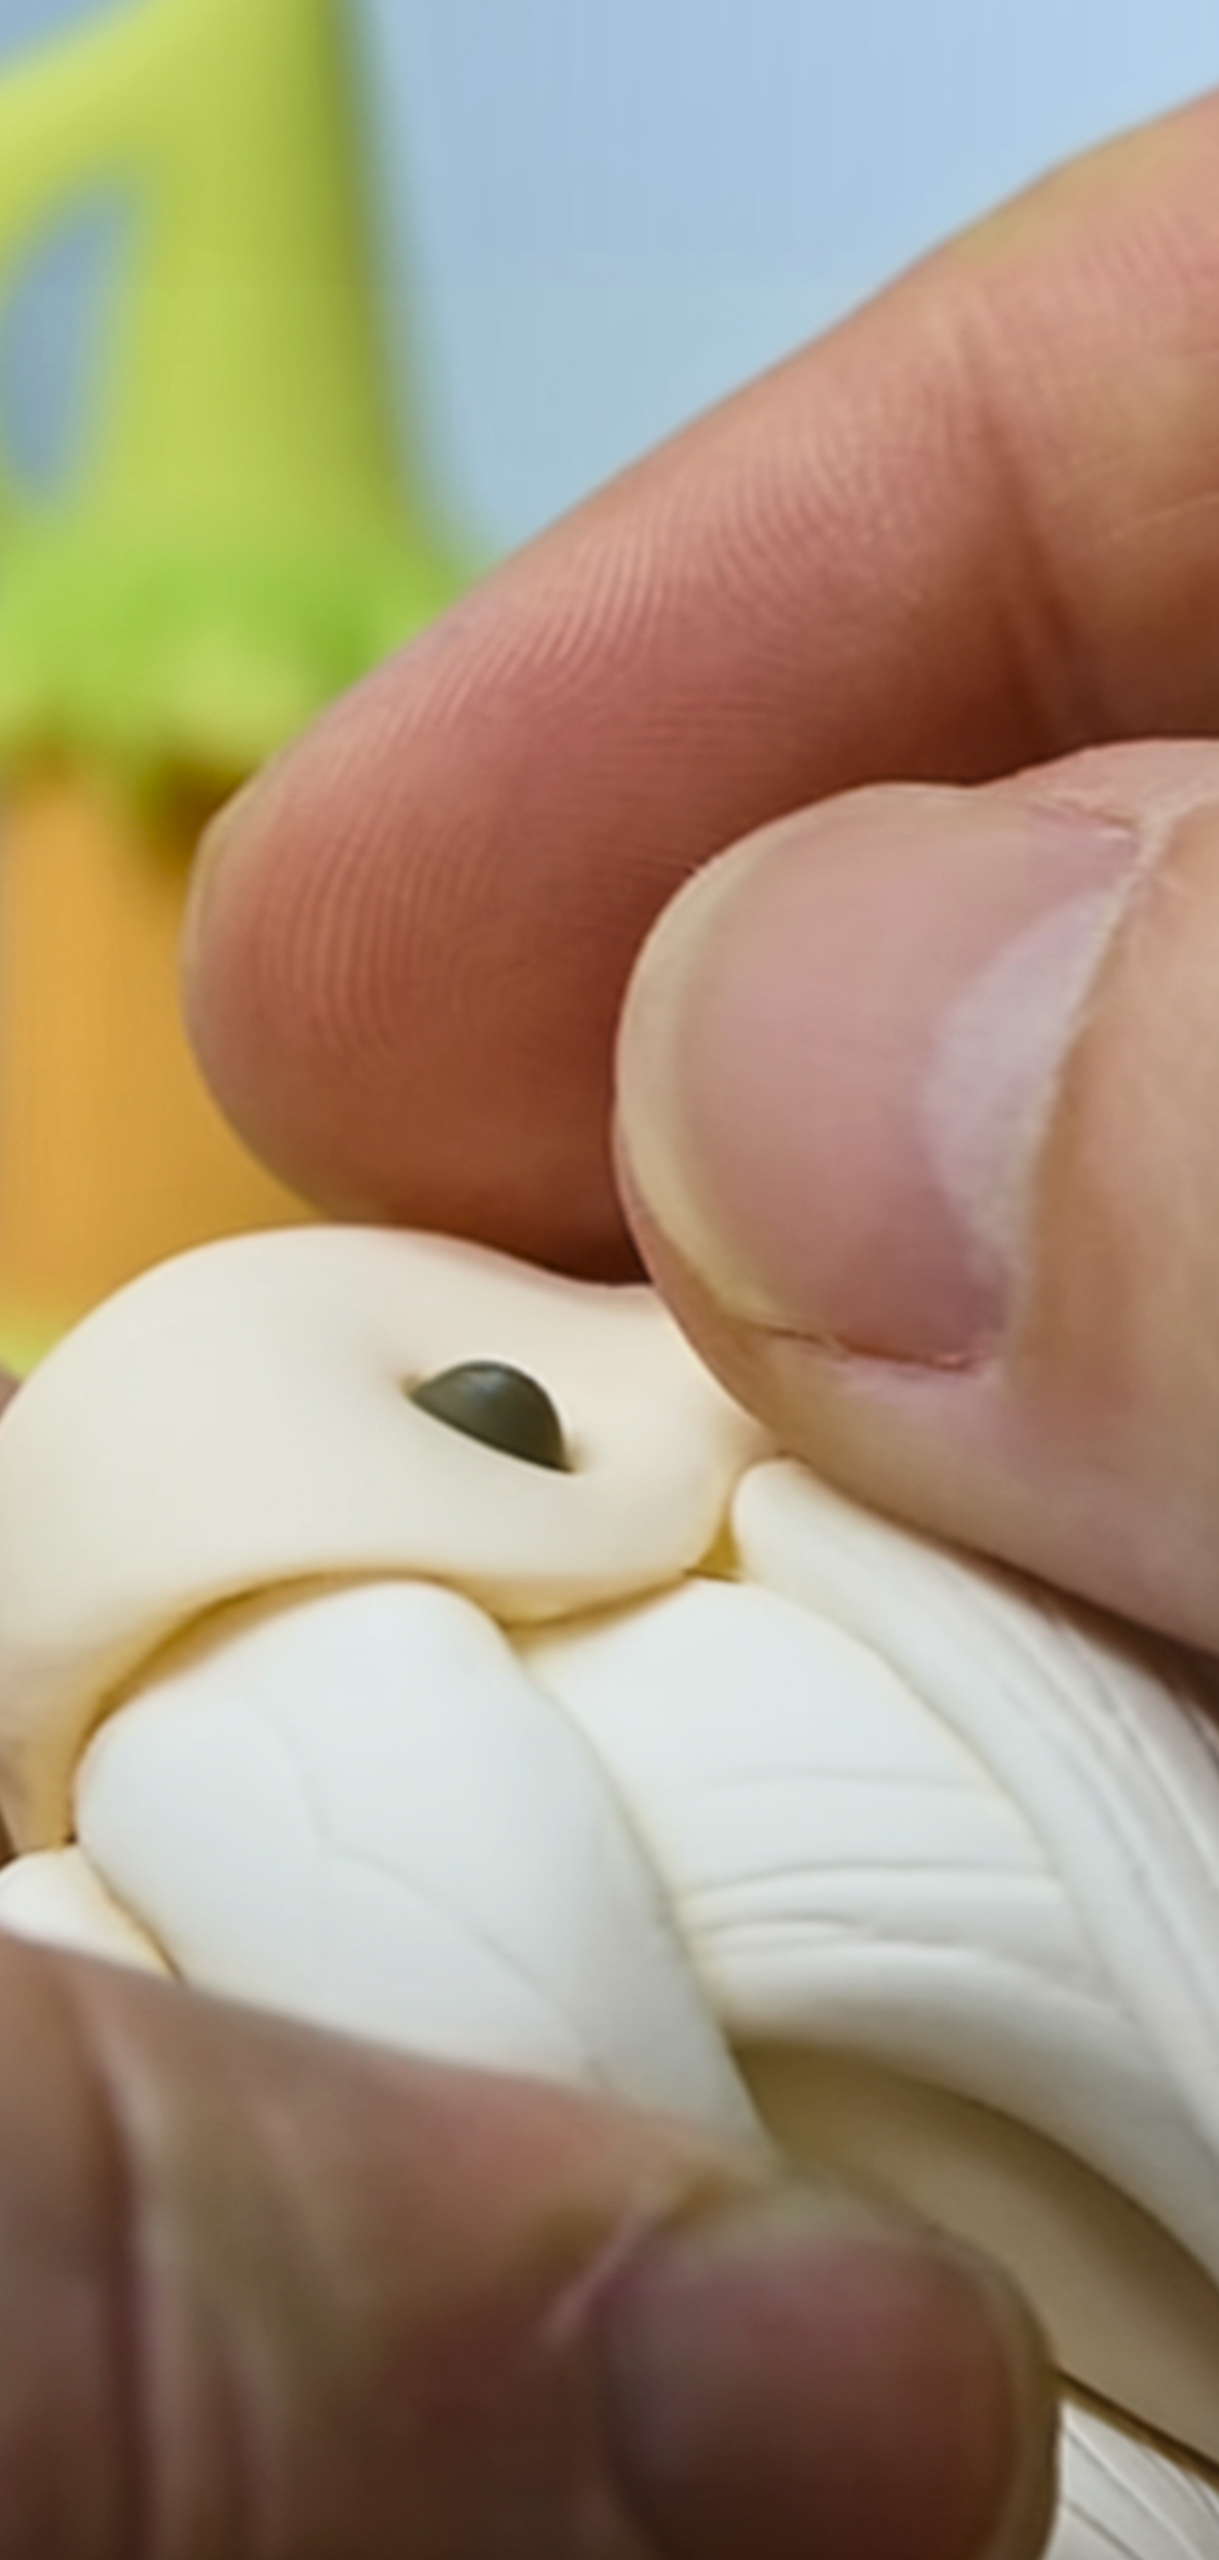
Step 5: Smooth Seams & Shape
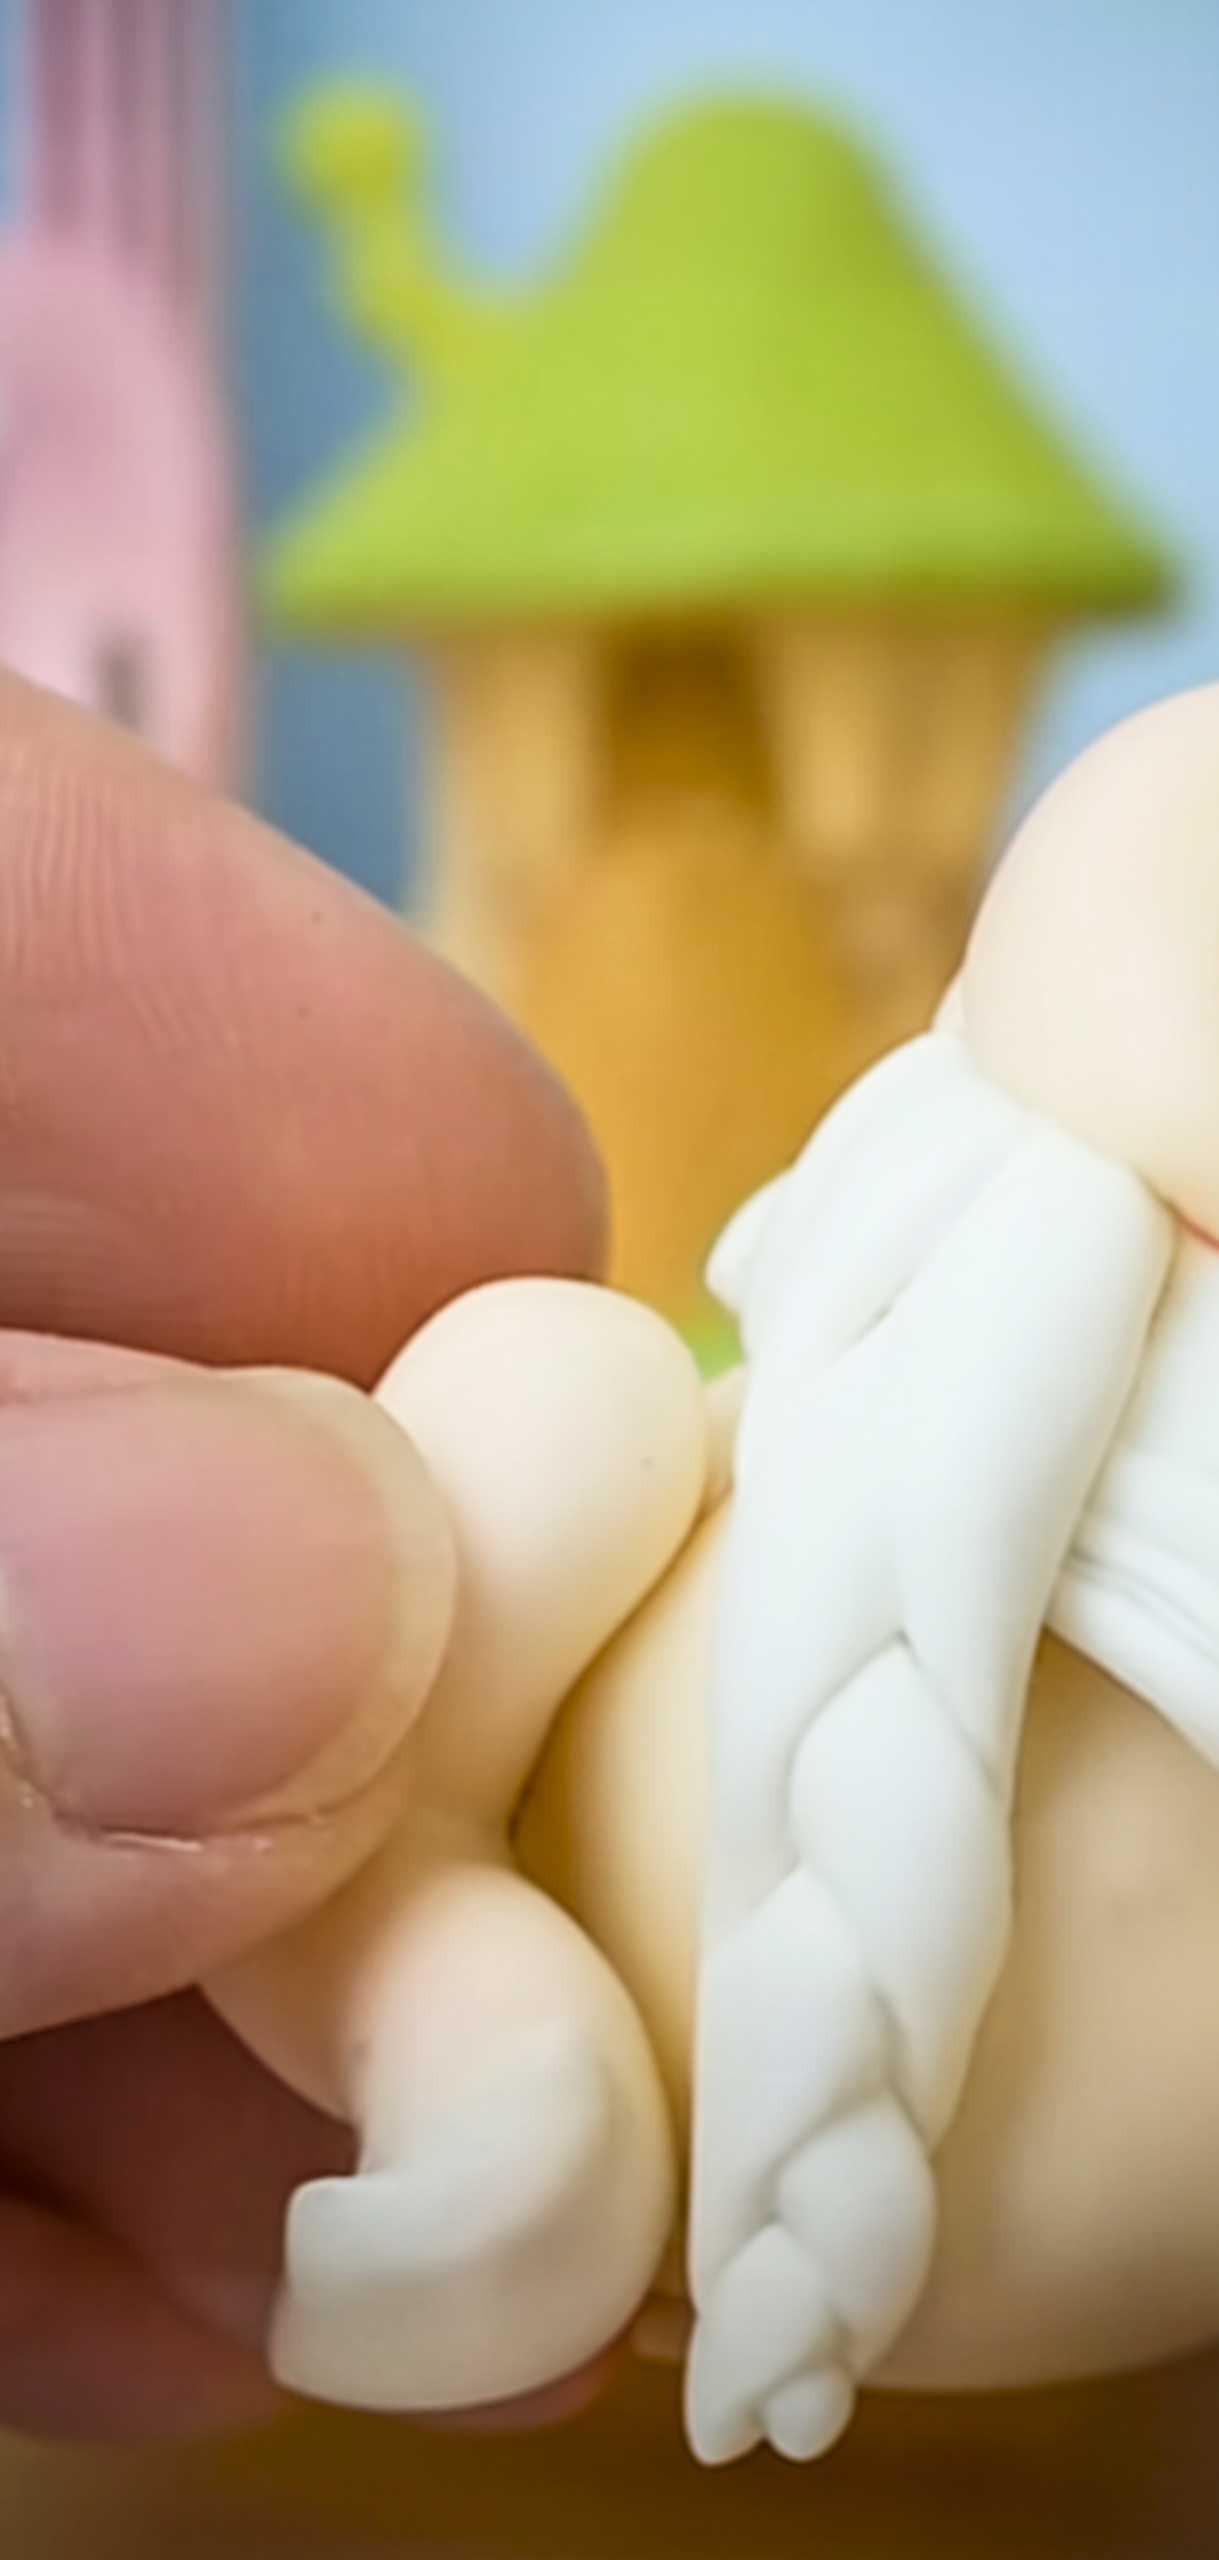
I started smoothing transitions with a tool to make the hat, nose, and beard look seamless. Shape the hat’s edge gently, fold it, or leave it neutral. If it droops, insert a tiny rolled piece of paper inside while drying.
Step 6: Add Details (Optional)

Want to customize? Paint on rosy cheeks, hat details, or freckles using acrylics after drying. I you use polymer clay, you should bake per the manufacturer’s instructions before painting or varnishing.
Step 7: Allow to Dry/Bake
- Air-dry clay: Leave your gnome to dry for 24–48 hours, depending on size.
- Polymer clay: Bake in the oven according to product directions (typically 110–130°C for ~15–30 minutes).
After cooling or drying completely, apply a clear varnish if you desire.
Step 8: Display Your Gnome
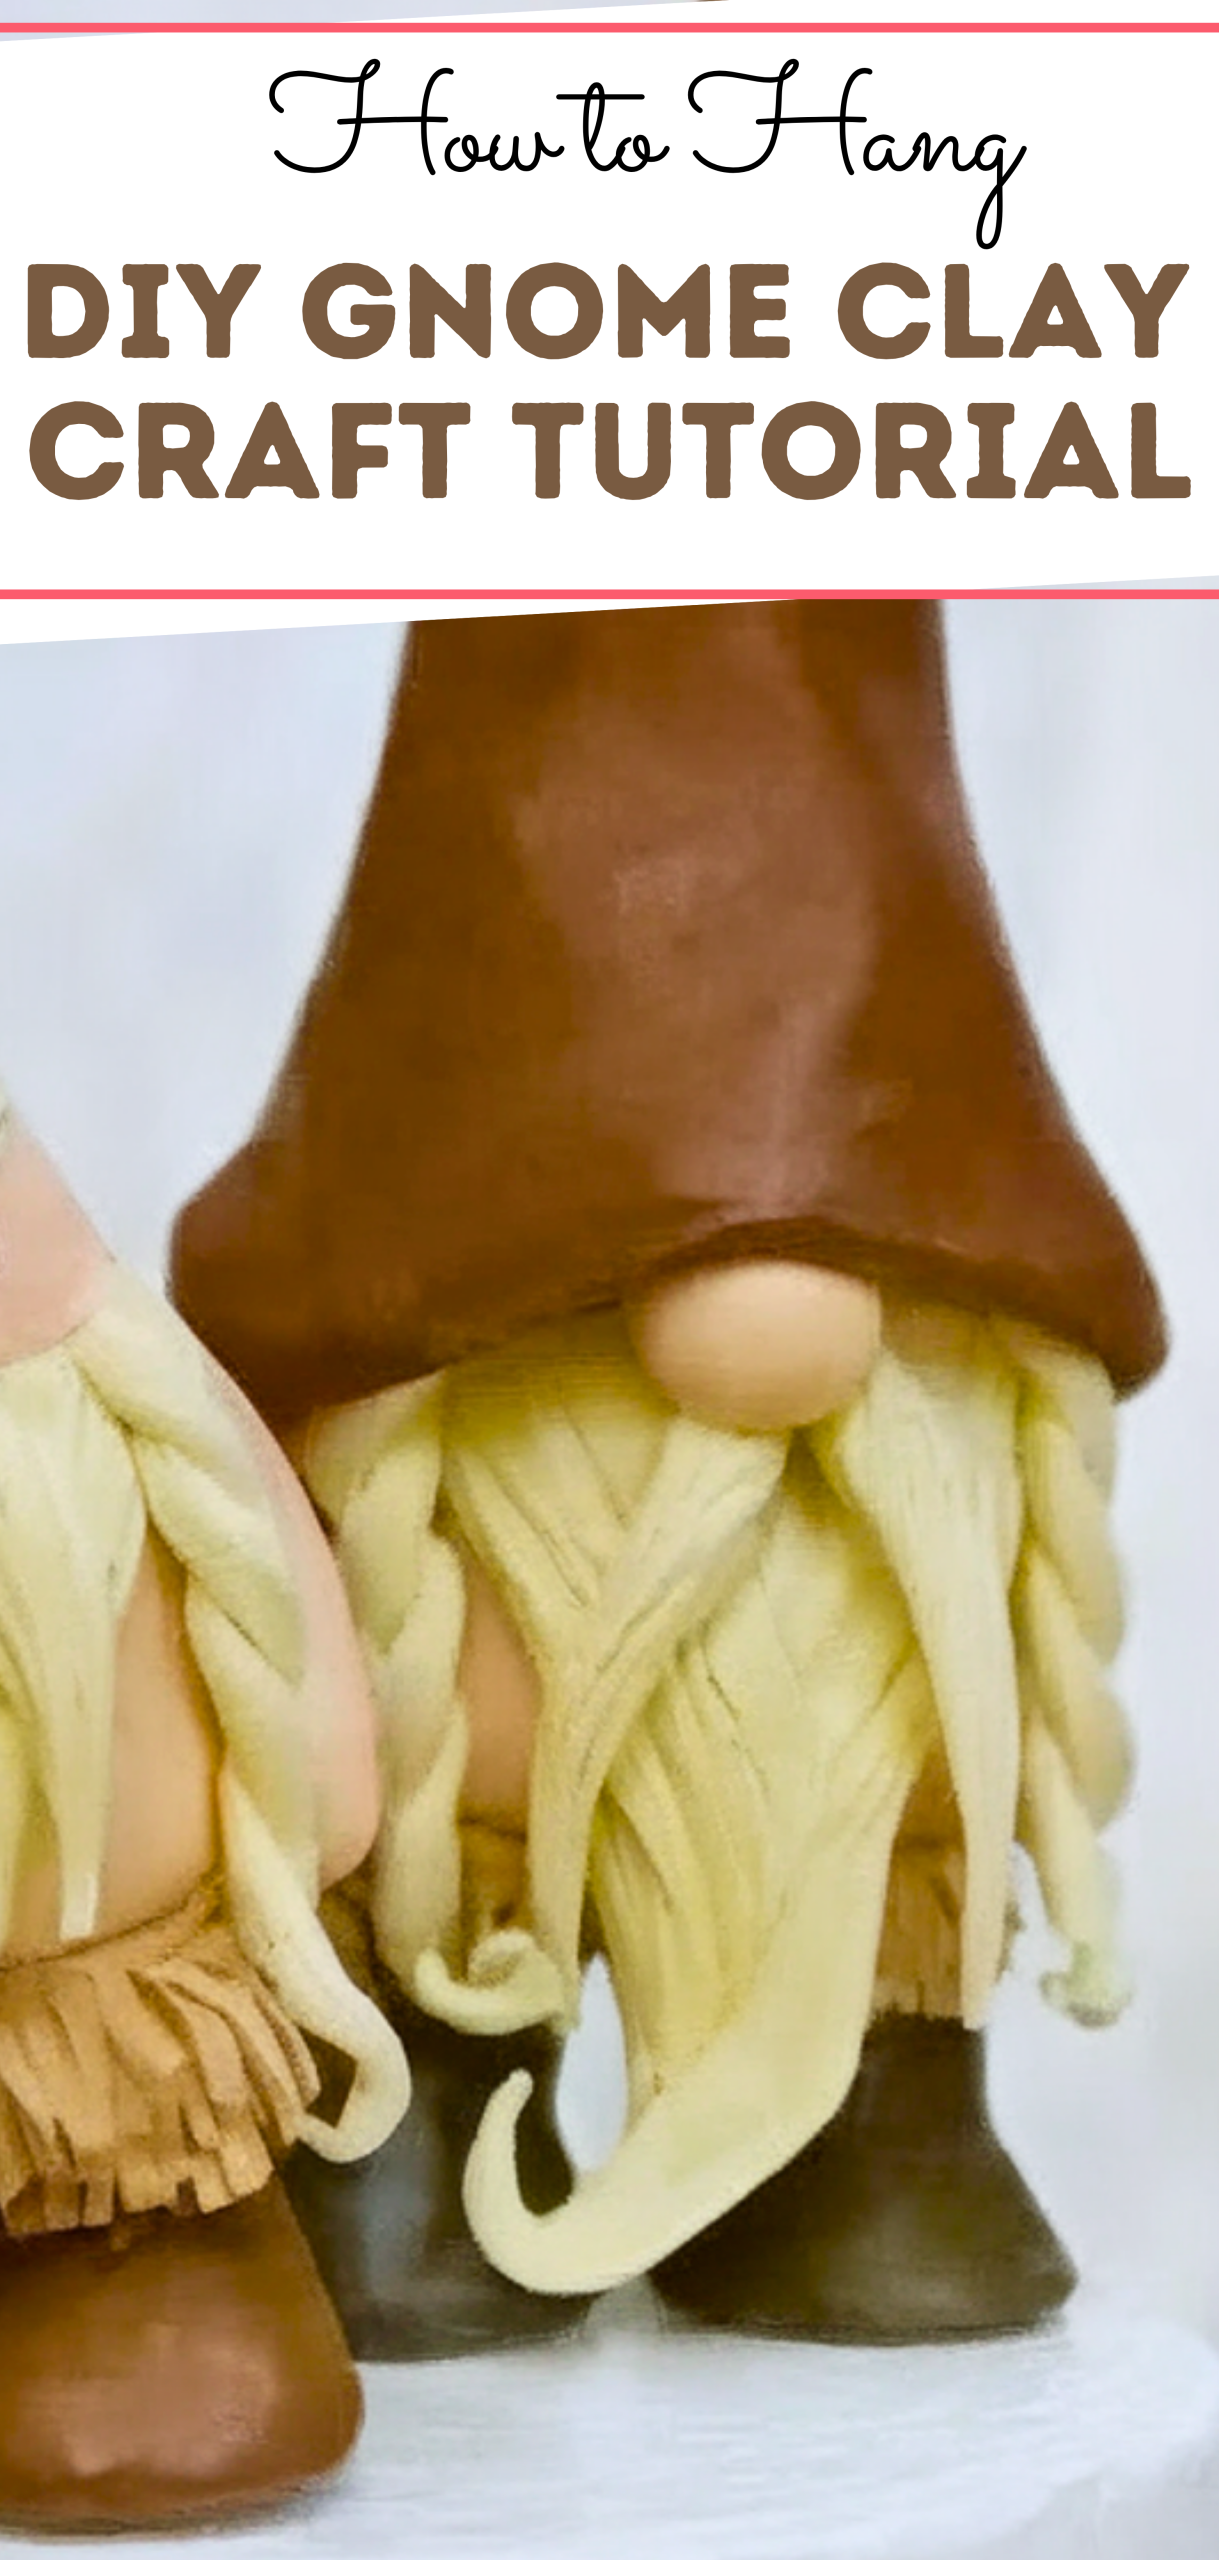
Once fully hardened and decorated, your gnome is ready to stand alone as charming décor, accompany a plant, hang on a shelf, or become a unique gift.
Pro Tips
- I keep my workspace clean, especially when I work with white clay to avoid stains.
- I suggest inserting toothpicks for extra stability to your gnome.
- For polymer clay, I seal the surface with glossy varnish for a nice finish.
- Want a festive collection? Use seasonal hat colors: reds for Christmas, pastels for spring, or earth tones for autumn.
FAQs
Which clay works best: air-dry or polymer?
Air-dry is great for kids and no baking. Polymer clay offers a stronger finish and more detail options.
How long should drying/baking take?
Air-dry: 1–2 days. Polymer: you should follow your package directions.
How do I prevent cracking?
Smooth seams well; you should avoid extreme thickness differences and knead clay before shaping.
Can I paint the hat?
Yes. I suggest using acrylics because they work well on both types of clay.
Will the gnome topple over?
Wider bases stay upright better. Embed a toothpick or wire inside for larger designs.
Can my kids make this?
Absolutely.
Conclusion
You’ve now mastered a DIY gnome clay craft tutorial, a simple project suitable for all ages and skill levels. Whether decorating your desk, gifting them during holidays, or starting your own little clay gnome village, these handcrafted characters bring joy wherever they sit.


[…] sculpting a little gnome from air dry clay, I shared it on social media just for fun, but I didn’t expect what happened […]