Join the fastest growing Craft community on Pinterest!
After making a woven fall wreath for my front door, I didn’t expect such a strong reaction, especially from my sister. She saw it and immediately said, “Okay, I need one too. But can we make it a fall burlap wreath this time?”
I loved the idea, but I’d never made one before. I wasn’t sure where to start with a burlap texture or how to arrange the fall details she wanted. I could already picture a mess of hot glue and uneven ribbon, but we gathered our supplies and gave it a go.
We started with a 14″ wire wreath form and two rolls of 5″ wide burlap ribbon in rich autumn tones. While I held the form, she wove the burlap in loops around the wire, using floral wire to pin and fluff each section.
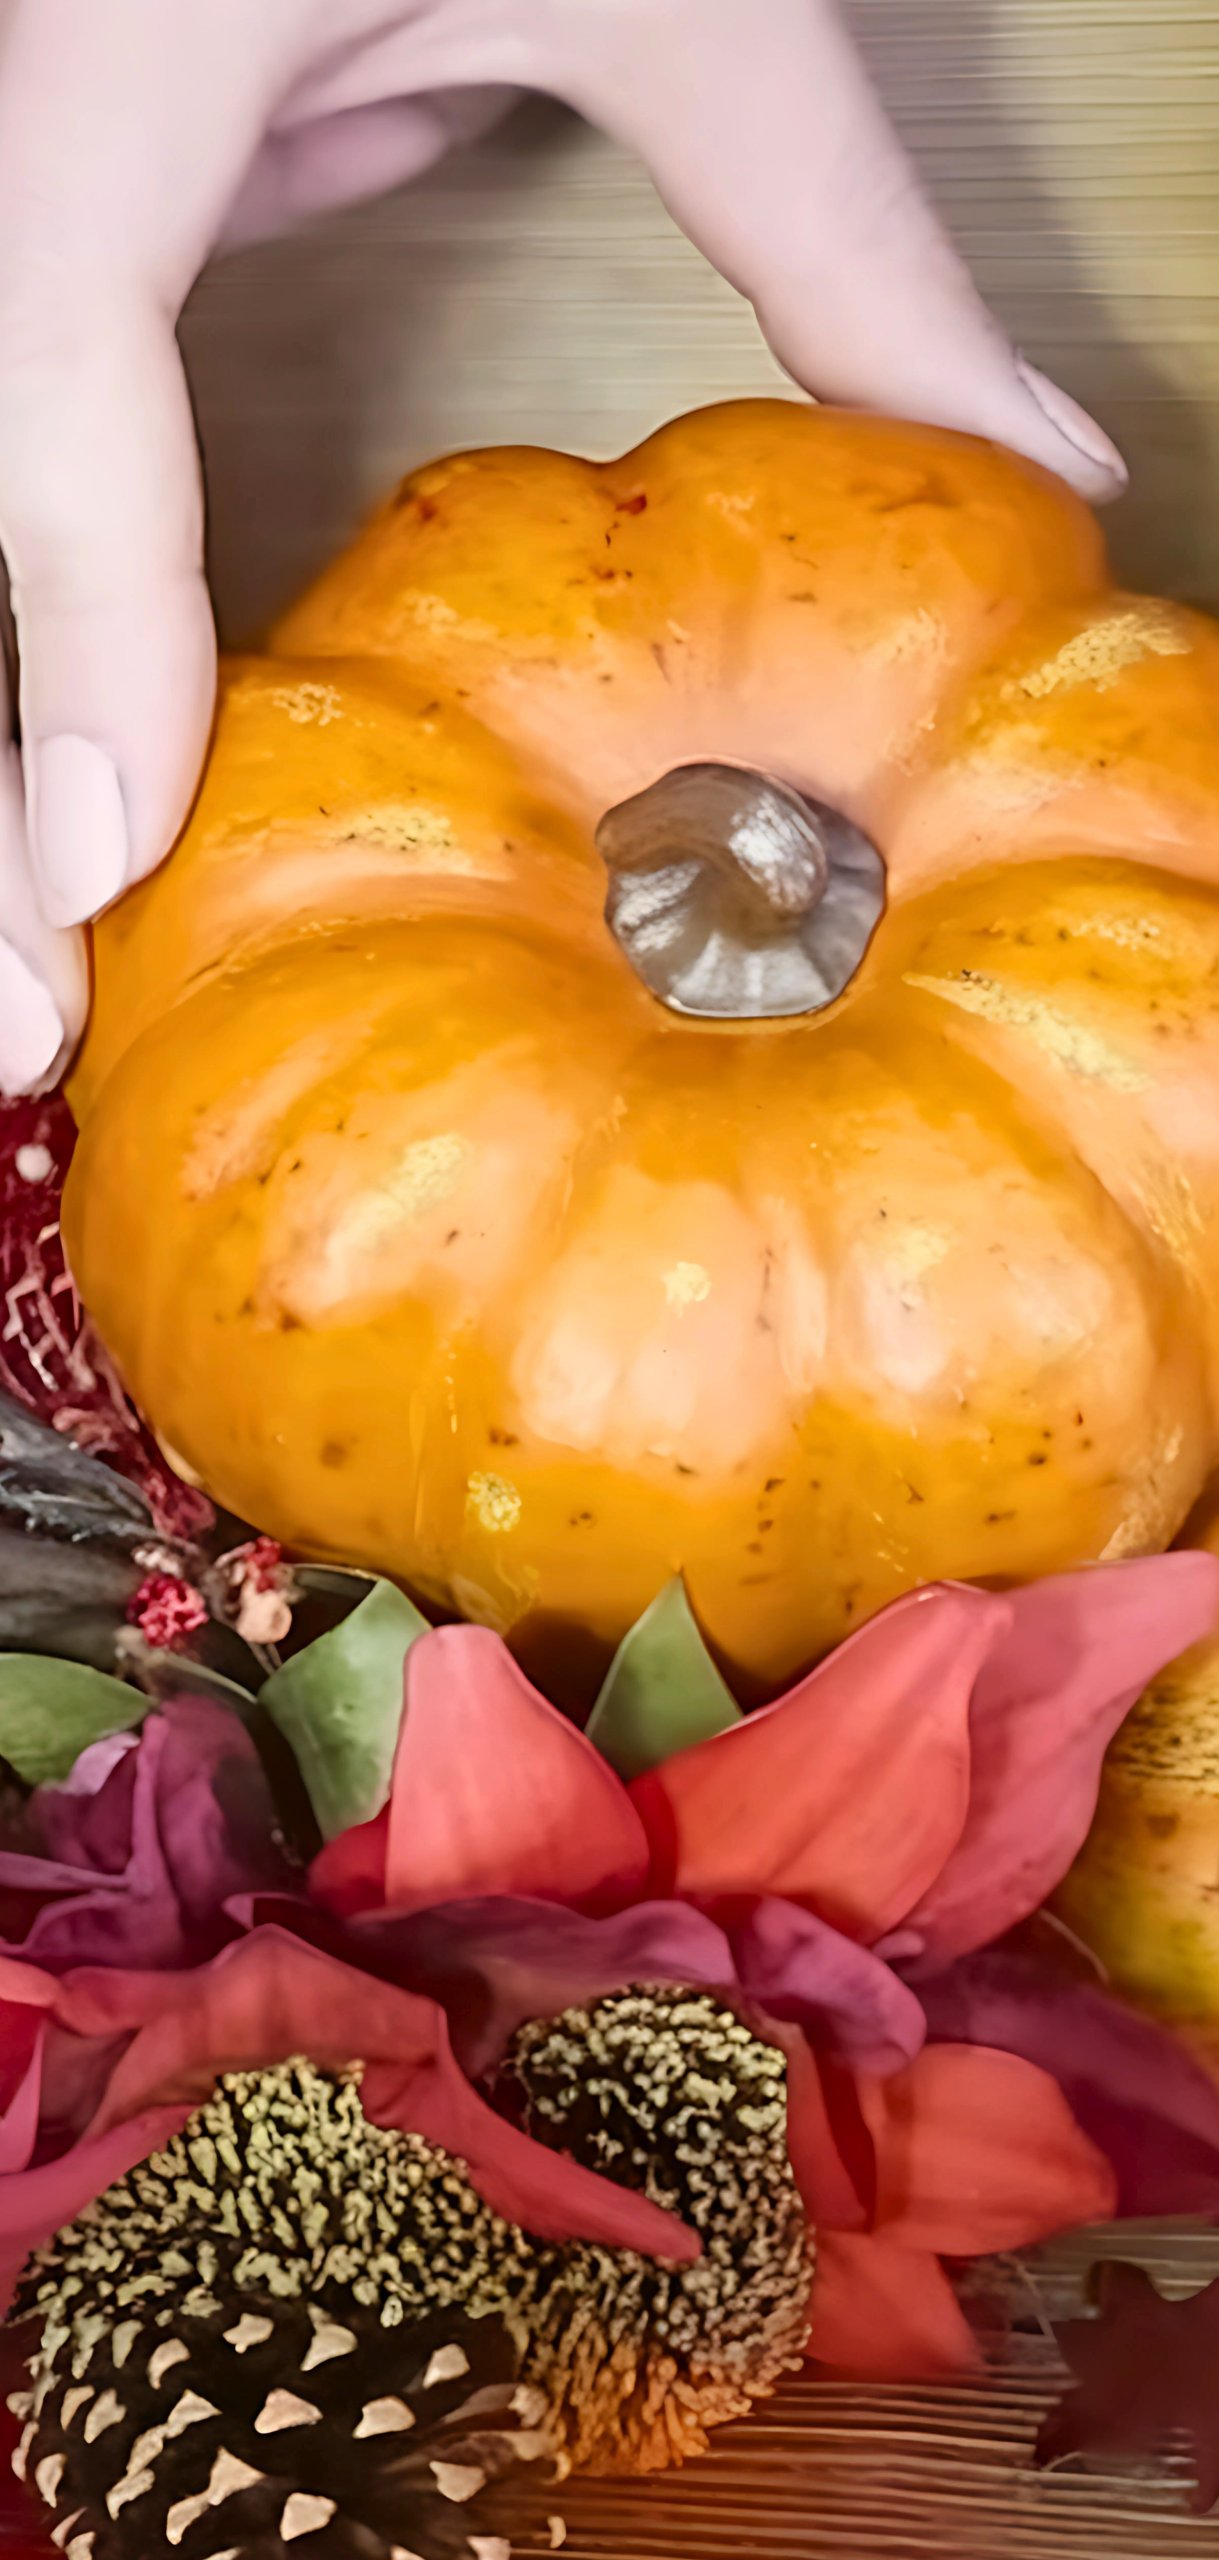
We trimmed faux eucalyptus, scattered pinecones, and nestled mini pumpkins in the folds, securing everything with hot glue. We used wire cutters for the foliage, greenery pins to anchor the pieces, and scissors to perfect the ribbon tails. Halfway through, we both paused and looked at each other; it actually looked beautiful.
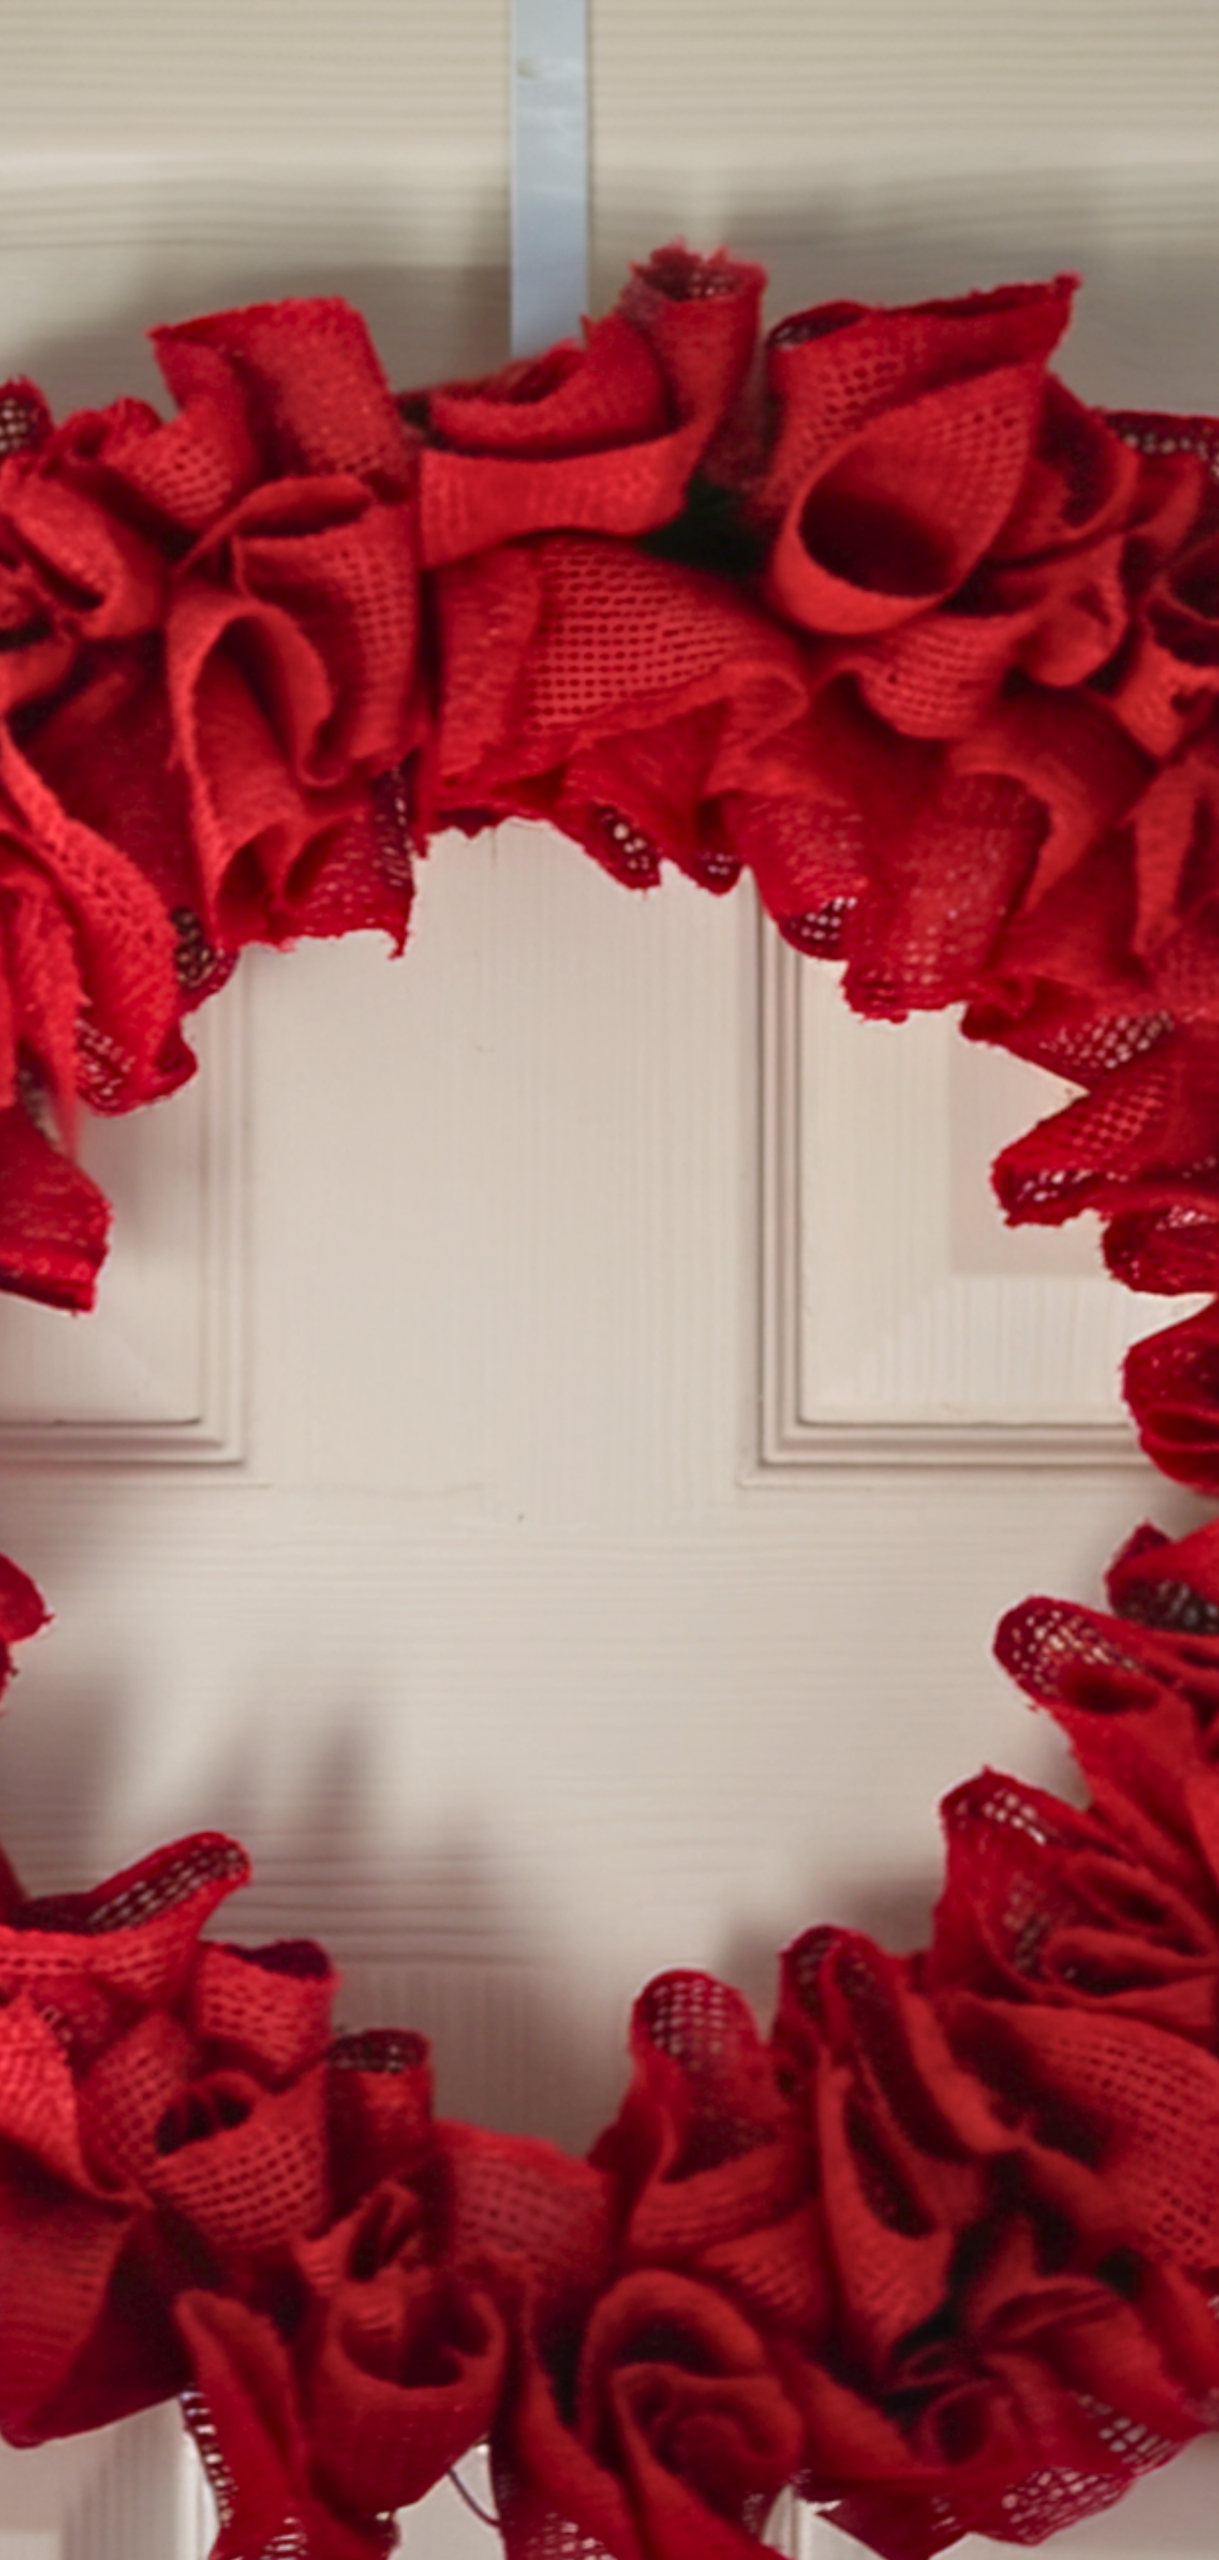
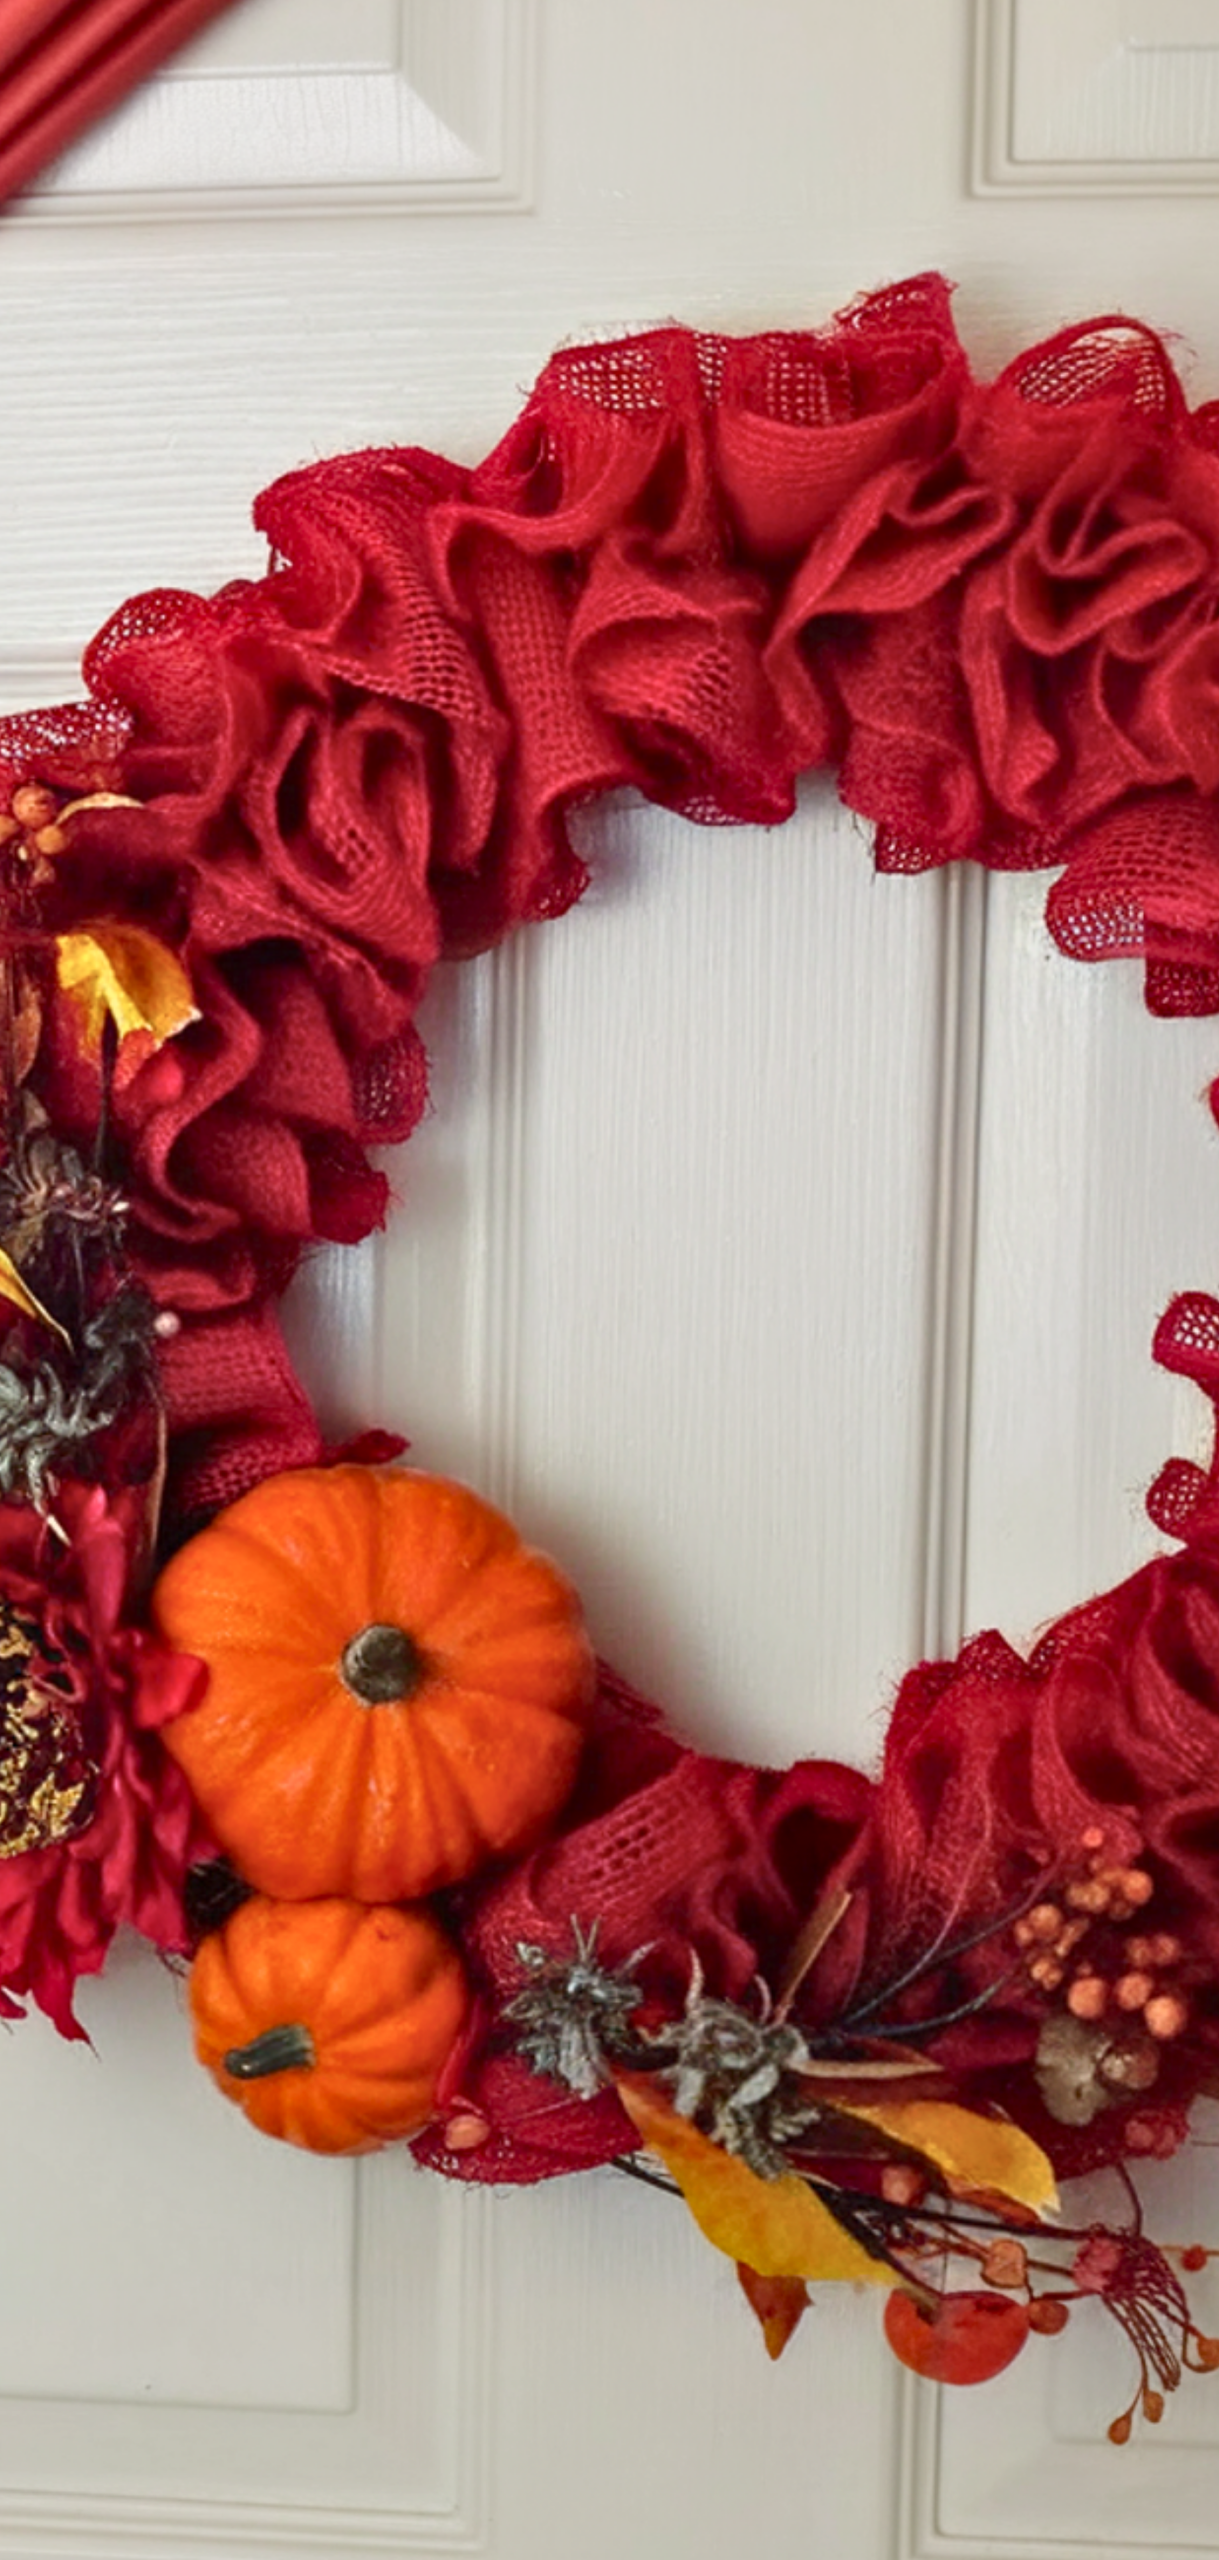
By the time we hung the fall burlap wreath on her front door, we were in love. The earthy texture of the burlap, the warmth of the fall colors, and the rustic charm of the pinecones and pumpkins turned out better than we imagined.
She was thrilled. And me? I learned that crafting a fall burlap wreath wasn’t as complicated as I feared; it just took the right tools, a bit of patience, and someone to laugh with when the ribbon loops misbehaved. Now, I’m pretty sure I’ll be making more… especially since our mom just asked for one too.
What you will need
- Wire or straw wreath form (12–18″ diameter recommended)
- Burlap ribbon (5″ wide, two rolls in fall shades)
- Fall faux foliage (eucalyptus, leaves, pinecones, mini pumpkins)
- Floral wire or greenery pins
- Wire cutters
- Hot glue gun + glue sticks
- Scissors
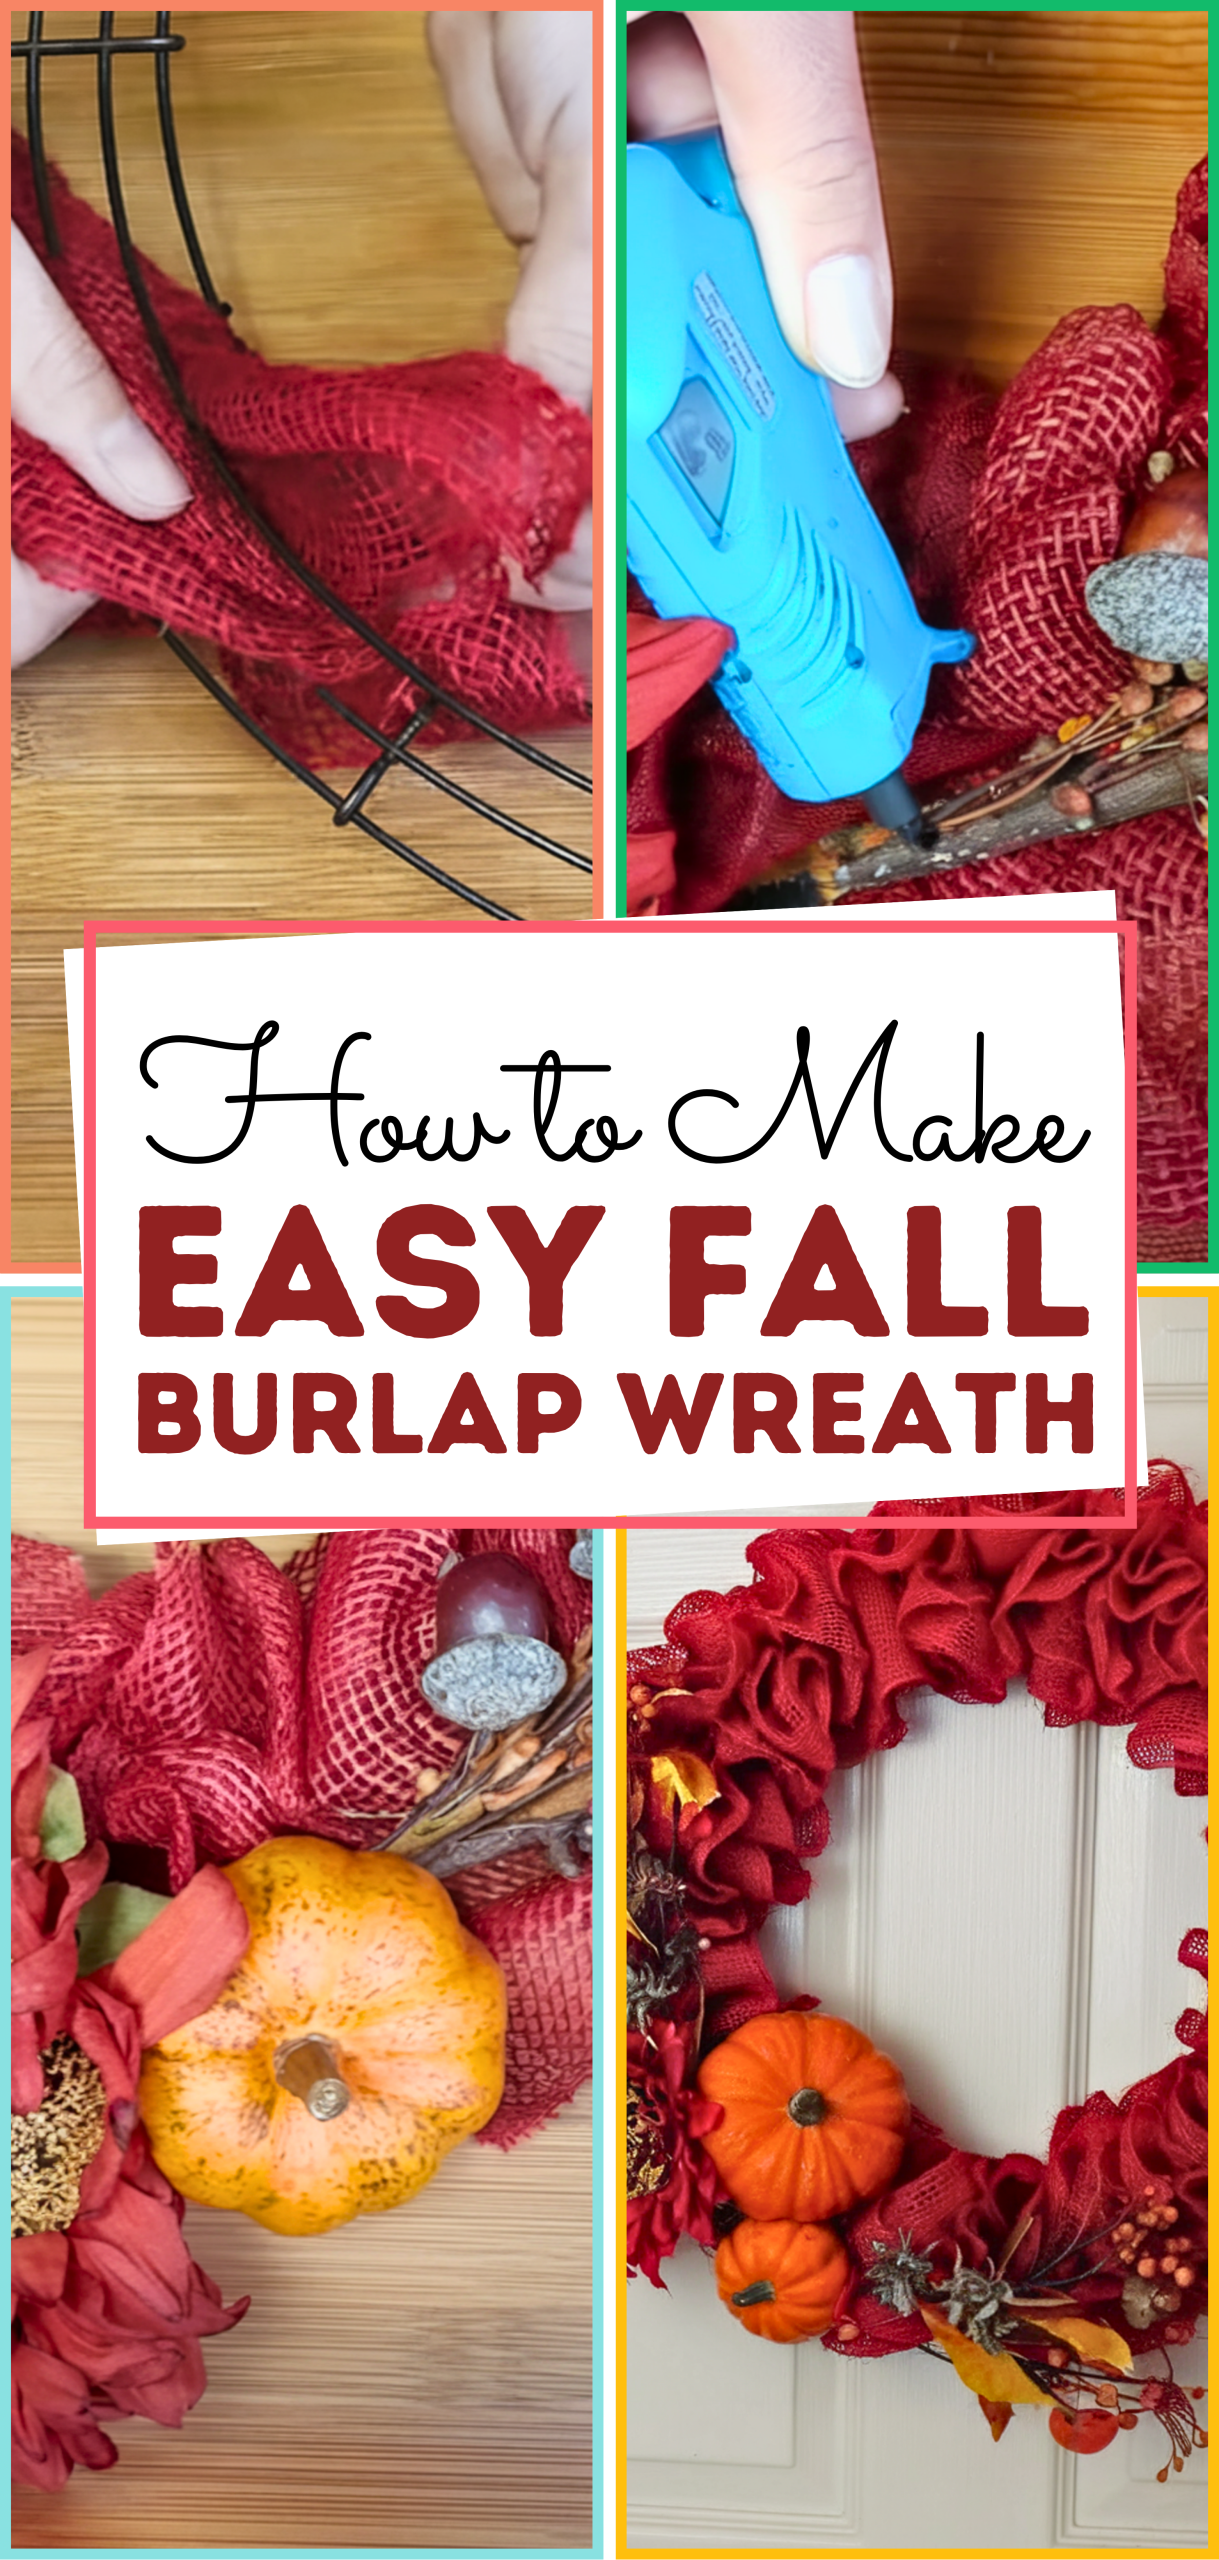
How to make an easy Fall Burlap Wreath
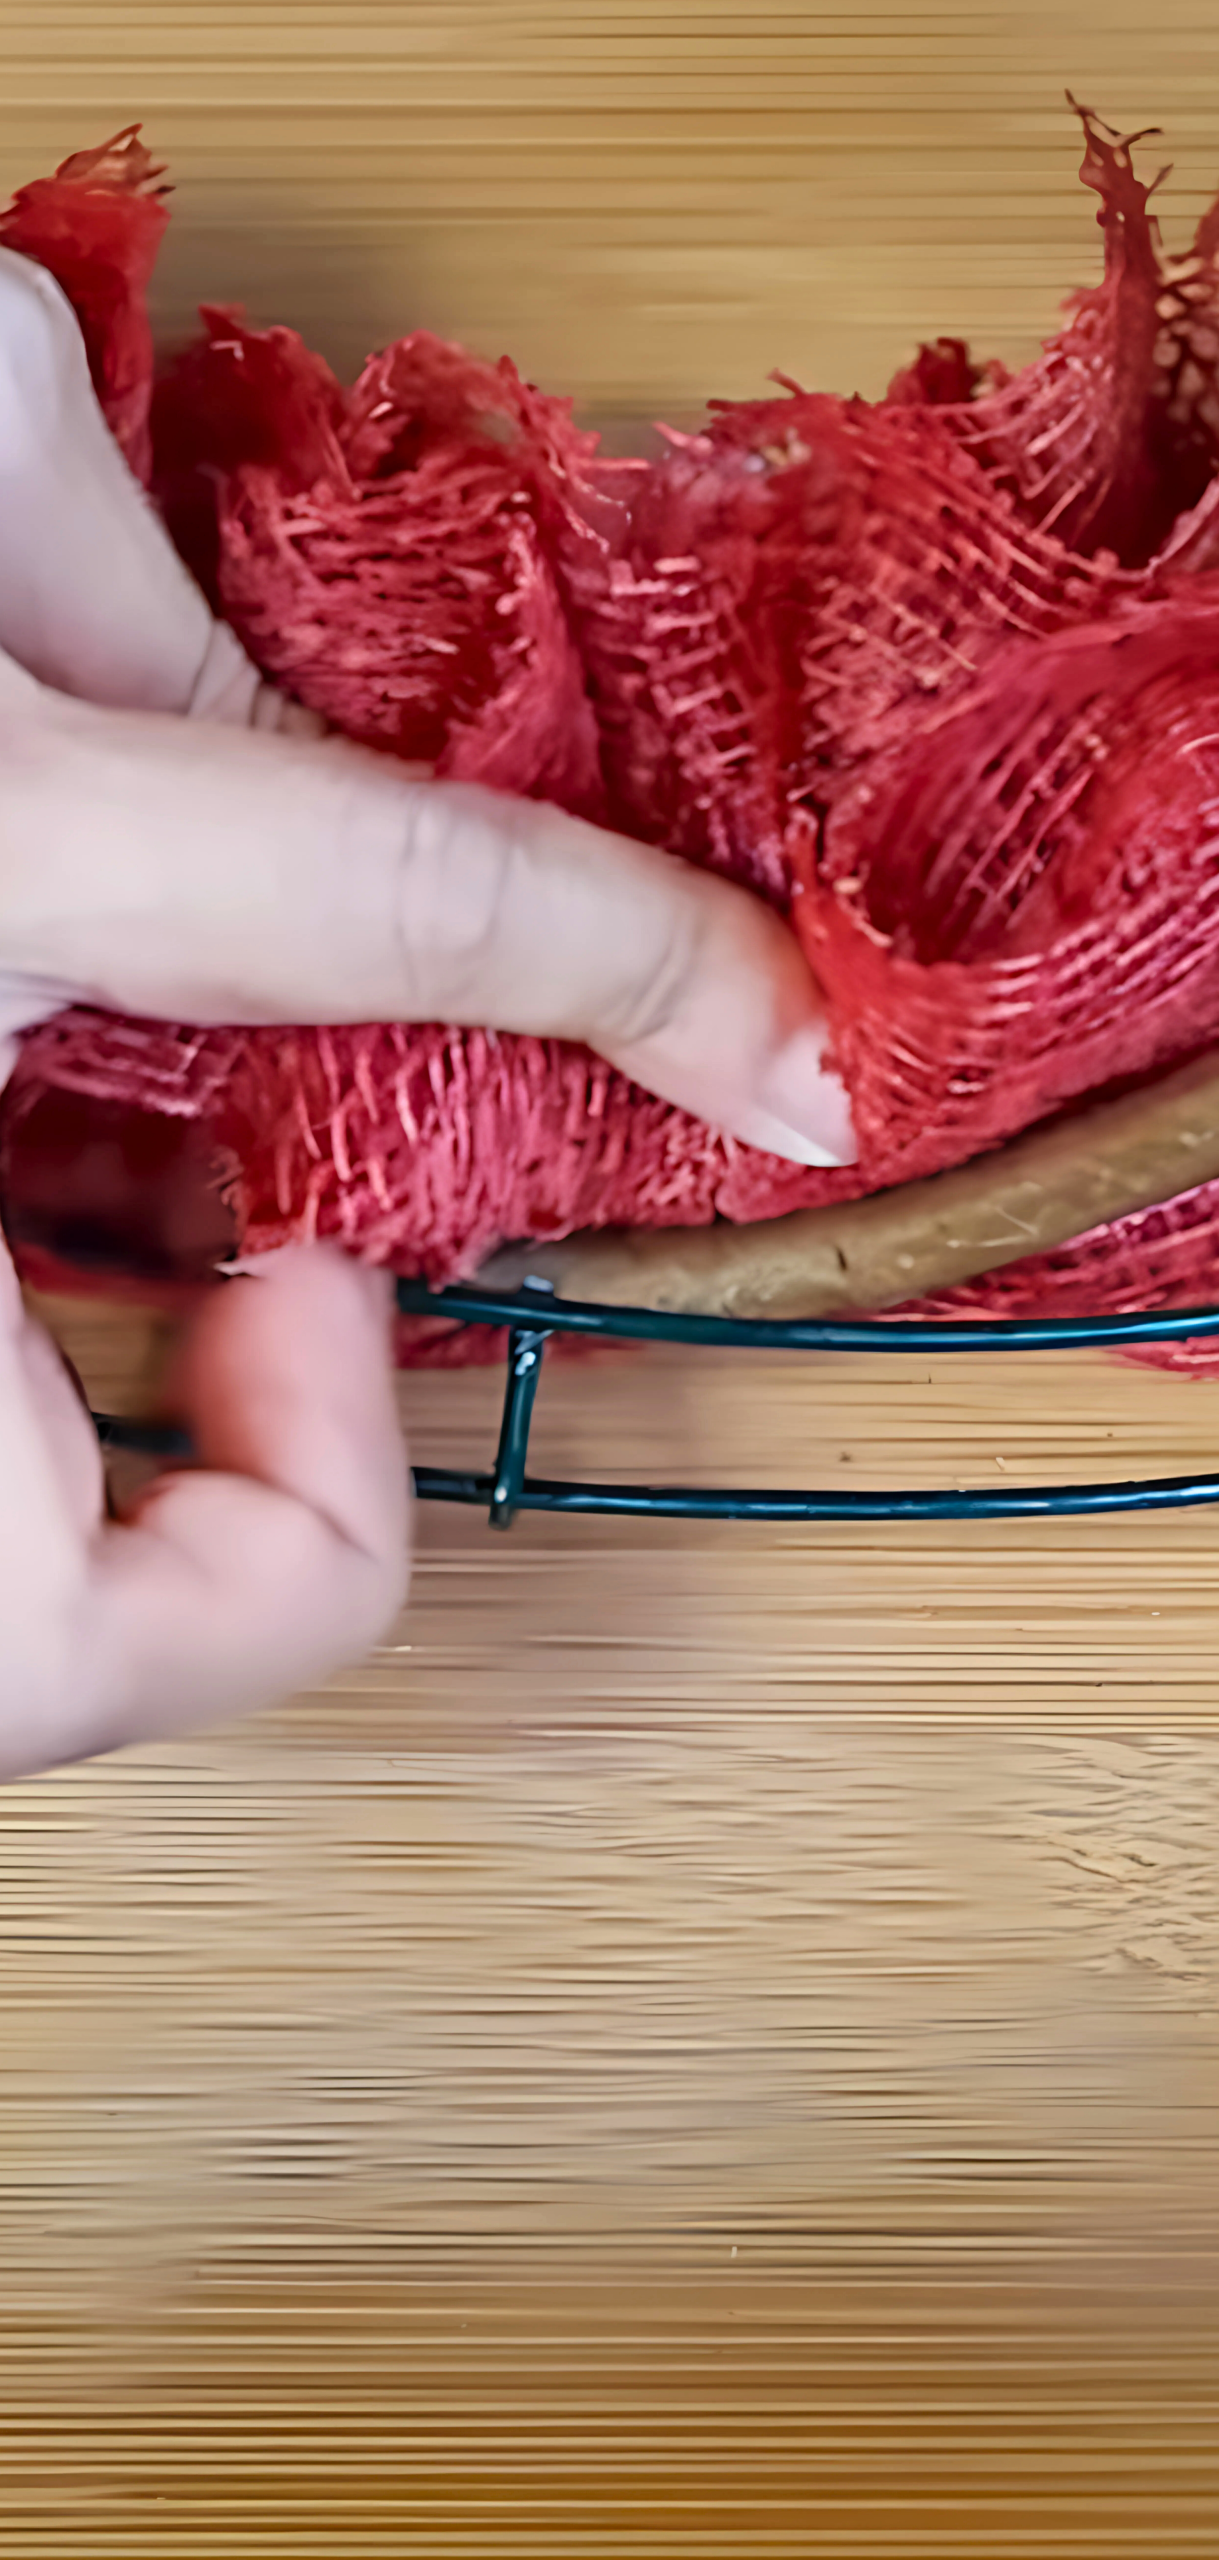
Step 1: Start Wrapping the fall burlap Wreath Form
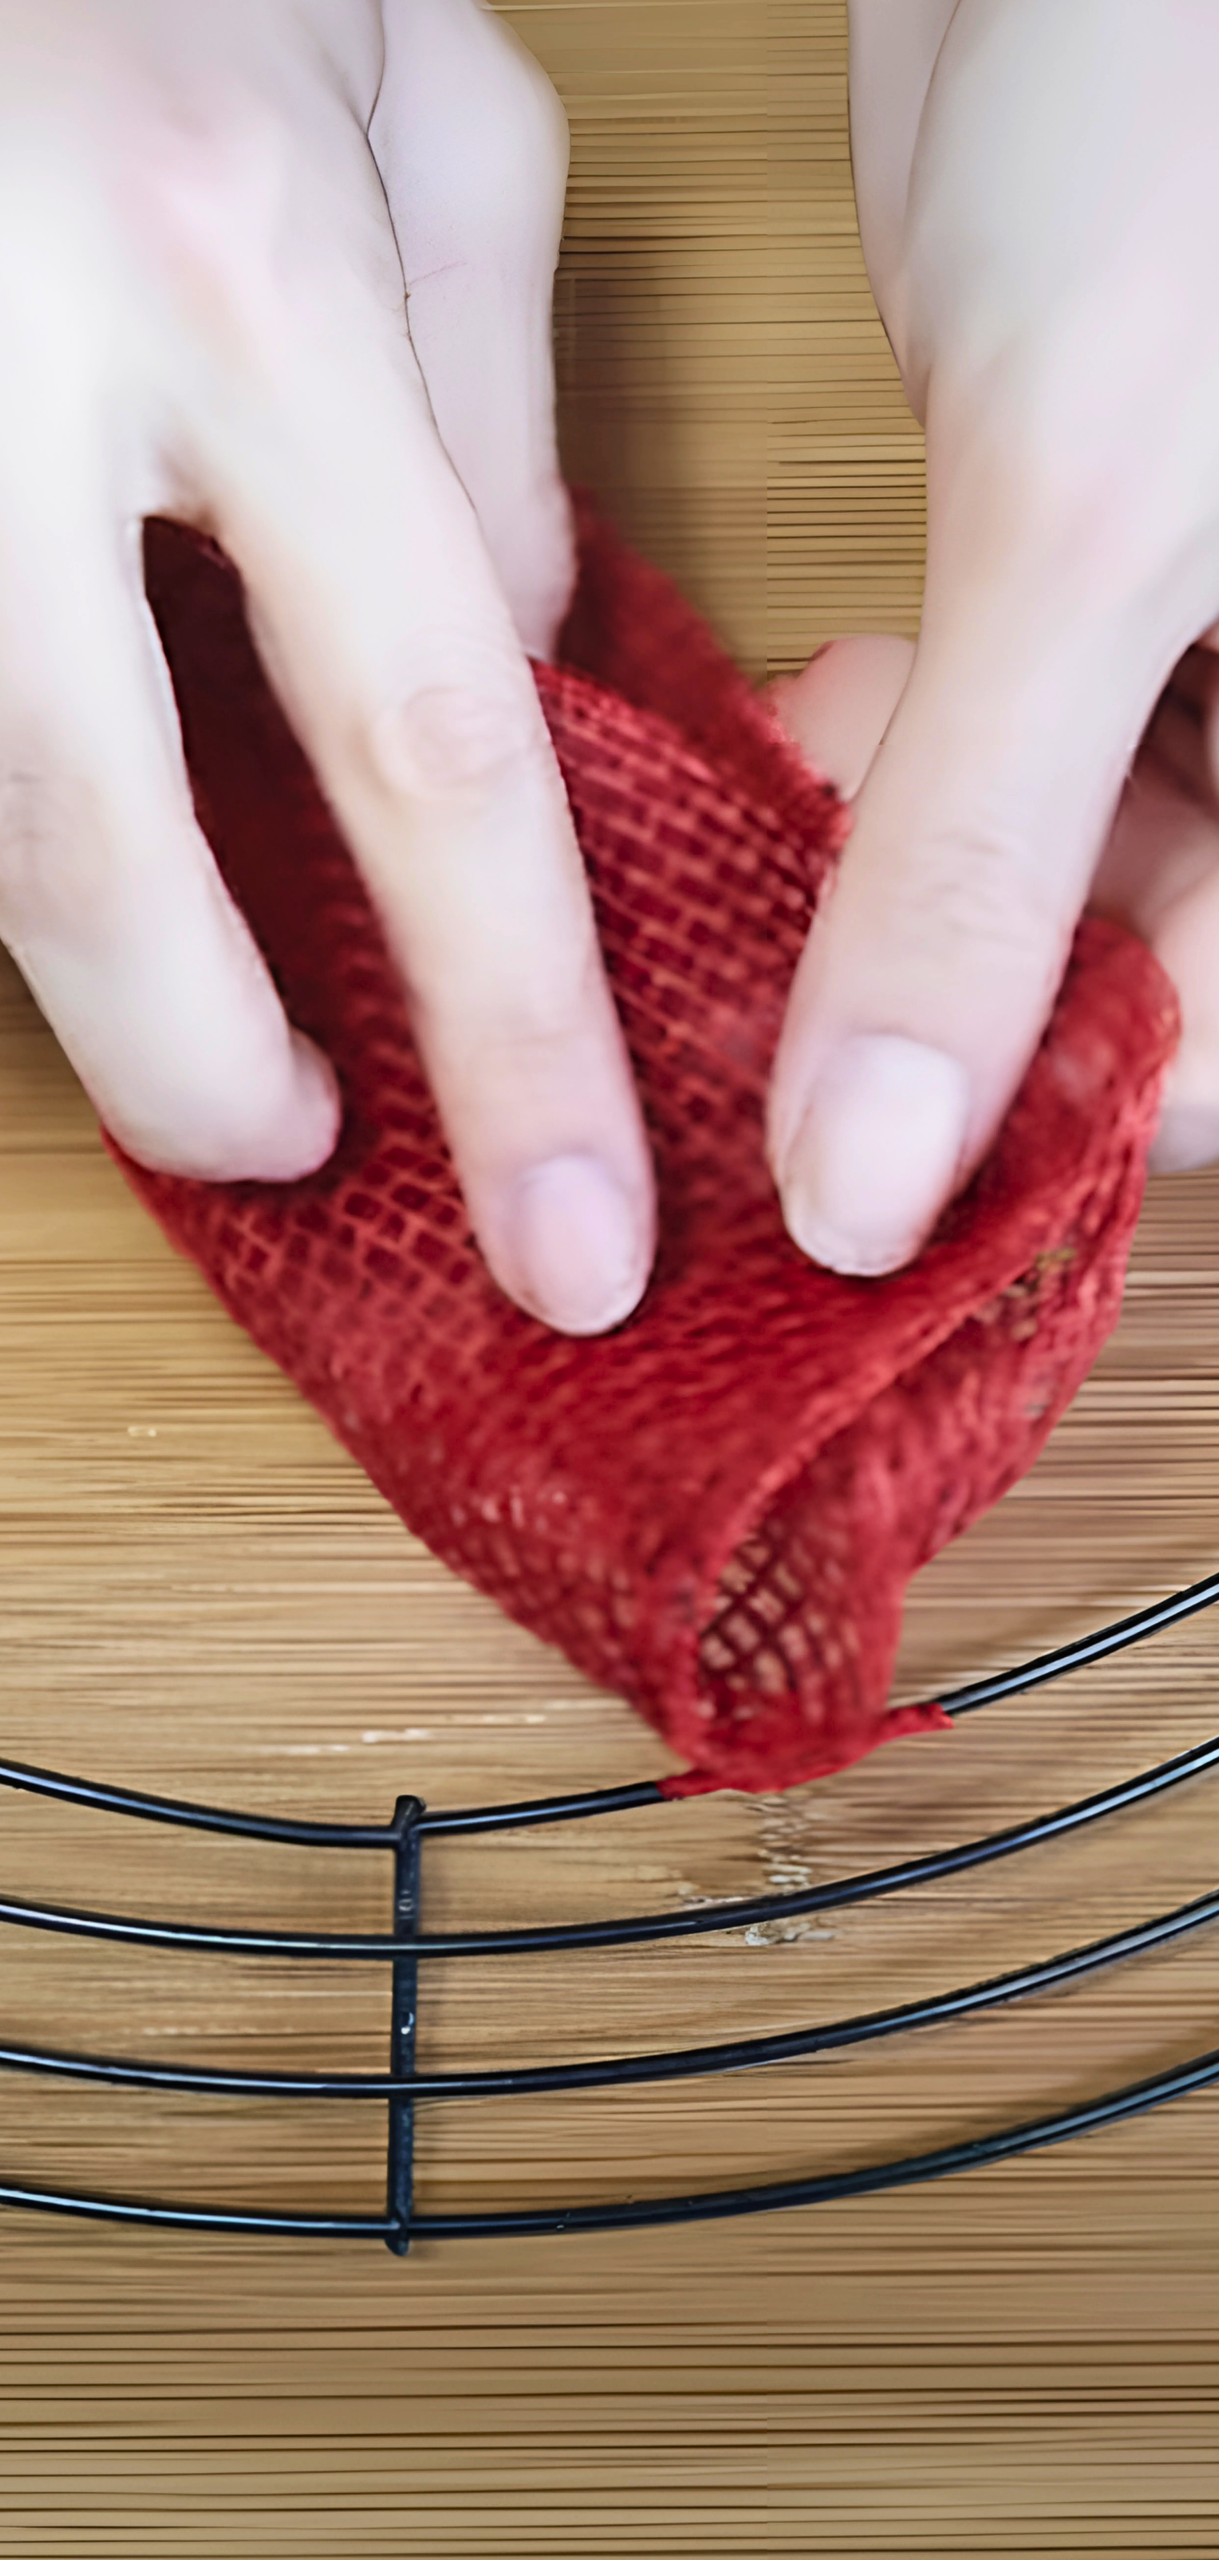
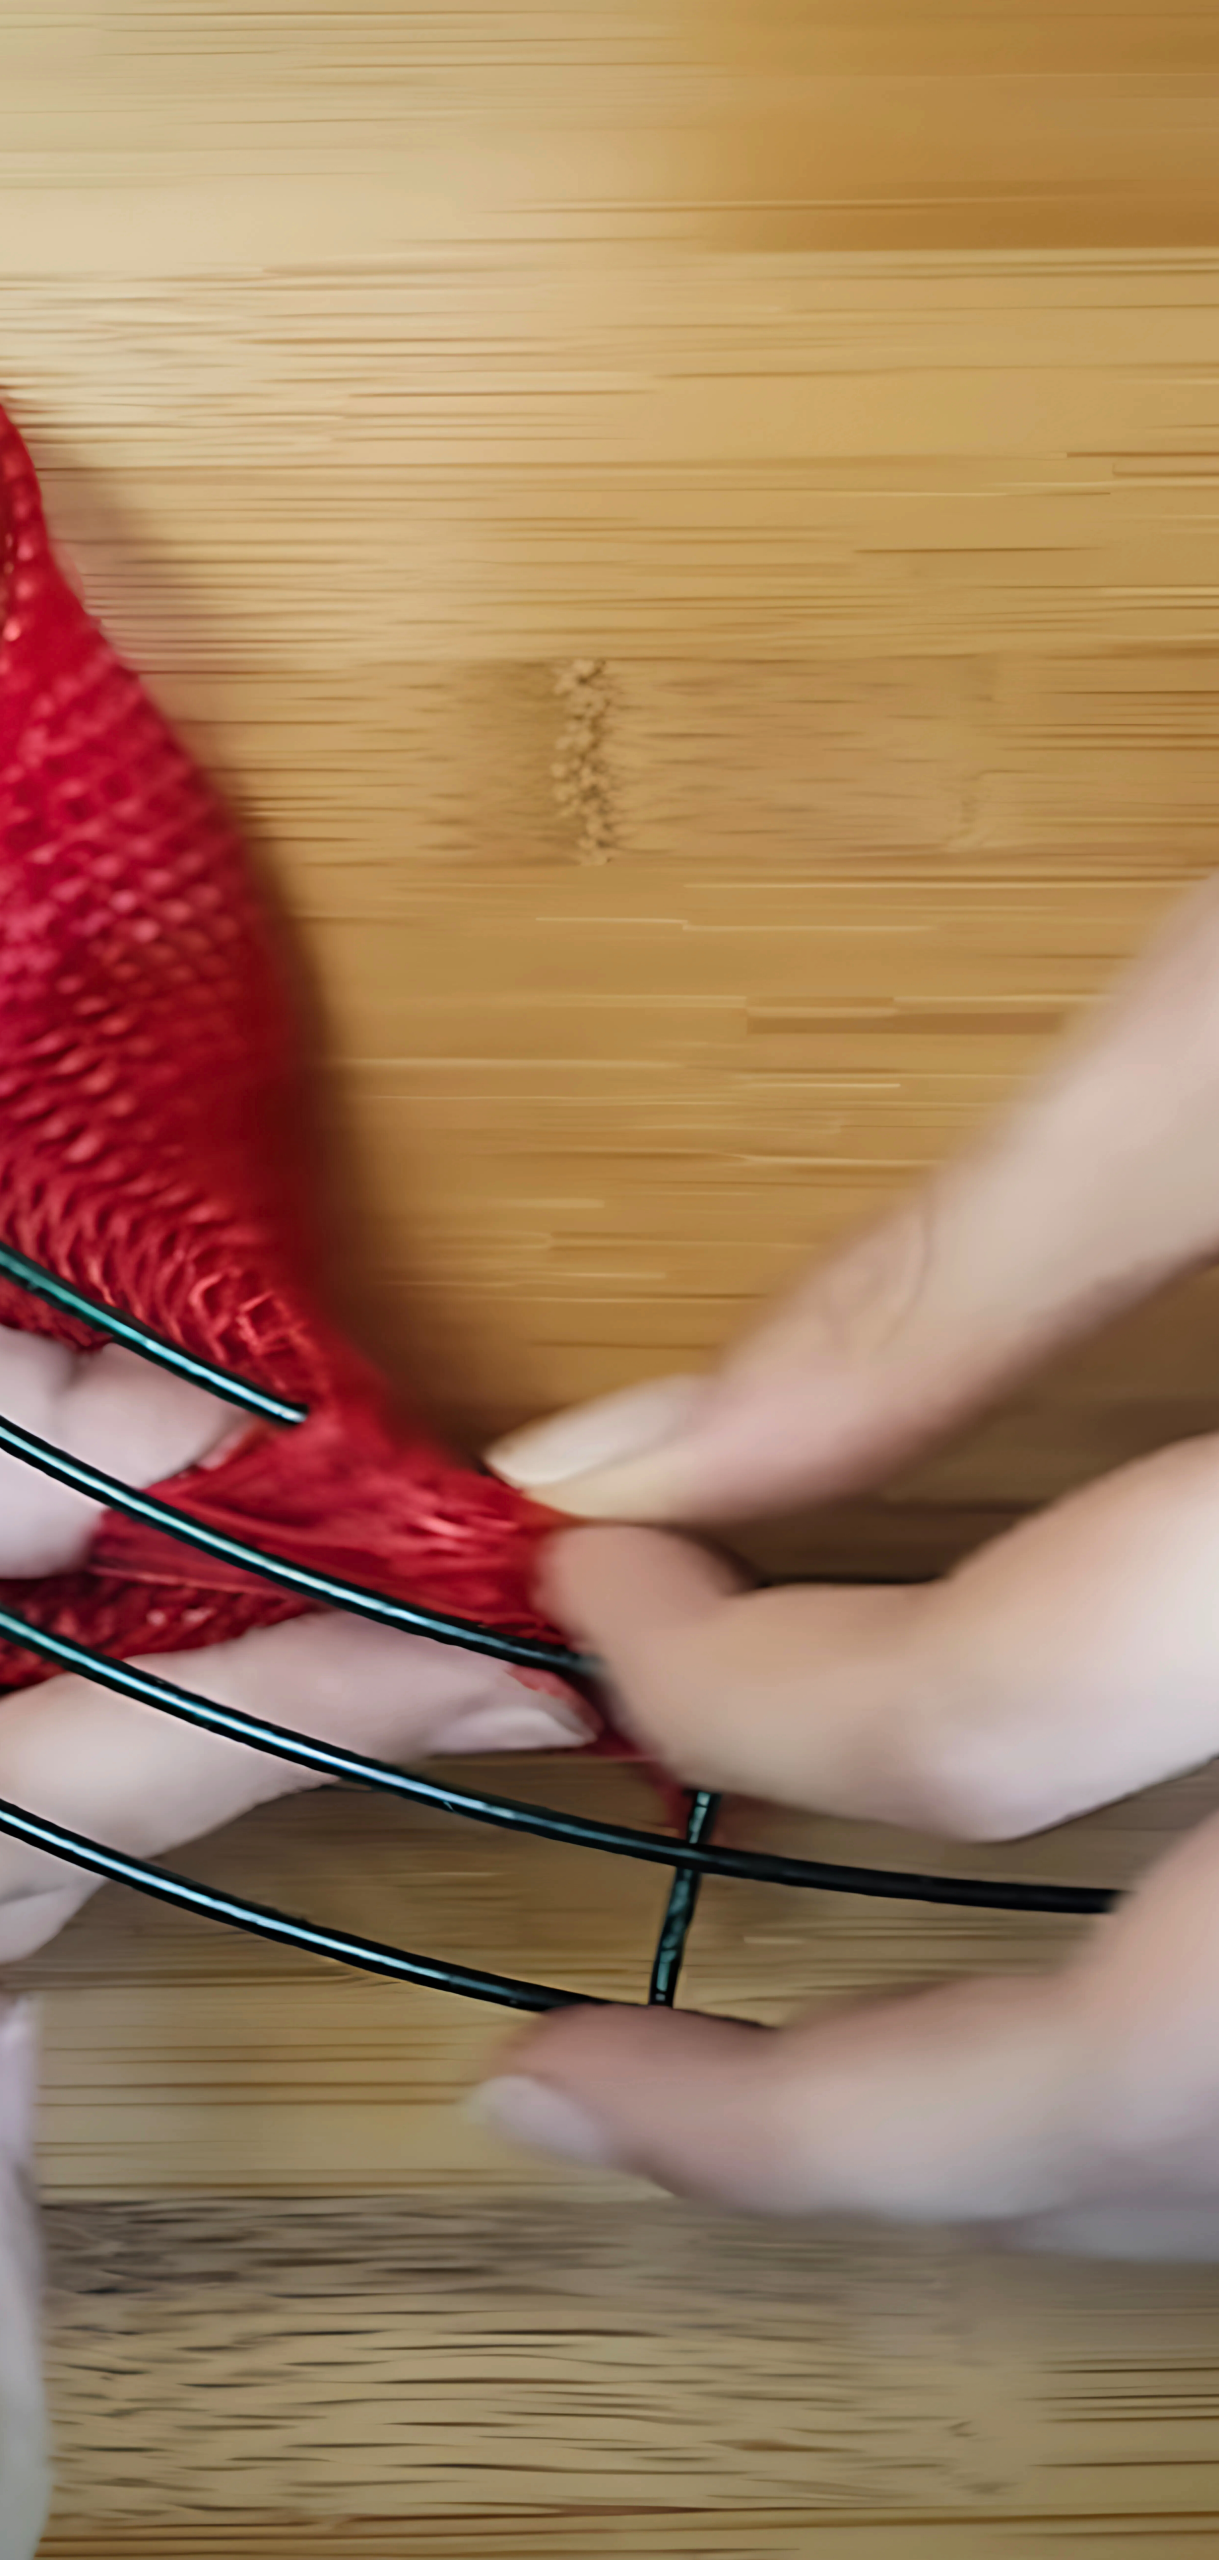
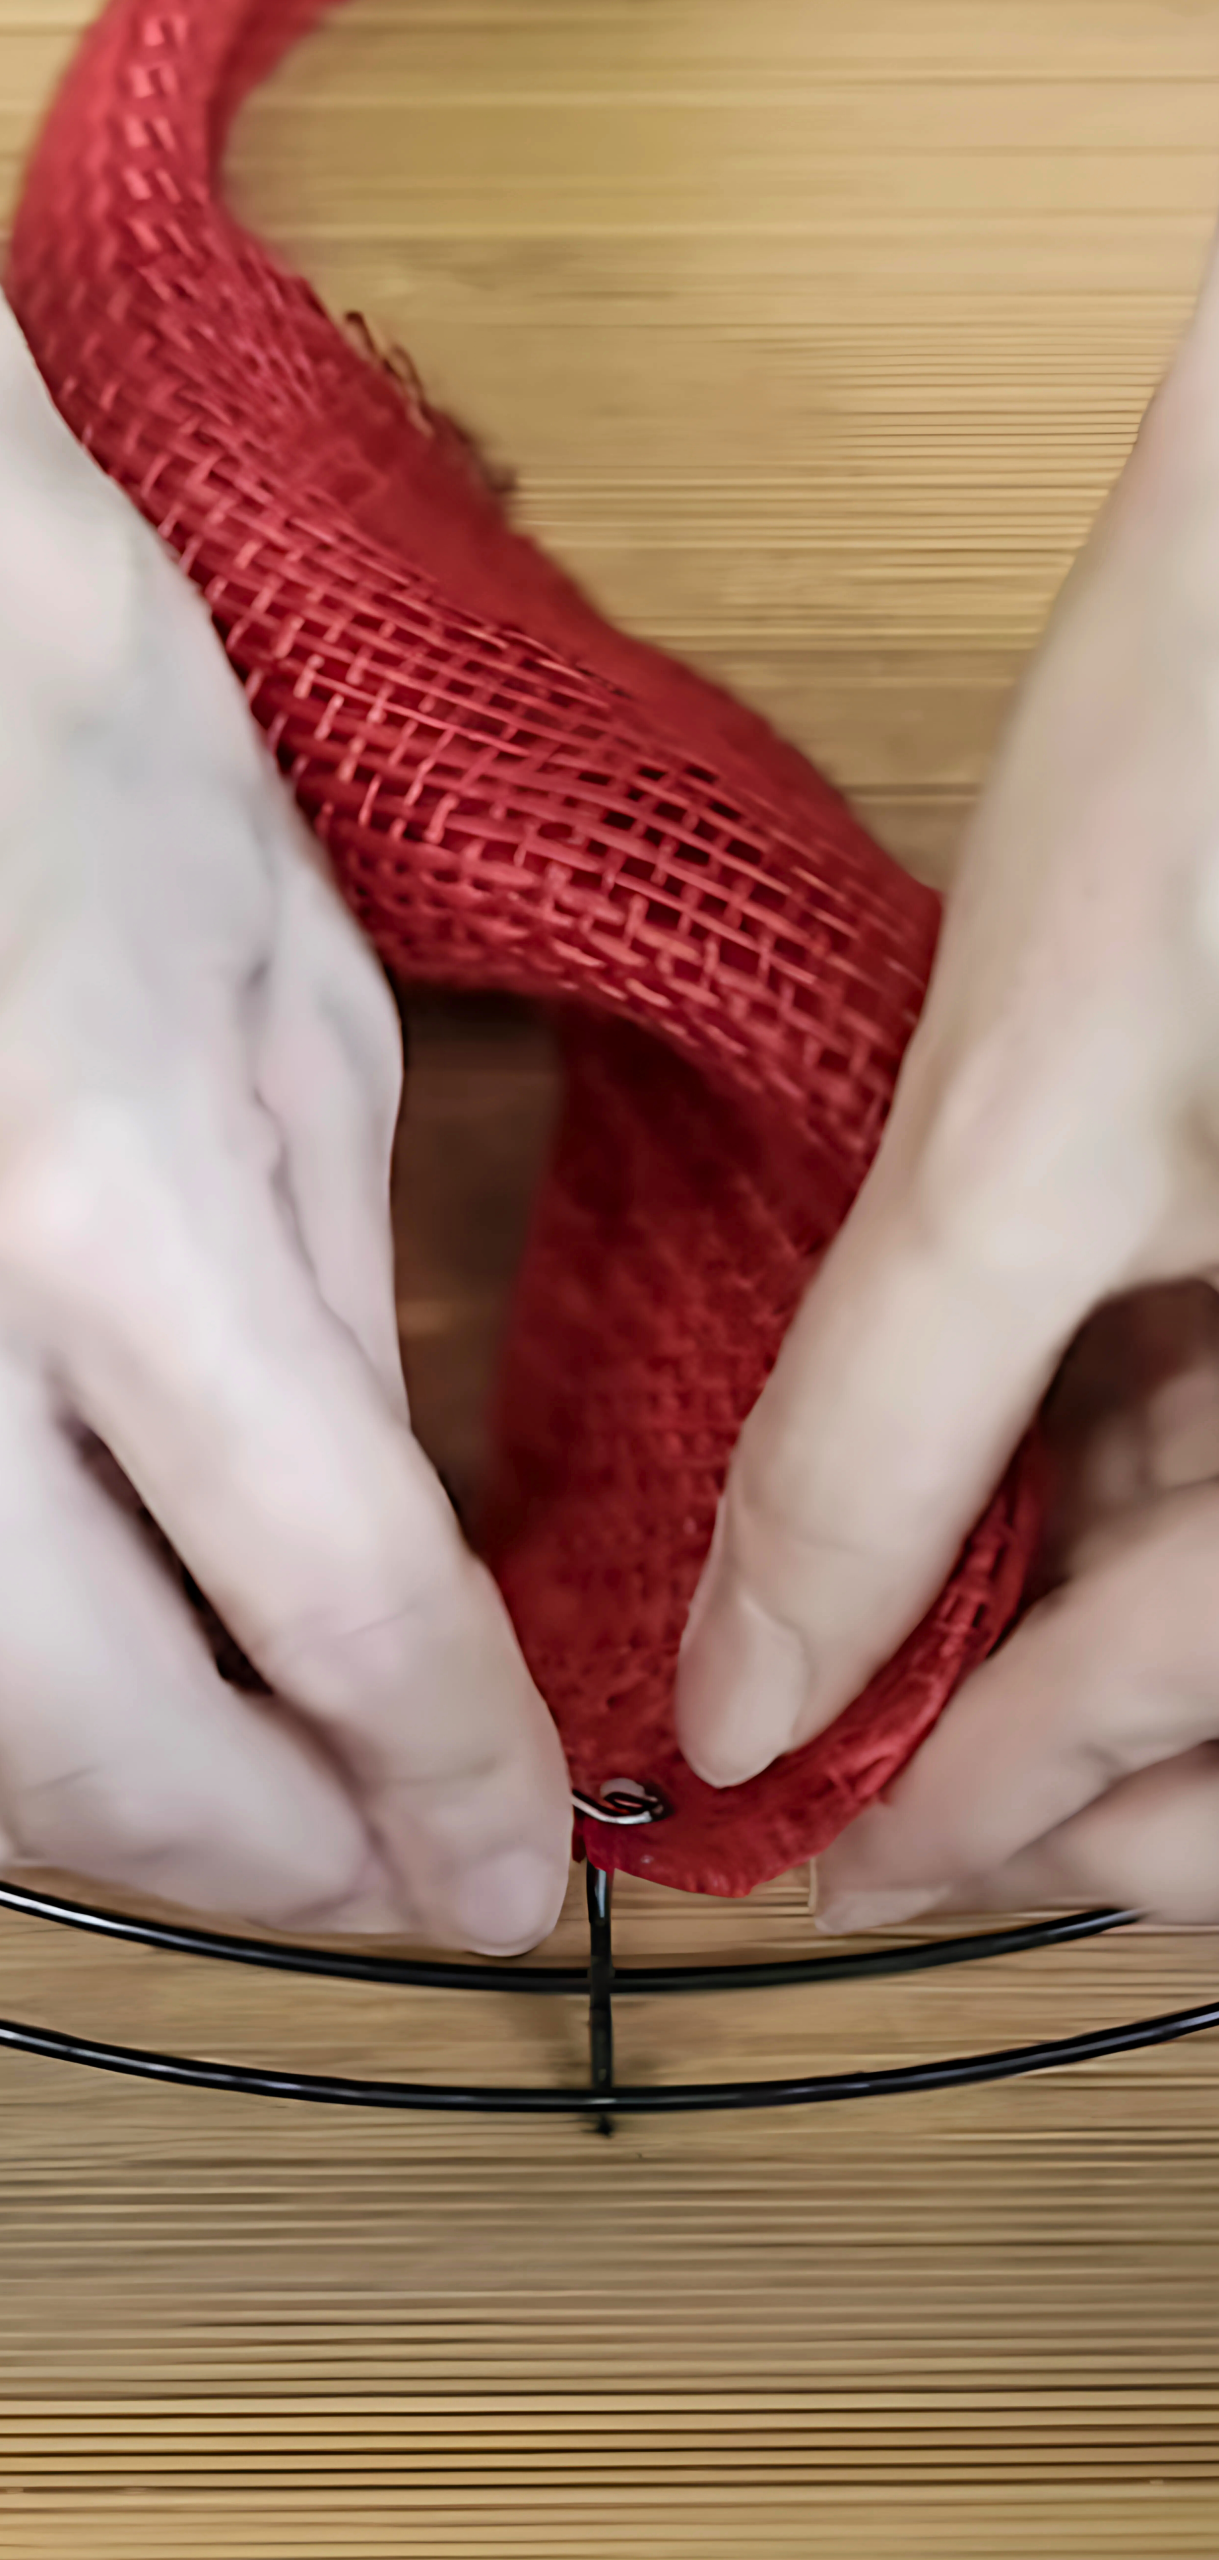
Secure one end of the burlap ribbon to the wreath form by either tying a knot or hot-gluing it in place. This creates the base layer. Begin wrapping the burlap around the wreath, overlapping slightly to cover the form entirely until you’ve completed a full circuit.
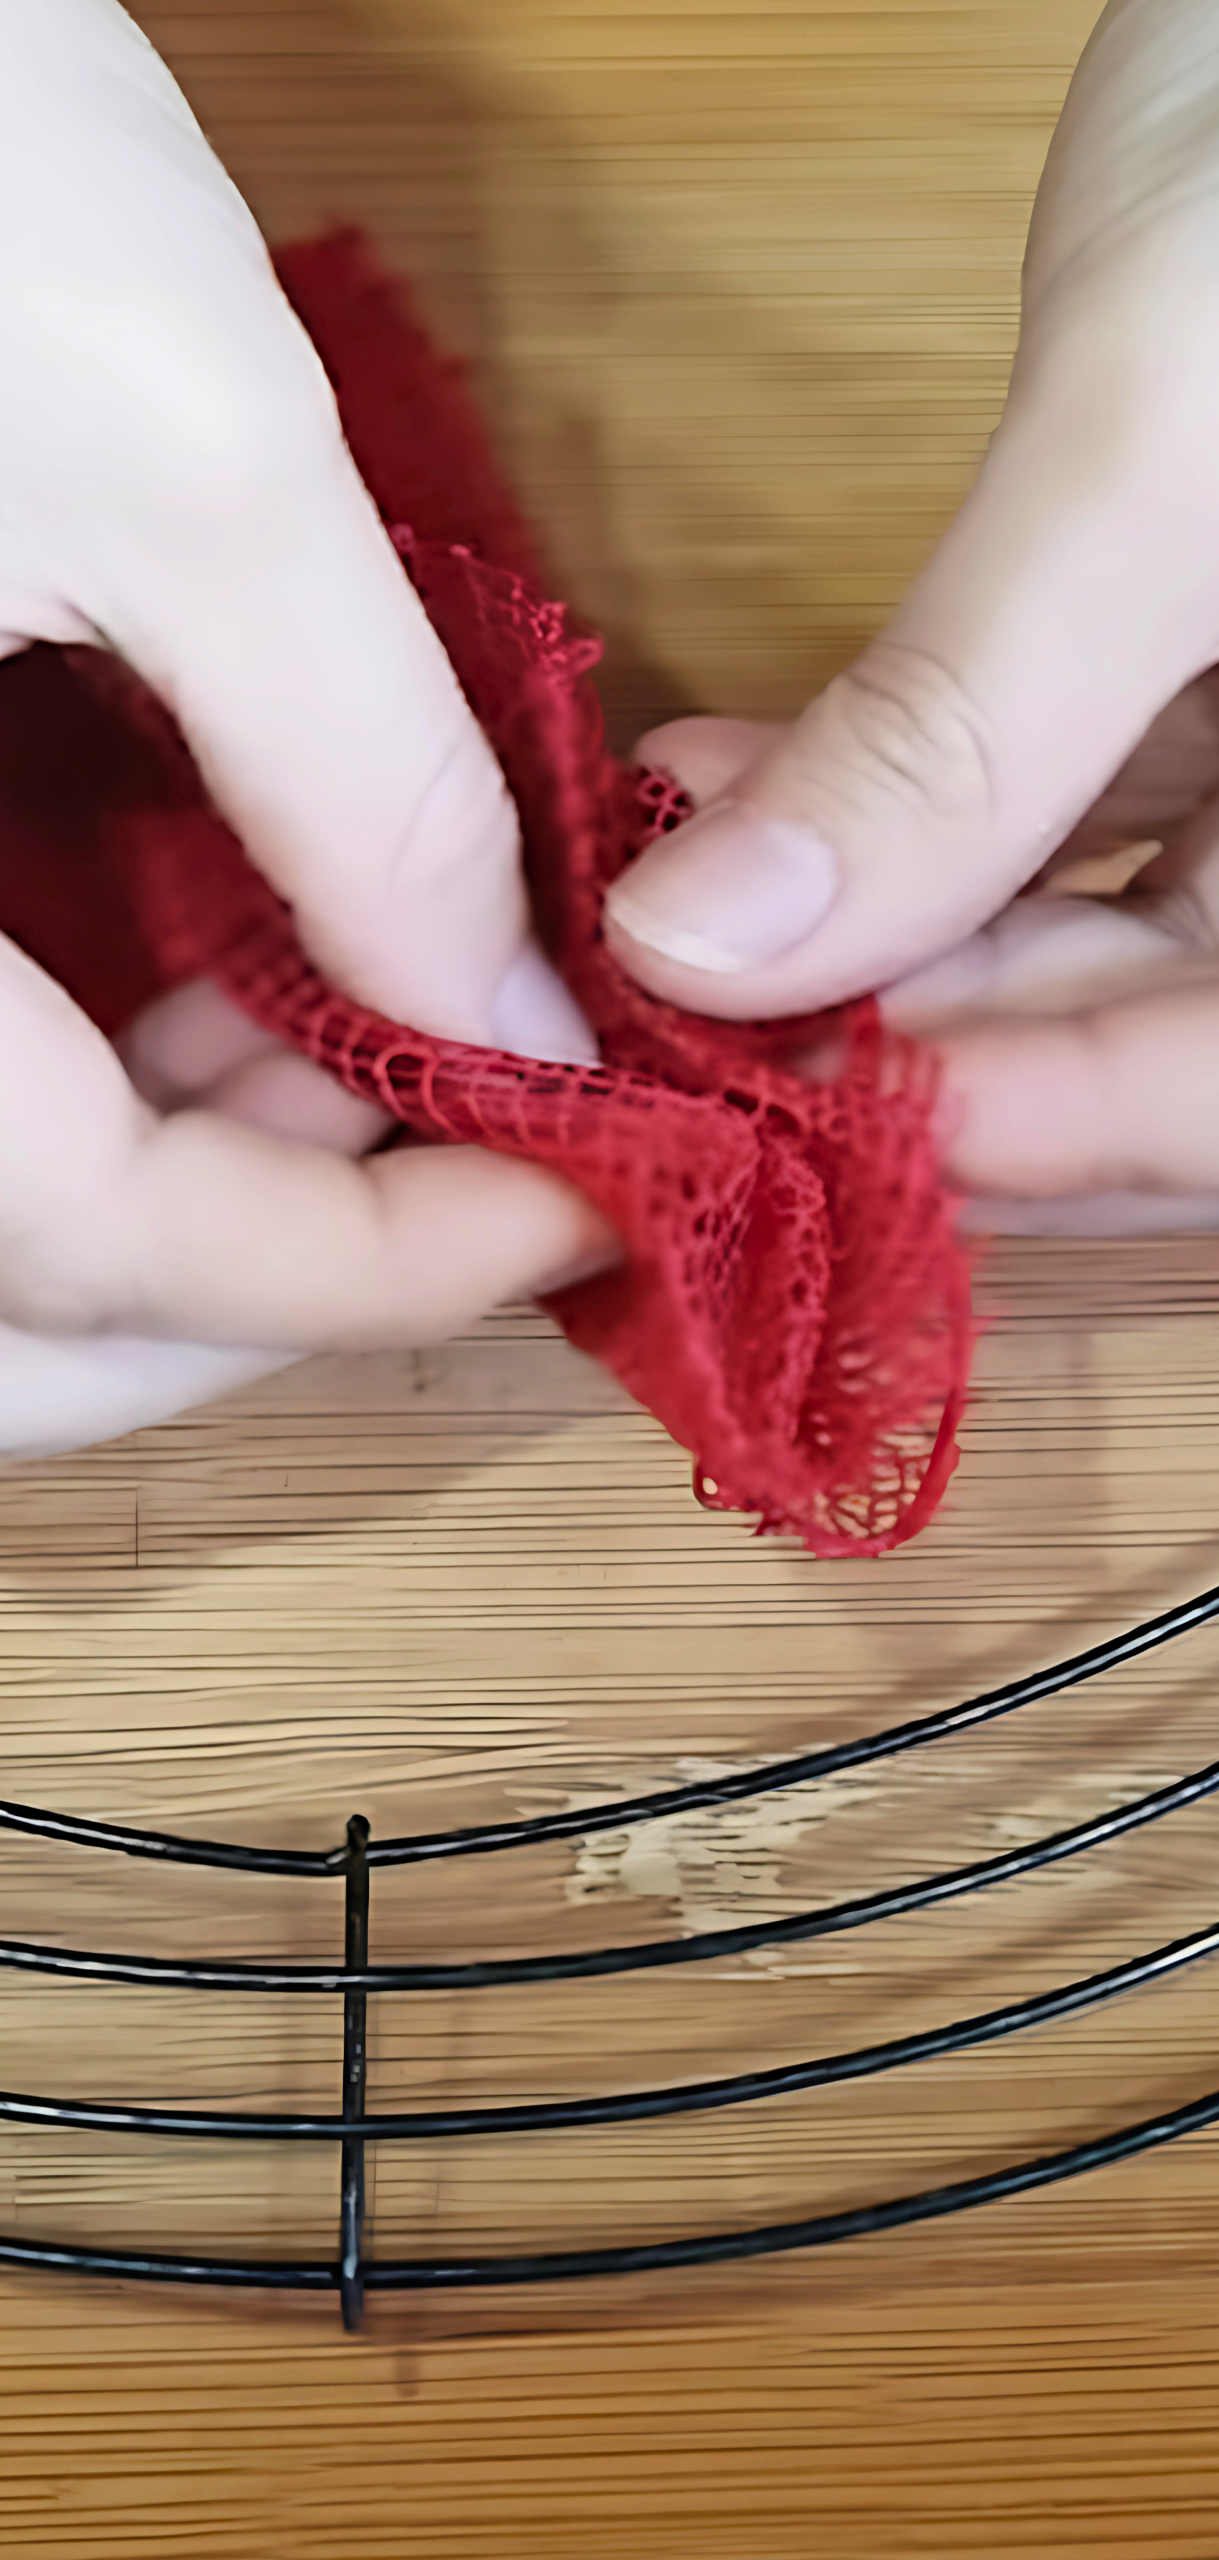
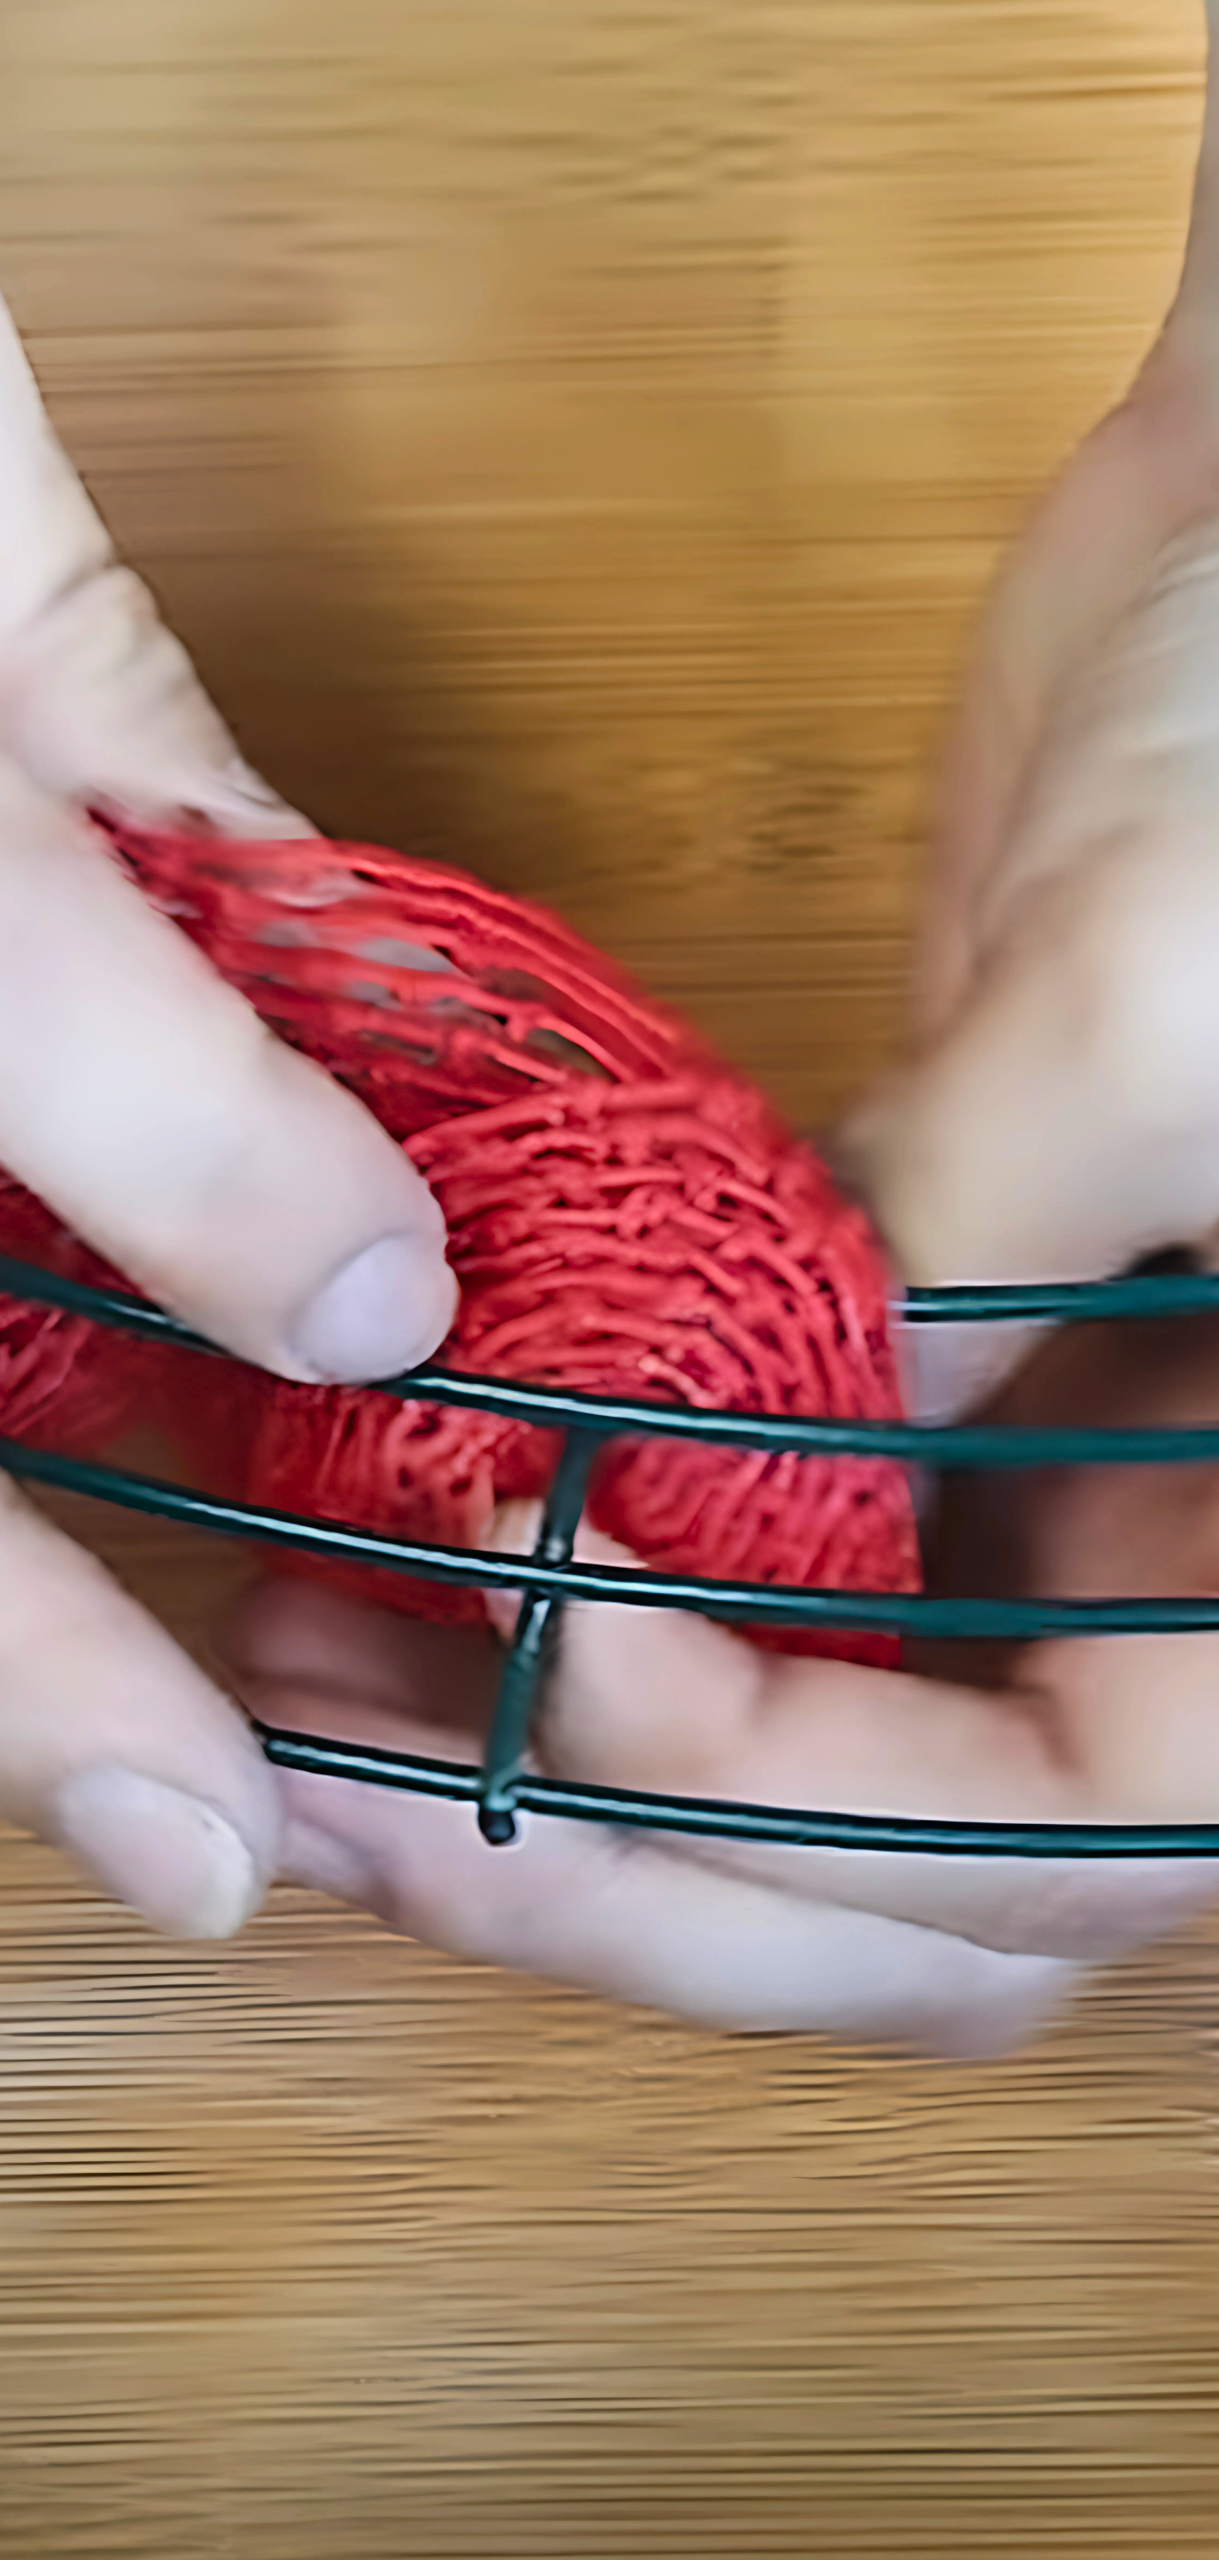
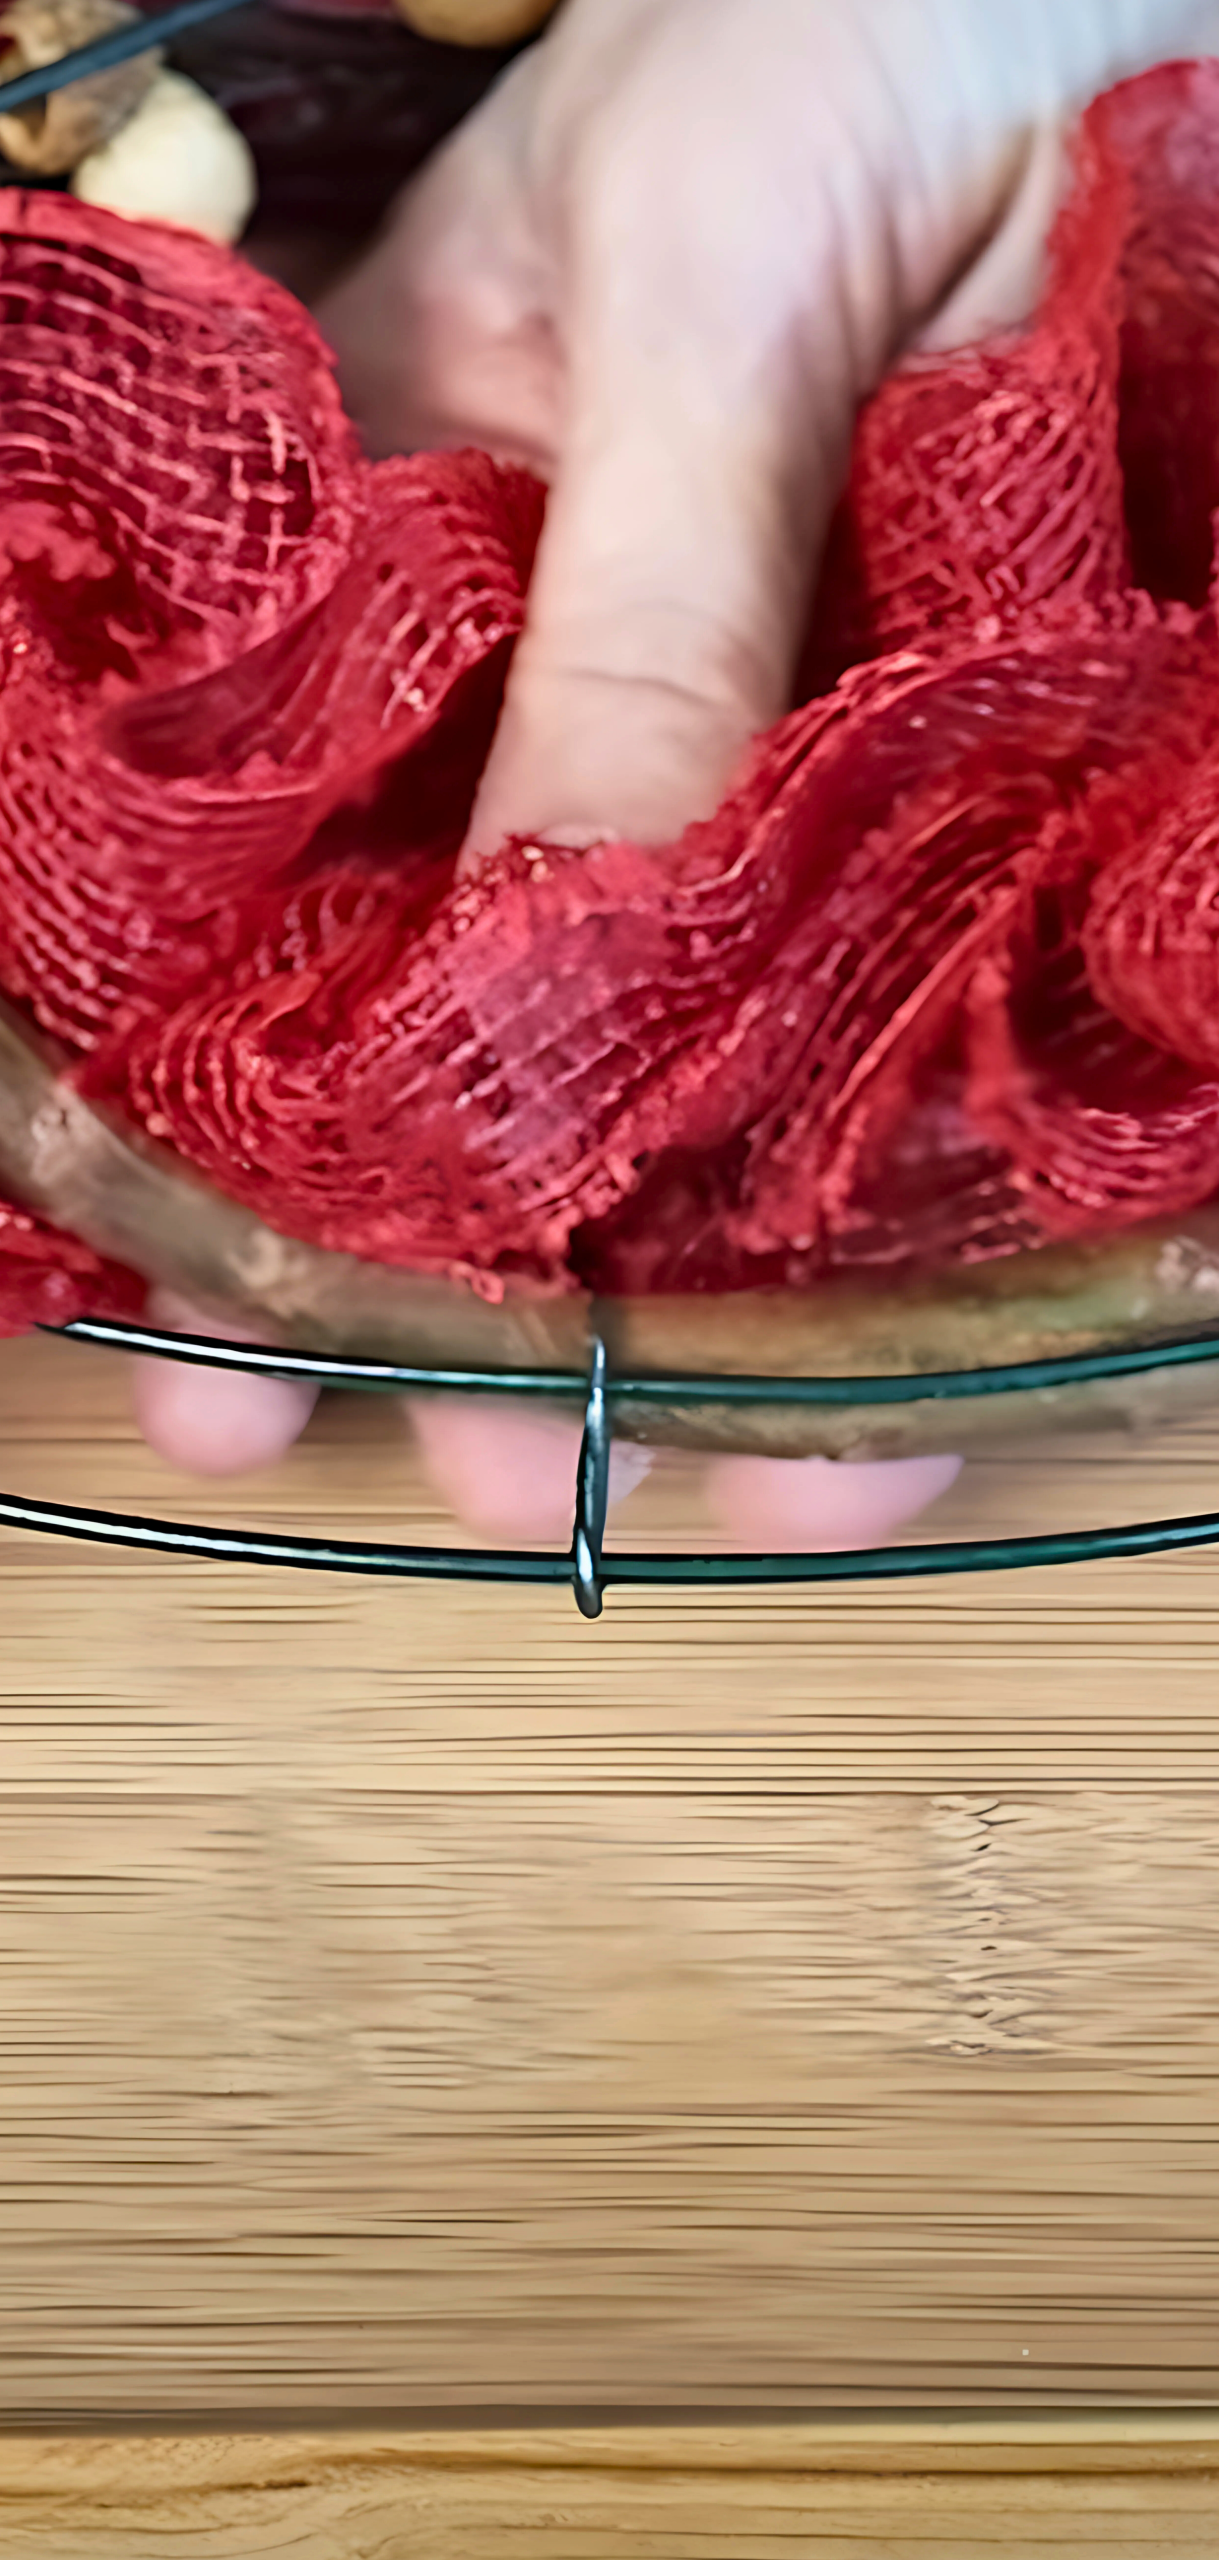
Step 2: Create Burlap Ruffles (‘Bubbles’)


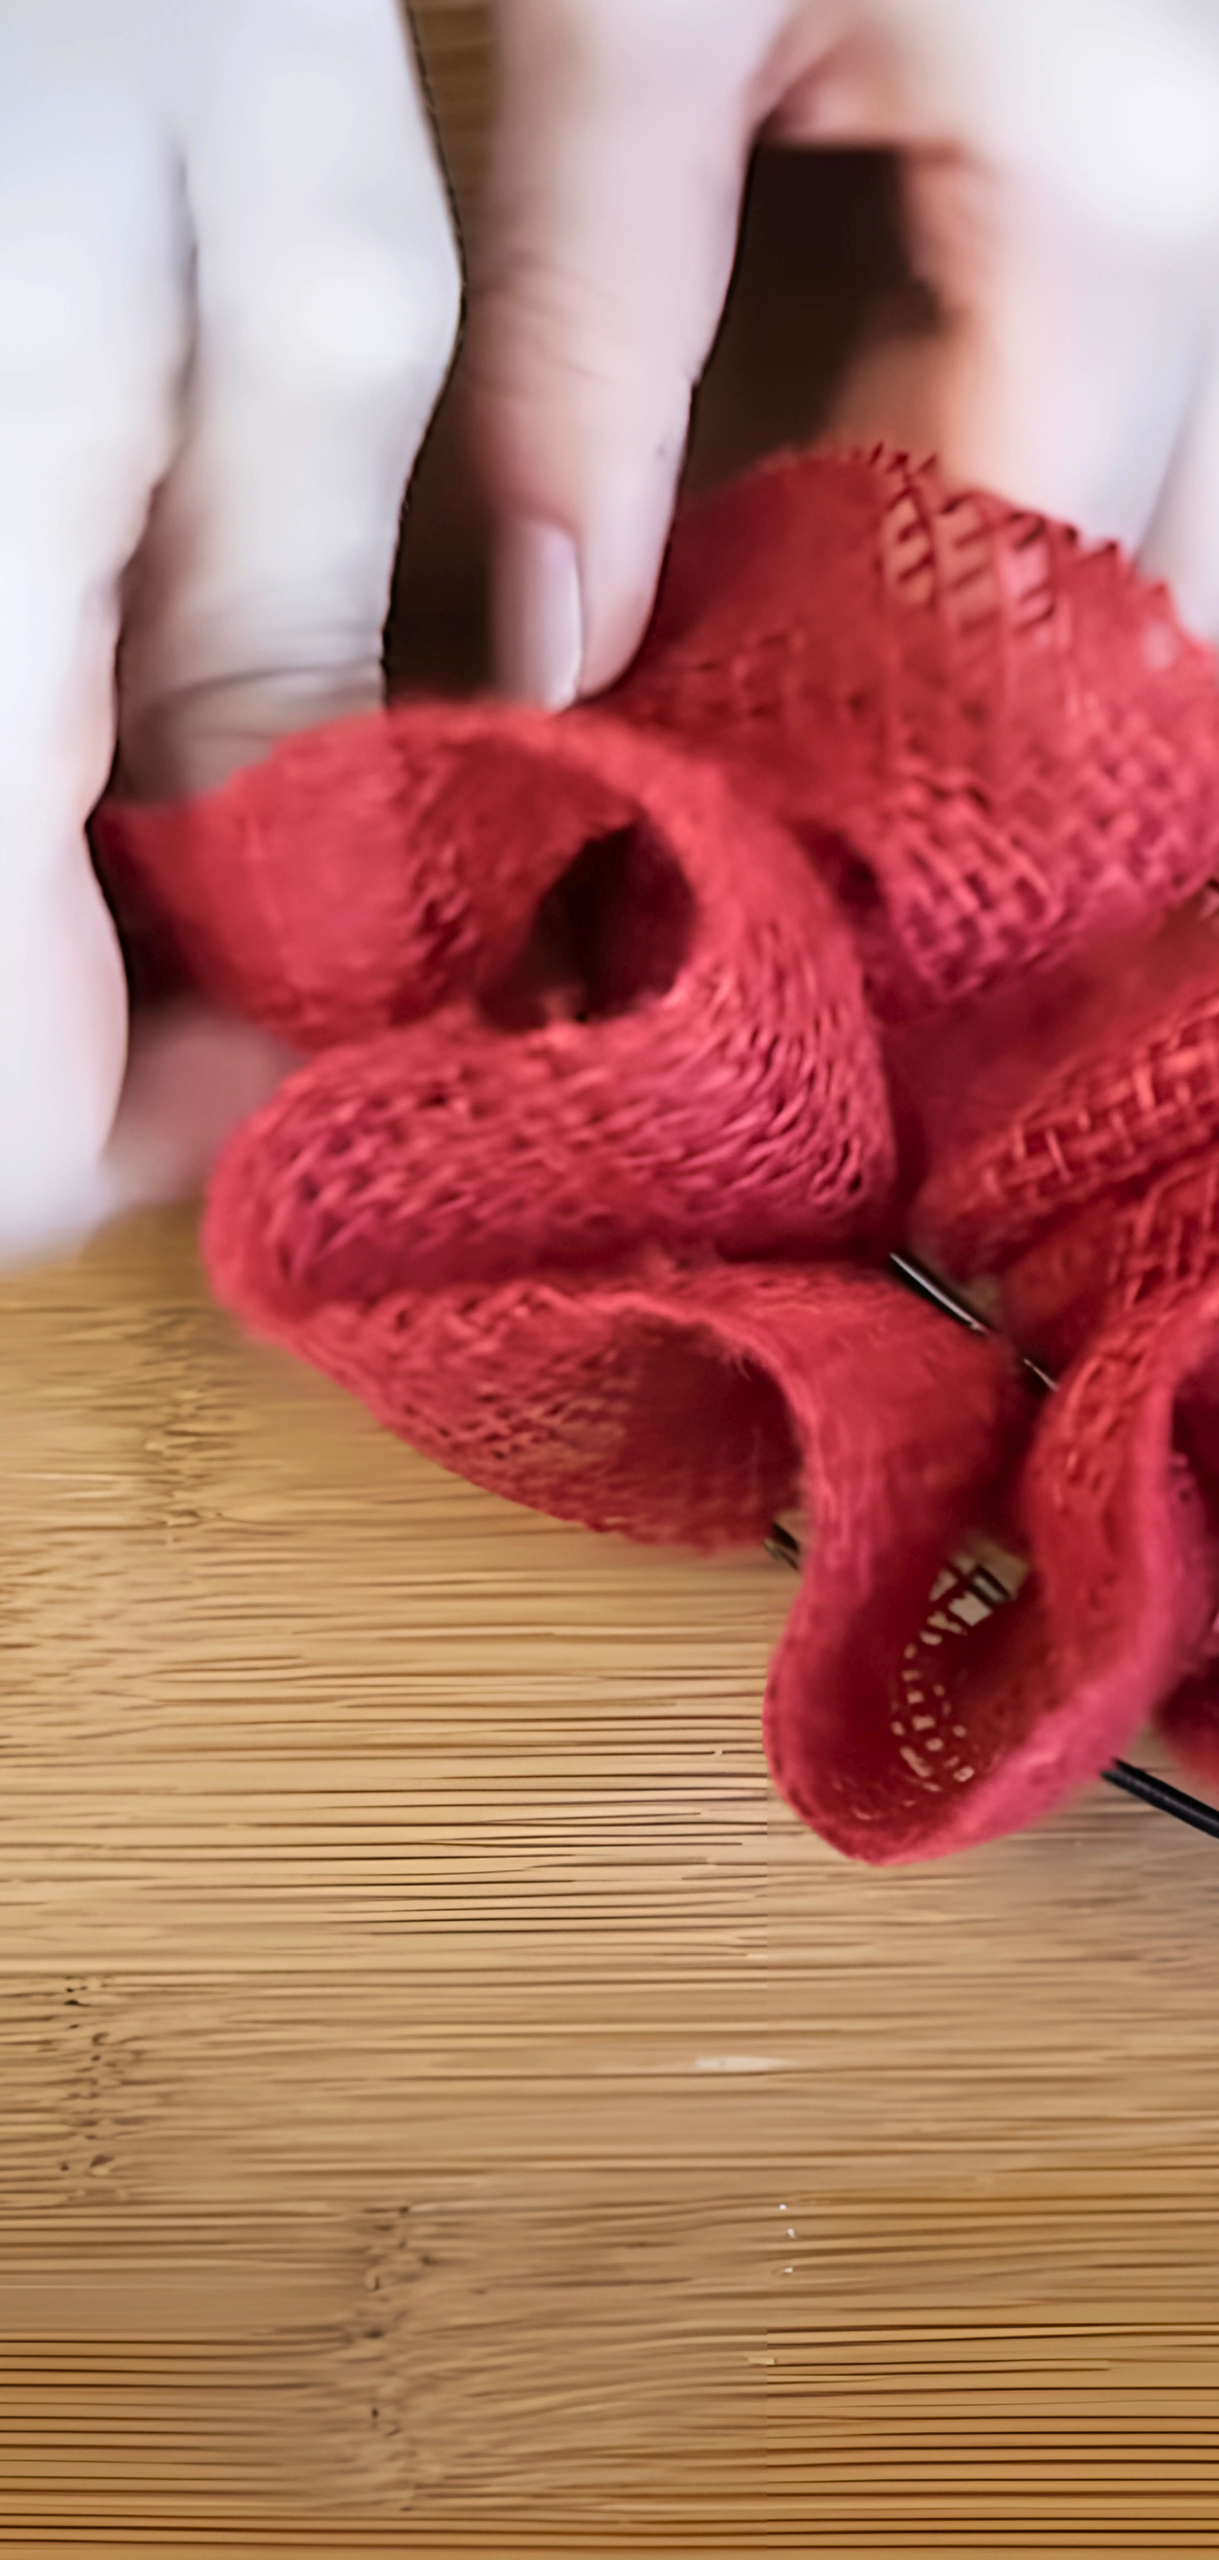

To give your wreath volume and texture, use the “bubble method.” Fold a small section of burlap over the edge of the wreath form, twist it inward, and pull it out slightly to form a loop. Secure each loop with a dab of hot glue or floral wire. Continue this all around the wreath for a full, fluffy look.
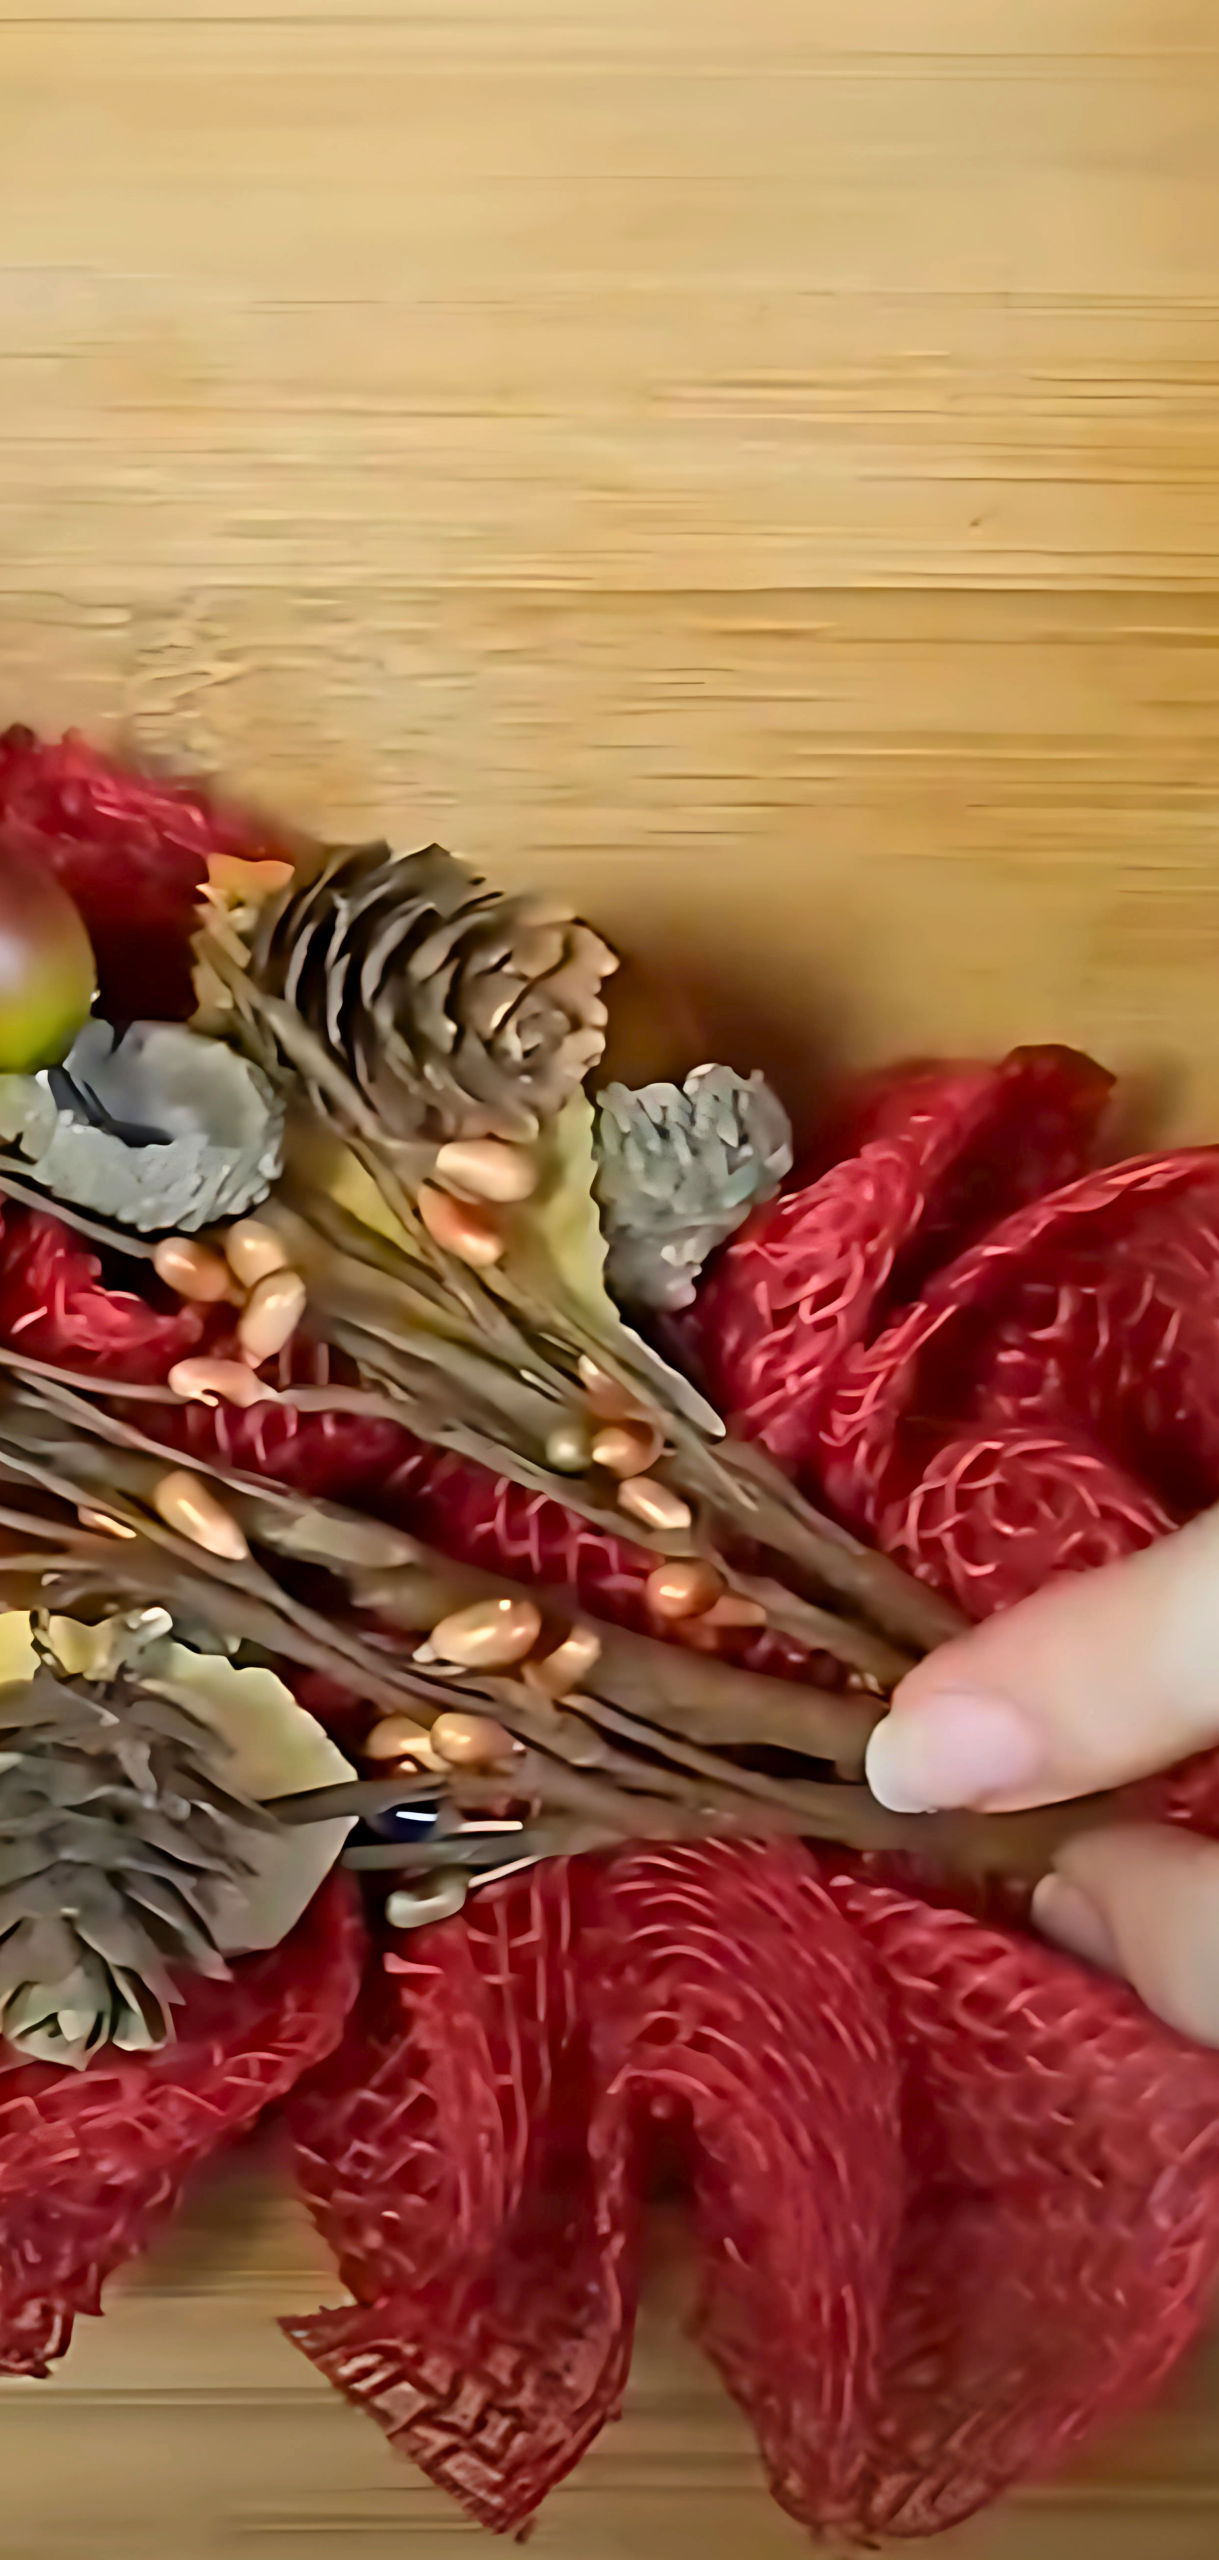
Step 3: Tuck in Fall Foliage
Select your fall picks, like faux leaves, berries, pinecones, or mini pumpkins. Cut stems to 3–4″ lengths using wire cutters. Tuck each piece into the burlap loops and secure with floral wire or green pins. Arrange foliage densely on one side for an elegant asymmetrical design, or spread it evenly for a balanced look.
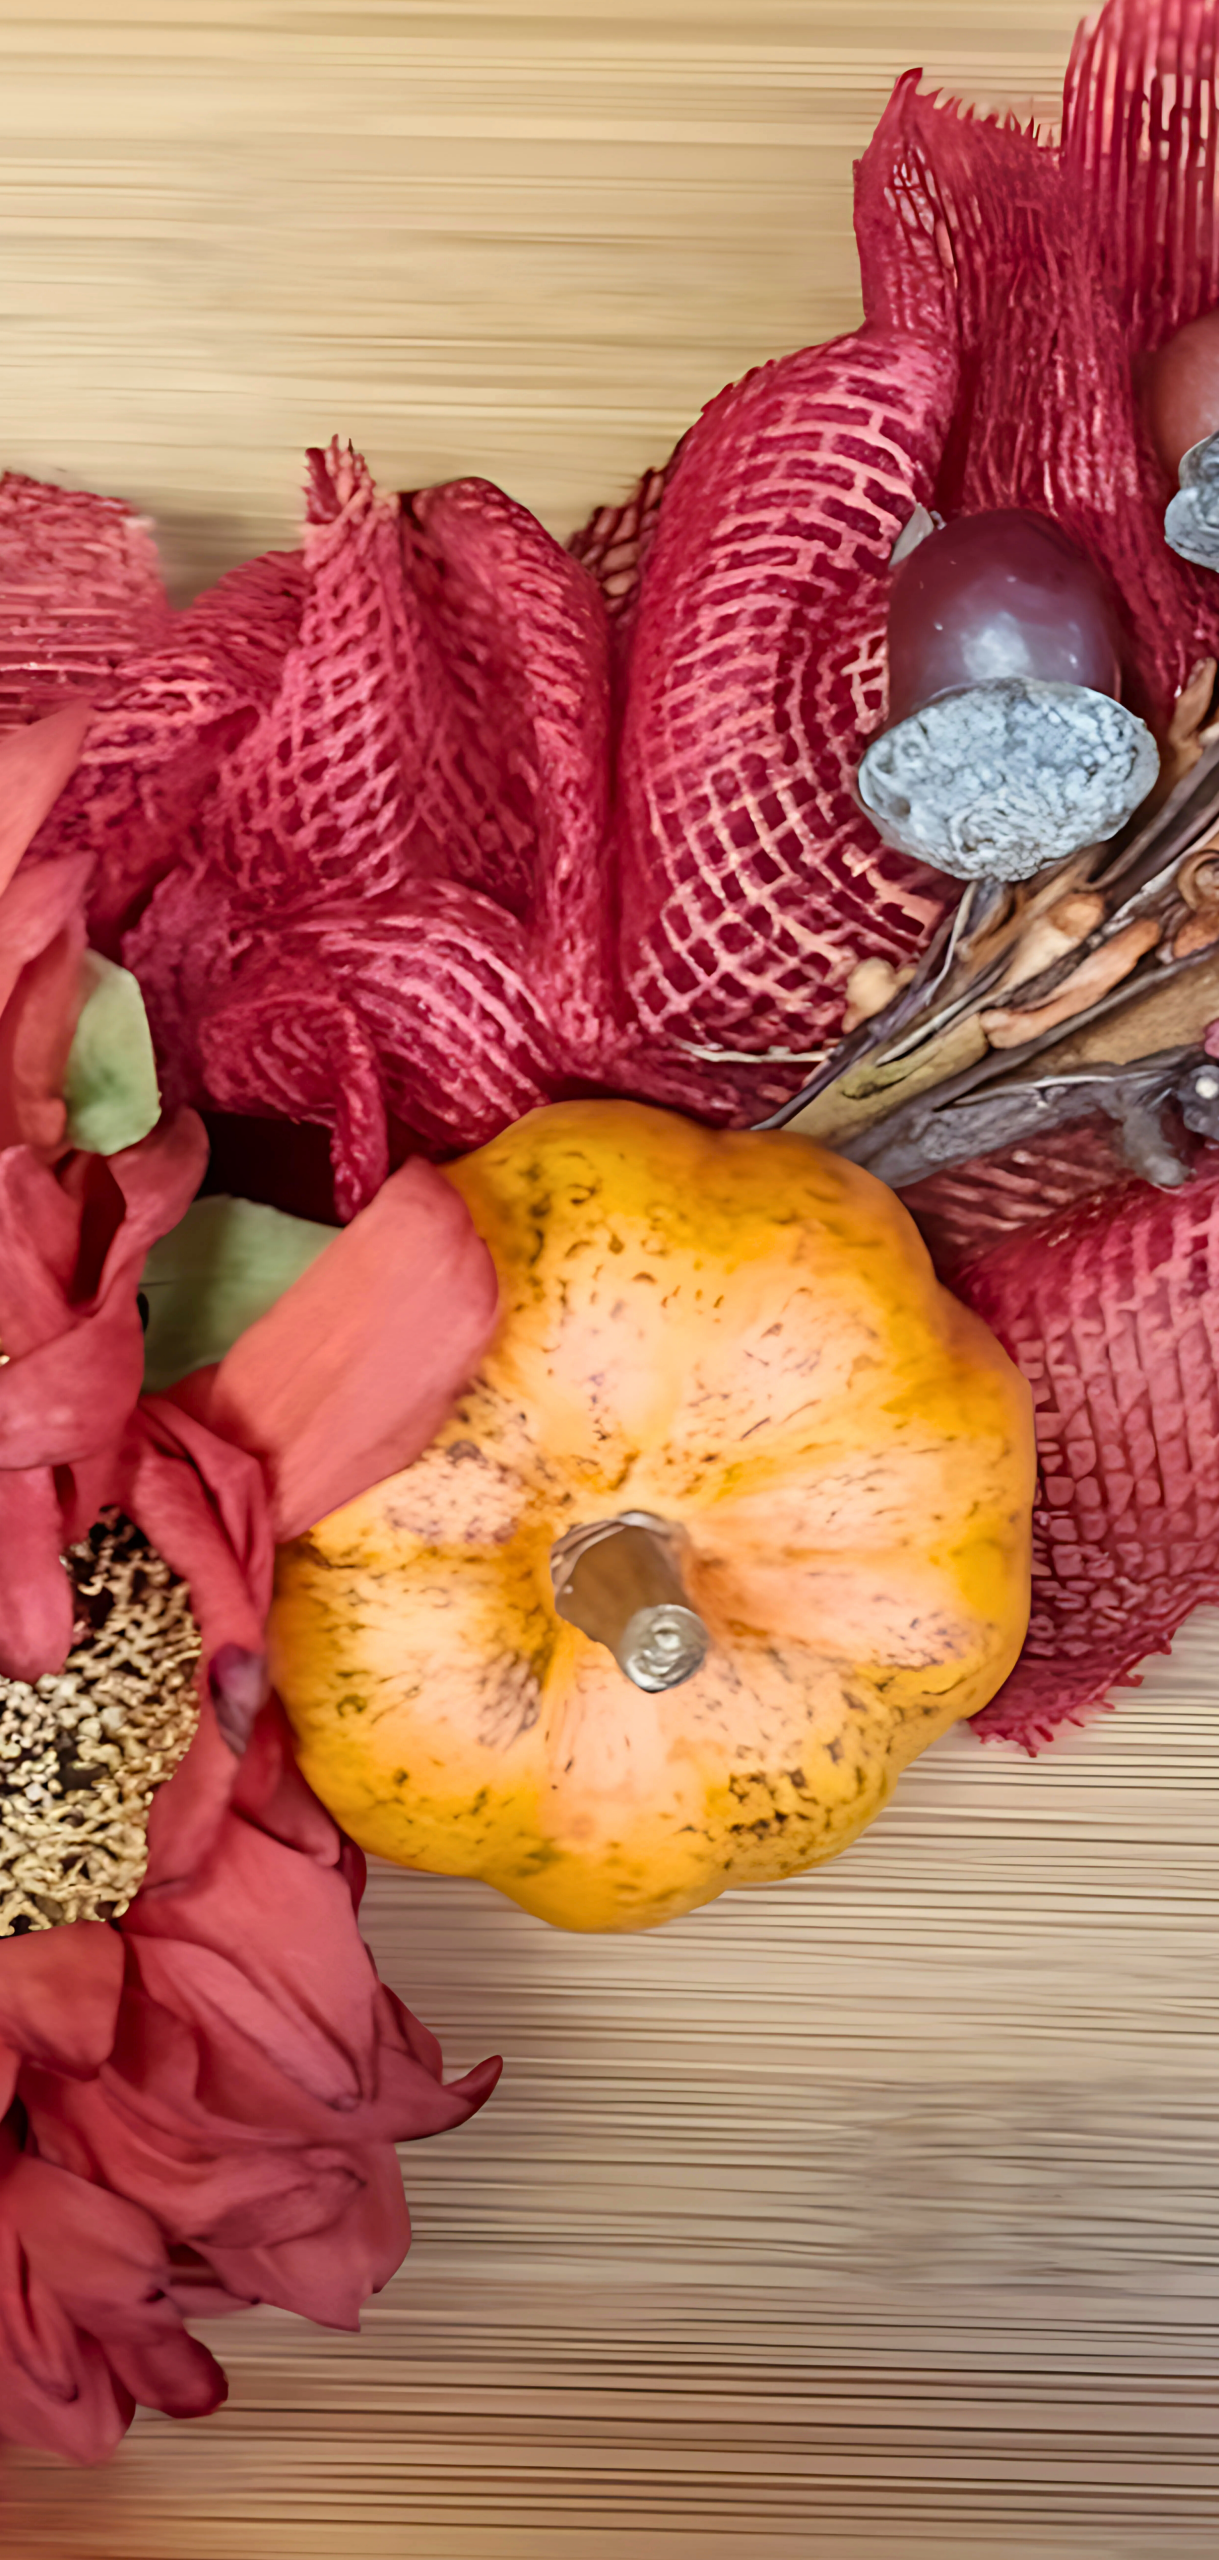
Step 4: Fluff and Adjust

Once all ribbons and foliage are in place, gently fluff each burlap loop to create an even, textured appearance. Adjust foliage so that it looks natural and pops against the burlap backdrop.
Step 5: Add Your Finishing Touches
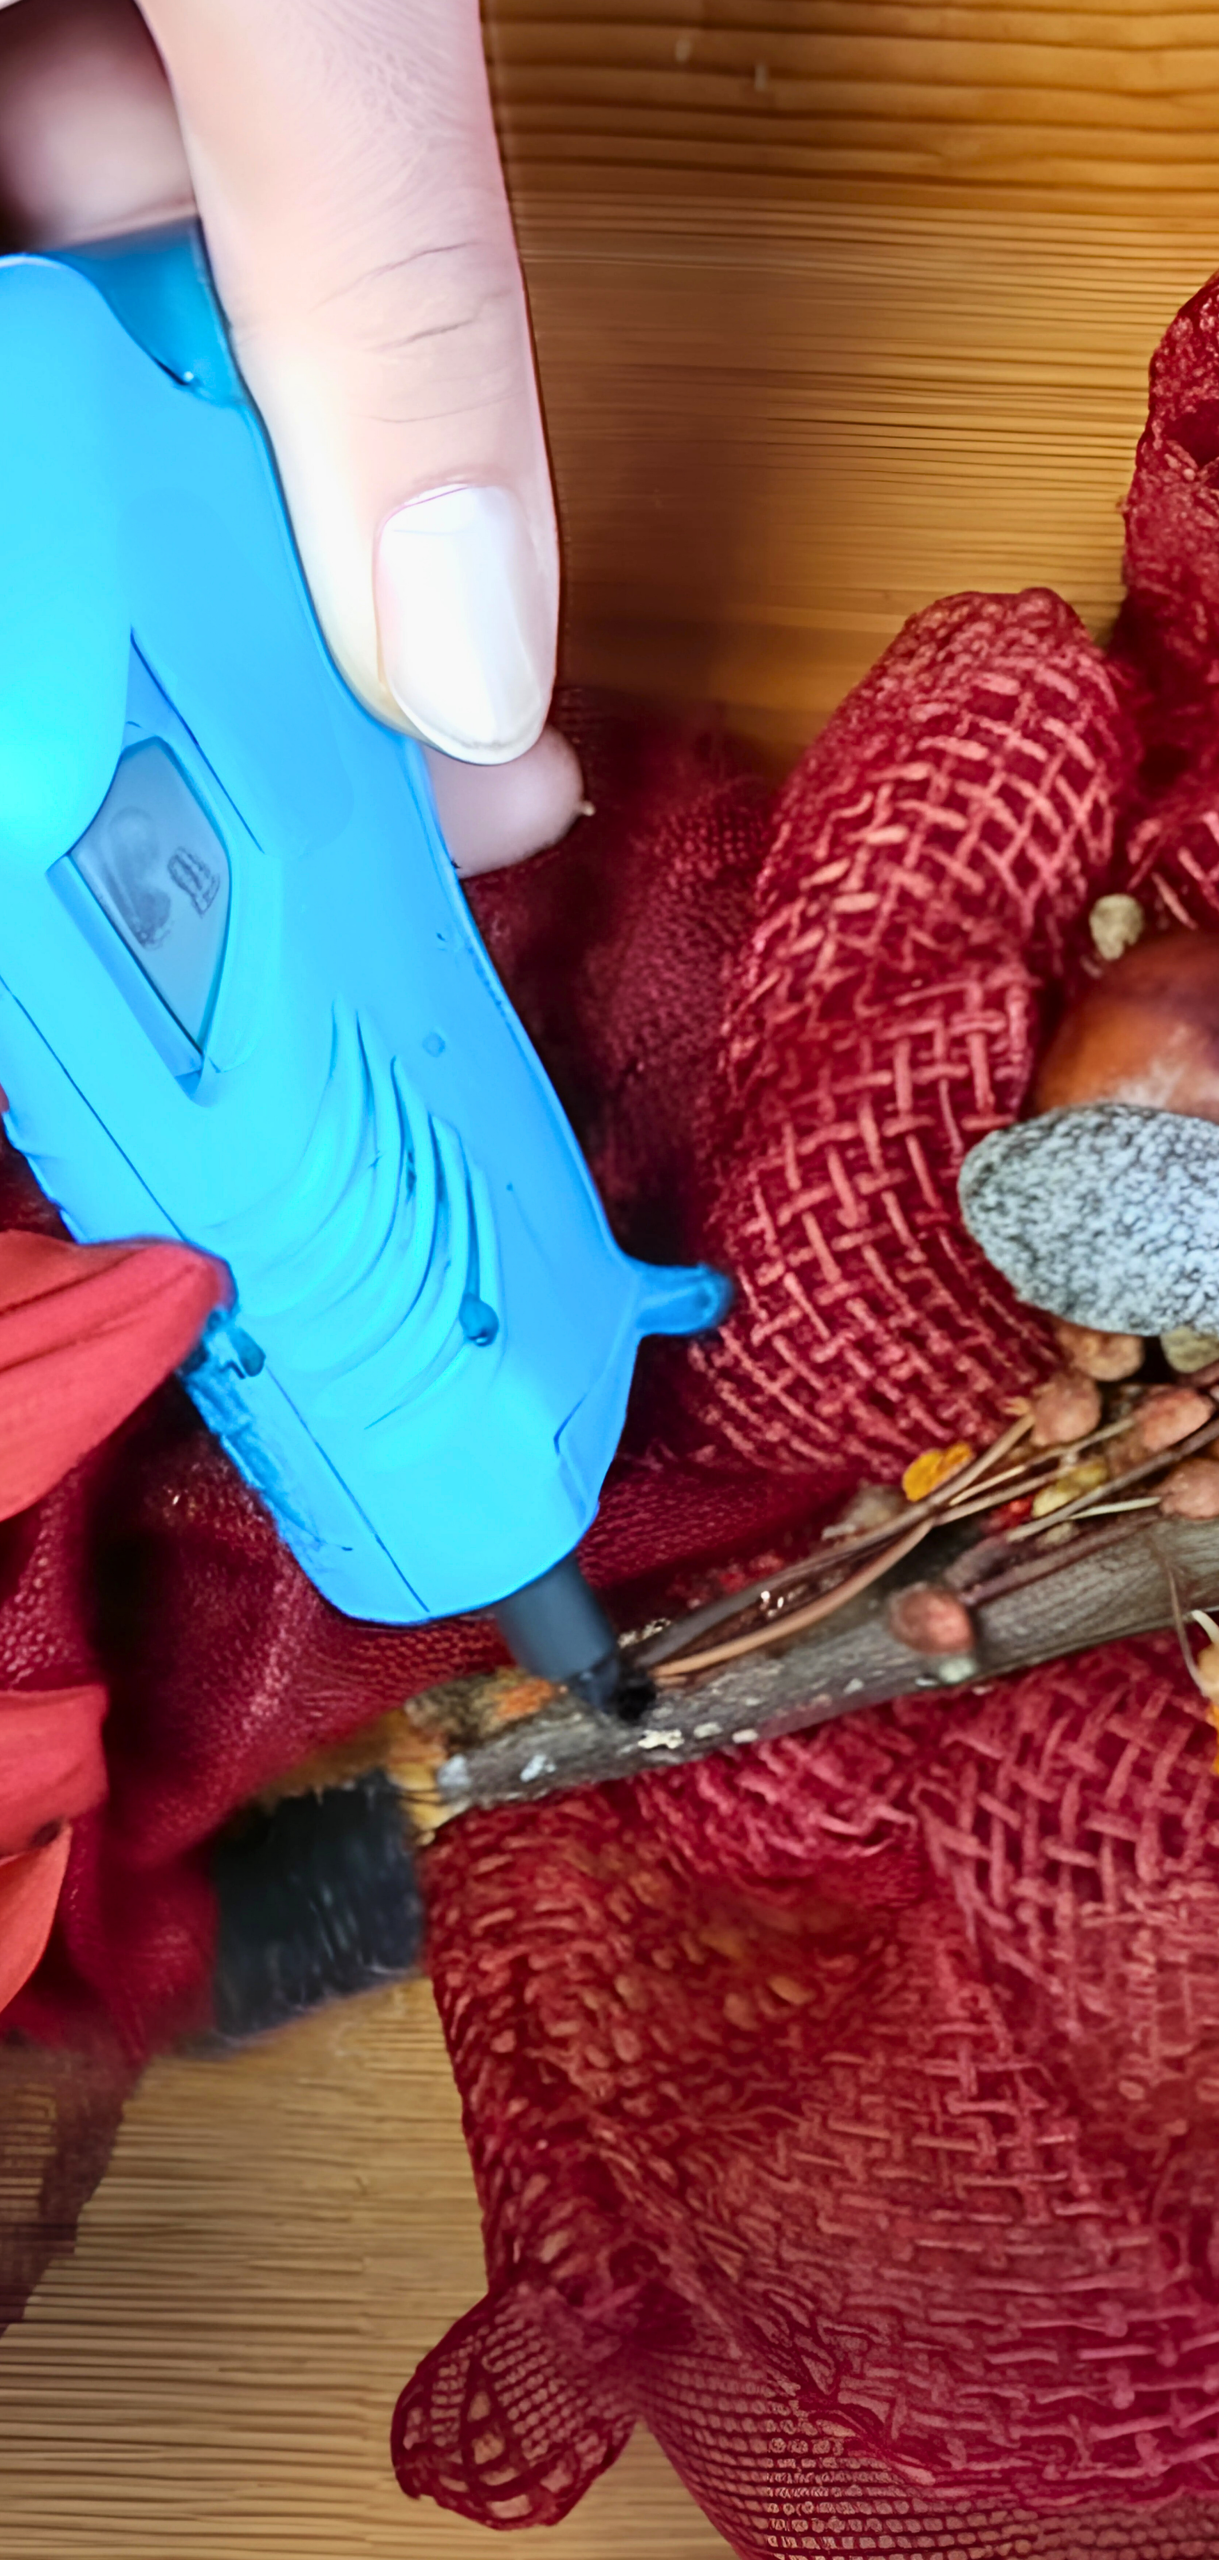
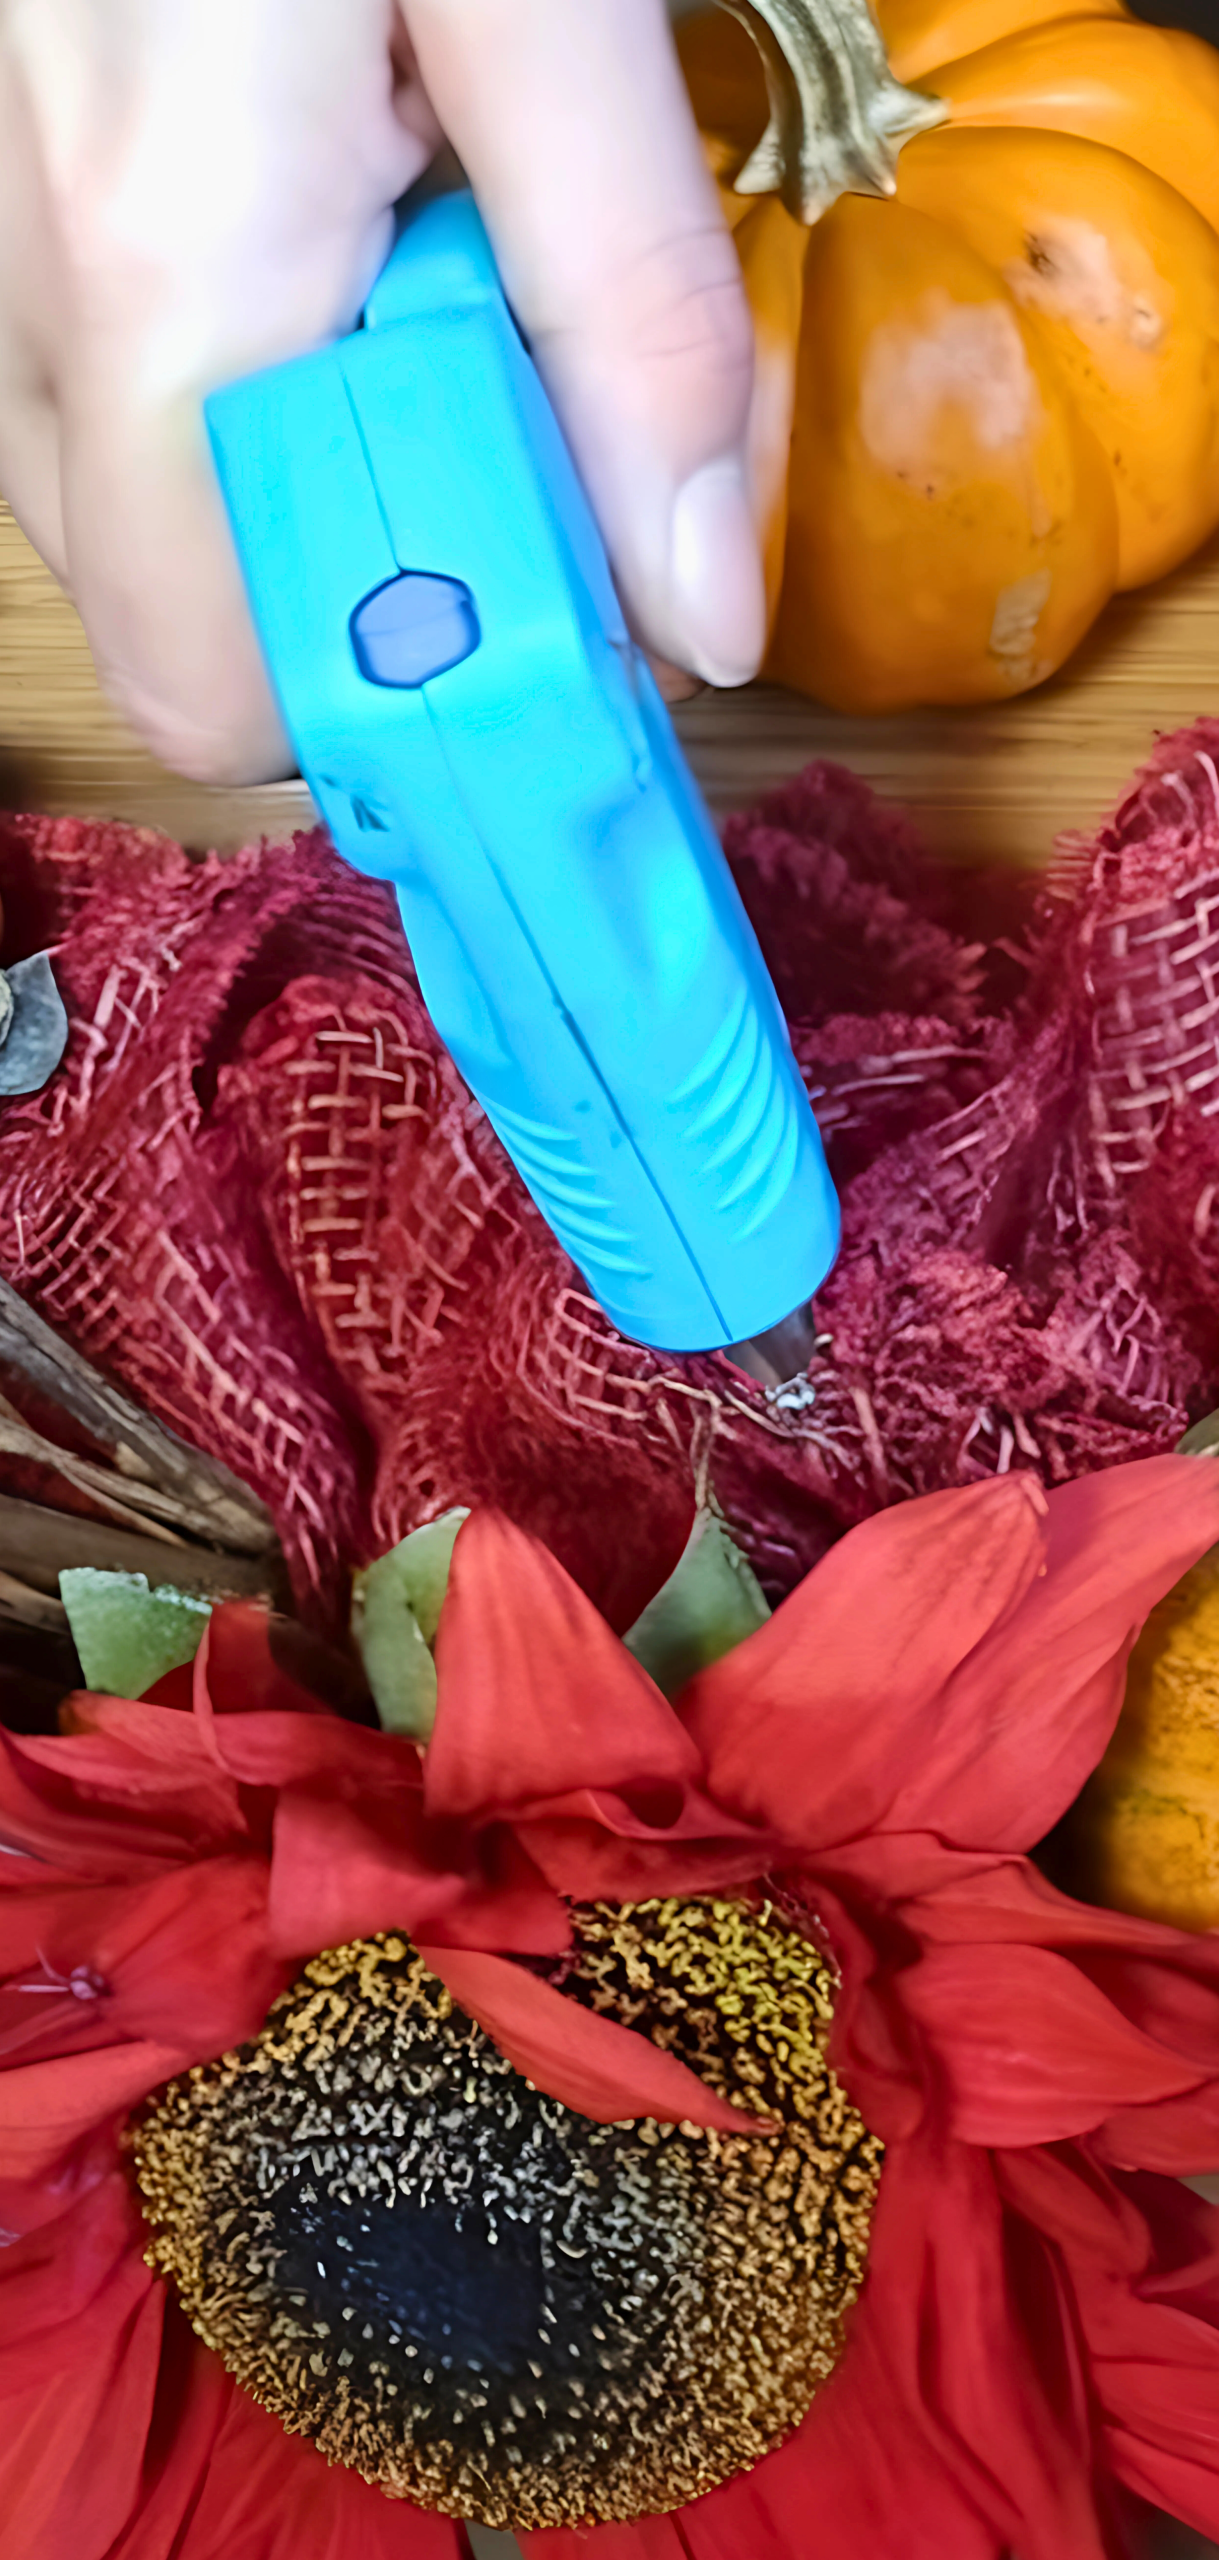
Craft a bow from fall-themed ribbon and attach it to the wreath with floral wire or hot glue. Consider adding small accents like wooden letters (“FALL”), a second ribbon layer, or even battery-operated fairy lights for a subtle glow.
Step 6: Hang and Enjoy
Use a wreath hanger, ribbon loop, or Command Hook to display your masterpiece. Hang it on your front door, over the fireplace mantel, or on a porch; your wreath will bring a welcoming, fall-ready vibe to any space.
Fall Burlap Wreath Pro Tips

- Use wired ribbon: It holds bounces better and stays shaped.
- Wreath base: Straw wreaths wrapped in plastic make pinning easier, while metal frames are lighter and stiffer.
- Burlap start/finish: Tuck ends under the burlap or secure with floral wire to hide raw edges.
- Space adornments wisely: cluster foliage for visual weight, or space it evenly for symmetrical appeal.
- Change it up seasonally: For later use, simply remove foliage and embellishments, then add fresh accents like velvet pumpkins or glittery picks.
FAQs
Can I use a foam wreath instead of wire or straw?
Yes, just wrap it with duct tape.
How much burlap ribbon do I need?
Expect to use about 15–18 ft of 5″ burlap ribbon to cover an 18″ wreath fully.
Hot glue or water-safe adhesive?
For outdoor use, pair with weather-resistant floral wire.
How long will the fall burlap wreath last?
Properly, your wreath can last through the entire fall season.
Can’t find burlap ribbon?
Cut burlap fabric into 5″ strips. Use a hot knife, if available, to seal edges and prevent fraying.
How do I store my fall burlap wreath?
Store it in a breathable container (like my crochet tote bag), and keep it cool and dry to maintain its shape and prevent mildew.
Conclusion
You just made a gorgeous fall burlap wreath, textured and full of autumn leaves. With minimal materials and one hour of easy prep, you’ve crafted the perfect seasonal statement piece. This is ideal for gifting, porch decoration, or making your home feel cozy.