Join the fastest growing Craft community on Pinterest!
Ever since I made my first crepe-paper flowers, I’ve been totally hooked on paper crafts. There’s something magical about turning everyday supplies into something playful to enjoy.
This time, though, I wanted to try something a little more squishy, literally. That’s how I stumbled into the addictive world of paper squishies. My goal?
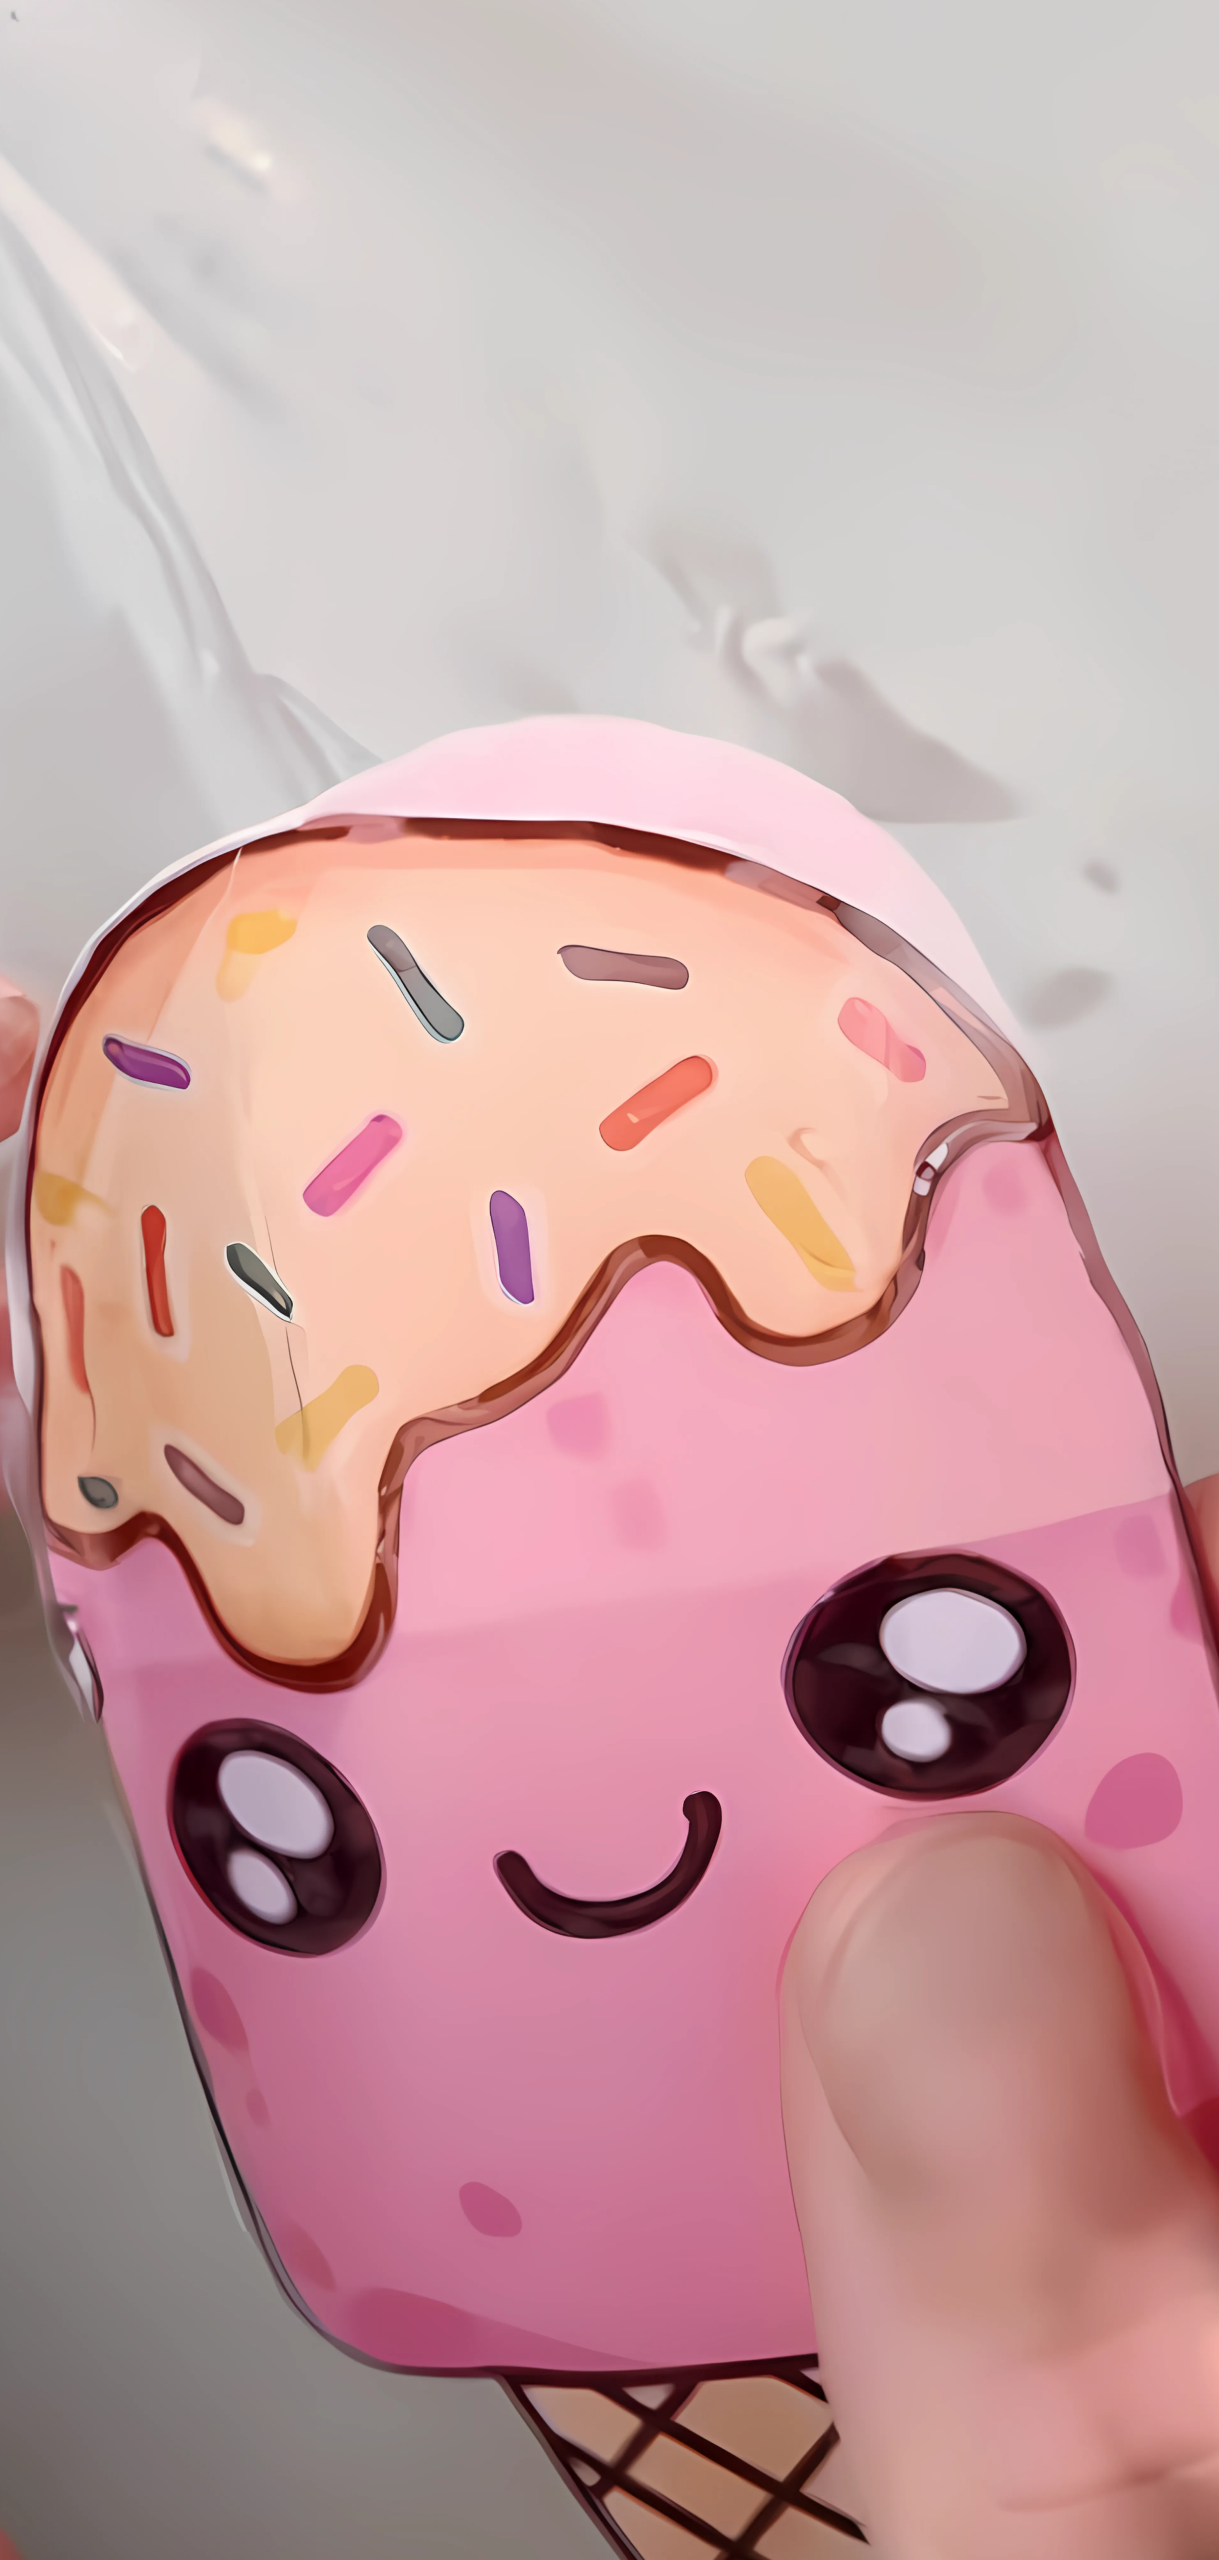
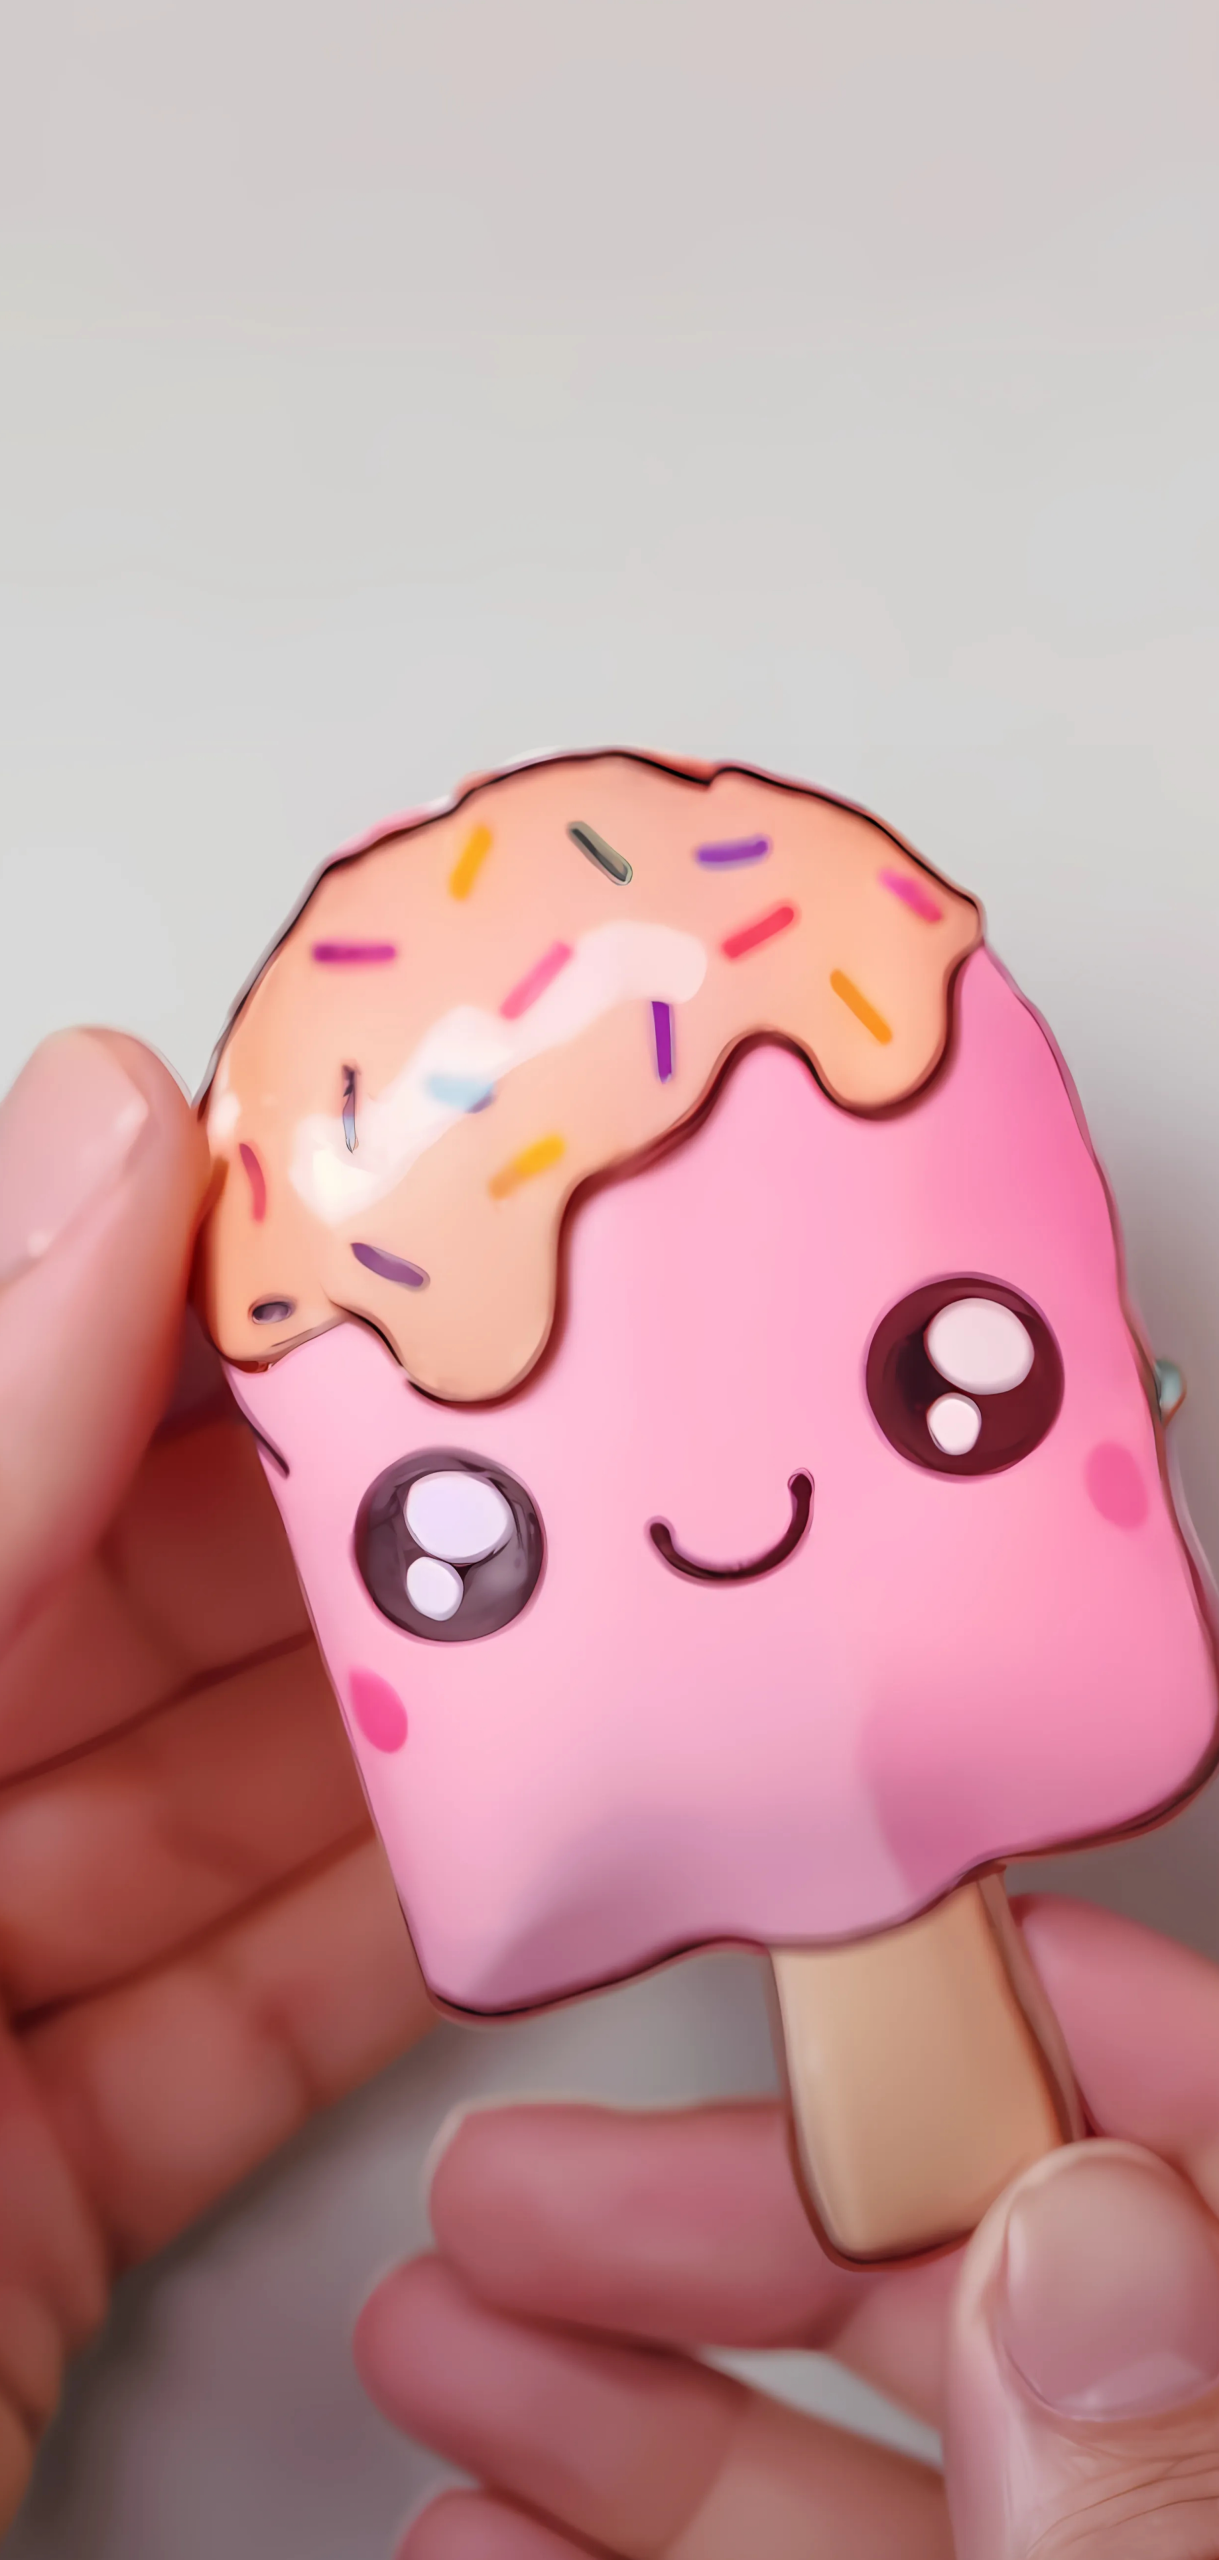
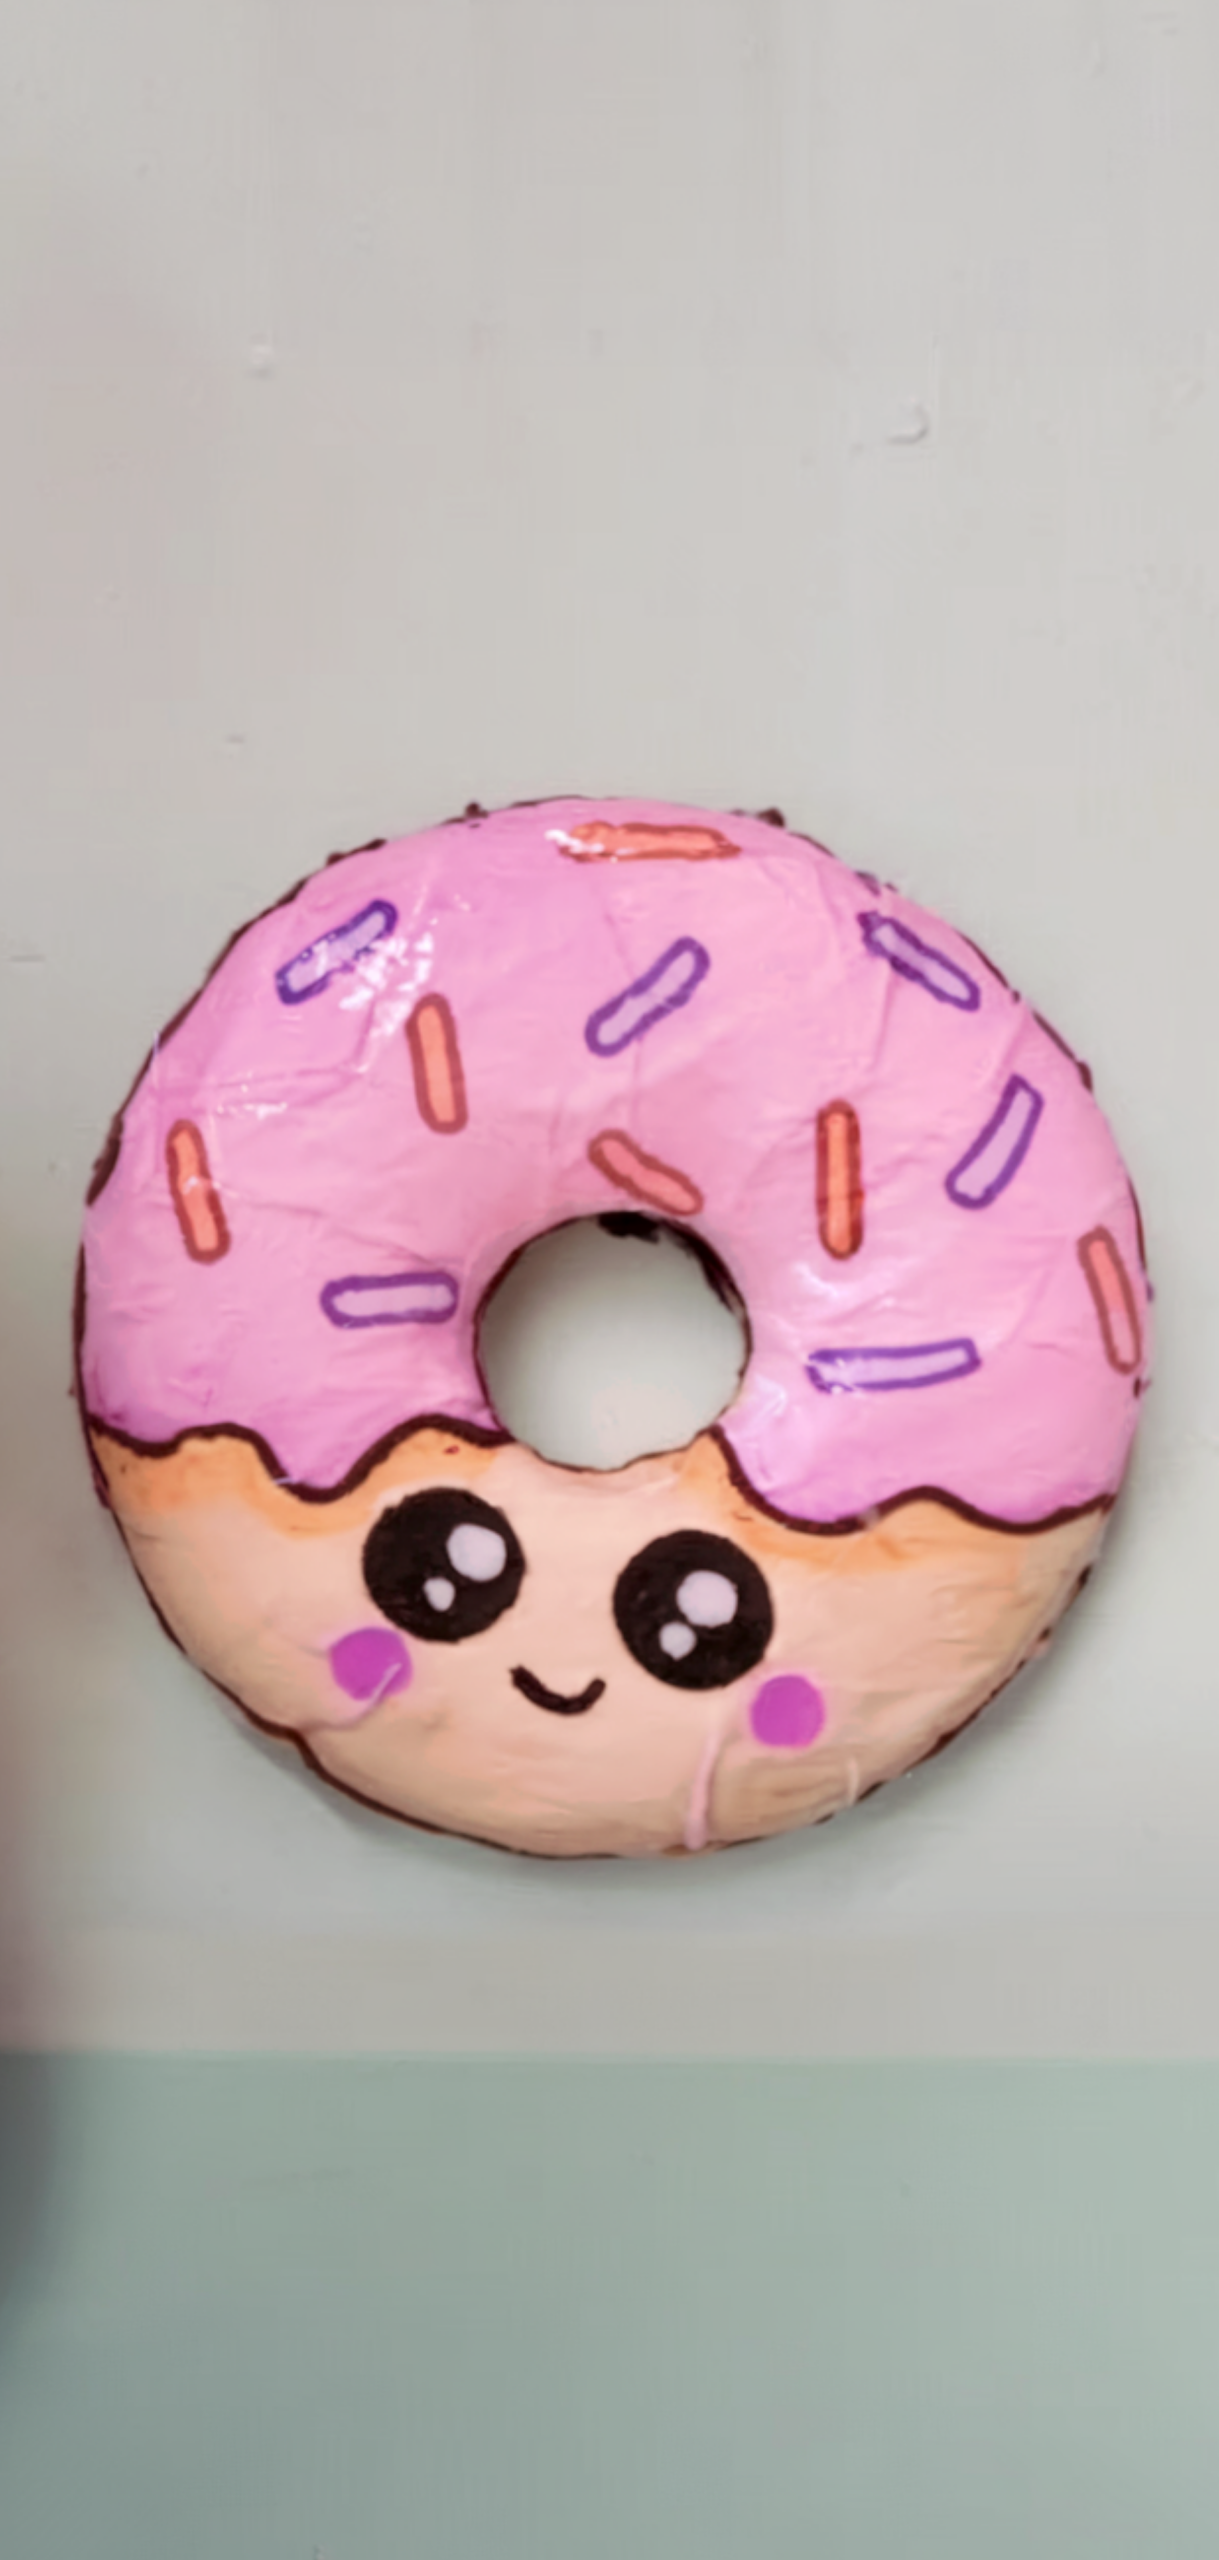
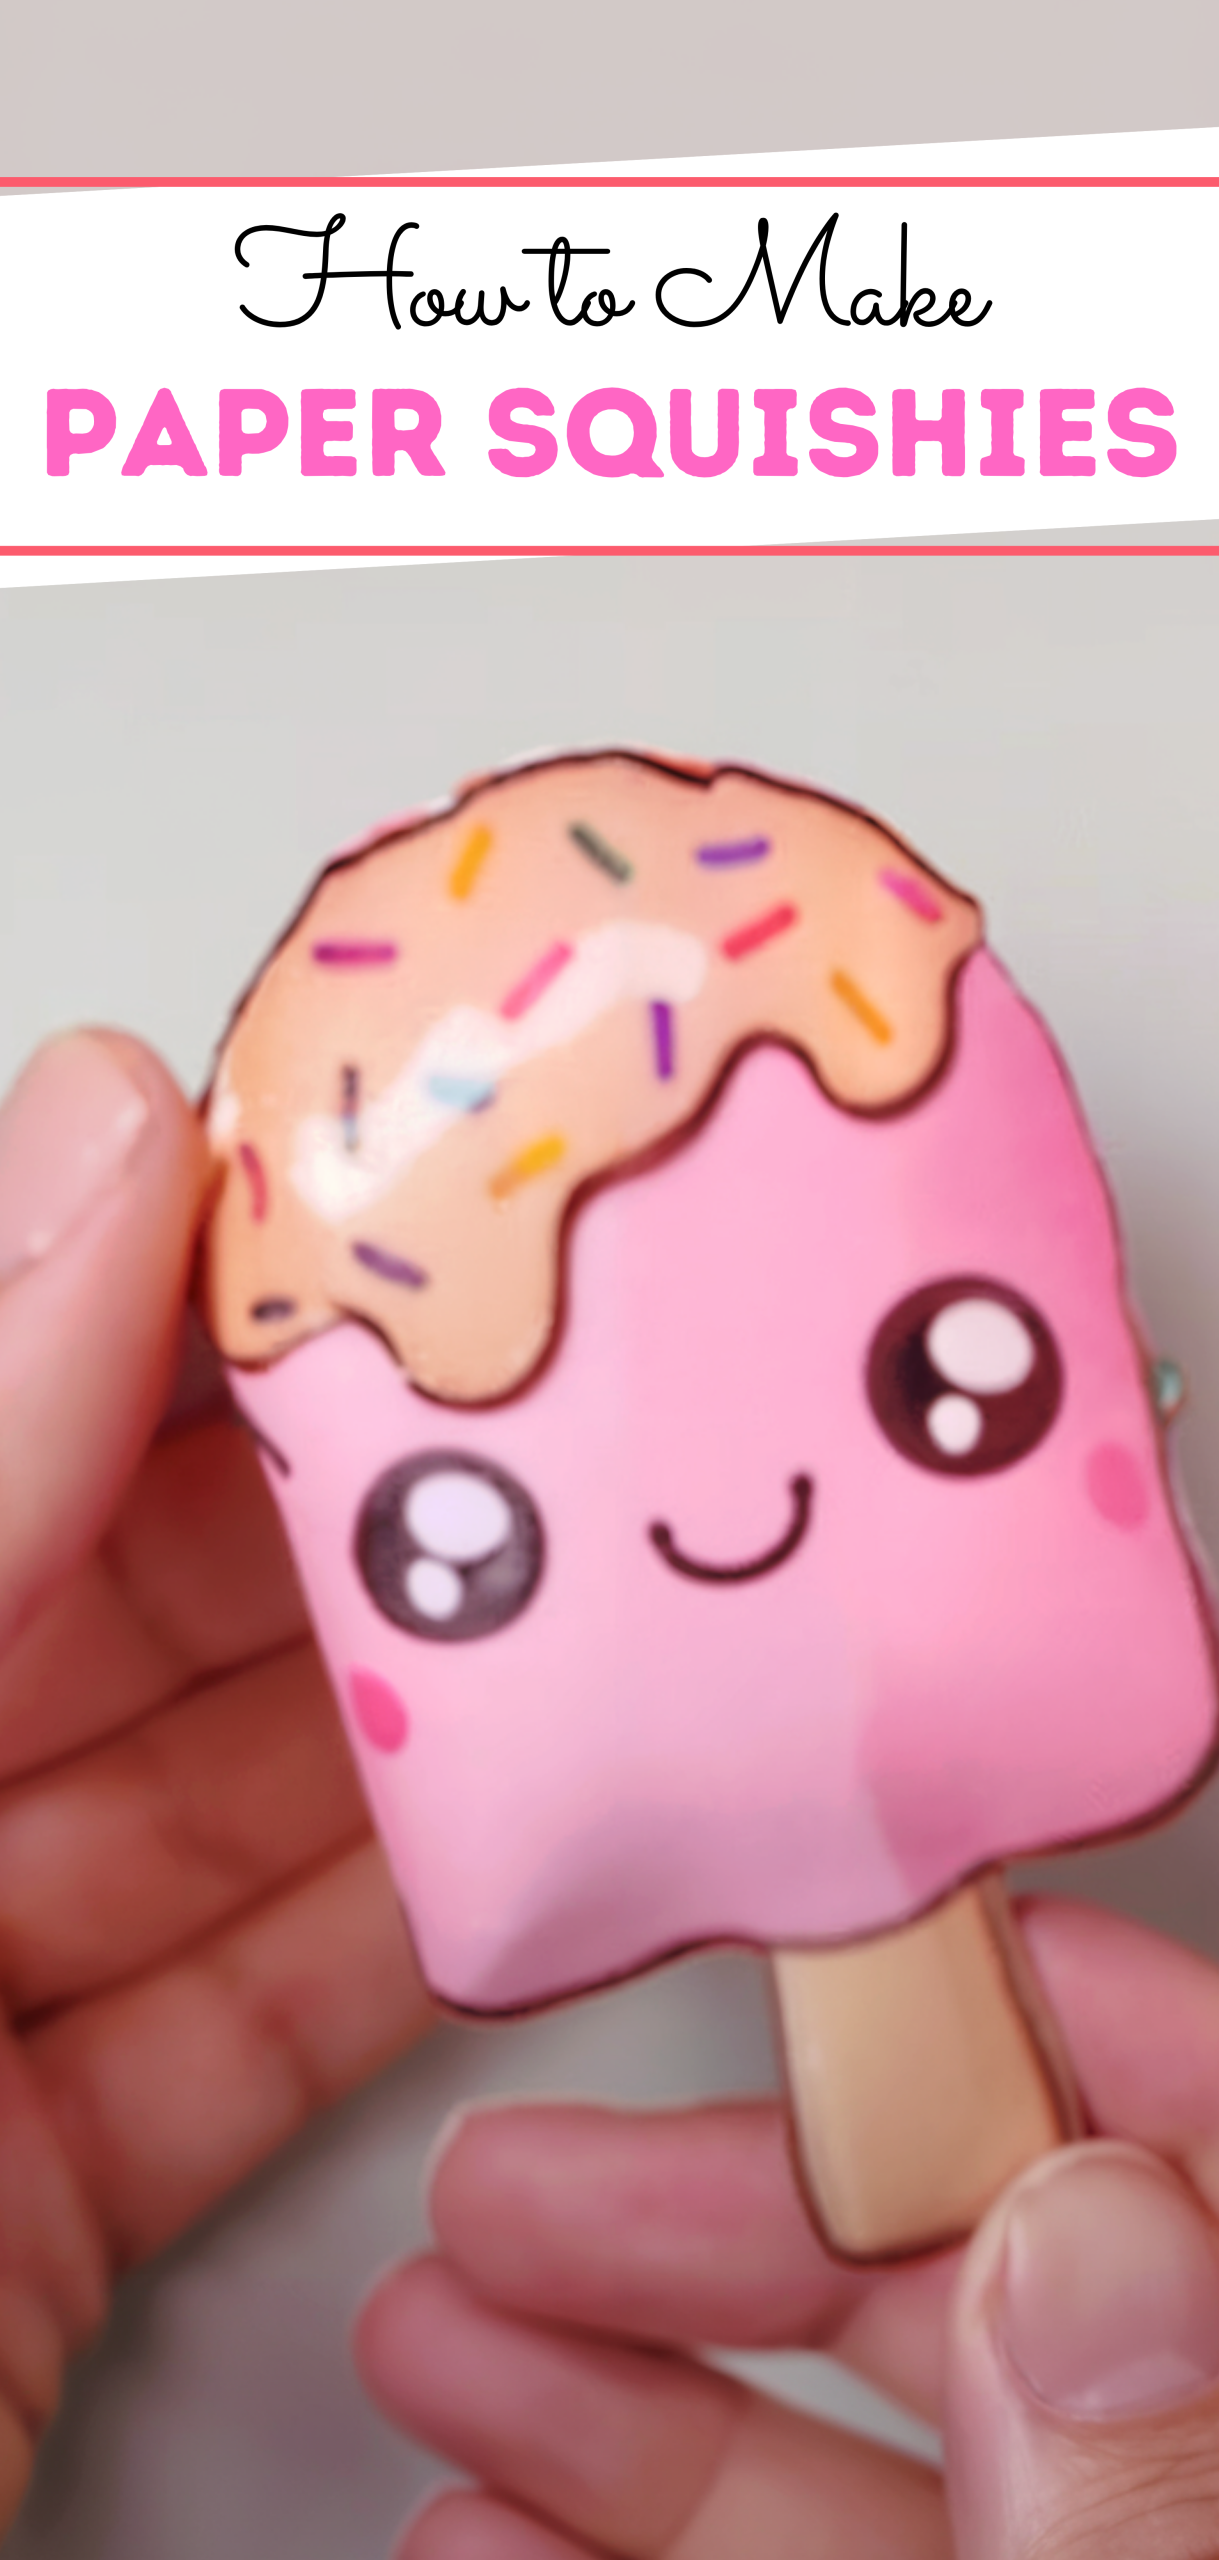
A popsicle ice cream squishy, so cute it could melt your heart. But between choosing hand-drawn designs or printable templates (think avocado, cupcake, or emoji!), I hit a wall. Was it even possible to get that soft, squeezable feel with just printer paper, markers, and tape?
Turns out, yes, all I needed were a few basic supplies: plain or light cardstock, some fun coloring tools like gel pens or alcohol markers, wide packing tape, stuffing like bubble wrap or shredded paper, and, of course, scissors.
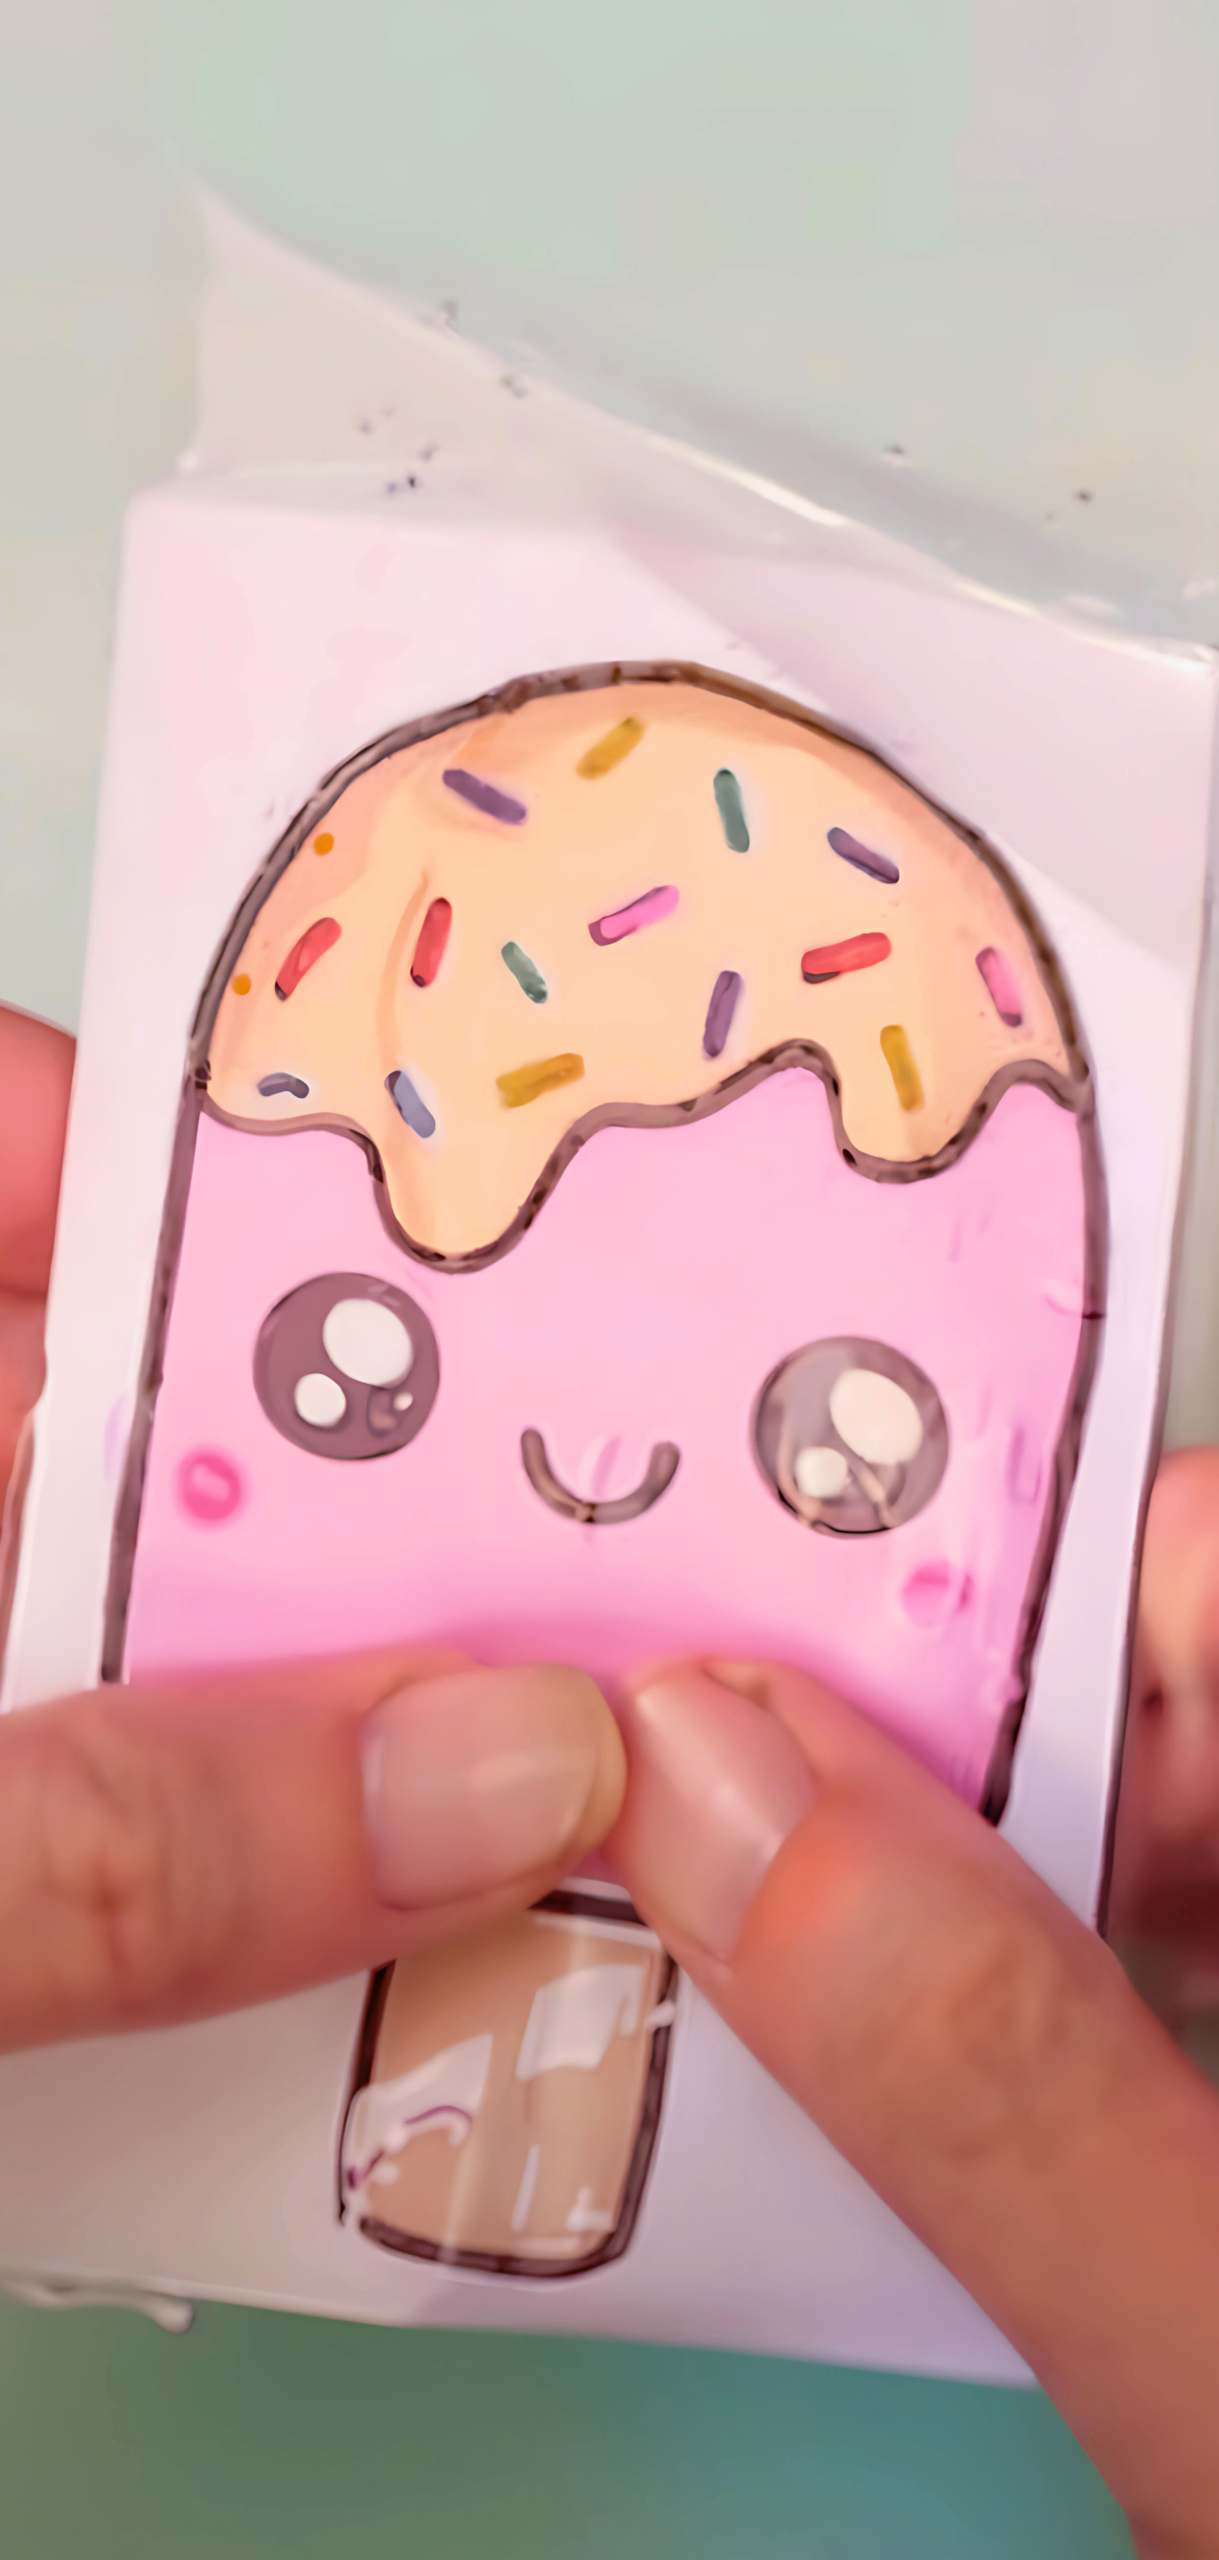
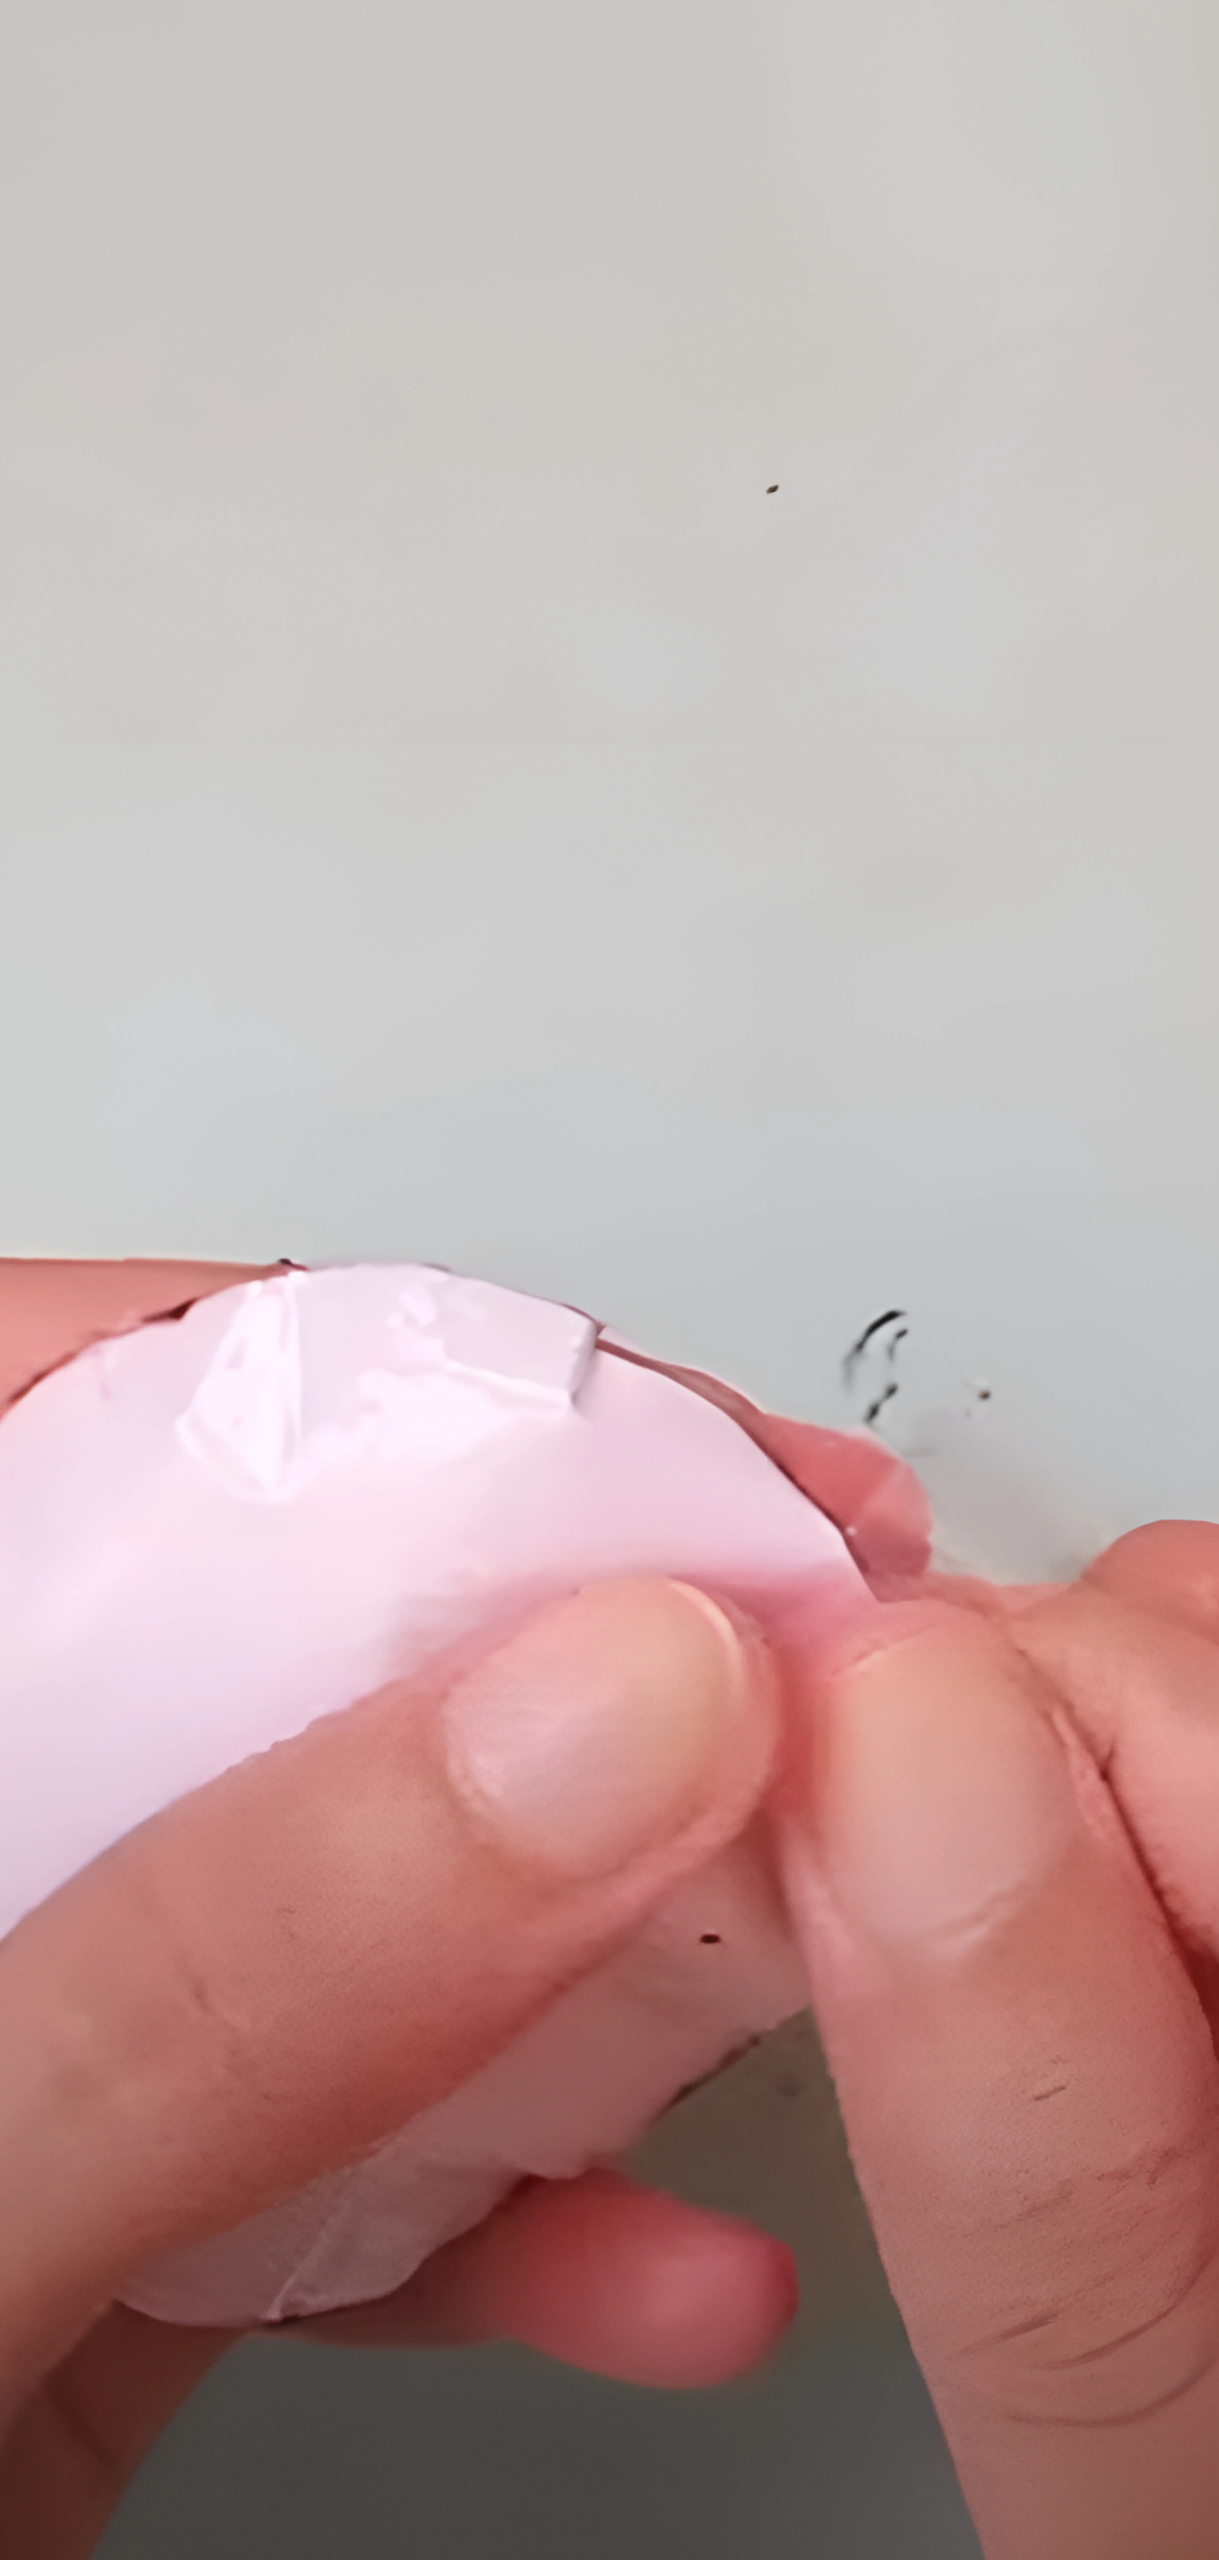
I printed out my template and colored it in with shades of pastel pink and sprinkles for that classic summer treat look. The hardest part? Taping it all without trapping air bubbles or leaving gaps.
But smoothing it flat on the table helped a lot, especially when sealing the layers together. I left a small opening to stuff it, careful not to overfill so it could still squish just right.
The result? A soft, puffy popsicle that looked good enough to eat and totally irresistible to squeeze! If you’ve got a craft session planned, seriously, put it on pause. Paper squishies are the perfect DIY to make with kids.
They’ll love coloring and stuffing them, and you’ll love how easy it is to create something so fun with such simple materials. Don’t be surprised if you end up making a whole collection, because once you start squishing, it’s hard to stop.
What you will need
- Printable Paper Squishy templates or hand-drawn designs (e.g., avocado, cupcake, or emoji)
- Printer paper or light cardstock
- Coloring tools: alcohol markers, gel pens, or crayons
- Packing (clear) tape: wide is easiest
- Scissors
- Stuffing: poly-fill, cotton balls, shredded paper, bubble wrap, etc.
how to make Paper Squishies
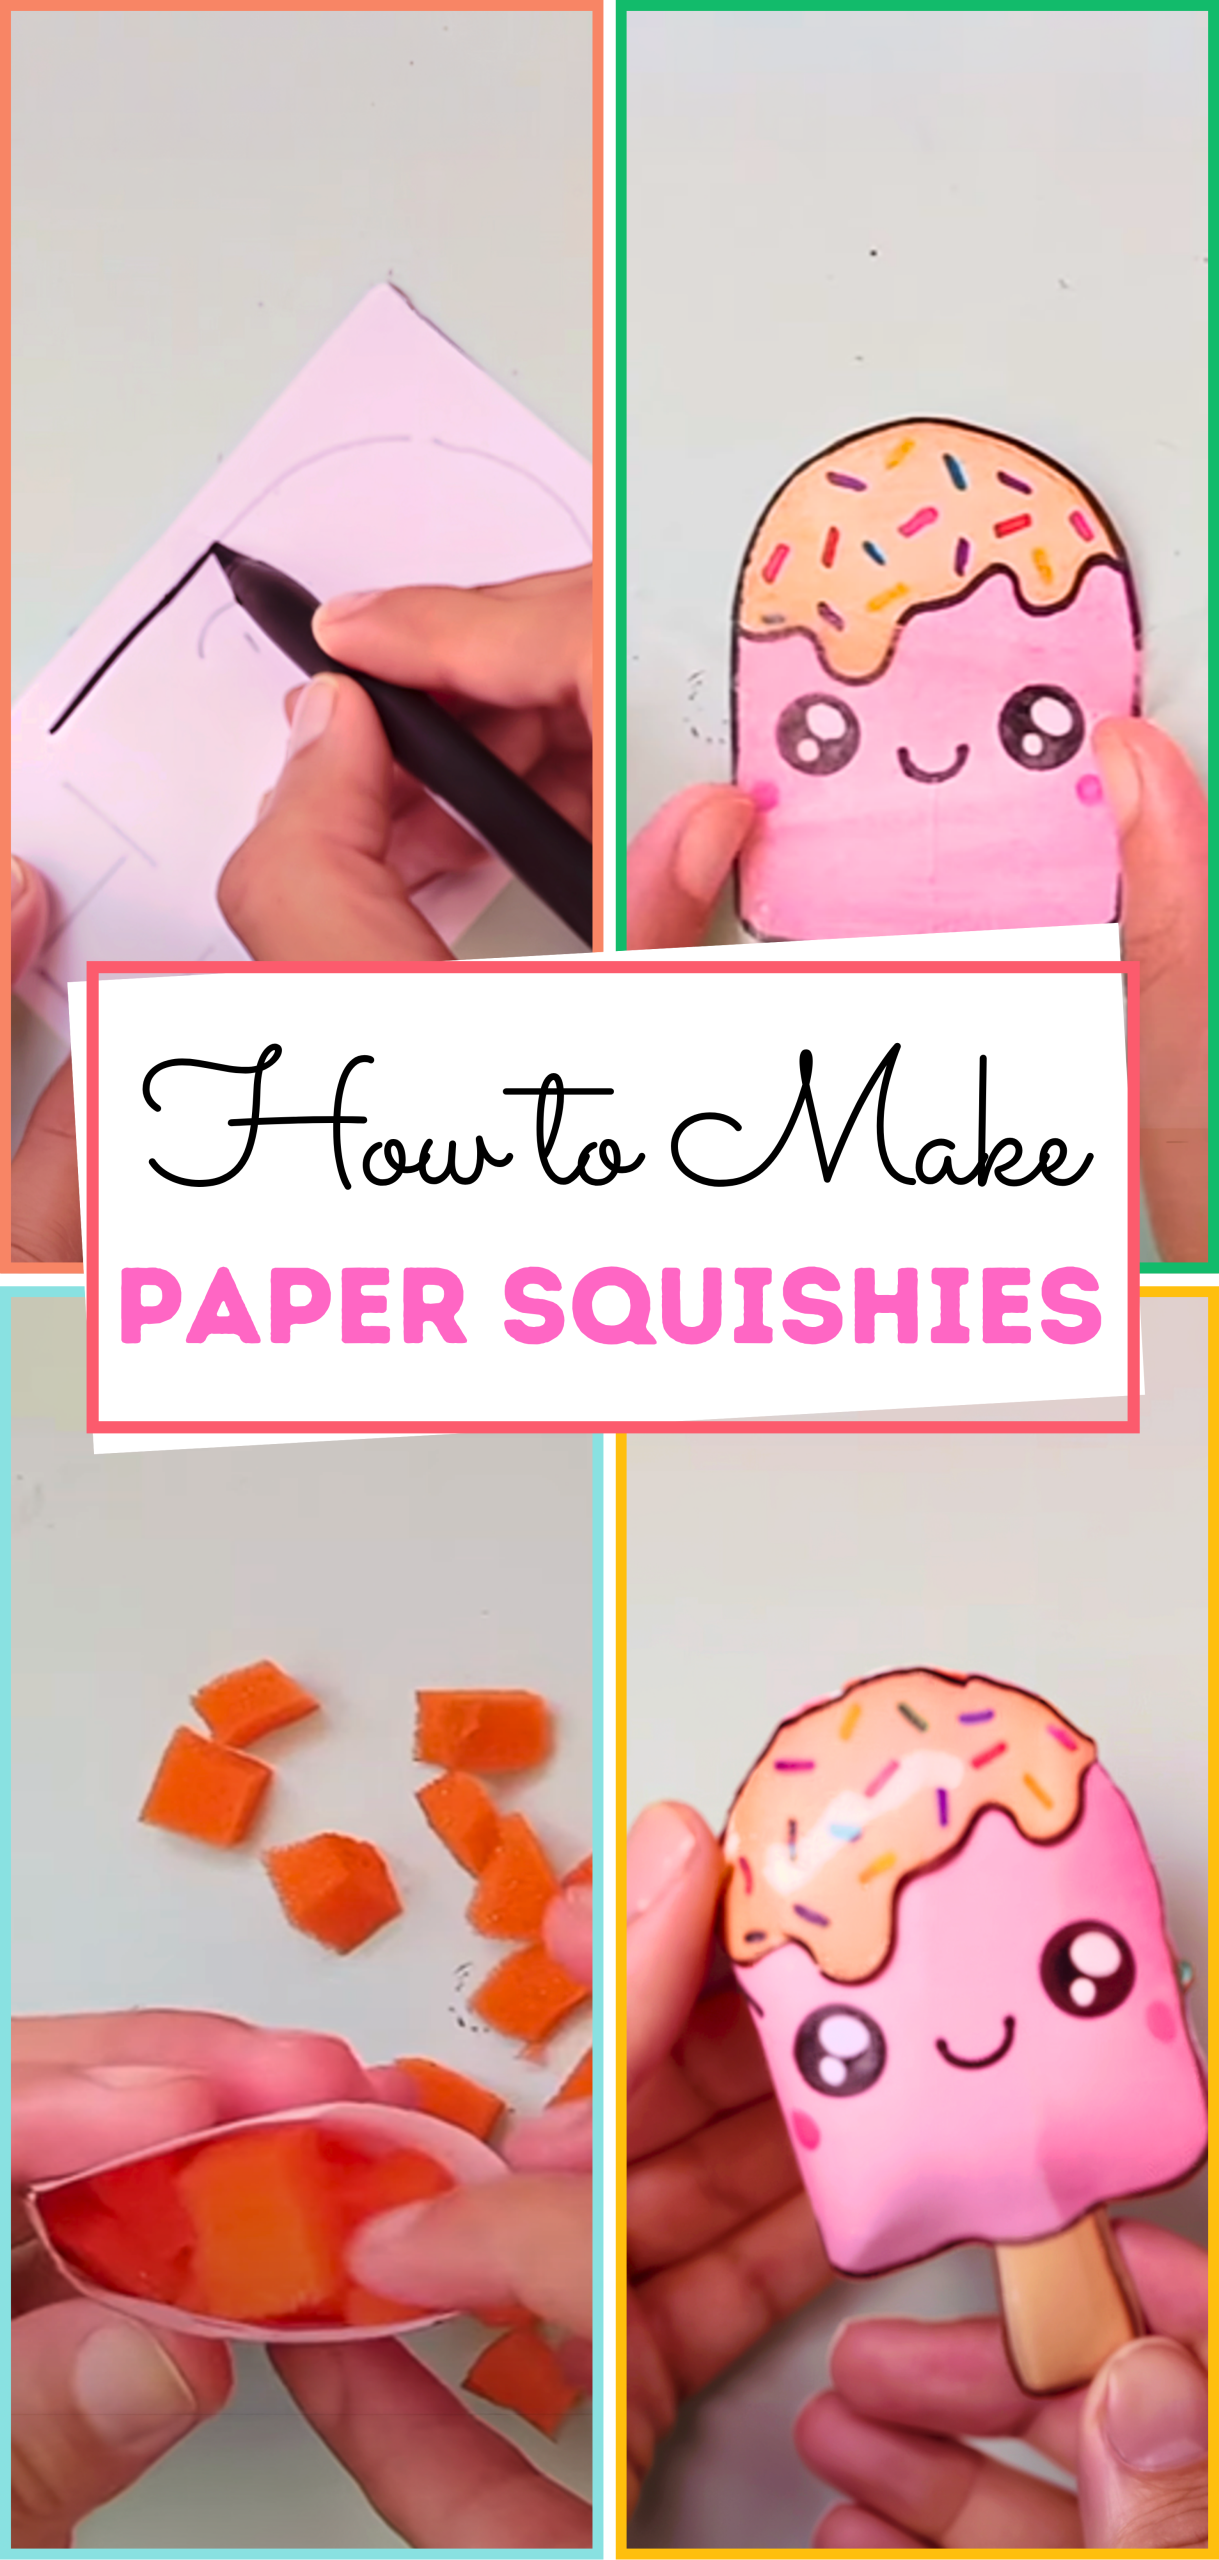
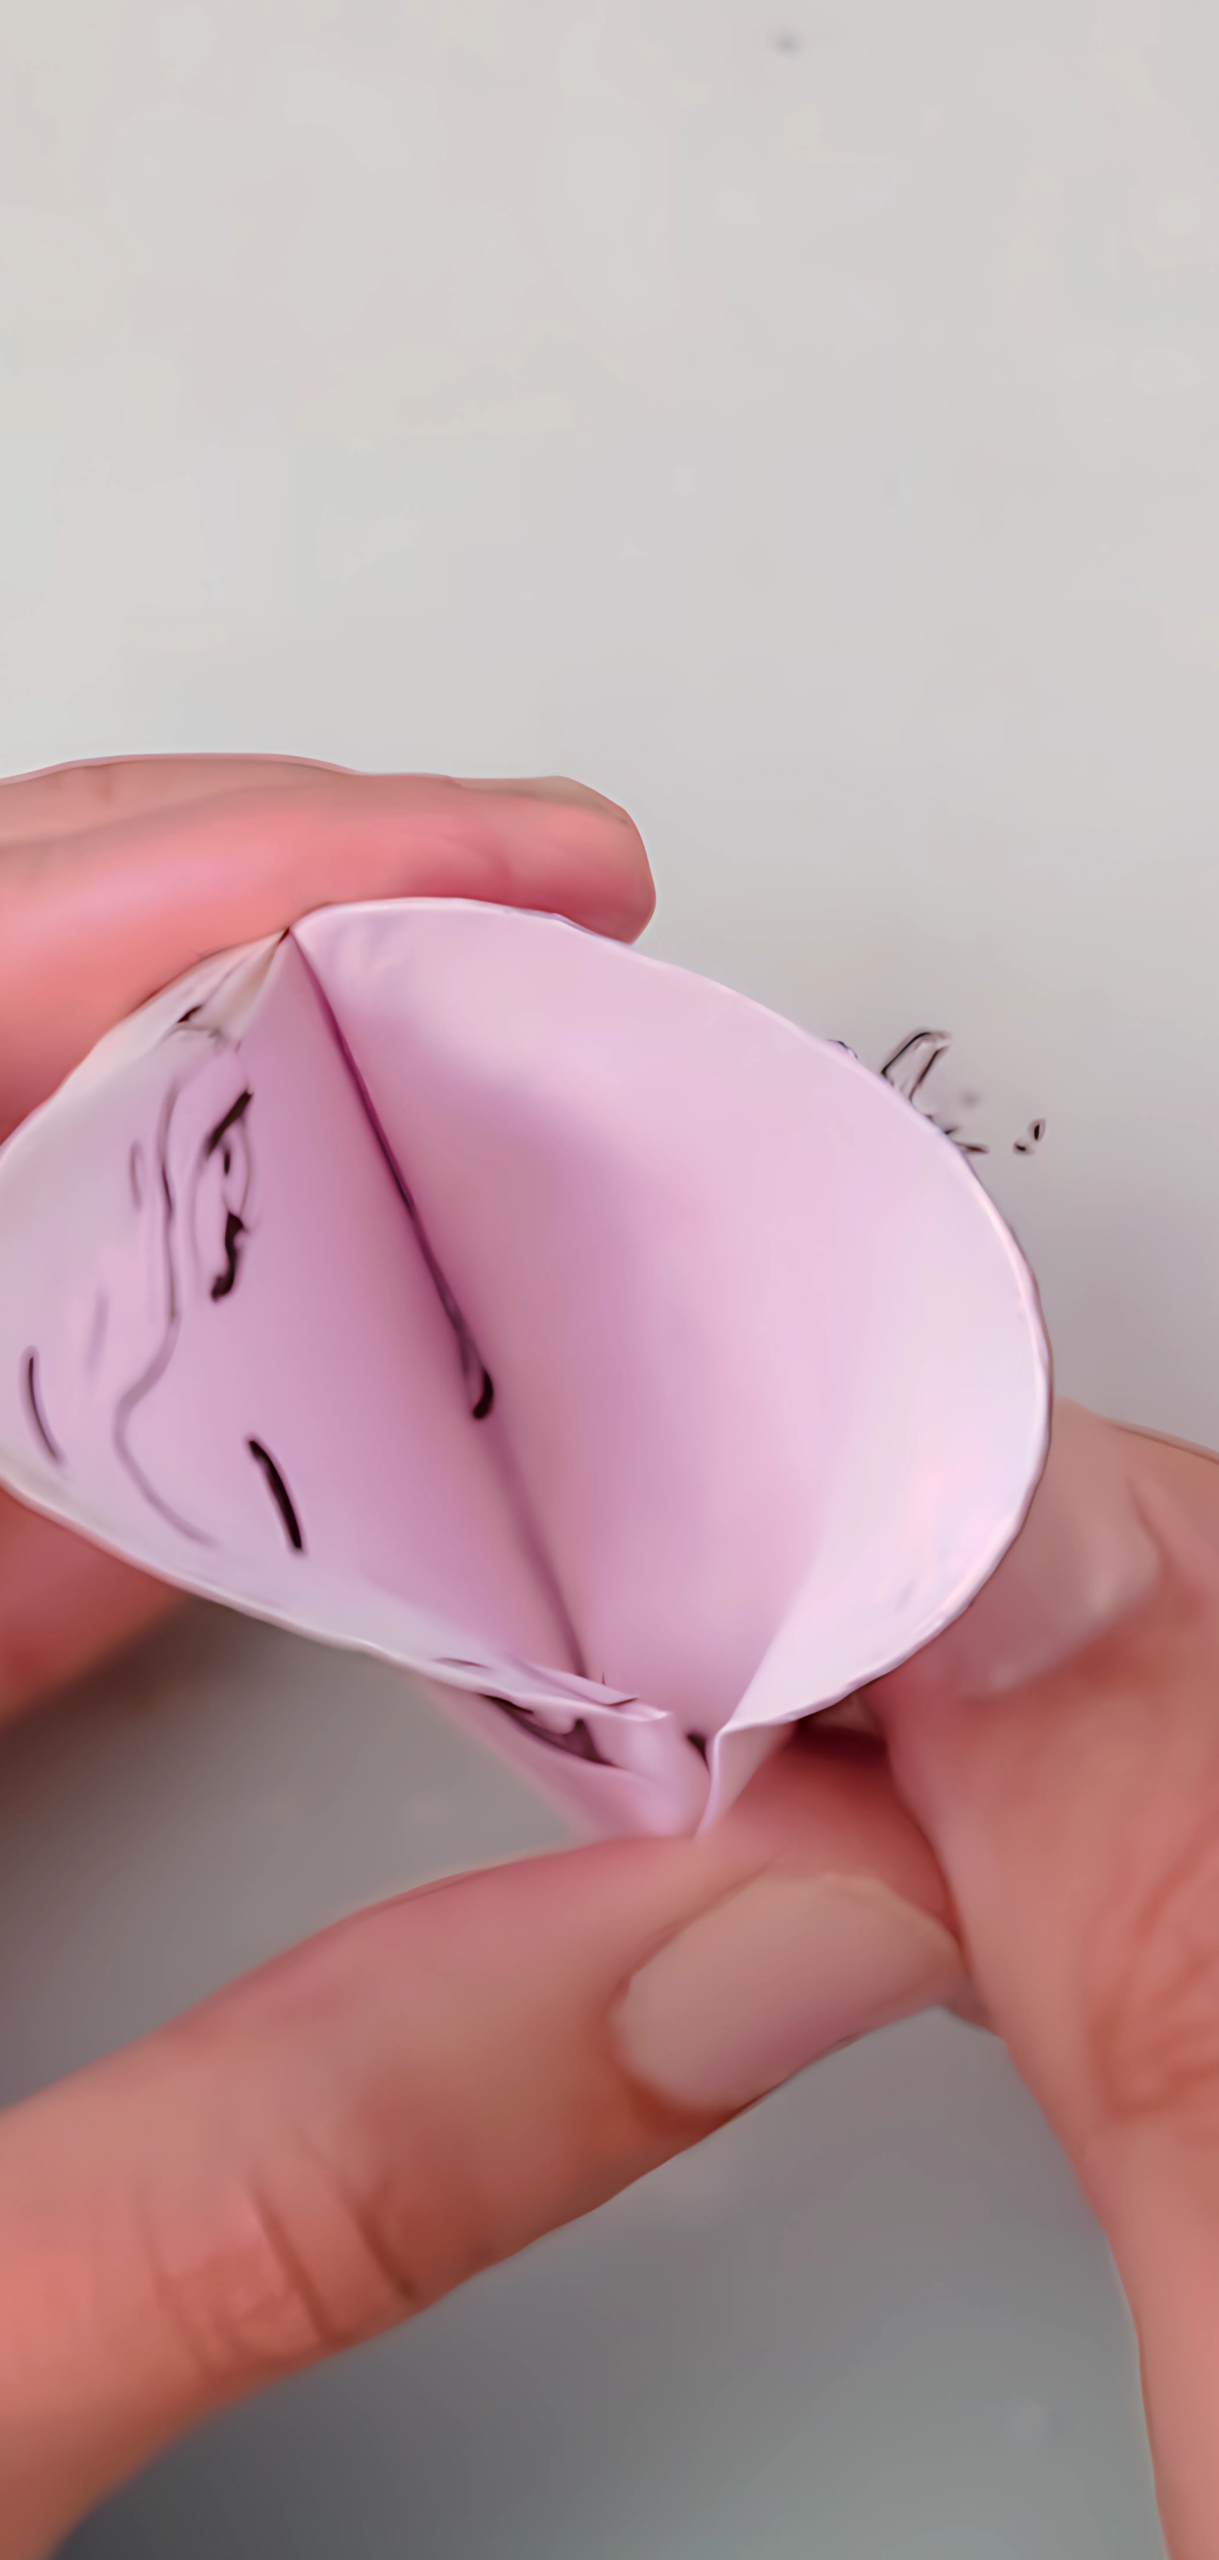
Step 1: Color and Cut Out Your Design
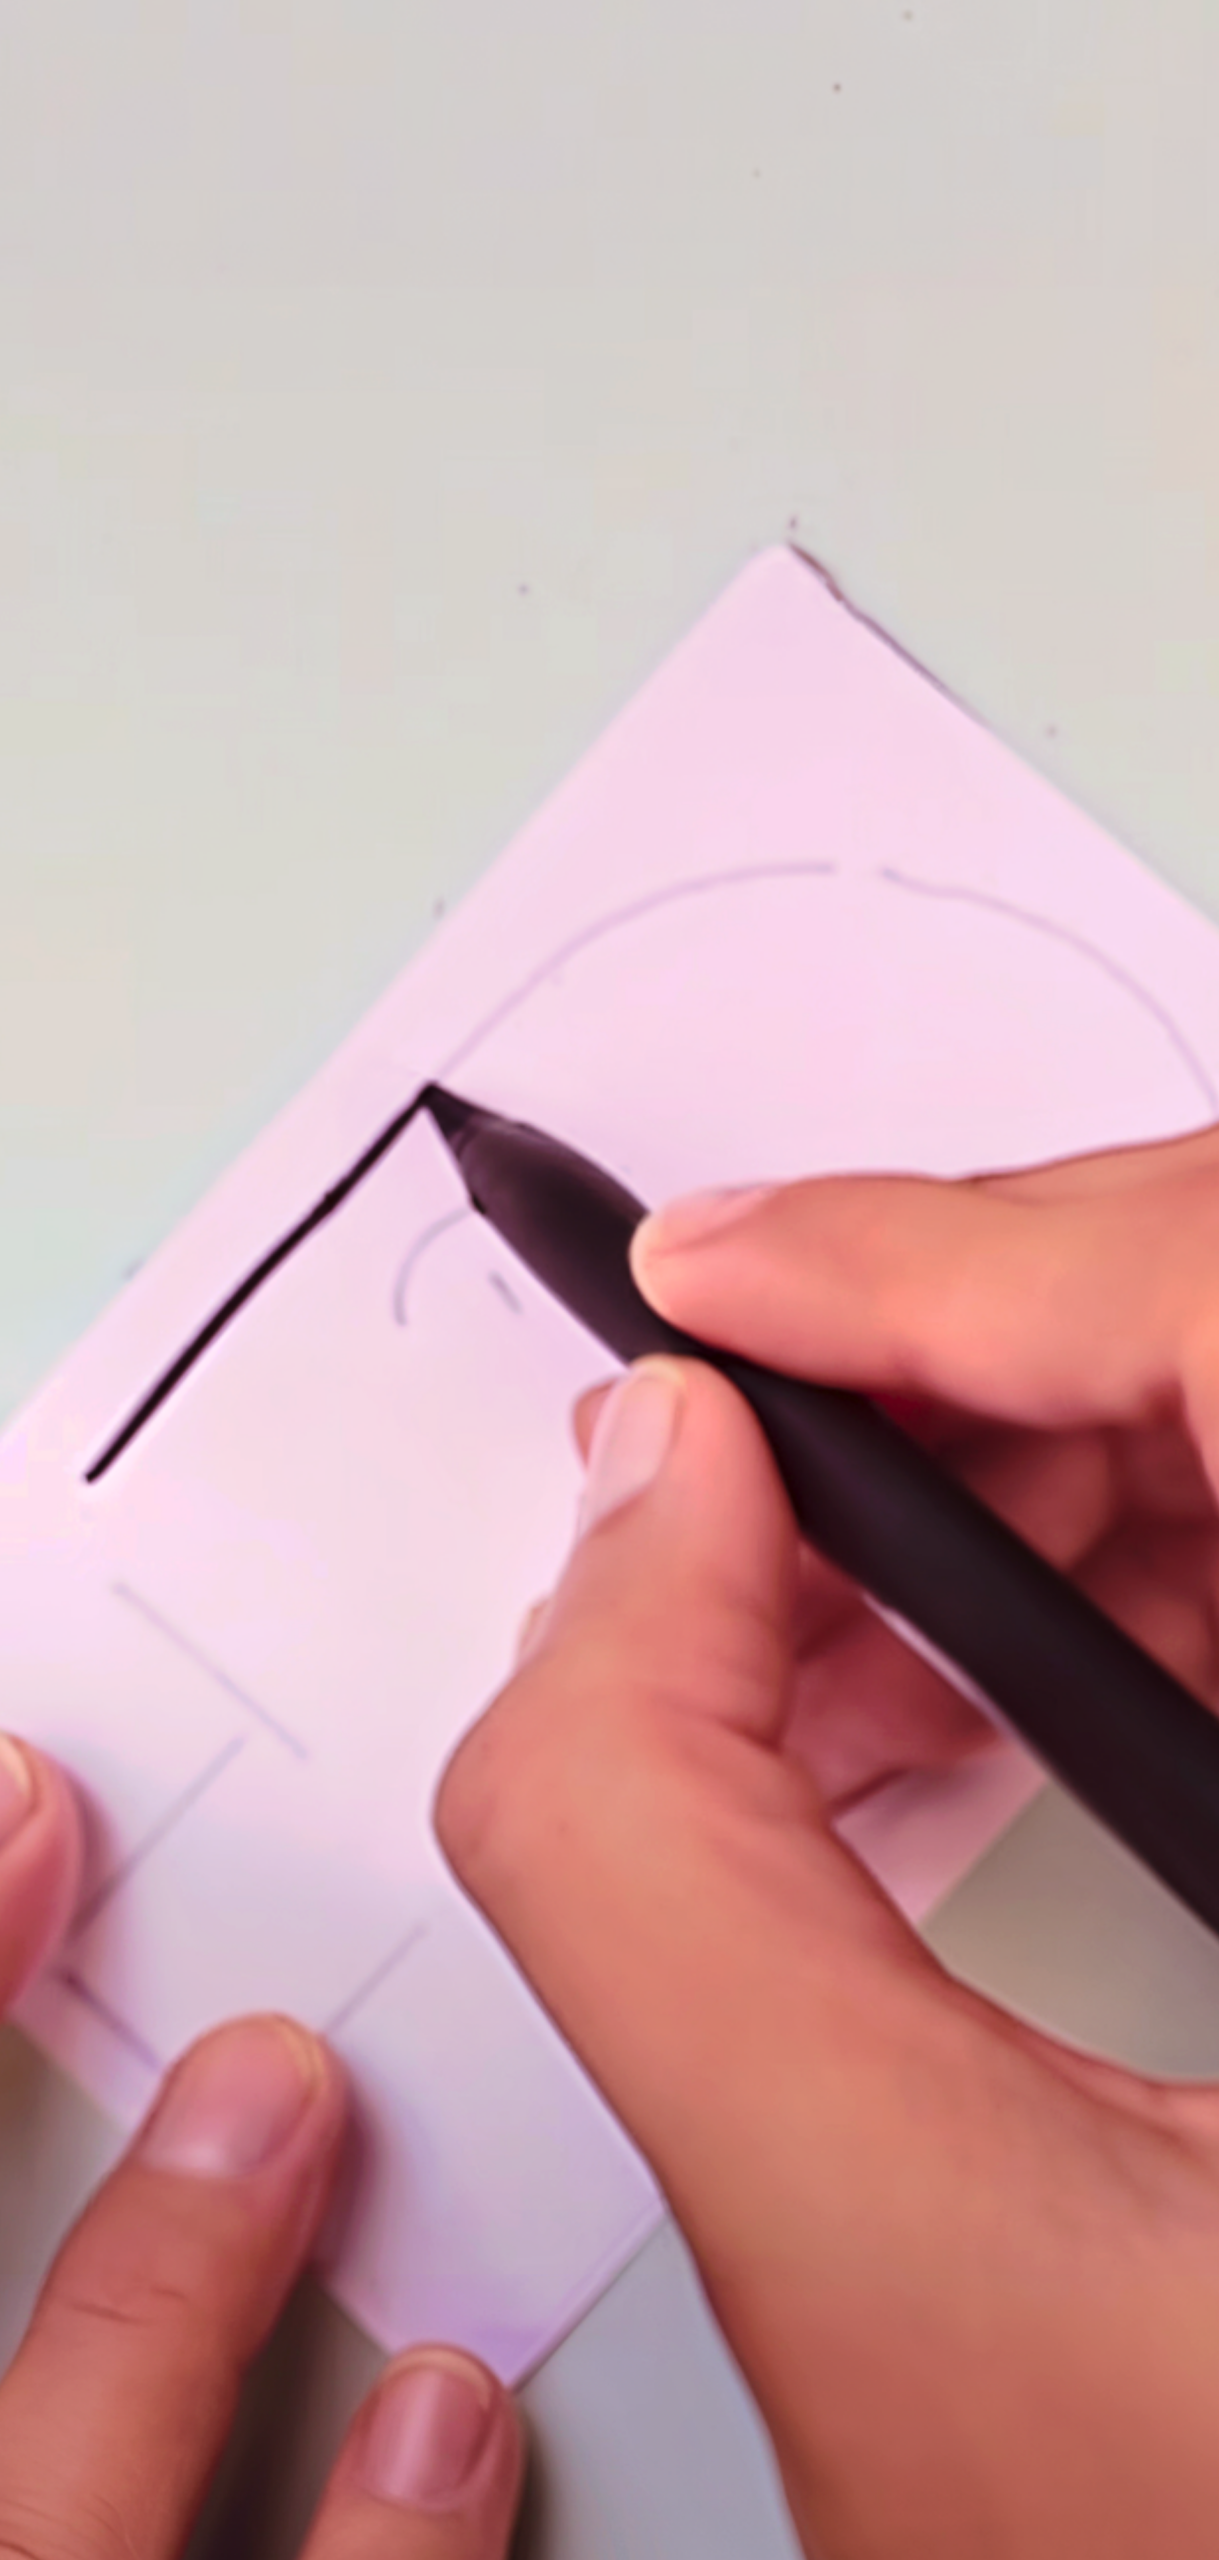
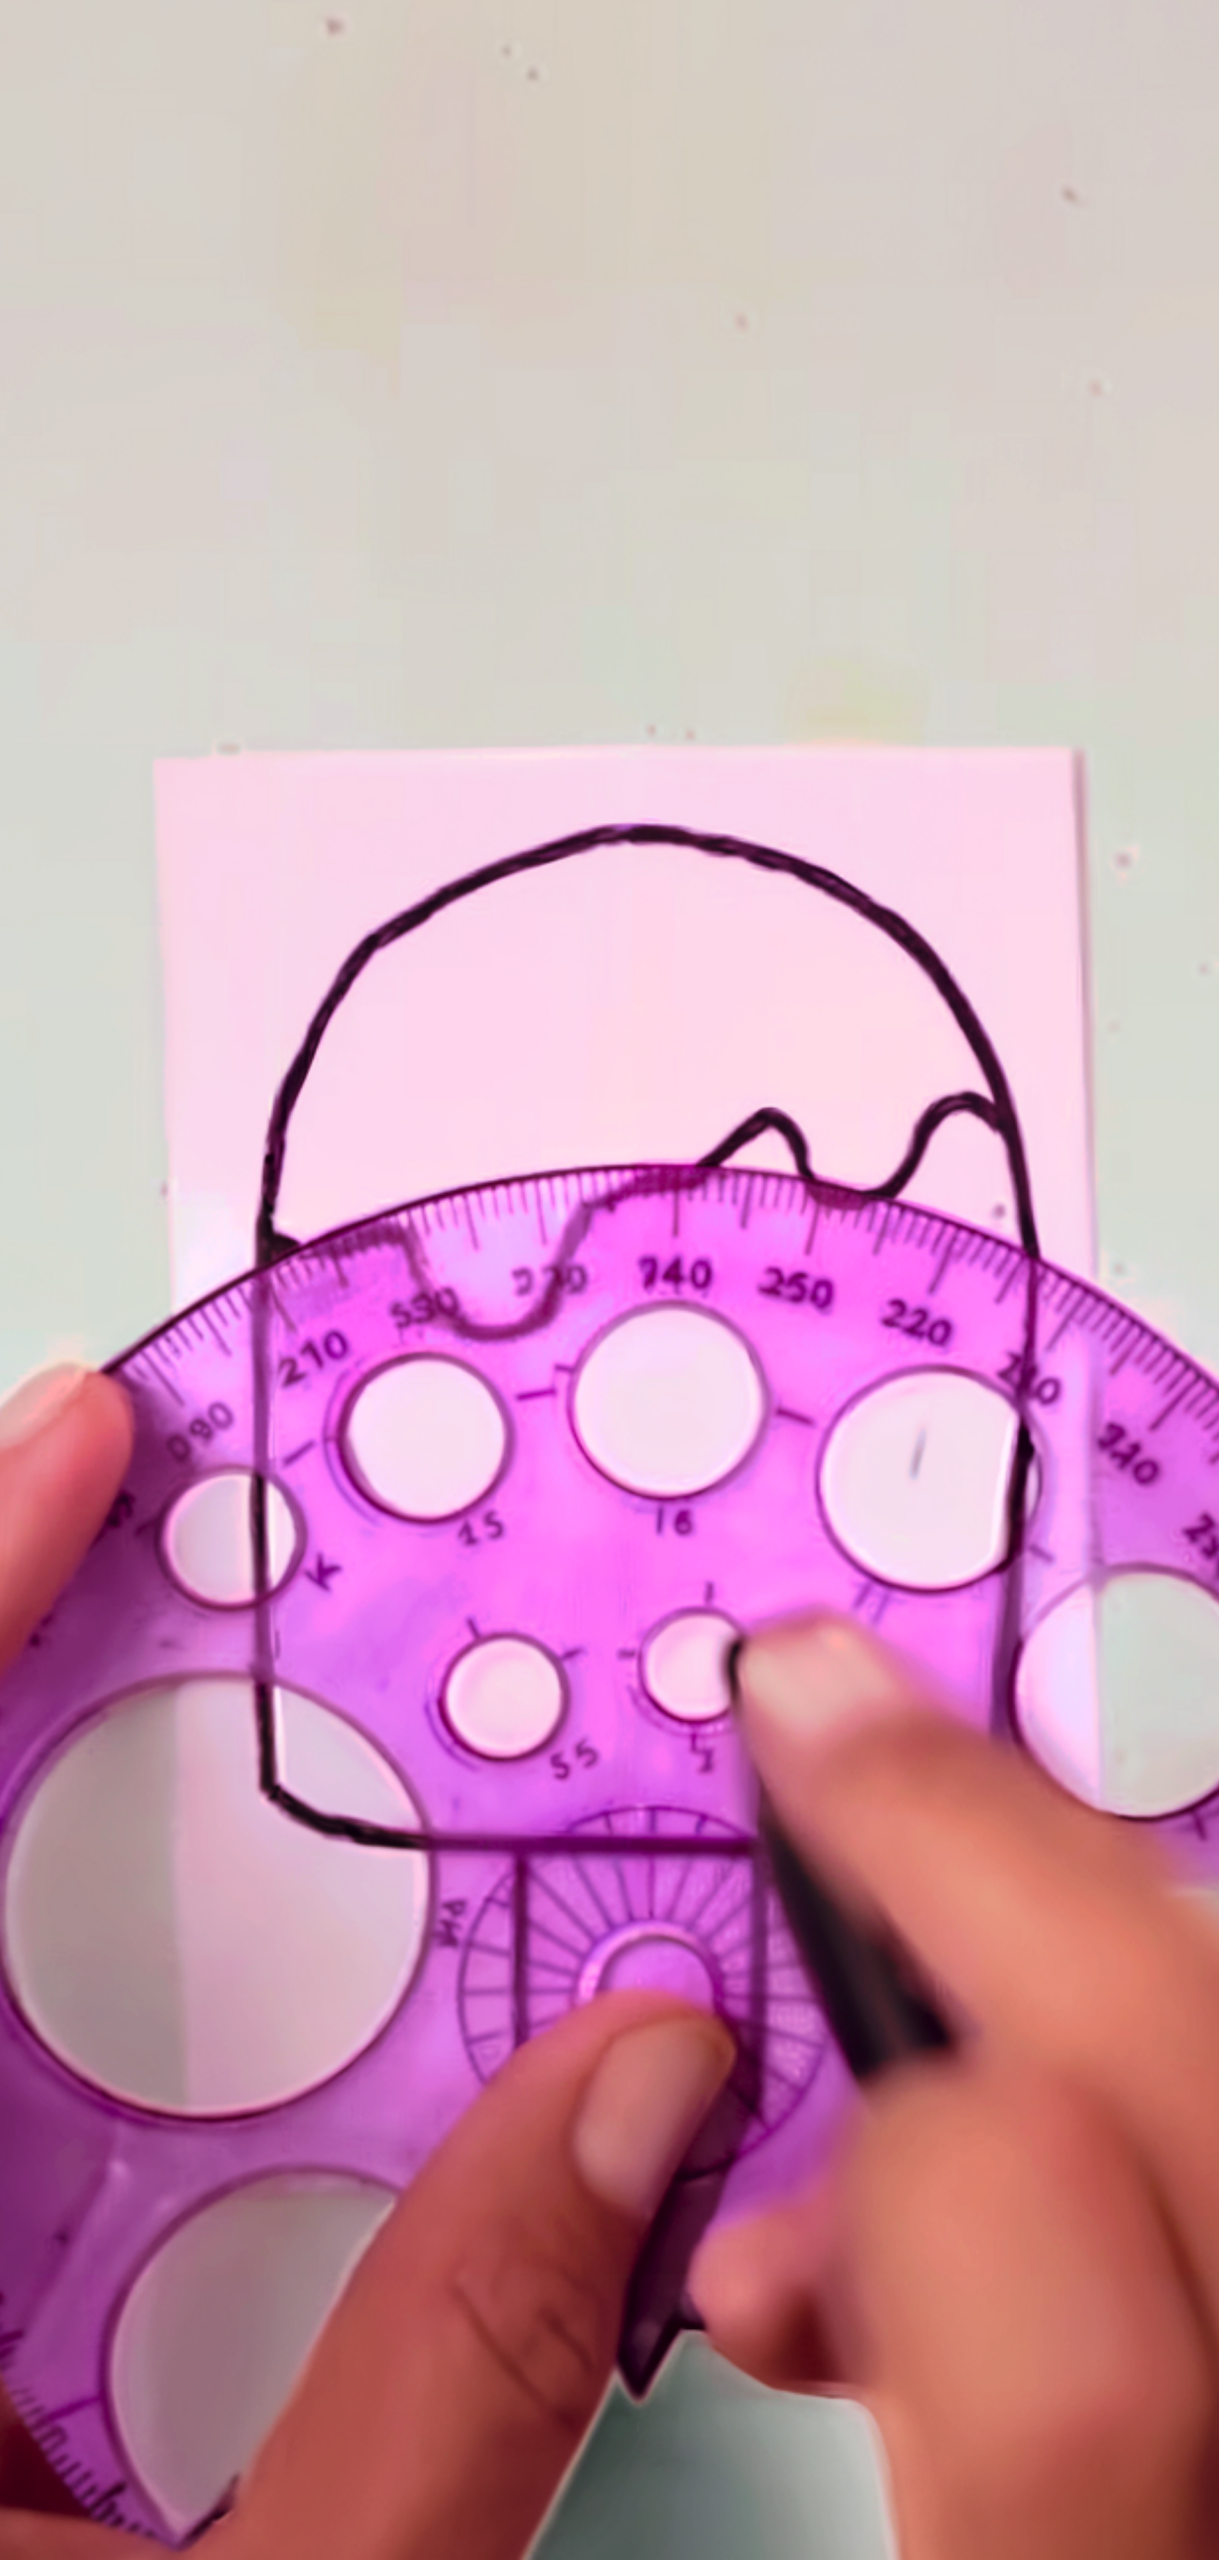
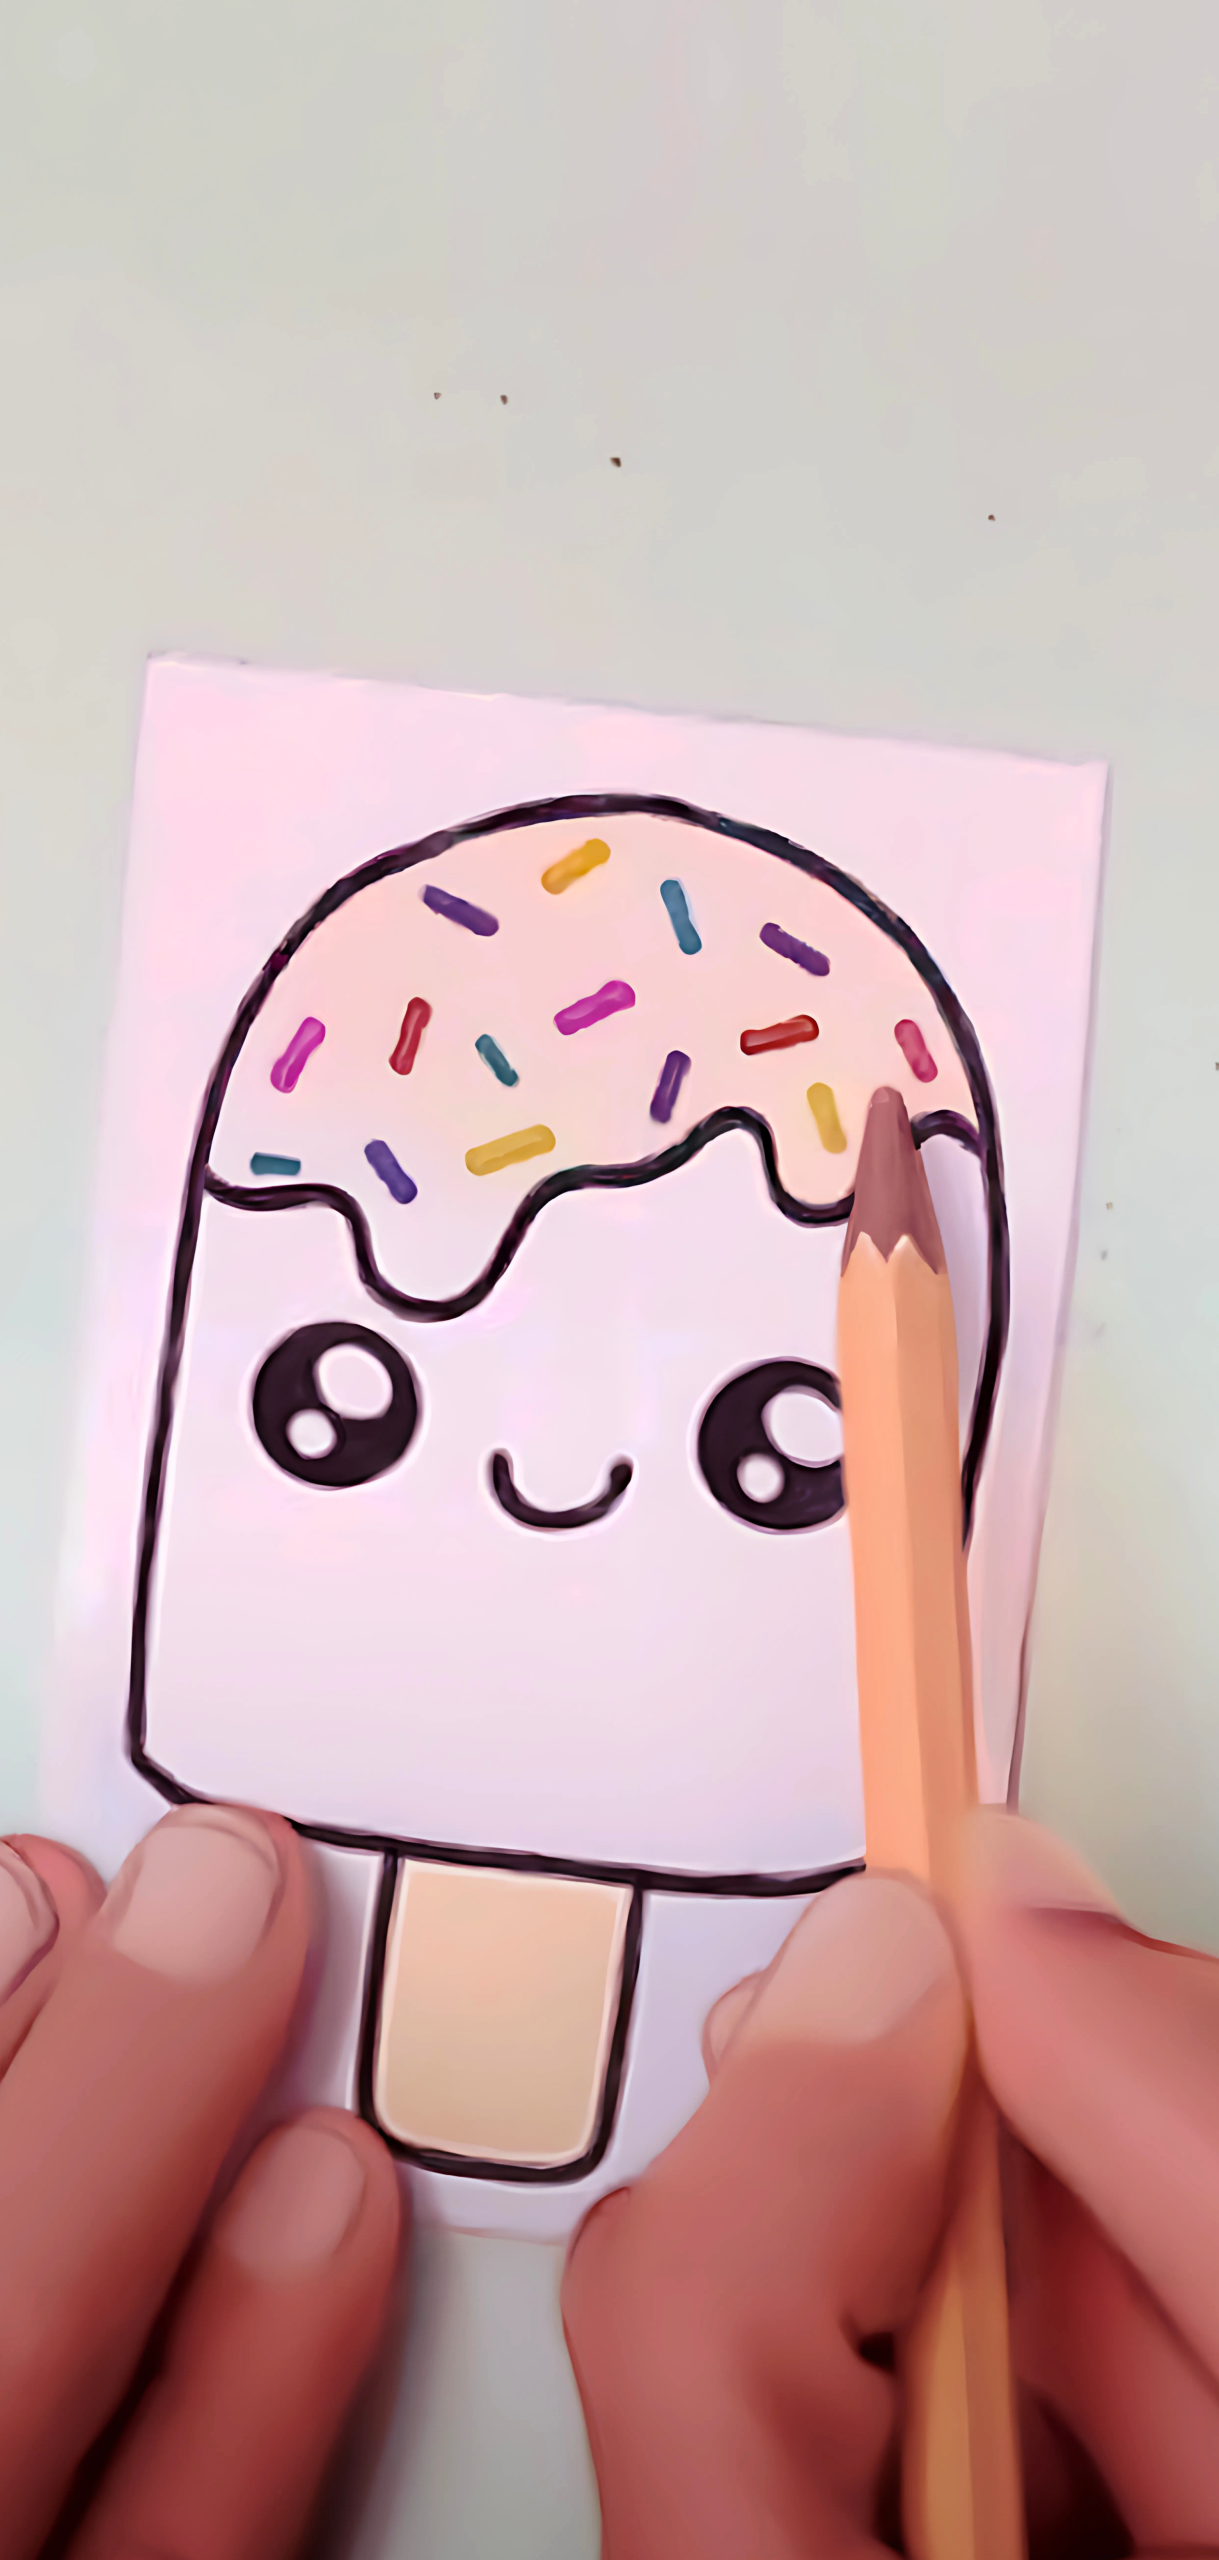
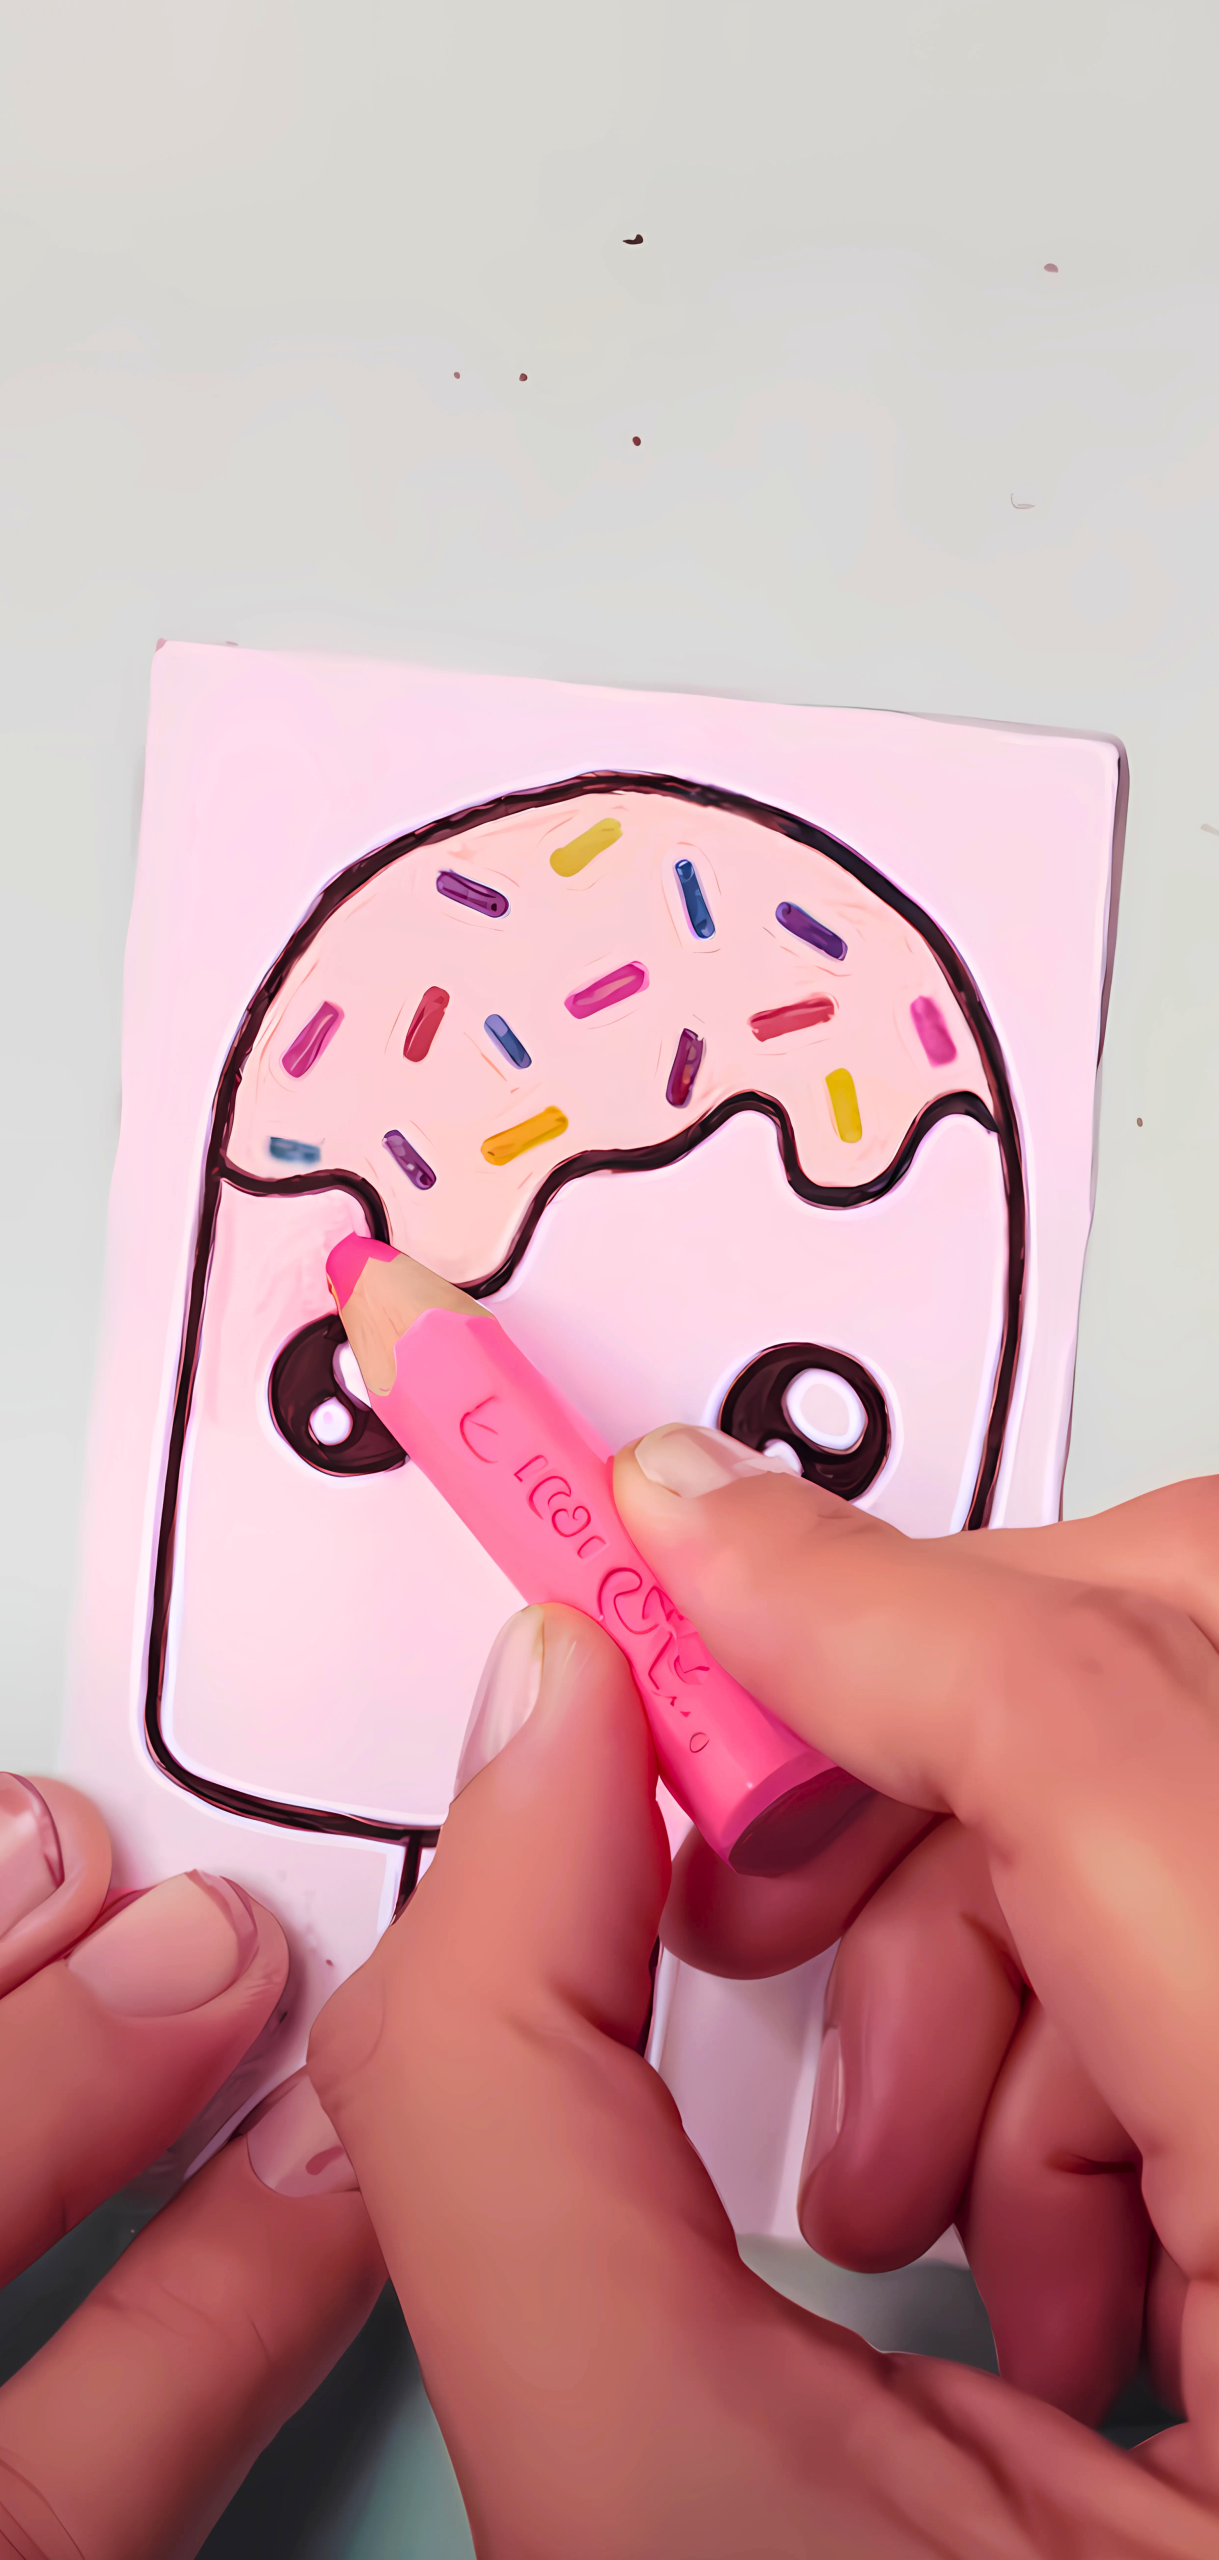
Print a squishy template, or draw your own on printer paper. Color both the front and back designs, then cut them out precisely, leaving a narrow white edge.
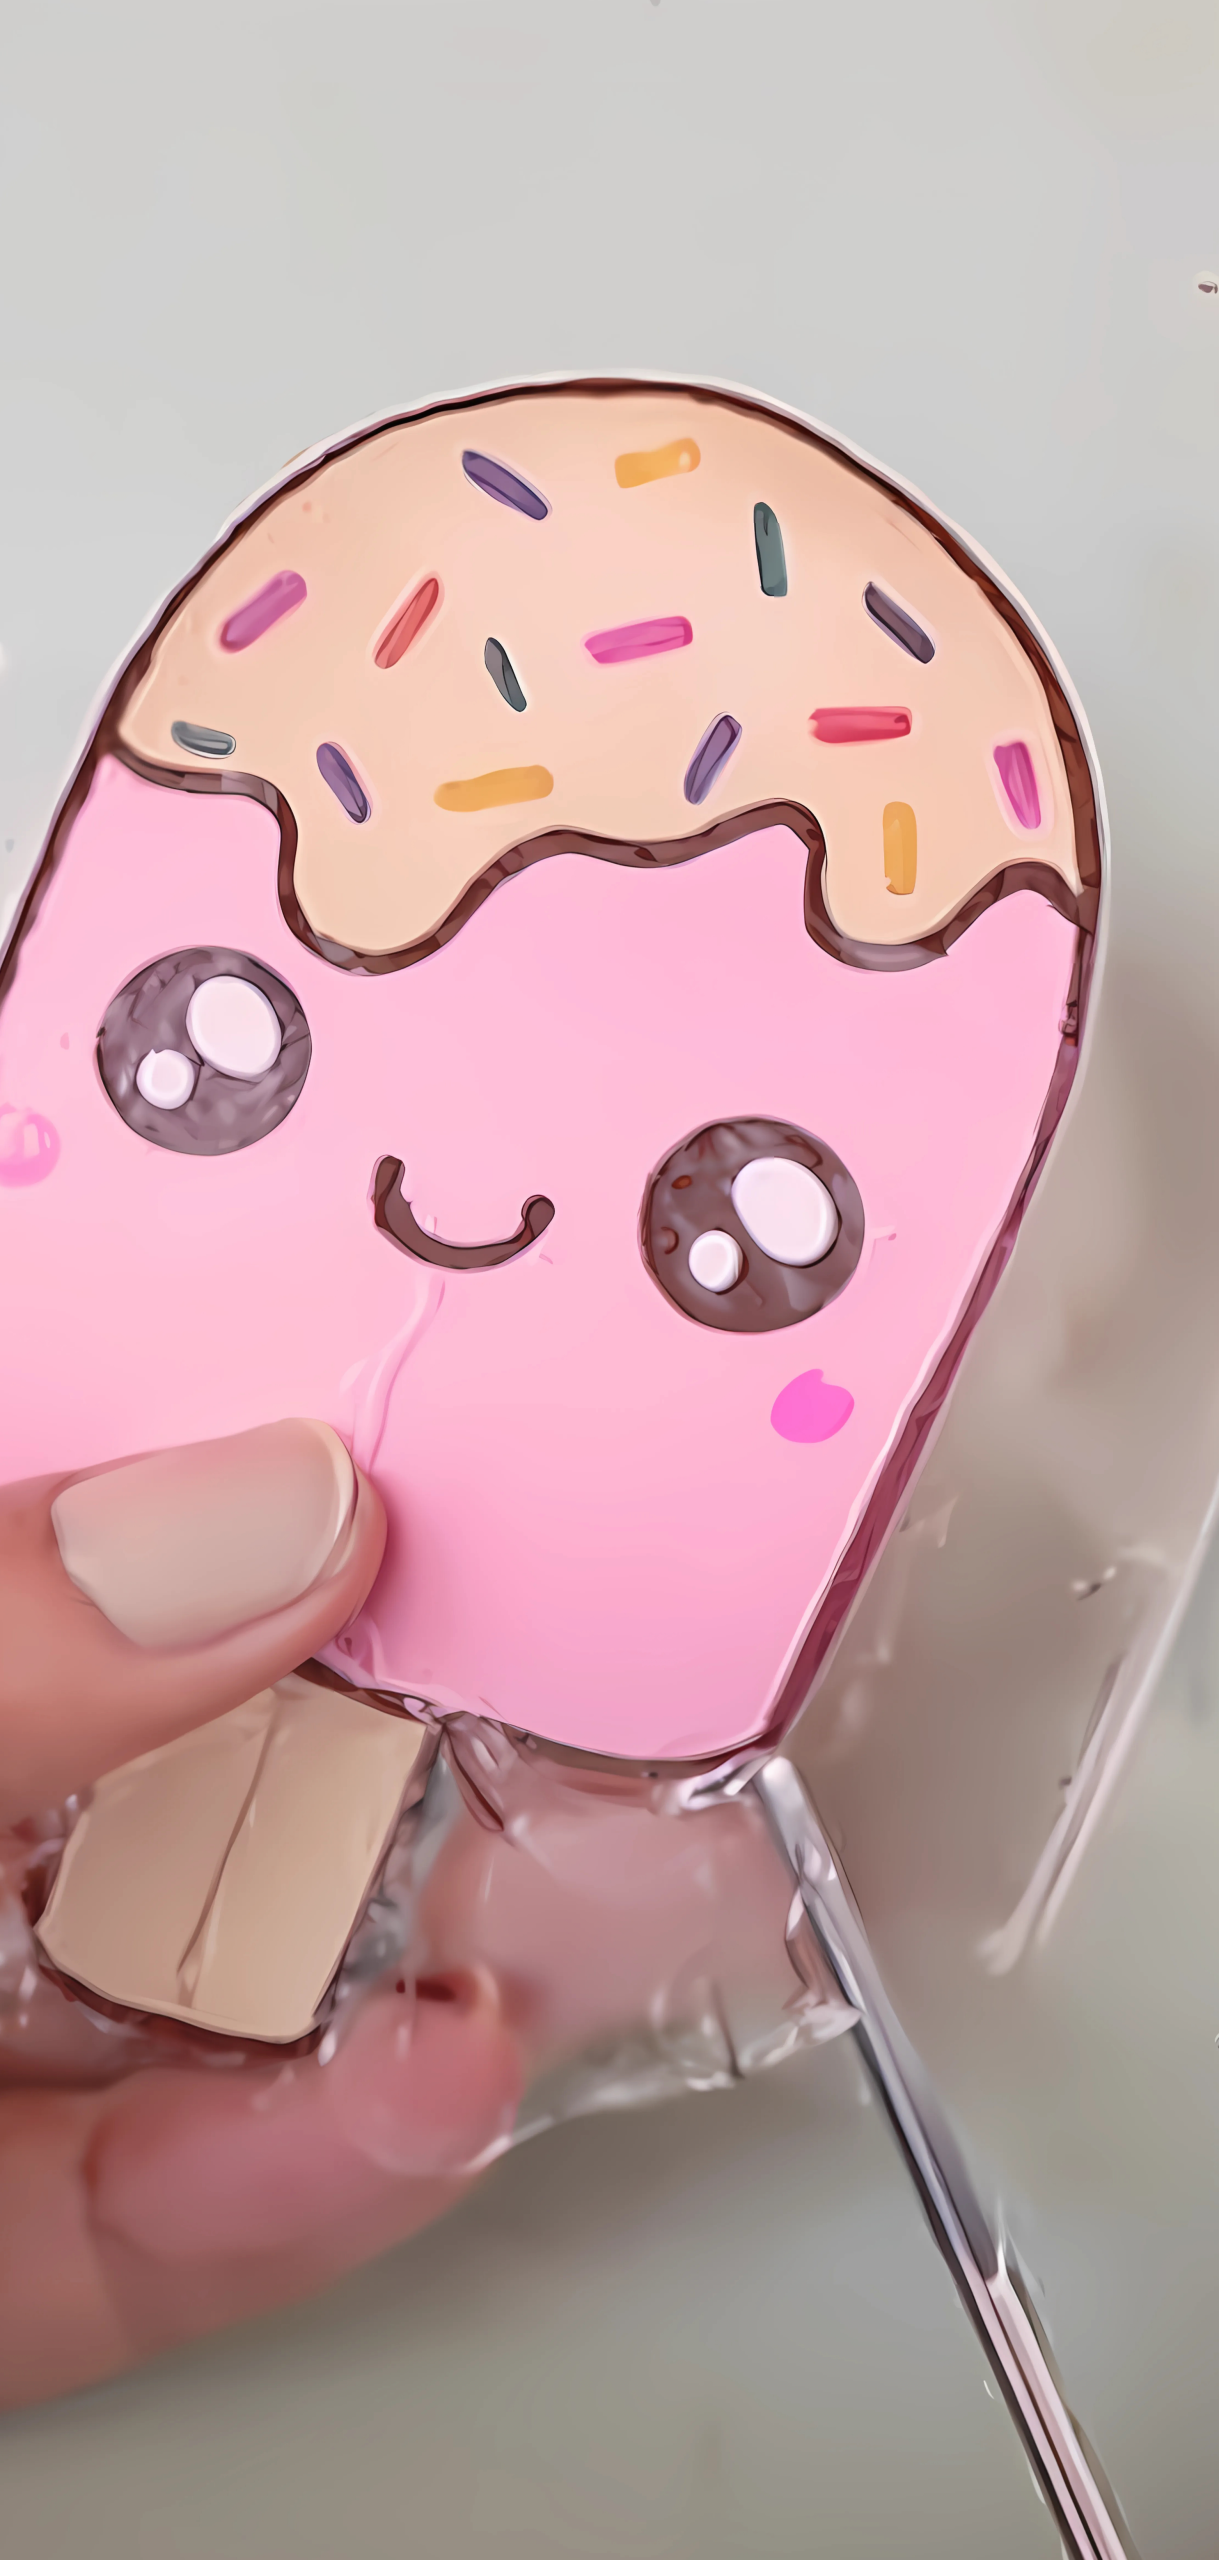
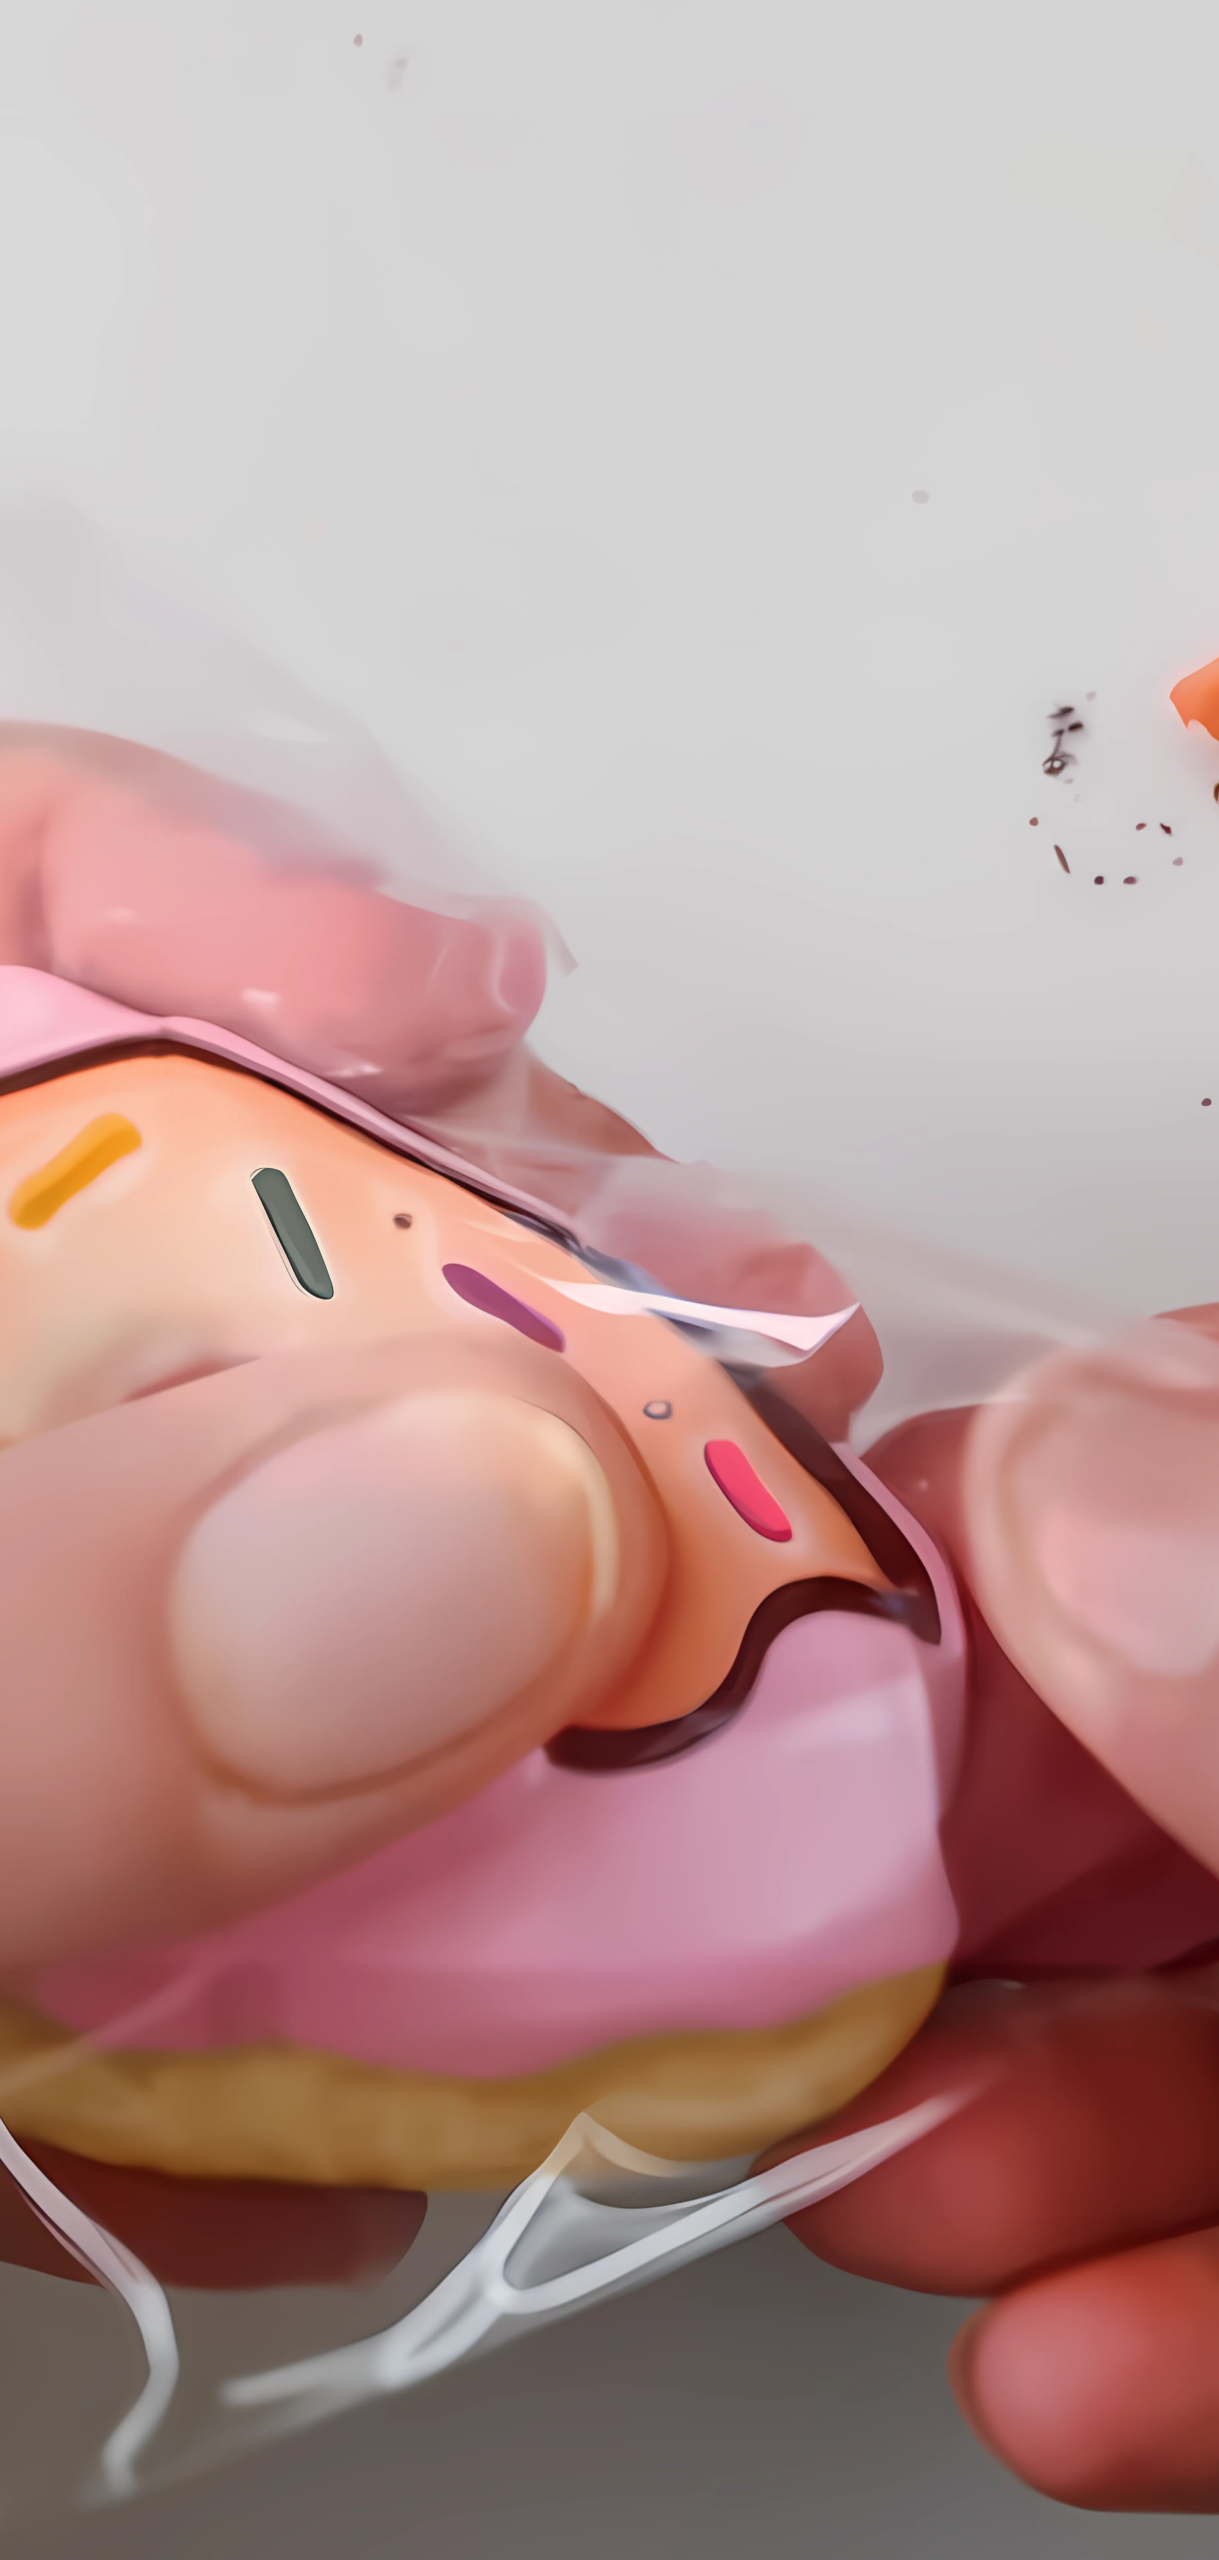
Step 2: Cover with Packing Tape
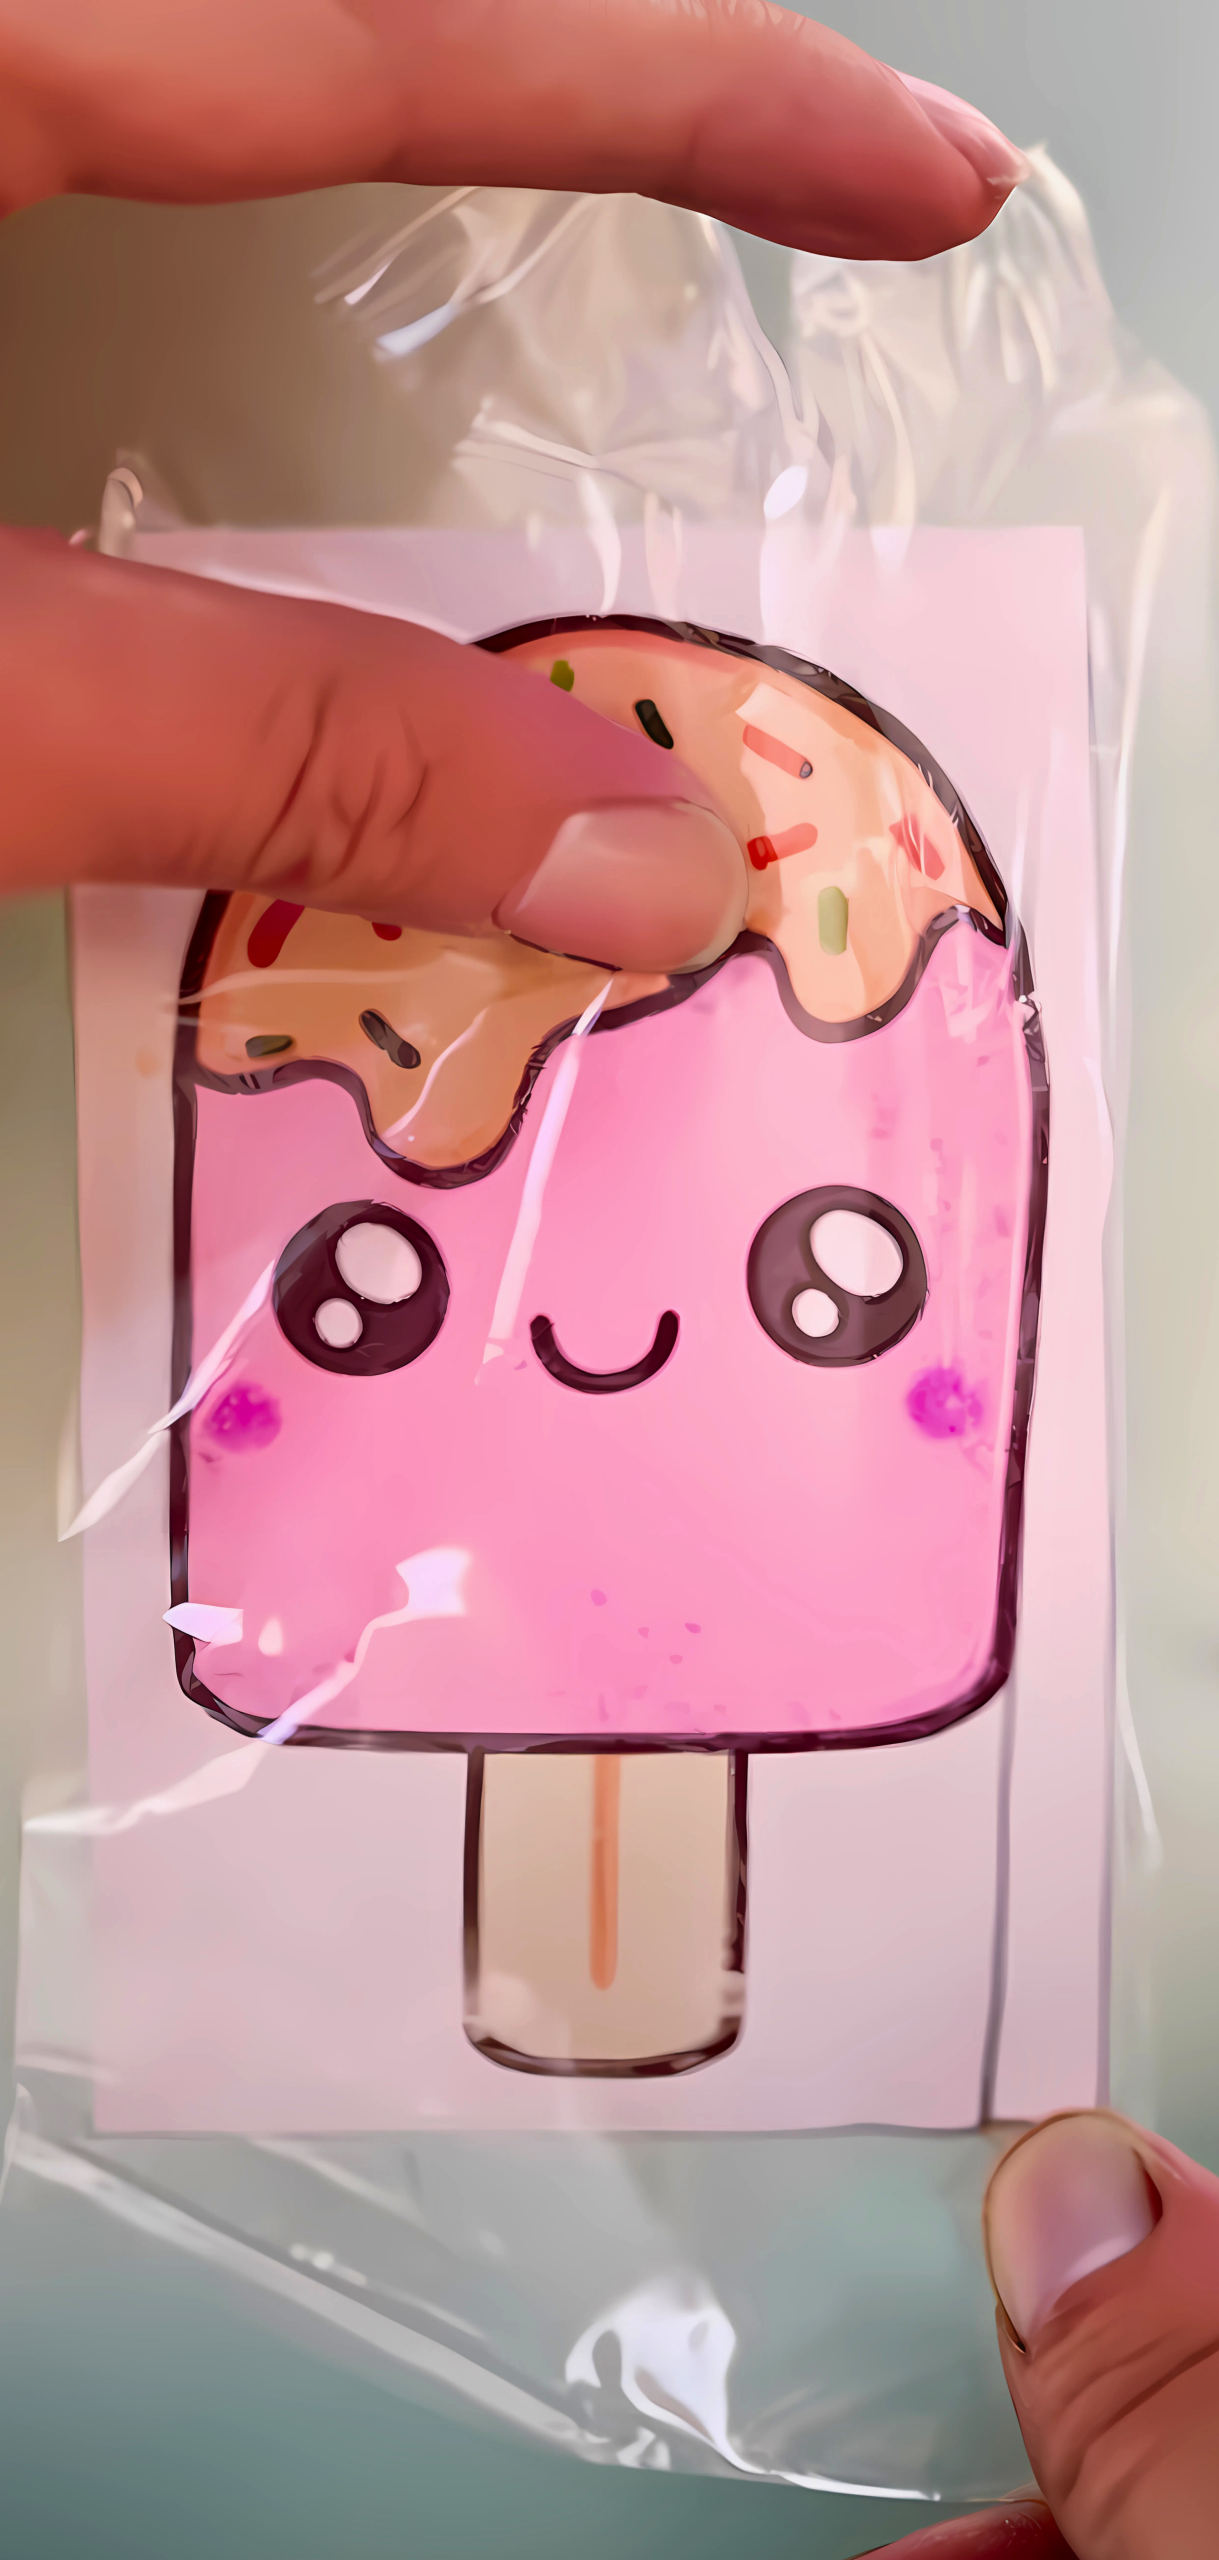
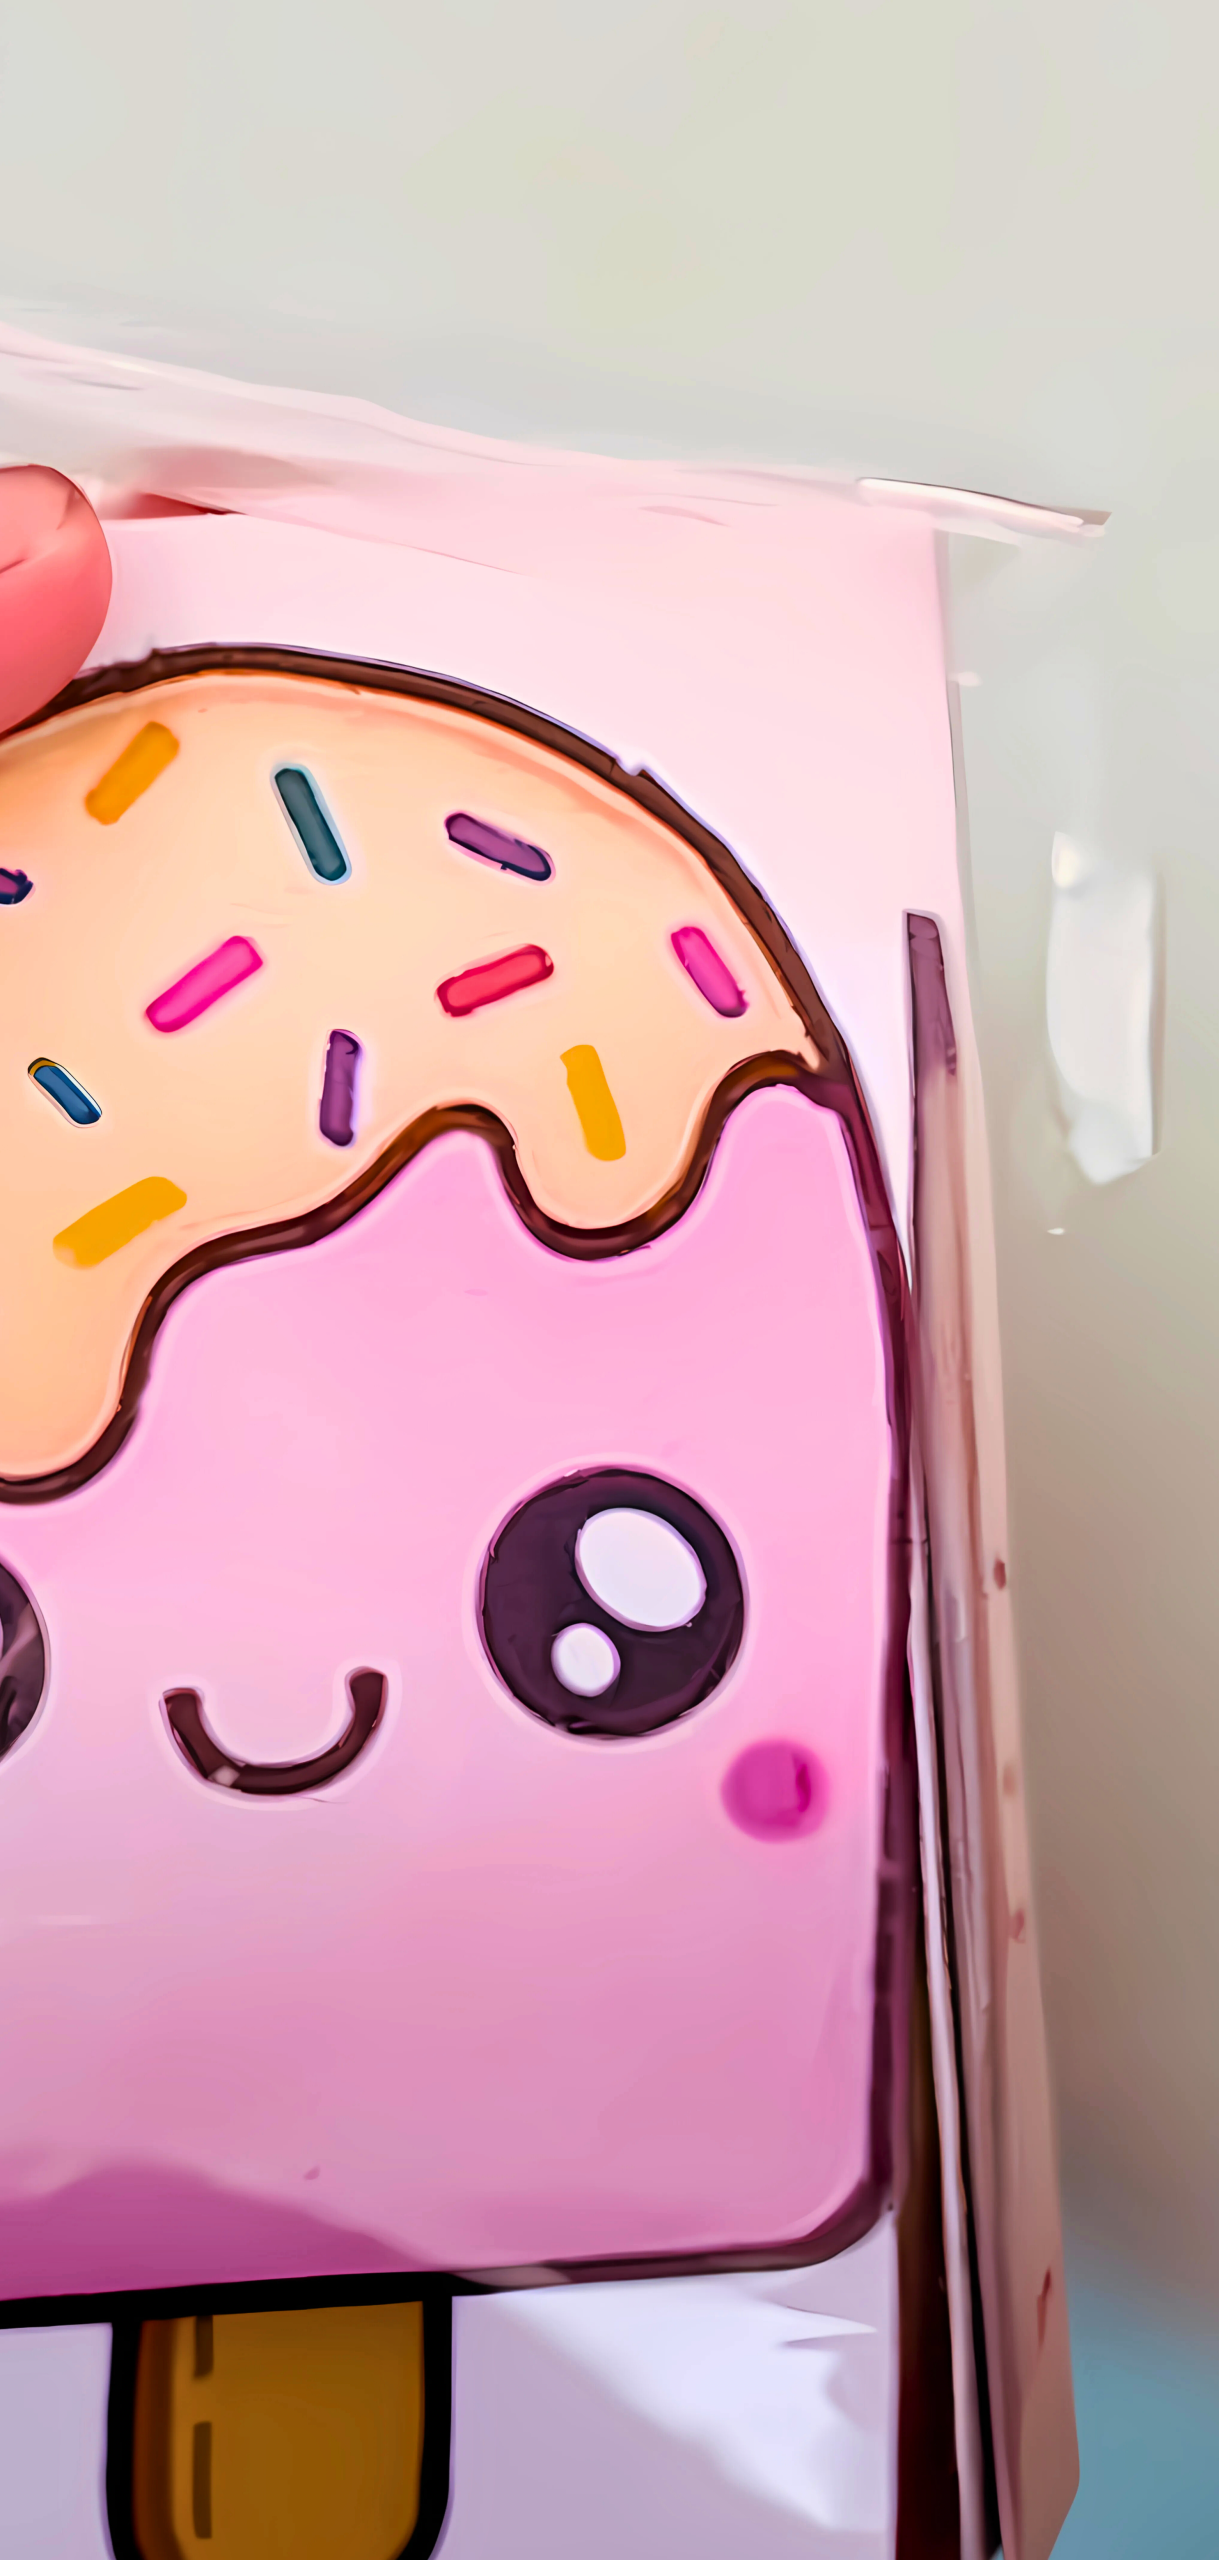
Lay a strip of packing tape sticky-side up. Place your colored cut-out onto it, then add a second strip on top to fully encase the paper in clear plastic. Smooth out any bubbles. Repeat to fully cover both front and back pieces without overlapping edges dramatically.
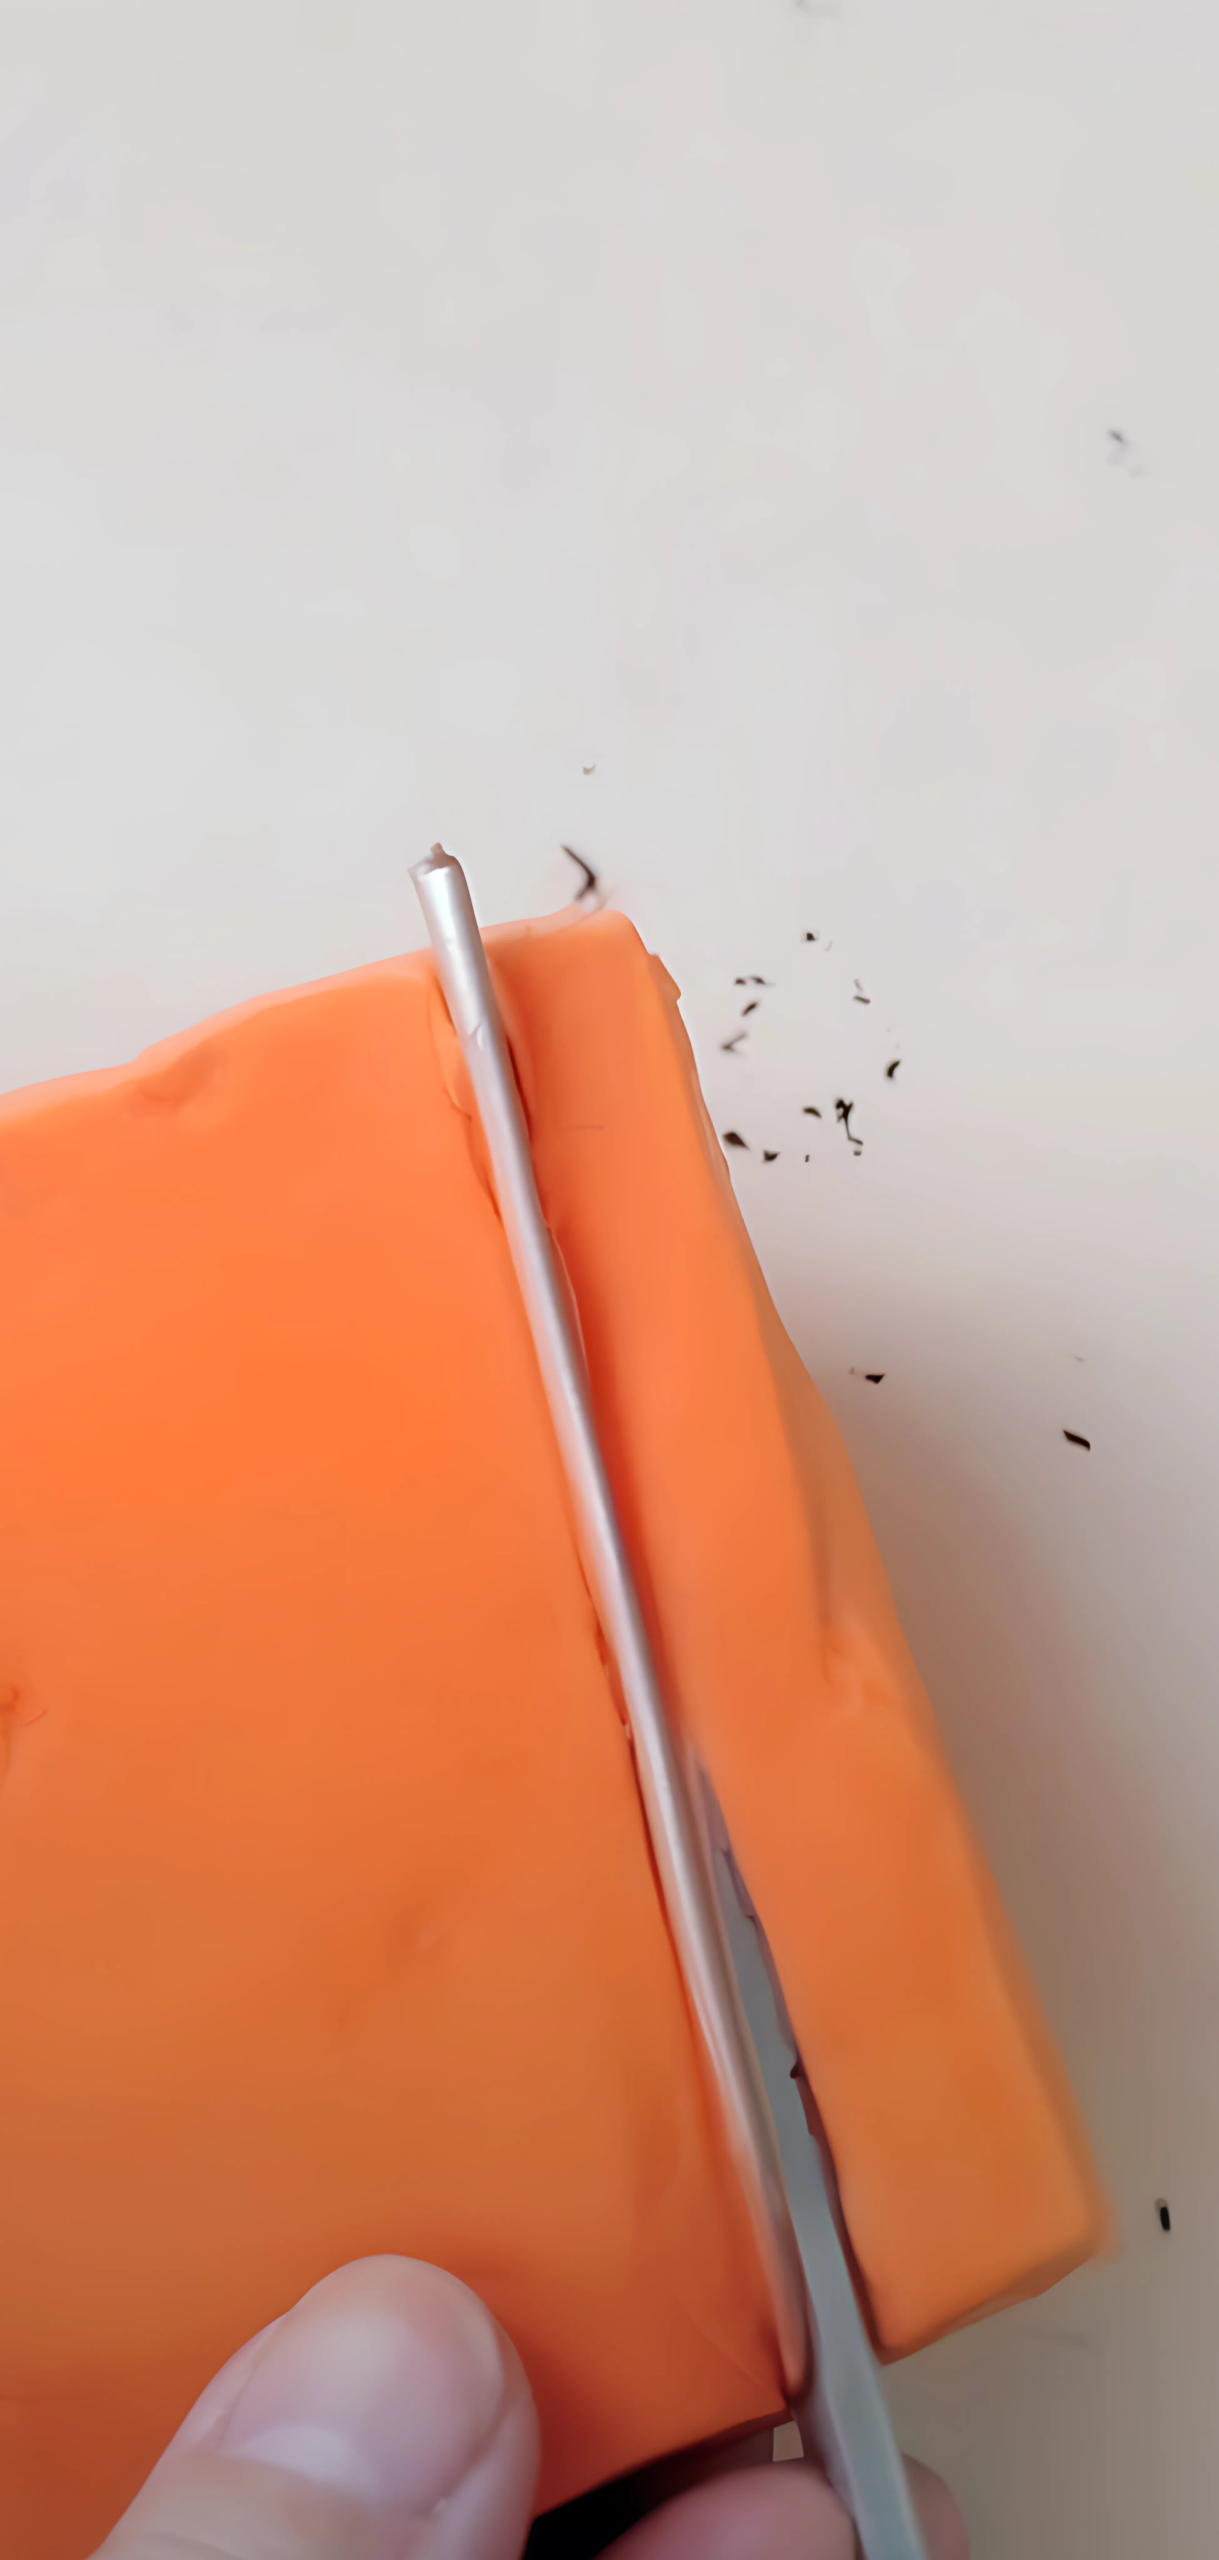
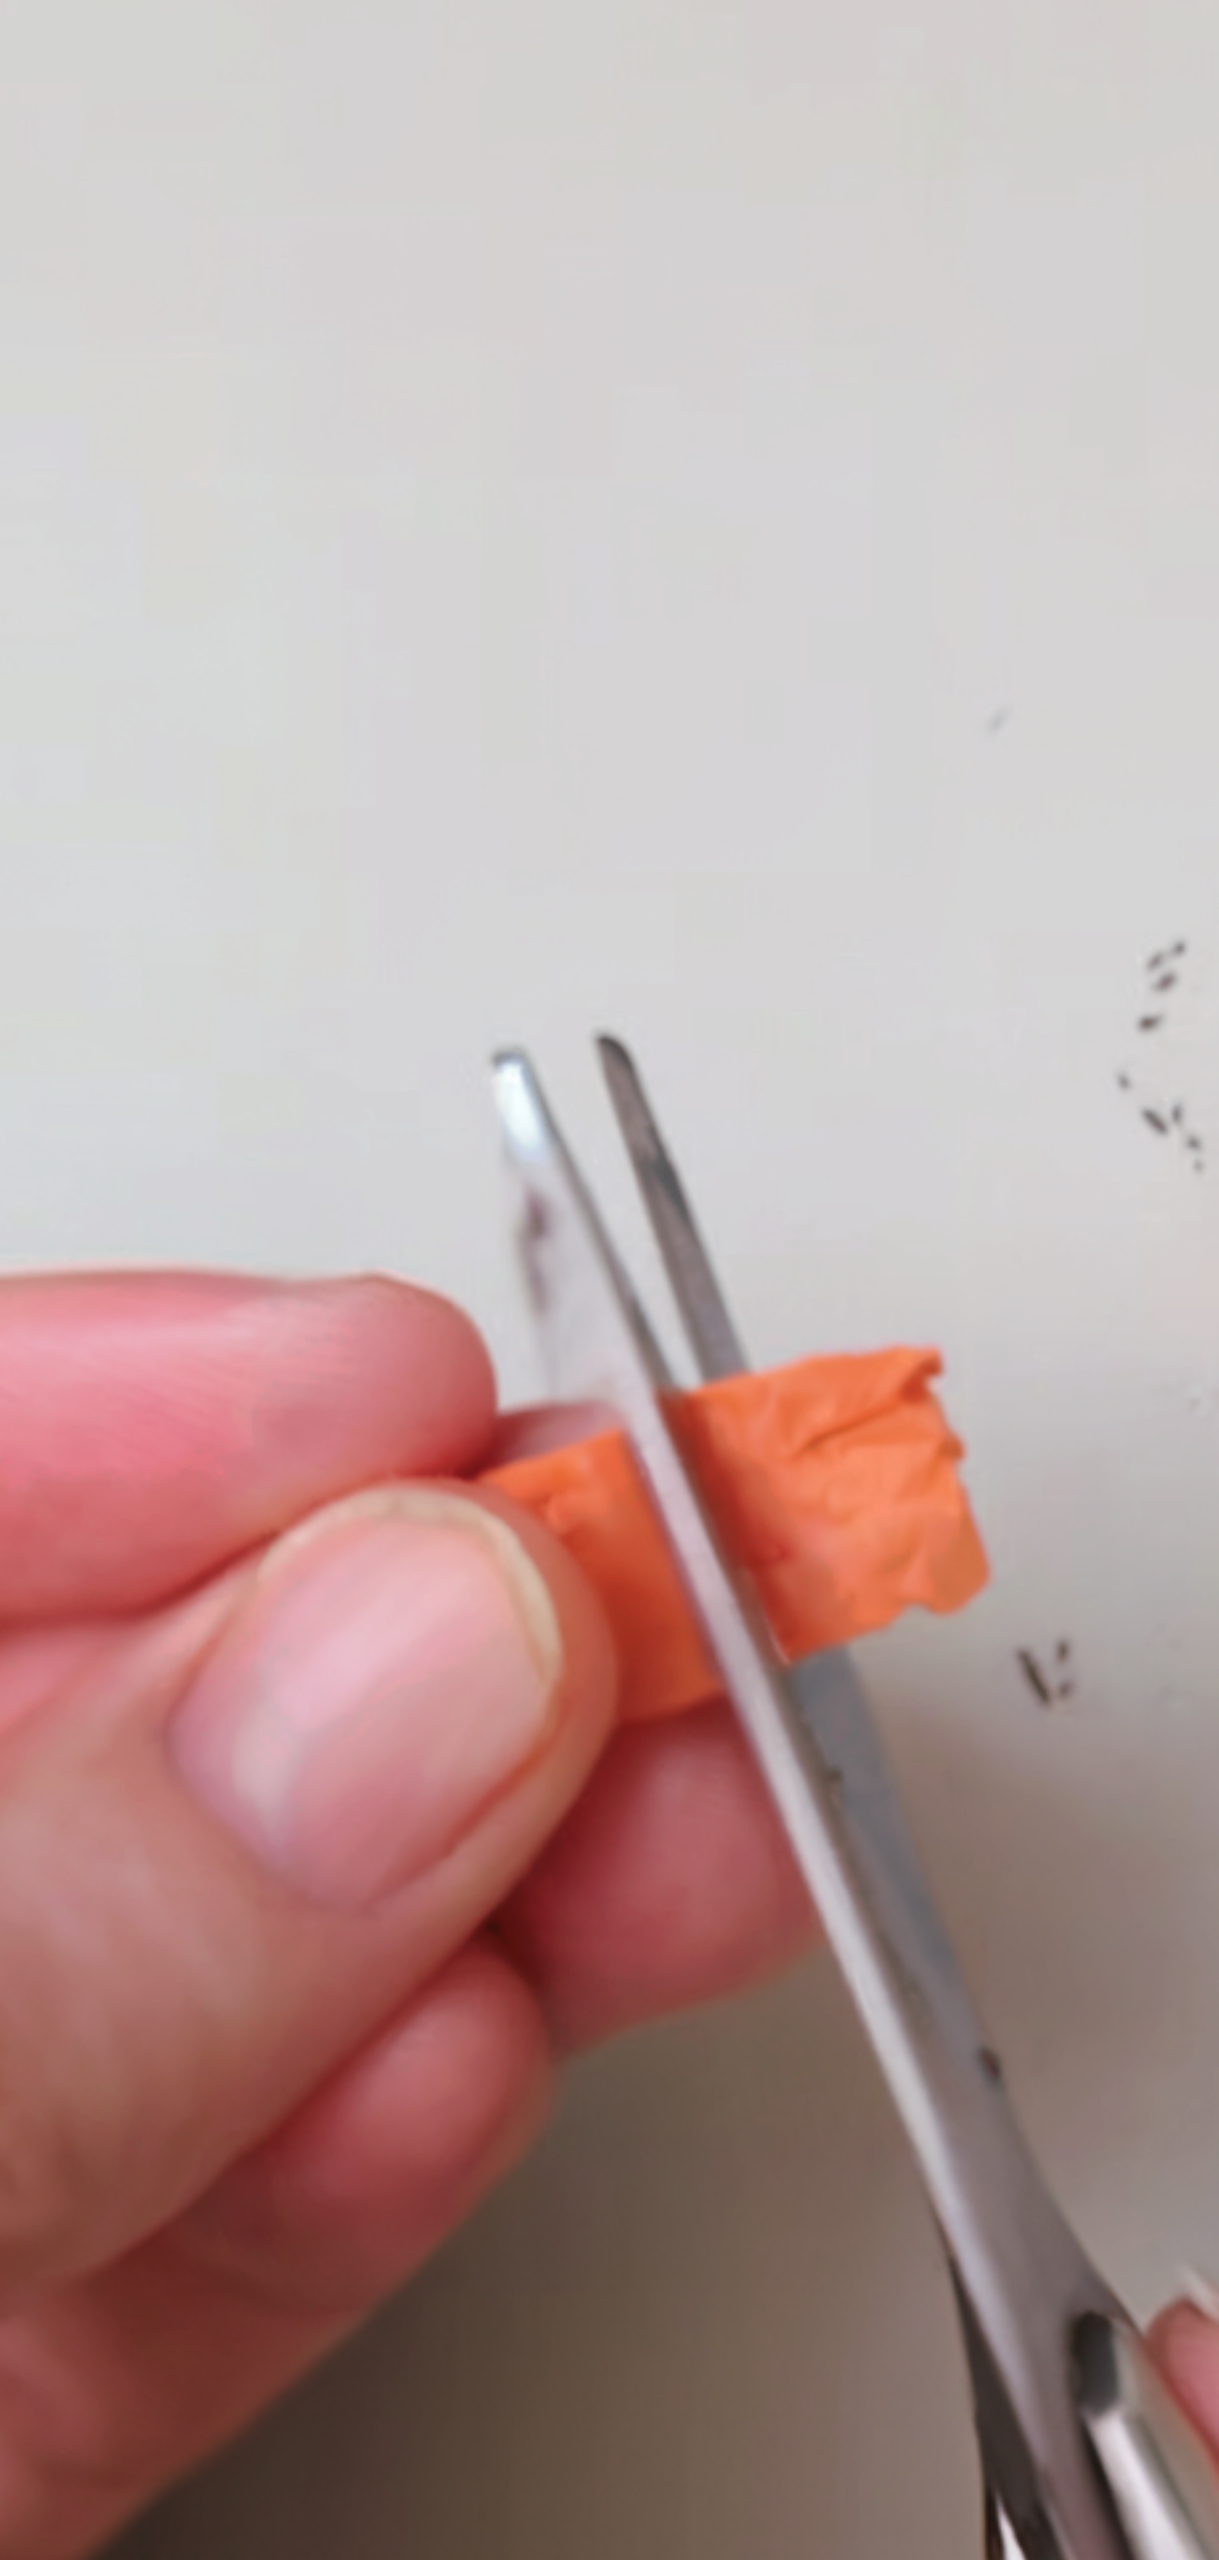
Step 3: Trim with Slits
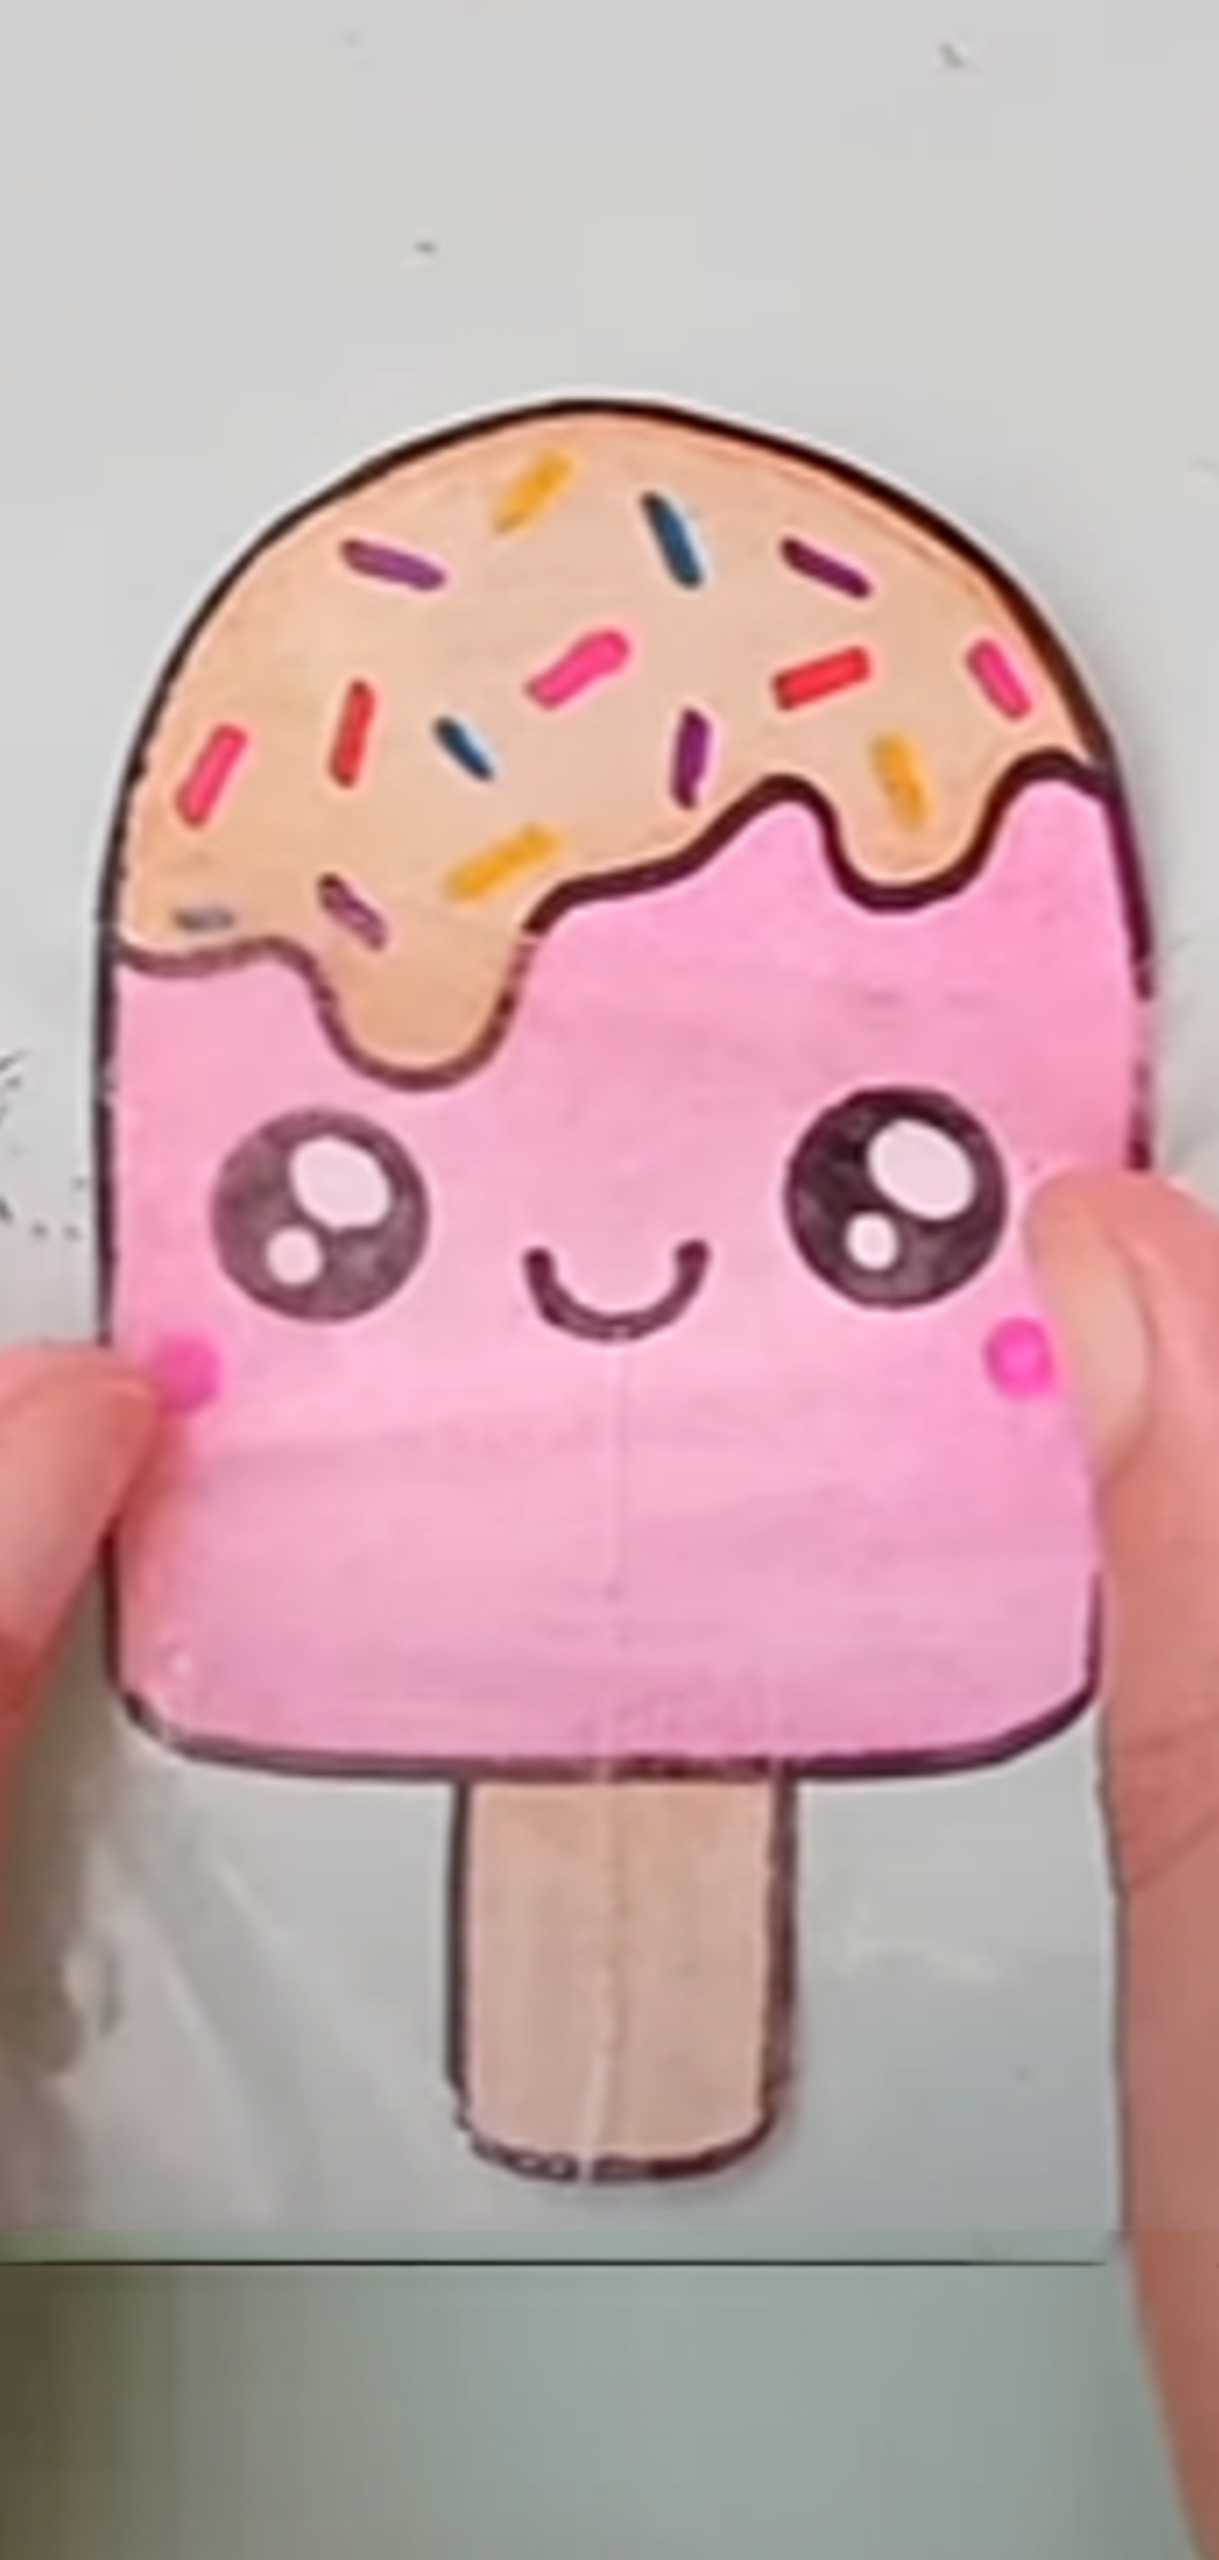
Trim the taped shapes about ¼” outside their outline. To make the pieces easier to seal, cut small slits (~½–1″) around curves, like cutting petals on a paper snowflake.
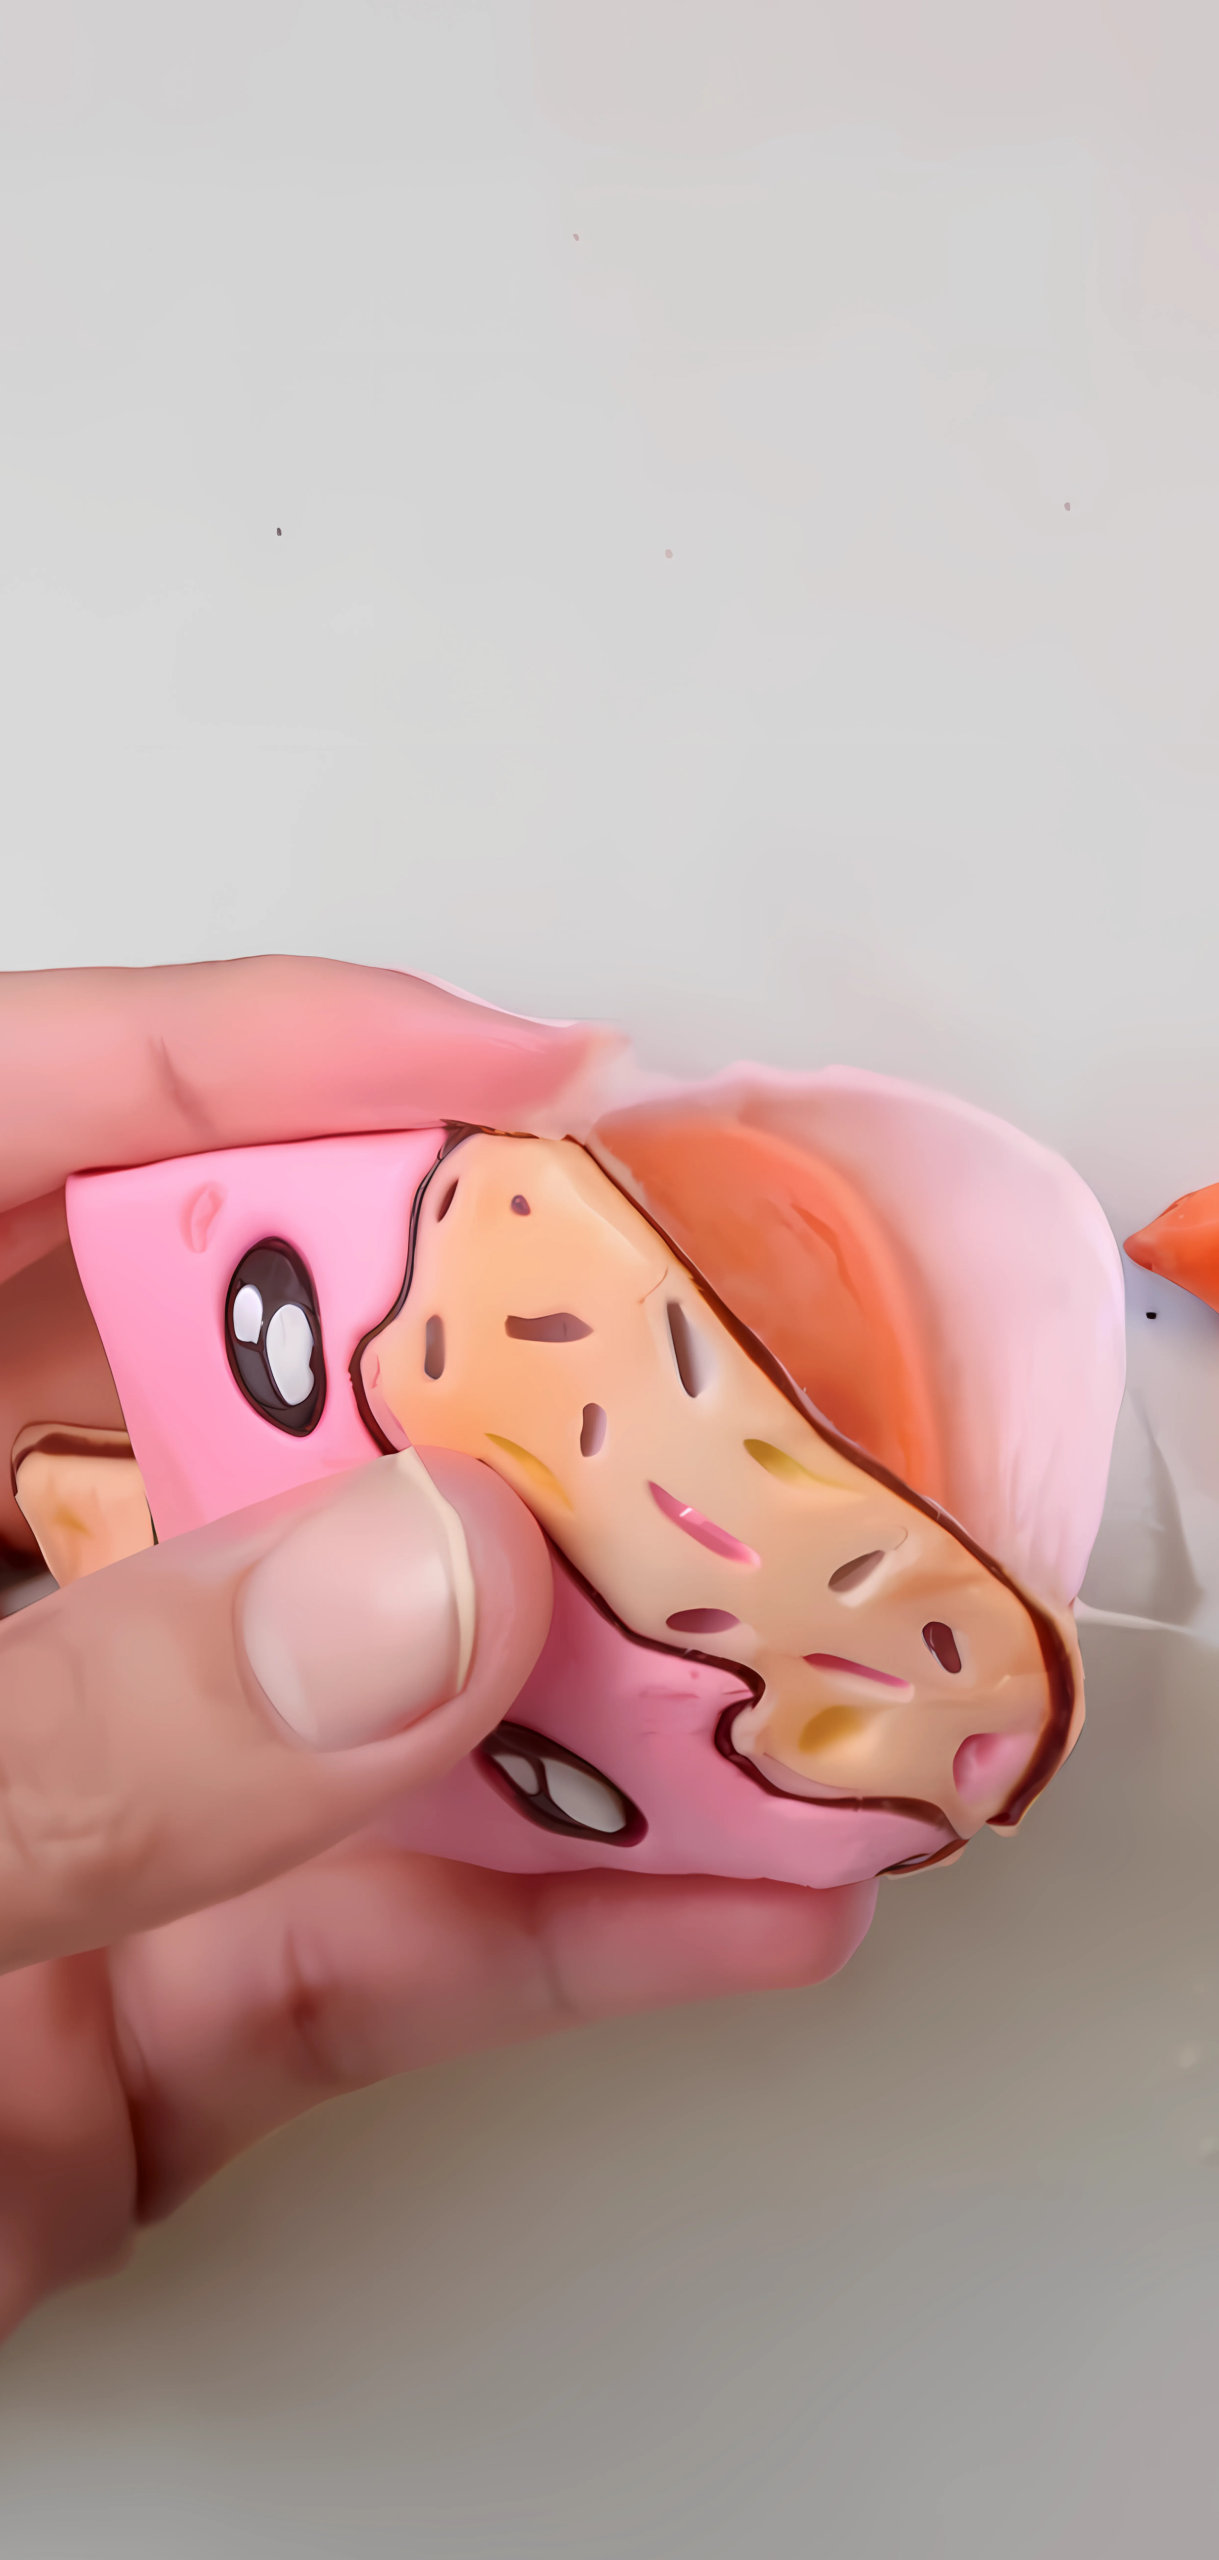
Step 4: Seal the Edges
Remove backing from the taped back piece, align all edges perfectly, and press together. Wrap additional tape around the edges, sealing seams and leaving a small opening (bottom or straight edge) for stuffing.
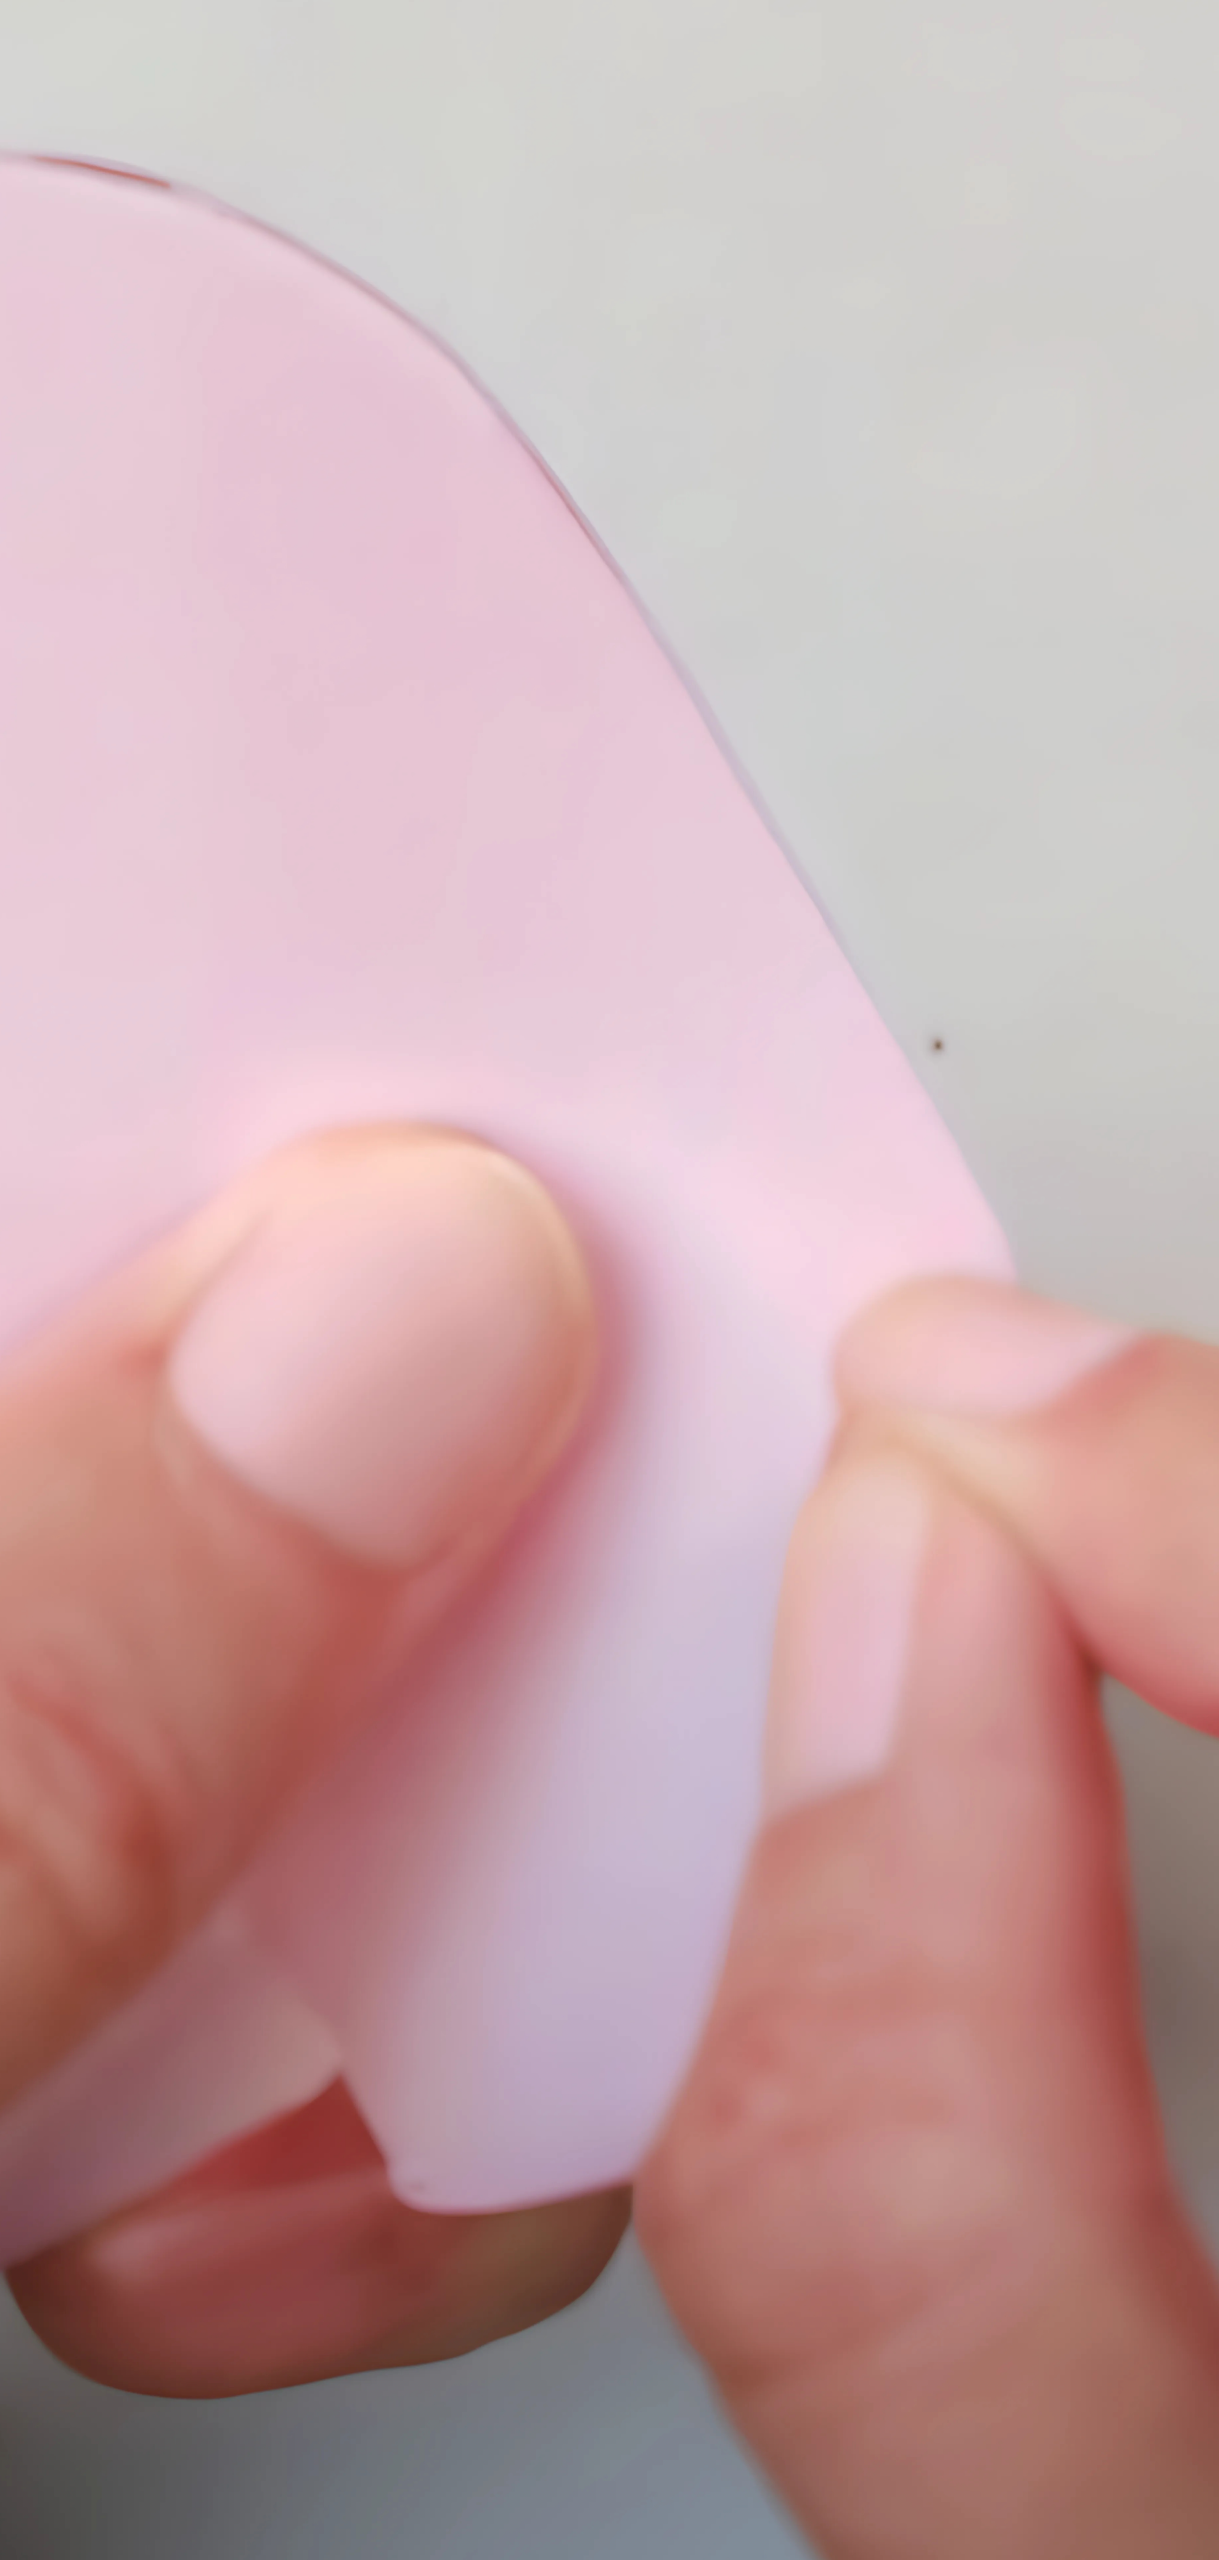
Step 5: Stuff It
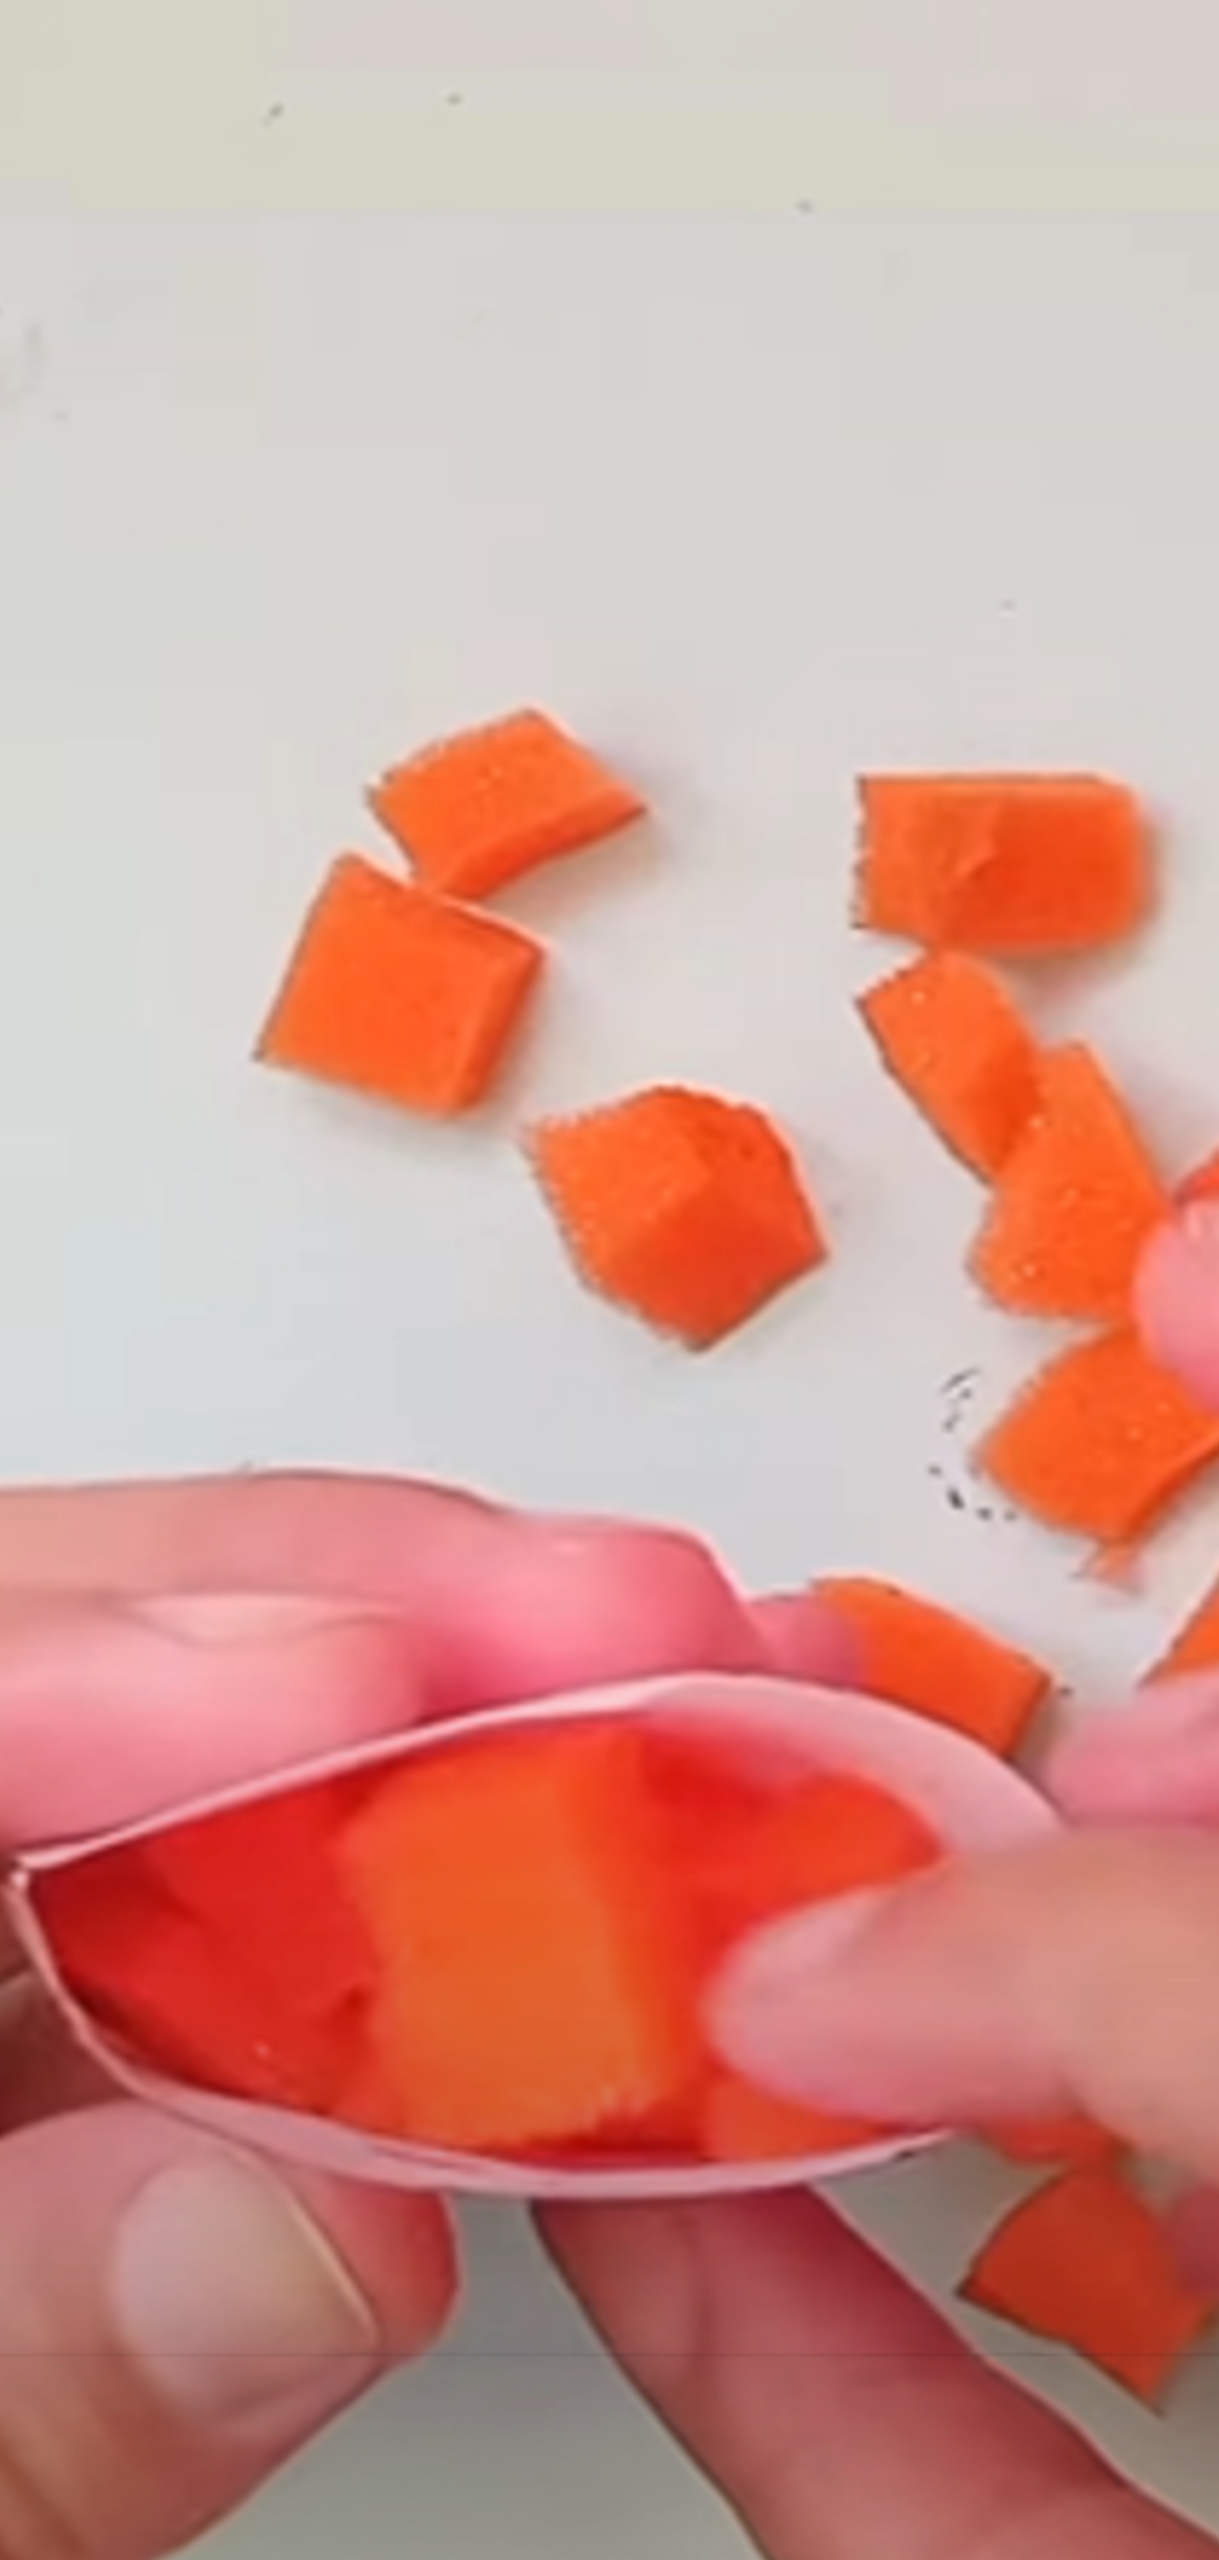
I fill gently through the opening with my stuffing; poly-fill gives a plush feel, shredded paper creates a light crunch, and bubble wrap offers ASMR fun. Fill enough to squish but not too tightly to avoid tearing the film.
Step 6: Close Up
Once I’ve filled it, I cover the opening with tape, cutting and folding edge slits to offer a flush, clean seal. For a neat finish, I fix any excess.
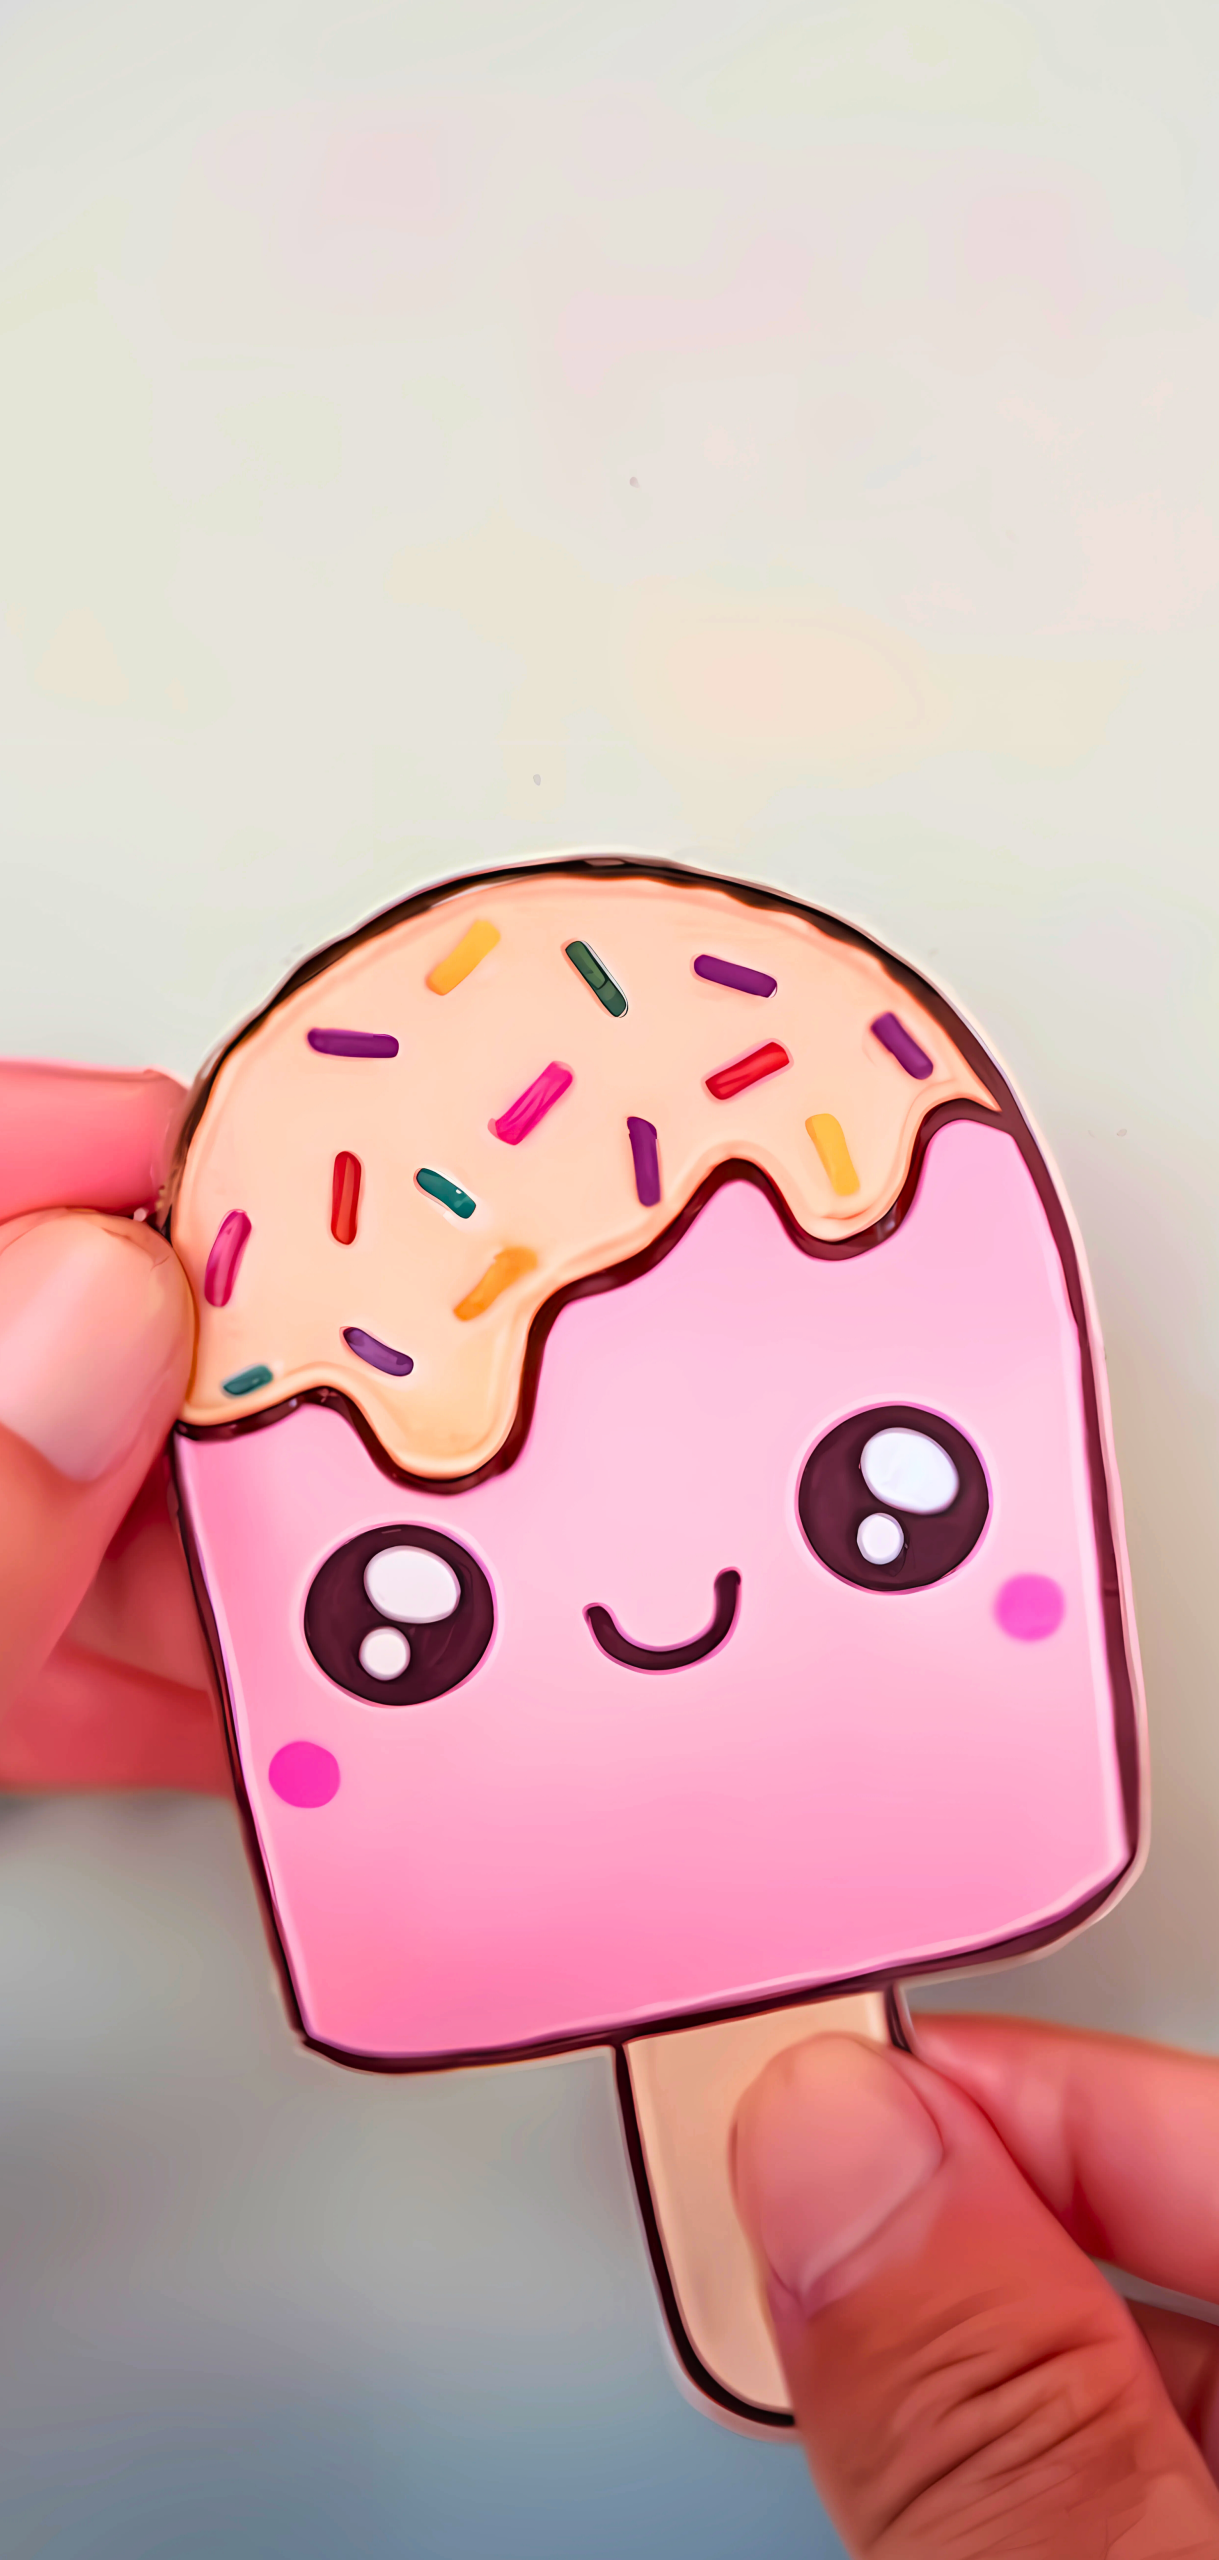
Step 7: Enjoy Your Squishy
I squish, squeeze, and enjoy my new fidget toy. These last long with light use and make great personalized gifts for your family.
Pro Tips
- Templates save time: Use downloadable printables from the internet.
- Bubble-free finish: I suggest applying tape gradually as you go with a scraper.
- Stuffing variety: Use light stuffing for softness or bubble wrap for a satisfying crunch/sound.
- Edge care: Slits around curves help the tape fold cleanly without creasing.
- Kid‑friendly twist: Let kids design their own characters and pick fillings, screen-free artistry.
FAQs About Paper Squishies
Can I use regular tape instead for my paper squishies?
Yes, but packing tape is wider and stronger.
Will the tape peel?
High-quality packing tape seals well; avoid creases and apply firmly.
Any tips to avoid tearing?
Don’t overfill; leave just enough space for squish.
Can these go in water?
No, the paper inside will get soggy. Best for dry environments.
How long do they last?
They’re durable for months with light use; re-tape if edges peel.
Are they safe for kids?
Great for older children. Supervise little ones; you’ll need scissors and tape.
Conclusion
You’ve created your own cute paper squishies, perfect for gifting. With coloring, packing tape, and stuffing, kids (and even grown-ups) can craft unique, squeezable toys in minutes. Plus, they’re customizable and budget-friendly.