Join the fastest growing Craft community on Pinterest!
I wanted something festive to match my yarn pumpkin for fall, but every time I thought about making real pies, the overwhelm hit me like a sack of flour.
Baking isn’t exactly my thing, too much measuring, too many dishes, and way too many chances for sticky chaos. That’s when I remembered my favorite stress-free creative outlet: paper plate crafts. It sparked the idea for a little pie that didn’t need an oven, just glue, scissors, and a good imagination.
To make my Thanksgiving-inspired paper plate pies, I gathered dinner-size plates, paints in warm autumn shades like red, orange, tan, and brown, and a few brushes and sponges.
I added construction paper to cut crusts and lattice tops, and for whipped cream? Cotton balls, of course! The best part? My kids jumped right in, carefully dabbing on pumpkin-orange paint or layering red for faux apple pie filling. The project turned quiet and cozy fast, exactly what I needed to balance out the buzz of the holiday season.
Now my yarn pumpkin has a delicious-looking companion on the shelf, and I didn’t even have to preheat the oven. This paper plate pie craft not only brought color to my decor but also gave us a chance to slow down and make something sweet without the sugar rush. If you’re craving a slice of calm this fall, skip the baking and grab the glue instead.
What you will need
Gather the following supplies:
- Paper plates (dinner-size or smaller)
- Paints (orange, red, tan, brown) or tissue/construction paper
- Paintbrushes or sponges for applying paint
- Construction paper (for crust, lattice strips)
- Scissors
- Glue stick or white school glue
- Optional toppings: Cotton balls, pom-poms, googly eyes
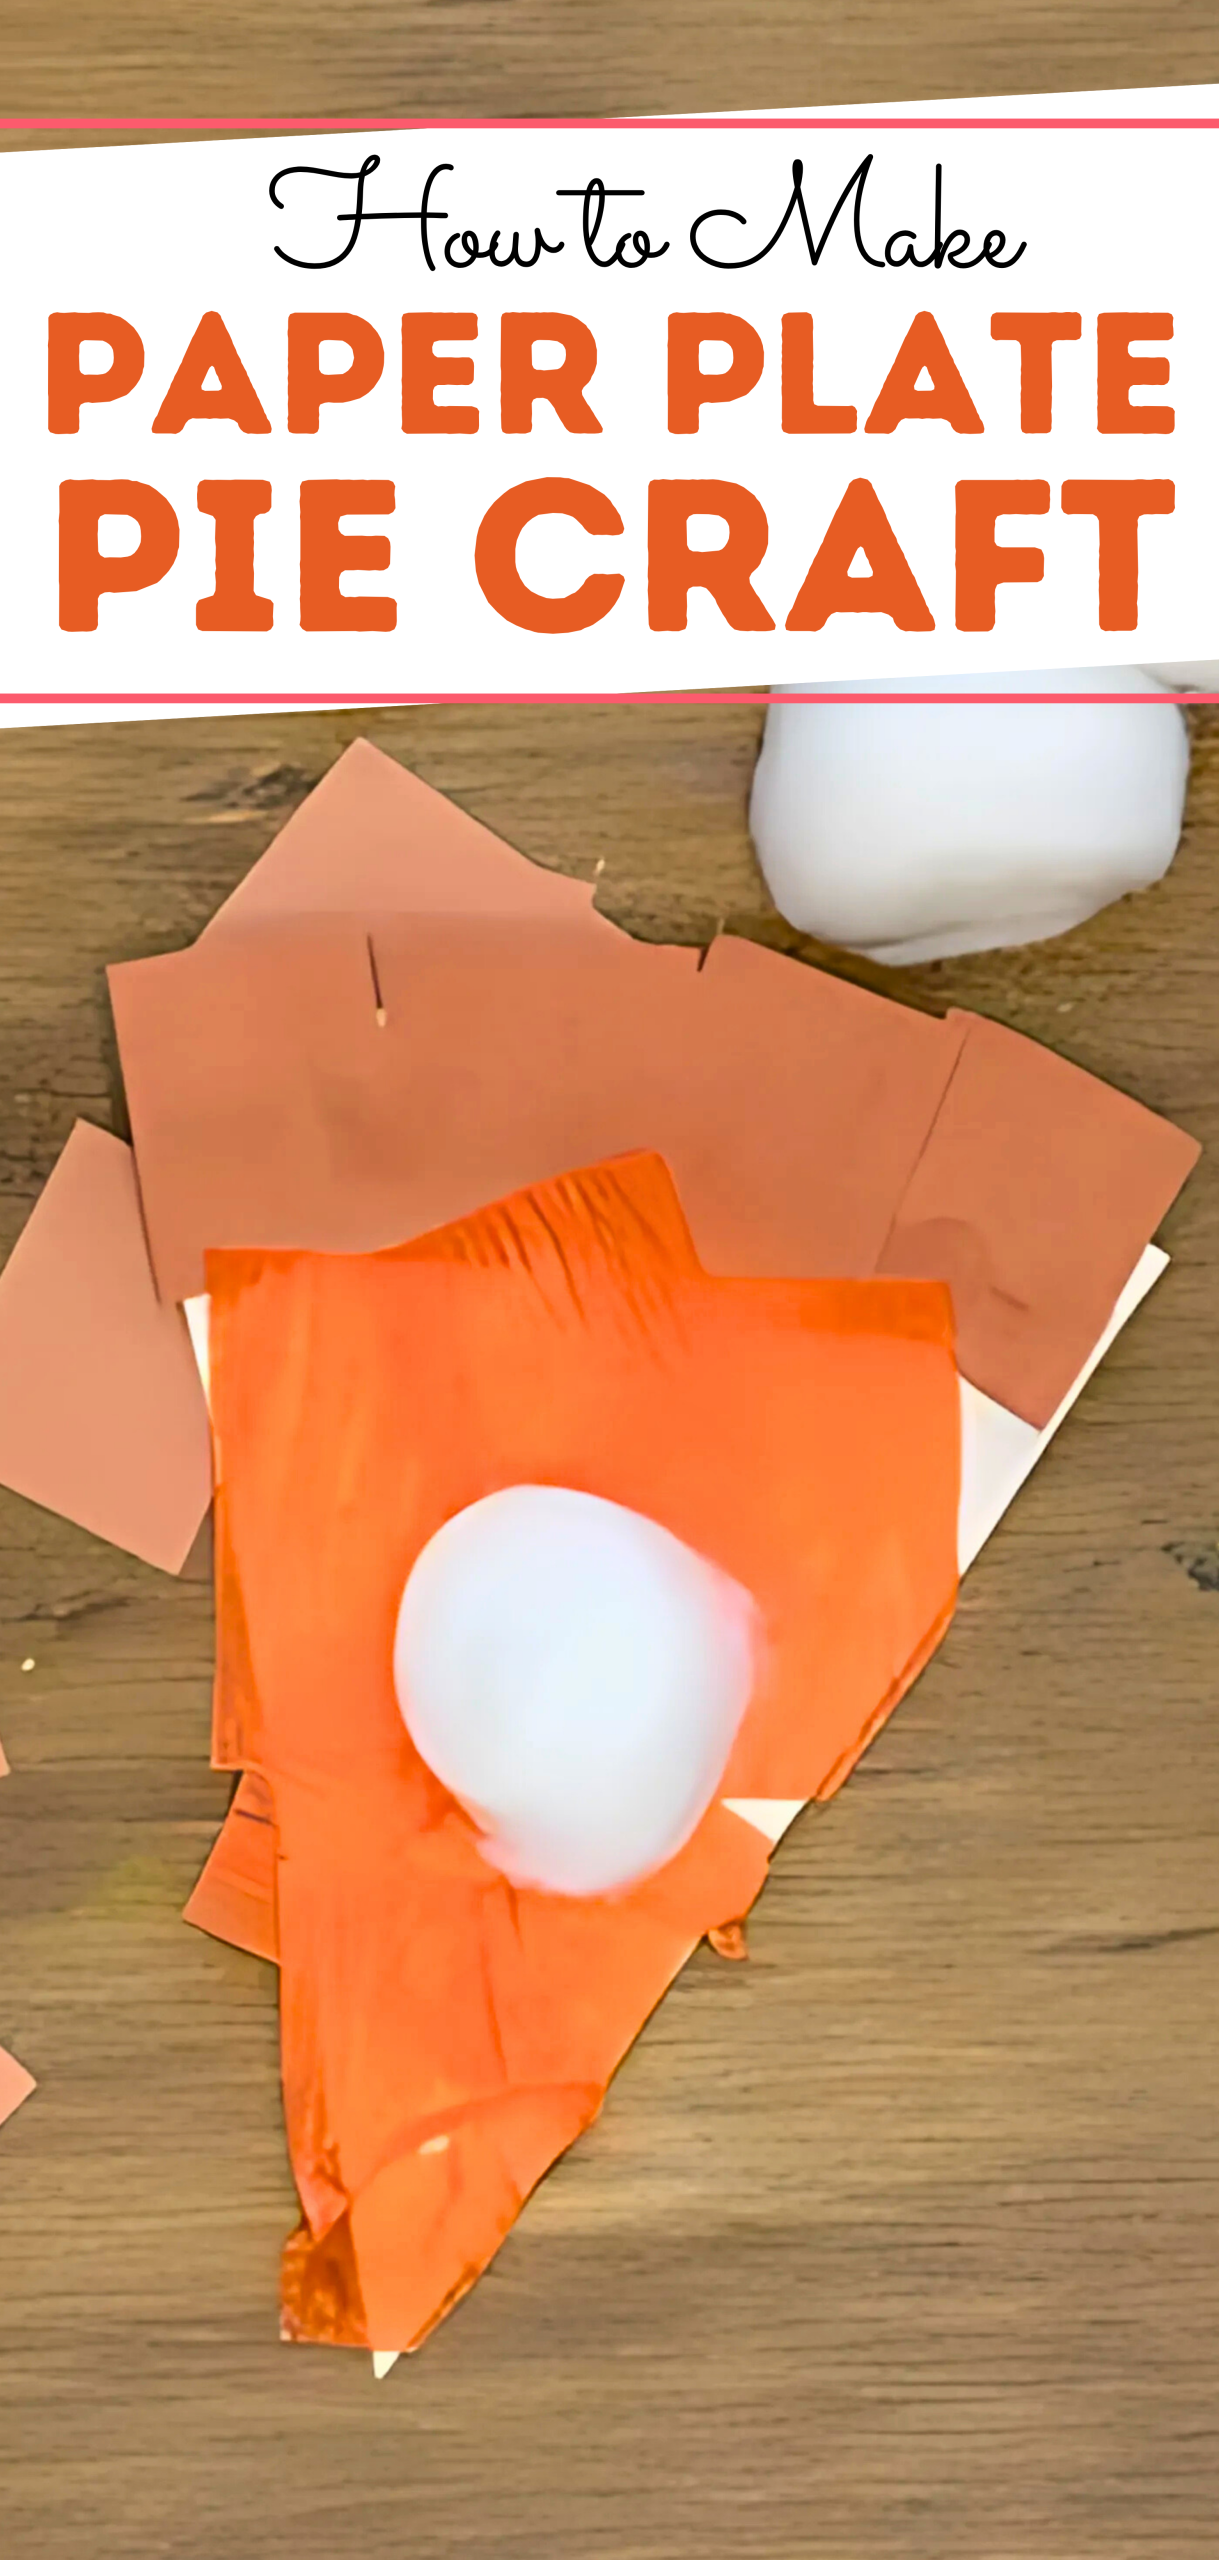
How to make Paper Plate Pie Craft
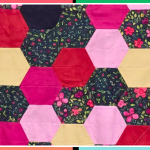
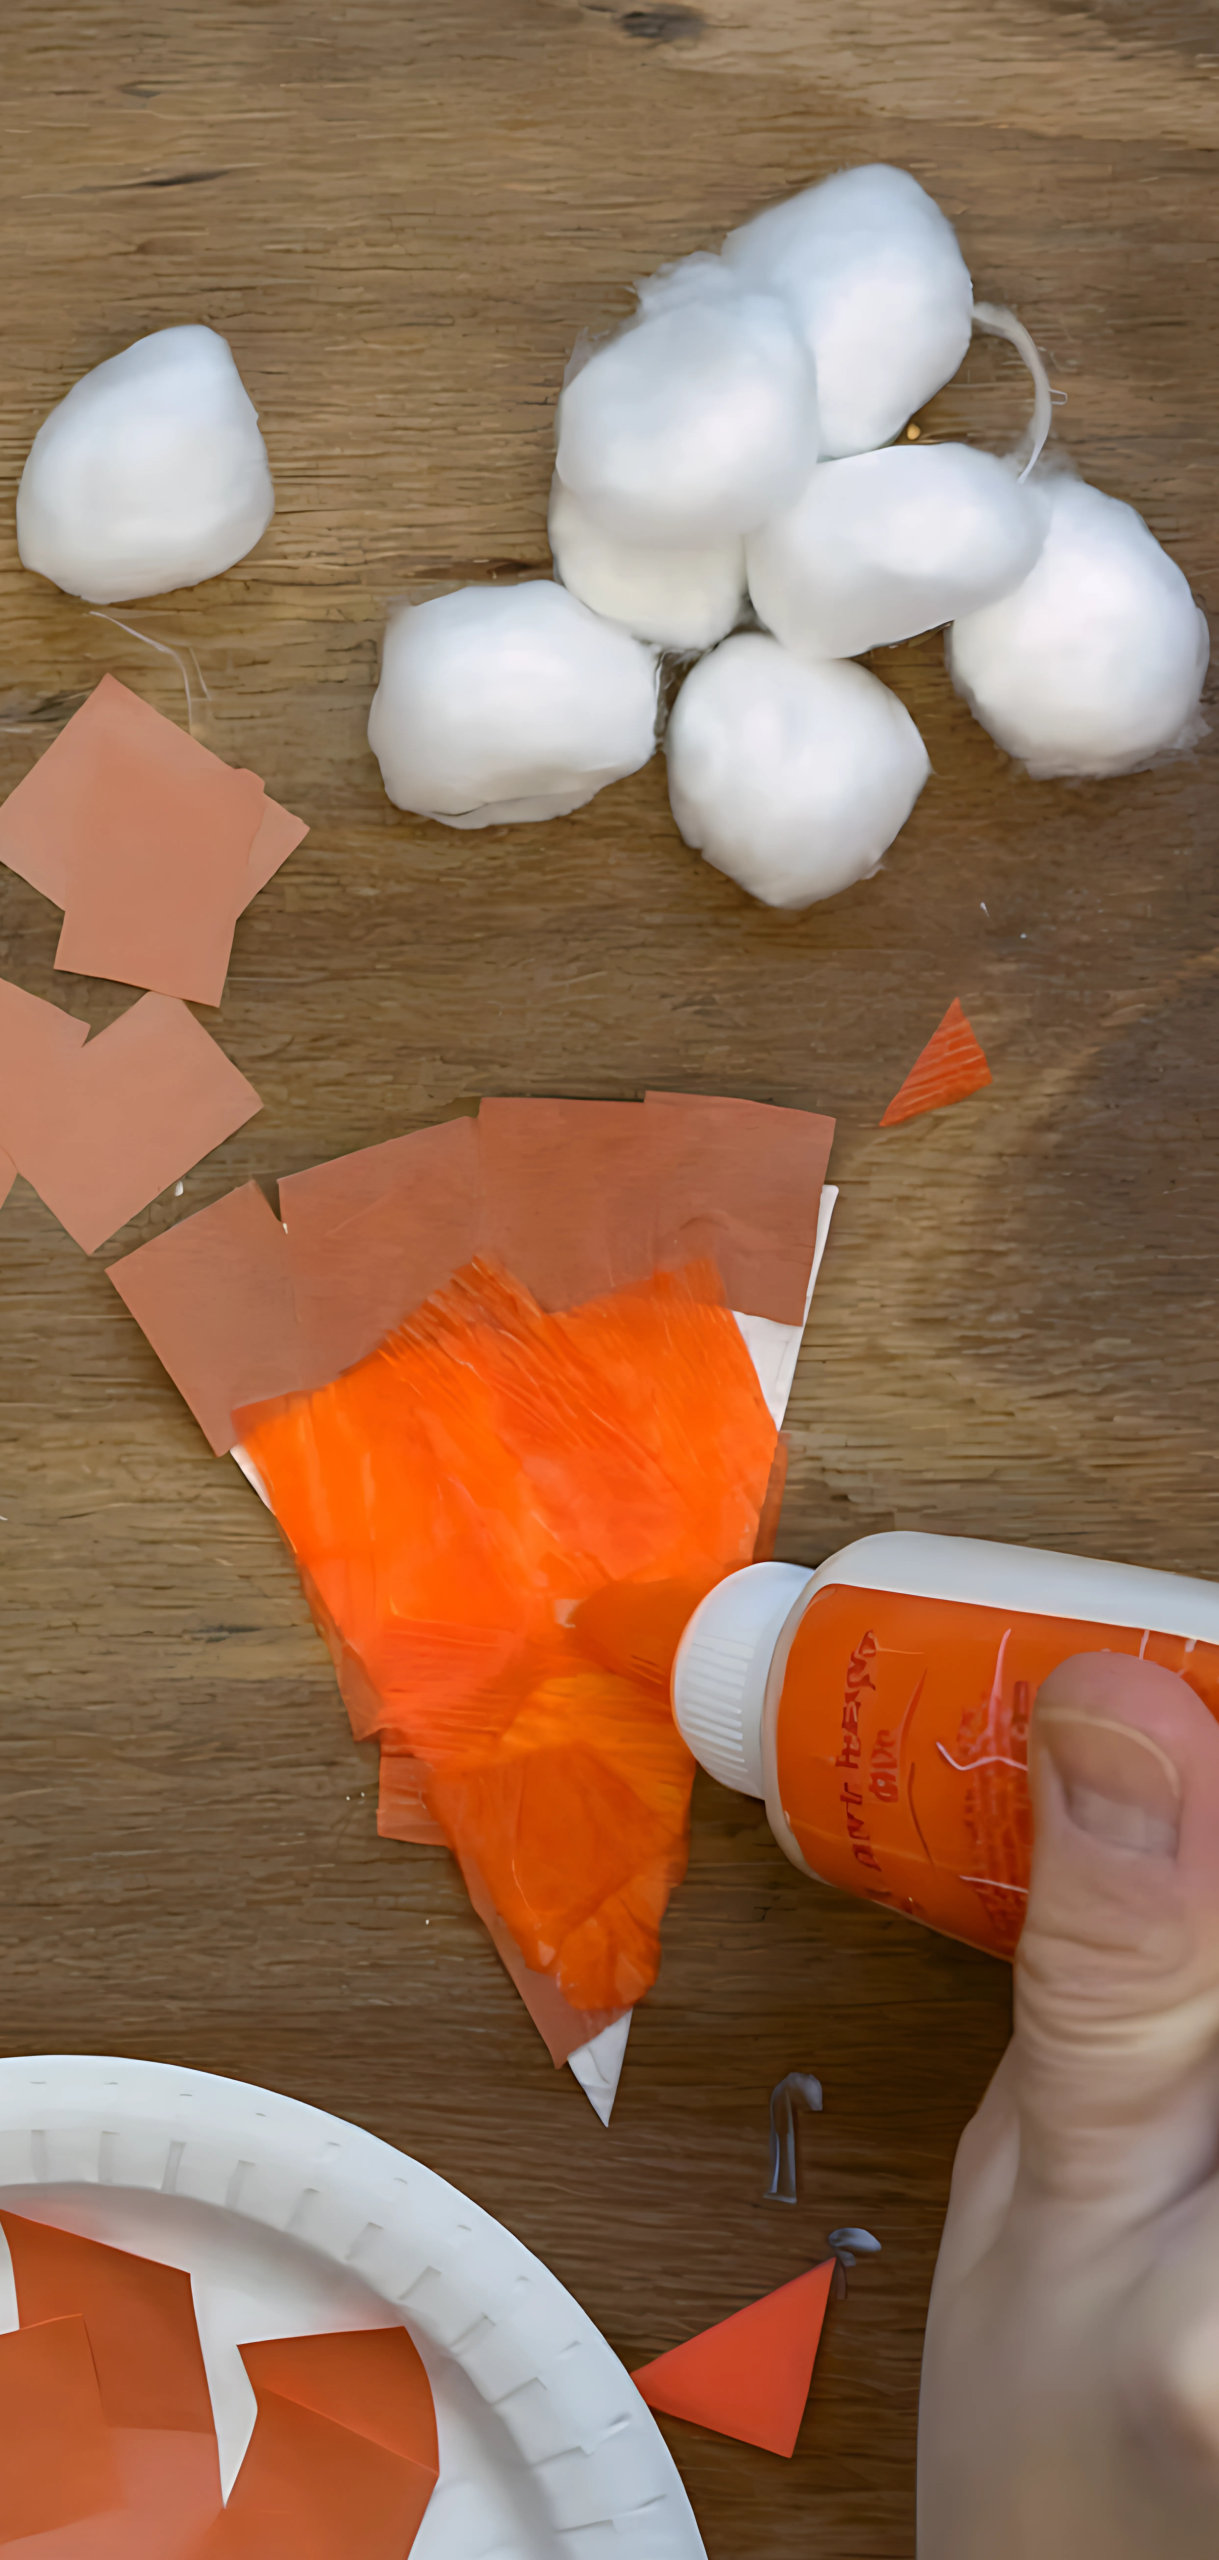
1. Prep the Plate & Crust
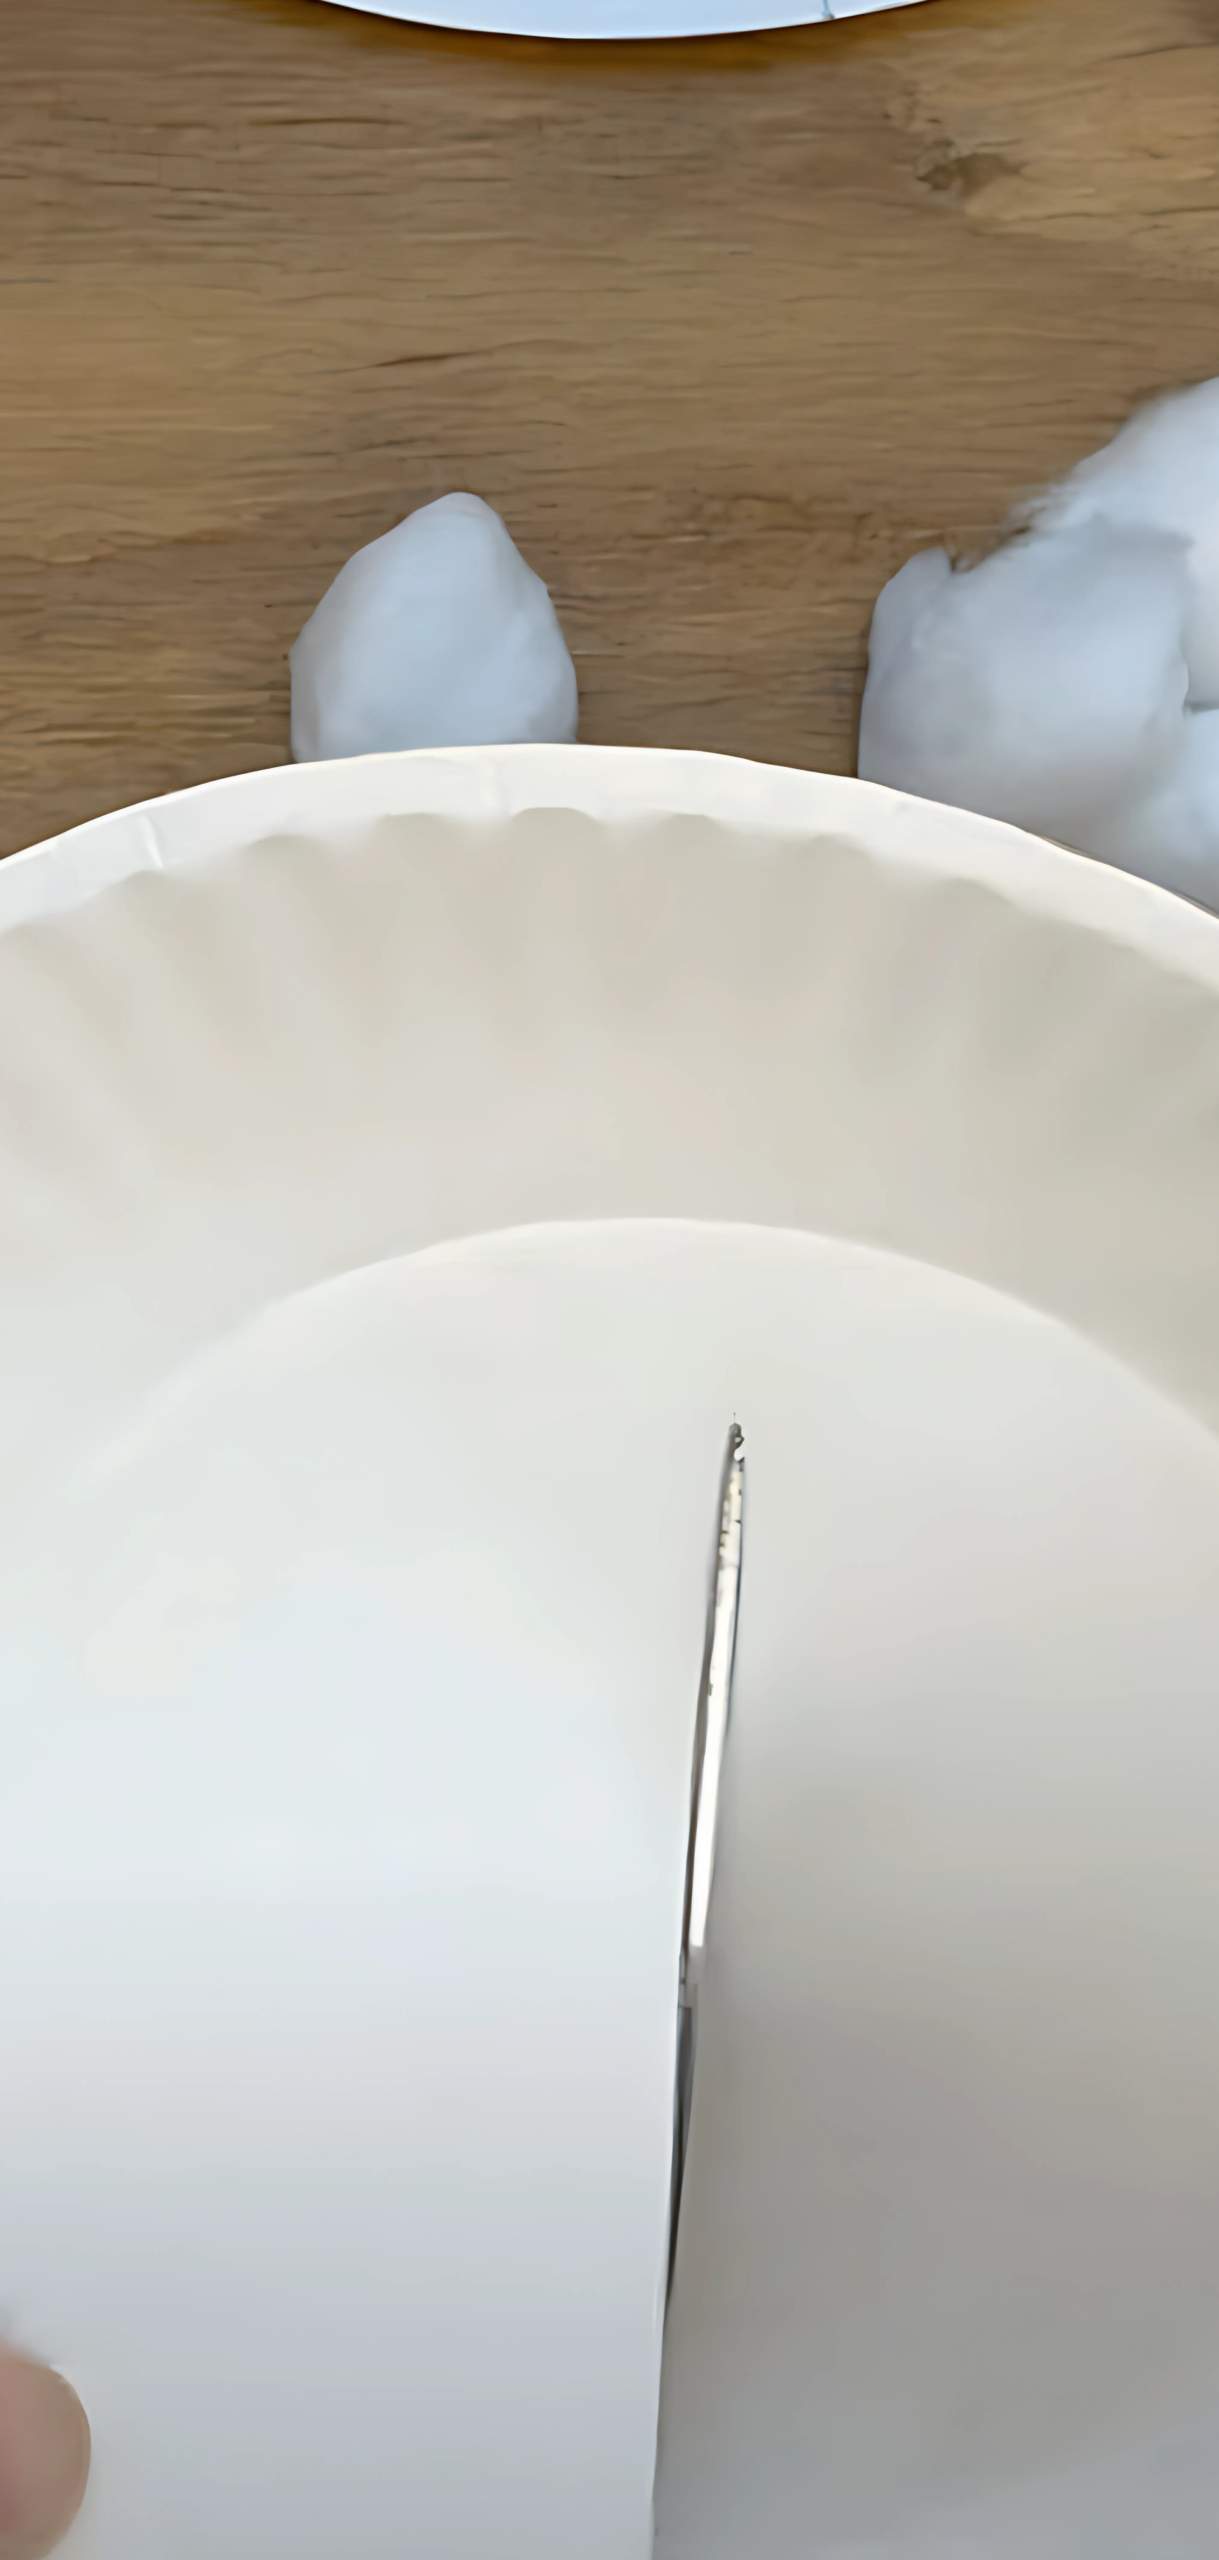
Paint the curved outer rim of the paper plate tan or brown to resemble the crust. Let it dry completely. Alternatively, glue strips of tan construction paper as a crust.
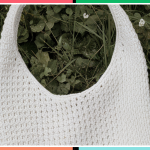
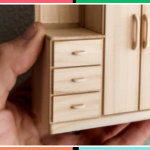
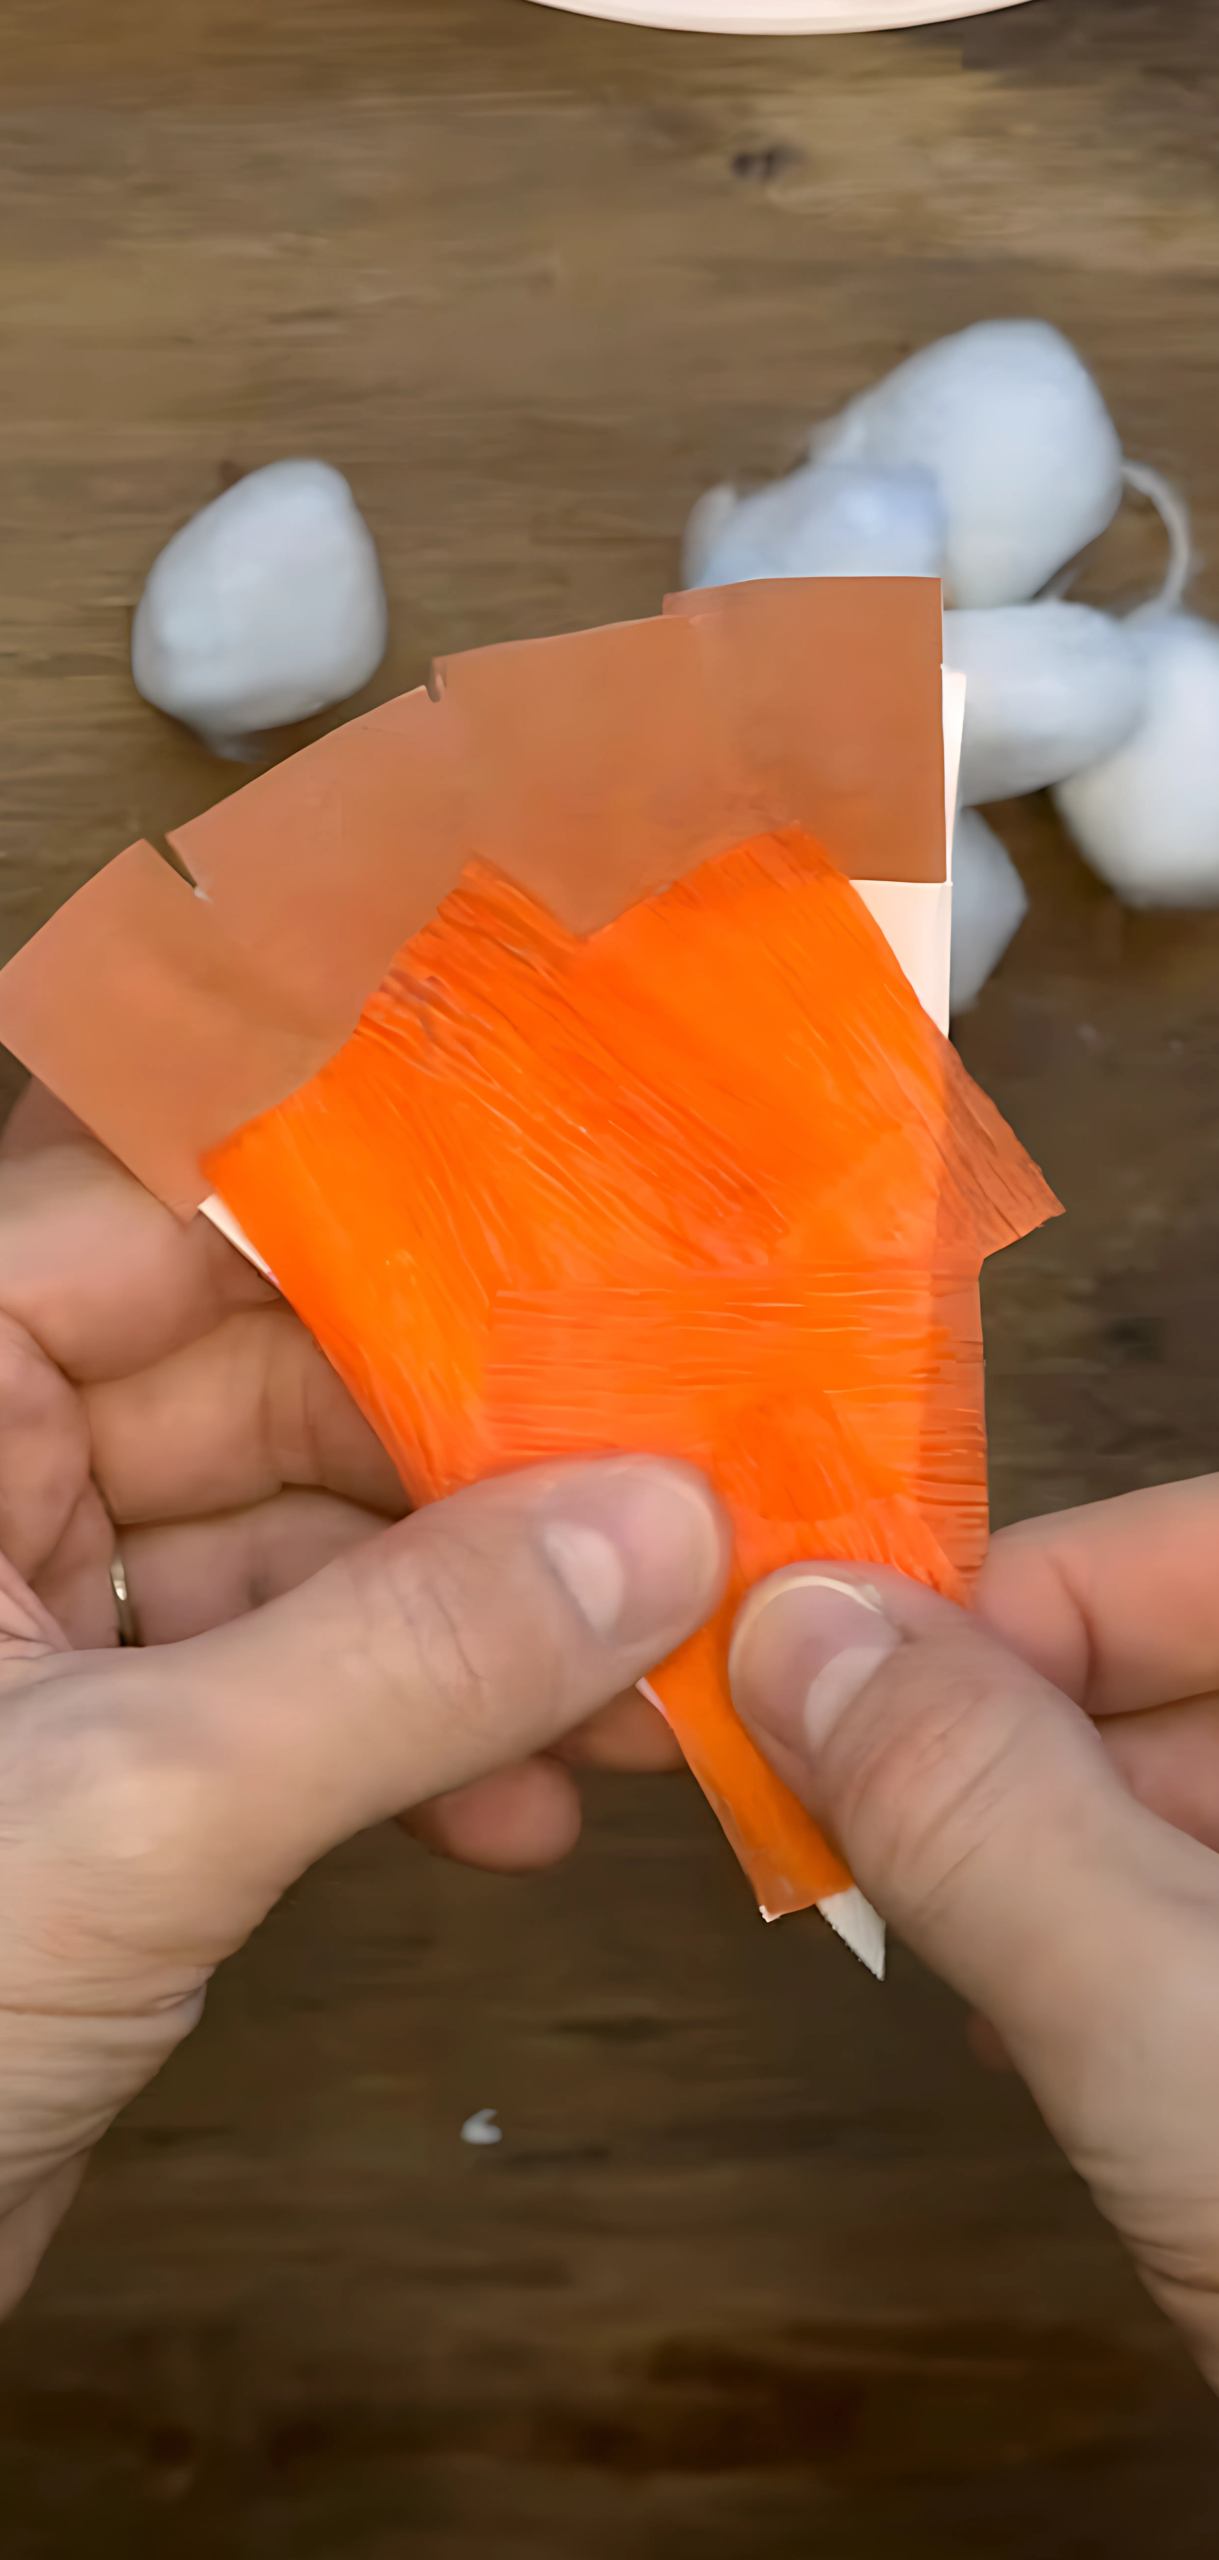
2. Create the Filling
Choose your pie type:
- For the pumpkin, paint the inner section orange.
- For cherry or apple, paint with red or mixed warm hues.
- Add texture by stippling with a sponge or brush.
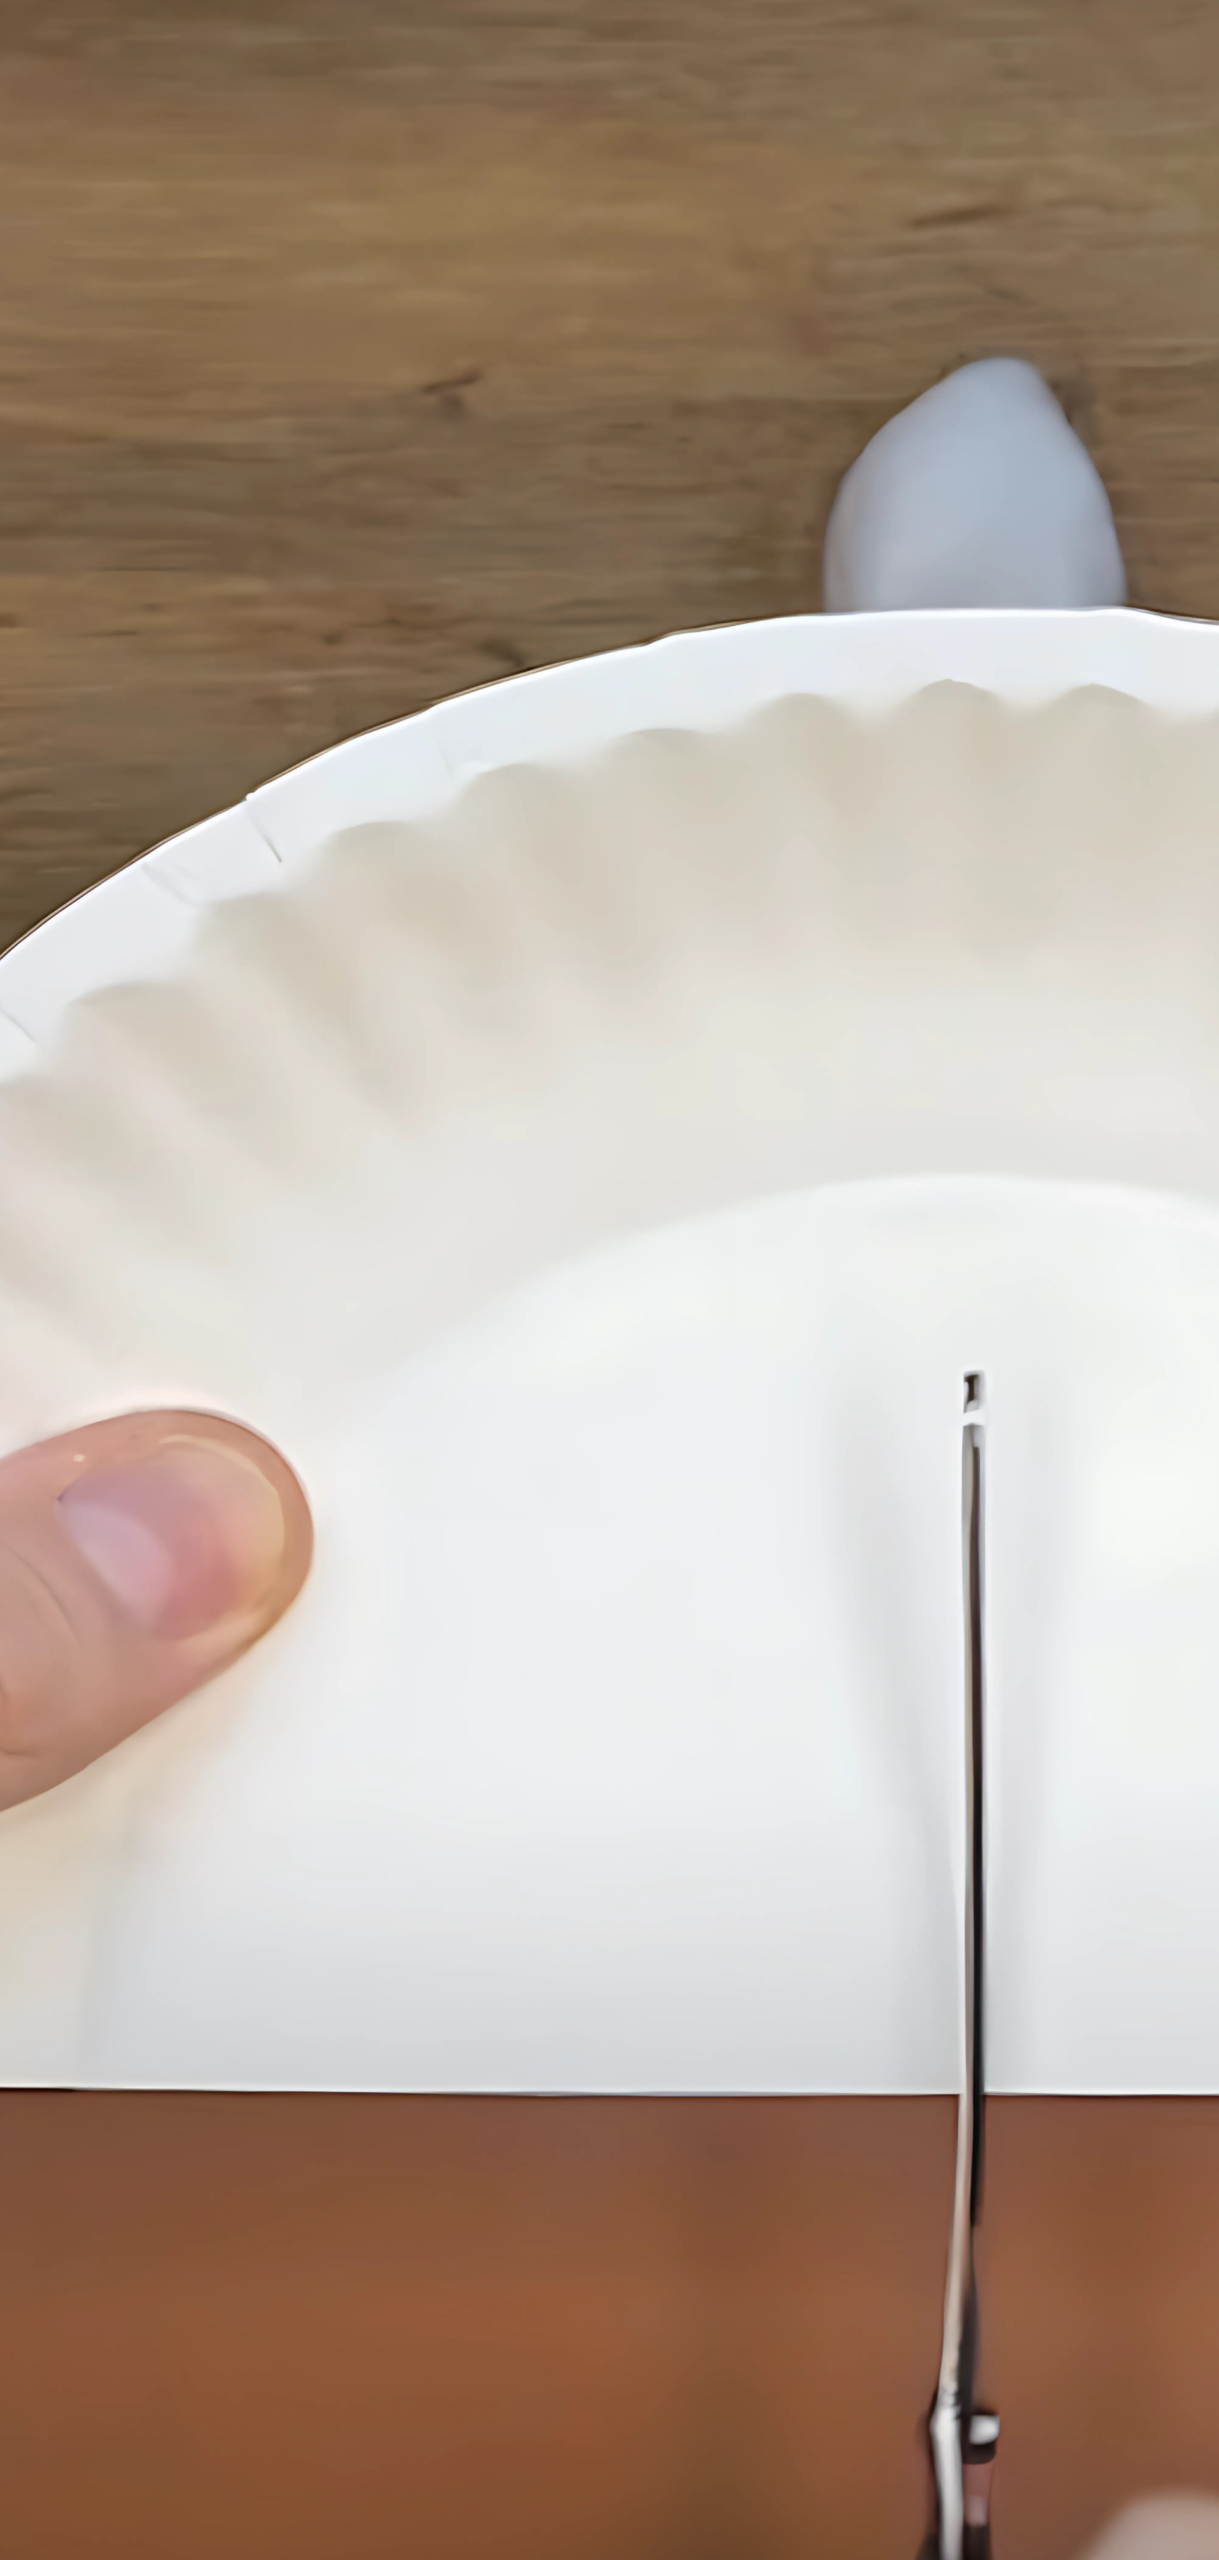
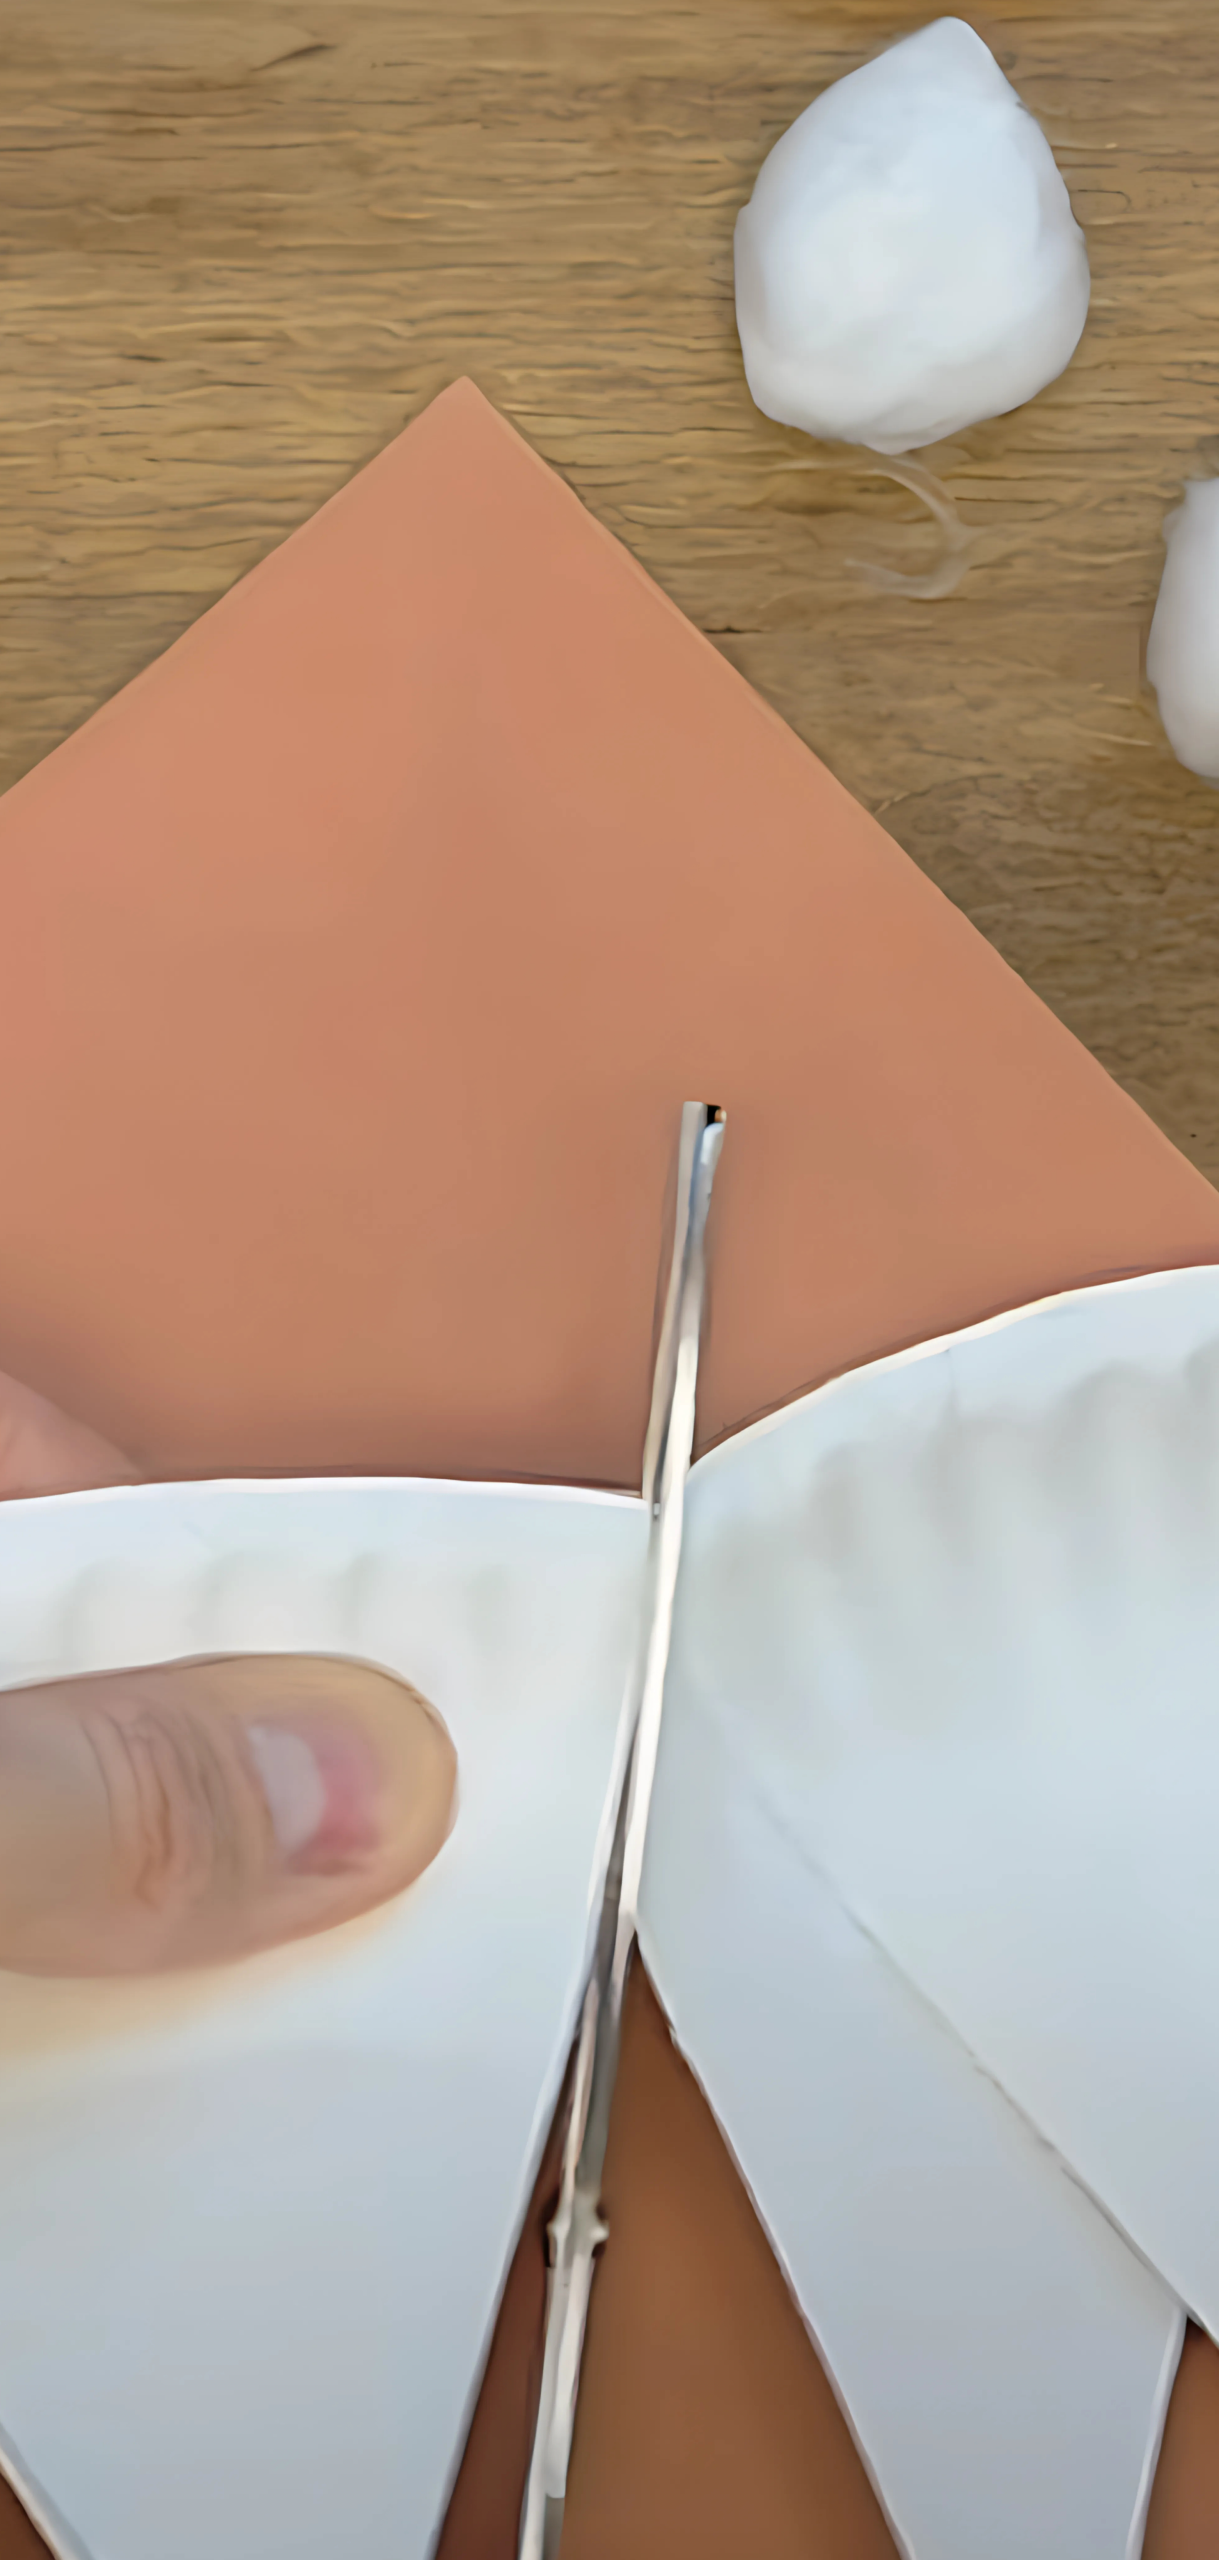
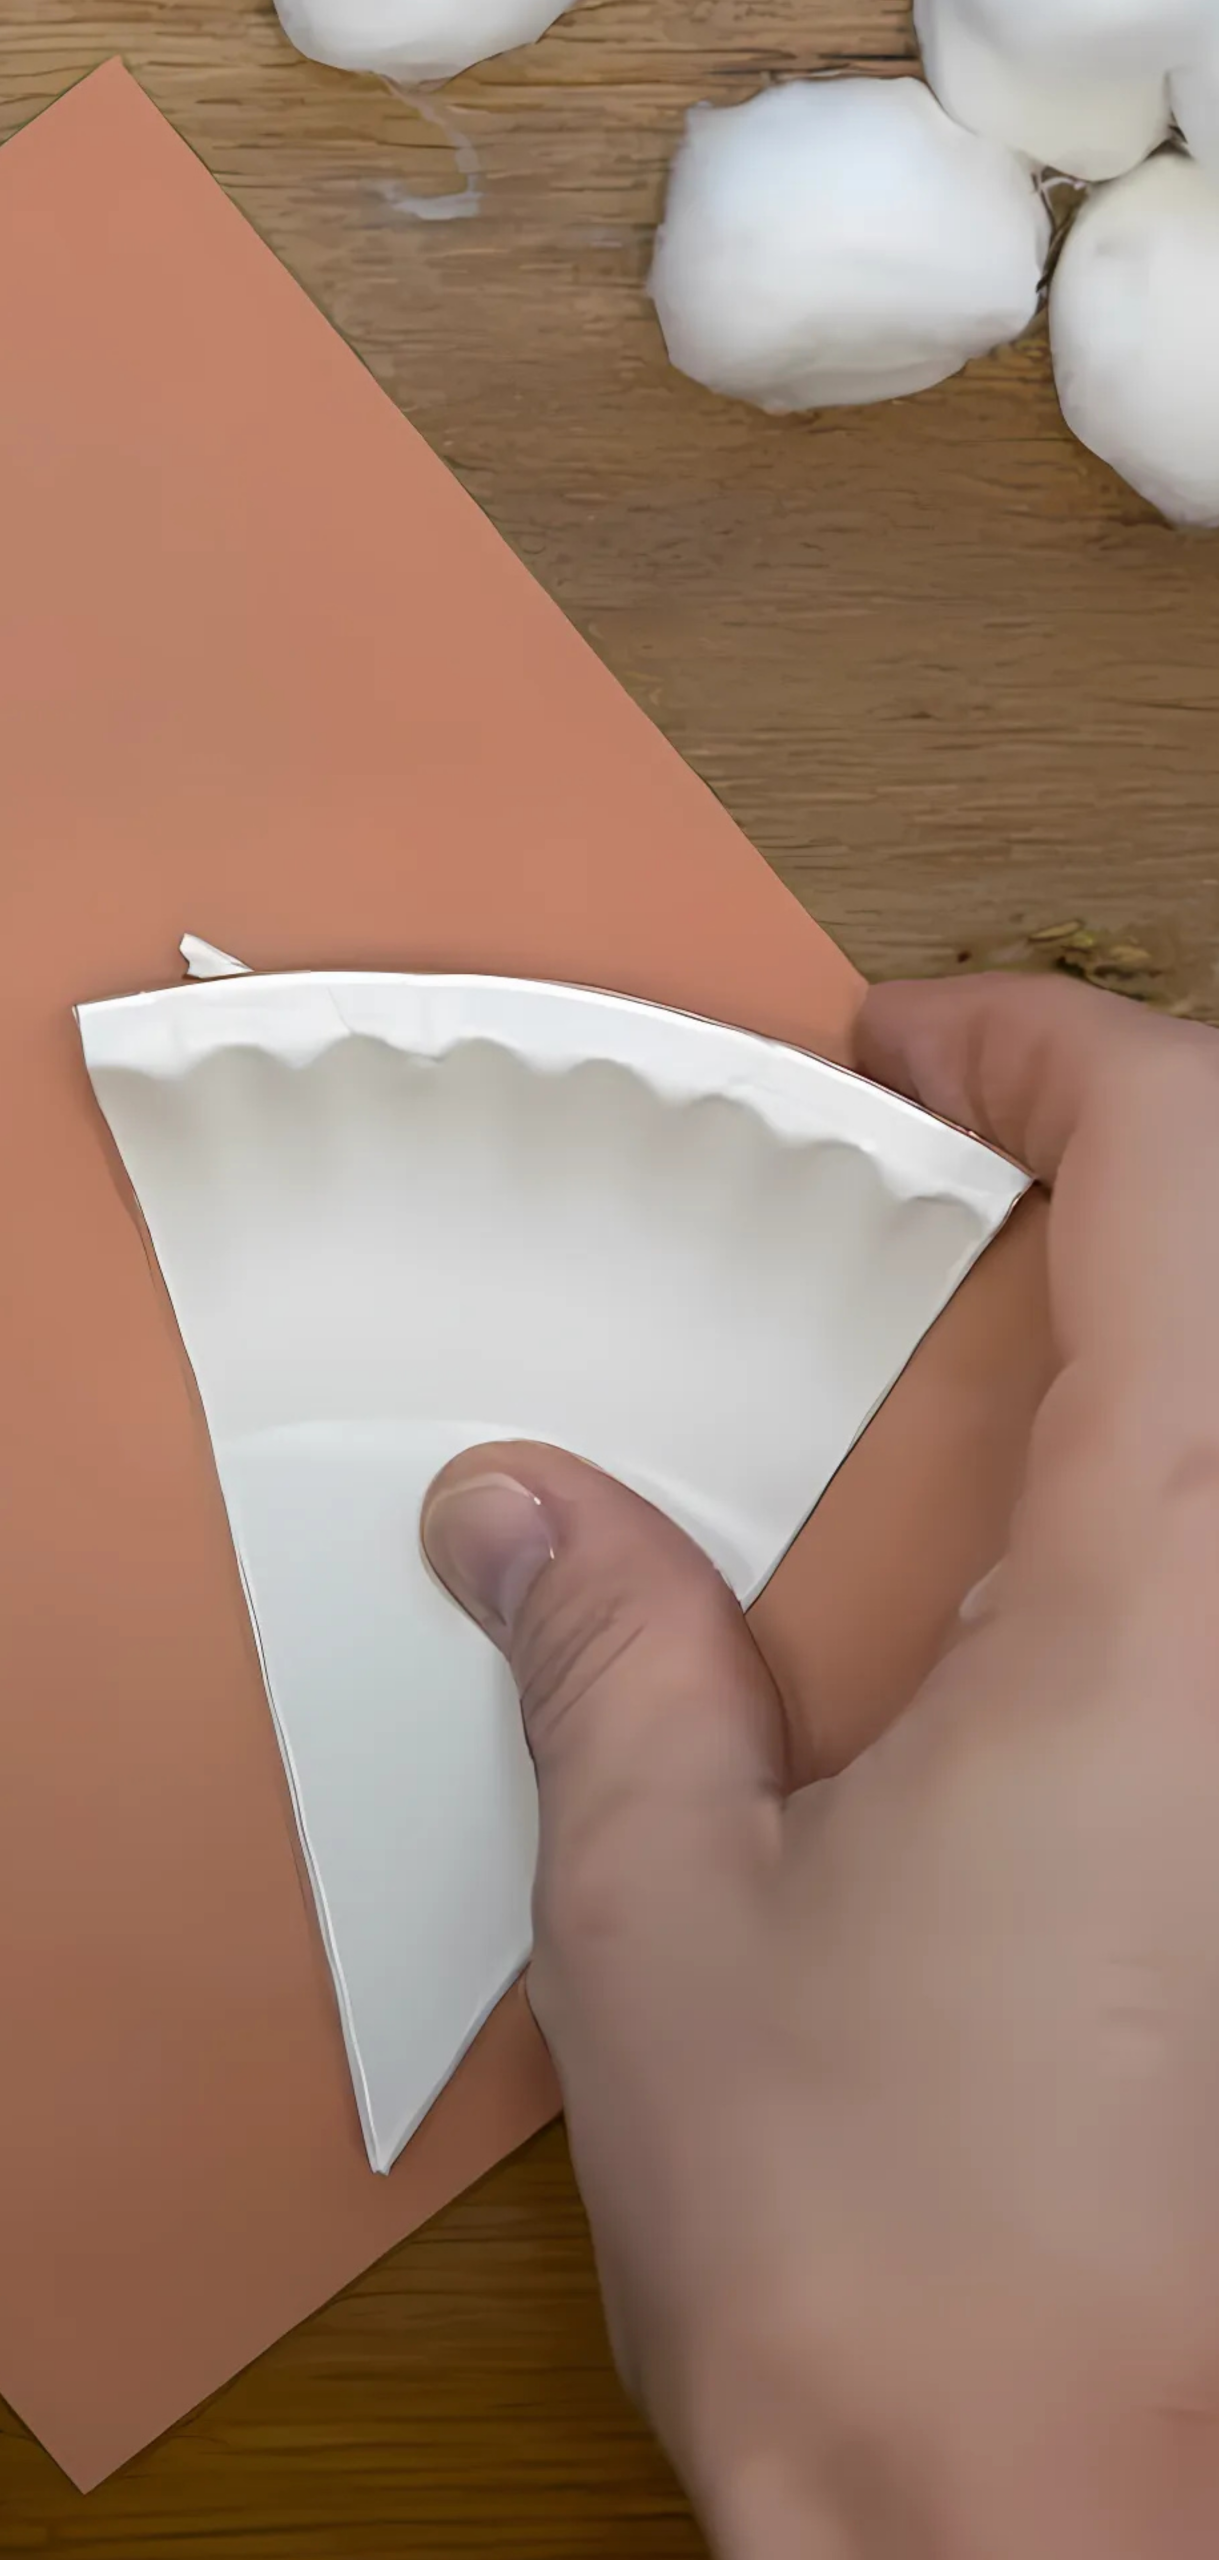
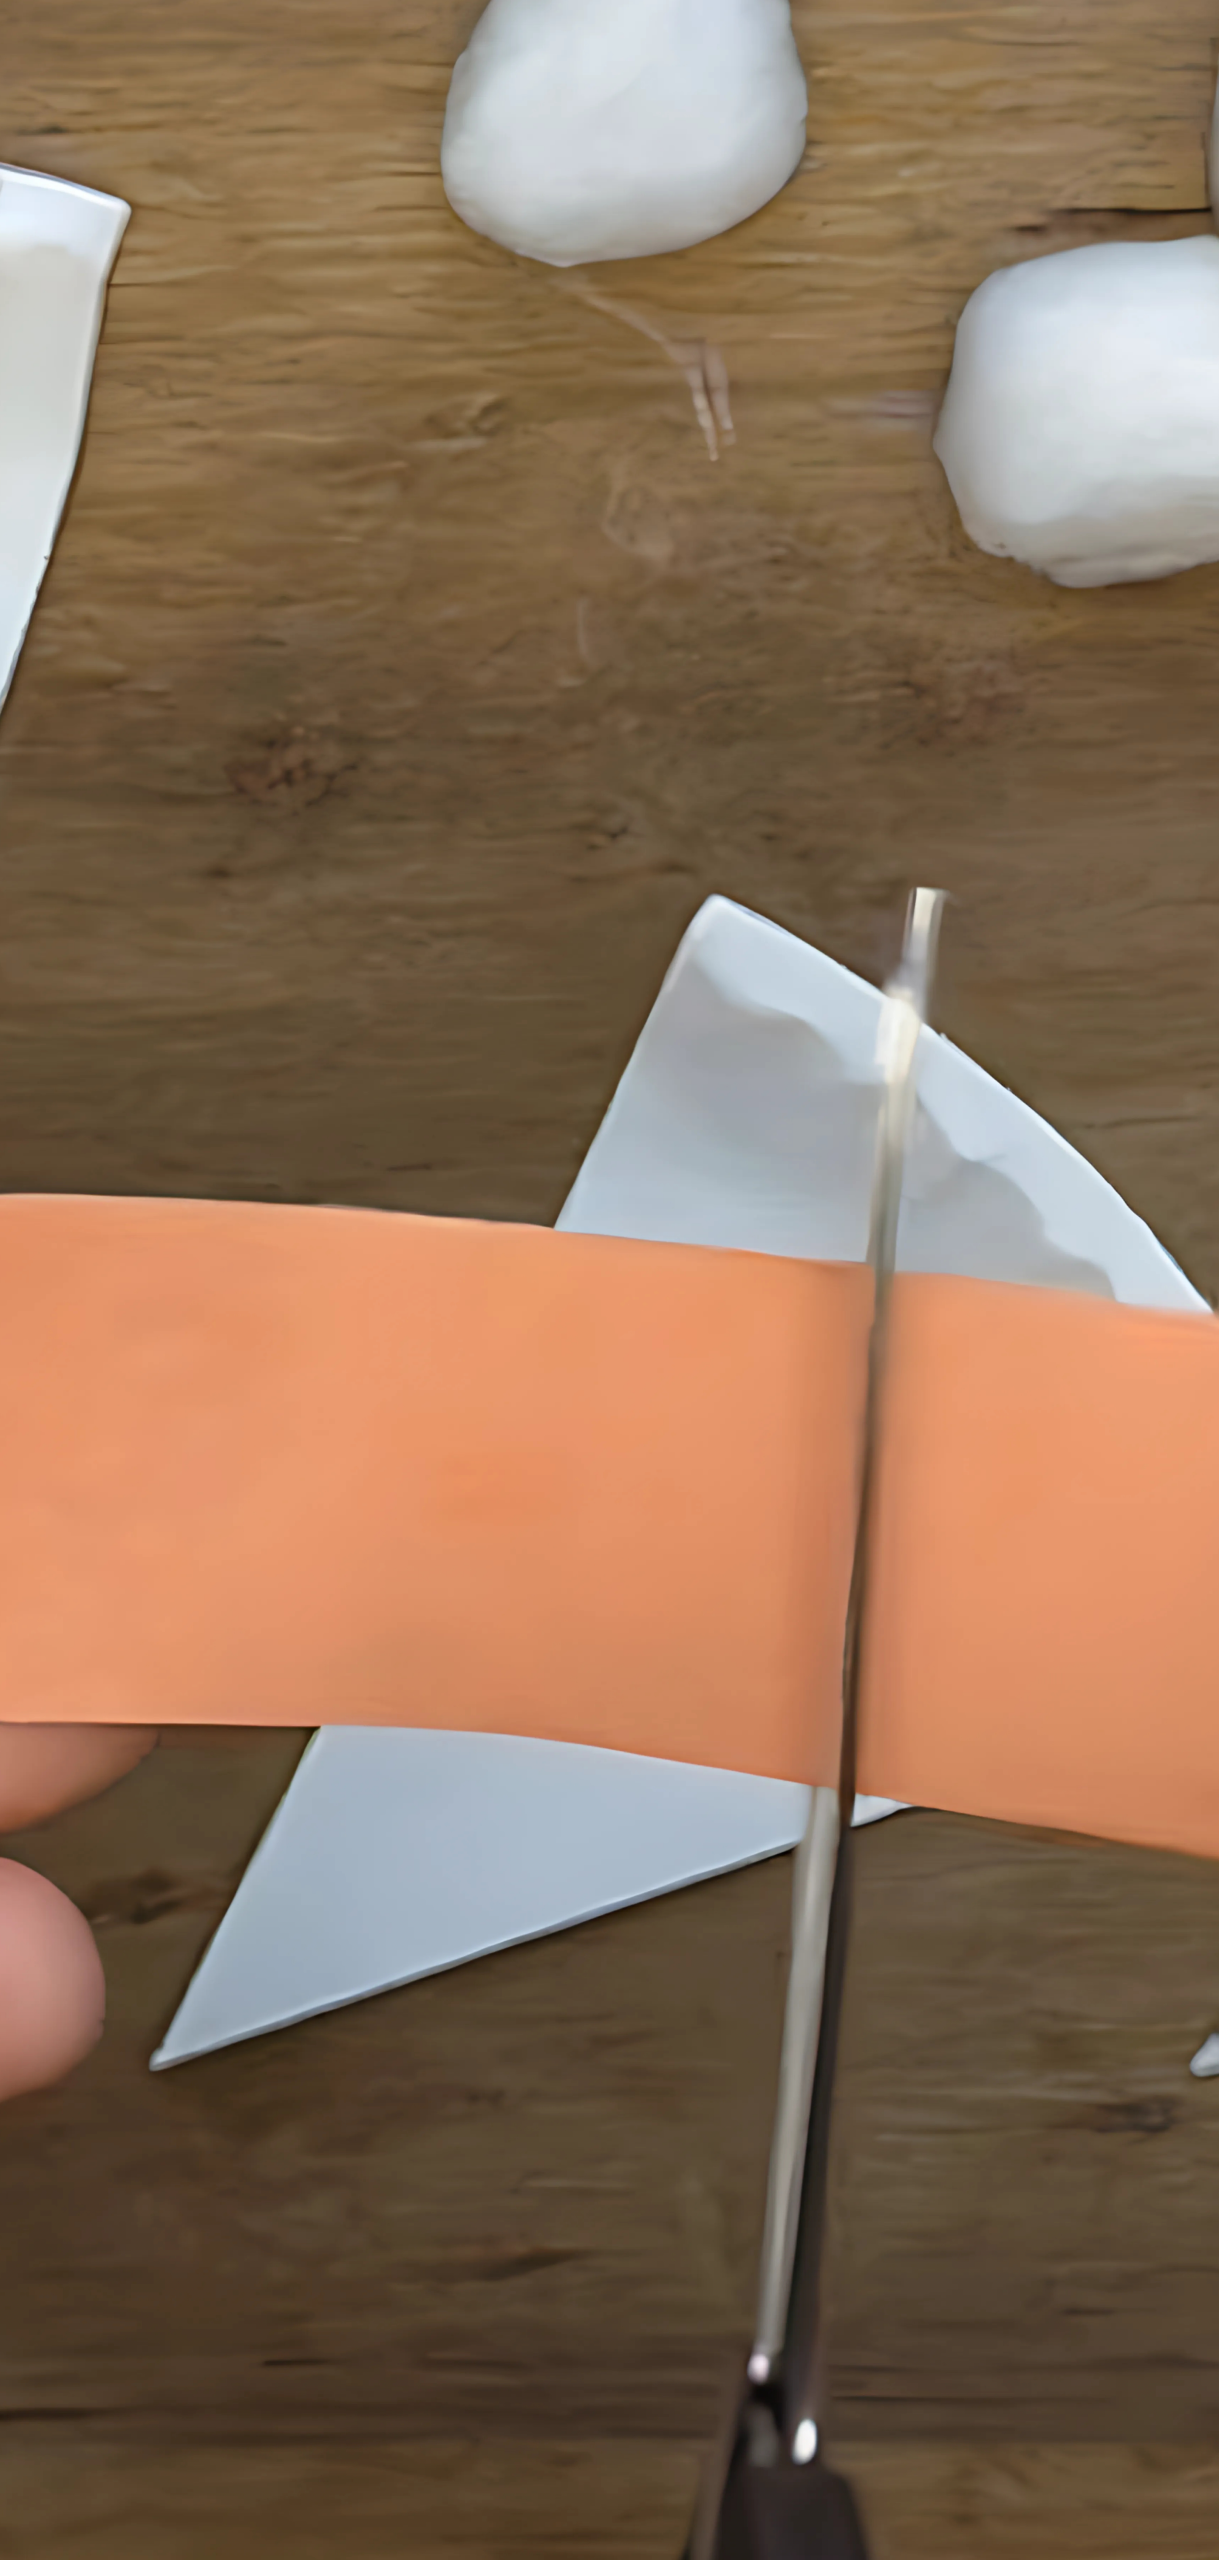
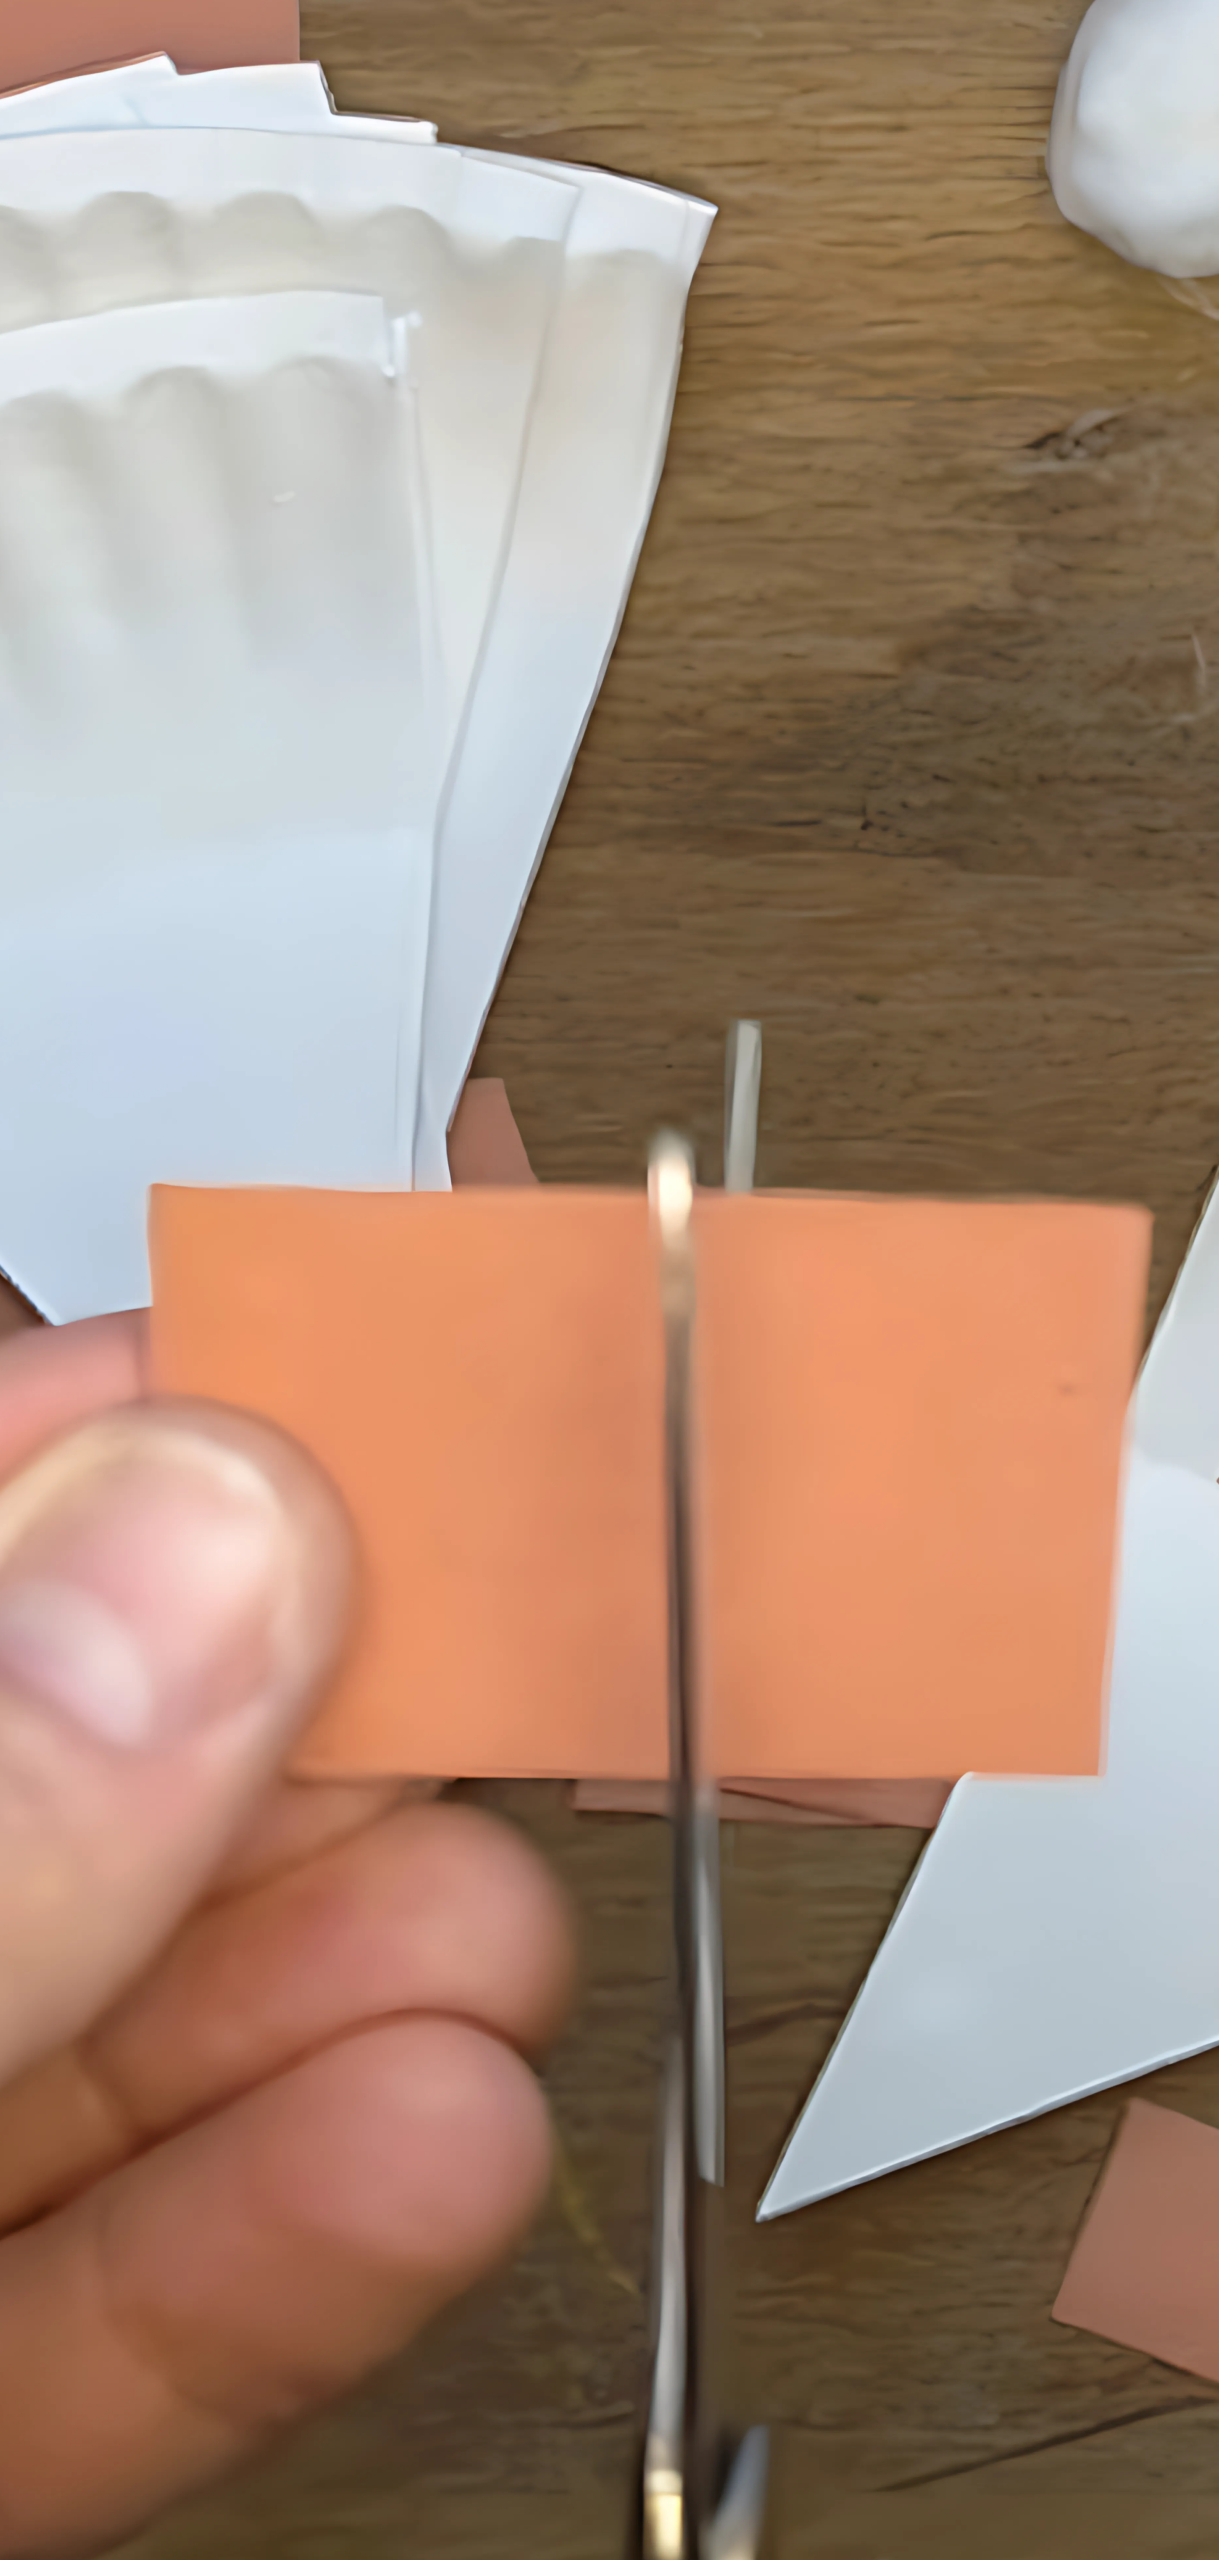
3. Make the Lattice Top
Cut long strips (1/2″–3/4″ wide) from tan paper or plate. Weave the strips in an over-under pattern. Lay across the pie and glue the ends. Trim any excess.
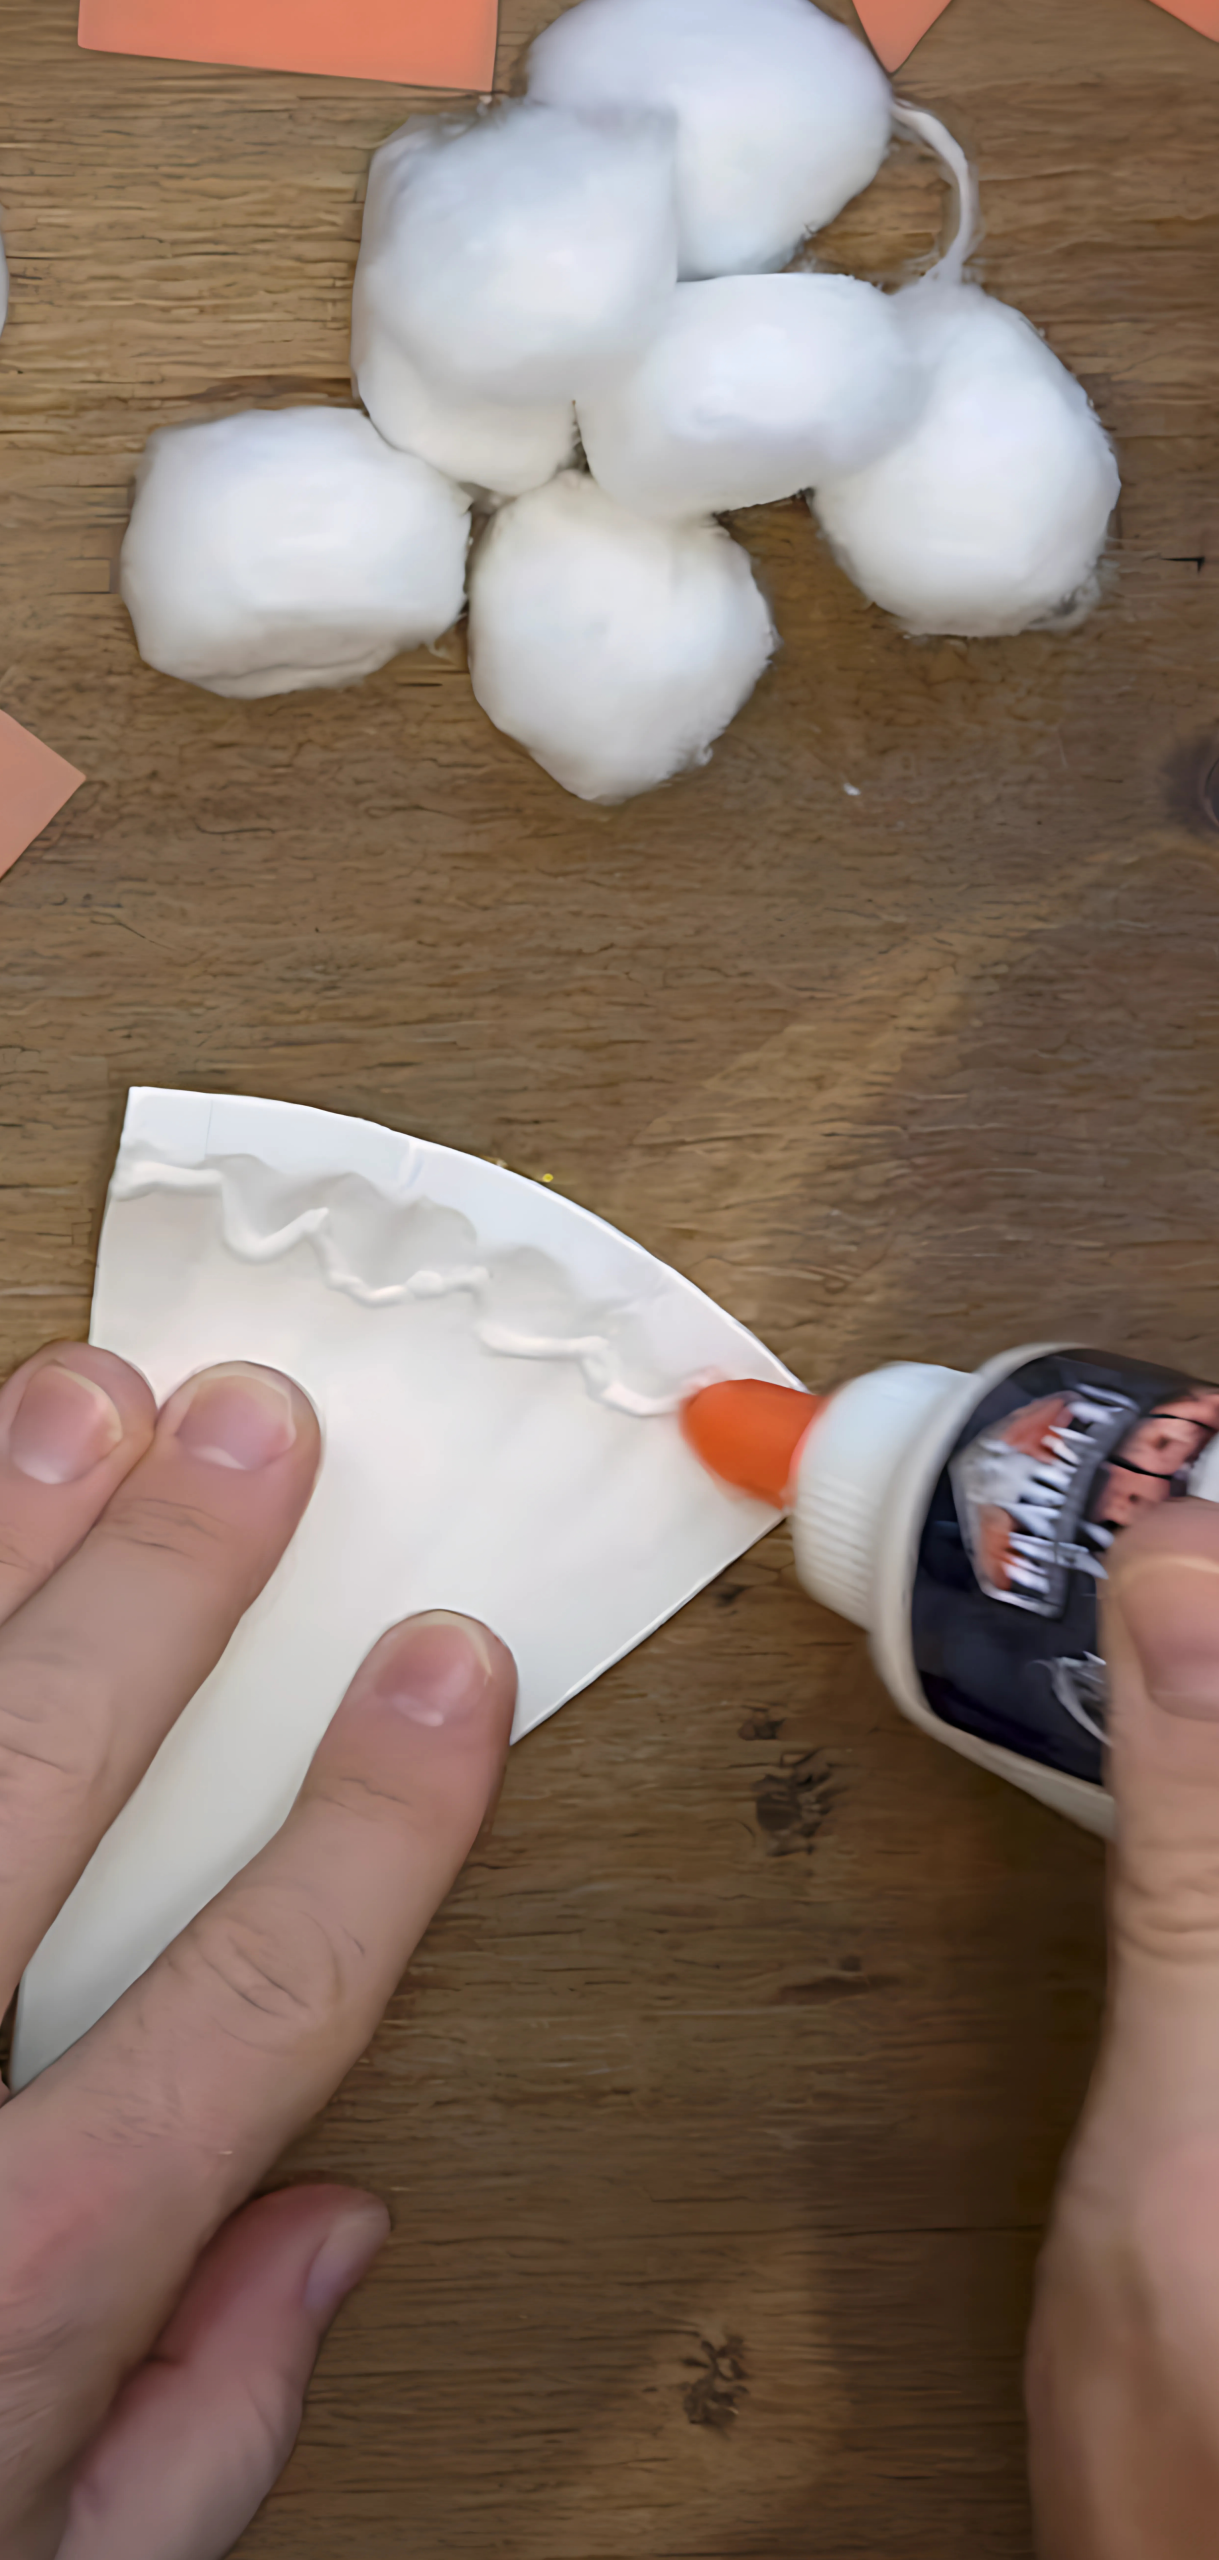
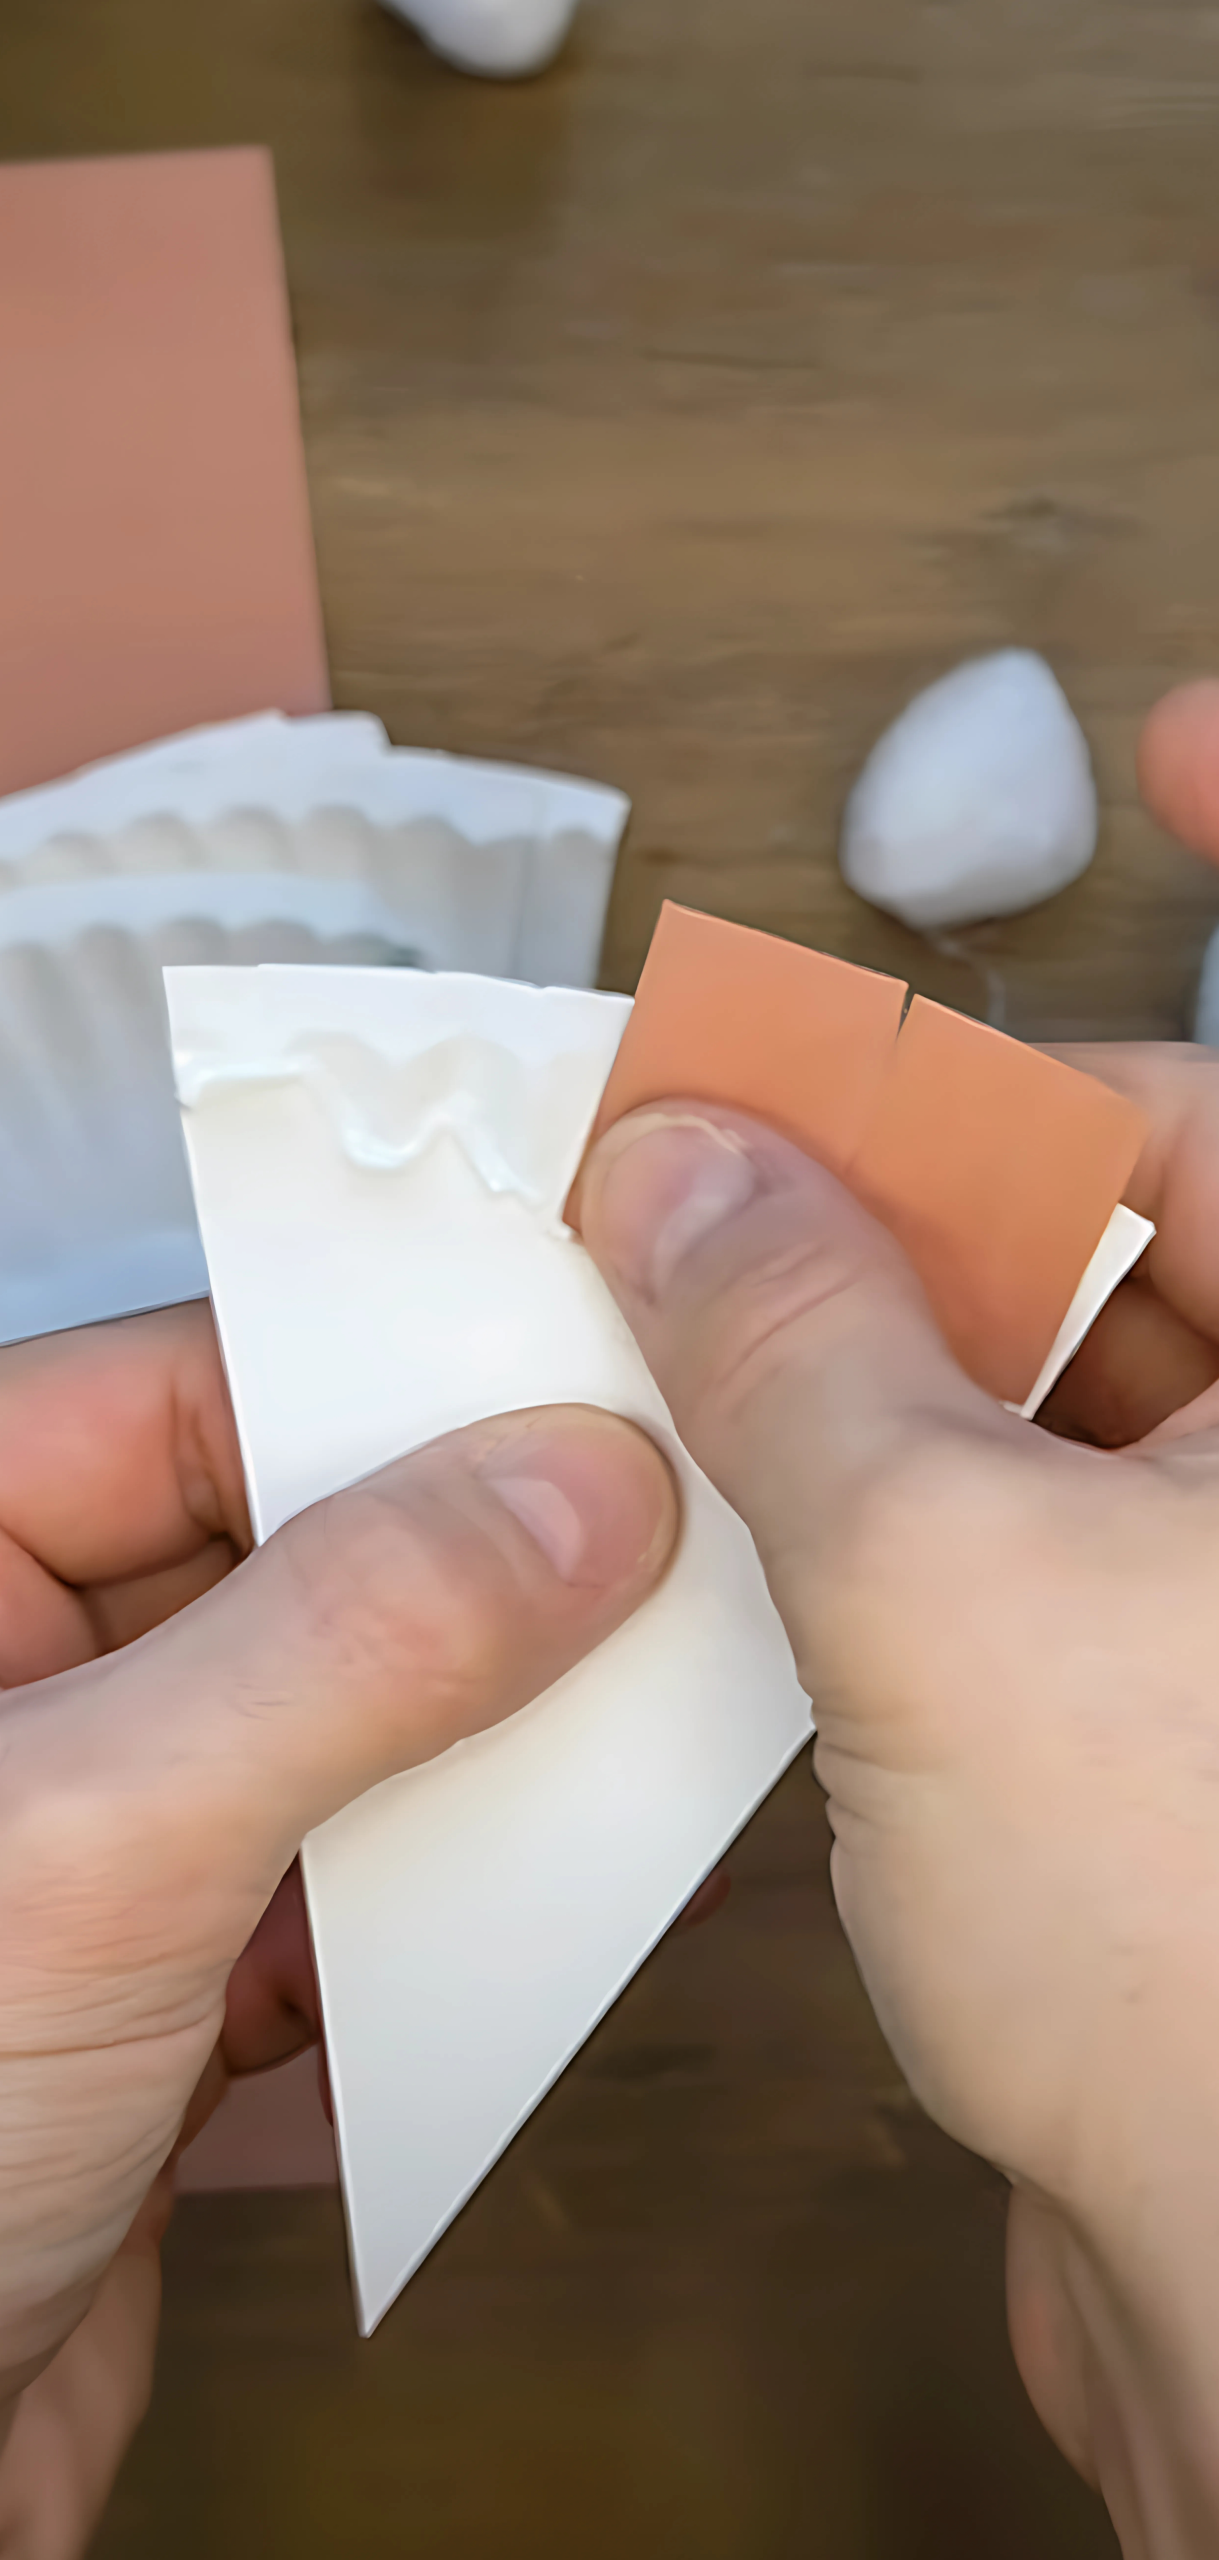
4. Add the Crust Topper

Glue a circular “crust ring” around the lattice top or plate edges for a finished pie look.
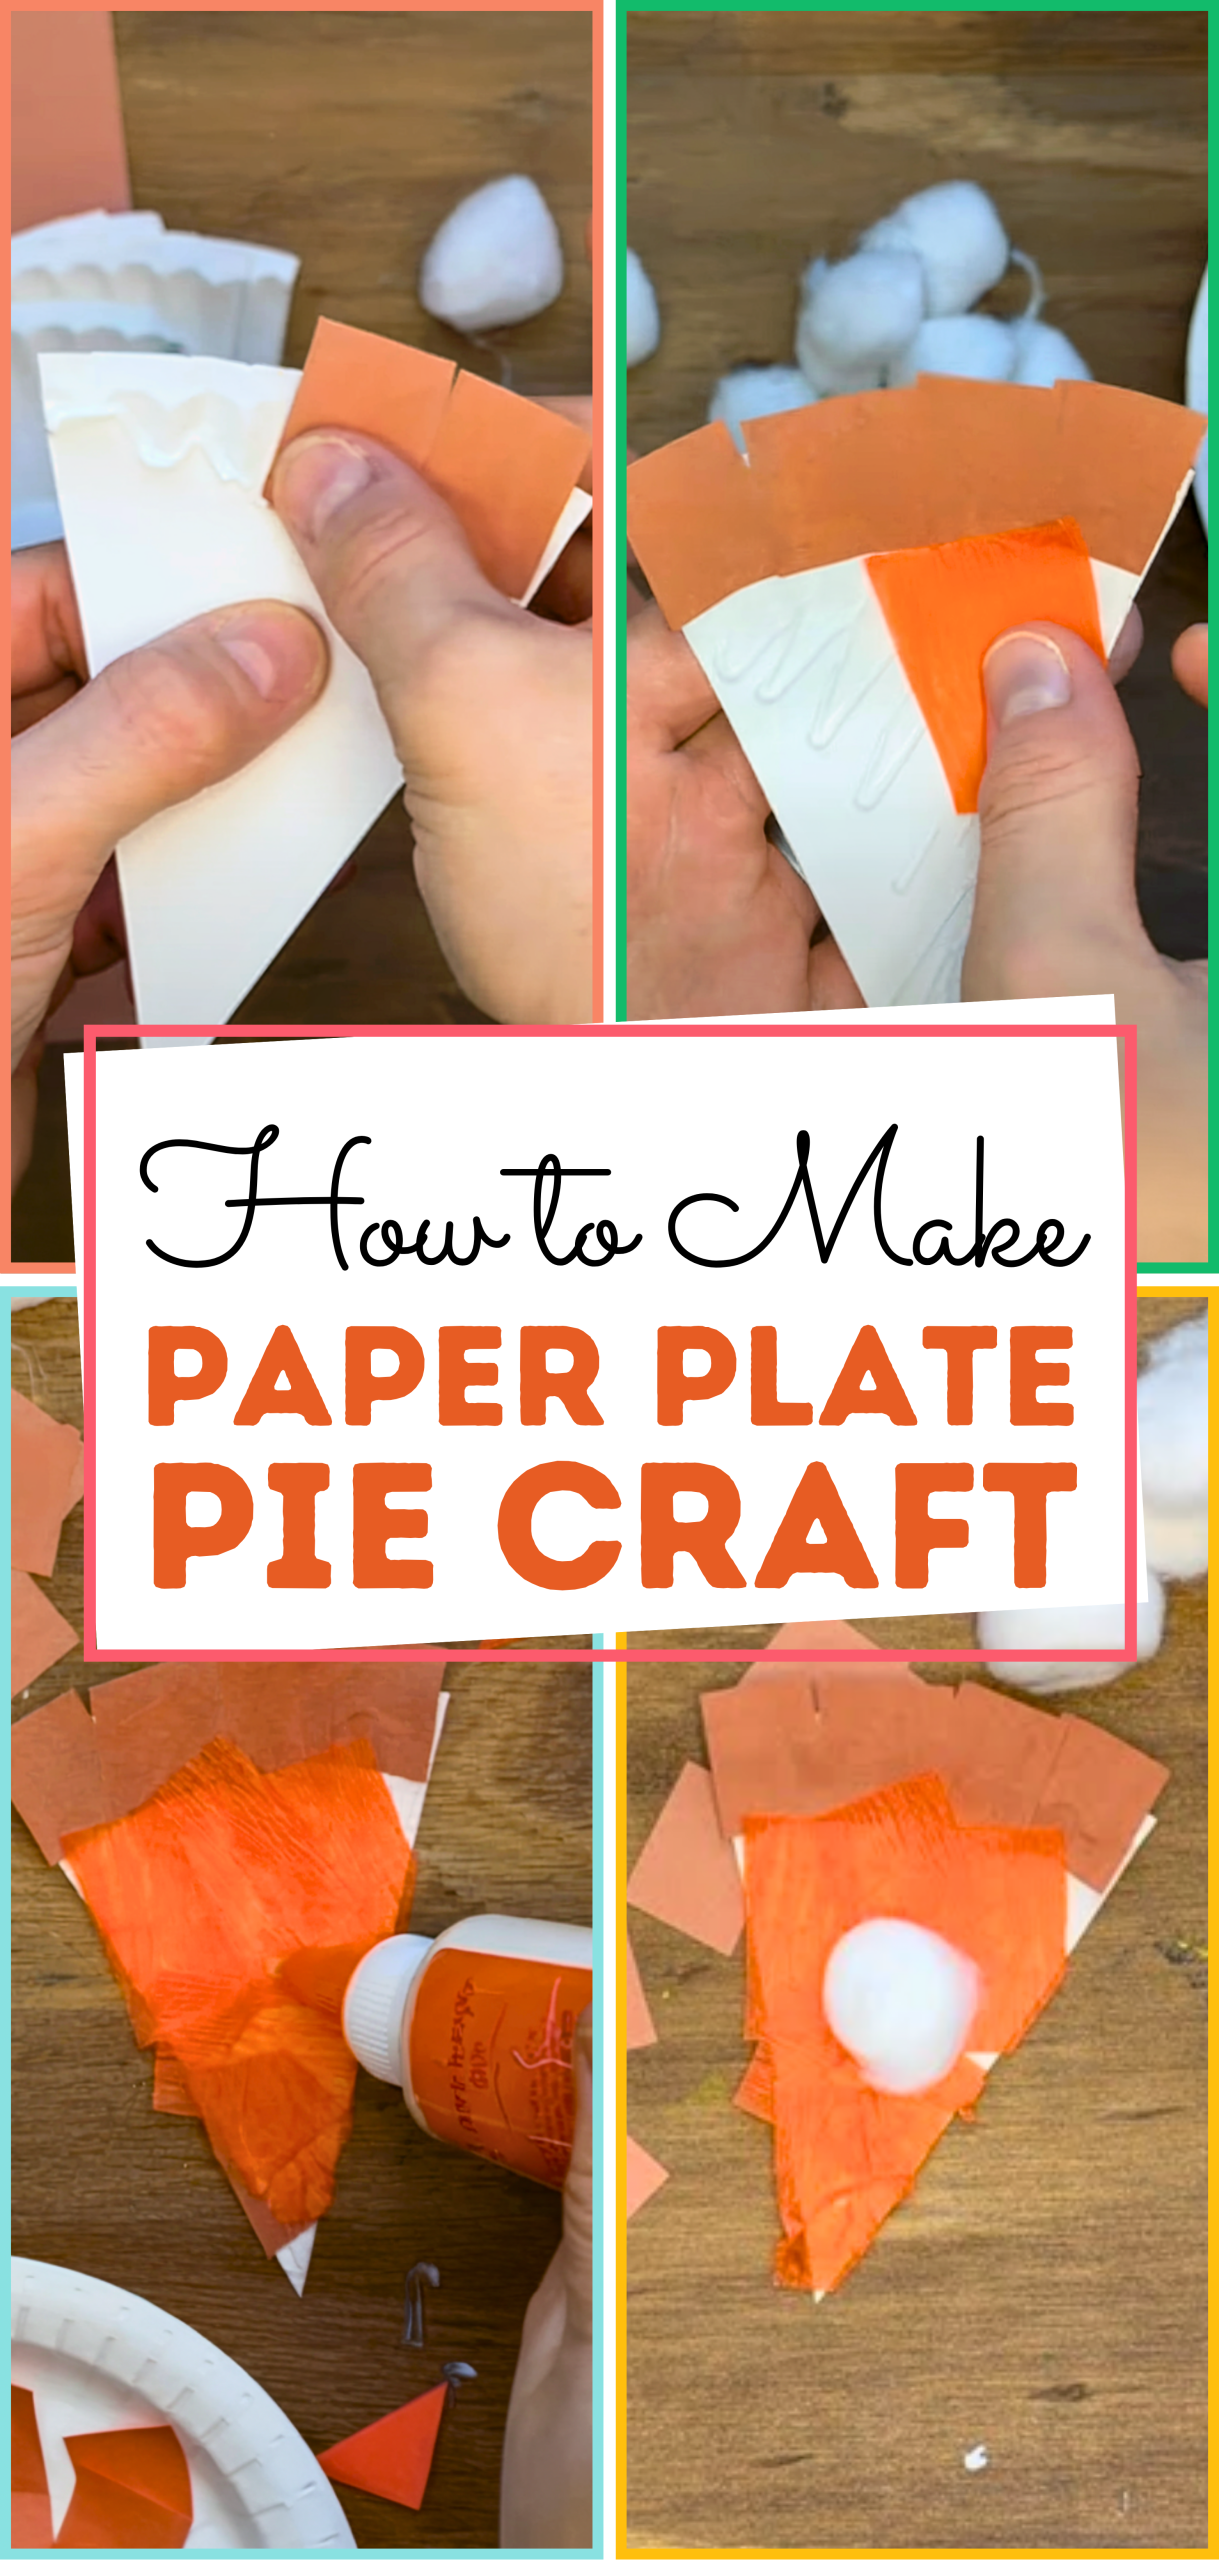
5. Embellish with Toppings
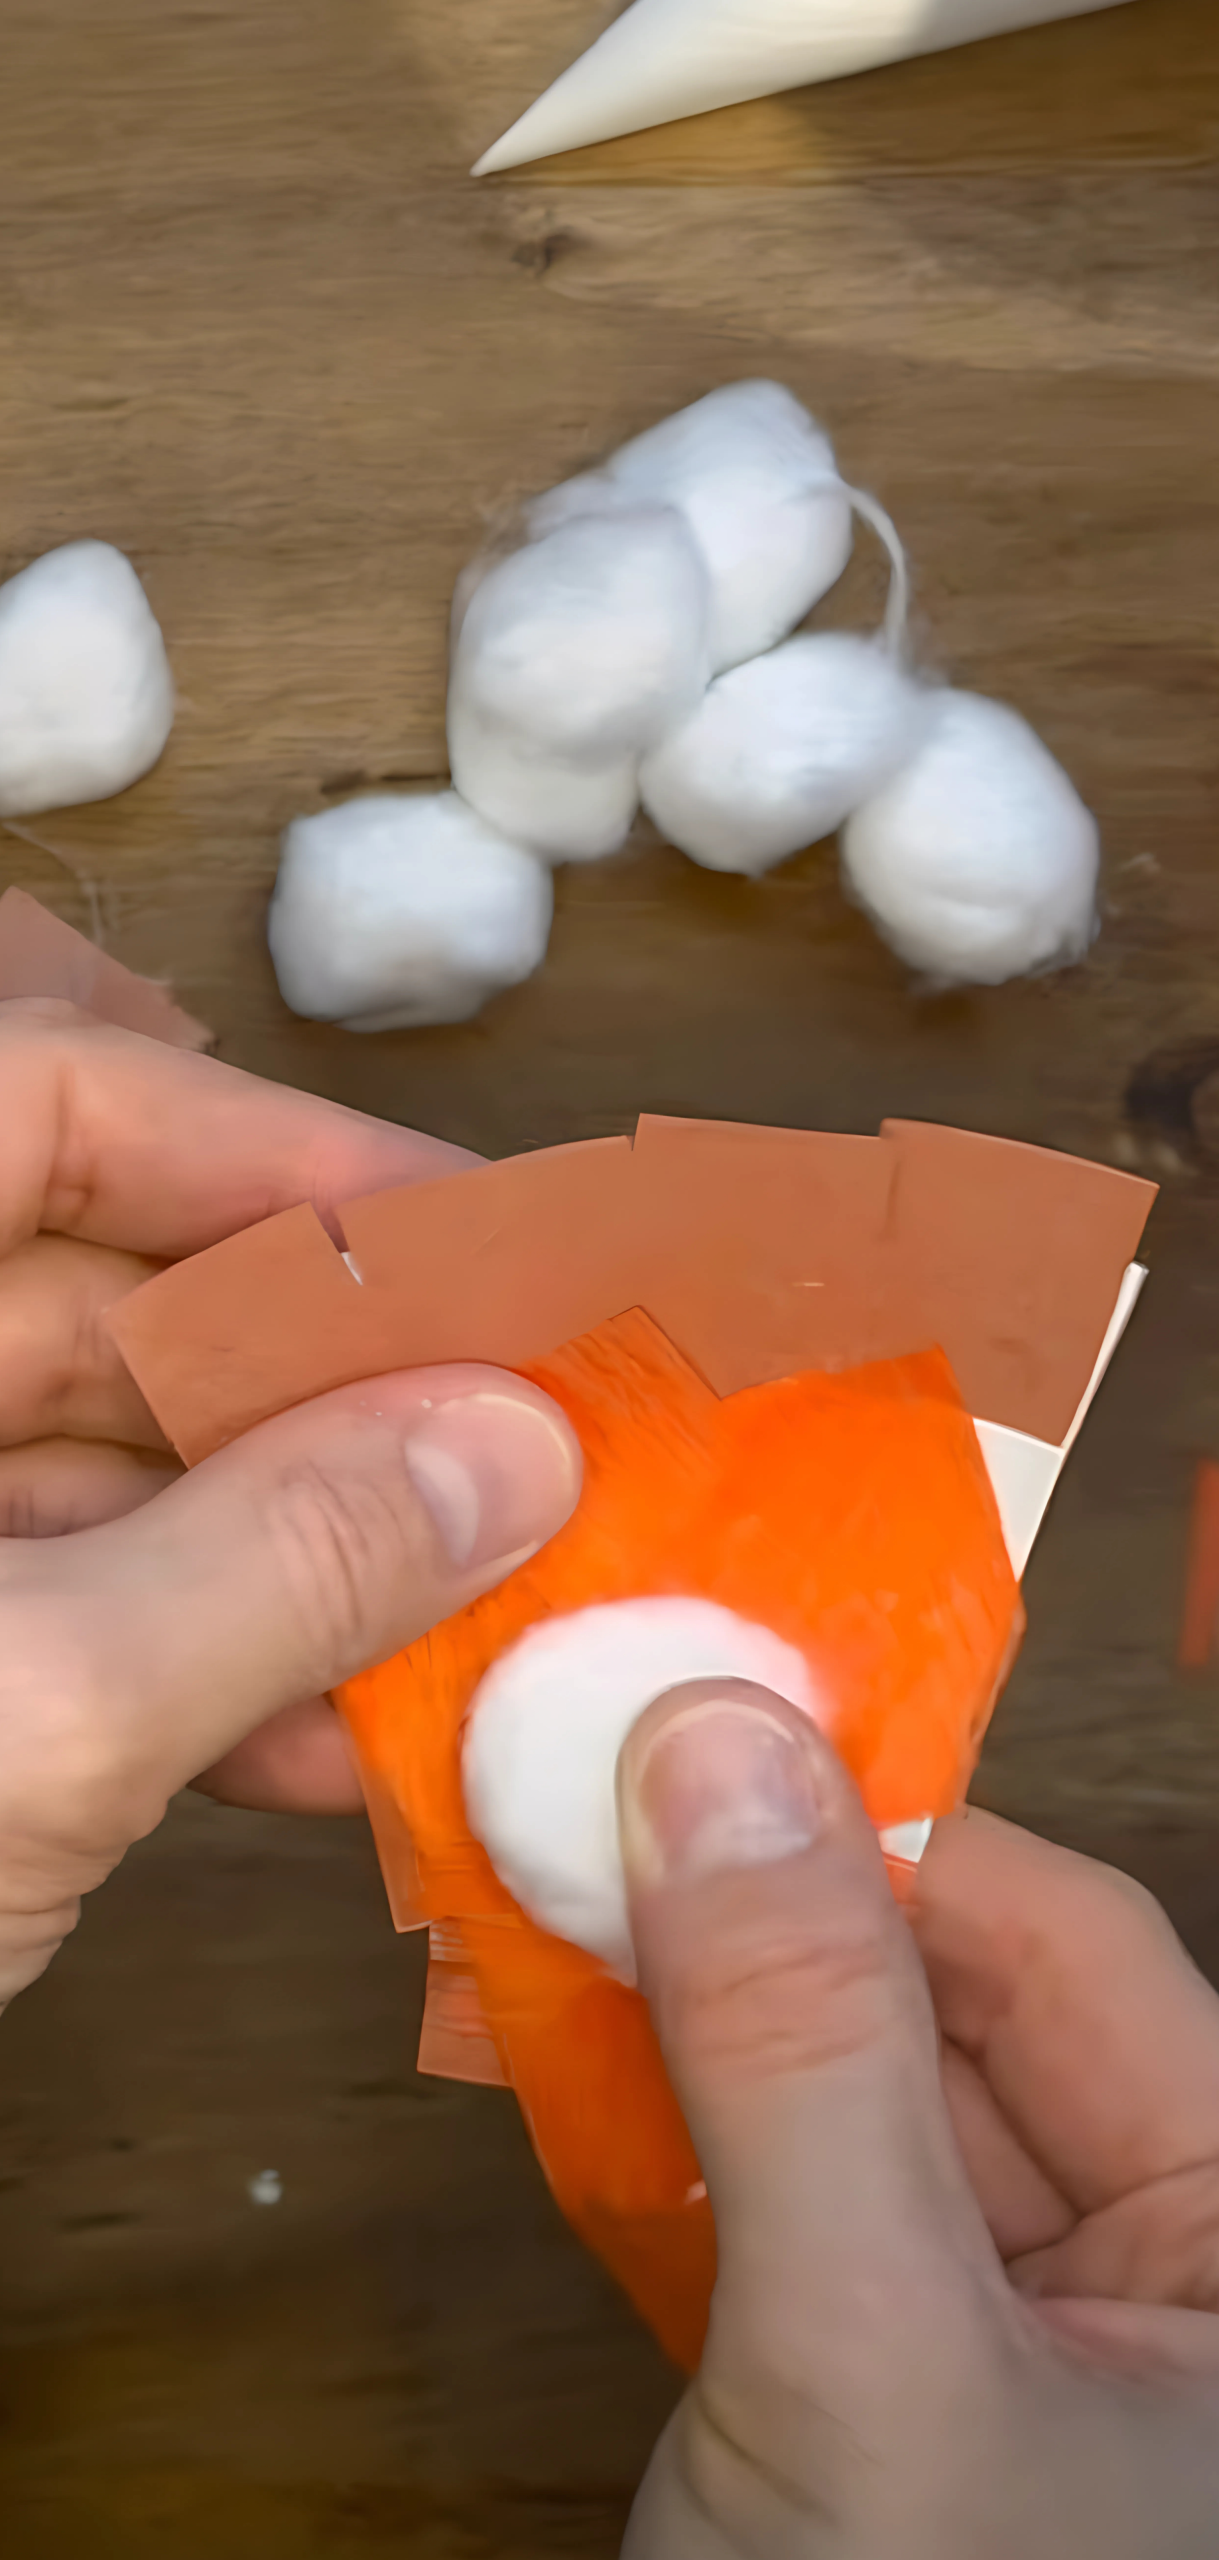
Add cotton ball “whipped cream,” pom-pom cherries, or googly eyes for playful flair.
6. Let It Dry
Allow glue and paint to fully dry before handling or displaying.
Pro Tips
- Use a backpack: Place a tray or old newspaper underneath to contain any mess.
- Tailor for holidays: Switch colors for seasonal themes.
- Add texture: Sprinkle cinnamon on pumpkin pies or glue mini beads as pie “seeds.”
- Group projects: I use small plates to make slices of a larger communal pie, they are also perfect for many classroom crafts.
FAQs About Paper Plate Pies
What plate sizes work best?
Dinner-size plates (9–10″) are ideal, but smaller ones are fun for pie slices or garlands.
Painting vs. paper collage?
Paint dries fast and looks smooth; construction paper offers texture and is great for younger kids.
How do I store these?
Lay flat until completely dry. Then store in a large envelope or folder, easy to take out as décor.
Can these be scented?
Yes, add cinnamon or orange oil to paint for a realistic aroma.
Age range?
Perfect for children 4+. Young kids will need help with weaving; older kids and adults can add details.
How long do they last?
These crafts can last for seasons.
Conclusion
You’ve made a beautiful paper plate pie craft that’s fun to make with your kids and easy. Perfect for classrooms, parties, or holiday décor, these paper pies make great shared projects with kids. Add texture or customized toppings to bring each pie to life. Want printable templates or pie-themed party ideas? Just say the word; I’d love to help.