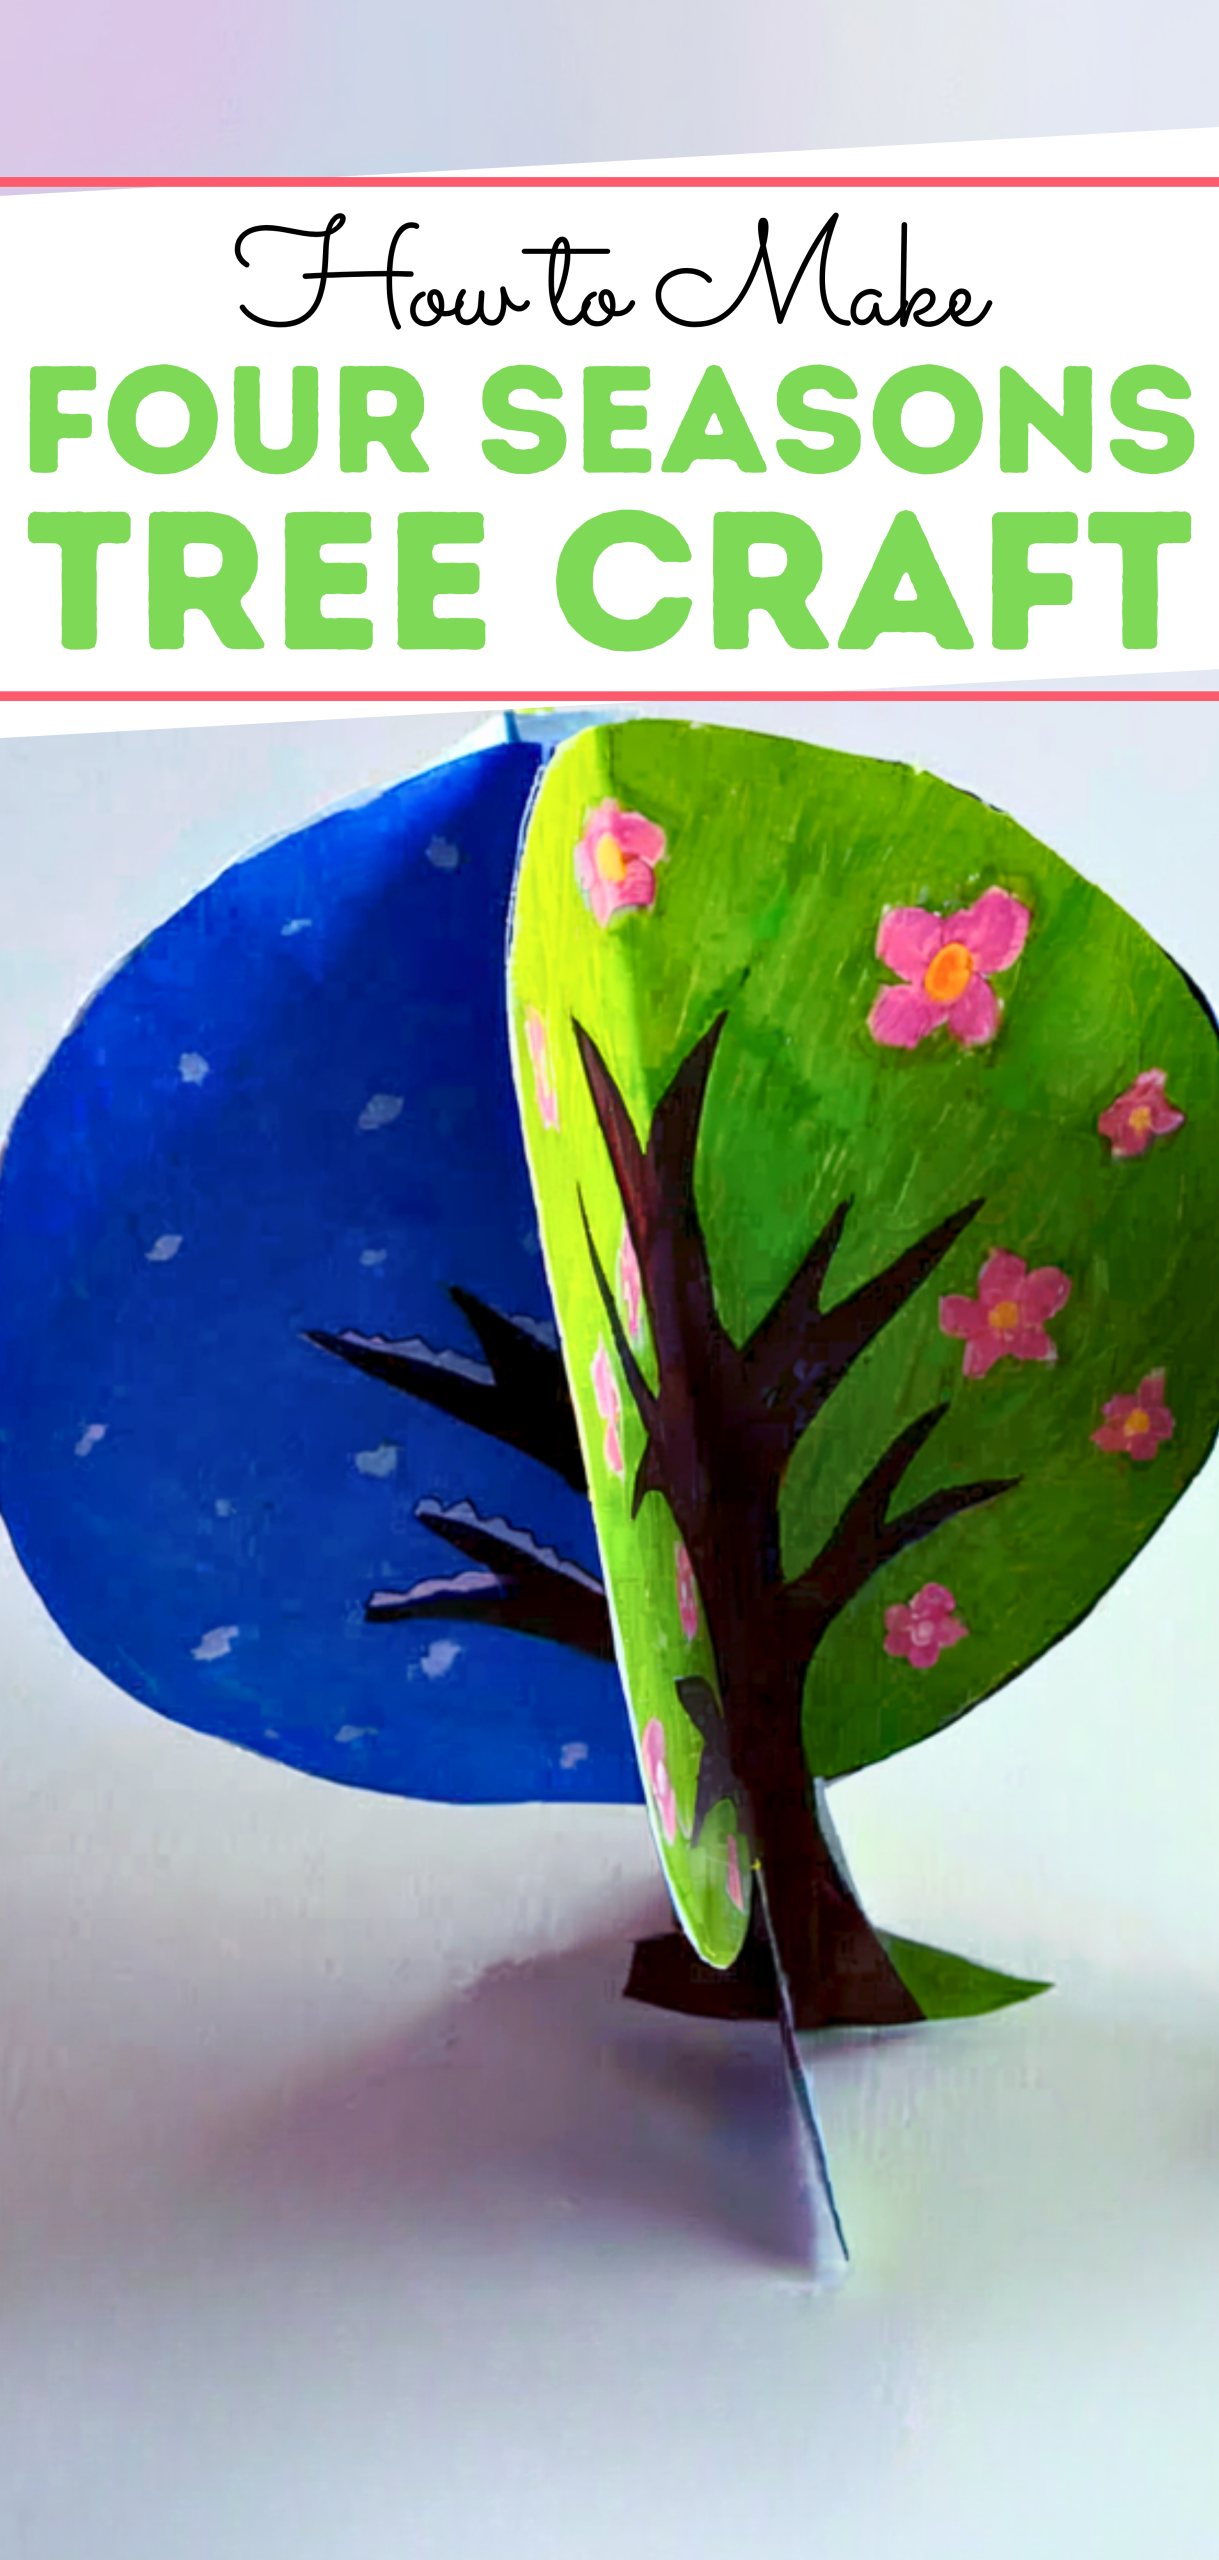
Join the fastest growing Craft community on Pinterest!
I’ve always wanted a simple way to show my little kids how nature transforms by seasons, but flipping through books never really captured their attention, as you know, kids like markers and pens. That’s when I discovered the Four Seasons Tree Craft that instantly makes the changing seasons come alive. Since I already shared my Paper Plate Pie Craft on my beautiful blog, I knew this was the perfect next step to keep their creativity flowing. And let me tell you, I was hooked when I saw how one tree could magically shift from spring to winter snow.
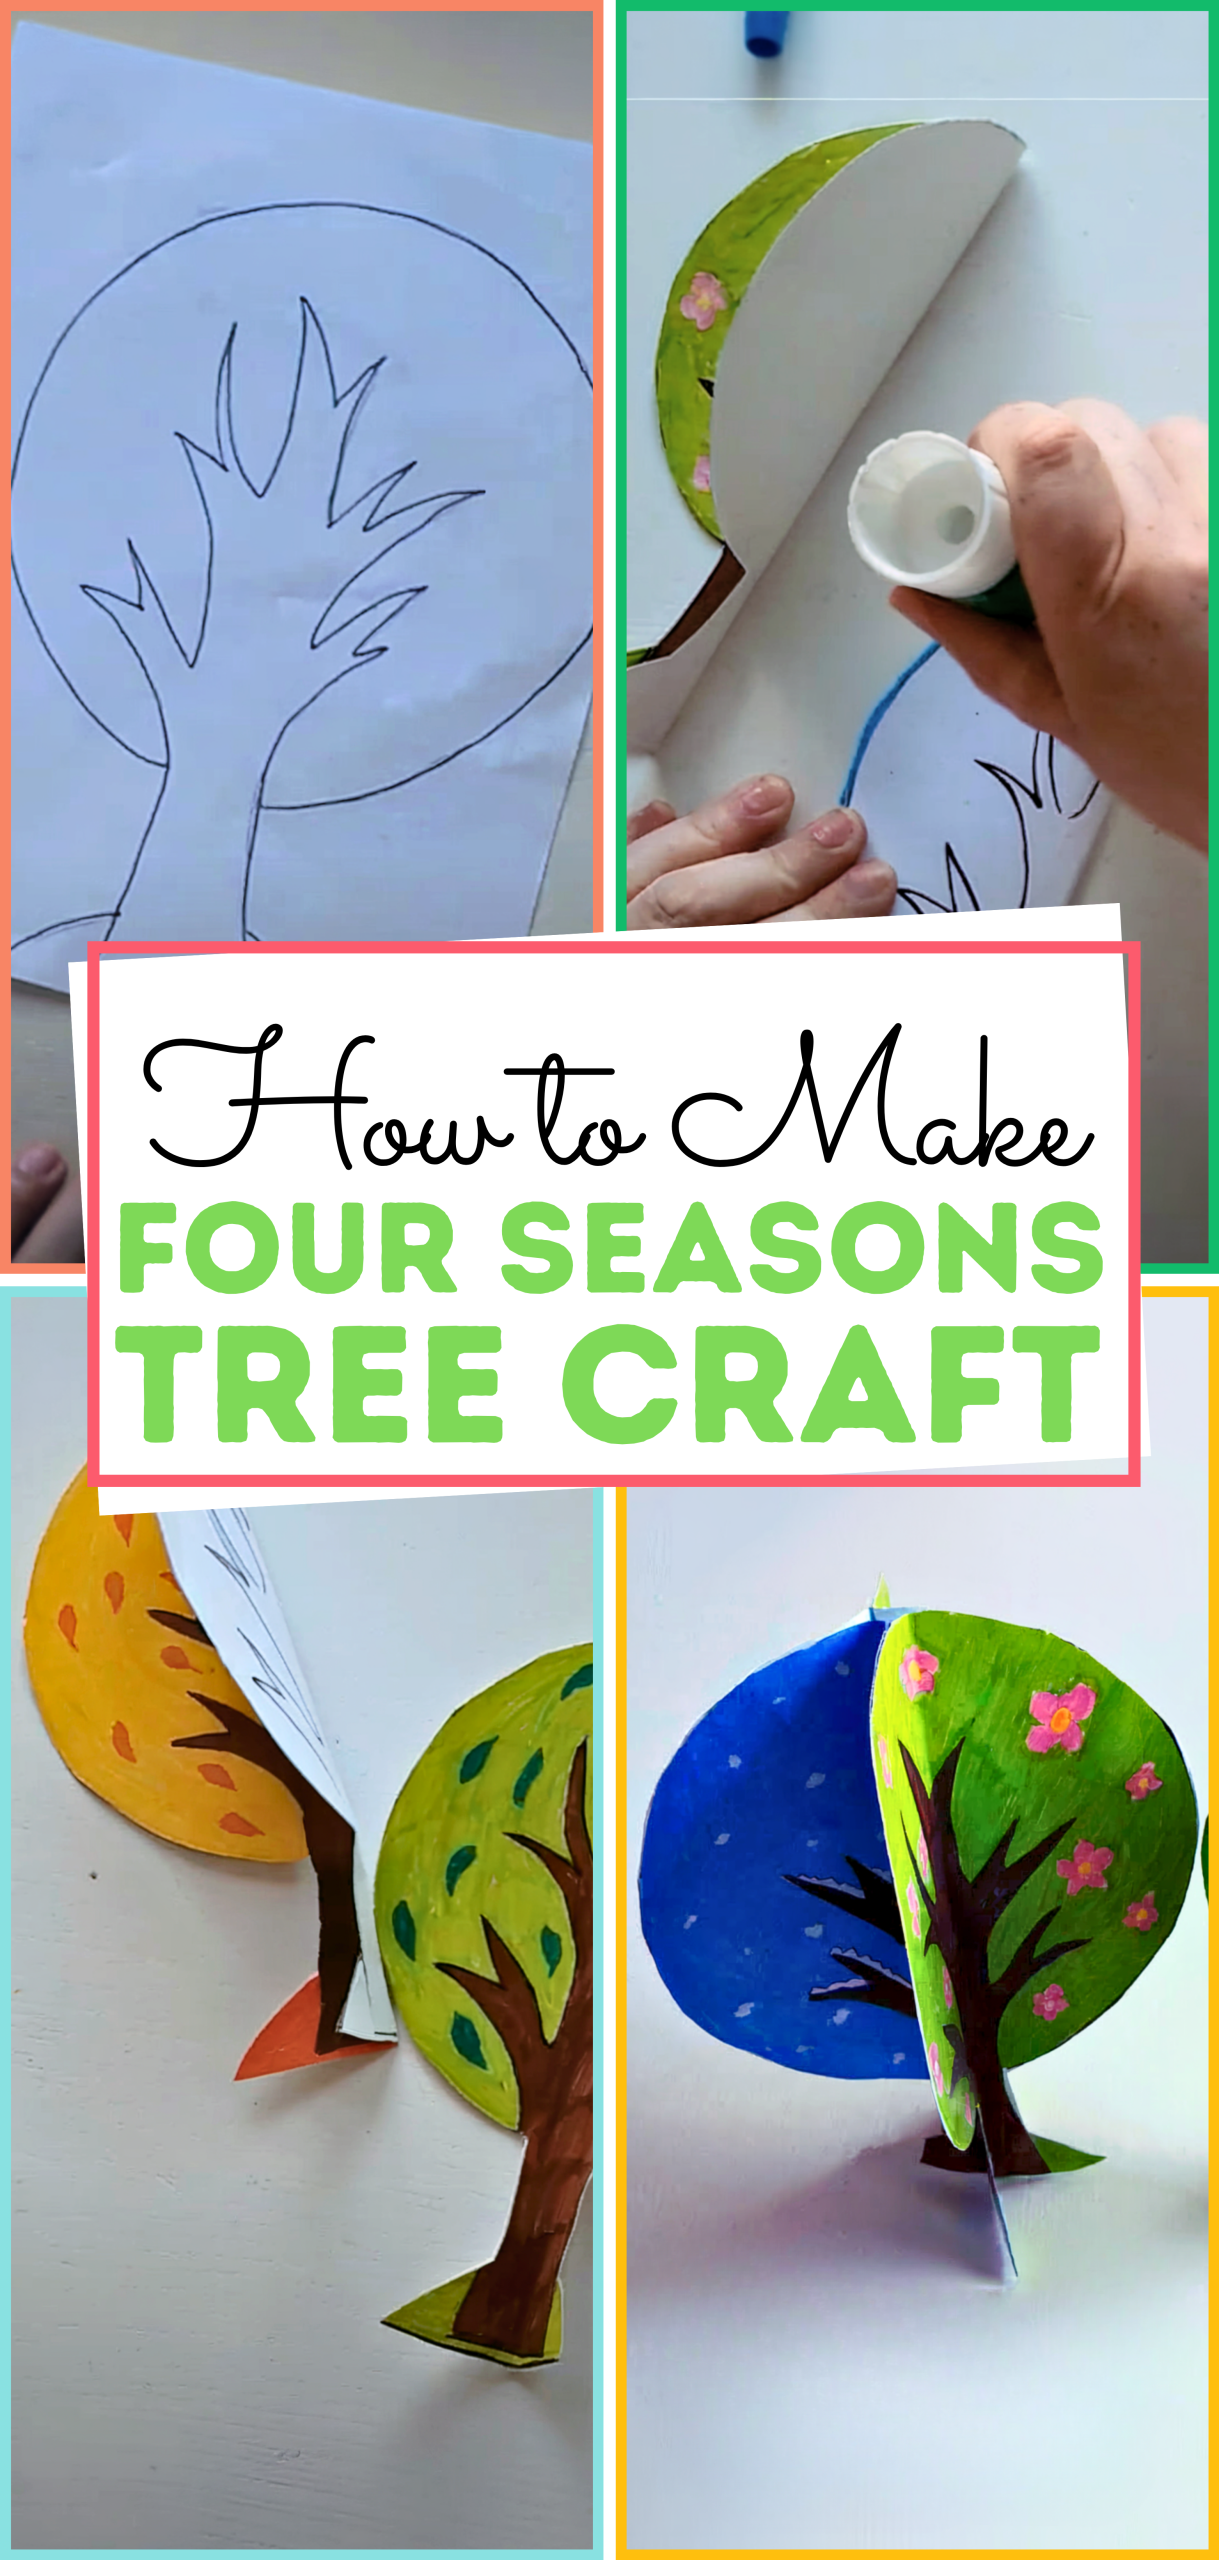
At first, I wondered if it might be too tricky since there are four seasons however, with just one tree template, my little ones could watch and enjoy blooms and soft spring pastels, turn into rich summer greens, burst into fiery fall oranges, and finally rest under a blanket of snowy blues. The best part? Despite coloring some pages, my kids were creating their own story. Each leaf and snowflake became part of their version of the year, which made the project feel personal and meaningful.
By the end, the Four Seasons Tree Craft had solved my problem perfectly: no more dull explanations about weather changes. My kids made an educational artwork that I may display on my refrigerator with pride (if I have space). Above all, especially for preschoolers who wish to pique their curiosity, the finest crafts are those that blend enjoyment and education.
What You Will Need
- Construction paper or sturdy art paper
- Paints (temperas or watercolors) or craft materials for each season:
- Spring: pink & white blossoms (bubble wrap or fingerprint paint)
- Summer: lush green leaves (paint or torn green paper)
- Fall: orange, red, yellow leaves (torn or punched paper bits)
- Winter: white snow or bare branches using white paint or cotton balls
- Bubble wrap or toilet-paper roll
- Rubber bands plus glue and scissors
How to make a Four Seasons Tree Craft
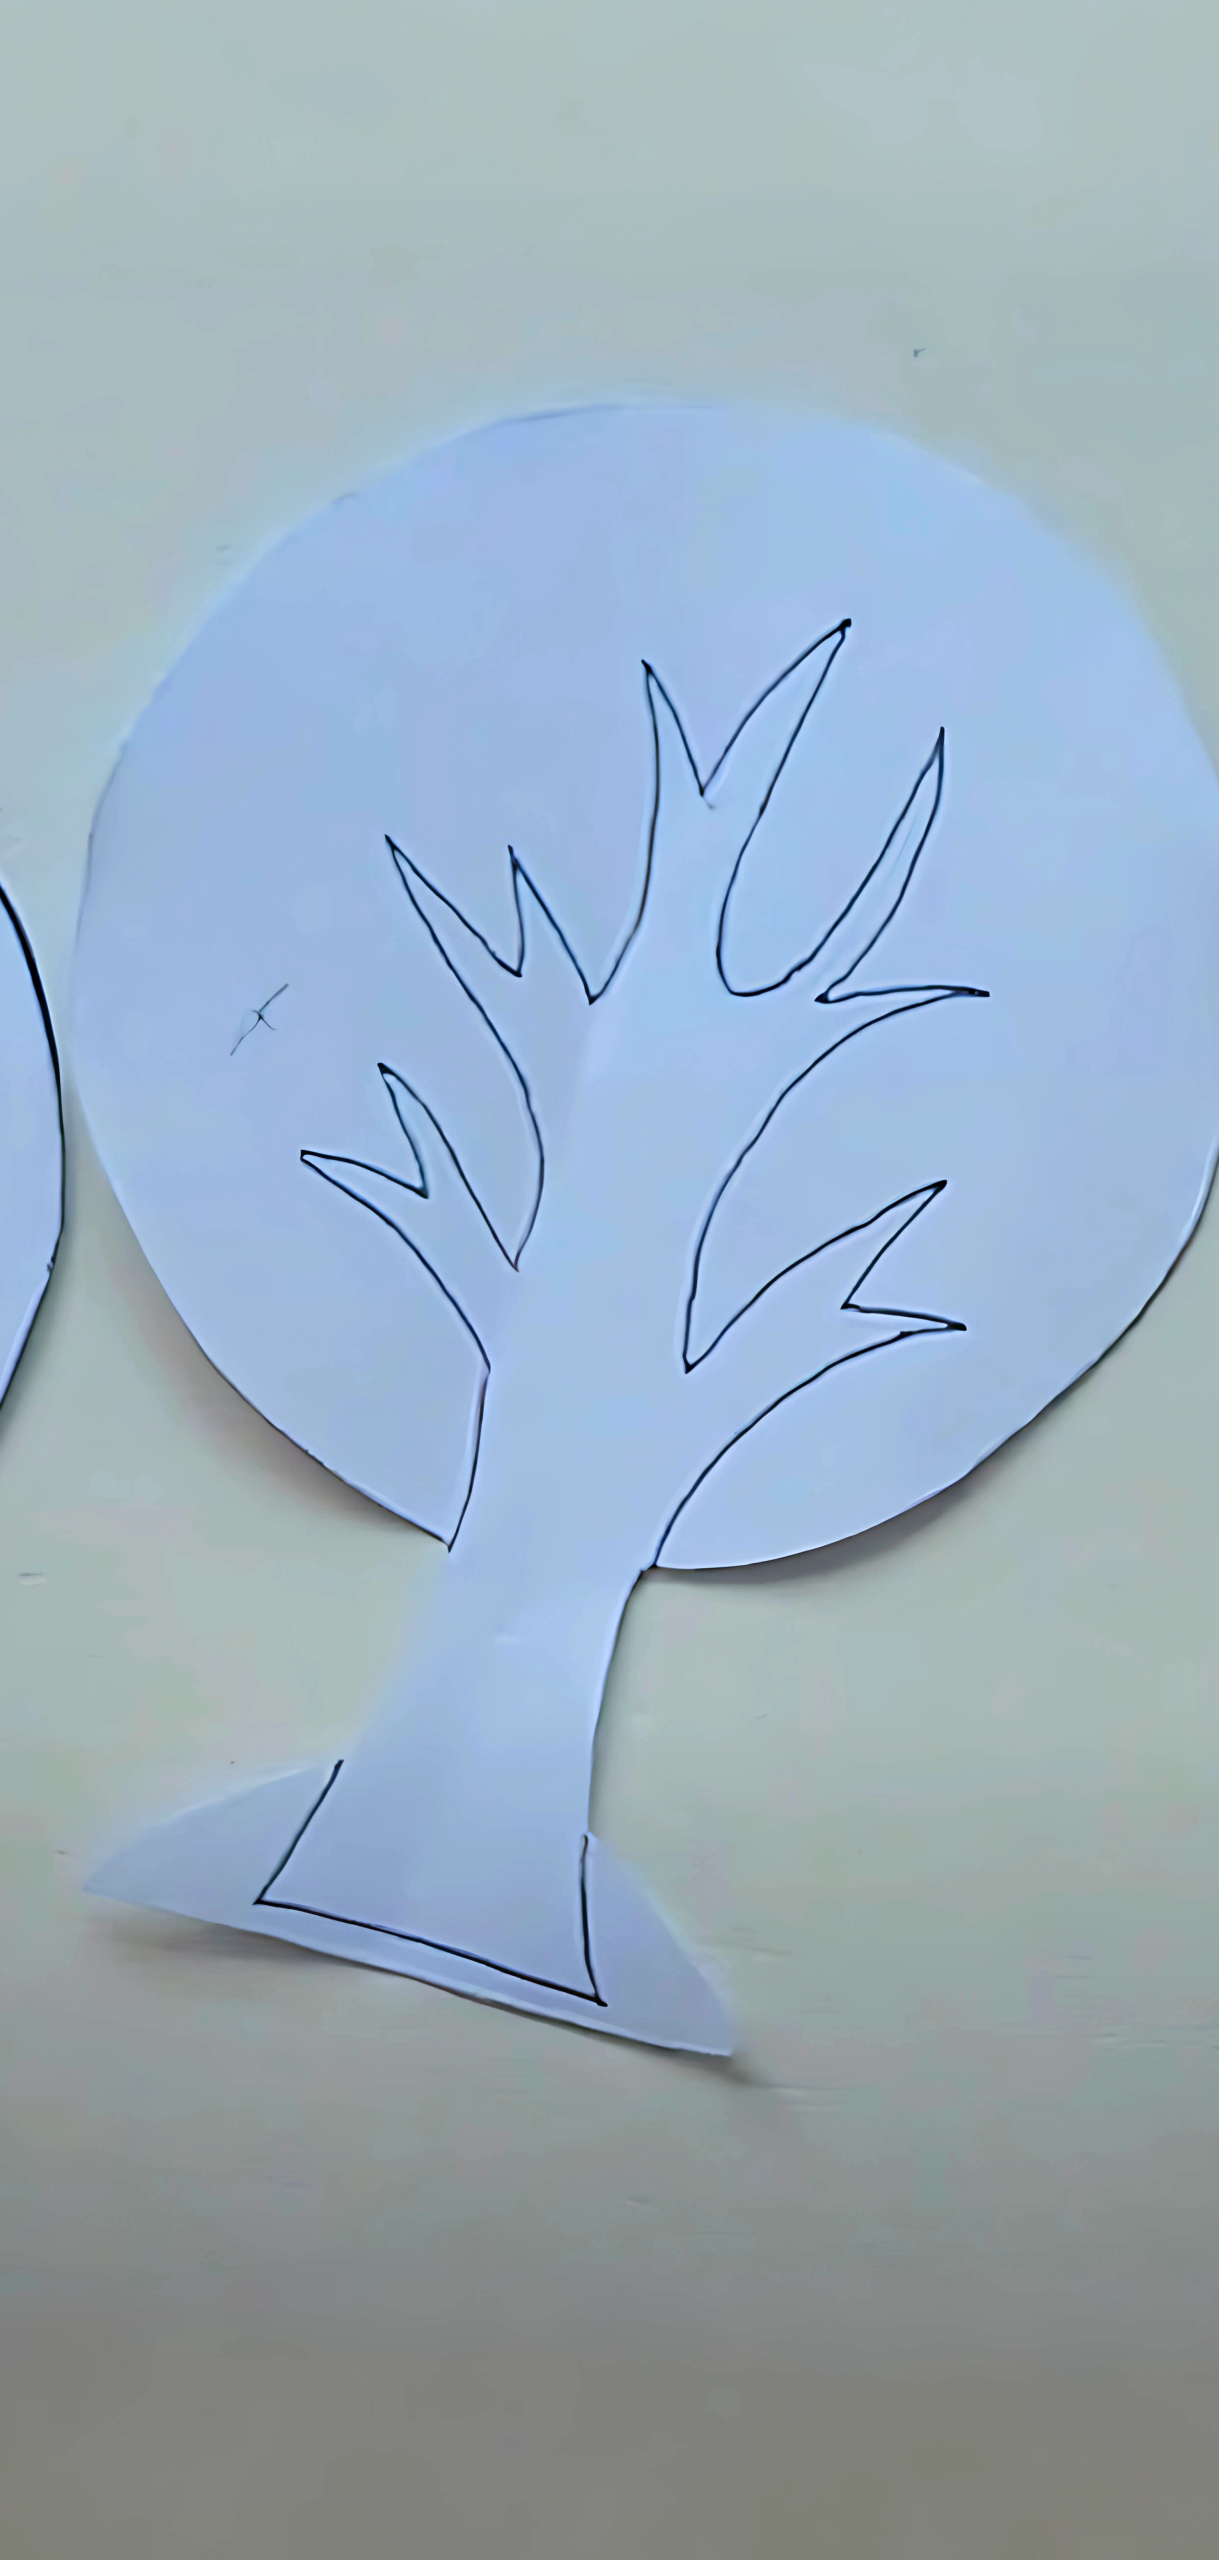
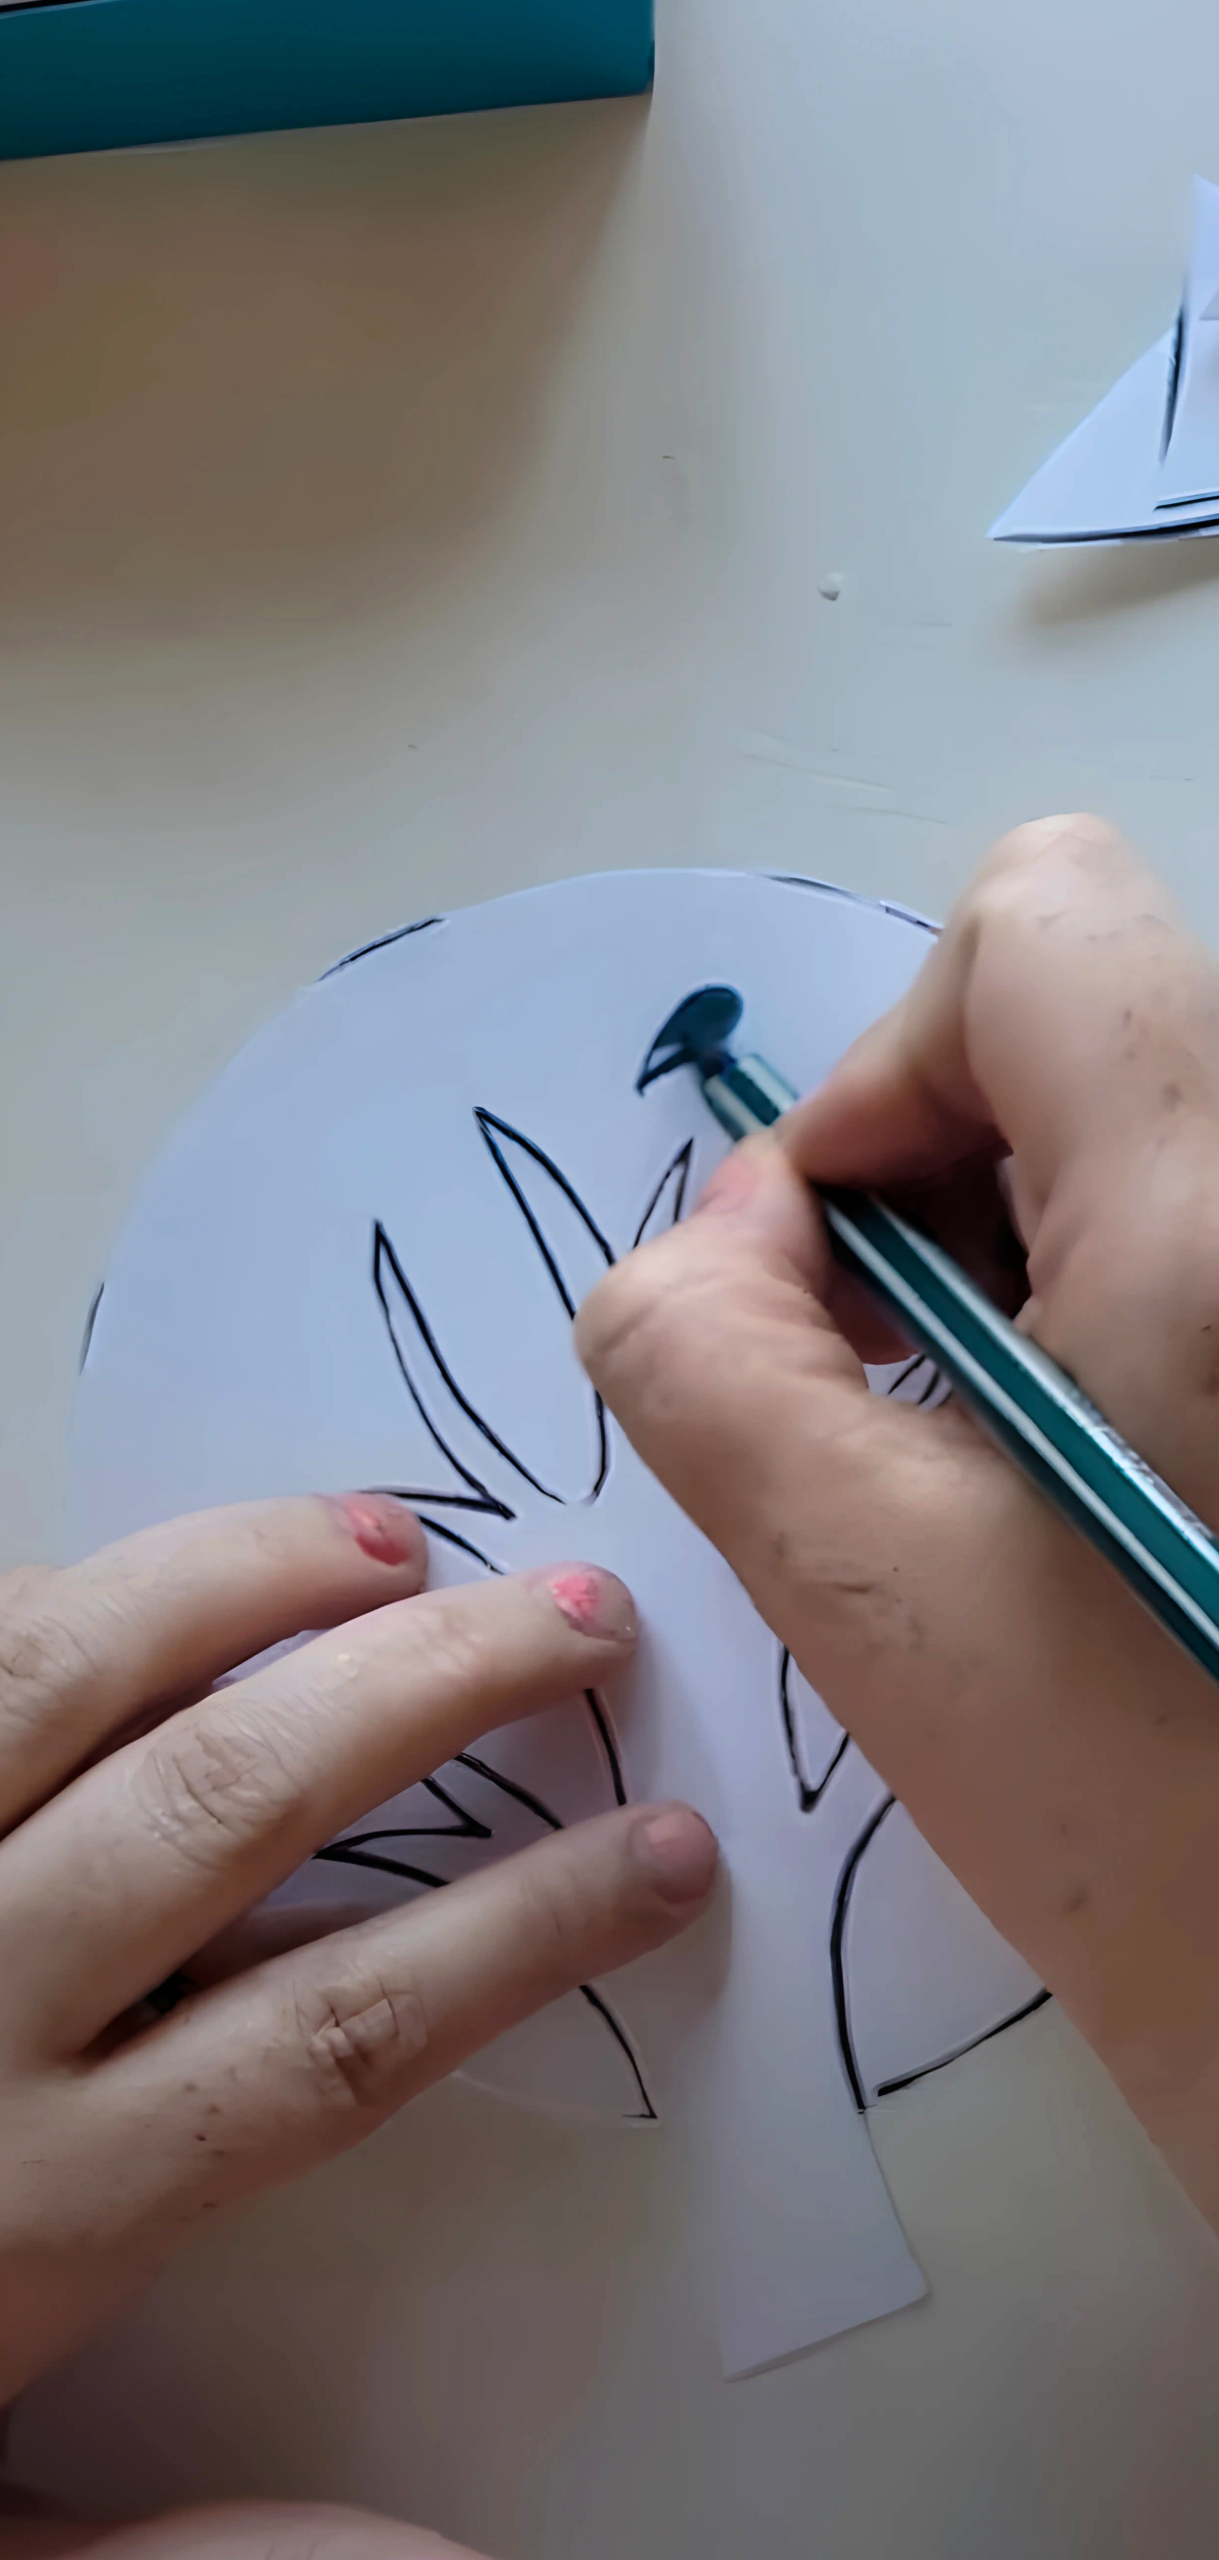
Step 1: Draw your template
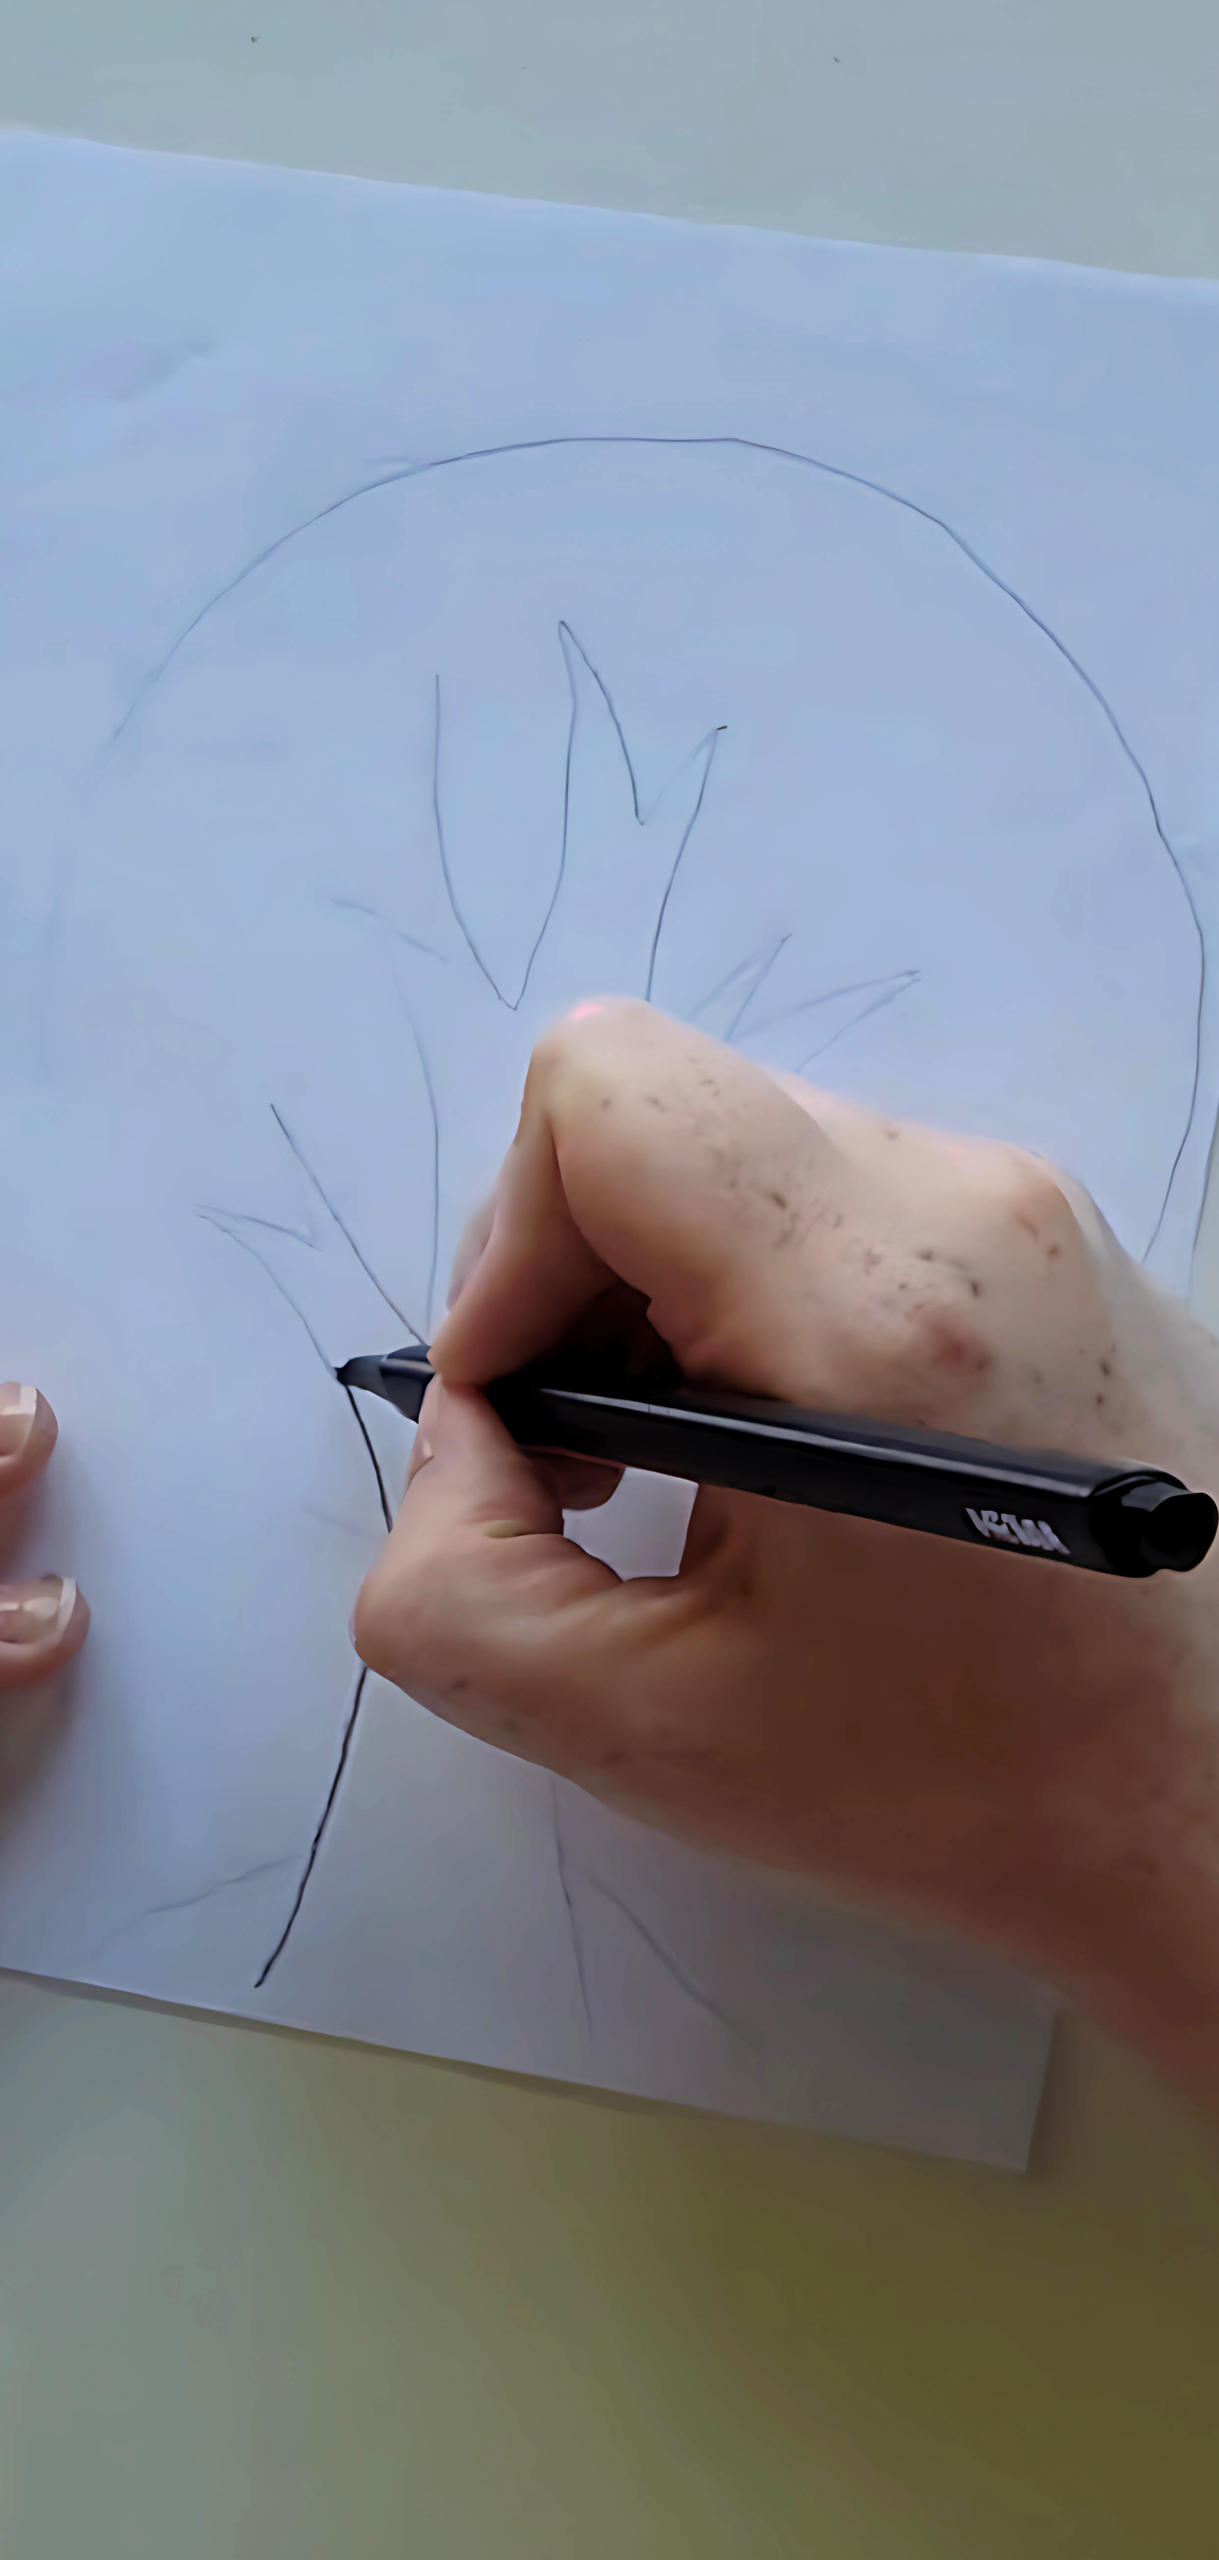
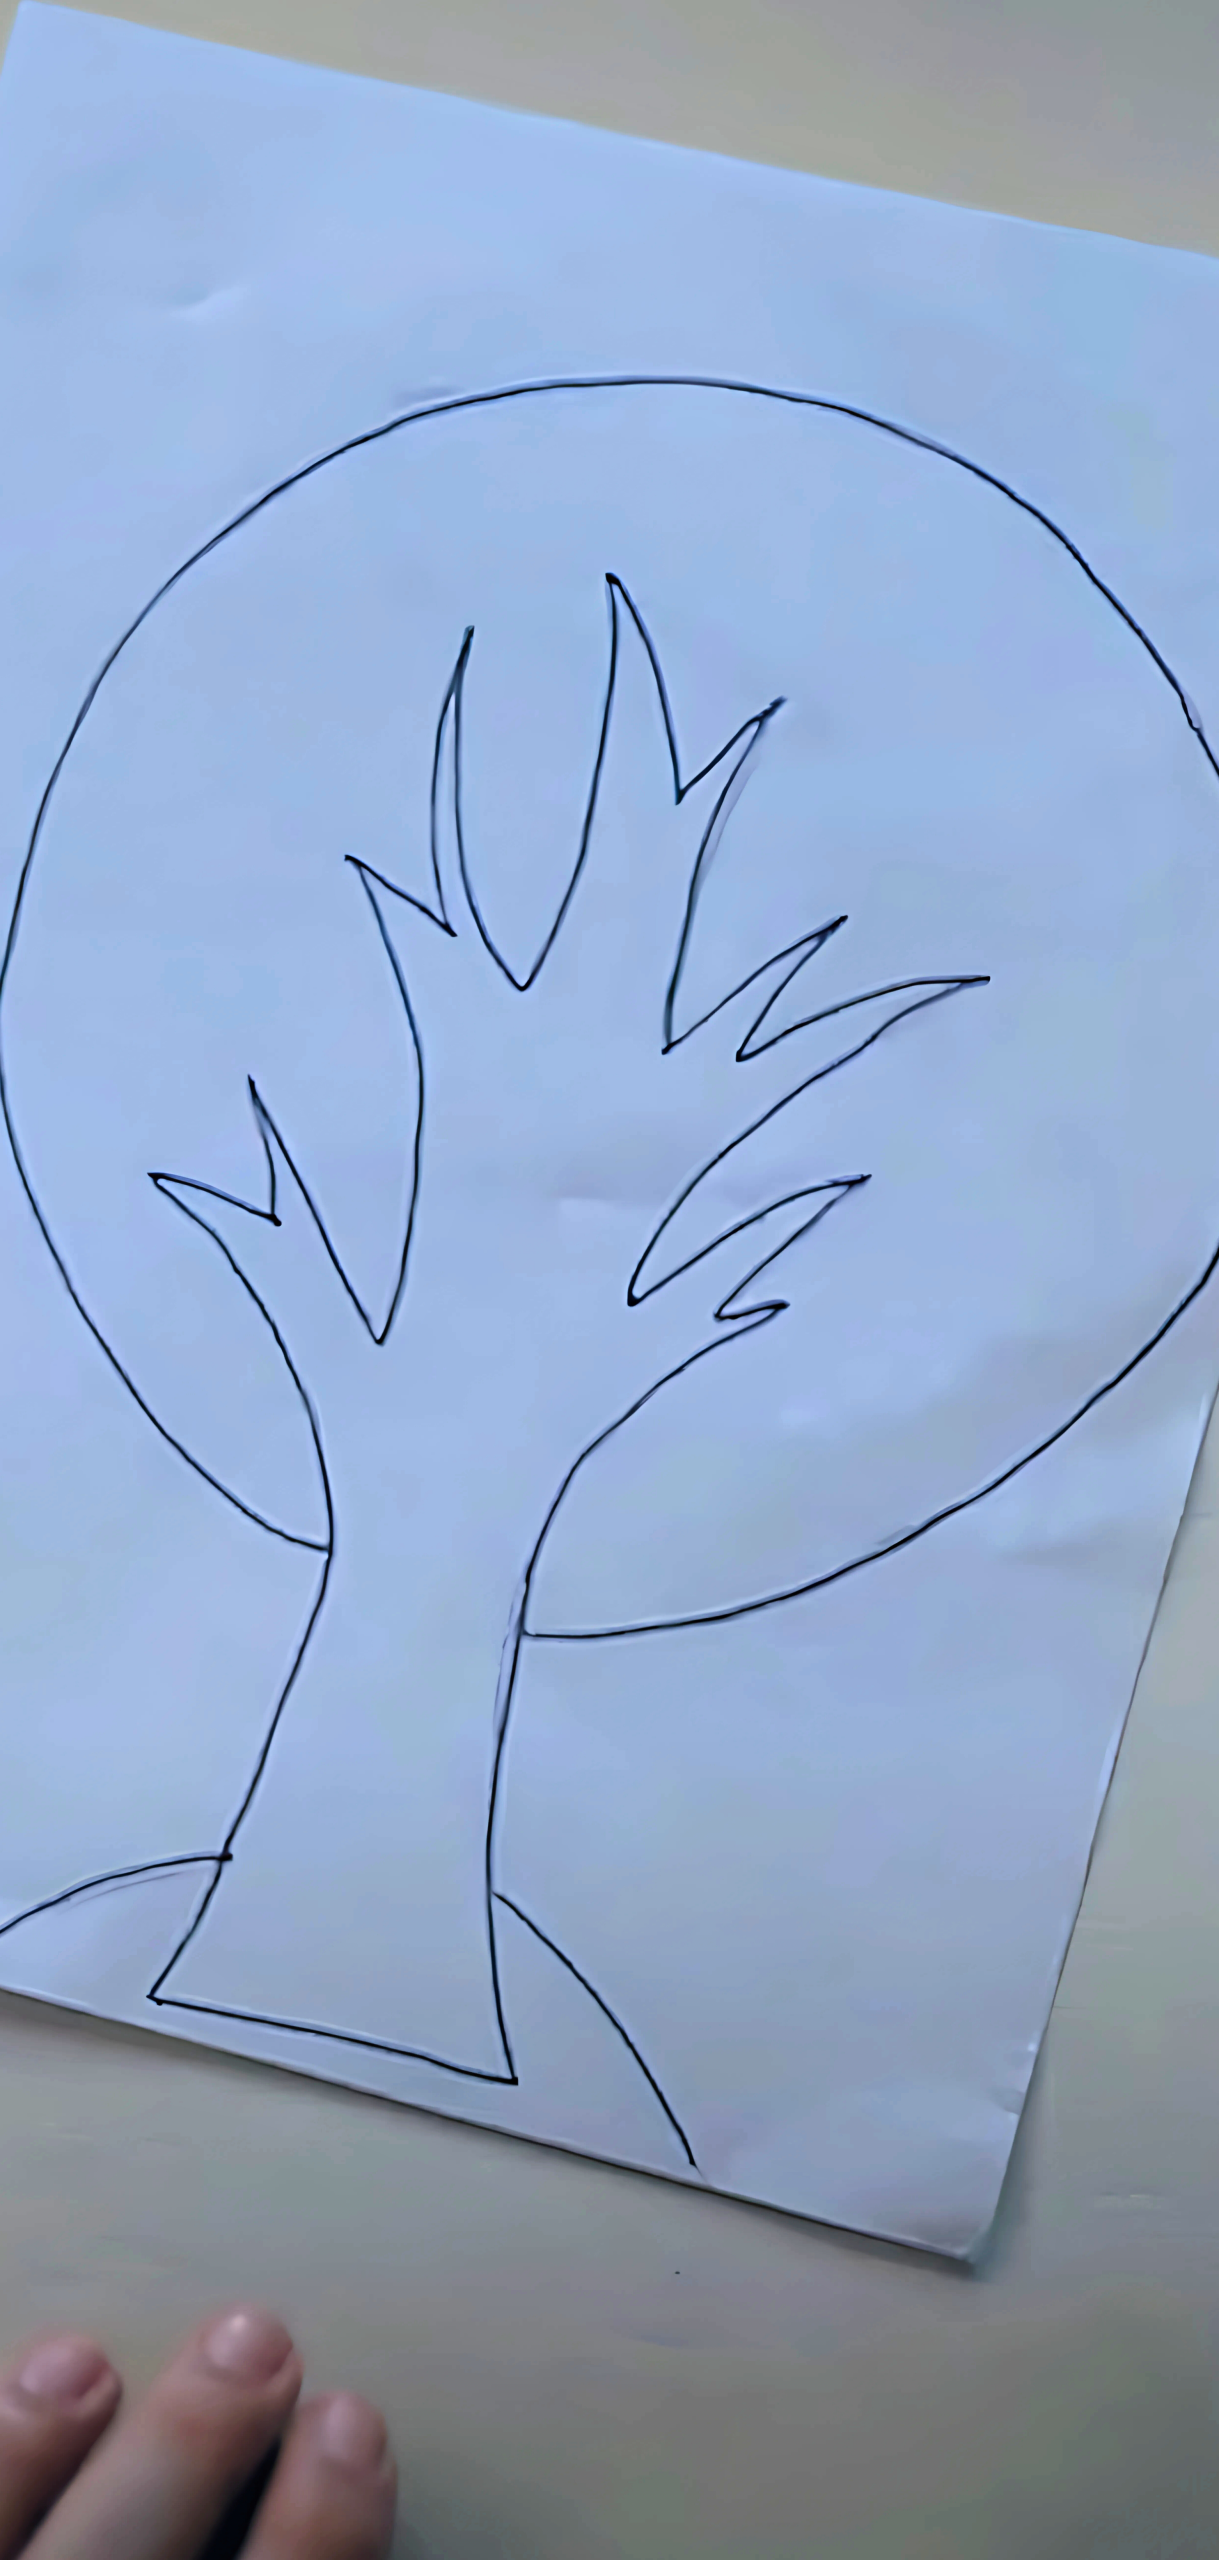
On your art paper, begin by drawing your Four Seasons Tree Craft, which is separated into four panels for each season and features a basic tree trunk and branches.
Step 2: Arrange the Seasons
Decide on your seasonal layout the common order is winter, spring, summer, and fall clockwise to reflect the natural cycle. Some crafters assemble the sections in a 3D tree or book form for interactive display.
Step 3: Create Each Season
Spring
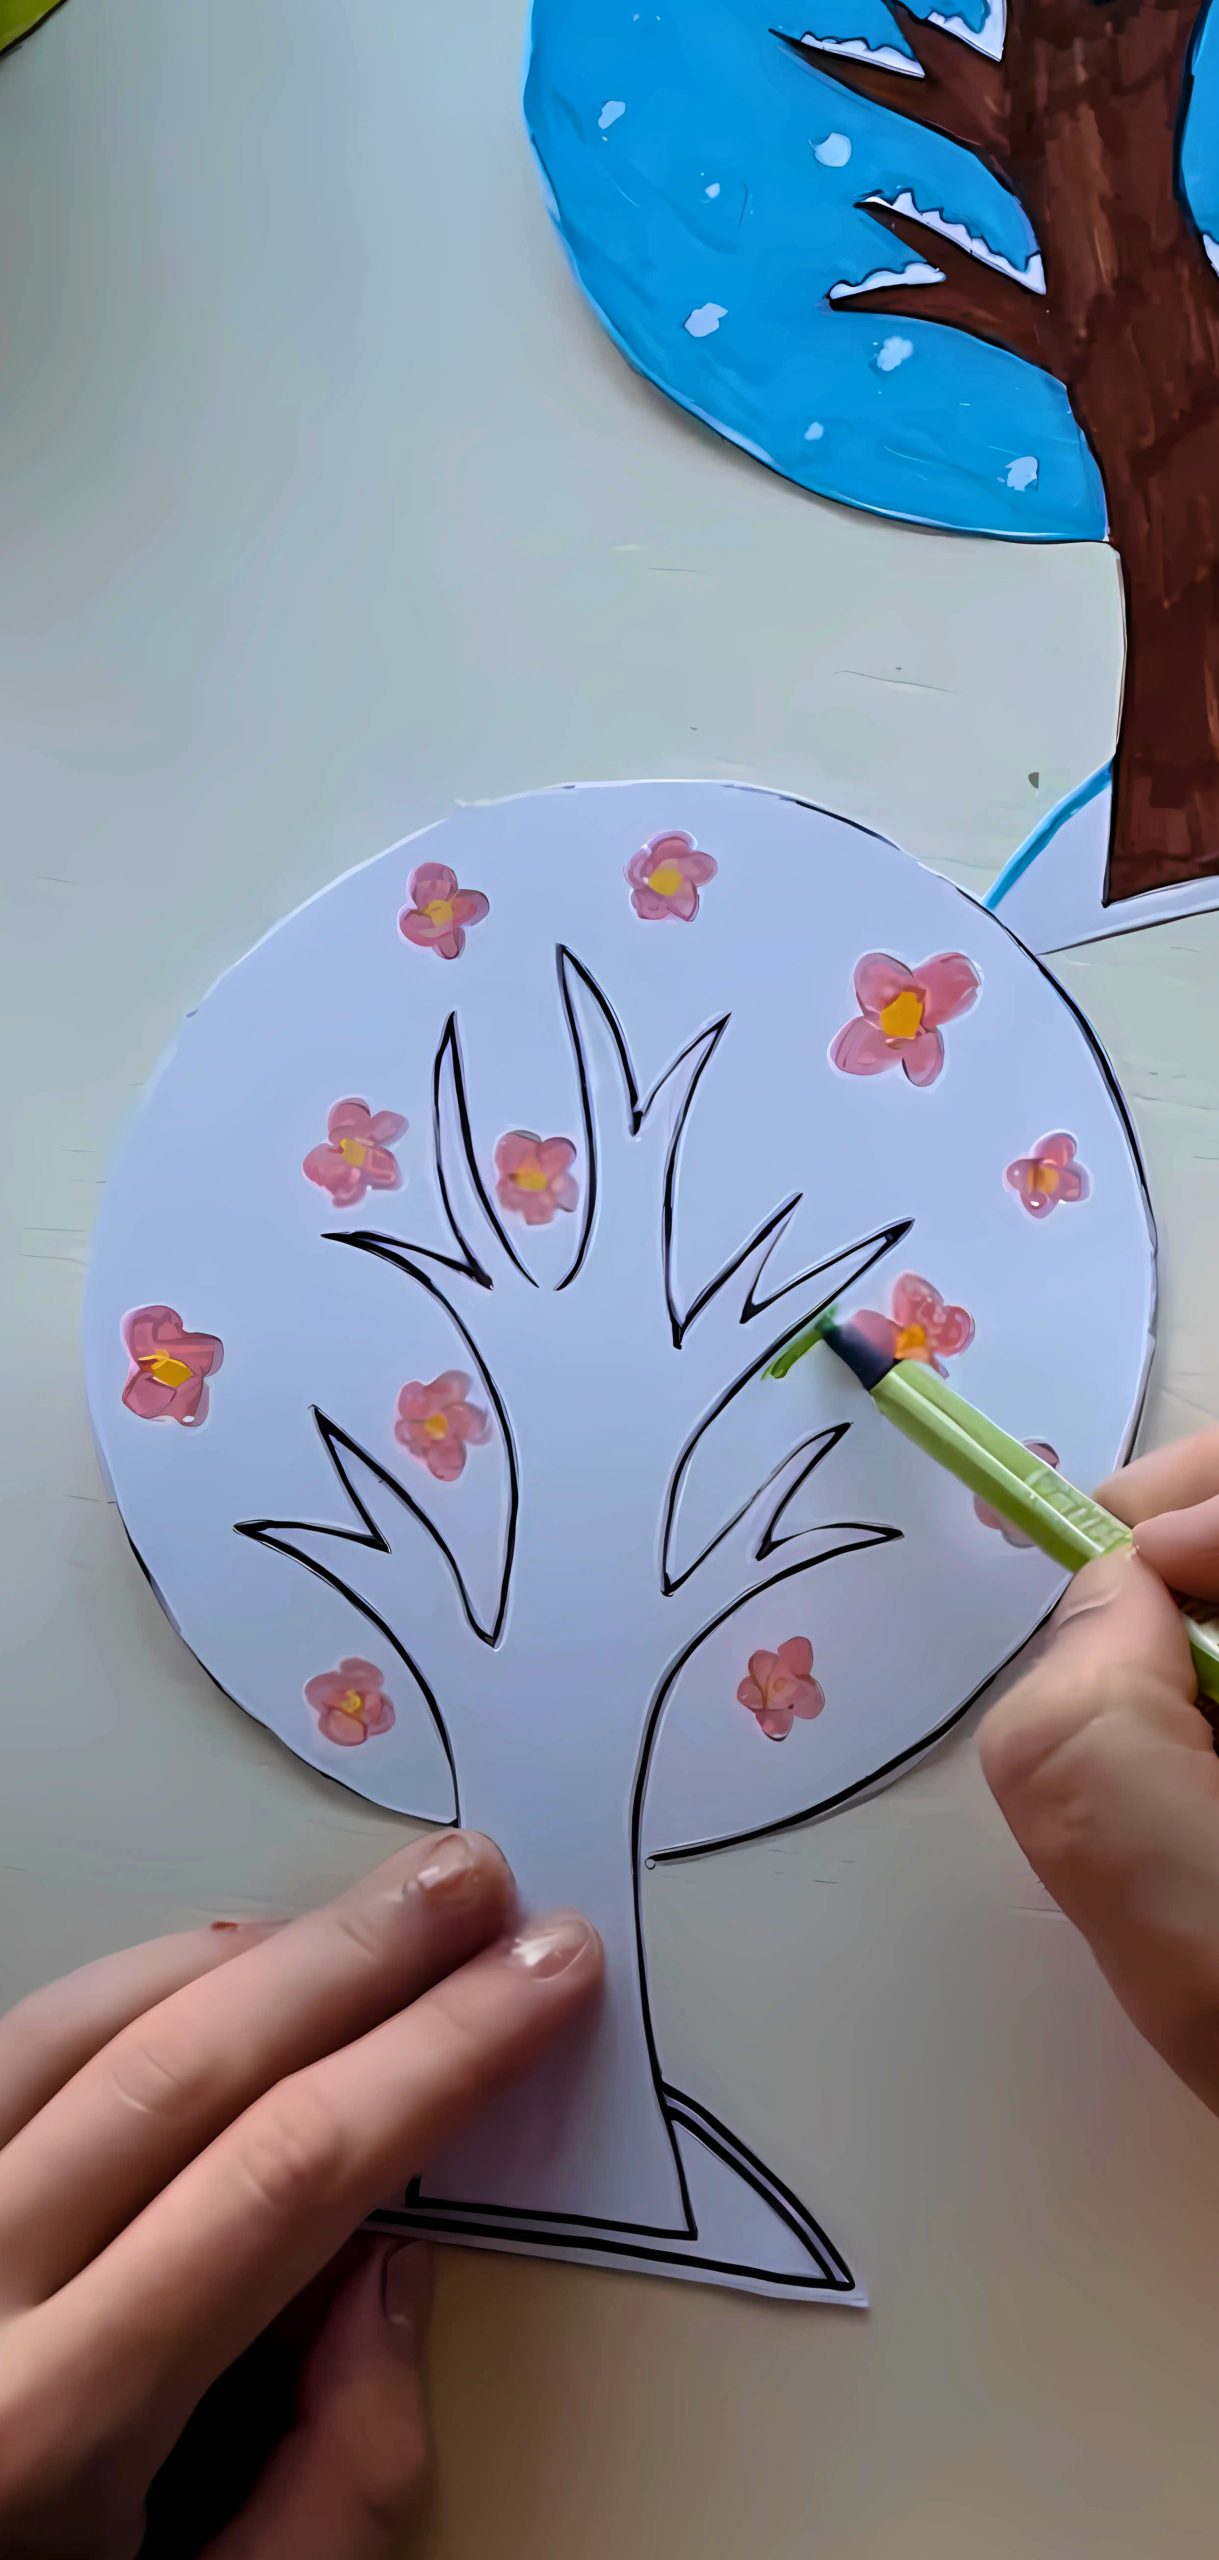
Dip bubble wrap into white and pink paint, then stamp over the spring section to represent blossoms.
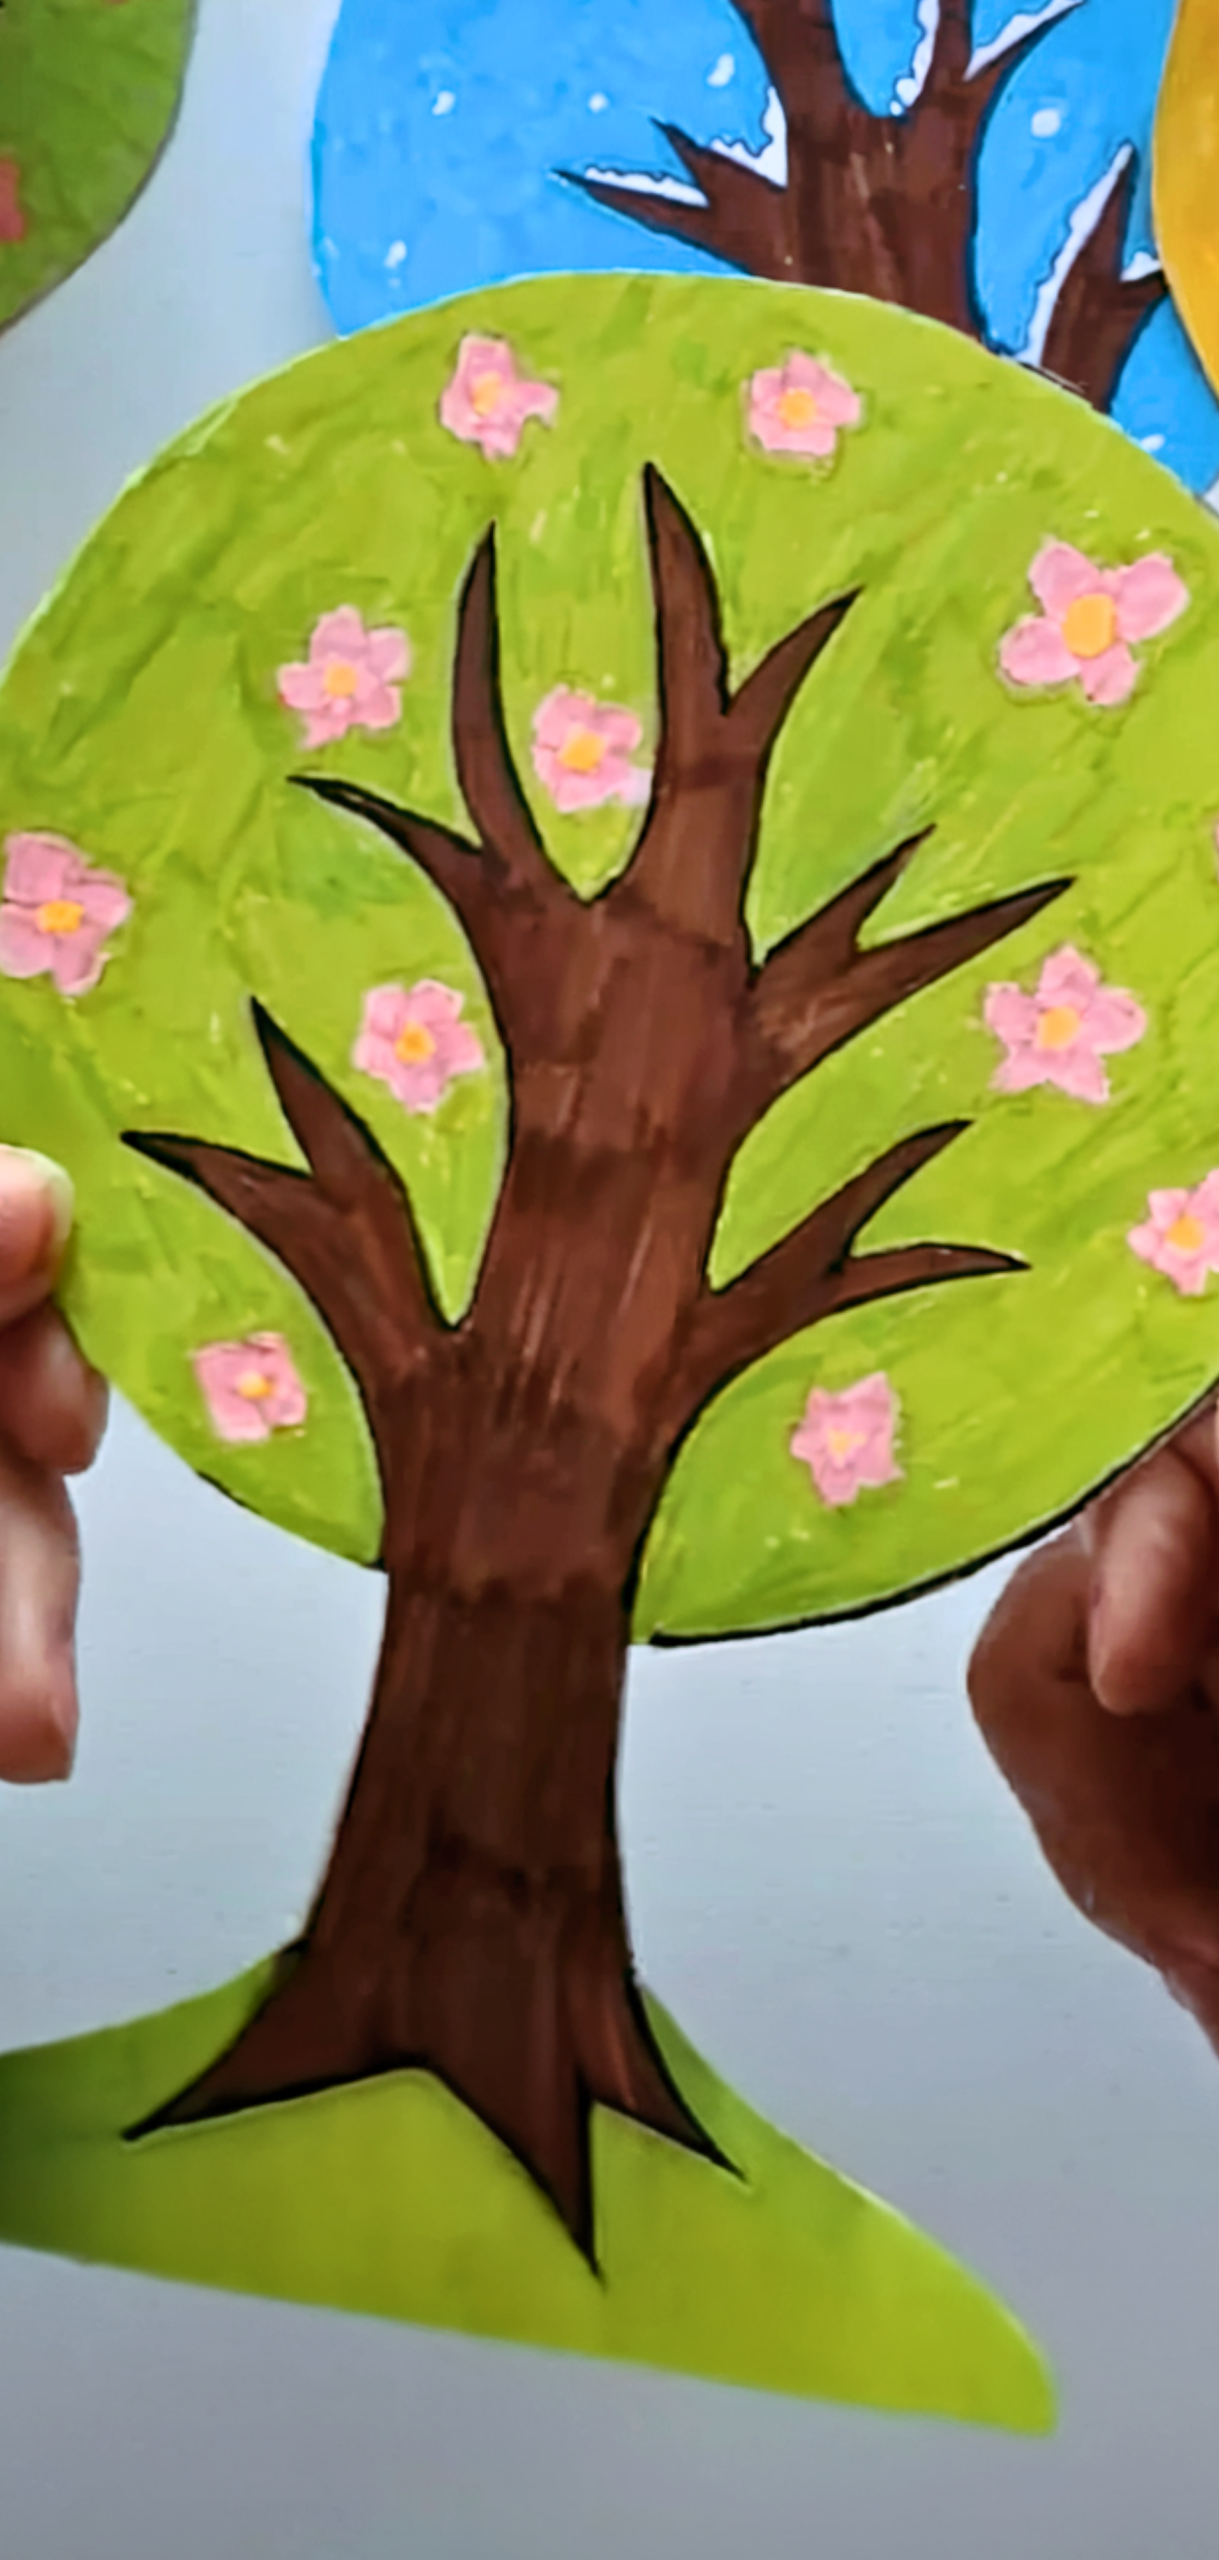
Summer
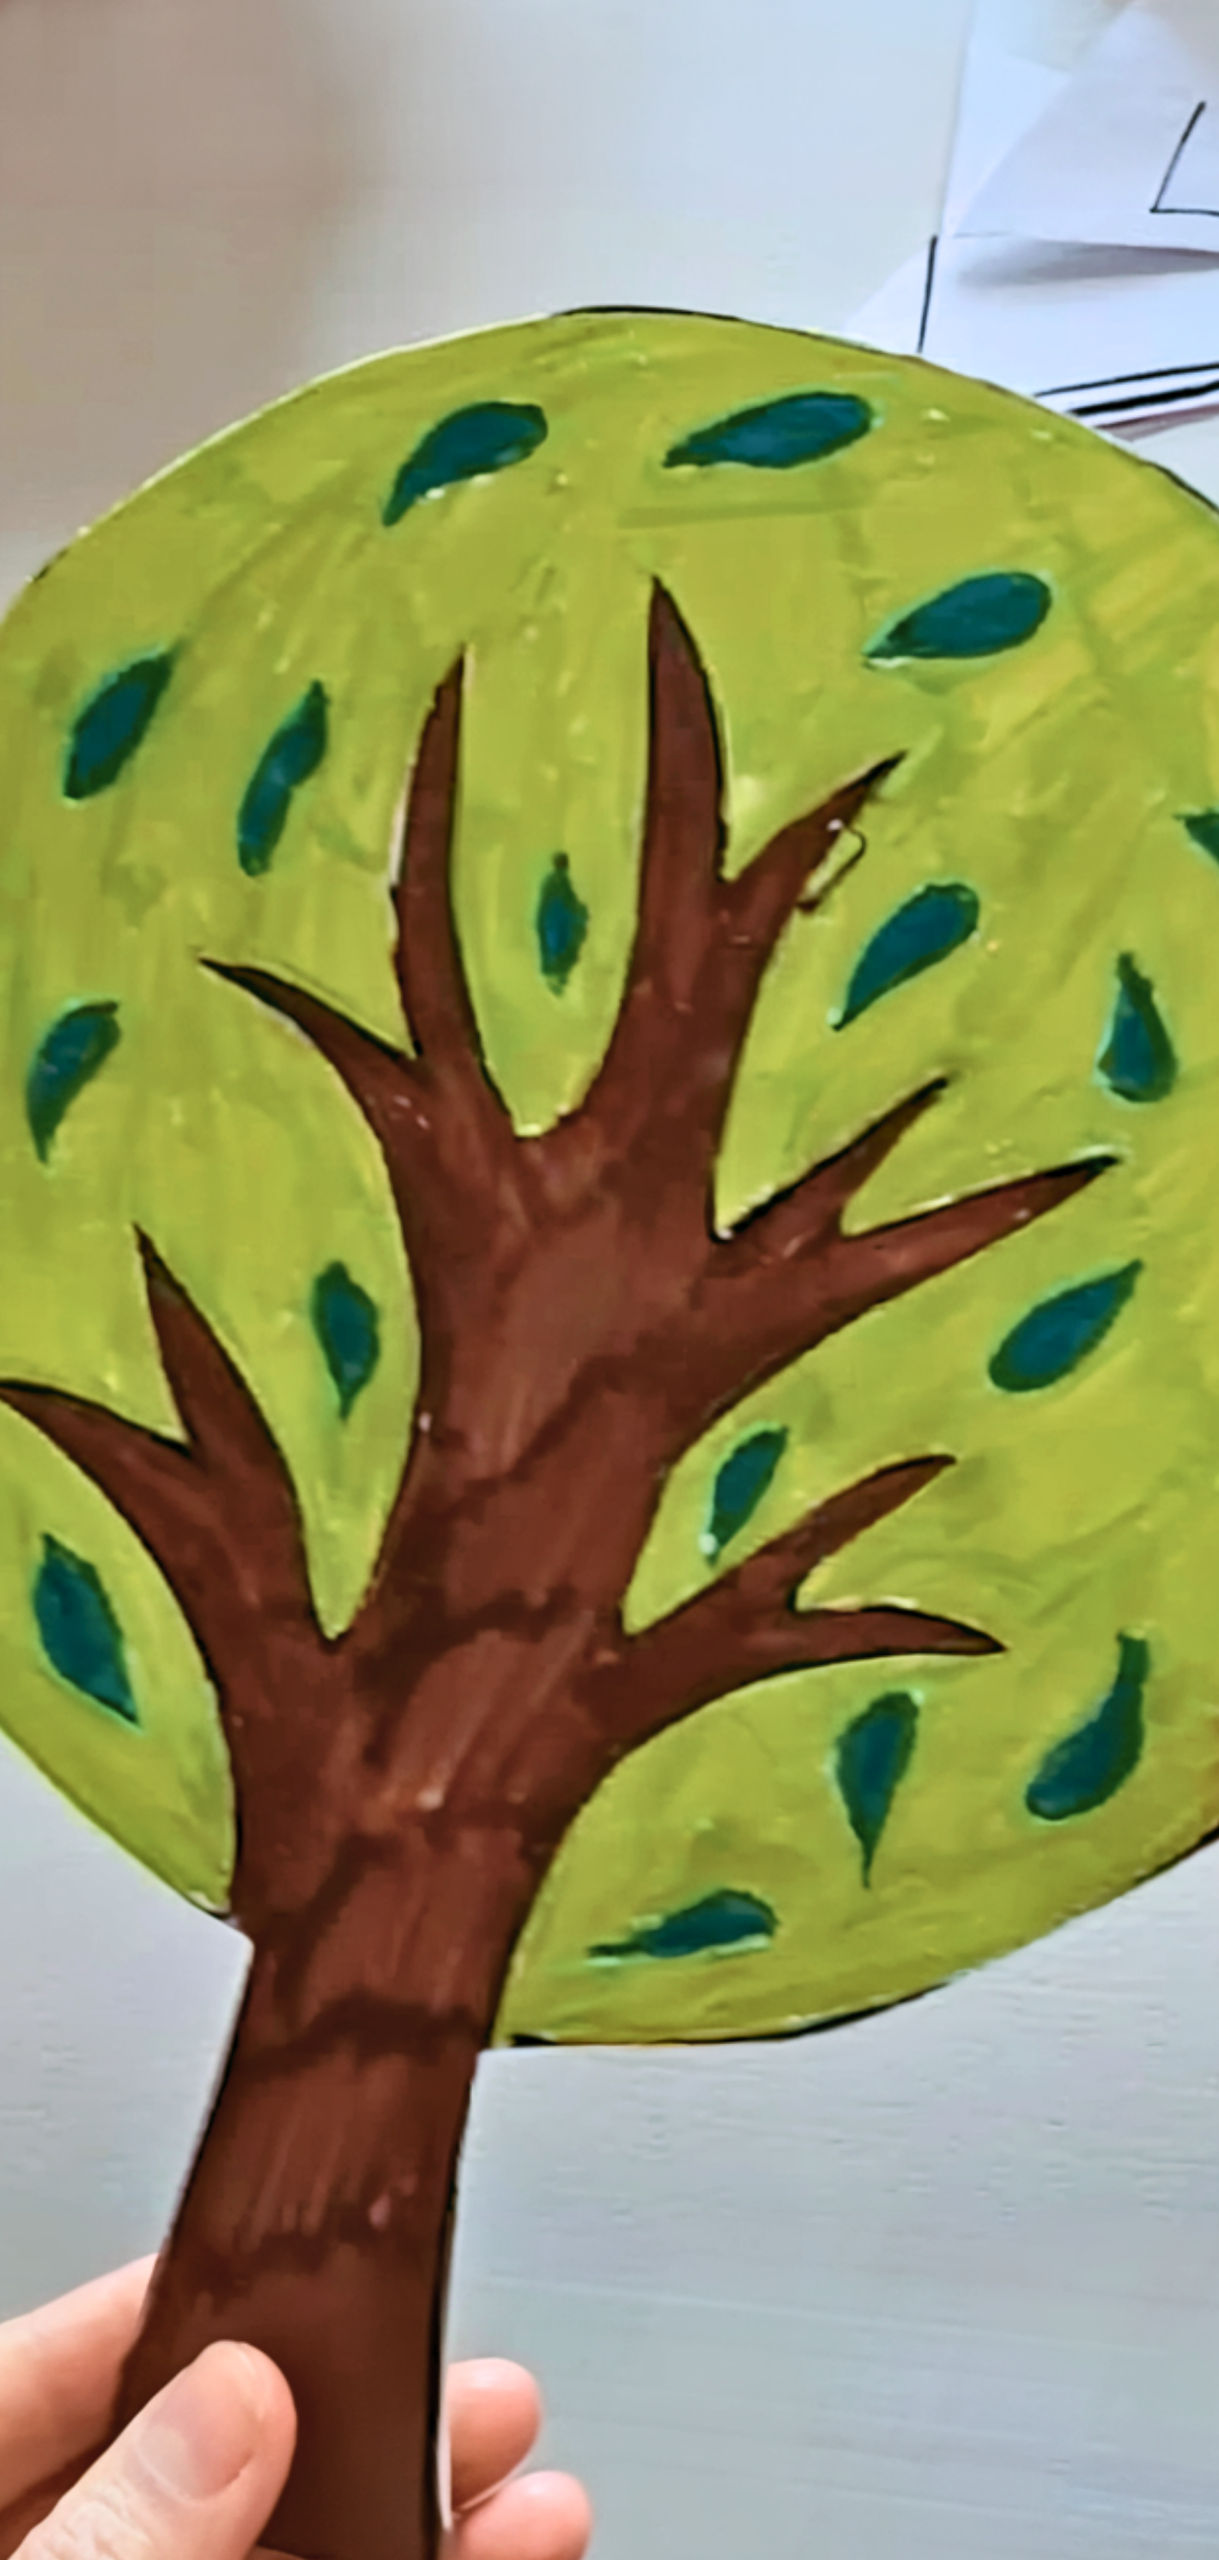
Fill in the summer panel with vibrant green leaves using torn paper bits or finger painting.
Fall
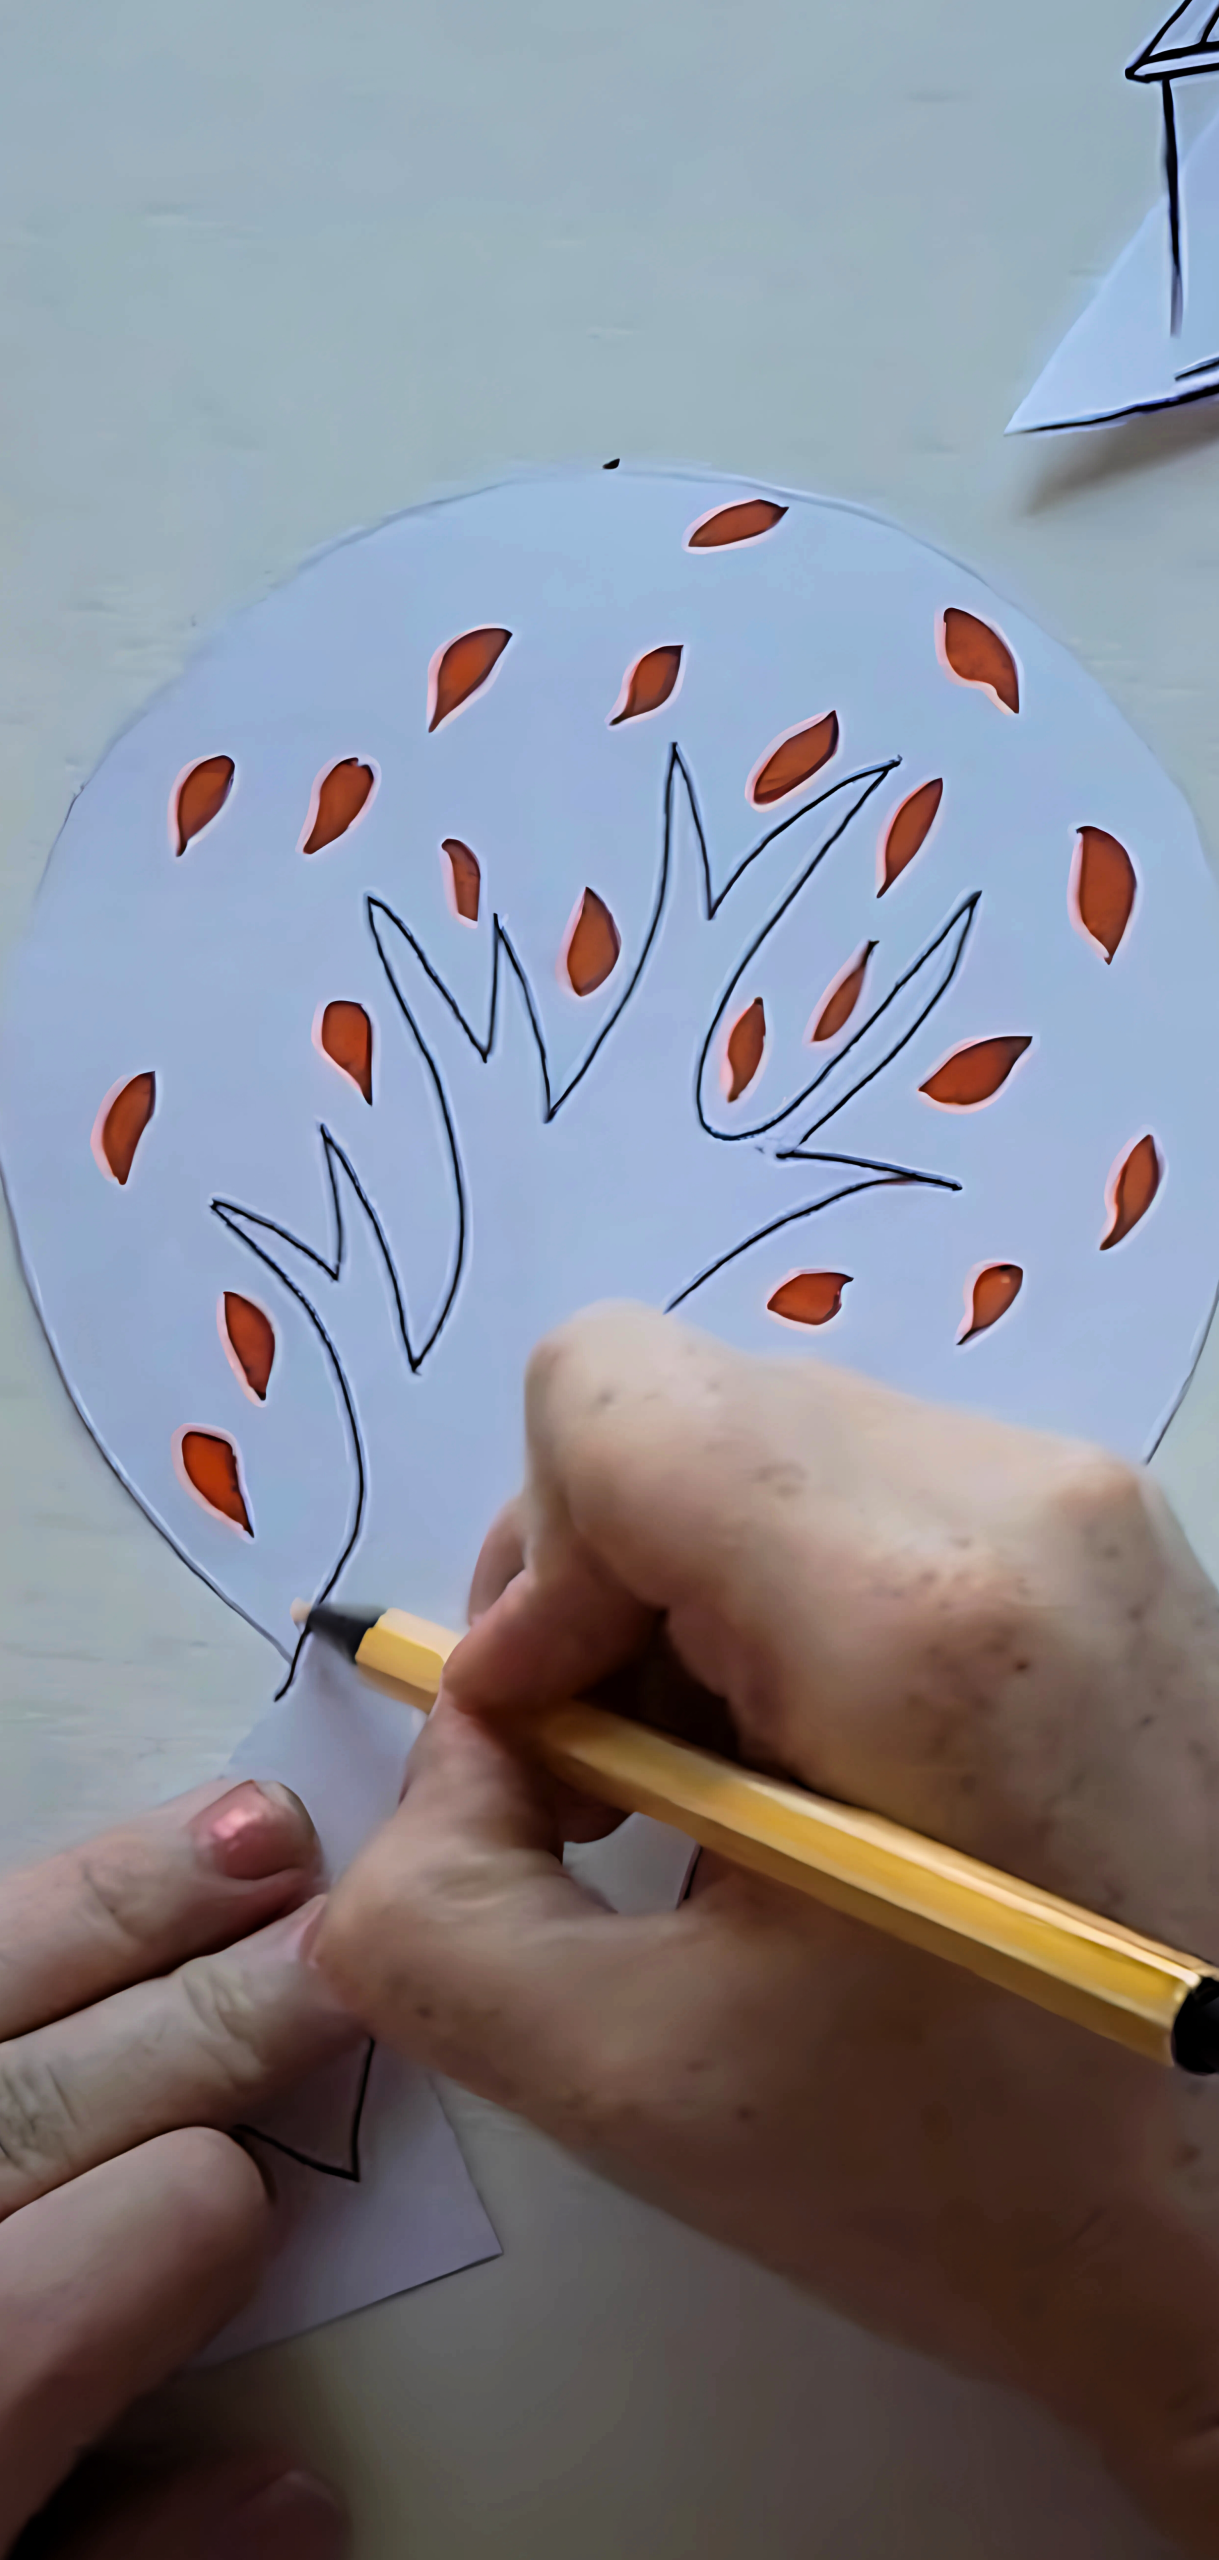
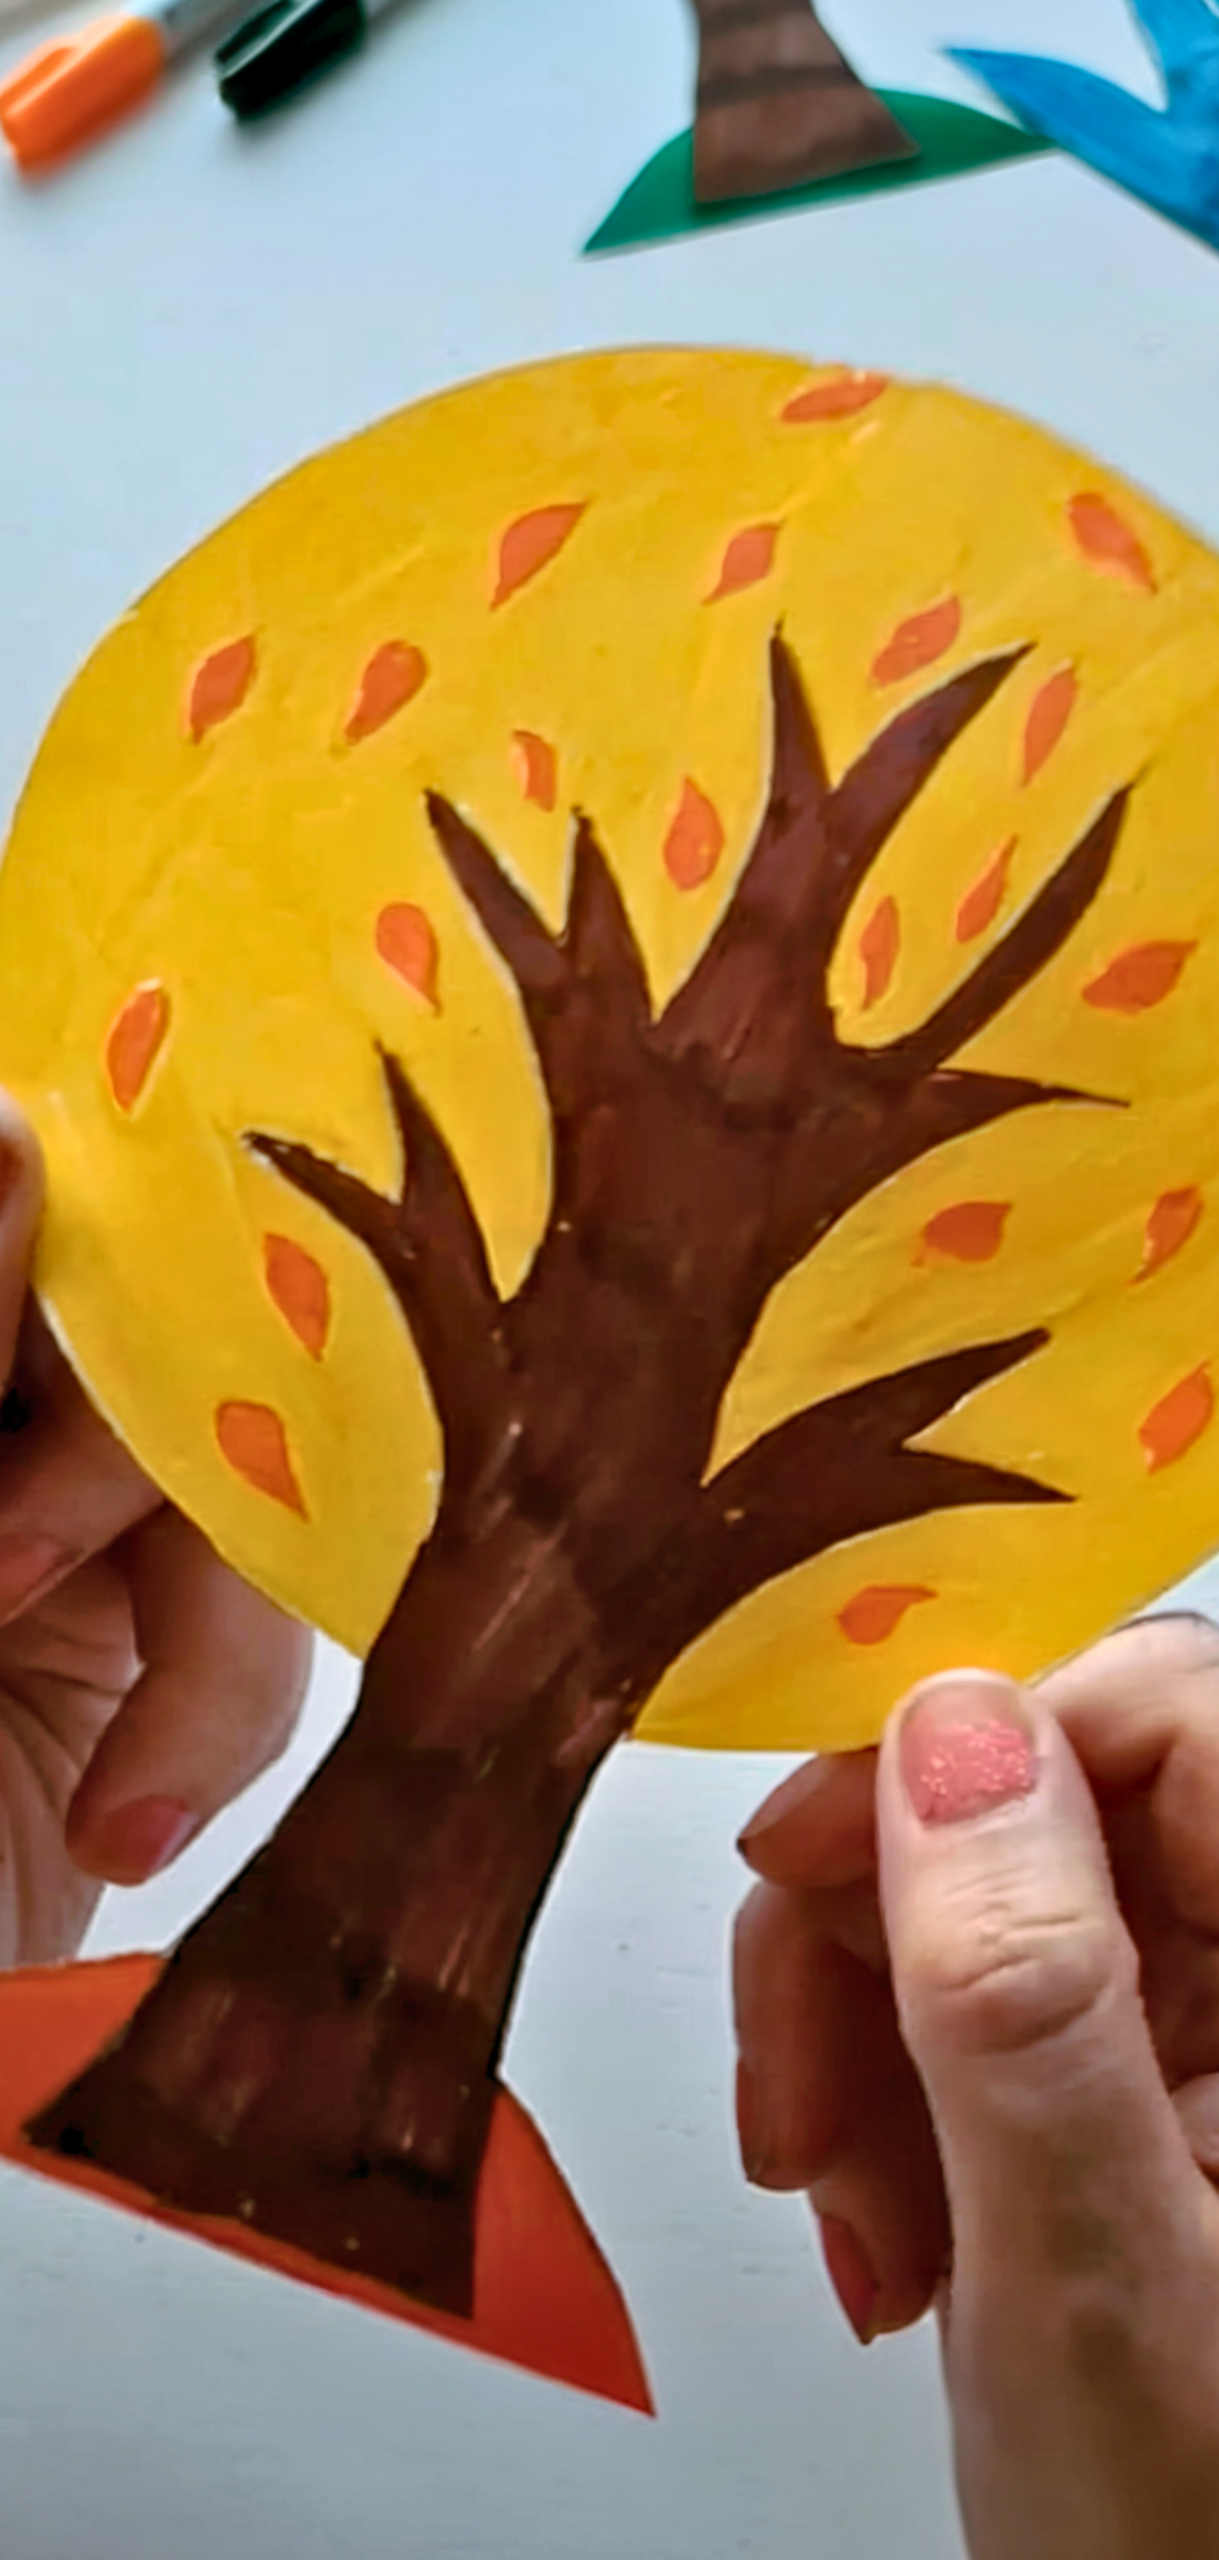
Glue on orange and yellow leaf pieces or punch small circles for a colorful autumn foliage effect.
Winter
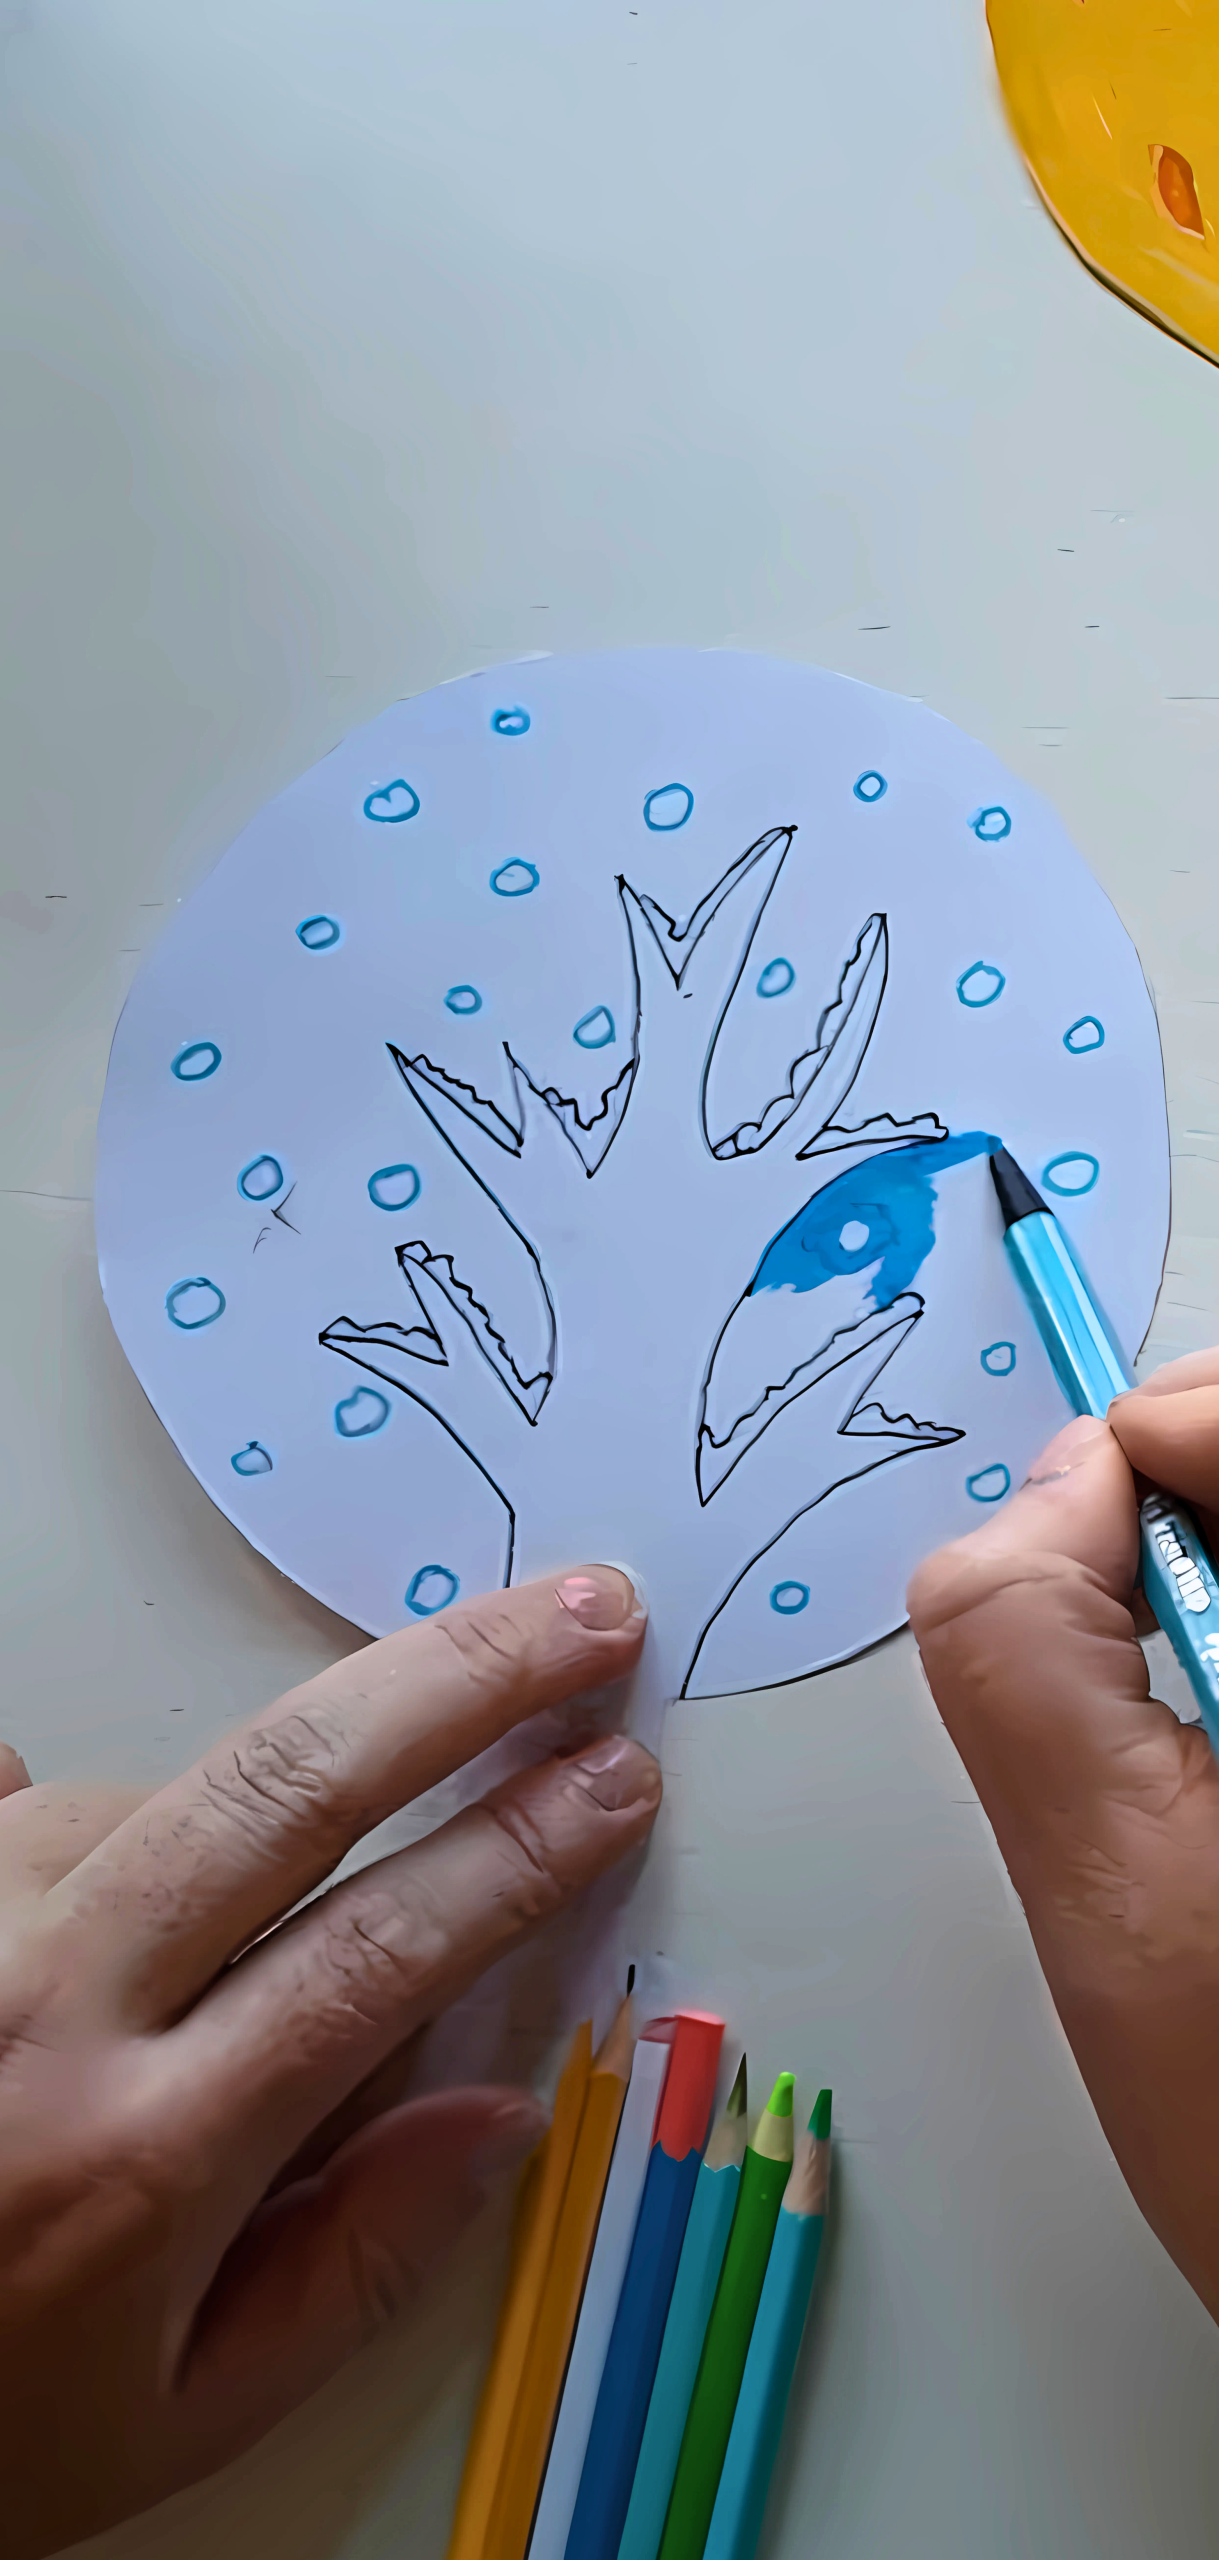
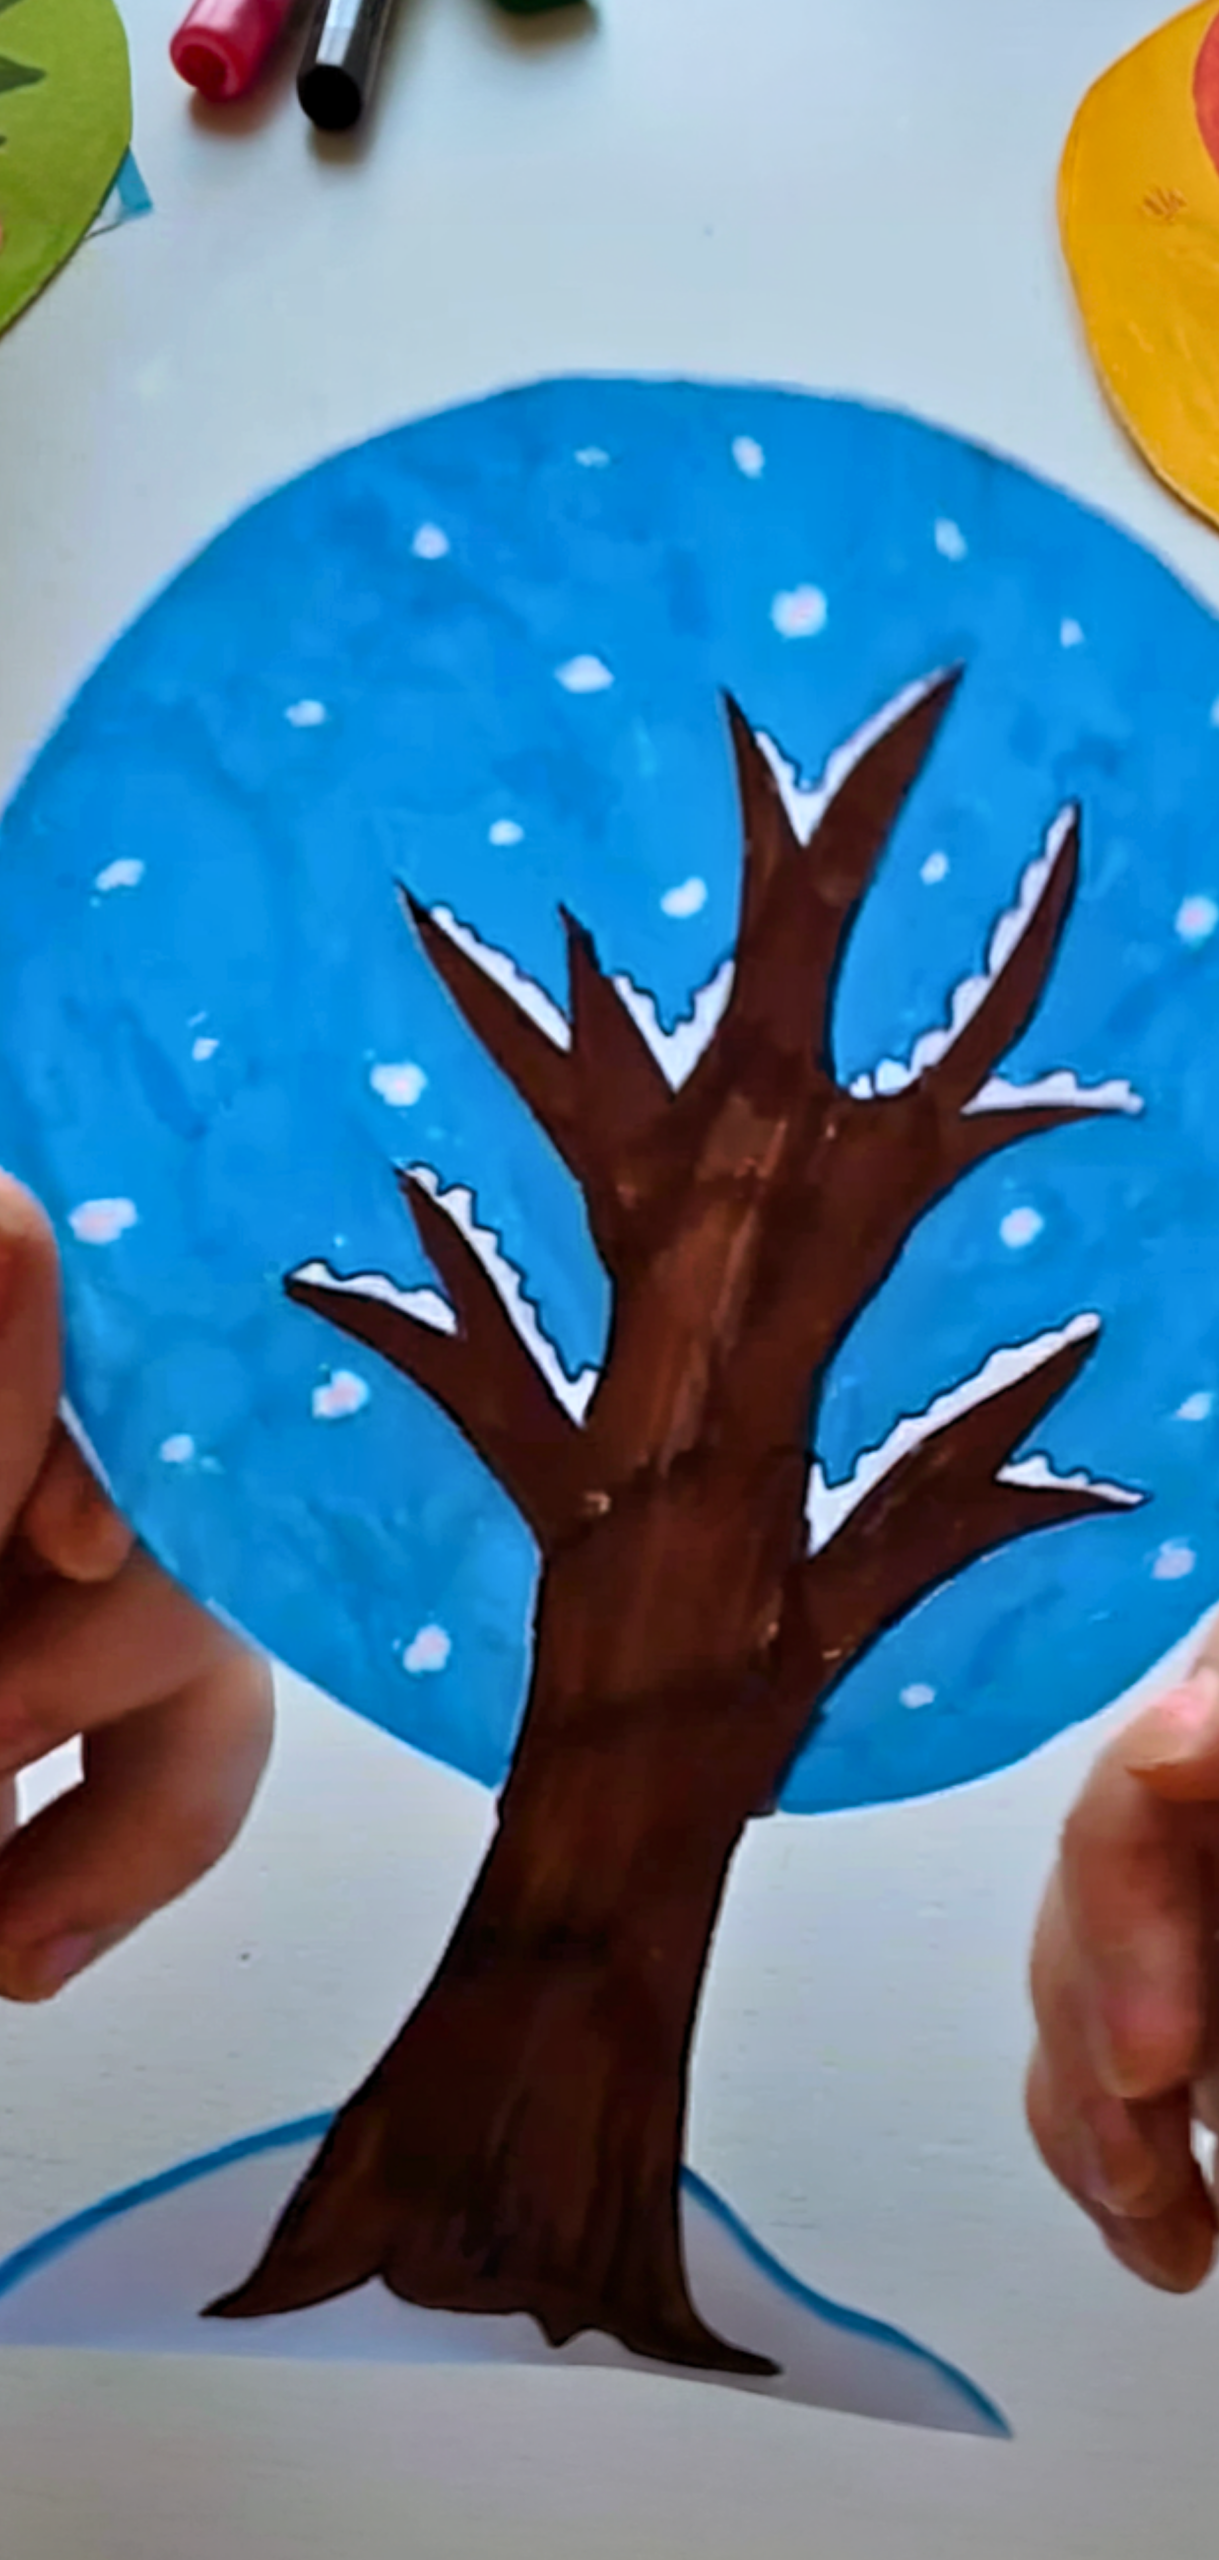
Paint the winter area white or glue on cotton balls for snowy branches and to add a stunning salt sprinkle over glue also adds frosty texture.
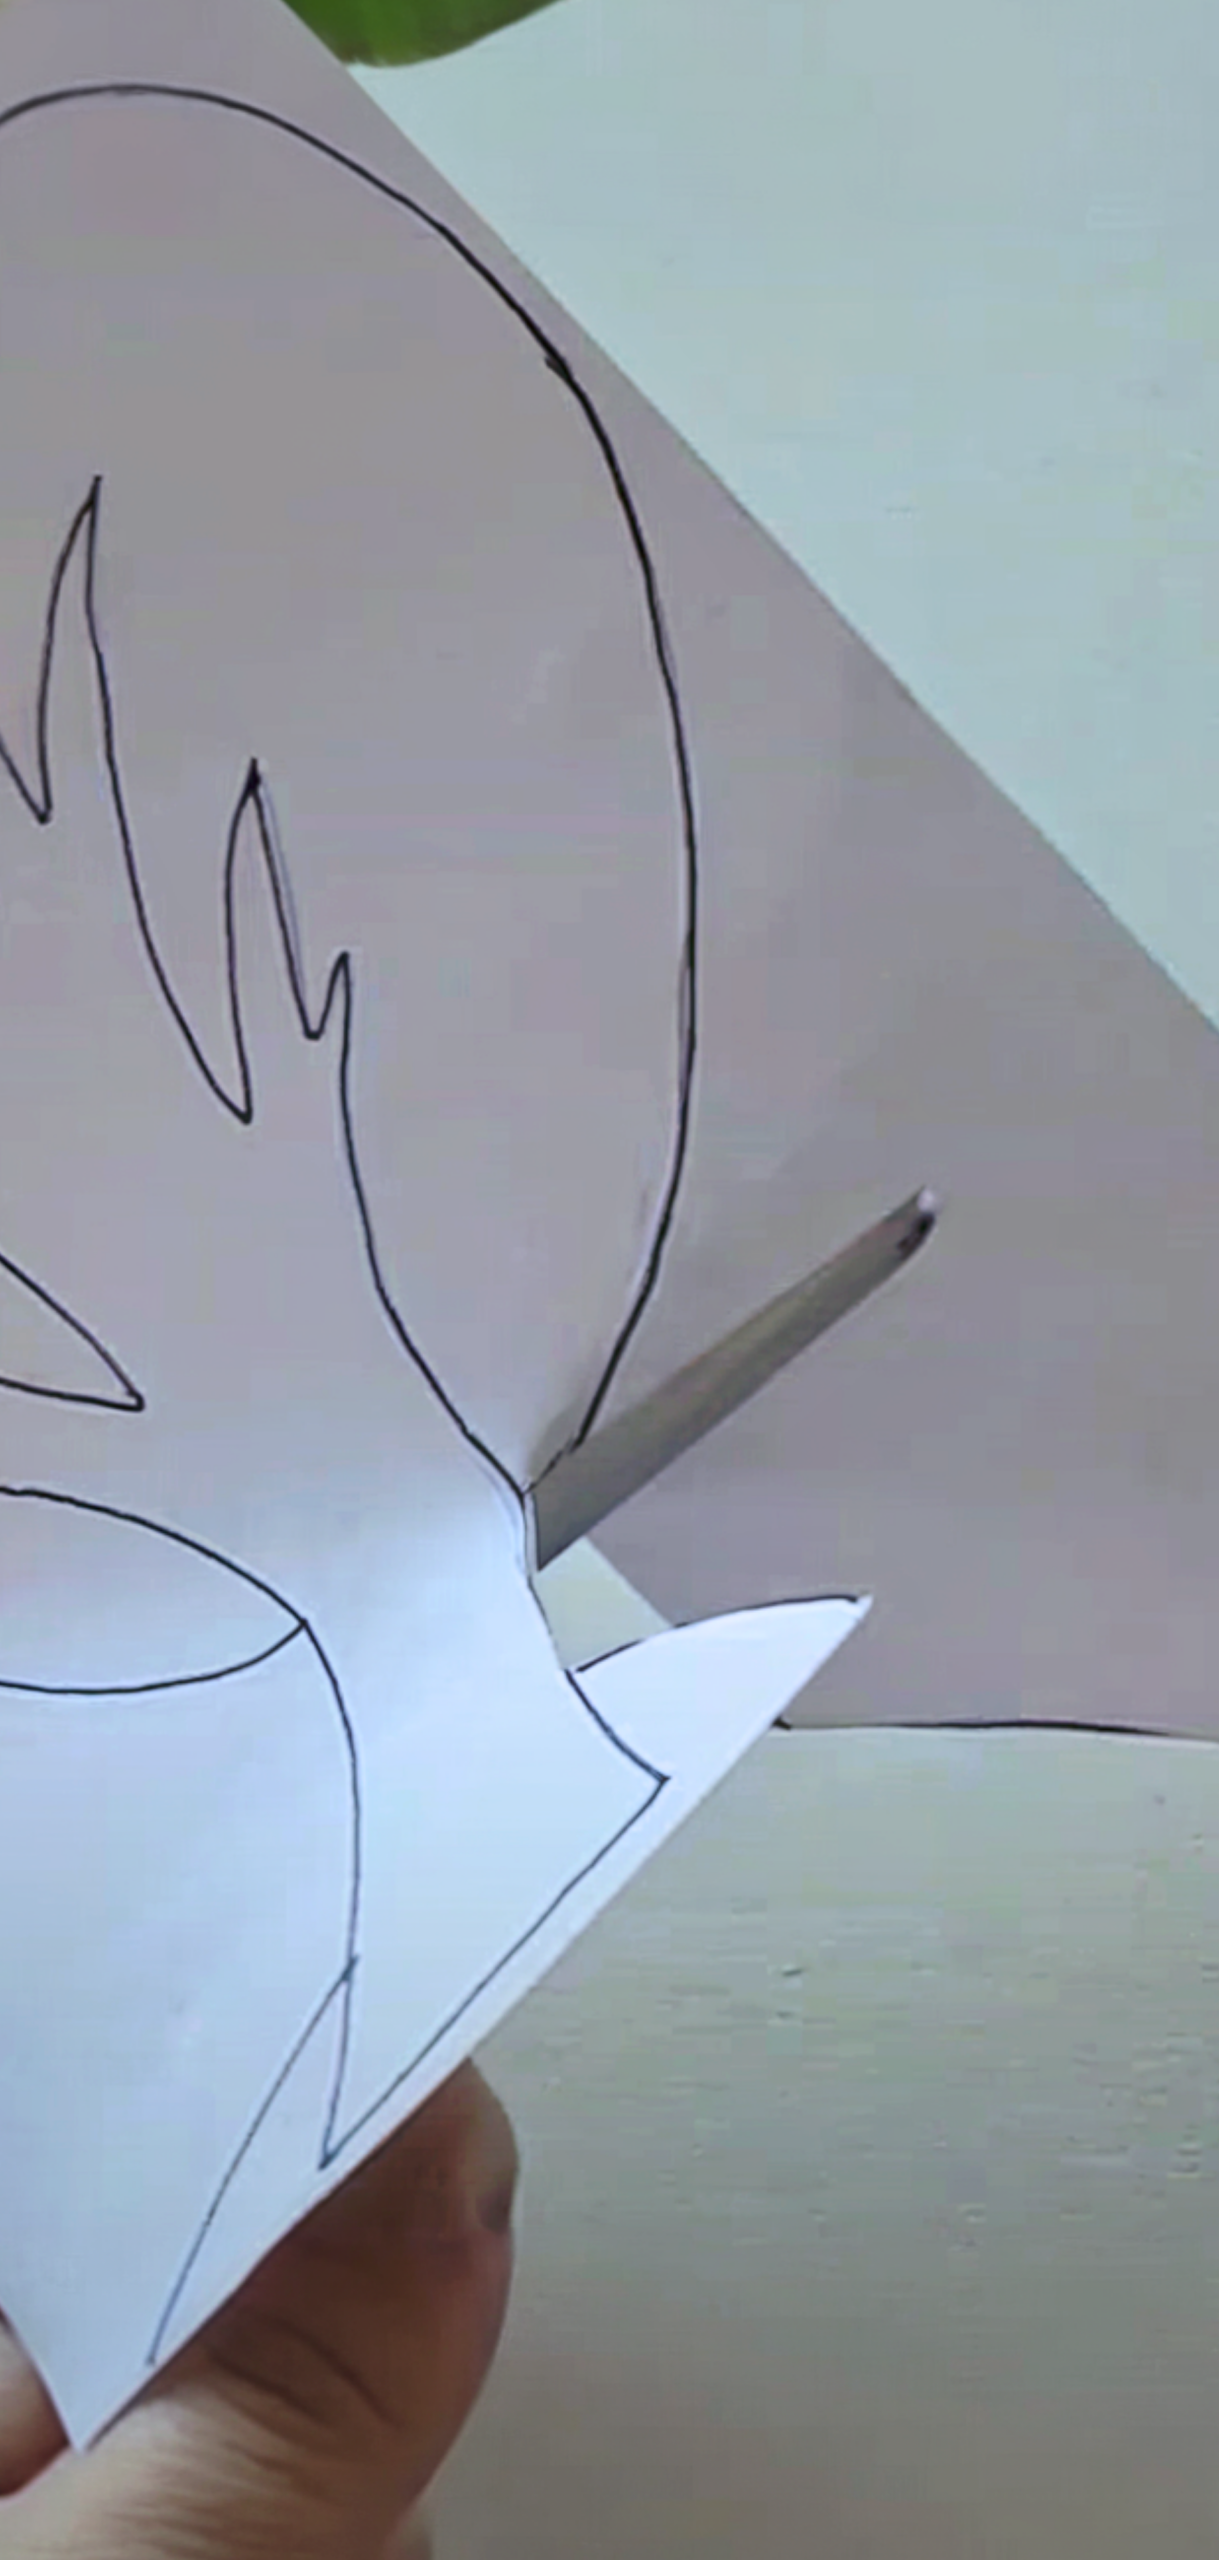
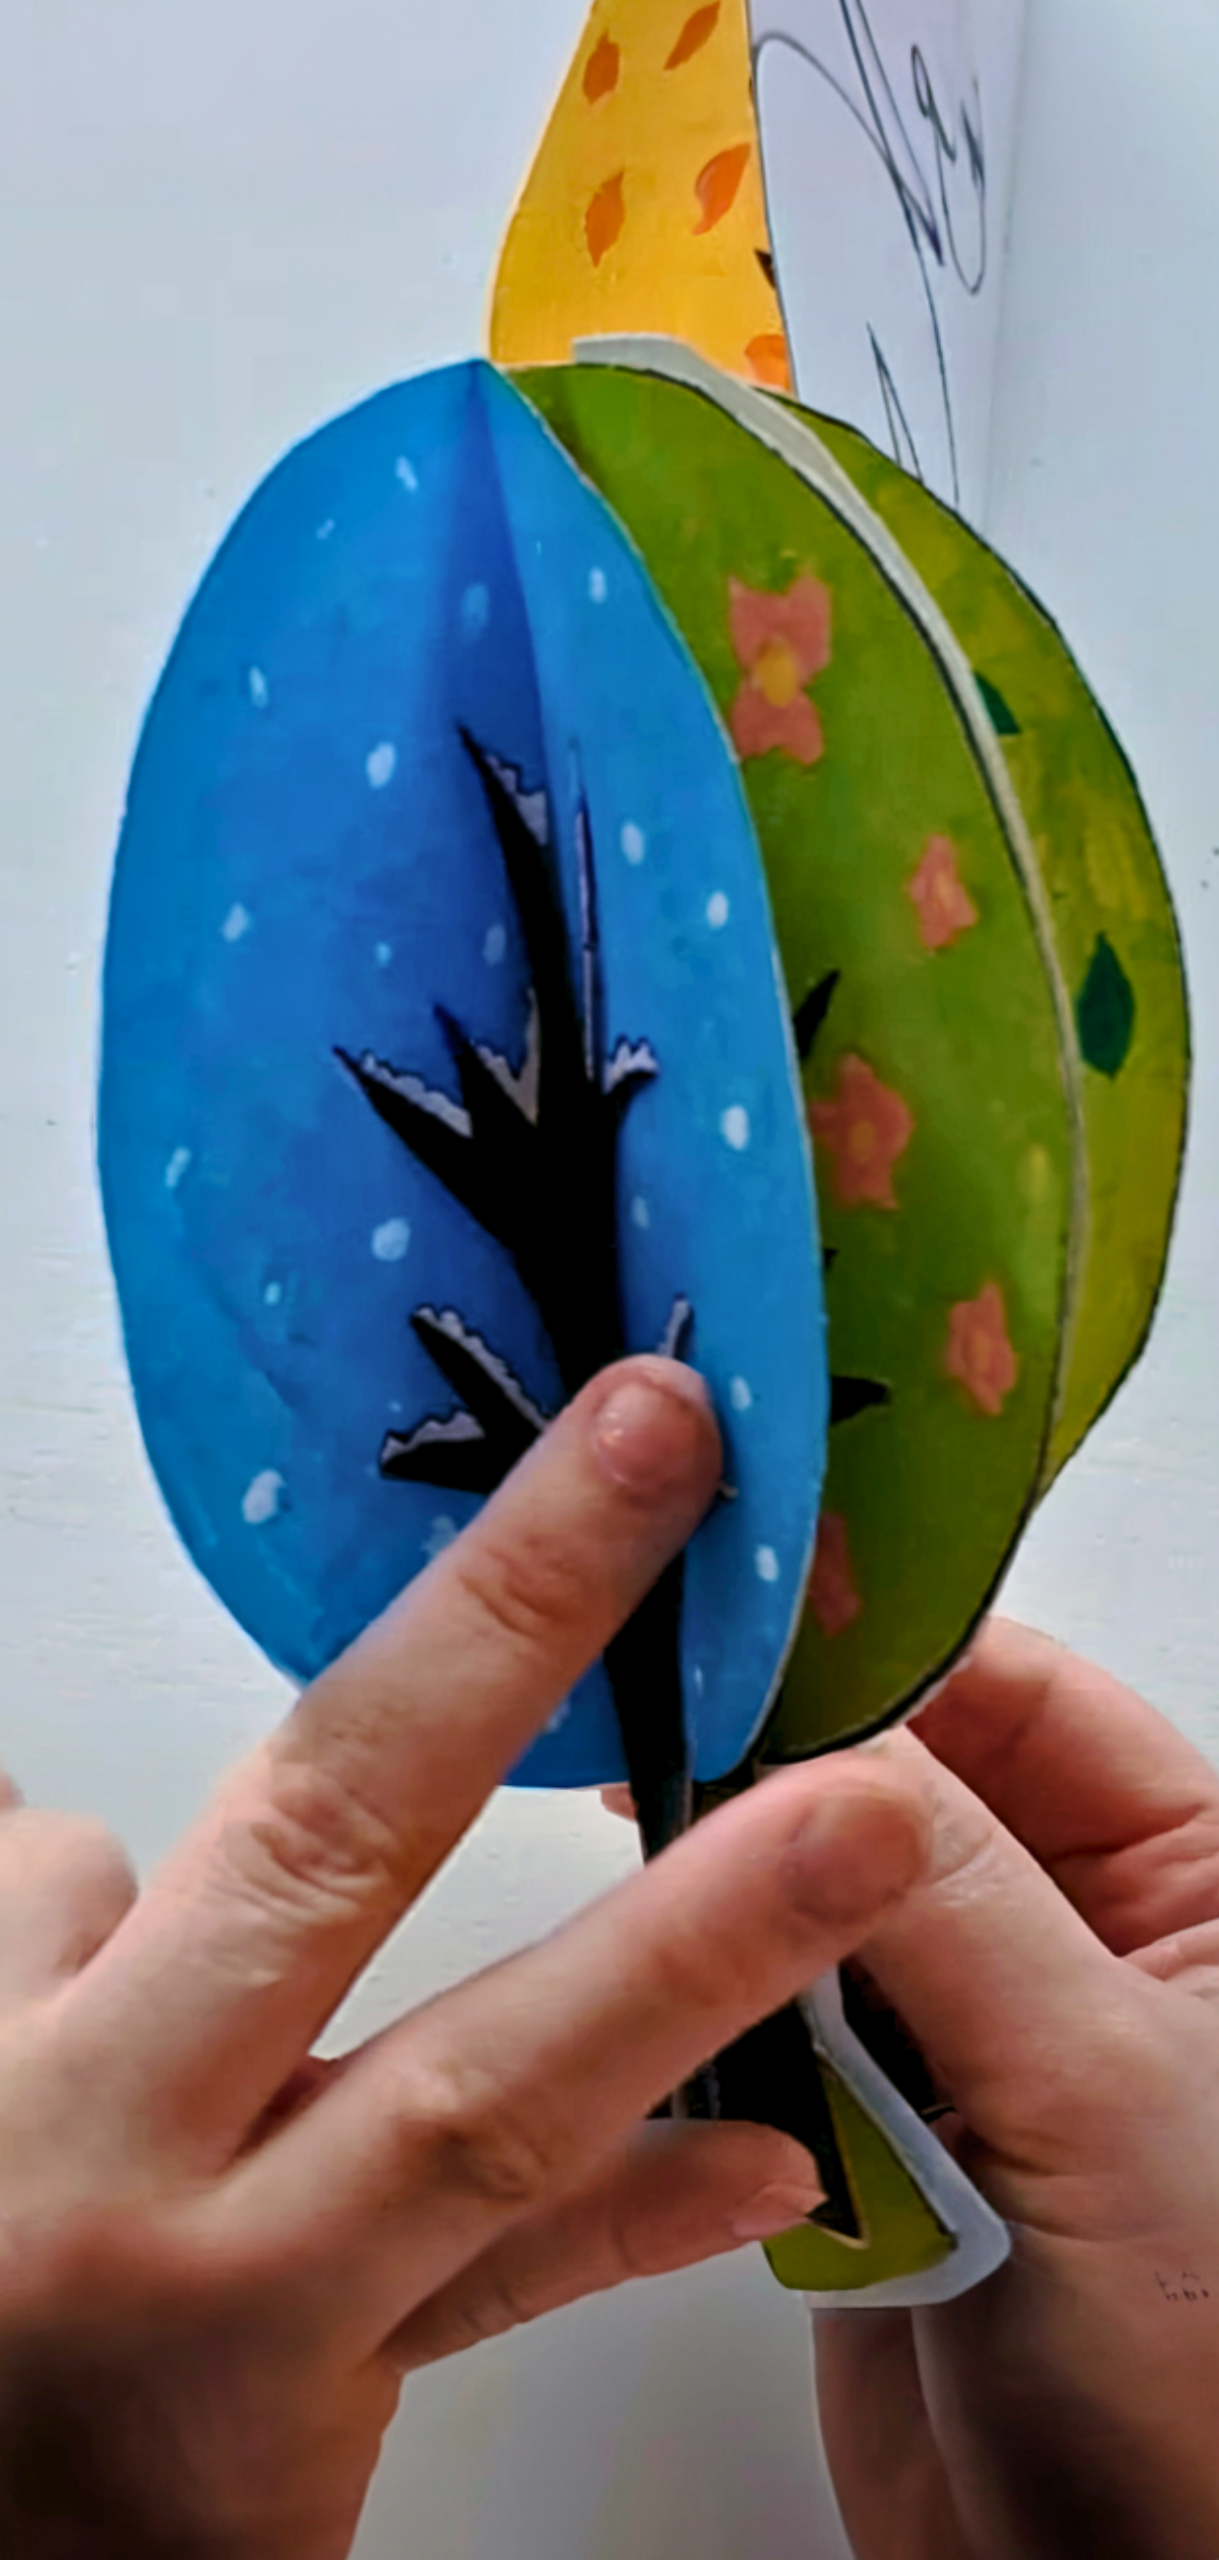
Step 4: Assemble (Optional 3D or Book Format)

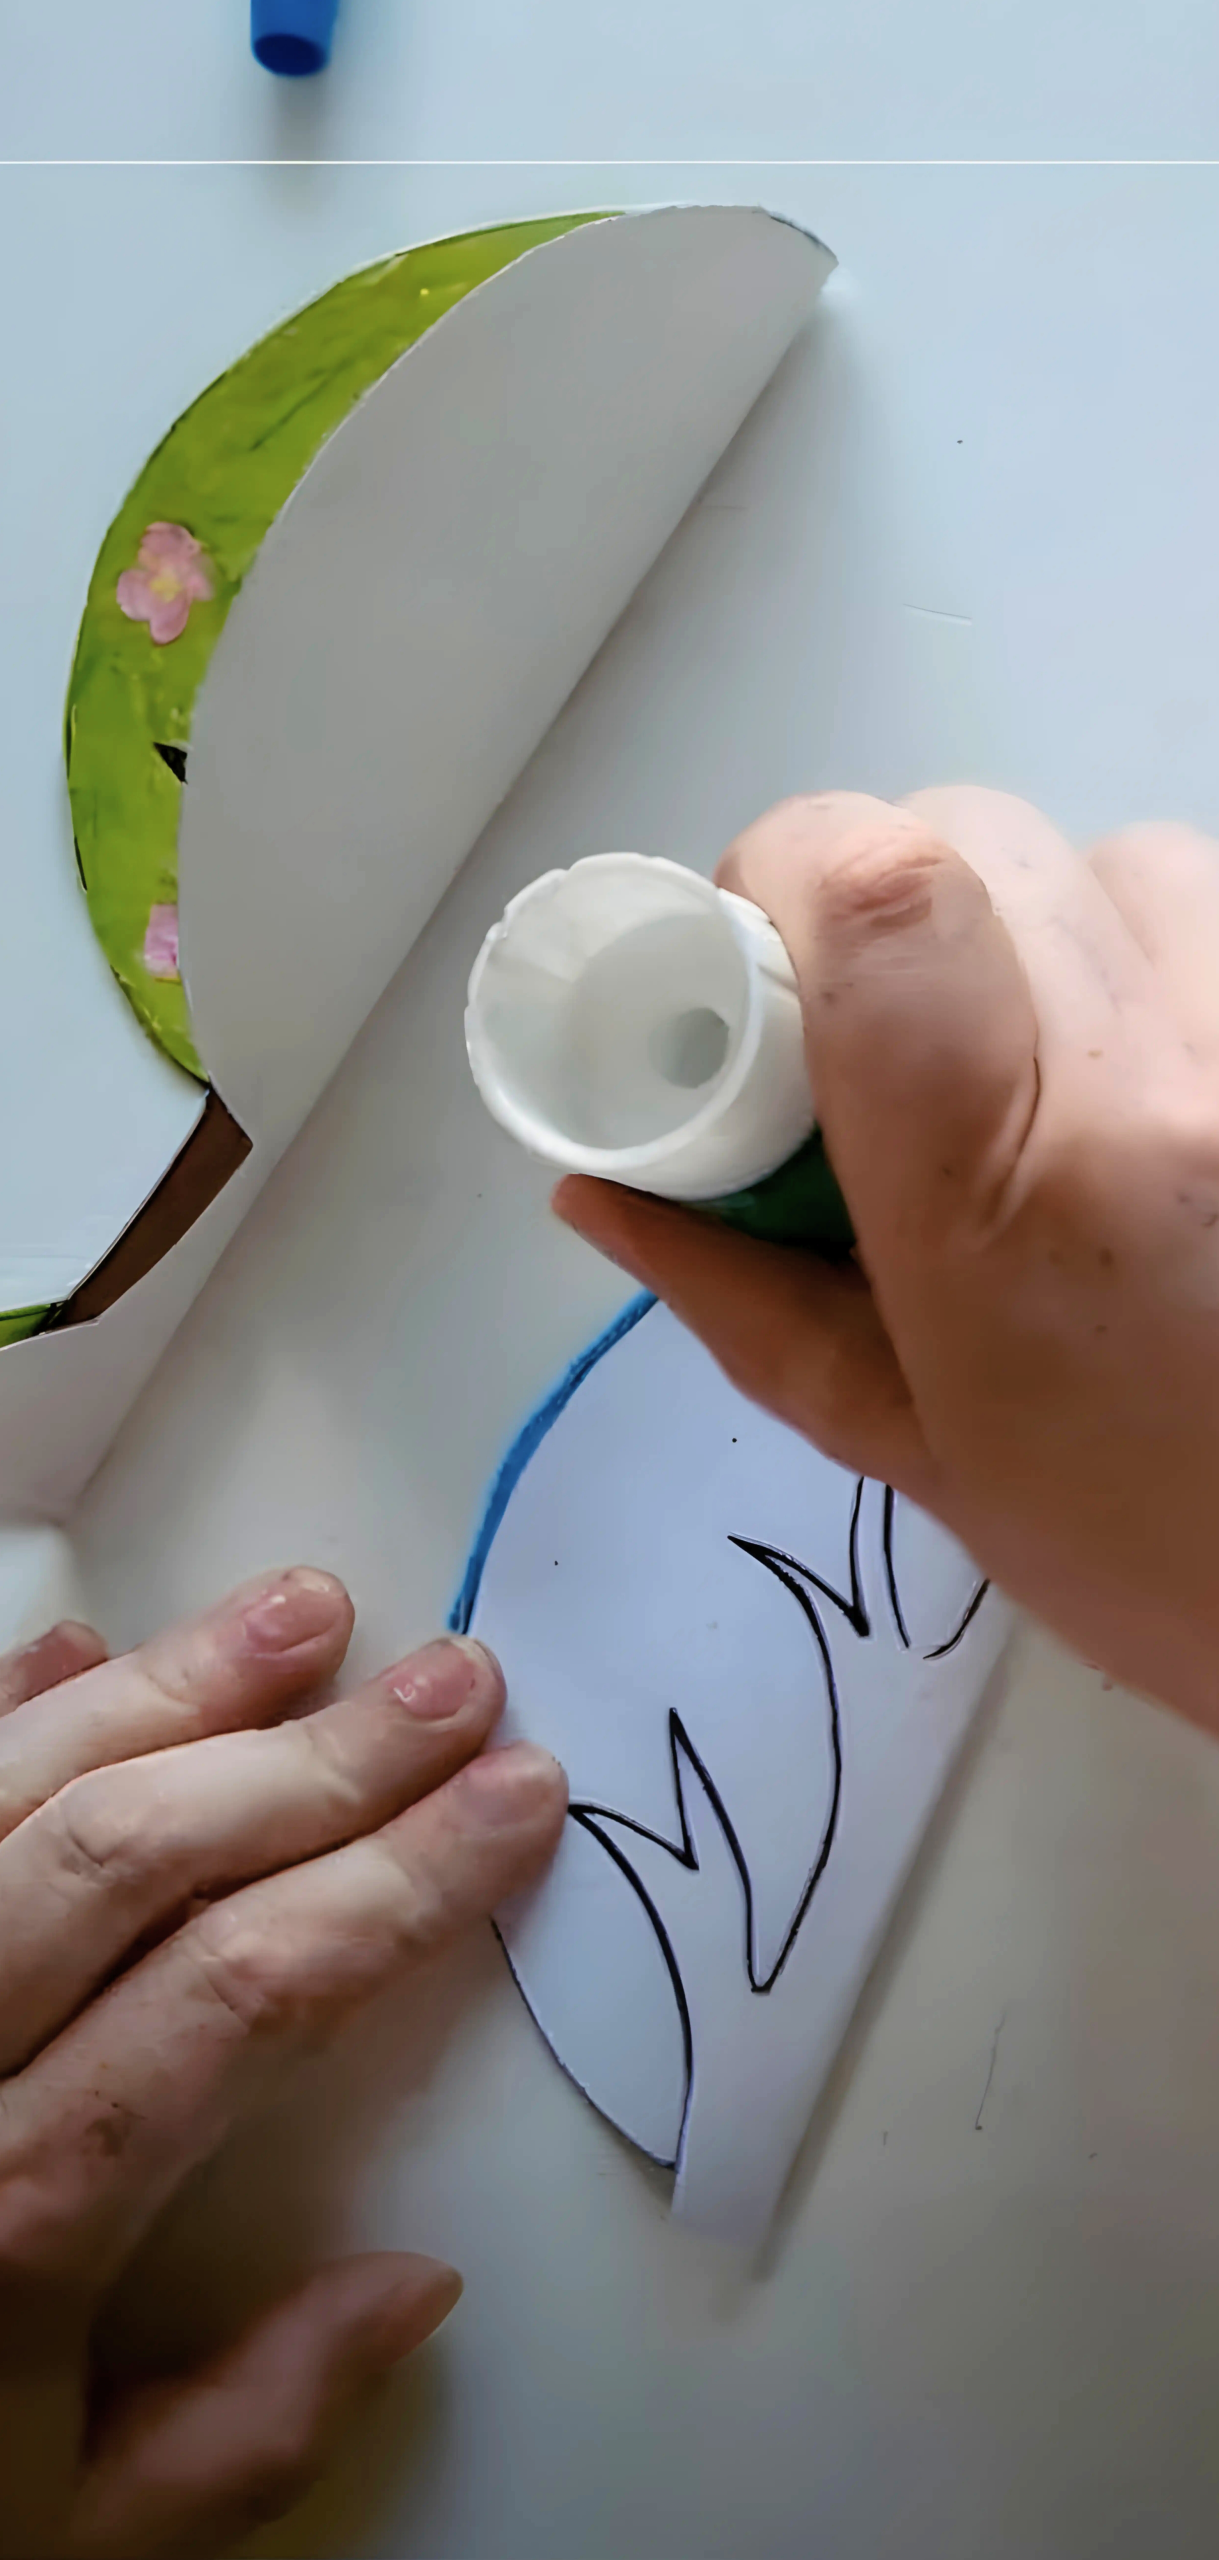
If building a 3D display like overlapping tree flaps just assemble your panels into a standing tree or seasonal flipbook using folds or glue.
Step 5: Add Your Optional Finishing Touches

Sprinkle a bit of biodegradable glitter for some magical seasonal shining and label each panel with the appropriate season name.
Pro Tips
- Babies and toddlers love the tactile process of bubble-wrap stamping and handling texture bits; this craft builds their fine motor skills too.
- Use recyclable materials like bubble wrap or TP rolls to make inexpensive seasonal stamps.
- Adjust craft materials based on age: older kids can freehand leaves; younger children may color instead.
- Highlight the cycle, arrange the four panels in a circle to show how seasons repeat.
FAQs
What age group is this Four Seasons Tree Craft best for?
Great for preschool and up, particularly effective for ages 3+ due to multi-sensory, developmental play.
What can I use instead of bubble wrap?
Fingers or scrunched paper all make fantastic alternatives for your four seasons tree craft.
How to teach the seasons while crafting?
Discuss each season as kids work, like how flowers bloom in spring or leaves fall in autumn.
Can we make this Four Seasons Tree Craft 3D?
Yes, assemble each season panel into a single standing tree or flipbook.
Is this eco-friendly?
Yes, using recycled items like bubble wrap or scrap paper.
Conclusion
You’ve just made a beautiful Four Seasons Tree Craft that blends teaching and art into a fun seasonal activity and supports imagination it’s a great activity for home or the classroom. If you want printable templates or another version that uses natural materials? Don’t be shy and drop a comment I will be happy to help you make this craft in even more creative ways.