Join the fastest growing Craft community on Pinterest!
I’ve always loved the idea of transforming ordinary items into something beautiful which is exactly why this painted pumpkins project caught my eye.
At first I was staring at my plain plastic pumpkins wondering how to make them look cozy for fall. The video promised a simple method using country chic paint to turn even the cheapest plastic pumpkin into a stylish autumn decoration.
Since I also have an article on yarn crafts like How to Make Yarn Pumpkins Using Balloons, I knew this would be a perfect addition to my fall DIY repertoire.
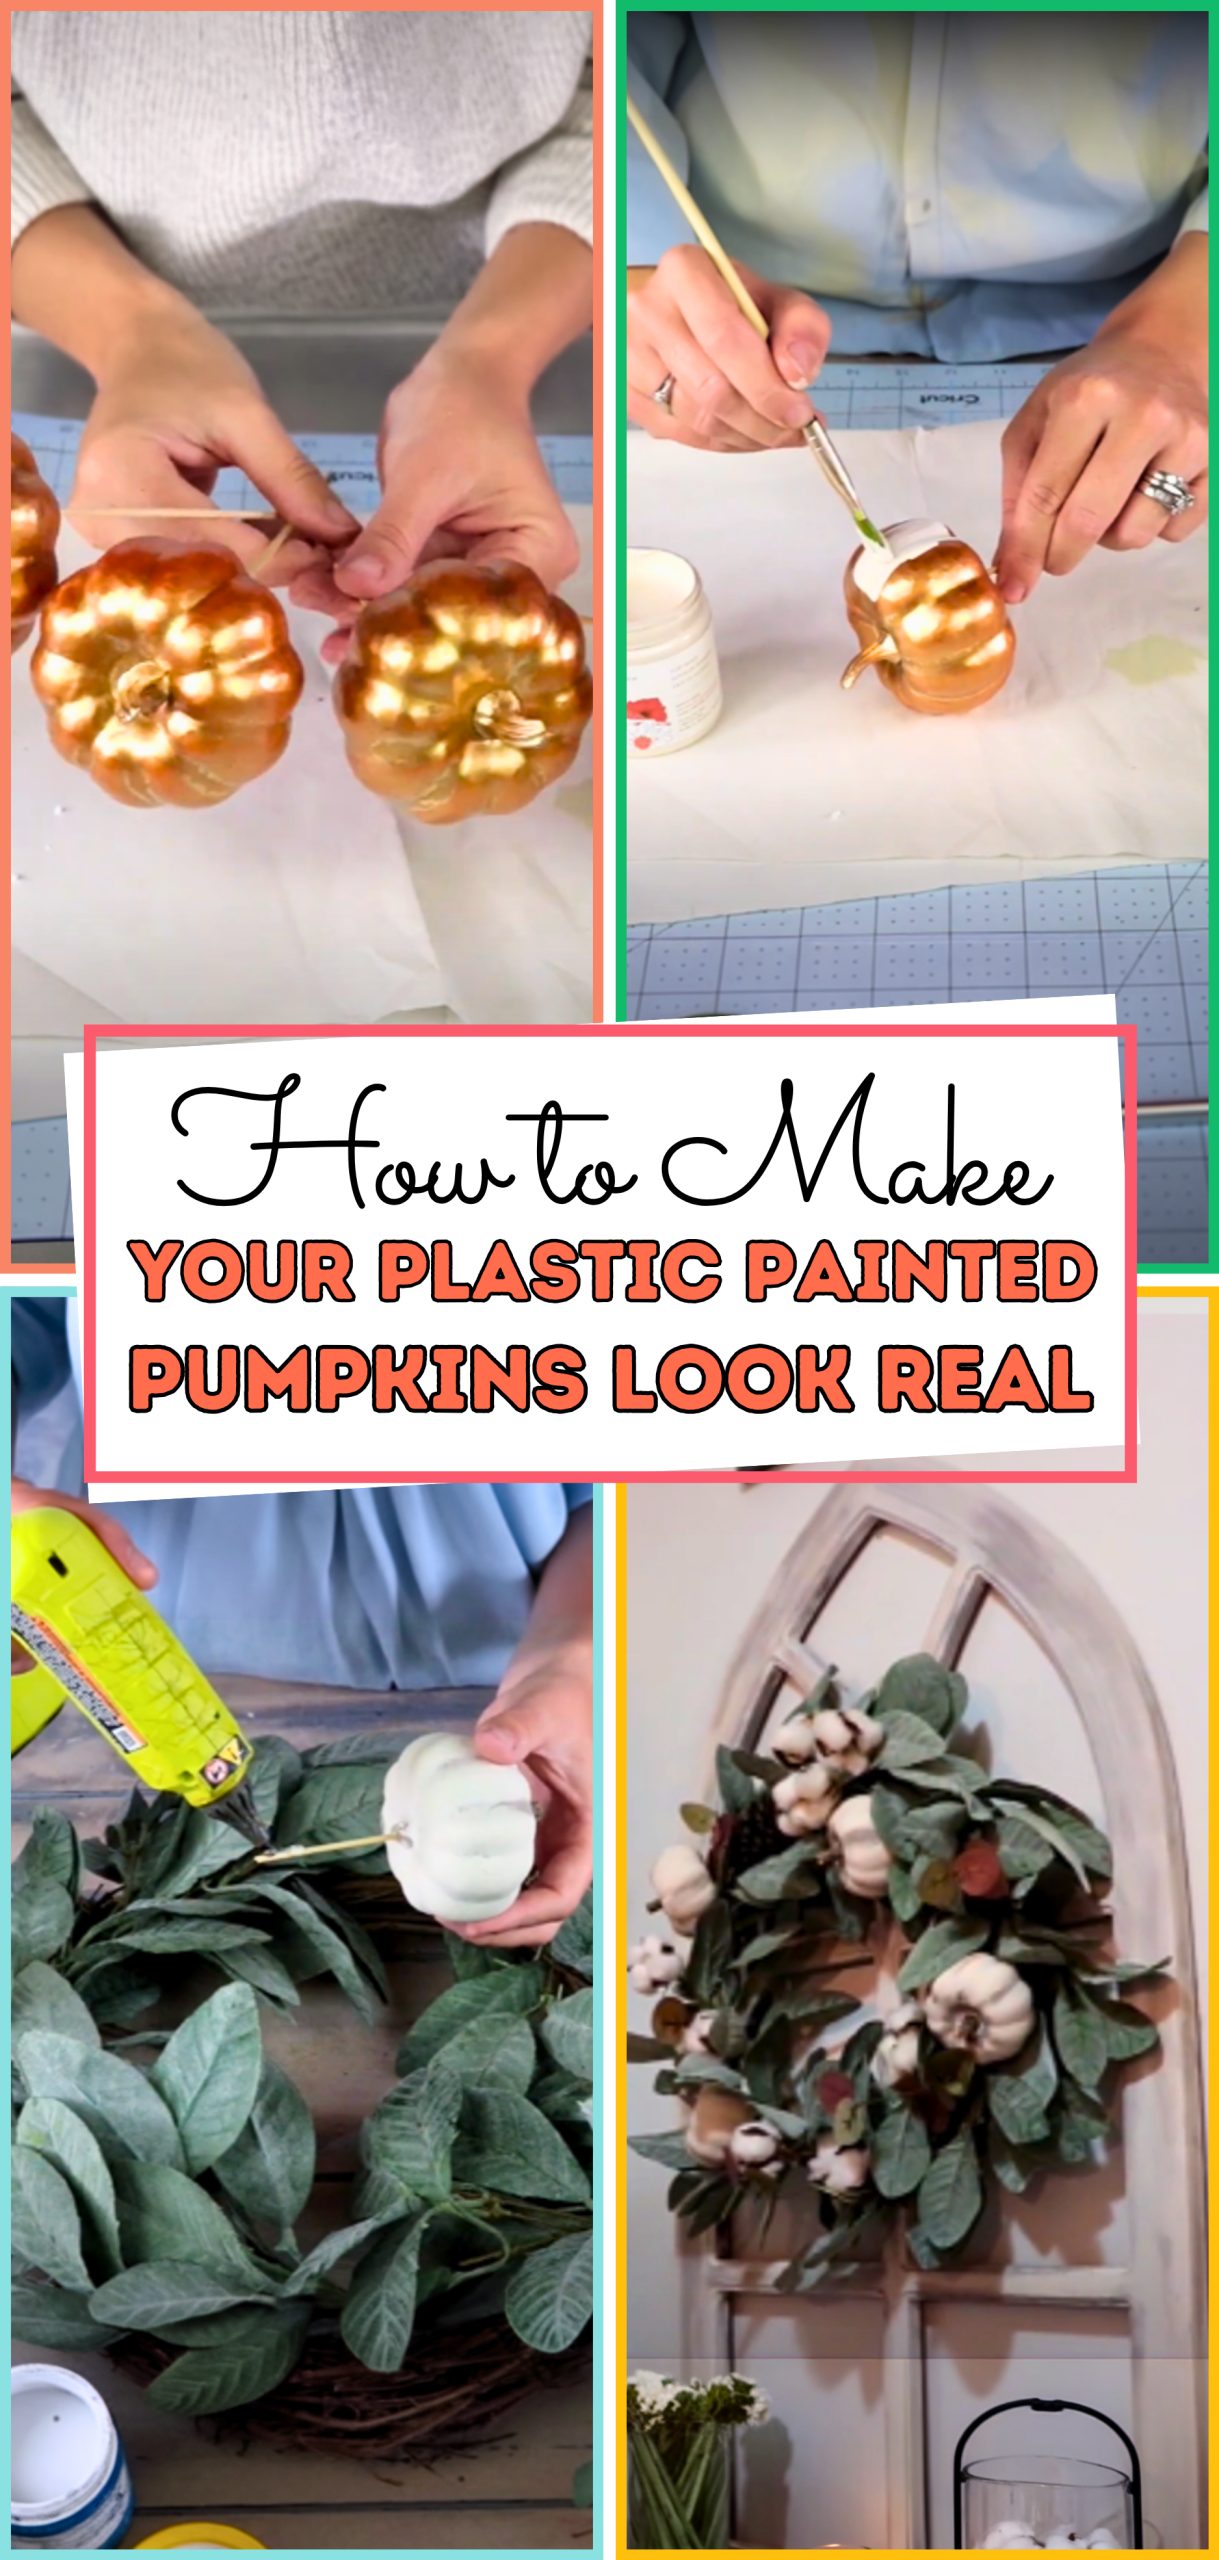
Following the tutorial, I learned that preparation is everything. The host started by cleaning the pumpkin to make sure the paint would stick properly.
Then came the base coat followed by additional layers to build opacity and depth. With each brushstroke, the fake-looking pumpkin started to take on a more natural texture. The transformation was magical because my pumpkin went from plastic to a beautiful one displayed on a fall wreath.
By the end I was holding my realistic-looking pumpkin ready to display alongside other seasonal decor and it was a reminder that even just the simplest materials can look elegant with just some patience and much creativity.
What began as a plain plastic pumpkin became a charming piece that feels right at home in any fall setting and I couldn’t wait to try more variations and mix these painted pumpkins with my other handmade decorations.
What you will need
- Plastic pumpkins
- Acrylic paints
- Foam brushes and small detail brushes
- White spray primer
- Cup of water and paper towels
- Matte clear sealant spray
how to make Plastic Painted Pumpkins Look Real
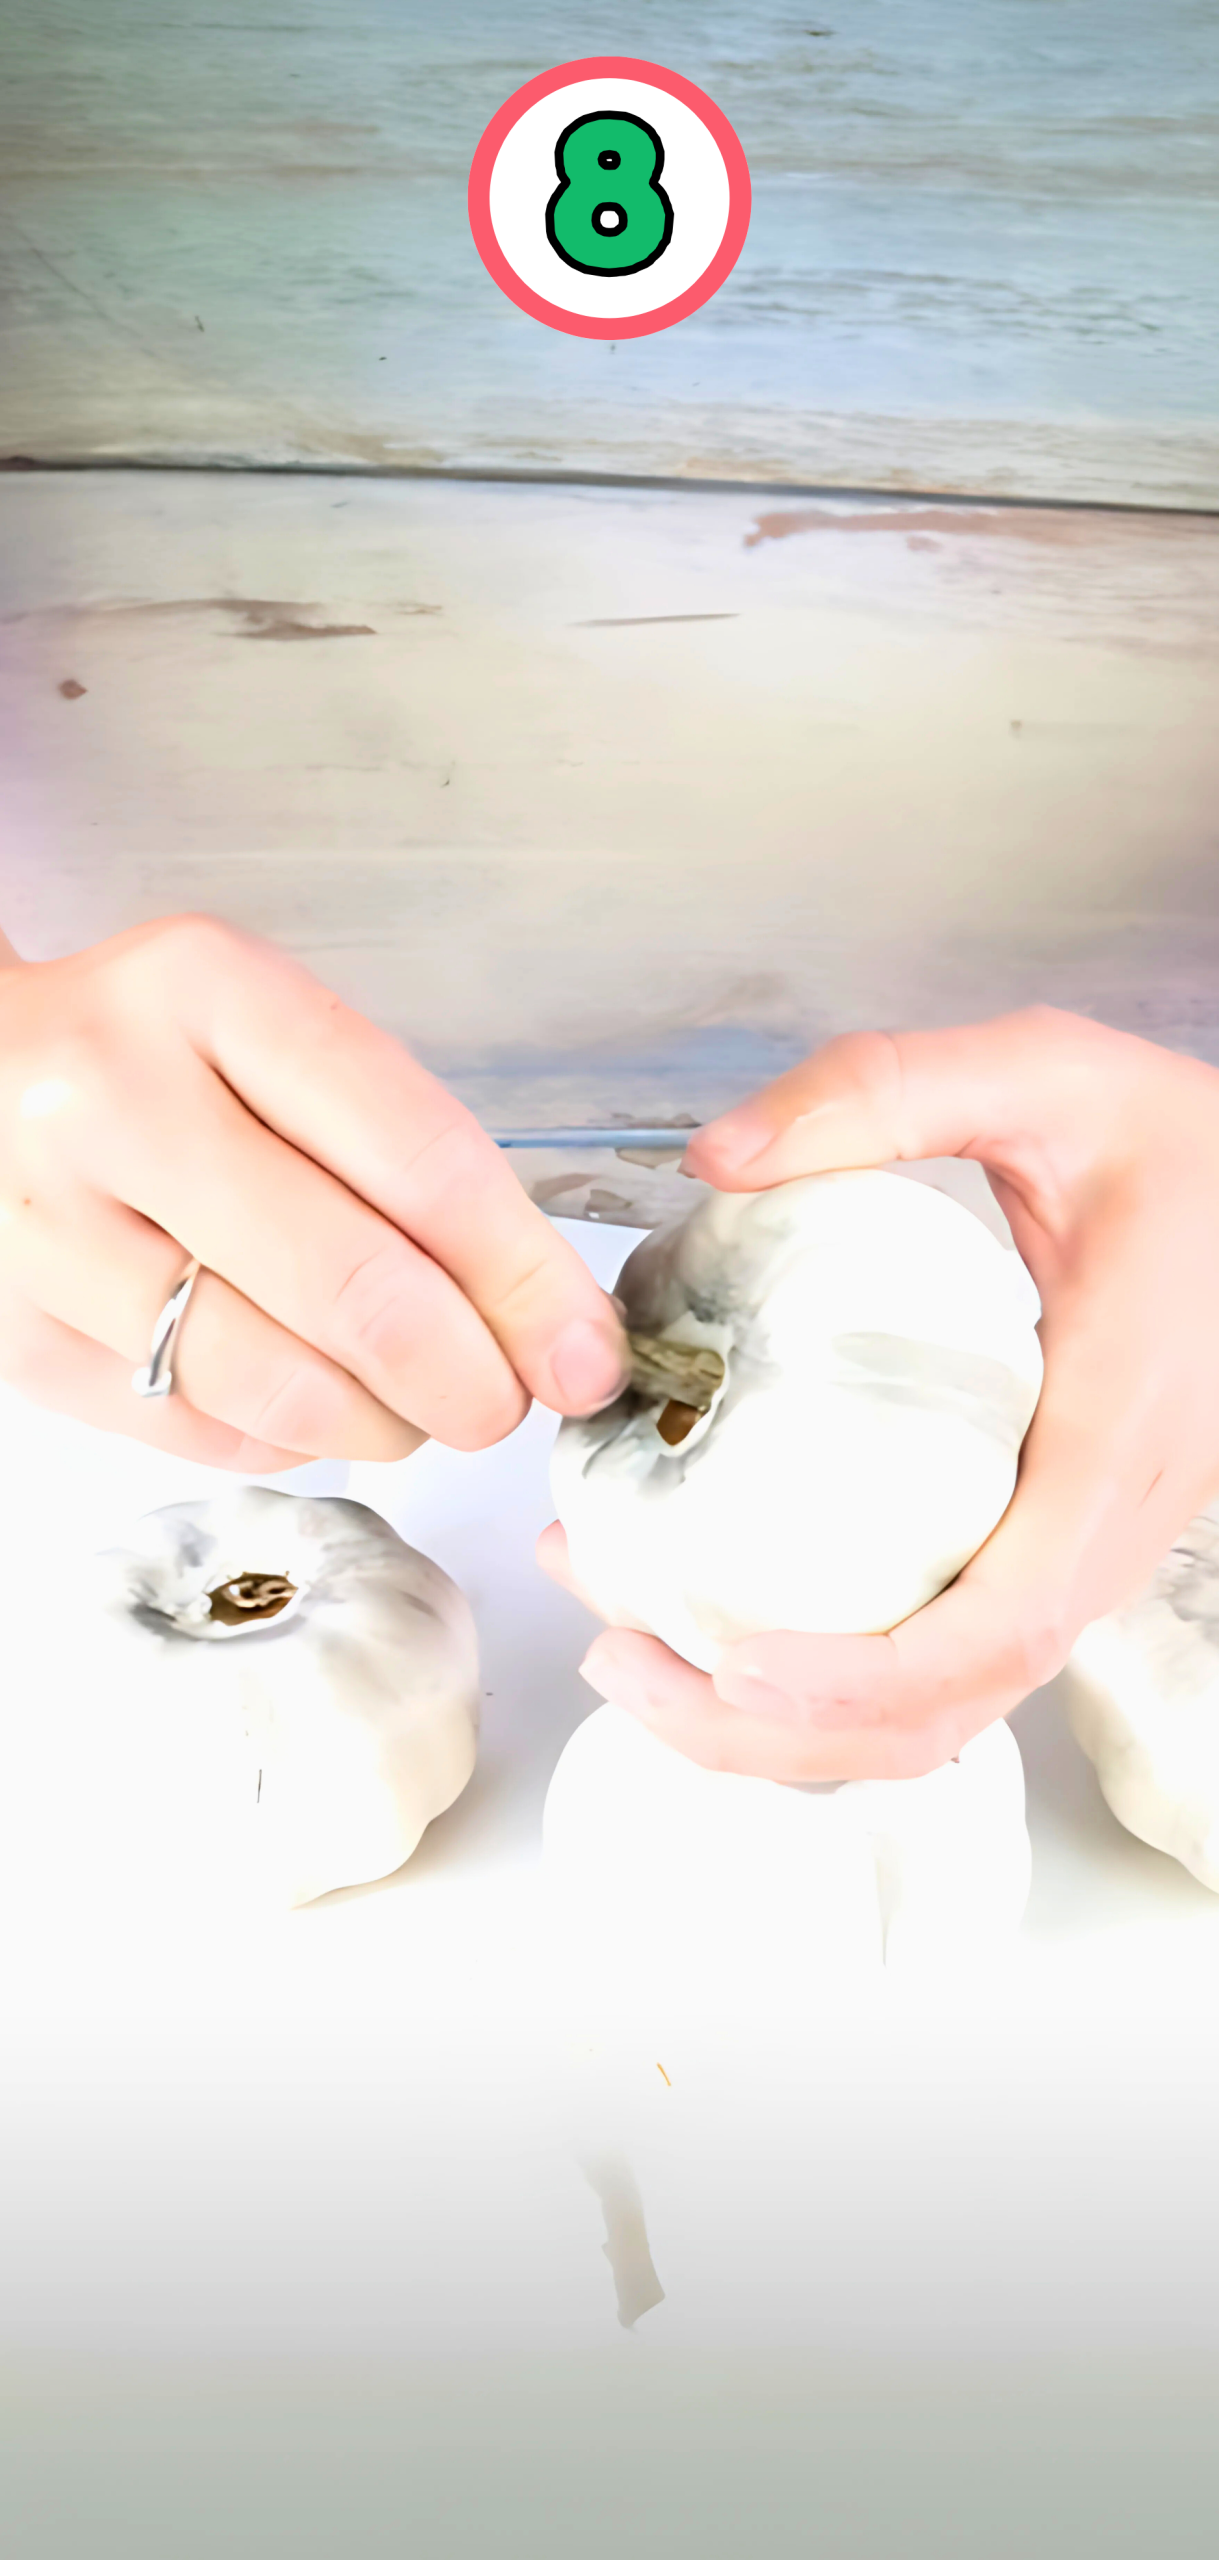
Step 1: Prep your pumpkin
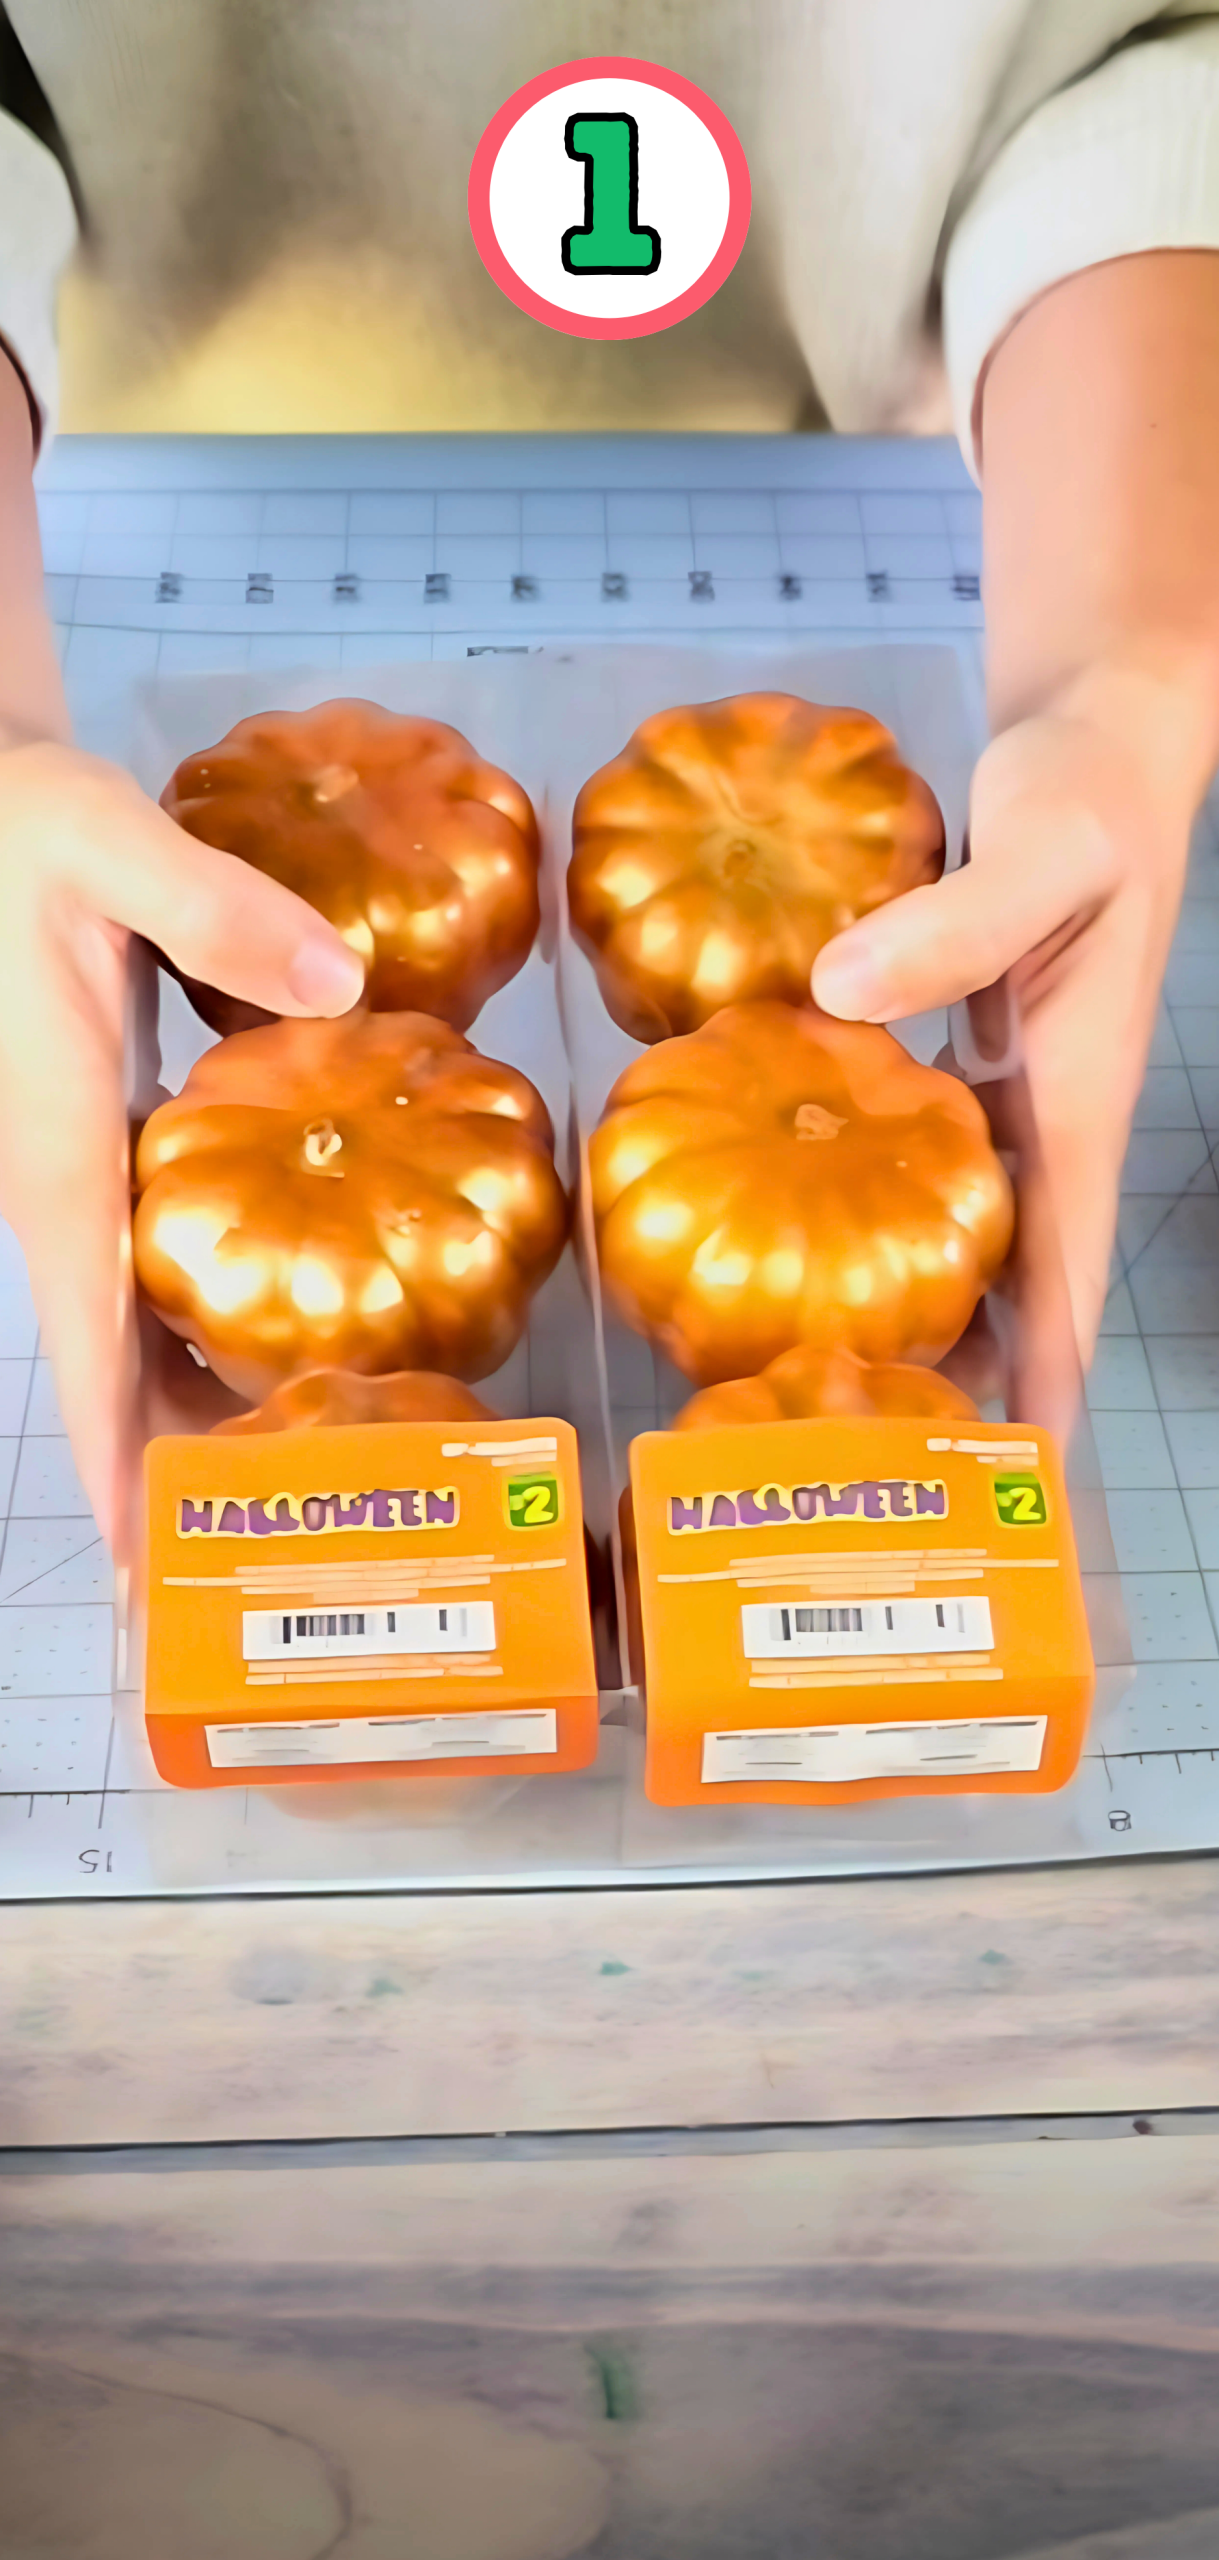
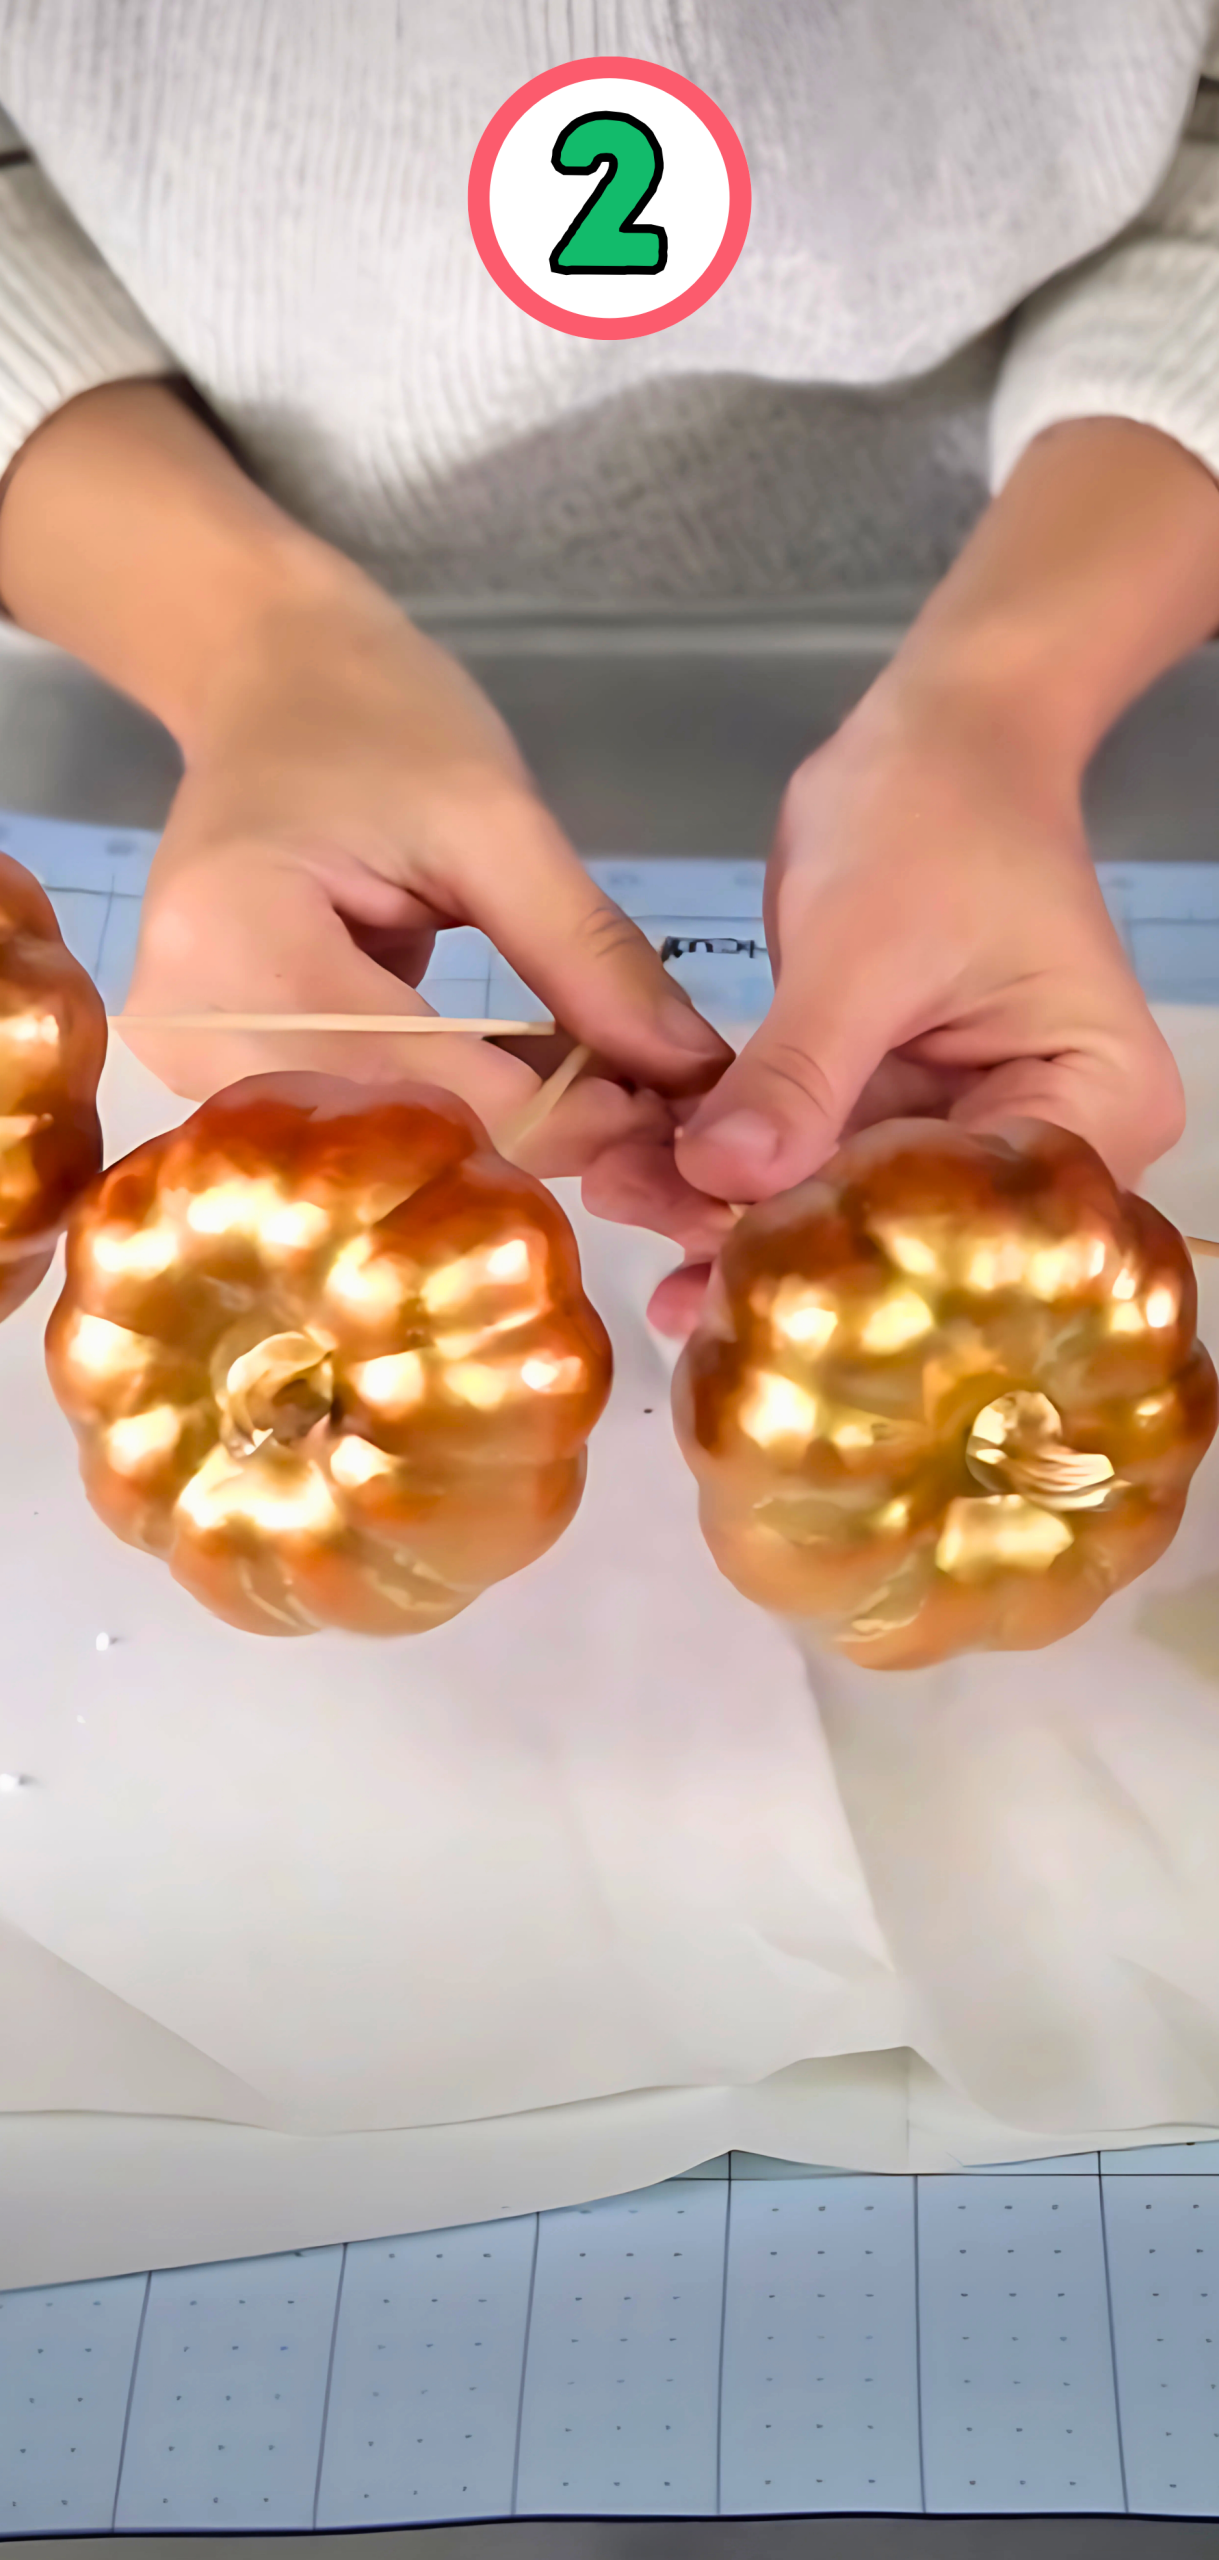
Start by cleaning your plastic pumpkin with a dry cloth and if it’s glossy just you need to apply a thin coat of white primer or base paint because this helps your colors stick better and look brighter.
Step 2: Apply the base coat
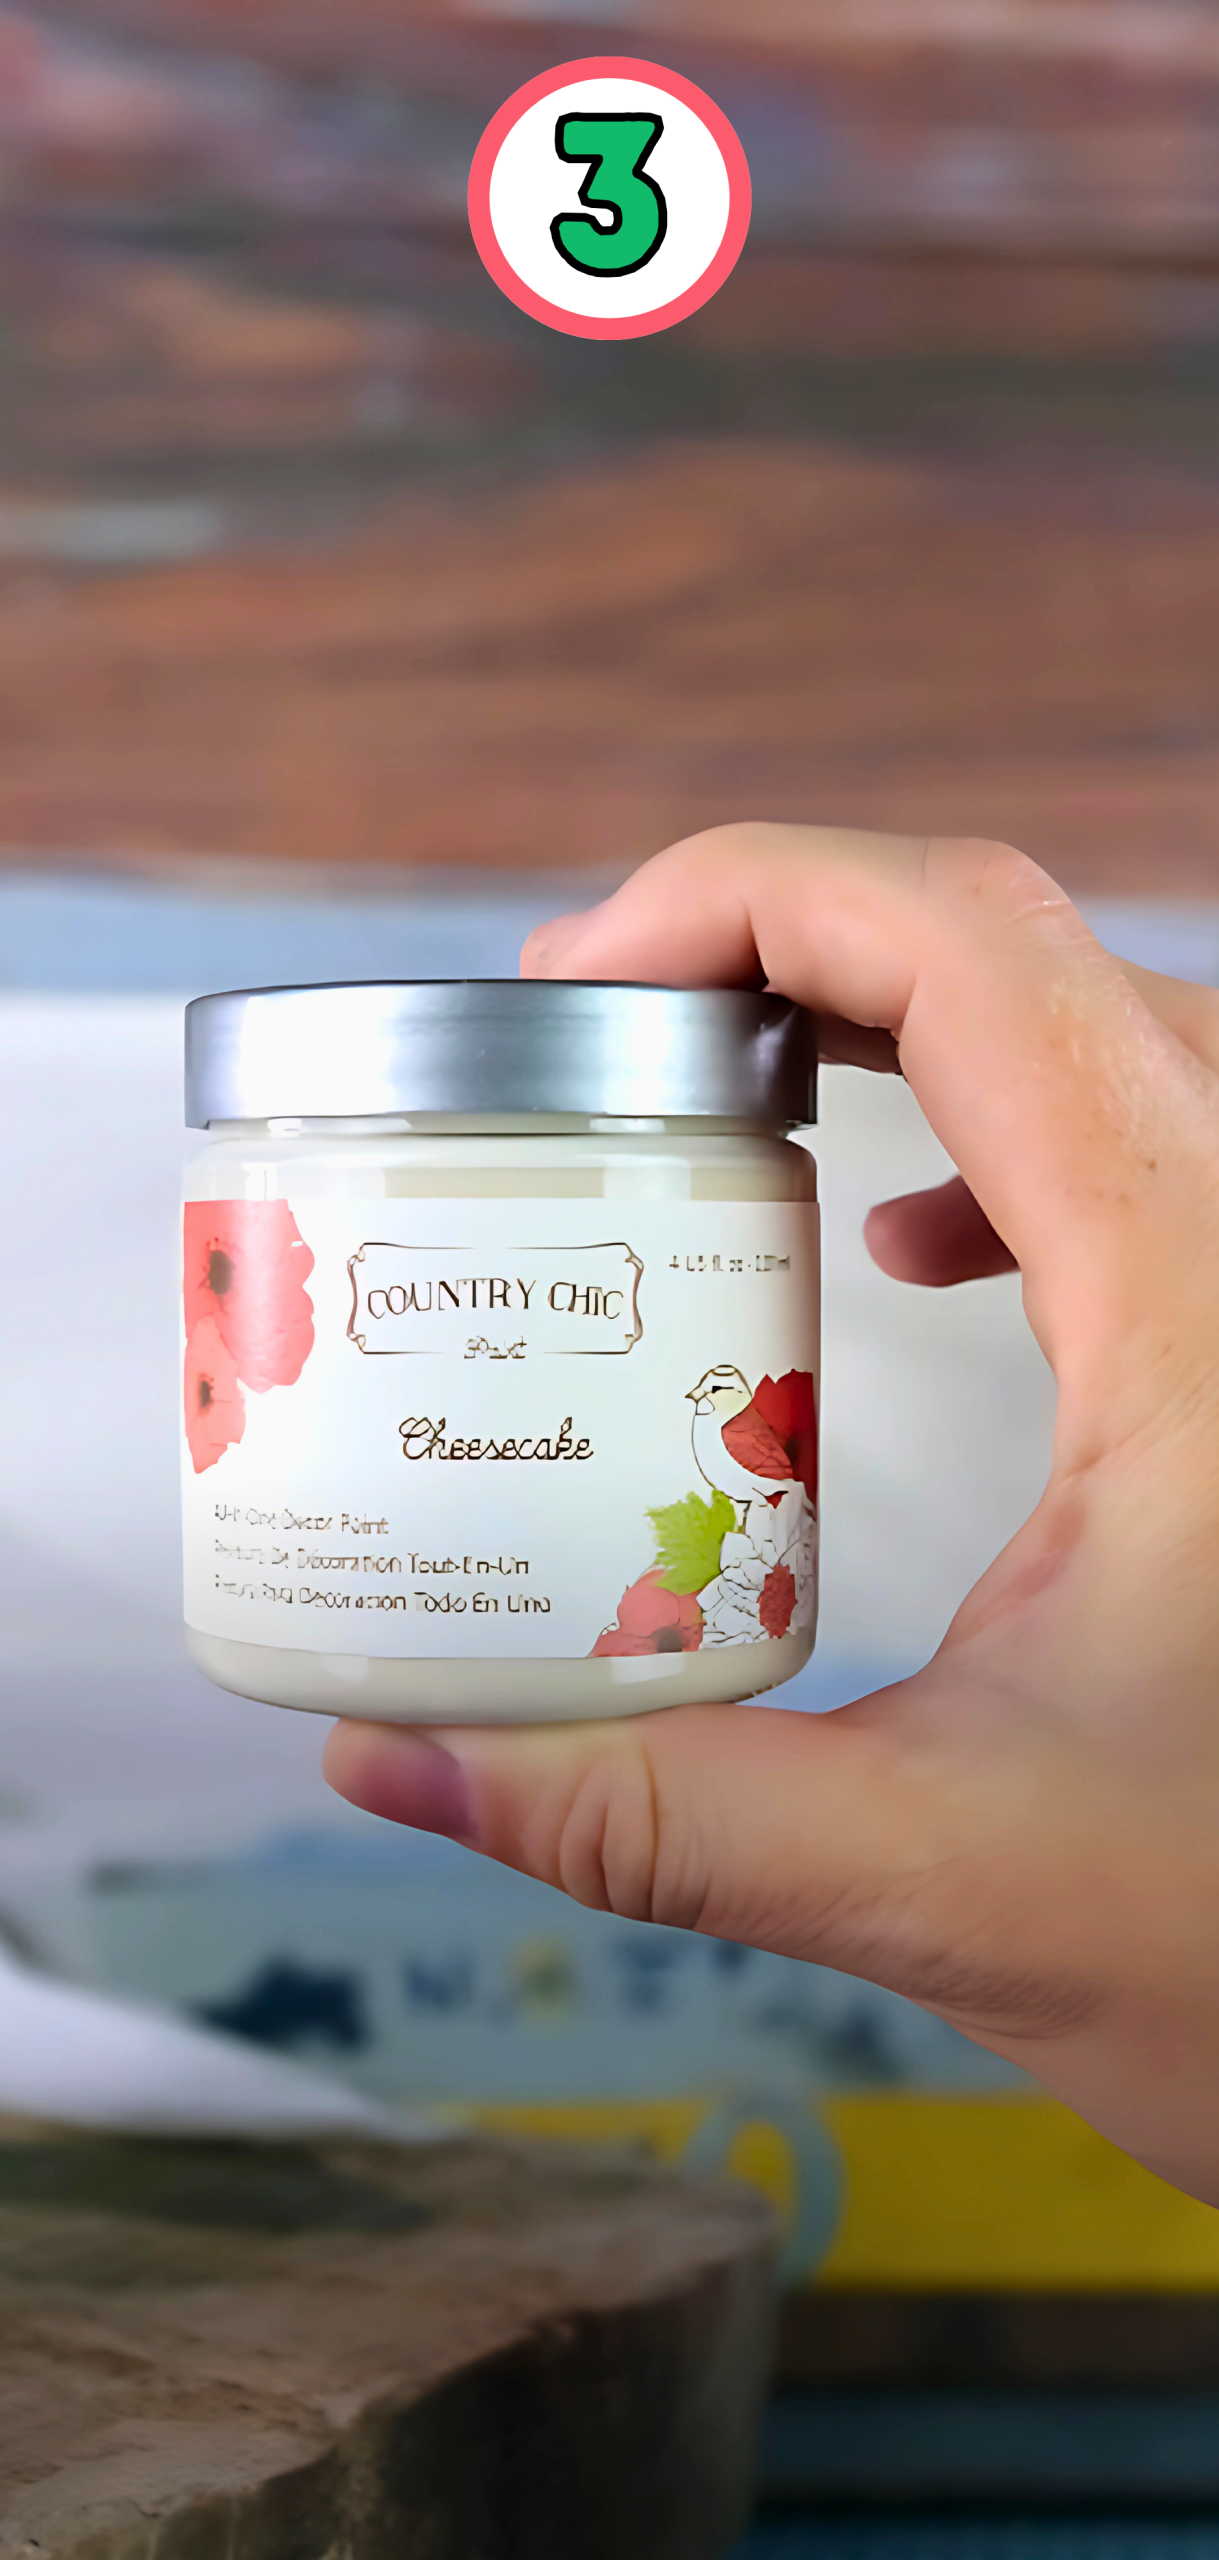
Choose your pumpkin color like creamy white and paint the whole pumpkin in one even coat and let it dry fully.
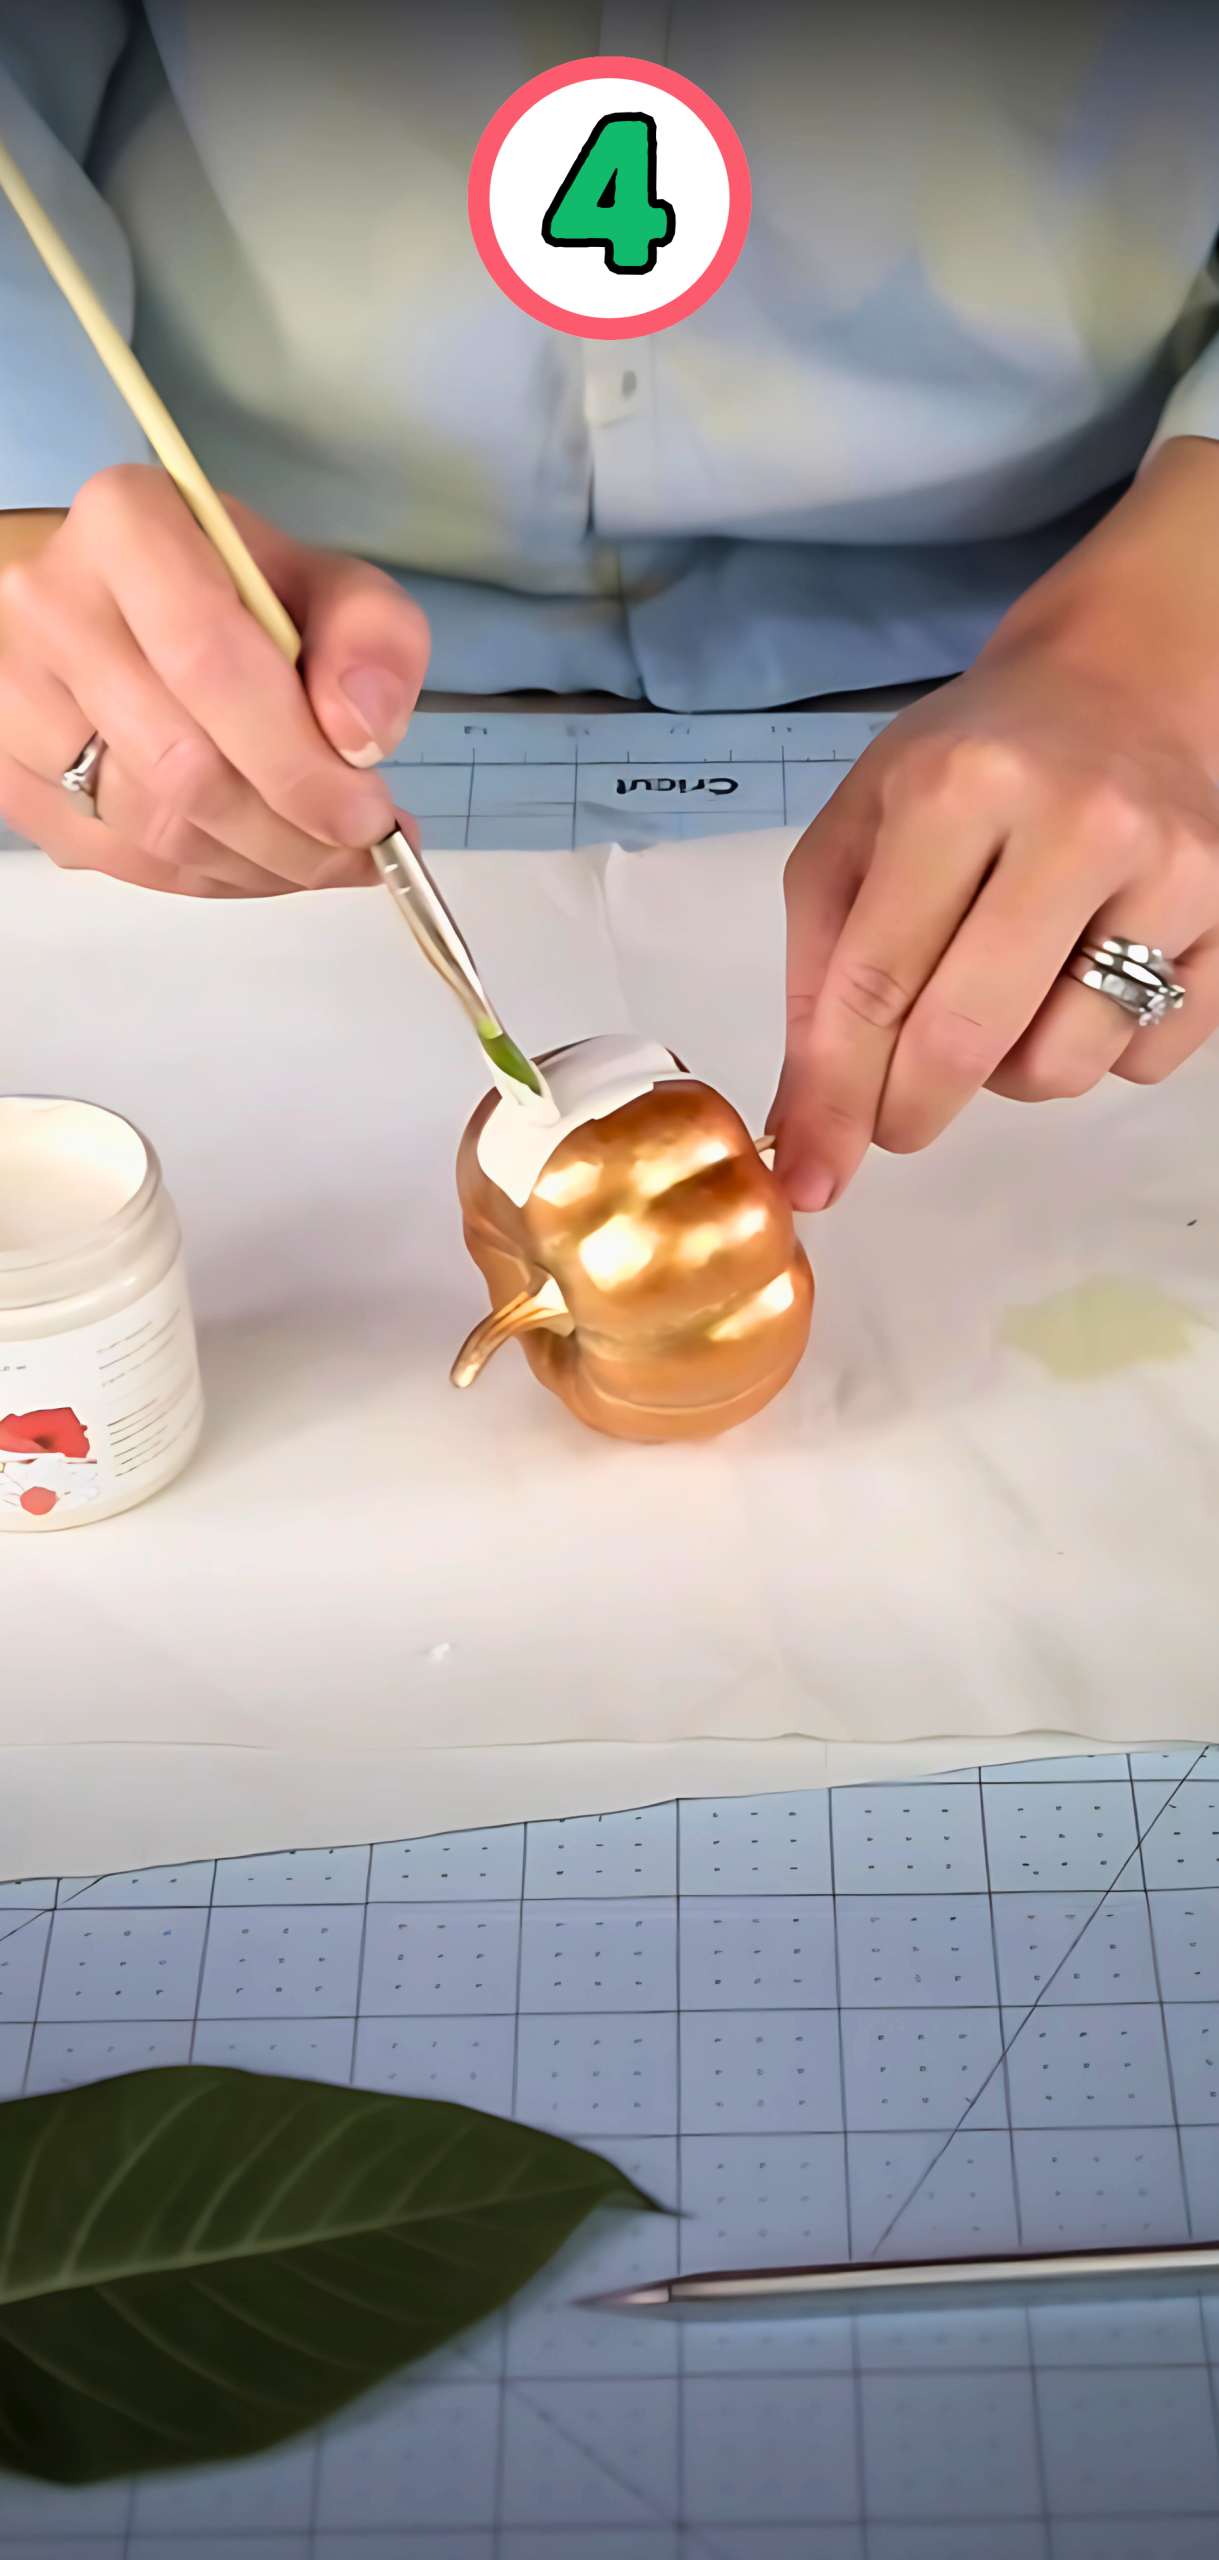
Step 3: Add shadows
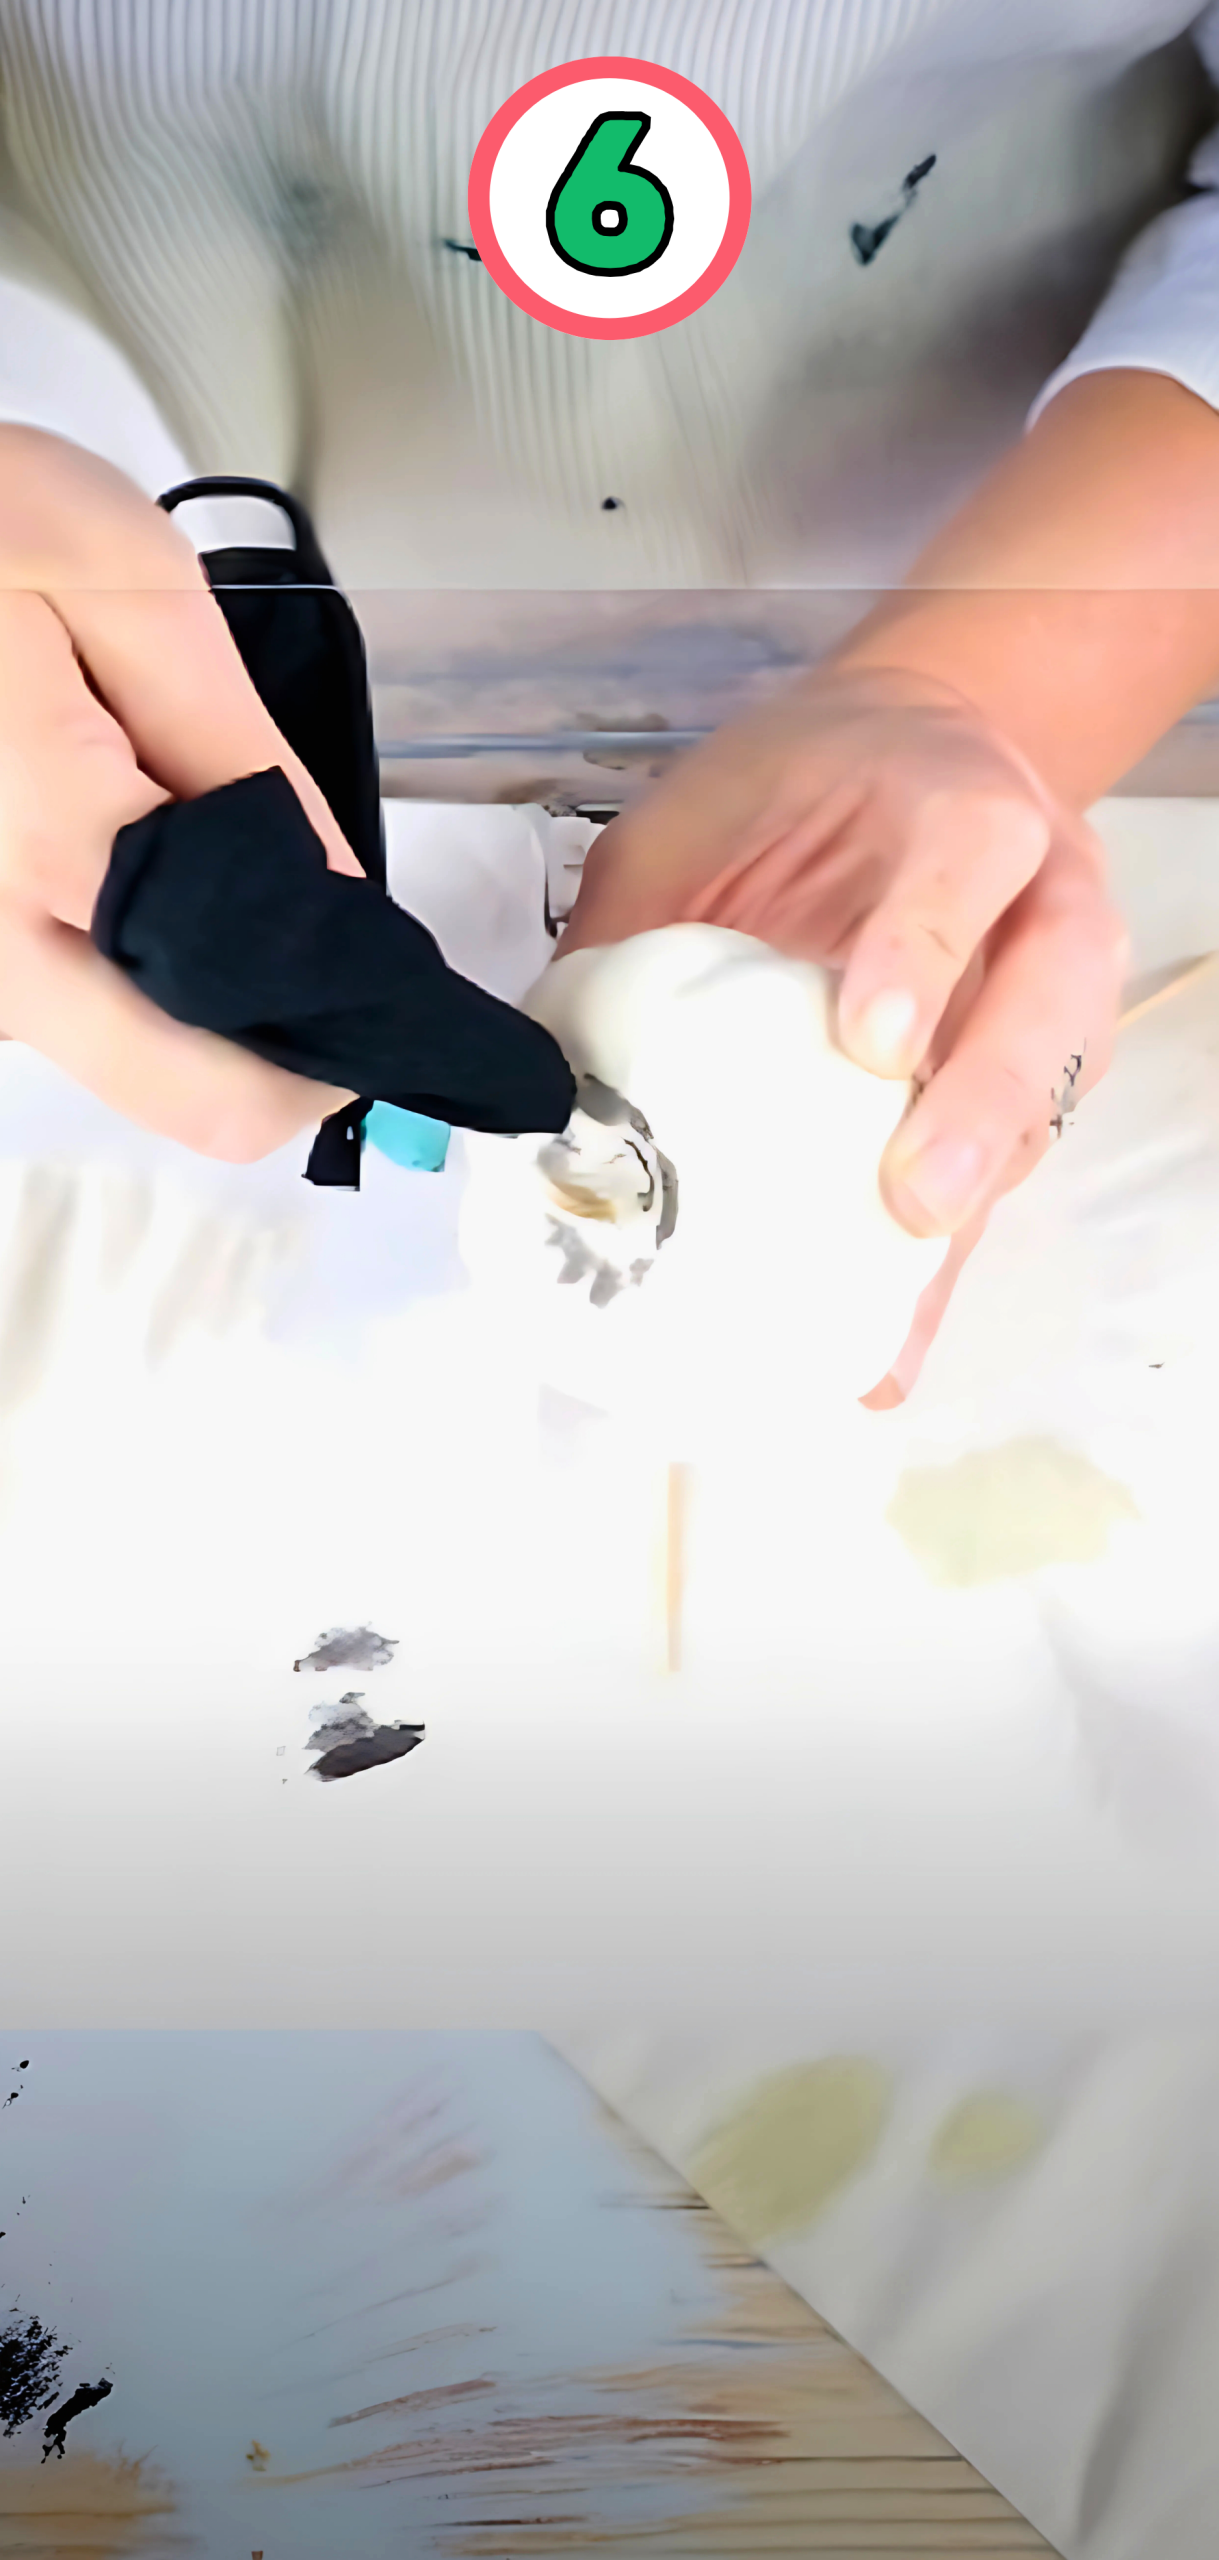
I suggest blending a darker shade of your base color with a brush.
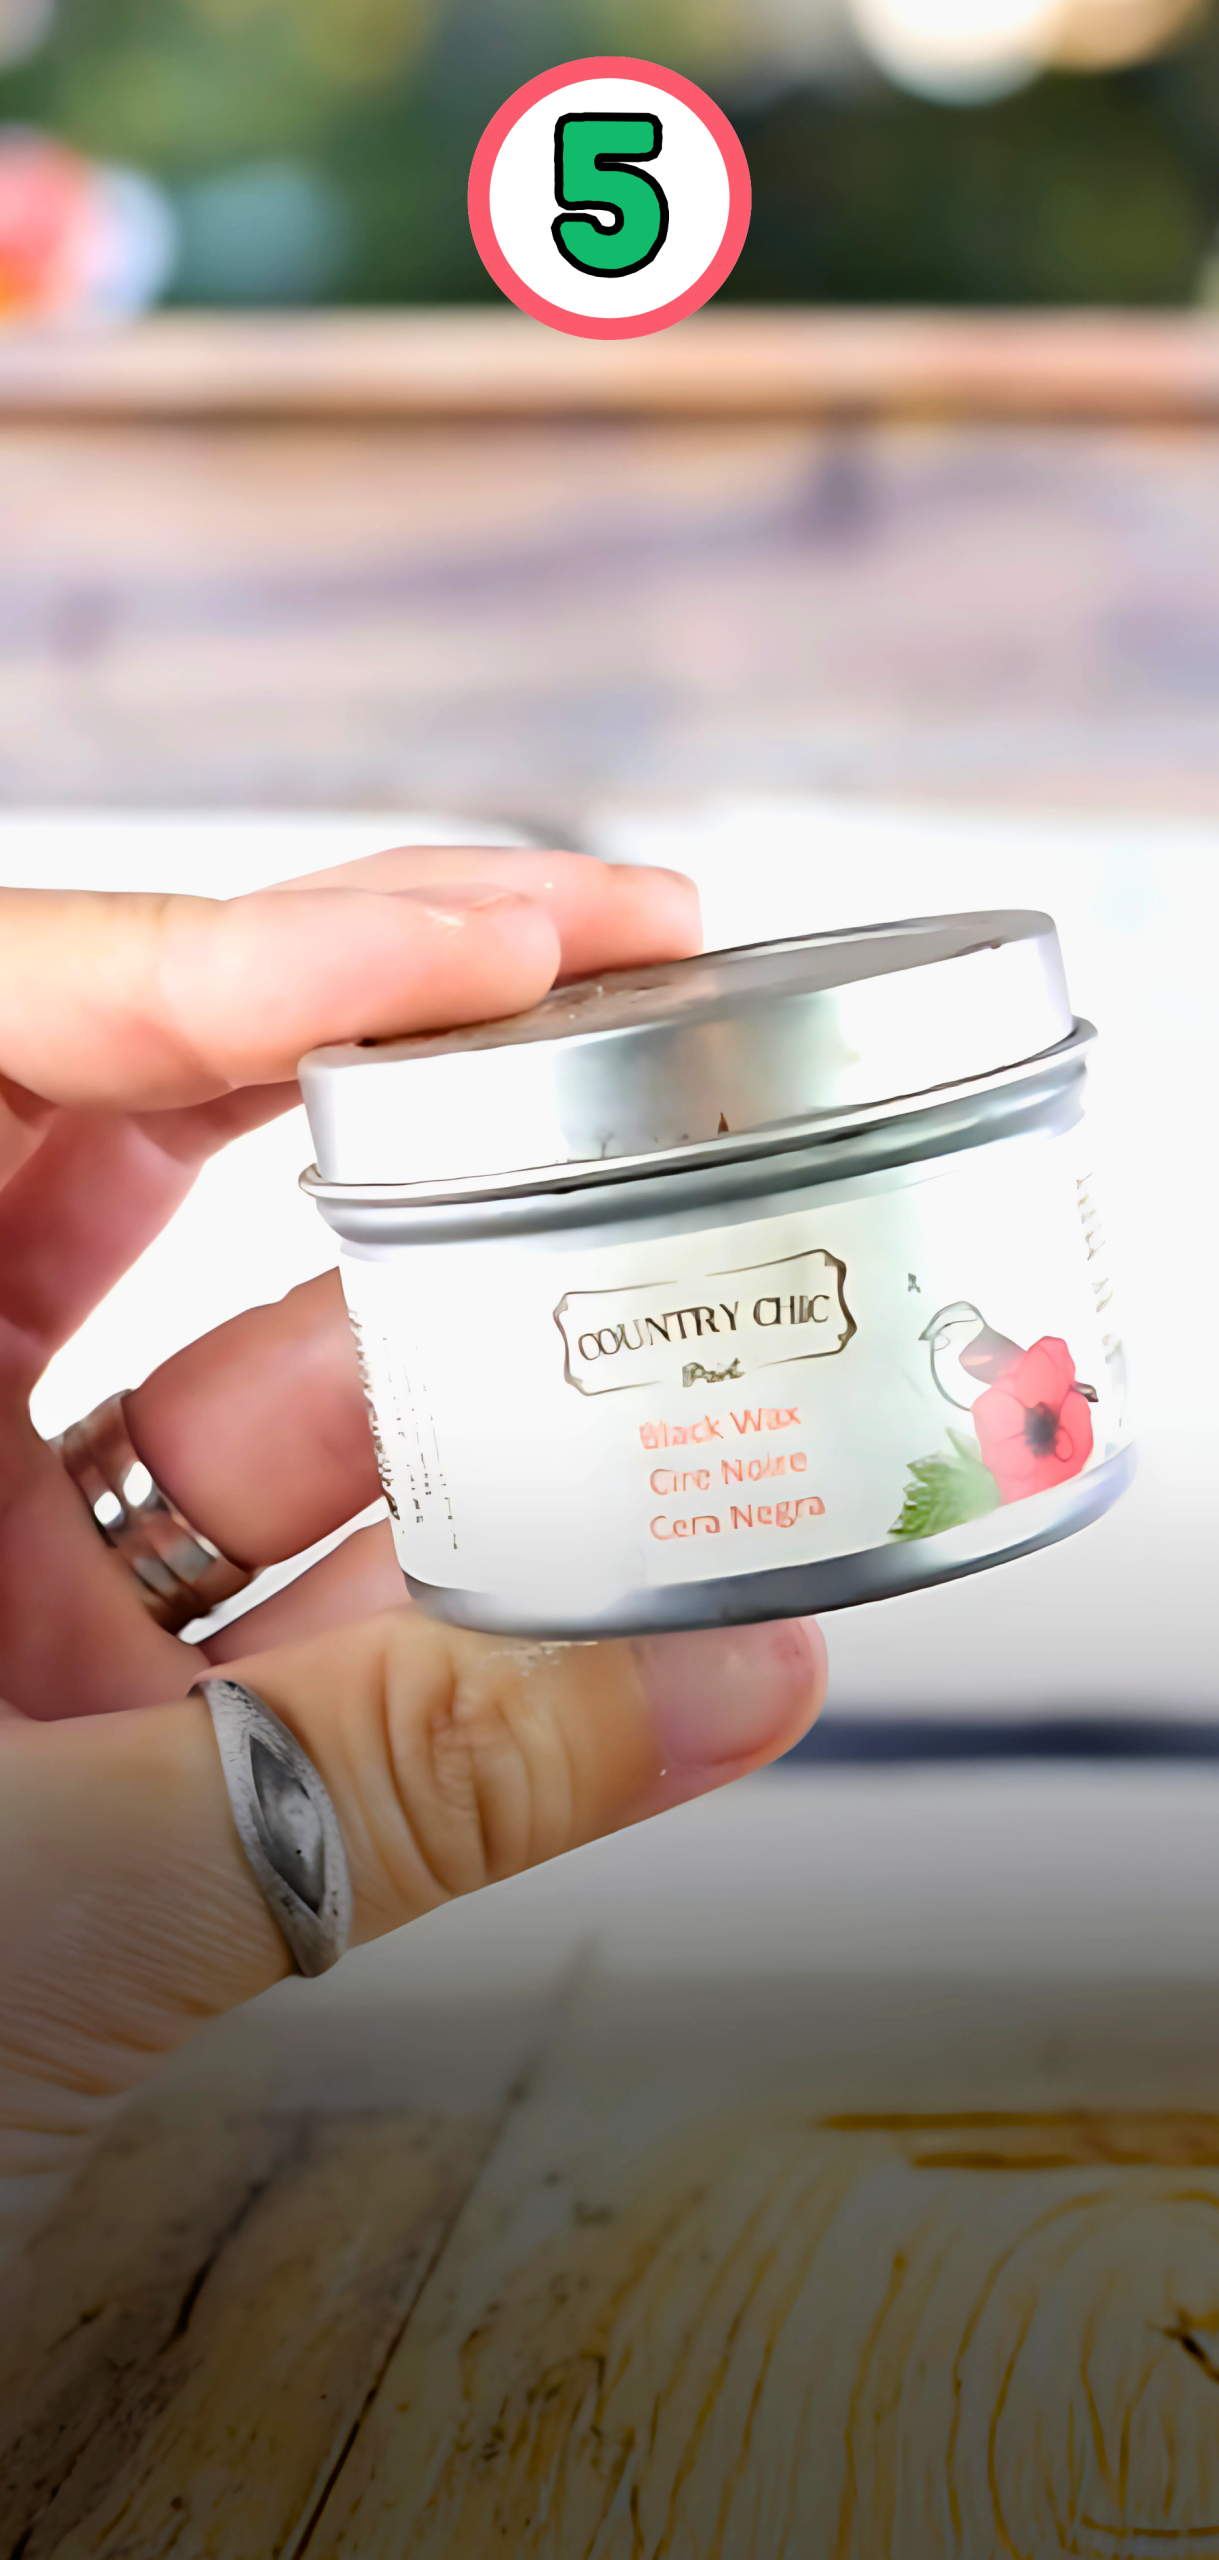
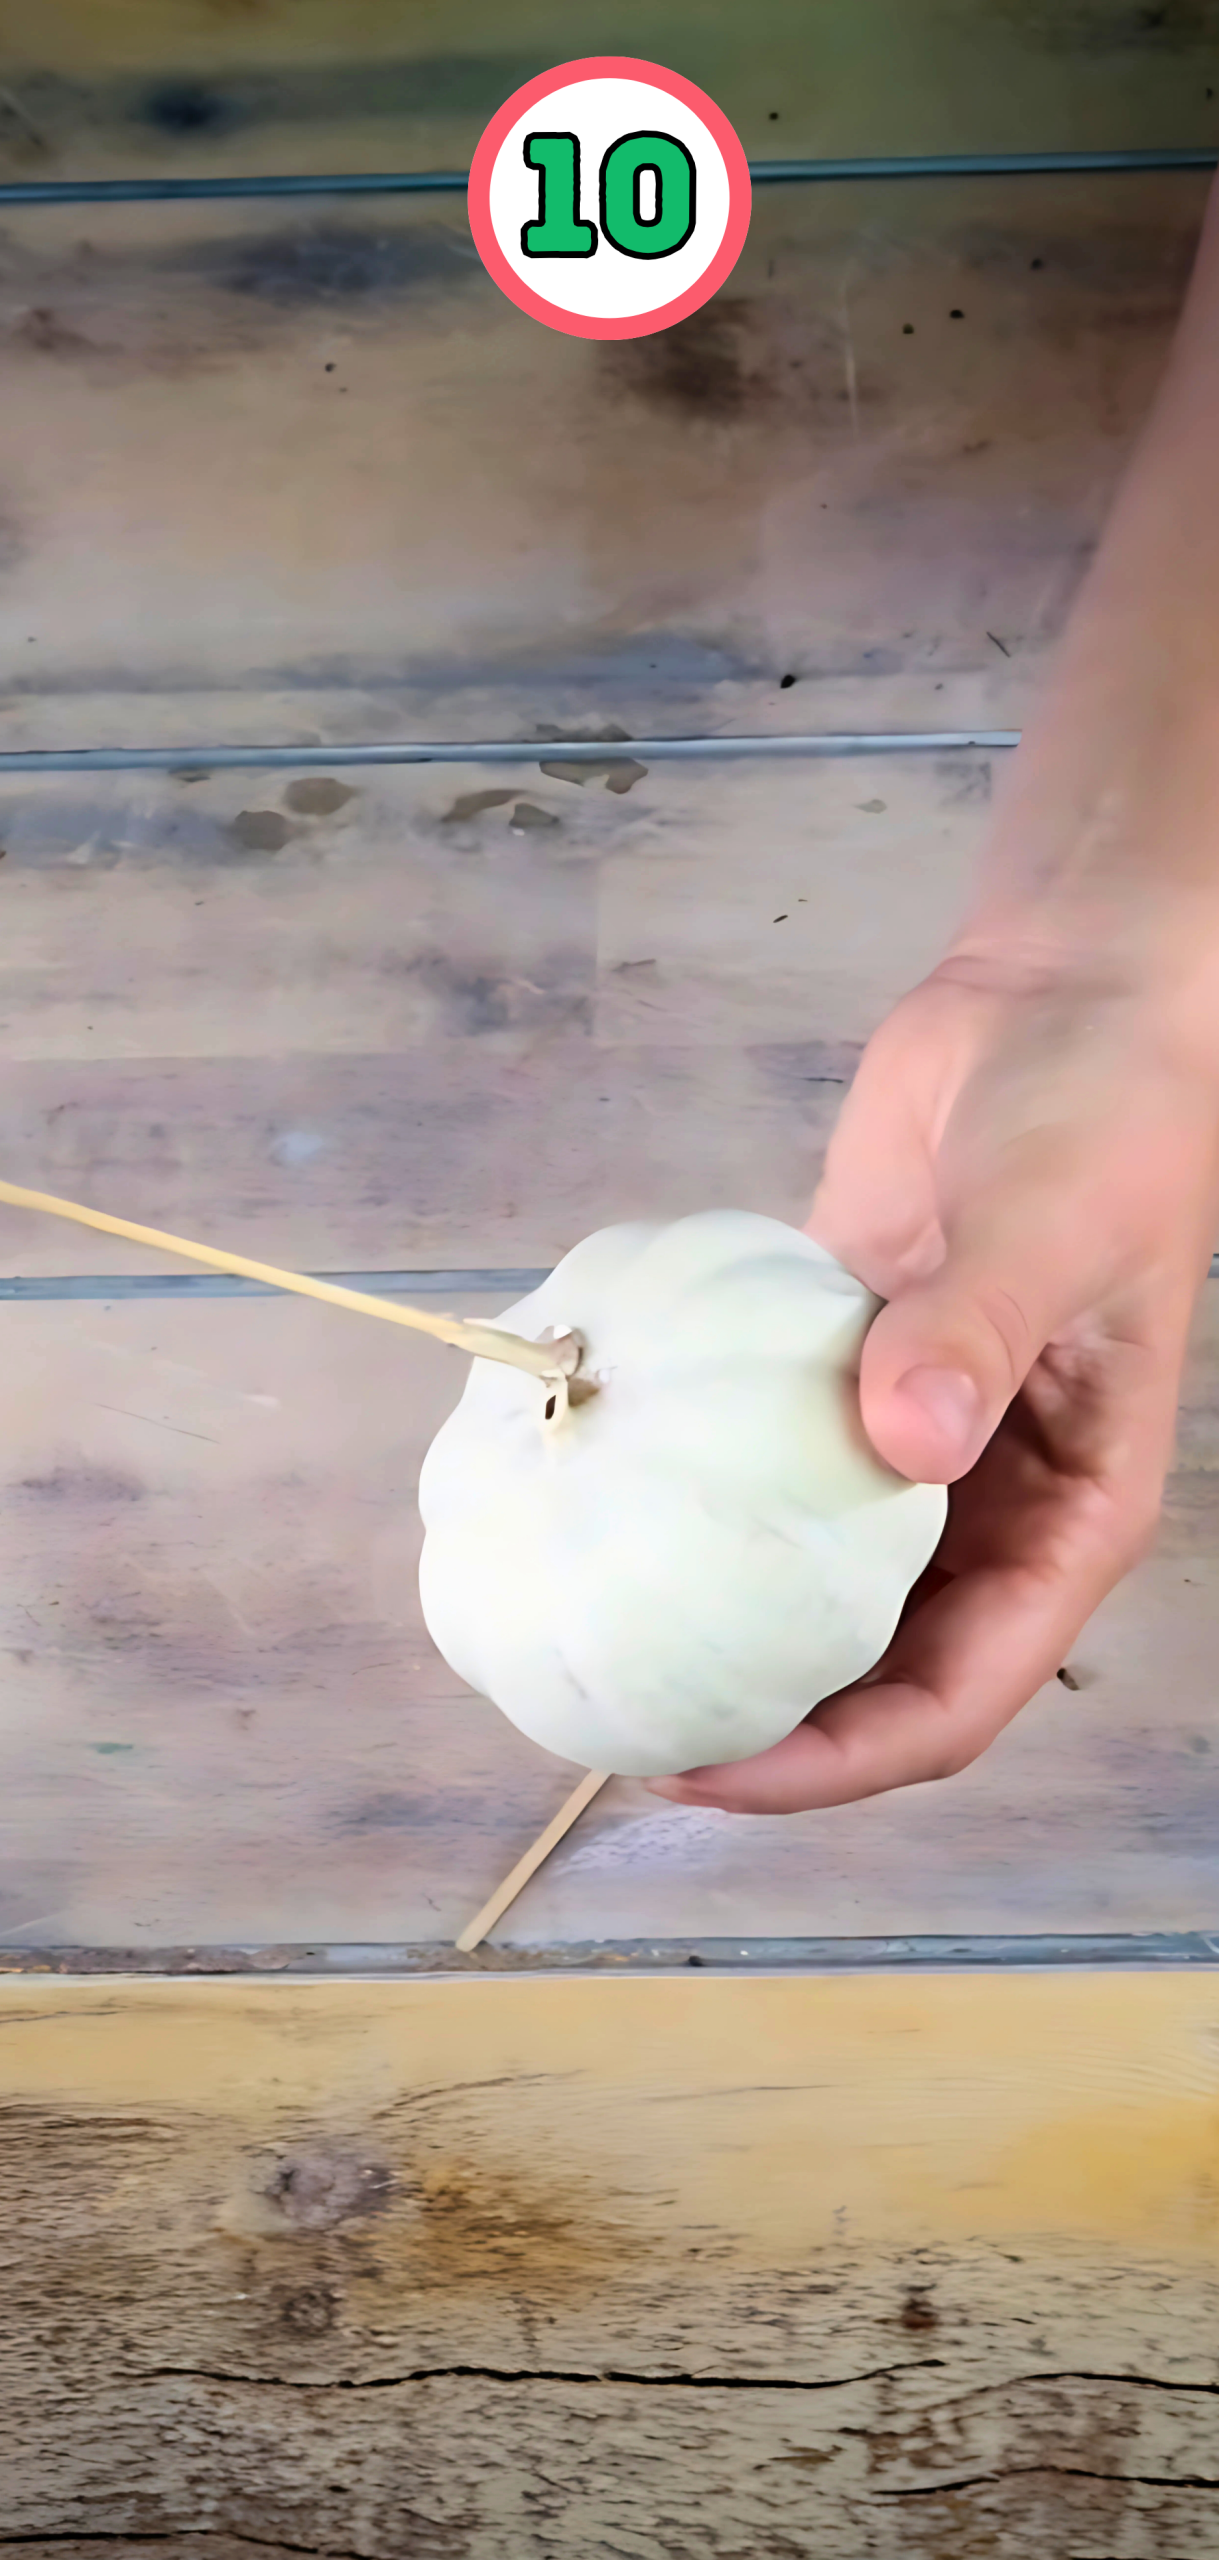
Step 4: Seal the stem
Once everything is dry you should spray with a matte clear sealant to protect your paintwork to keep your pumpkins looking realistic.
Step 5: Display your pumpkins 6

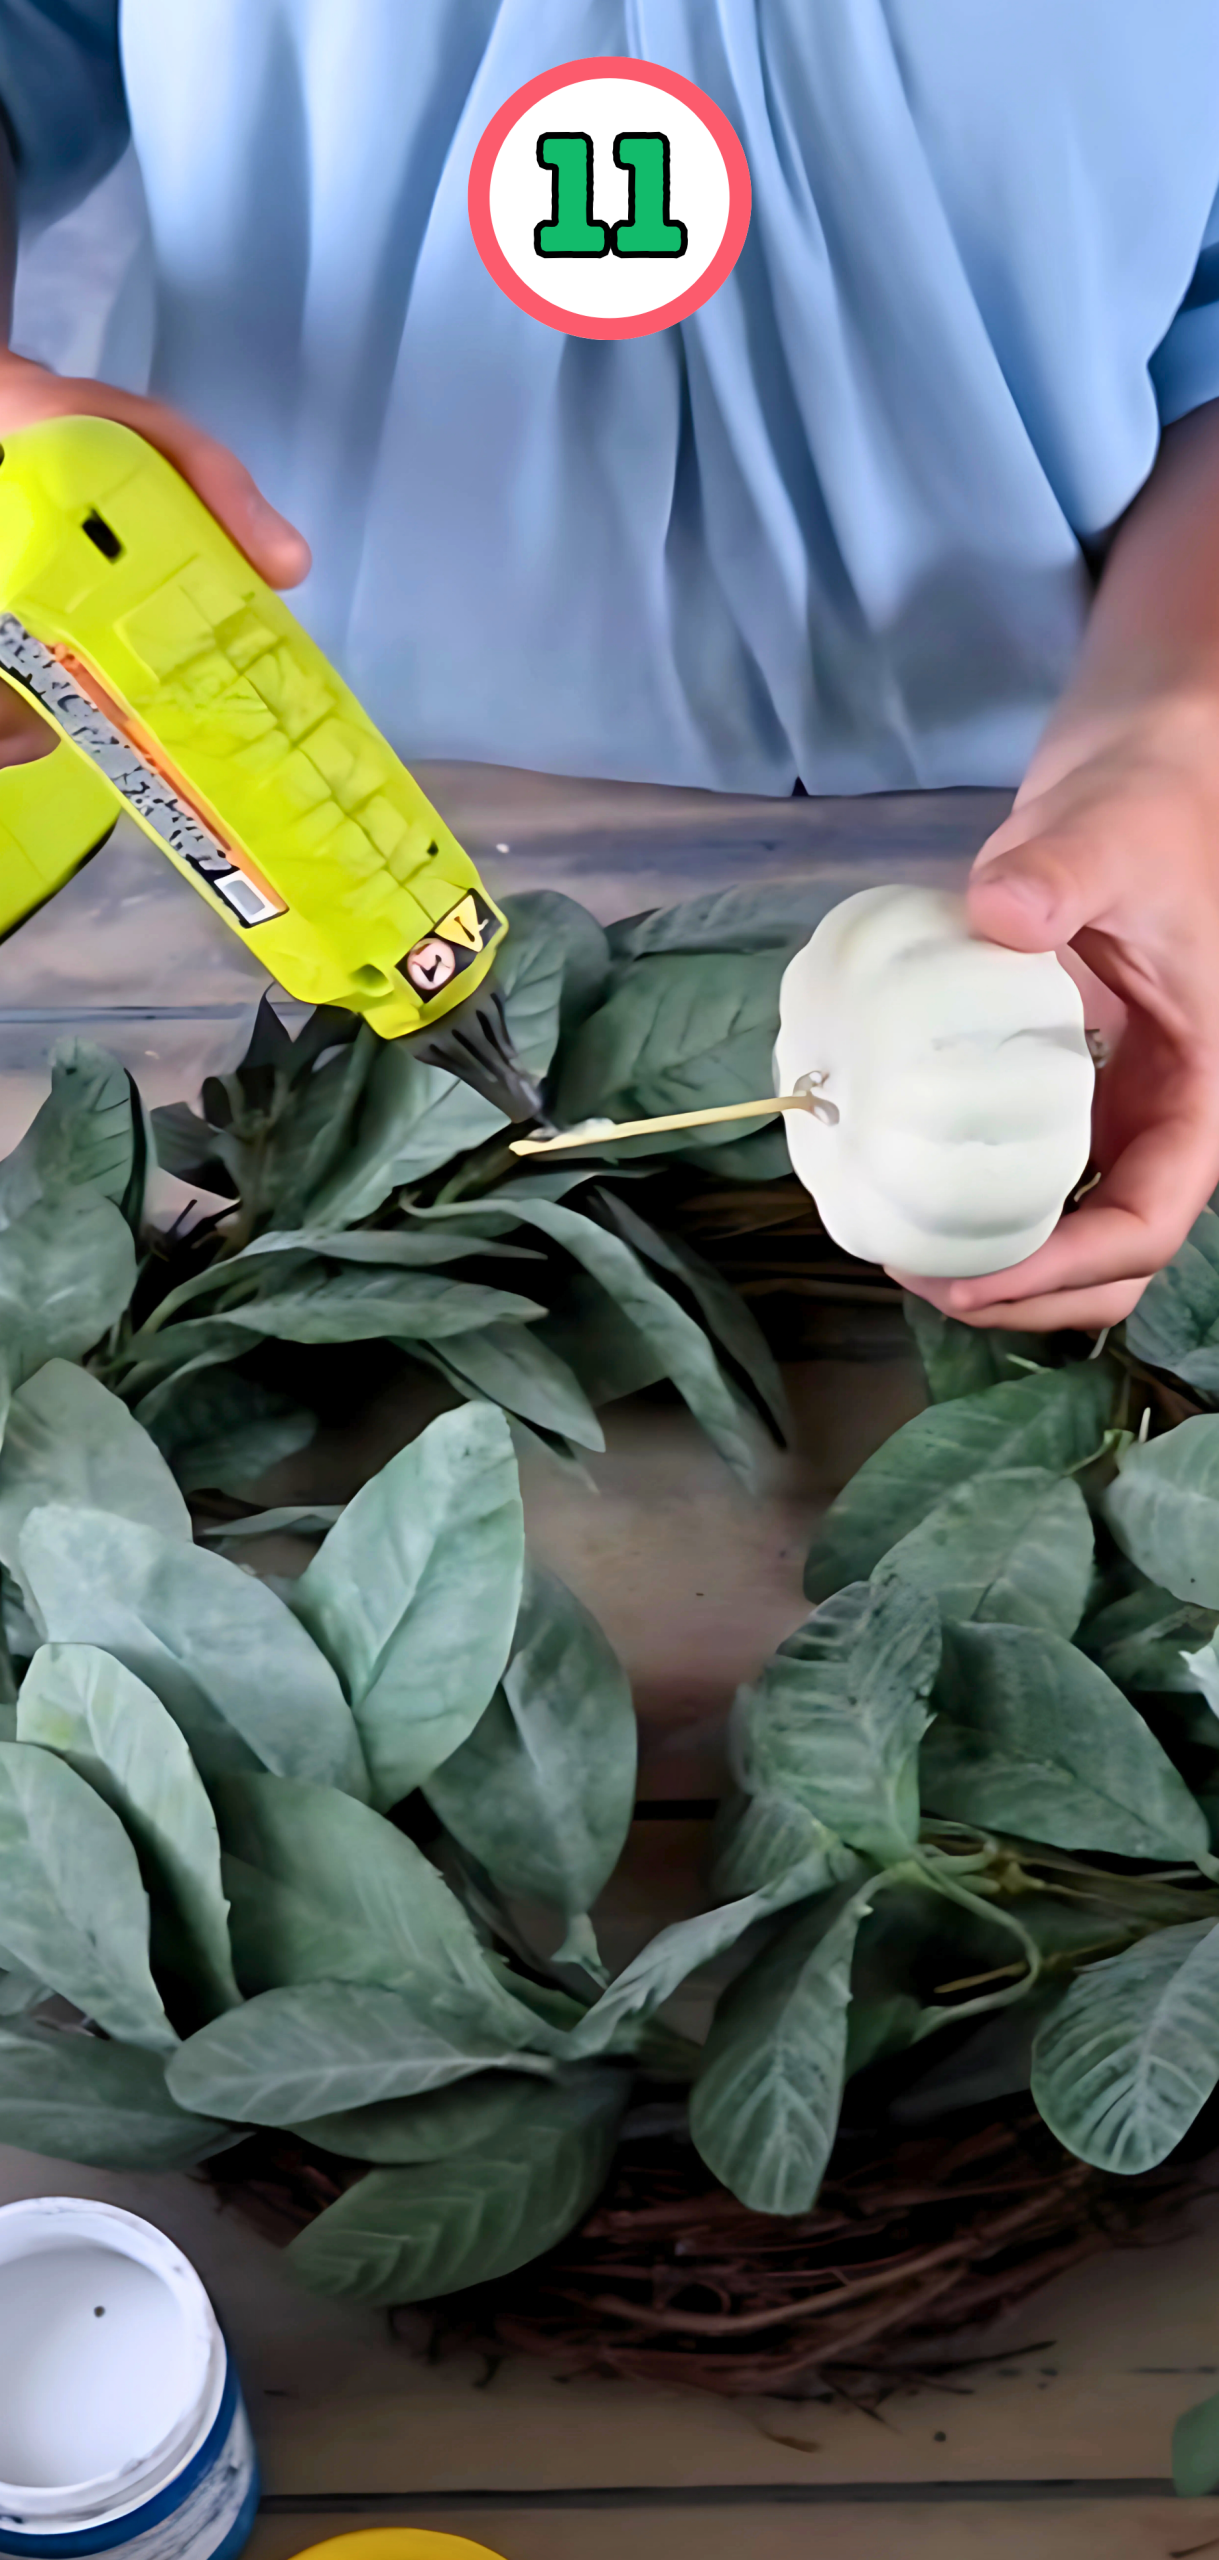
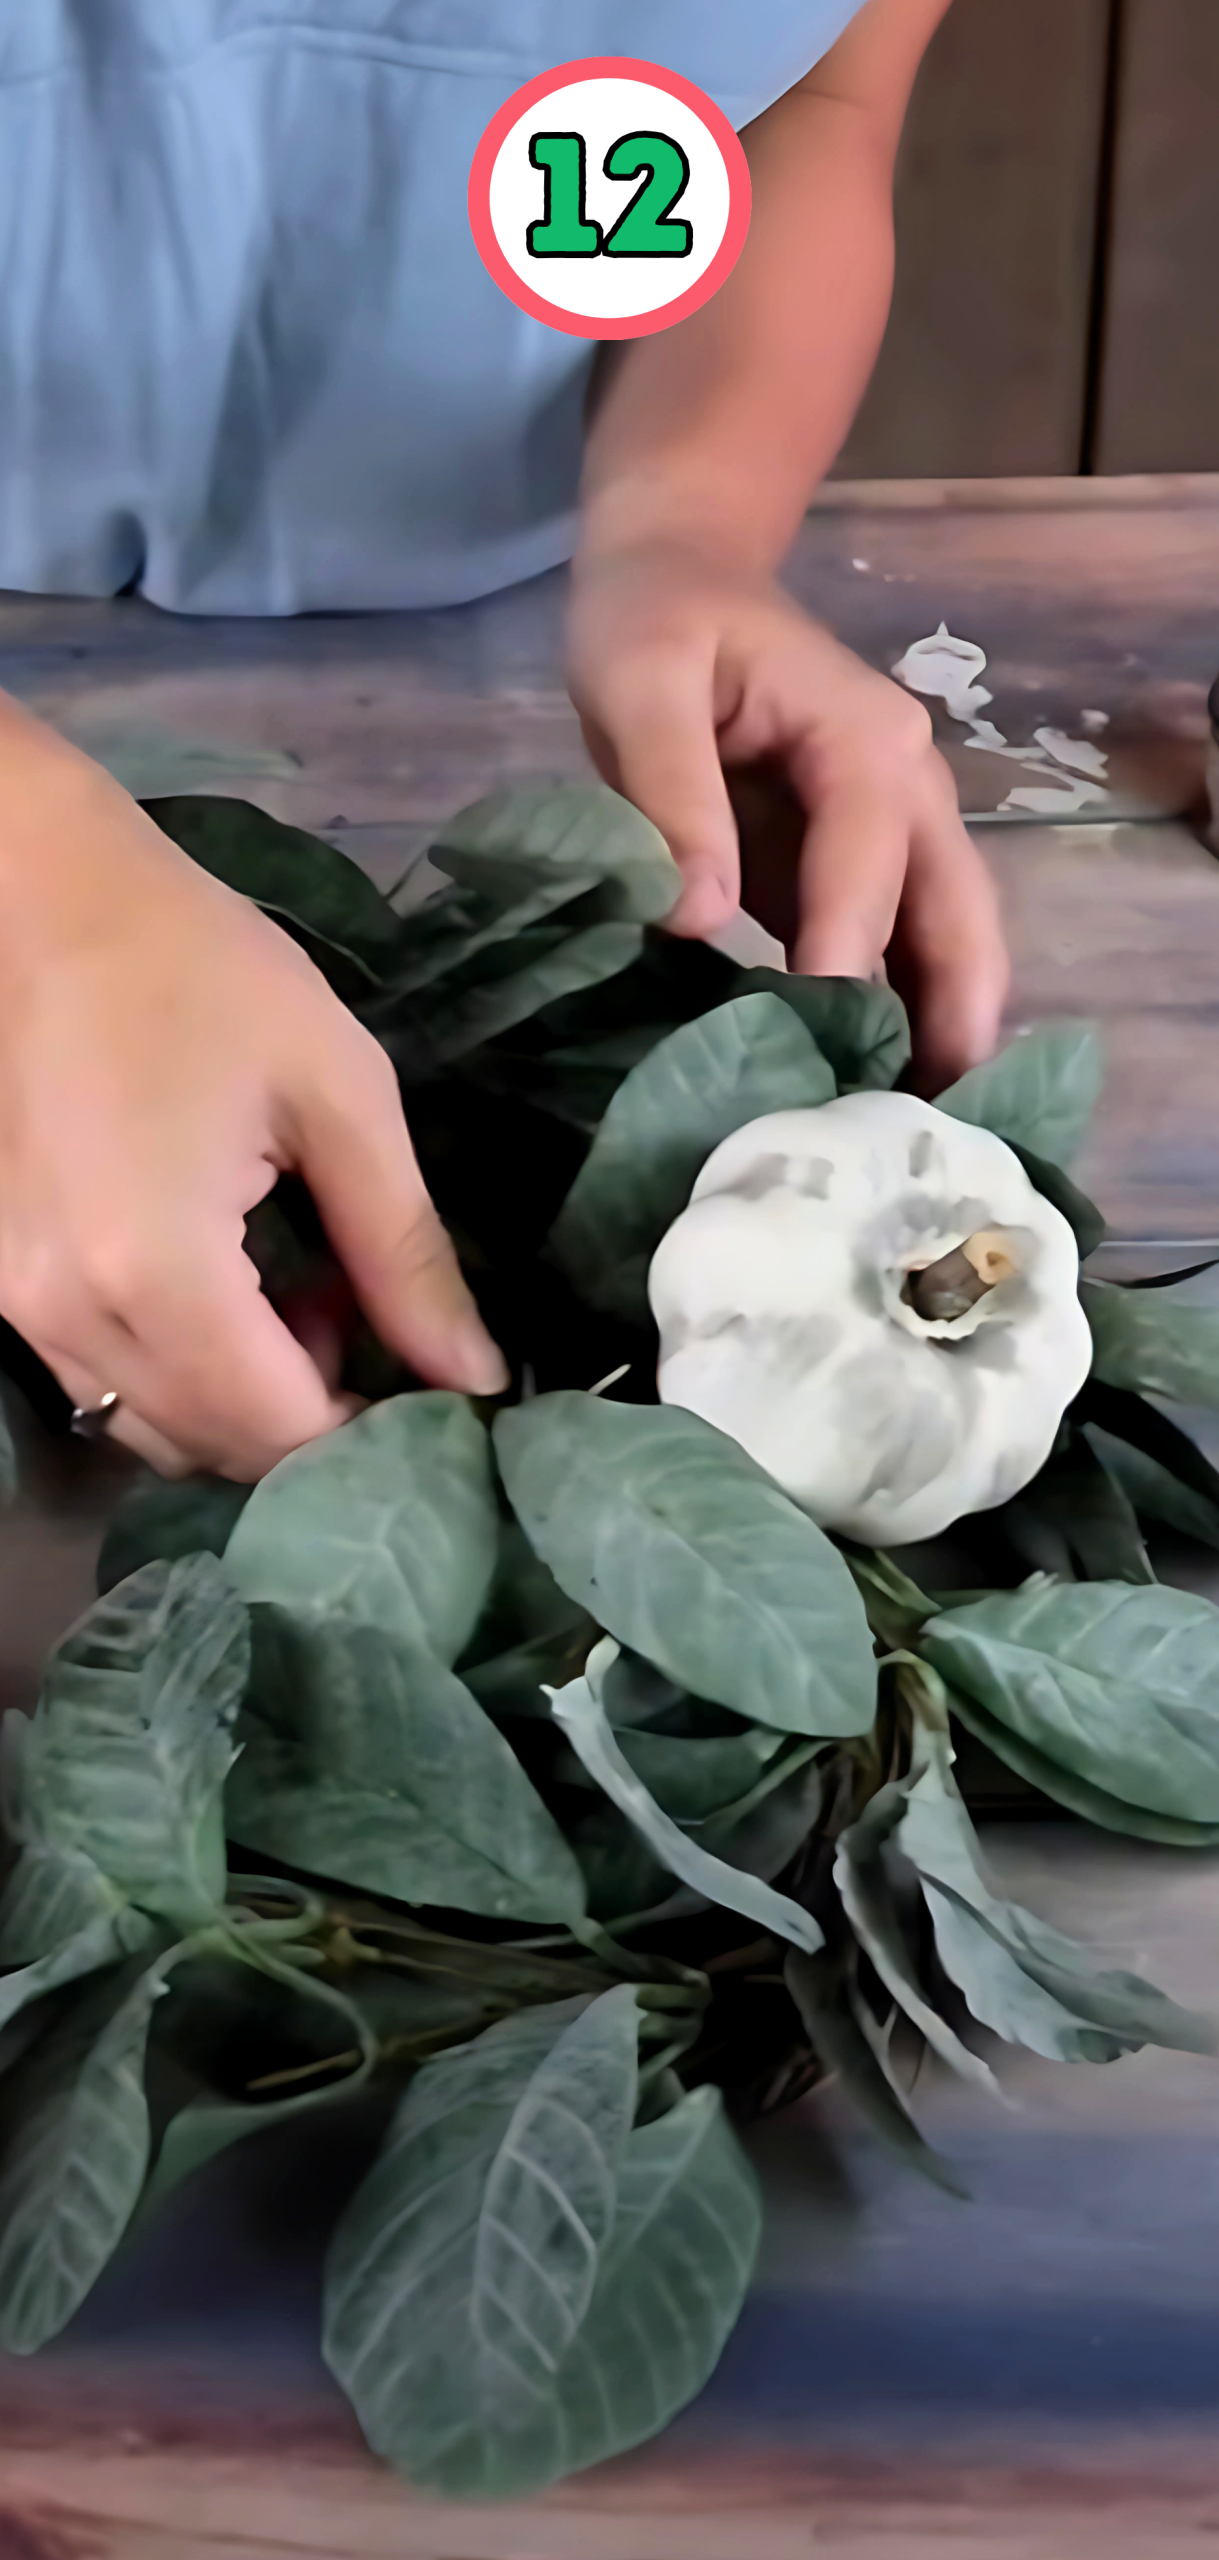

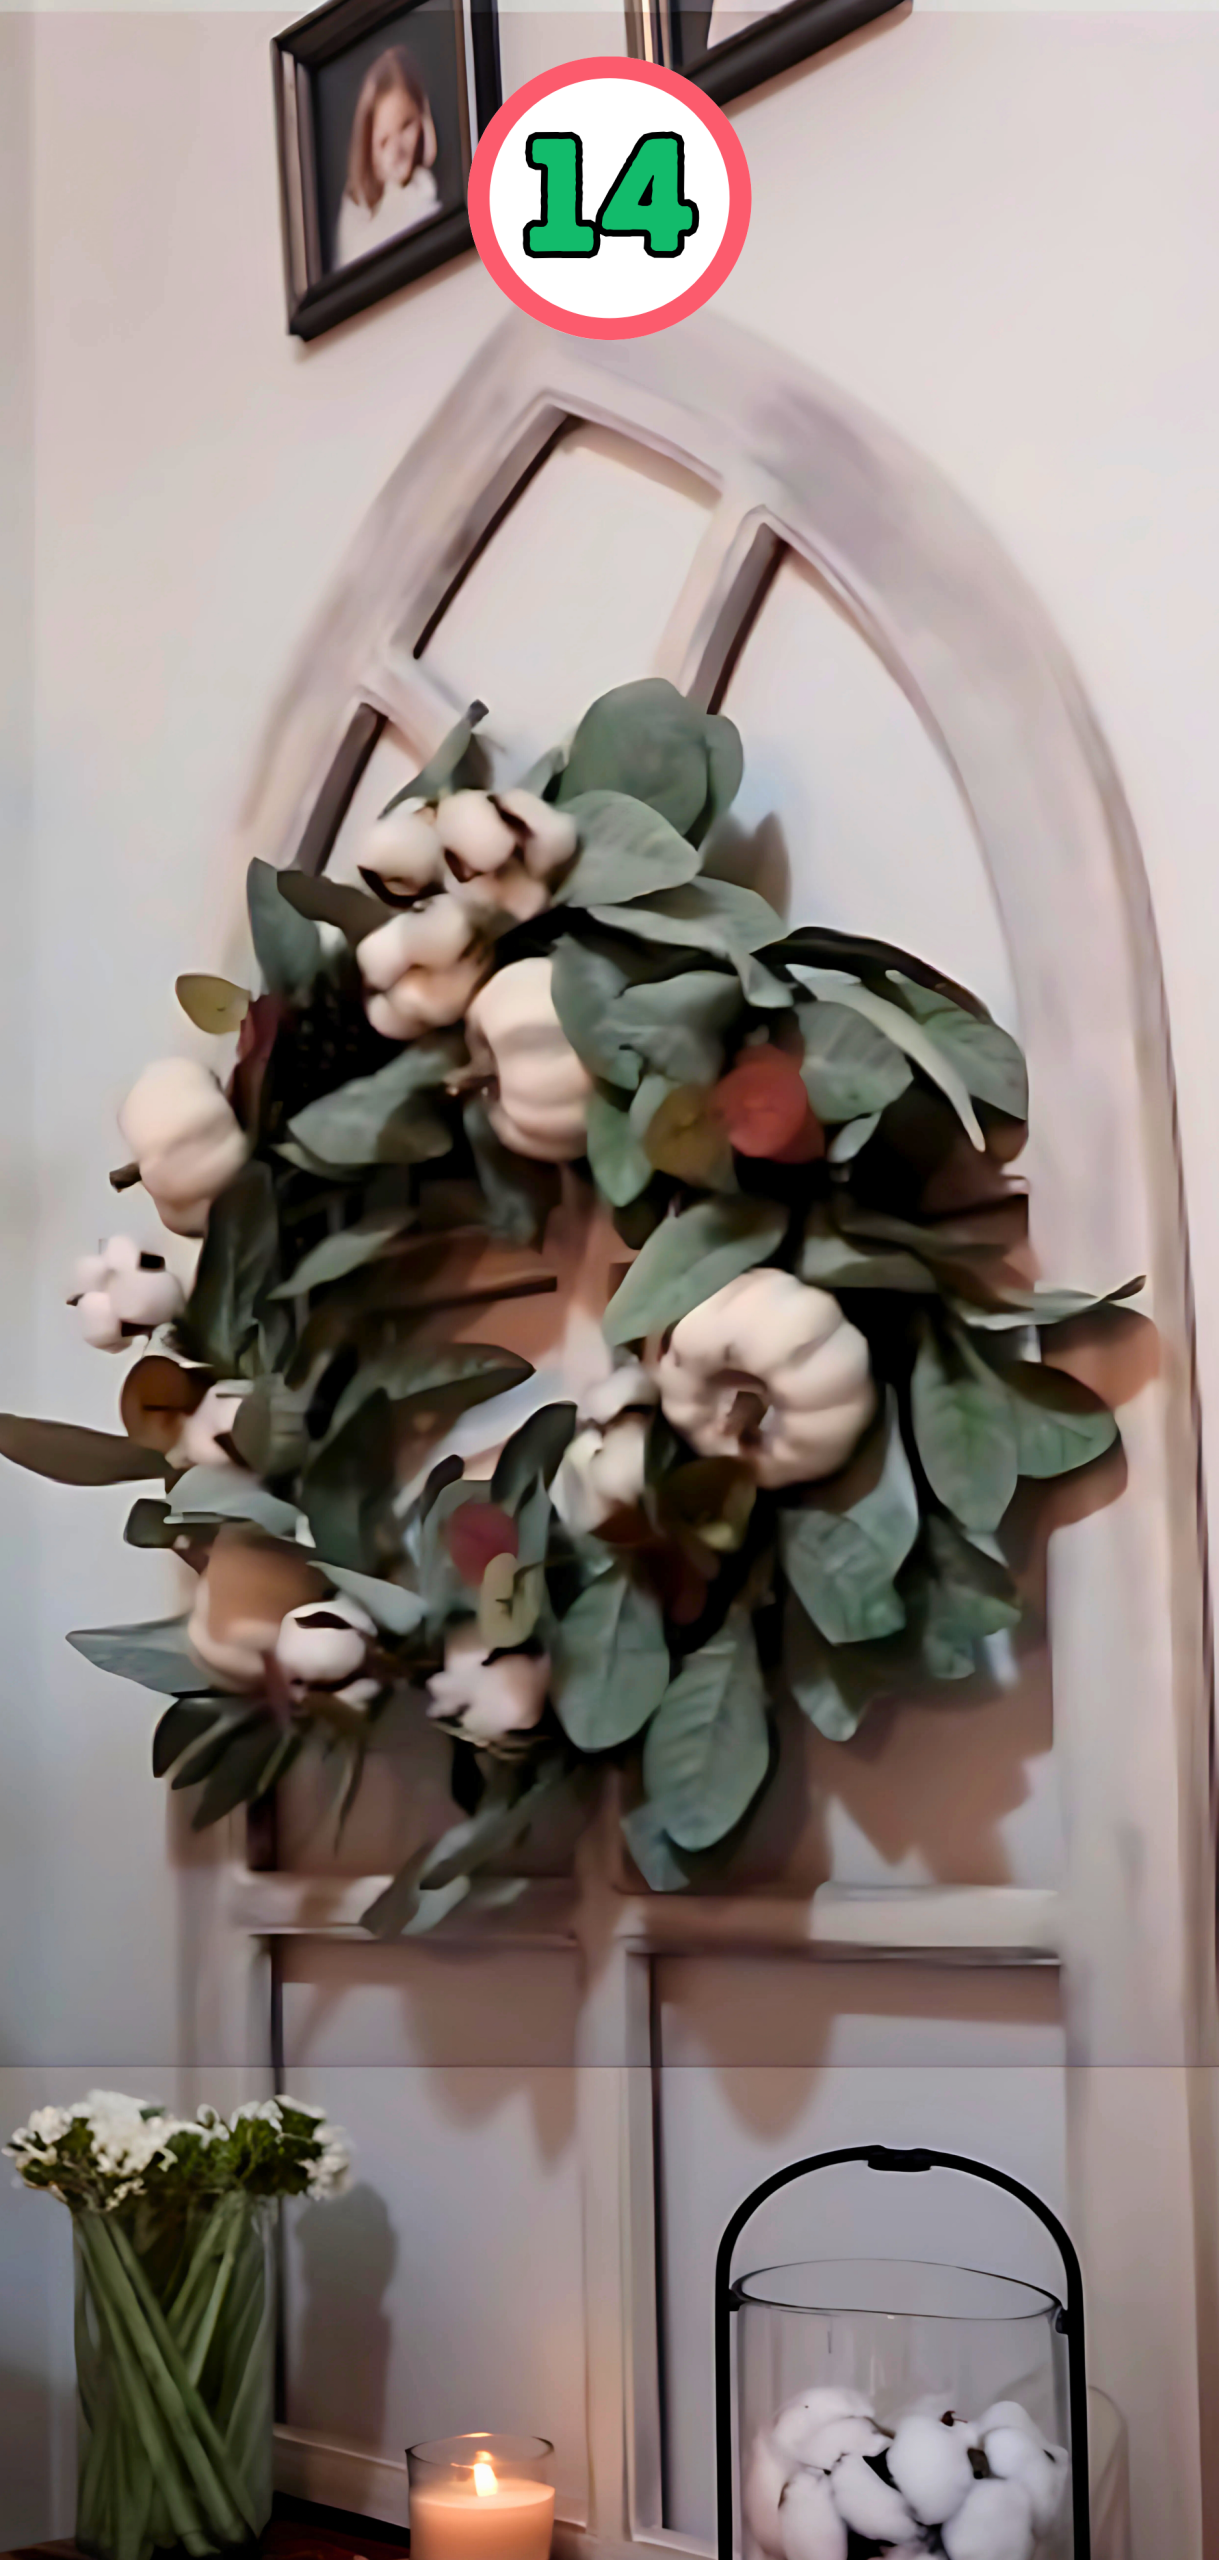
Hang your painted pumpkins on an empty wall or your porch because they’ll add a cozy fall touch to any place in your home.
Pro Tips
- To blend shadow use a dry brush.
- Try layering two or three shades for a natural look for your pumpkins.
- Paint some gray shading mixed with orange and golden or maybe even a muted sage green.
- Topcoat makes them look fake but matte sealant keeps them looking realistic.
FAQs
Is it possible to replace spray paint for acrylic paint?
Yes, spray paint works for a base coat but you’ll still want to add acrylic details for shading and highlights.
Do I have to use primer?
It will be great if you use primer because it helps the paint stick.
How long does the paint last?
Your painted pumpkins will last for years.
Can kids help with these painted pumpkins?
Absolutely, your kids can paint the base colors while you can add more detailing.
What colors work best for a realistic look?
Stick with natural pumpkin tones like orange and muted yellows.
Can I paint foam pumpkins instead of plastic ones?
Yes, foam pumpkins work great with the same technique.
Do I need to seal my painted pumpkins?
Sealing is optional but it helps the paint last longer.
Will the paint chip off over time?
Yes, a matte spray sealant will prevent chipping.
Can I repaint my painted pumpkins next year?
Definitely, just paint over last year’s design for a fresh look.
Where’s the best place to display these painted pumpkins?
Indoors or on a covered porch is best outdoor weather may fade or damage the paint.
Conclusion
With just paint and a little blending you can take ordinary plastic pumpkins and turn them into realistic fall decorations because this painted pumpkins craft is easy and perfect for seasonal decorating. Best of all, trust me you’ll enjoy these pumpkins year after year.