Join the fastest growing Craft community on Pinterest!
Ever since I stumbled into the charming world of mini craft doll furniture, I’ve been excited. I knew I wanted to start crafting my own pieces, but I had no idea where to begin.
Every tutorial seemed too advanced, and miniature tools felt like they belonged in a dentist’s office. The idea of building my own small couch or bookcase from scratch continued.
The hardest part? Not knowing what supplies to buy or where to find friendly help. After all, I was starting with nothing but some Pinterest pins and a strong desire to make something beautiful for my little ones.
So, I gathered my courage (and some ice cream sticks) and built my very first piece of mini craft doll furniture. I used around 25 sticks, craft glue, a small cardboard base, and some acrylic paint from Ikea to bring it to life.
My toolkit was simple: my kid’ scissors, a ruler, and a pencil, but it got the job done. For finishing touches, I used sandpaper to smooth down sharp edges and a yarn needle to help place small fabric folds.
I wasn’t aiming for perfection, just for joy. And the moment I glued that last piece and saw it come together, it felt magical. Now, I’m hooked. This experience opened a whole door into a new hobby. My advice for anyone who wants to start?
Start small; build a chair or a nightstand first. Use what you already have around the house. Most importantly, don’t be afraid to mess up. Creating a mini craft doll furniture doesn’t require perfection; it requires passion.
Whether you’re using Greenleaf kits, browsing Etsy, or sketching out your own ideas, just begin. You’ll be amazed how much joy a few popsicle sticks and paint can bring.
Materials Needed
- 20–30 Ice cream sticks
- Craft glue
- Small cardboard piece
- Acrylic paint and brushes
- Sandpaper
- Scissors
- Ruler and pencil
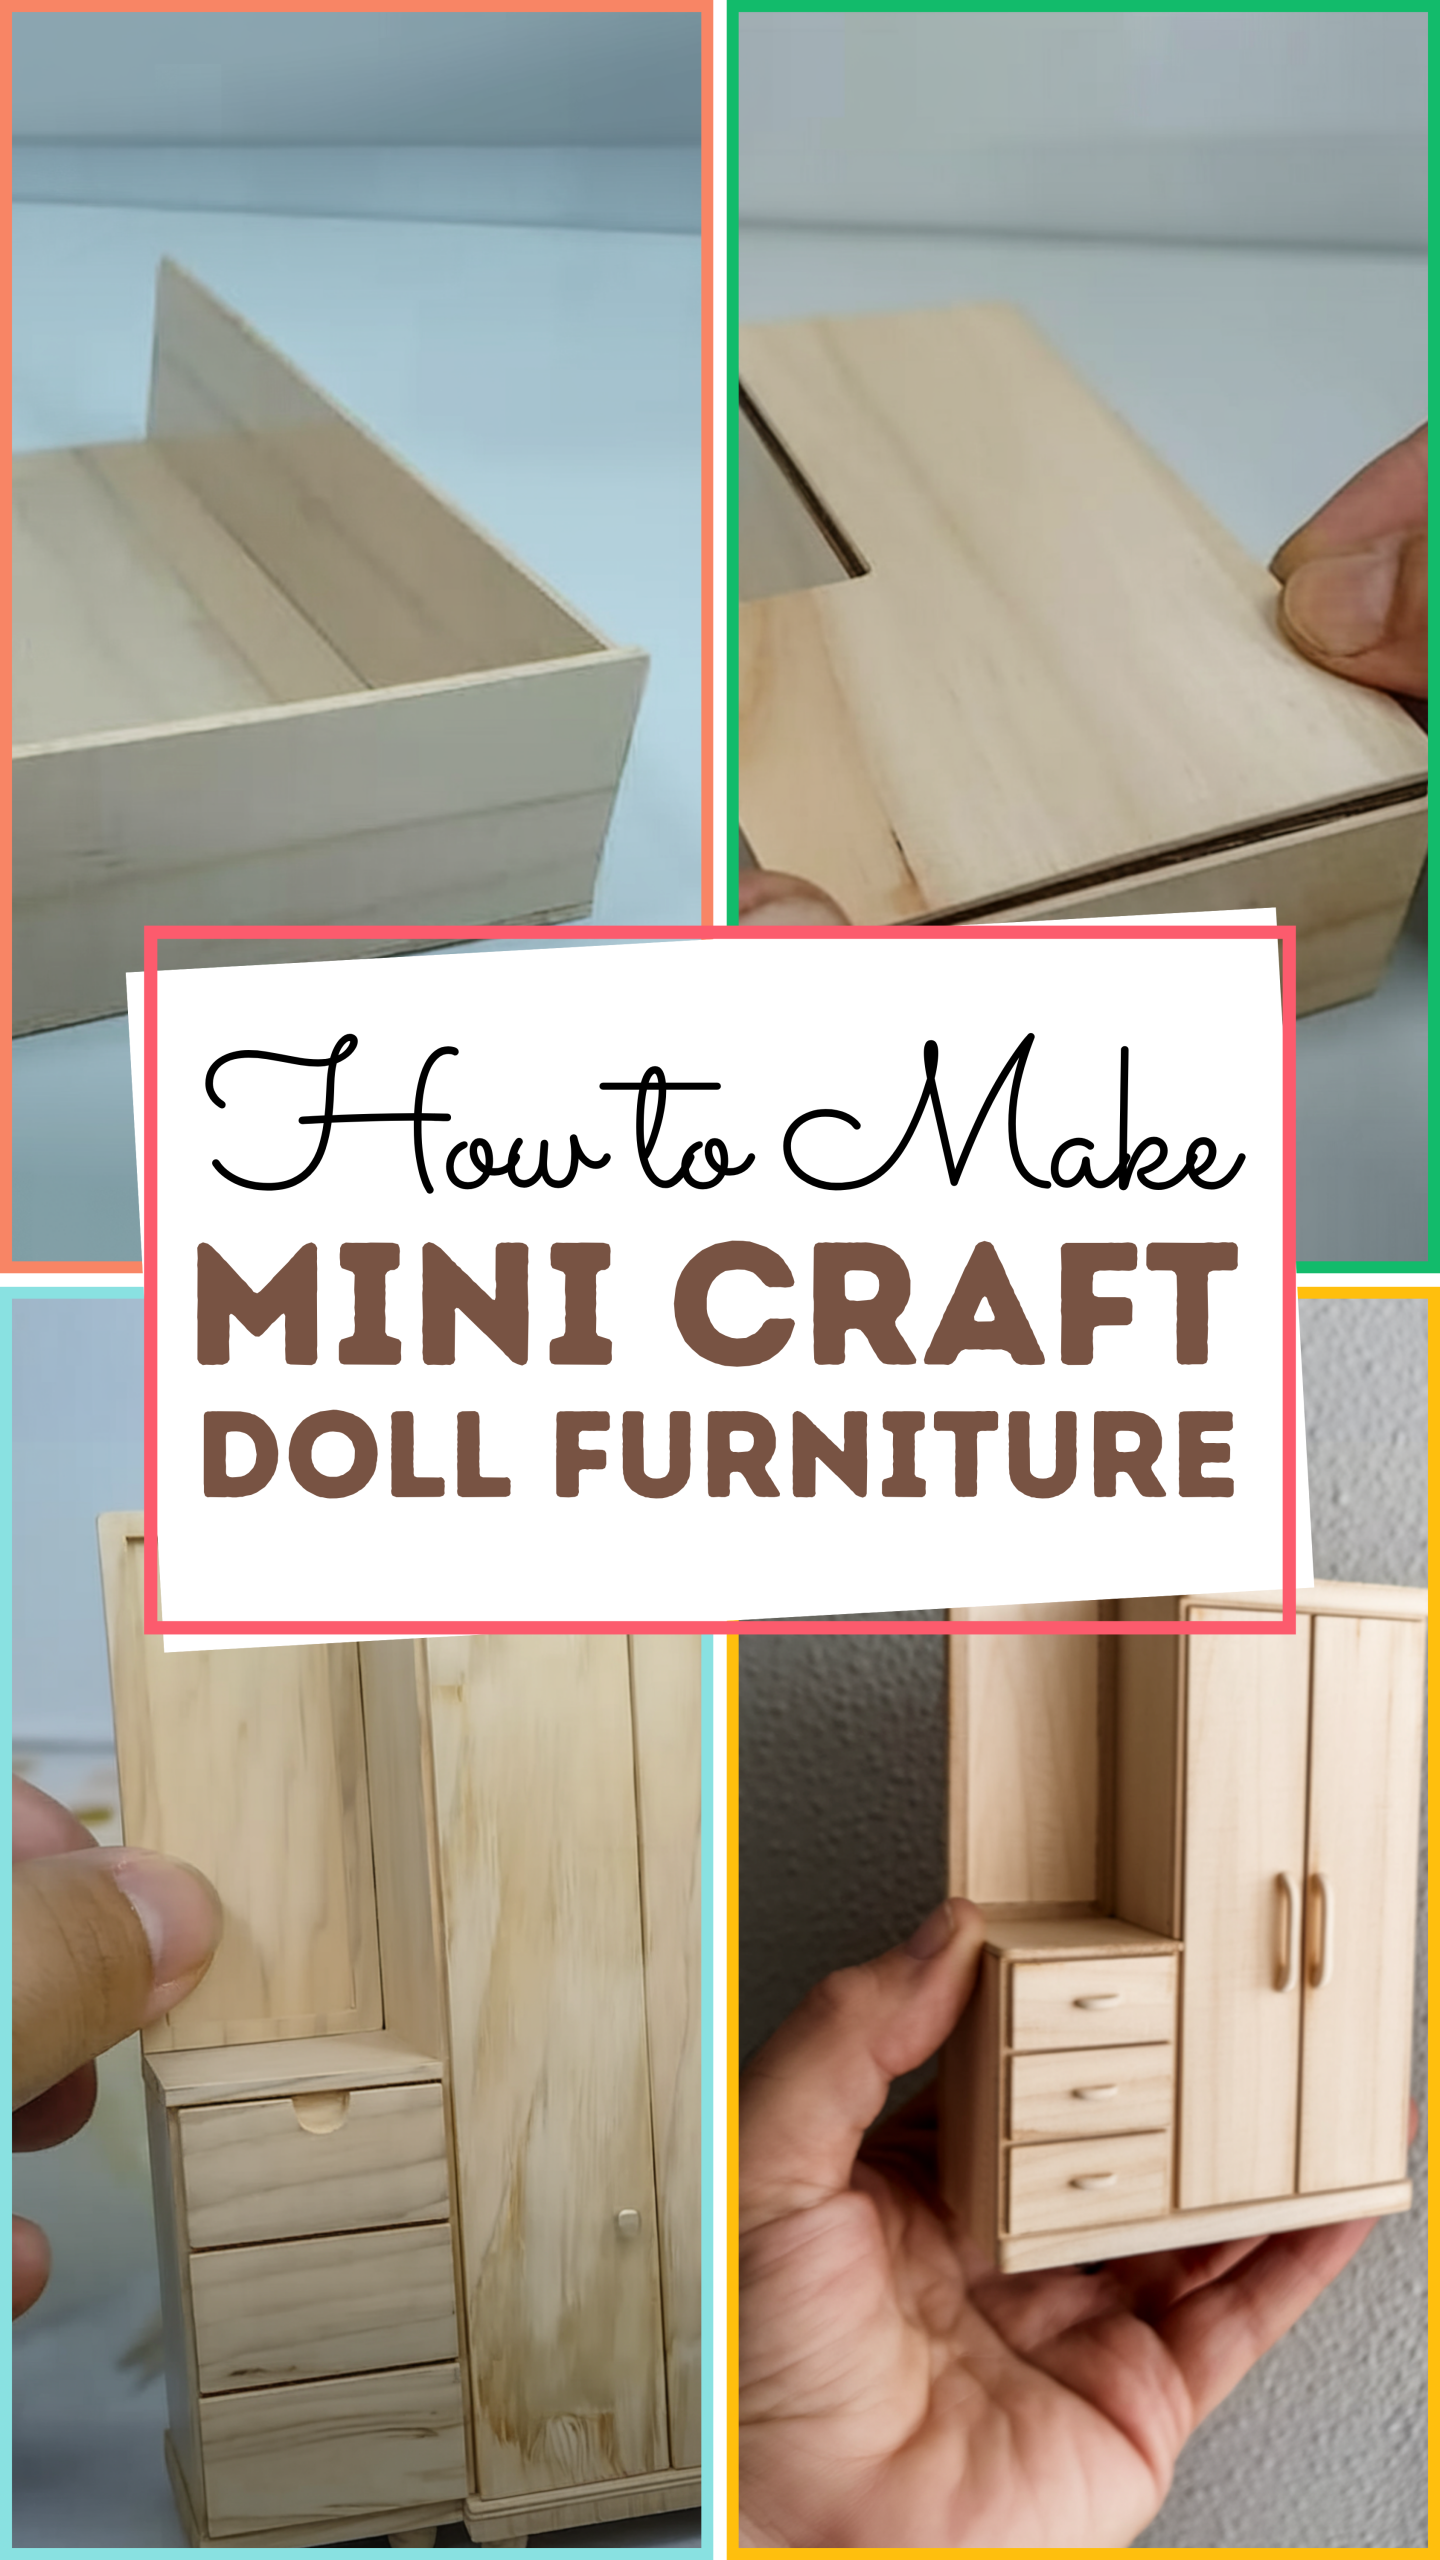
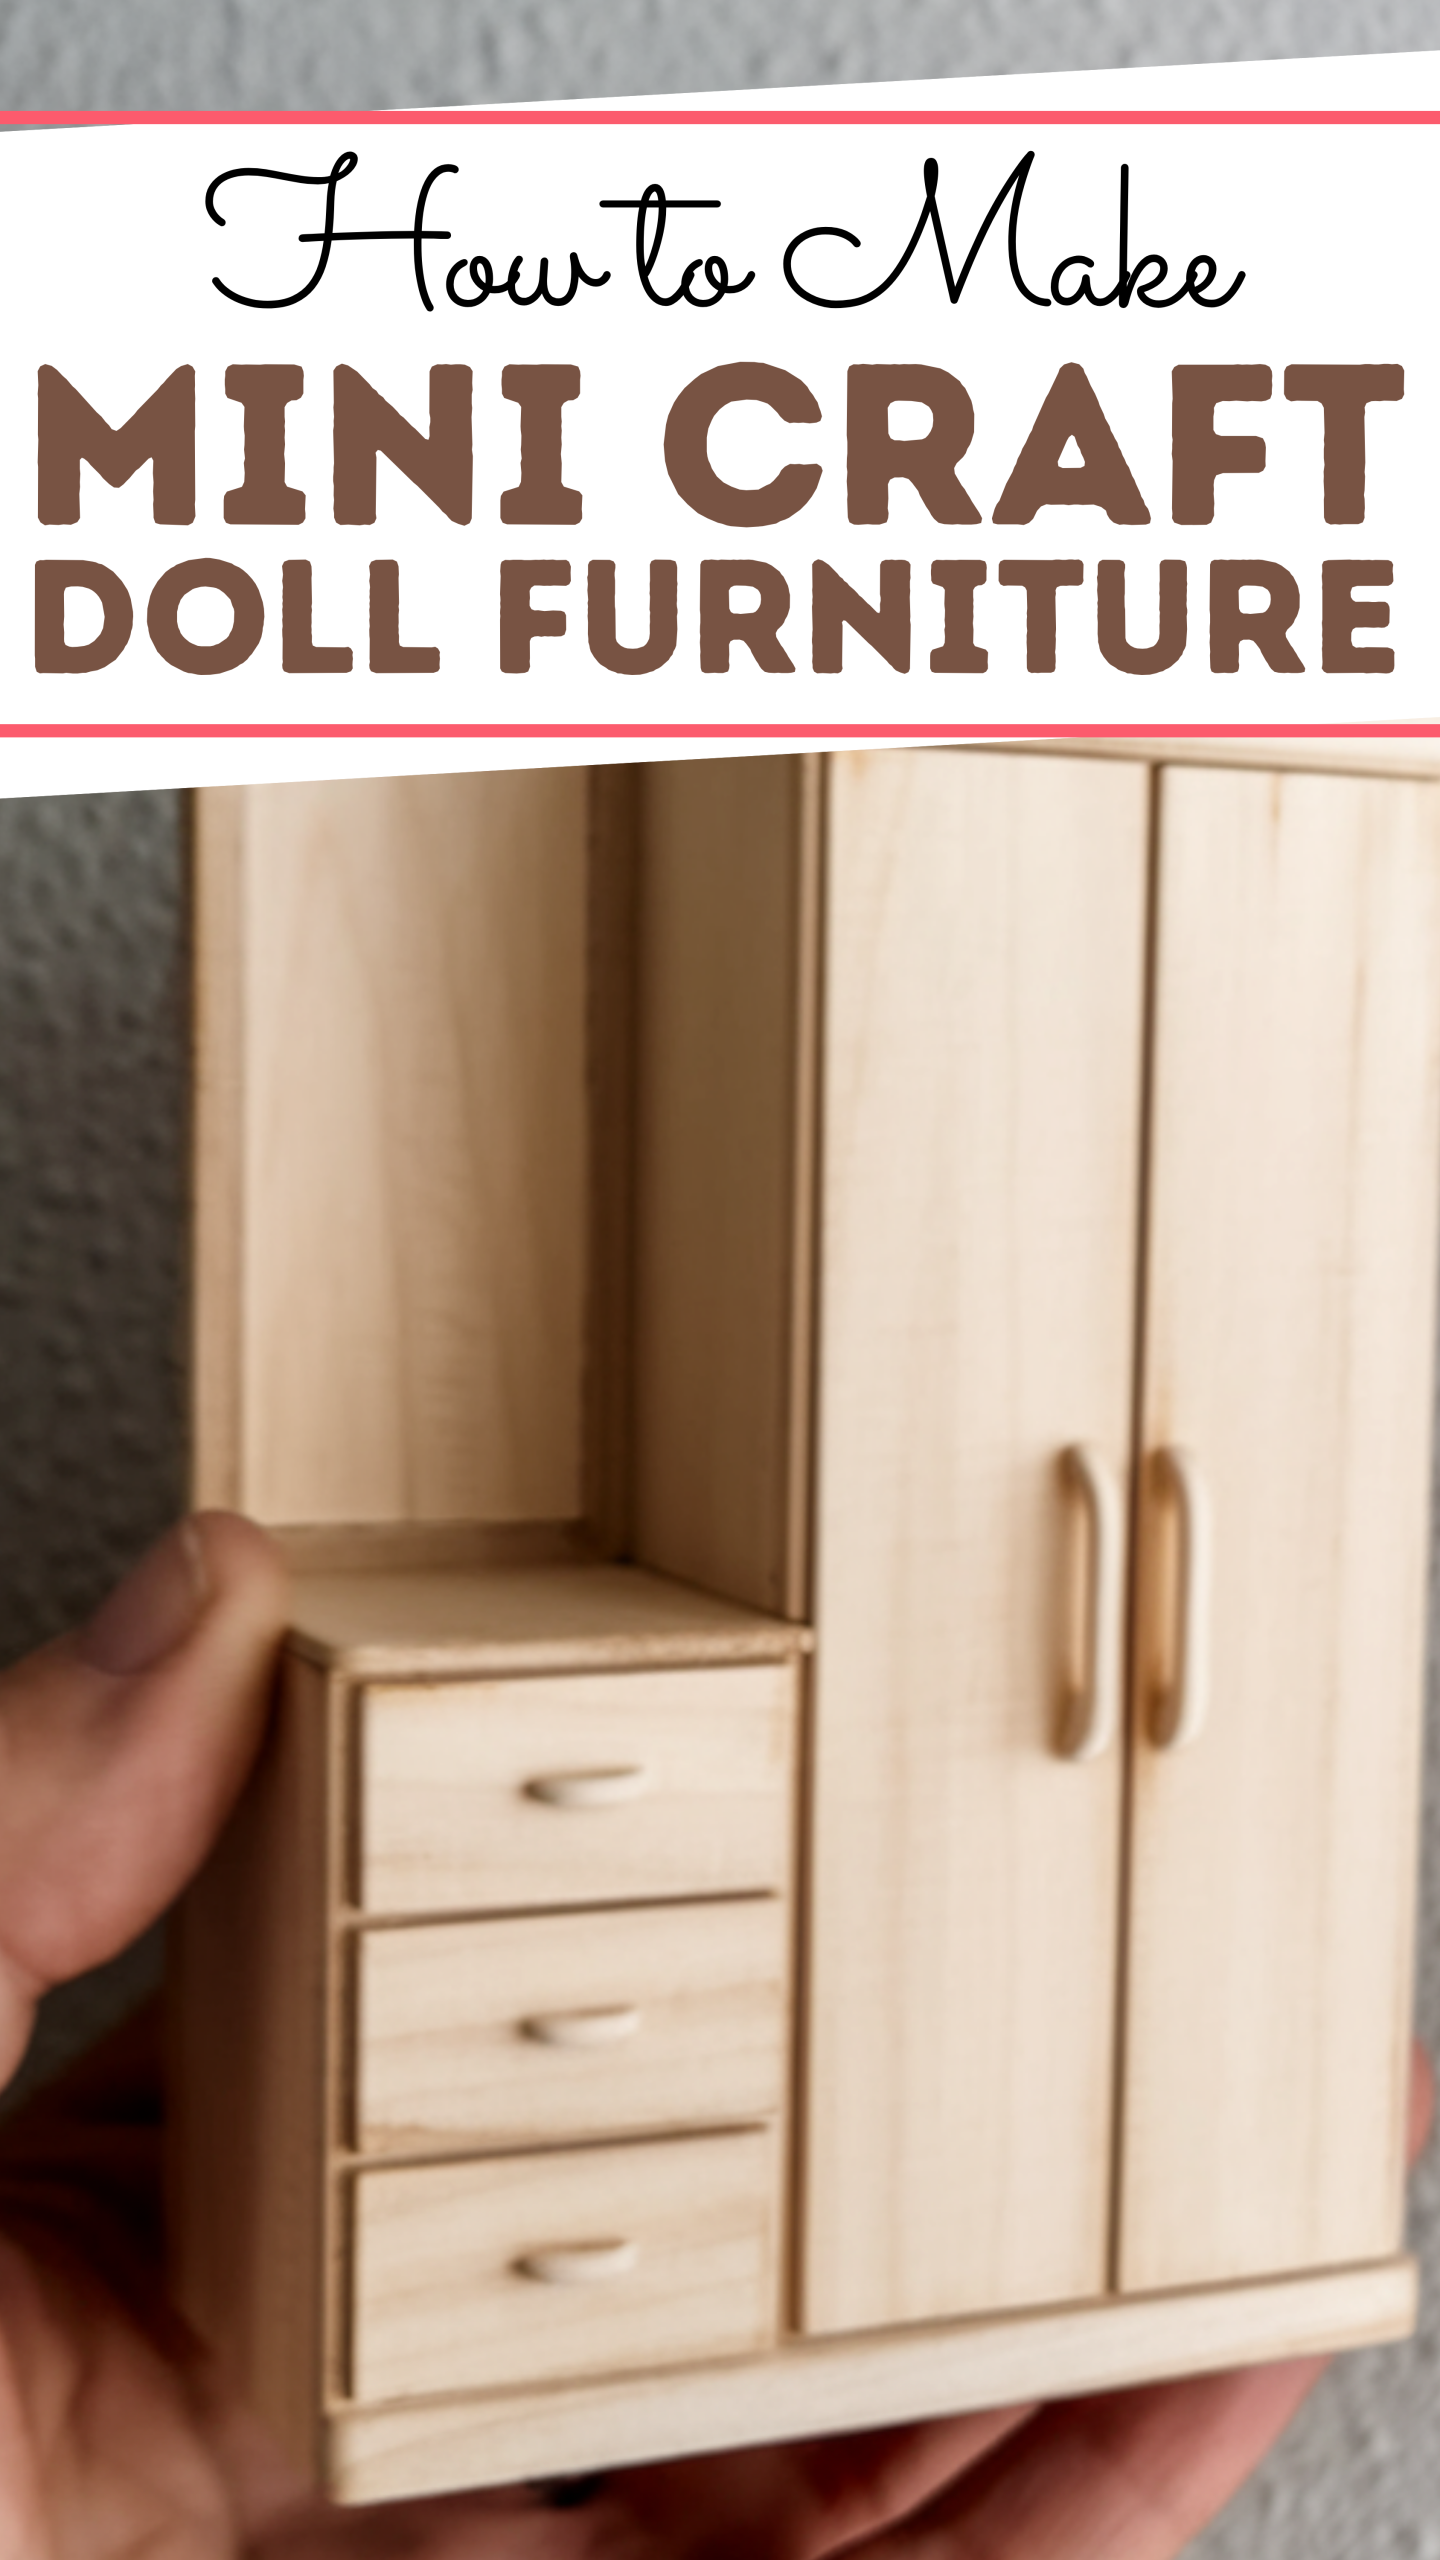
Step-by-Step Mini craft doll furniture Tutorial
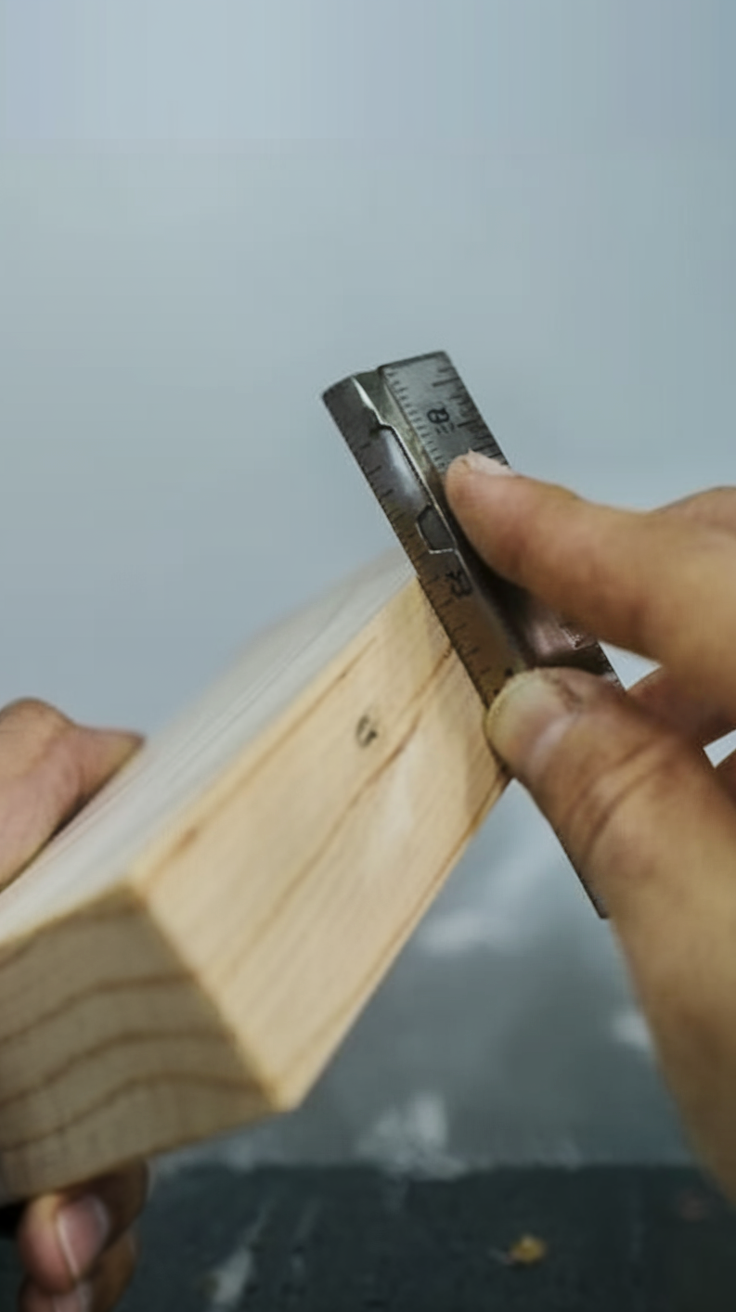
Step 1: Design Your Furniture Piece
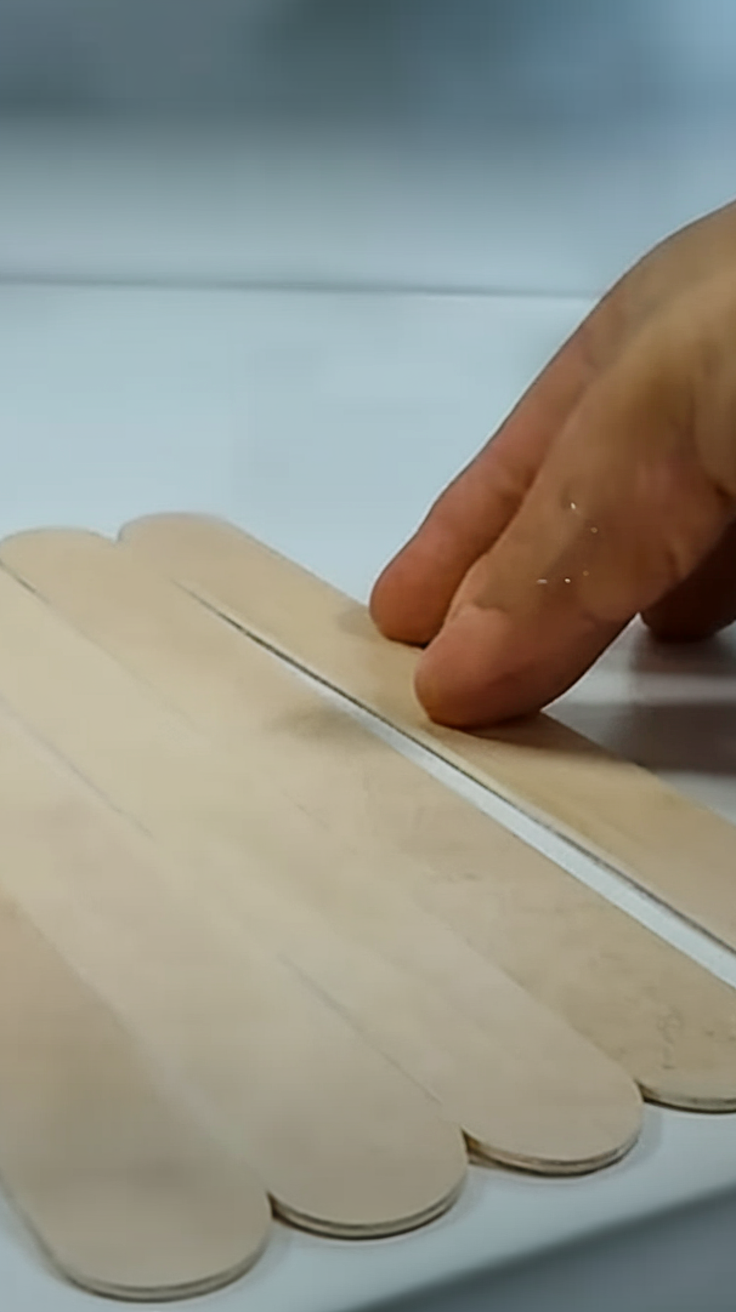
- Glue 6 popsicle sticks side by side to create a rectangular surface for your mini craft doll furniture.
- Make sure all are aligned. You can trim the rounded edges for a cleaner finish.
Step 2: Build the Base
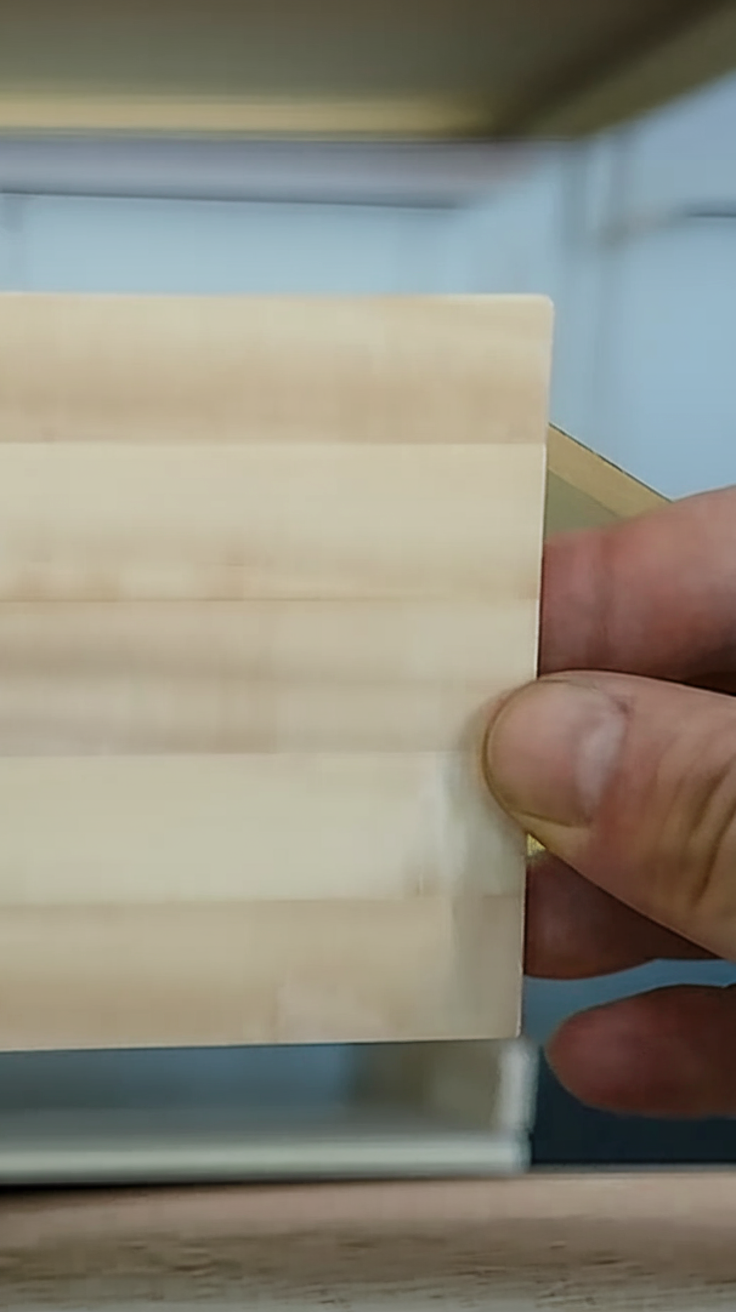
- Glue 2 more flat stick panels for the bottom and top of the wardrobe
- Attach the side panels to the back.
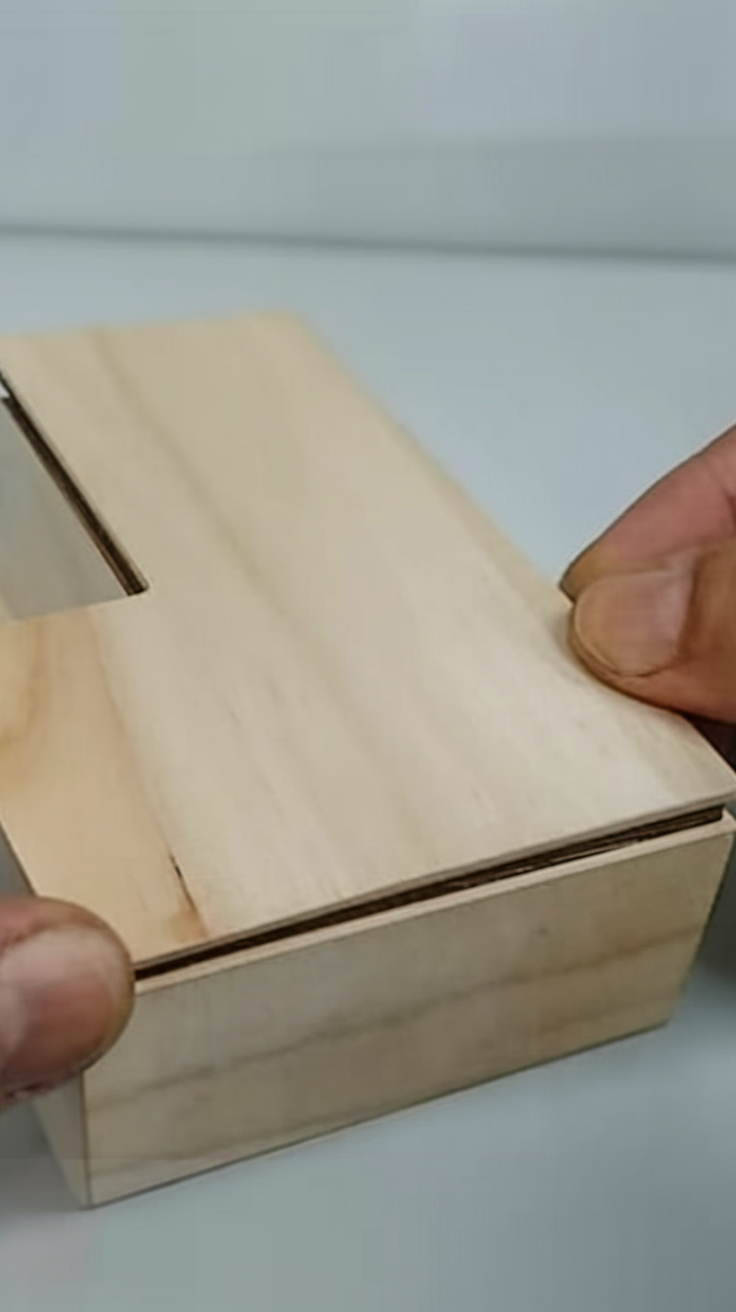
Step 3: Make the Doors
- Glue a flat layer of sticks for the door.
- Create two panels that cover the front opening.
- Use thin strips of paper or simply glue the doors in place if you don’t want them functional.
Step 4: Add Interior Shelves
- Cut individual popsicle sticks to fit across the inner wardrobe’s width.
- Glue them inside. You can add a middle divider if you want.
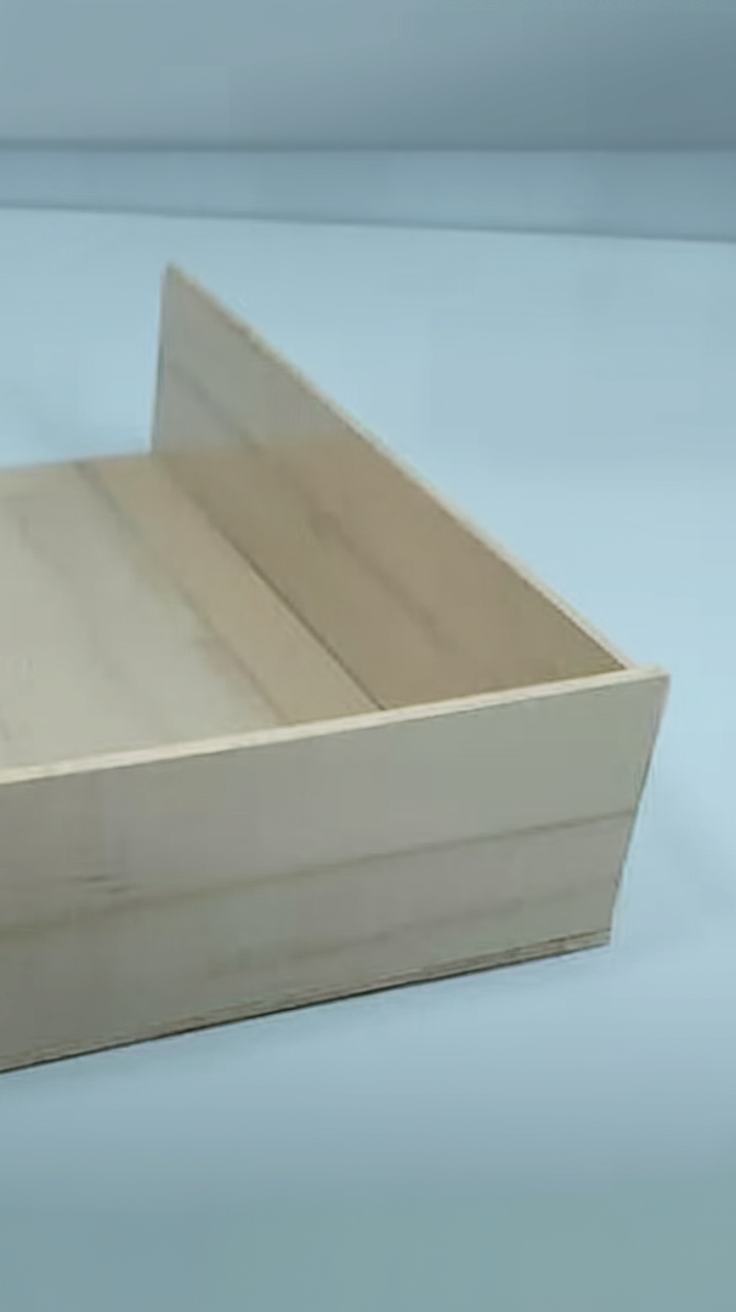
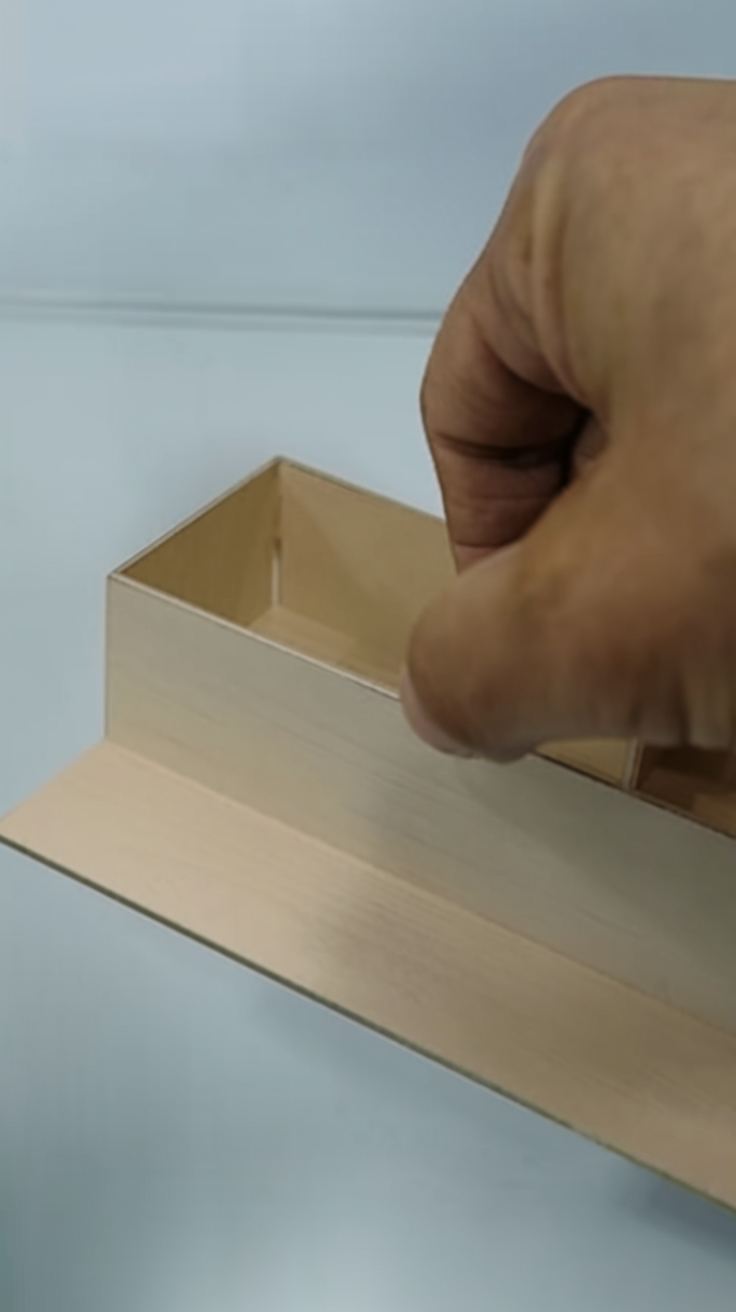
Step 5: Assemble the Base and Top
- Glue 2 more flat stick panels for the bottom and top of your wardrobe.
- Attach the side panels to the back.
- Secure the base and top like a box frame.
- Make sure all angles are straight.
Step 6: Paint and Decorate
- Use whole sticks or trimmed pieces to clean up outer edges.
- This can cover any gaps between panels and reinforce the structure.
Step 7: Add Final Touches
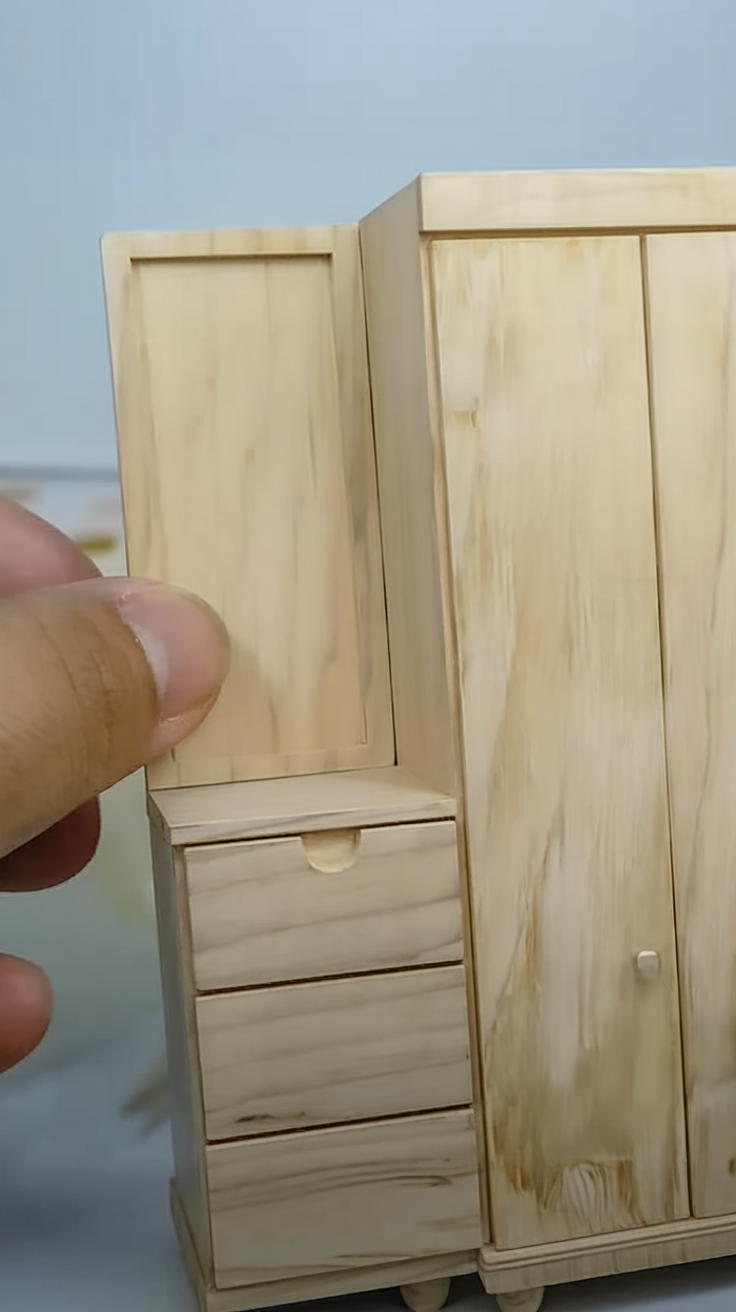
- Add small beads as knobs.
Pro Tips
- Glue extra stick strips inside the corners of the cabinet.
- Apply a light coat of gesso before decorating.
- Use tiny magnets behind the doors for functional open/close action.
FAQs
1. What other materials can I use?
Balsa wood or craft foam also work well.
2. Can I mimic real furniture styles?
Yes .
3. Is hot glue better than PVA glue?
Hot glue can be bulky. PVA yields cleaner bonds.
4. Can kids do this Mini craft safely?
Yes. Like I did
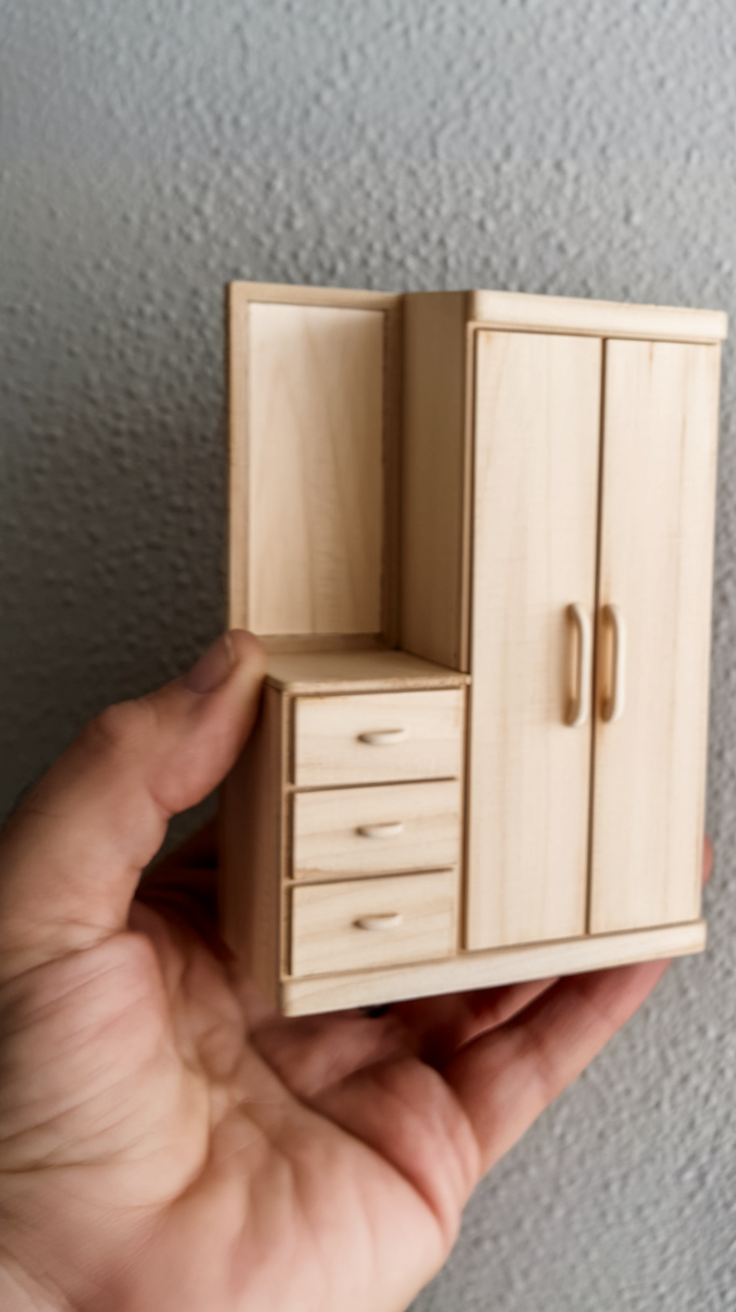
Conclusion
With just few materiels, you can create adorable mini craft doll furniture. This project teaches you the basic woodworking abilities in an enjoyable method, making it ideal for beginners.