Join the fastest growing Craft community on Pinterest!
After sculpting a little gnome from air dry clay, I shared it on social media just for fun, but I didn’t expect what happened next. My inbox lit up with friends and family asking, “Wait, did you make the clay too?”
I hadn’t planned on becoming the go-to clay expert overnight, but once the questions started rolling in, I realized how many people wanted to try crafting but didn’t know where to begin. Store-bought clay can be pricey or hard to find, so I decided to share my easy, budget-friendly recipe for homemade air dry clay.
Making air dry clay at home was way simpler than I thought. All it took was 1 cup of baking soda, ½ cup of cornstarch, and ¾ cup of water, stirred together in a medium saucepan over medium heat.
Once it thickened to a mashed potato-like texture, I transferred it to a mixing bowl to cool. After kneading the mixture on a surface dusted with extra cornstarch, it turned into a soft, pliable clay ready for any sculpting project. I wrapped the leftovers in plastic wrap and sealed it in an airtight container to keep it fresh for my next creation.
Now, every time someone asks how I made my air dry clay, I send them this little recipe along with a photo of my happy garden gnome. It’s an easy craft that anyone can try at home using just your basic kitchen supplies.
And the best part? You don’t need a fancy kiln or even an oven; just be patient and follow these simple steps and a splash of your creativity. and an accessible place to start.
What you will need
- 1 cup baking soda
- ½ cup cornstarch
- ¾ cup water
- Medium saucepan
- Spoon or spatula
- Mixing bowl
- Measuring cups
- Extra cornstarch (for dusting while kneading)
- Plastic wrap or airtight container (for storage)
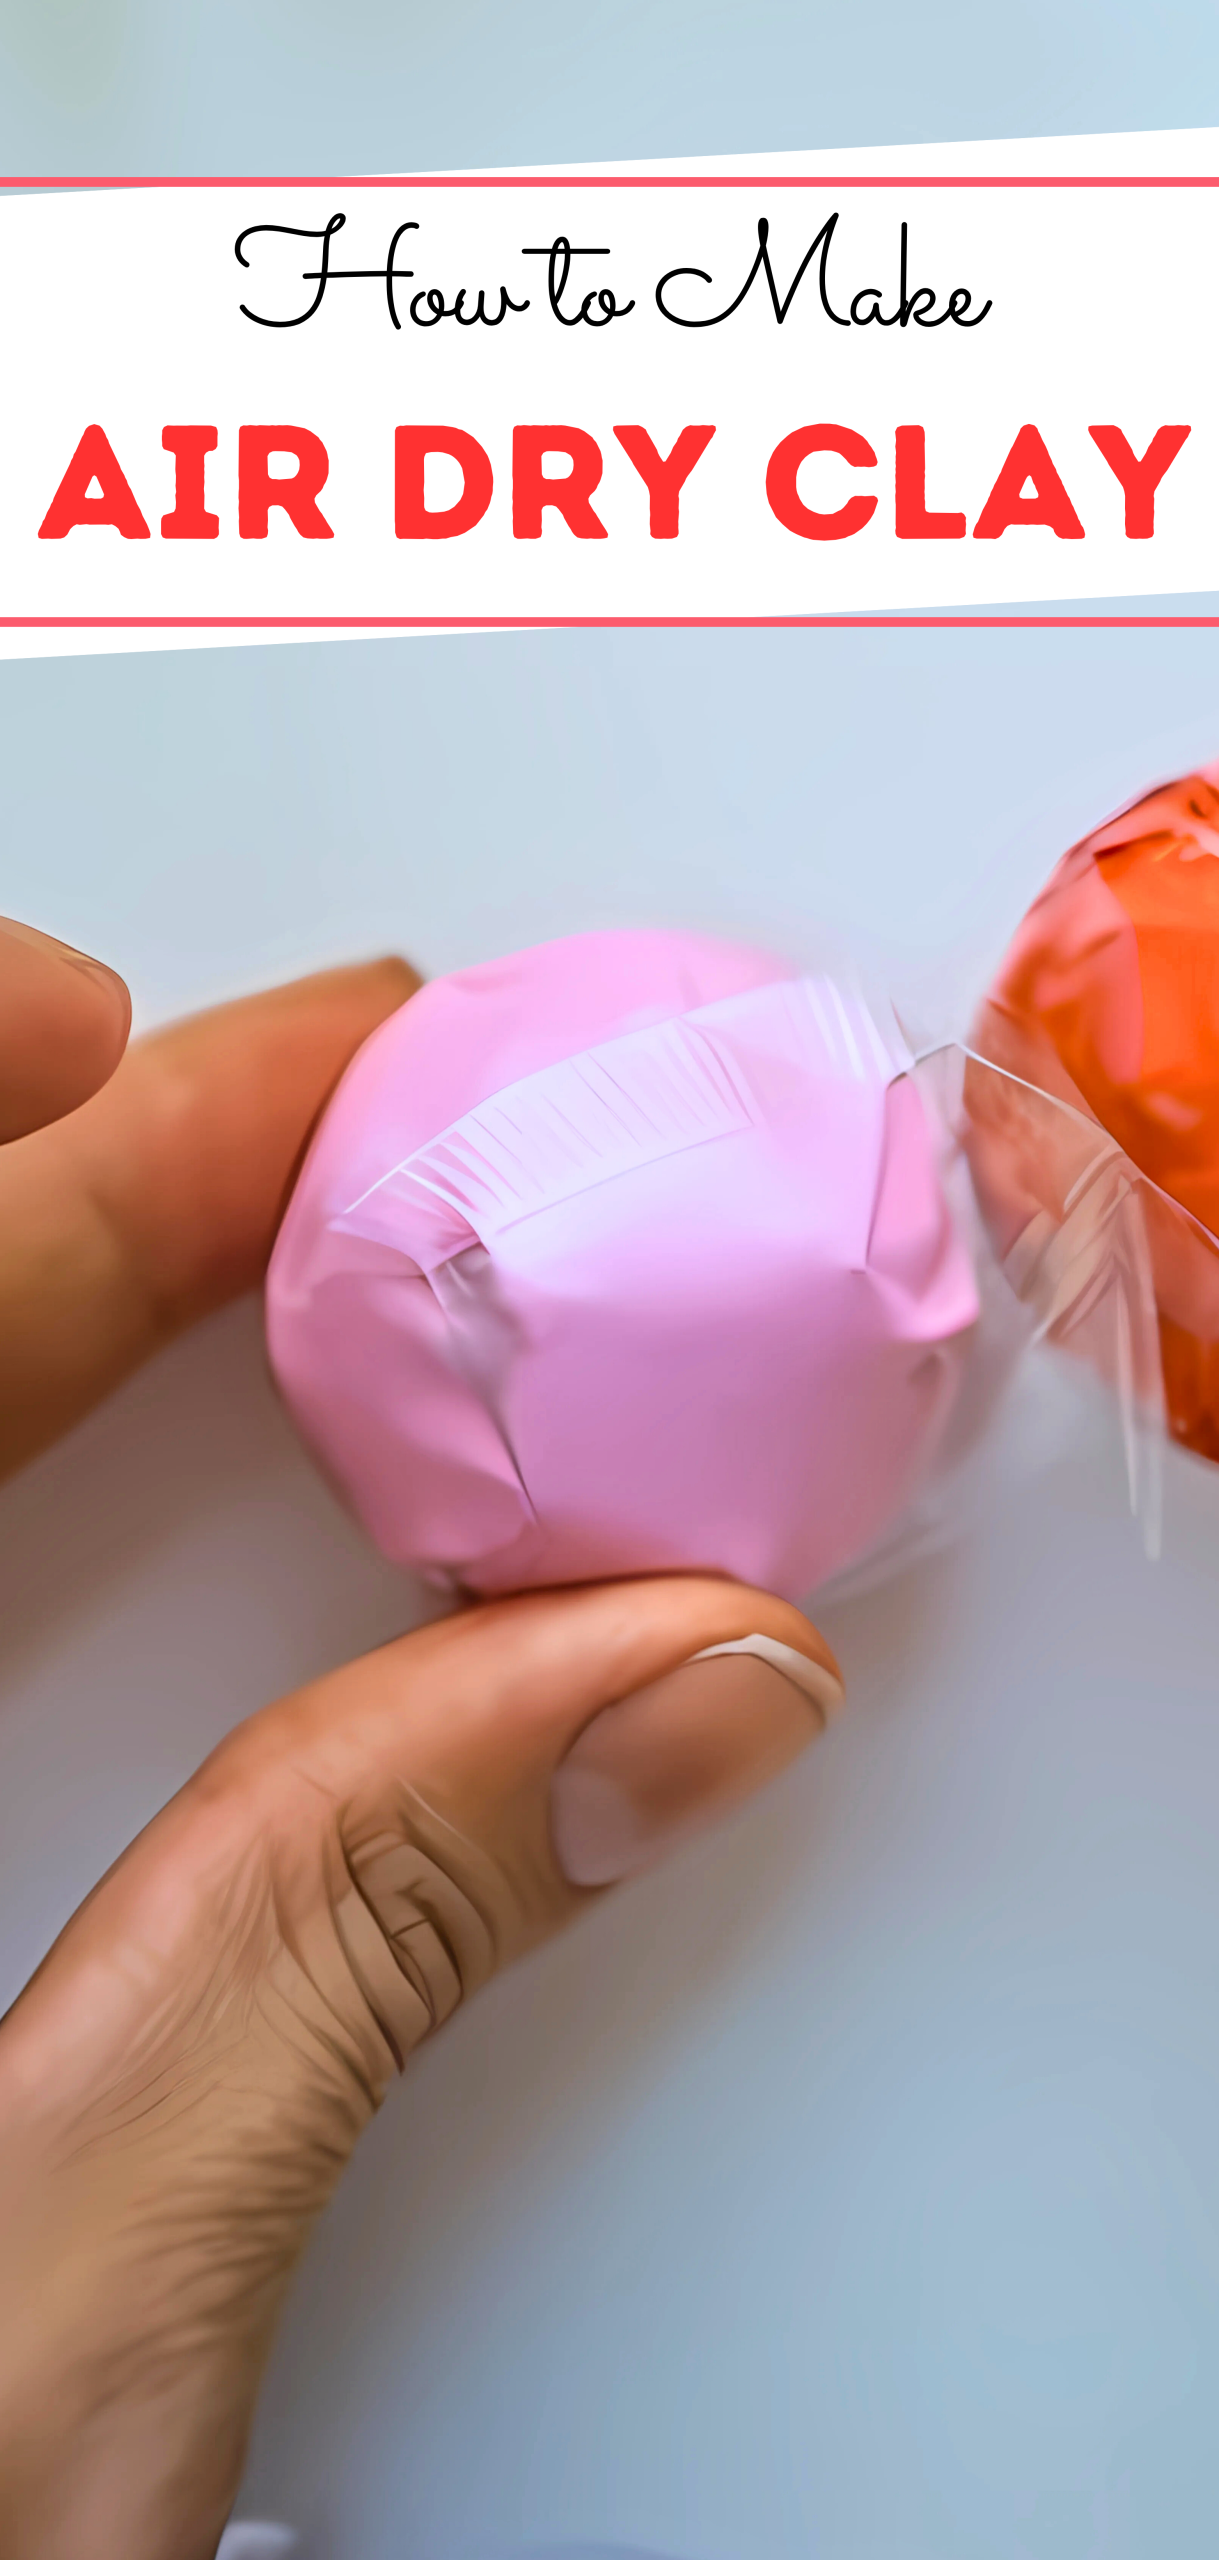
how to make Air dry clay
Step 1: Combine Ingredients
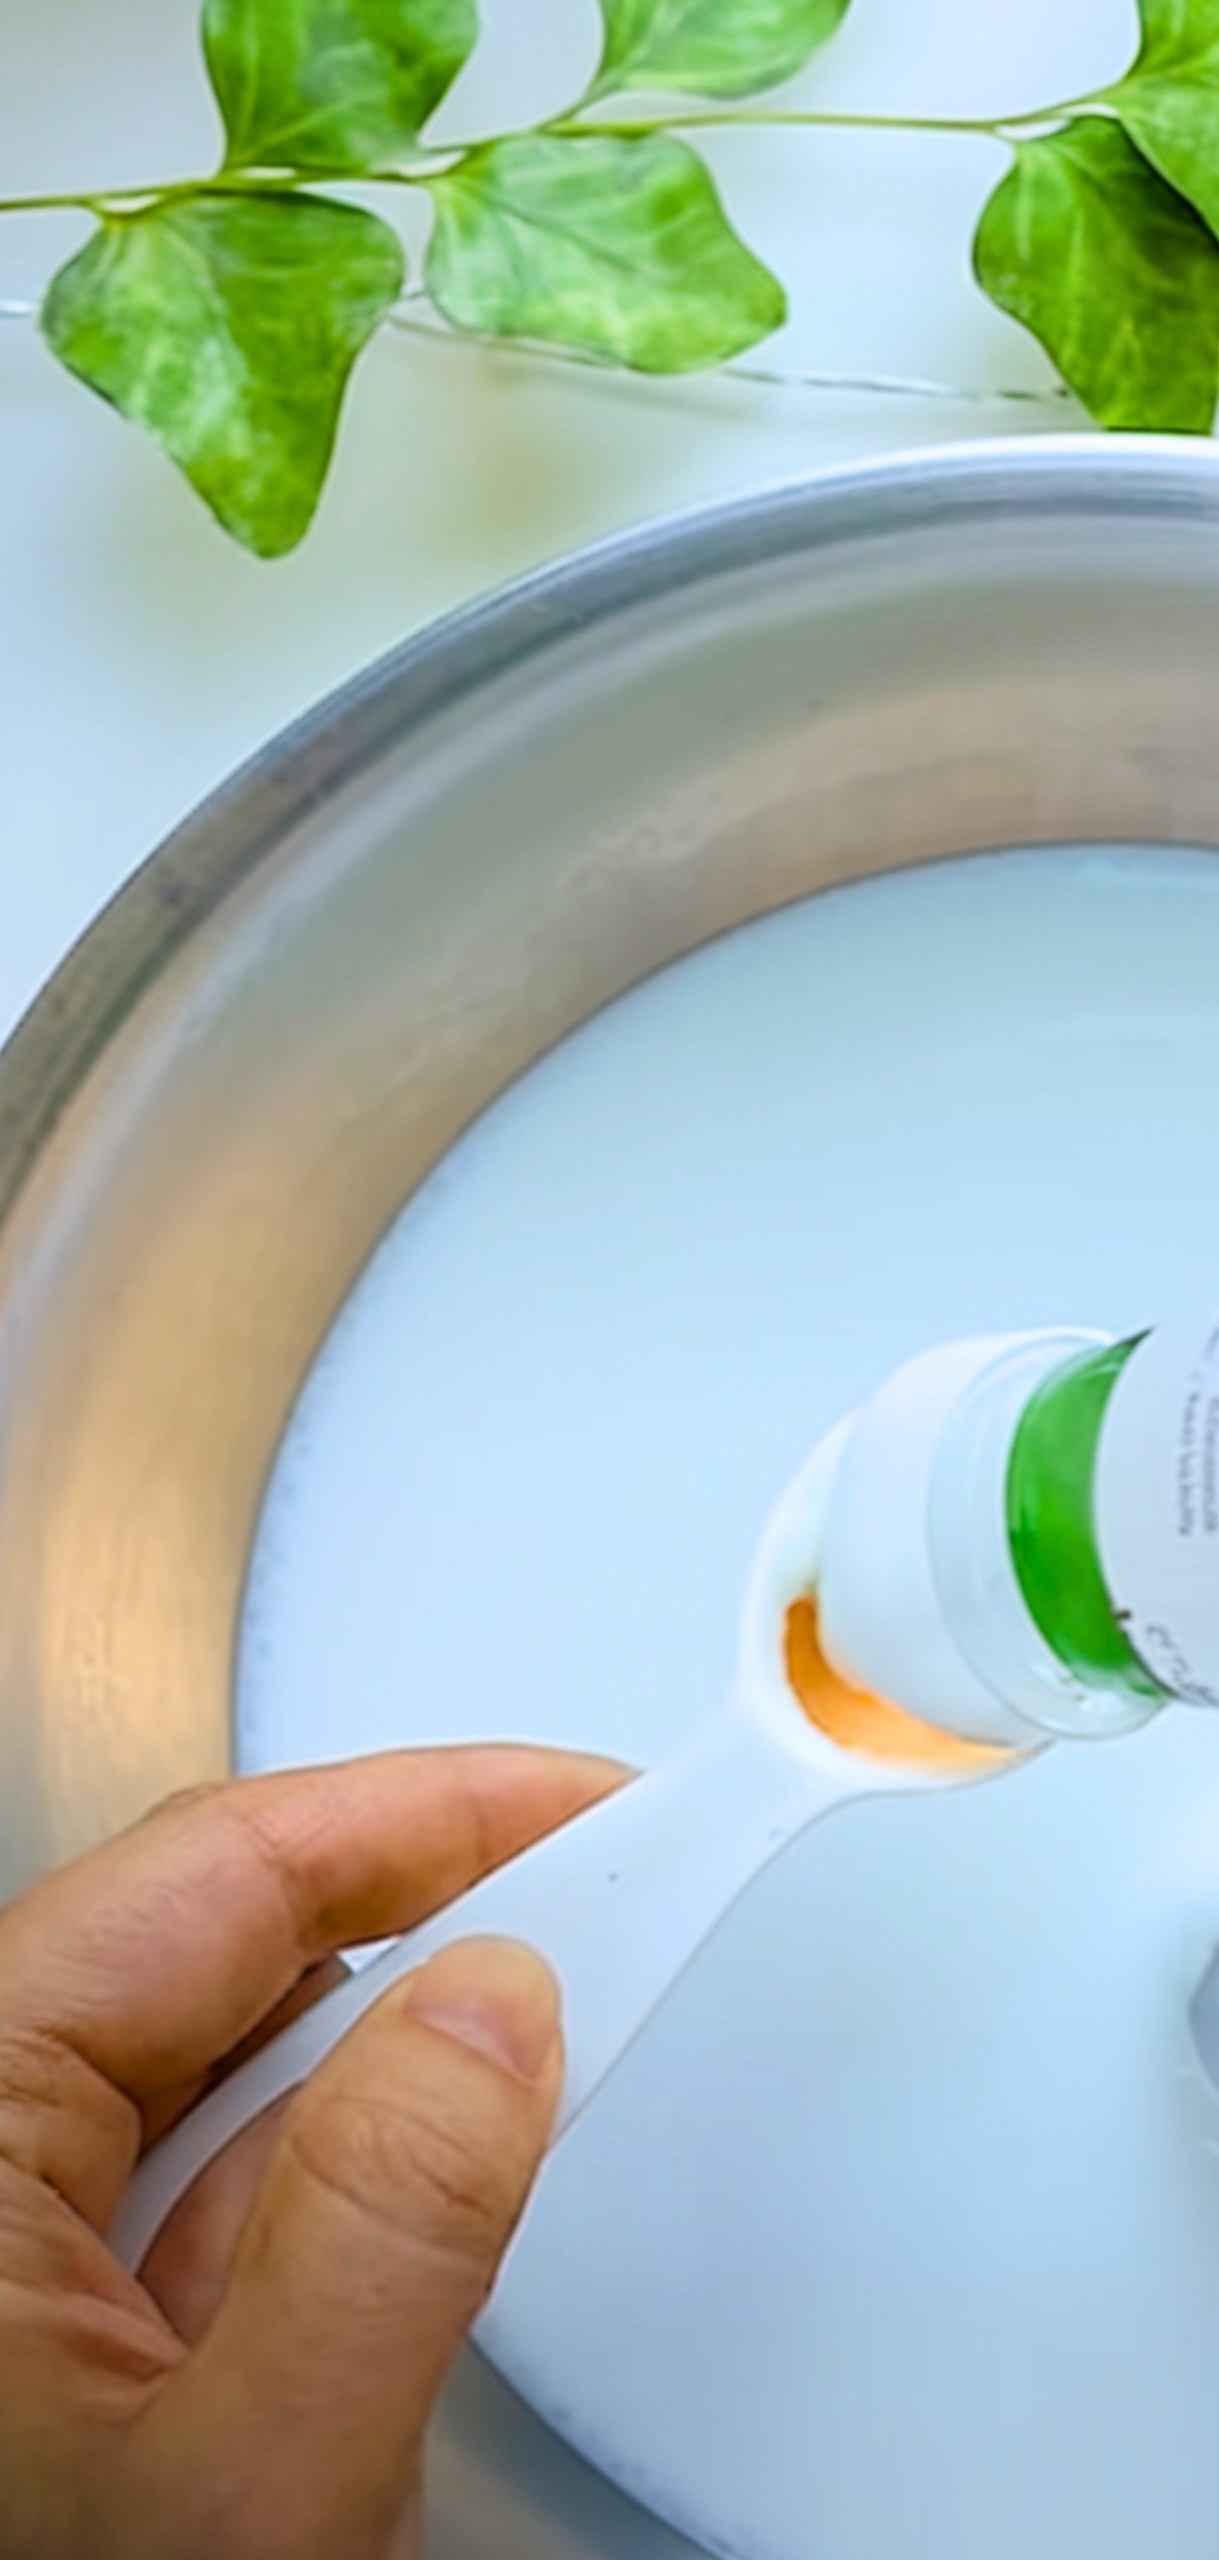
In a medium saucepan, add
- 1 cup baking soda
- ½ cup cornstarch
- ¾ cup water
Stir the mixture until smooth and lump-free. your texture should look like milk or thin pancake batter.
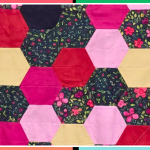
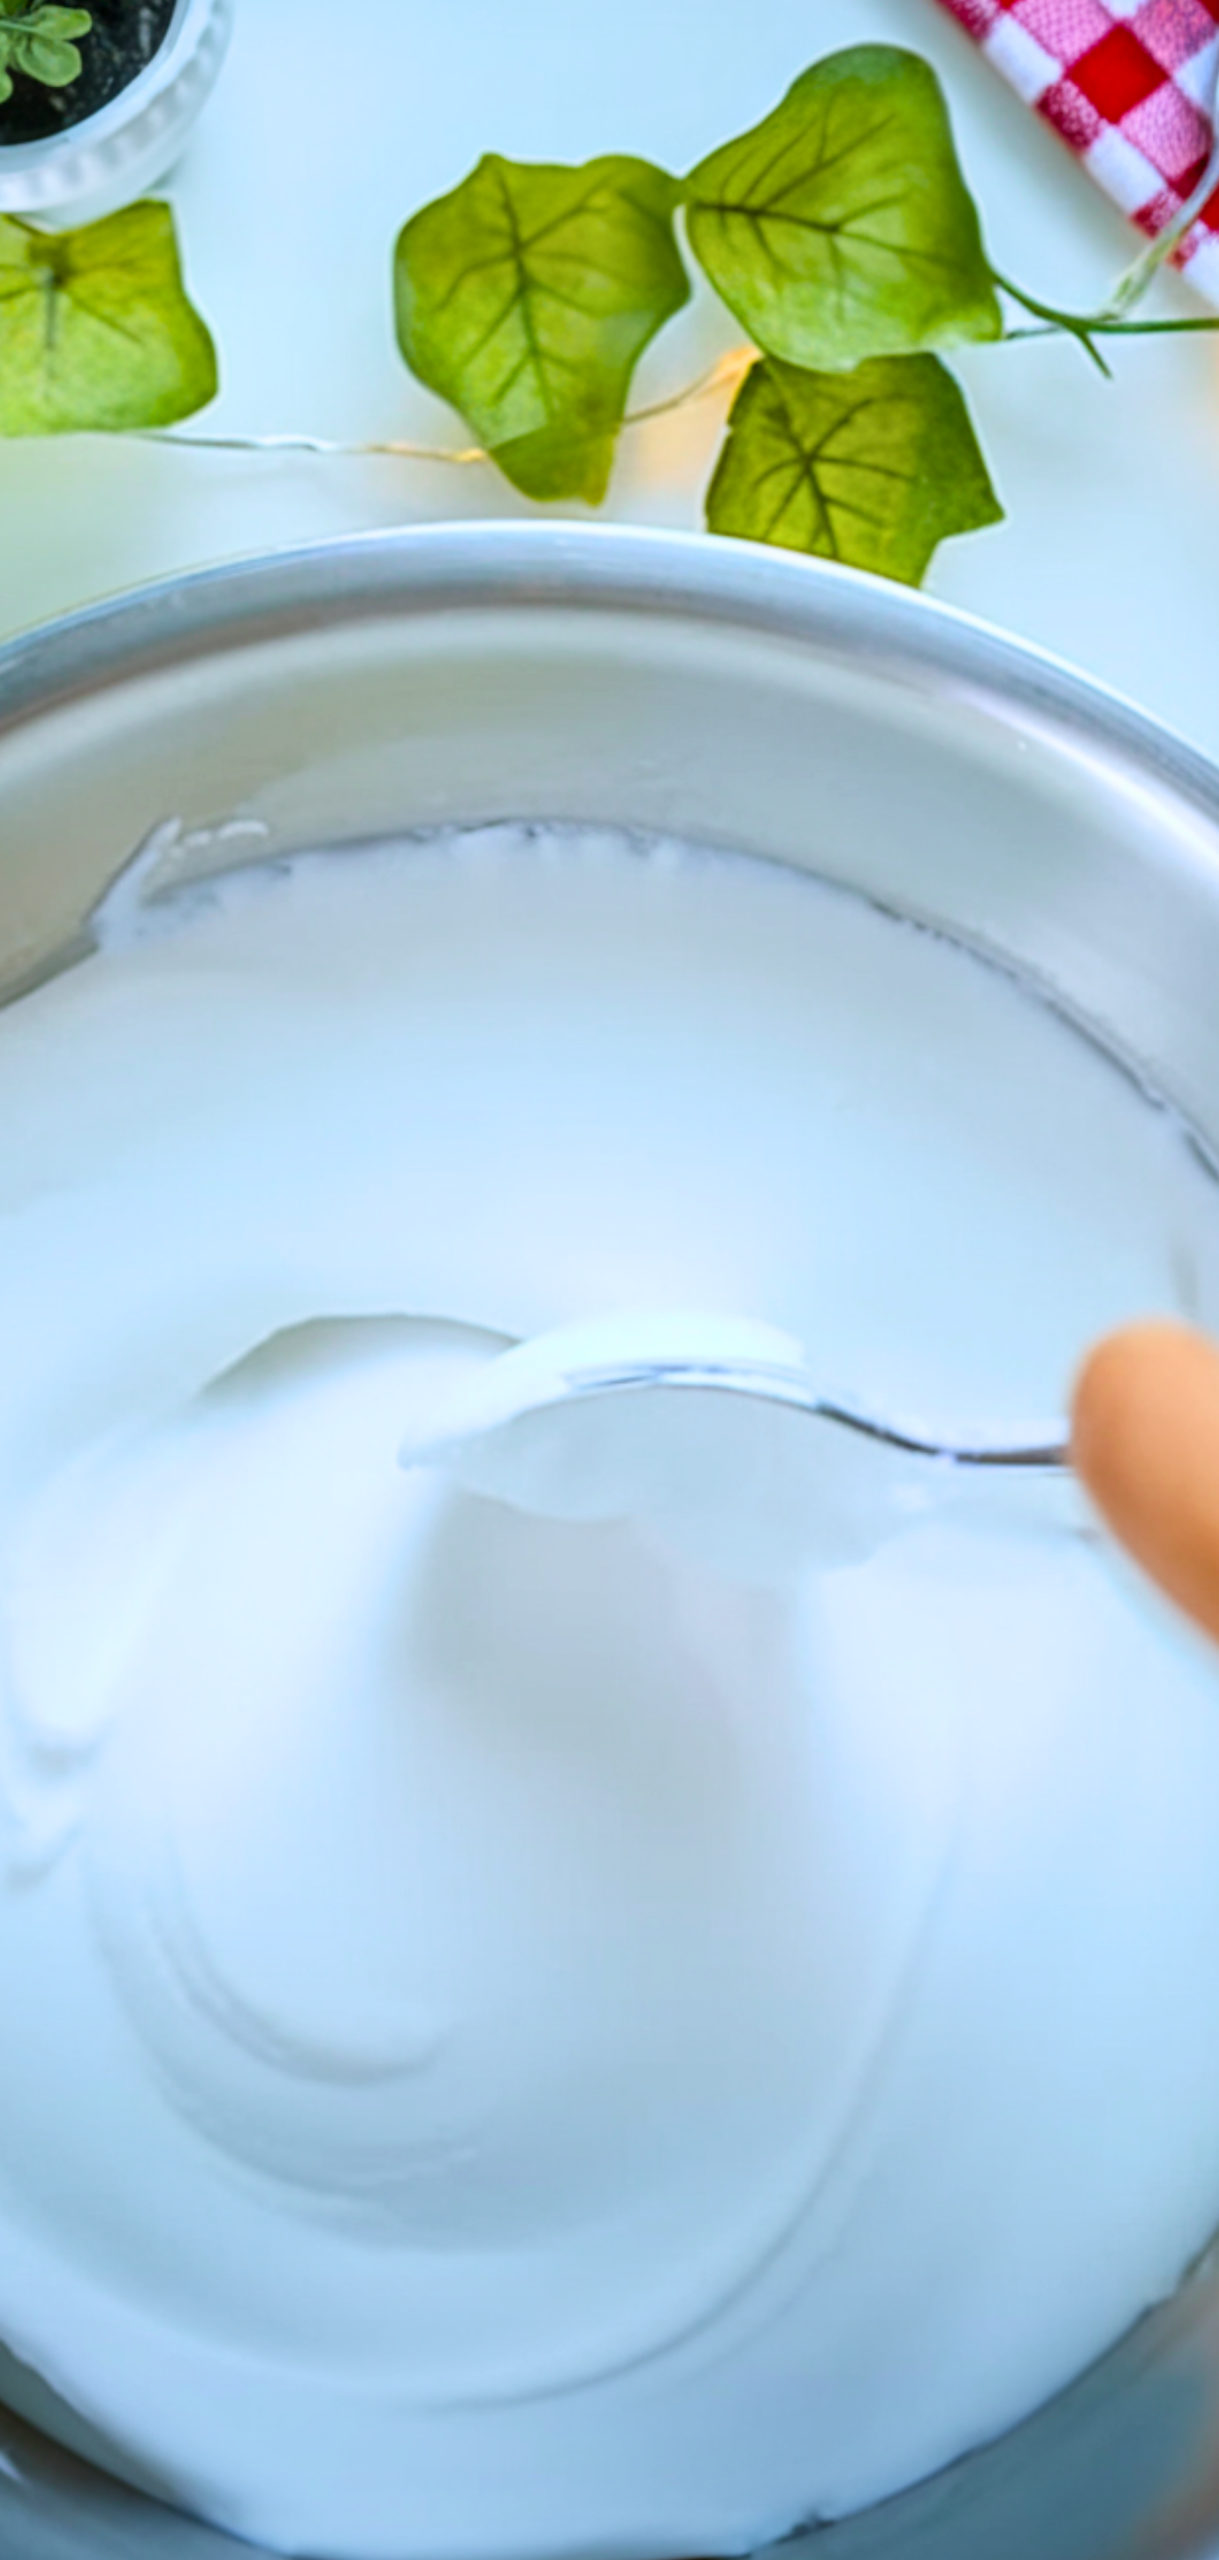
Step 2: Heat Gently and Stir Constantly
Place your saucepan over medium heat. Stir constantly to prevent lumps from forming at the bottom. After 3–5 minutes, your mixture will begin to bubble and thicken. Stir quickly as it transforms into a mashed-potato dough.
Watch carefully: Overheating can dry it out or make it crumbly. Remove it from heat when it clumps and pulls away from the sides of the pan.
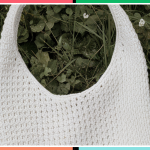
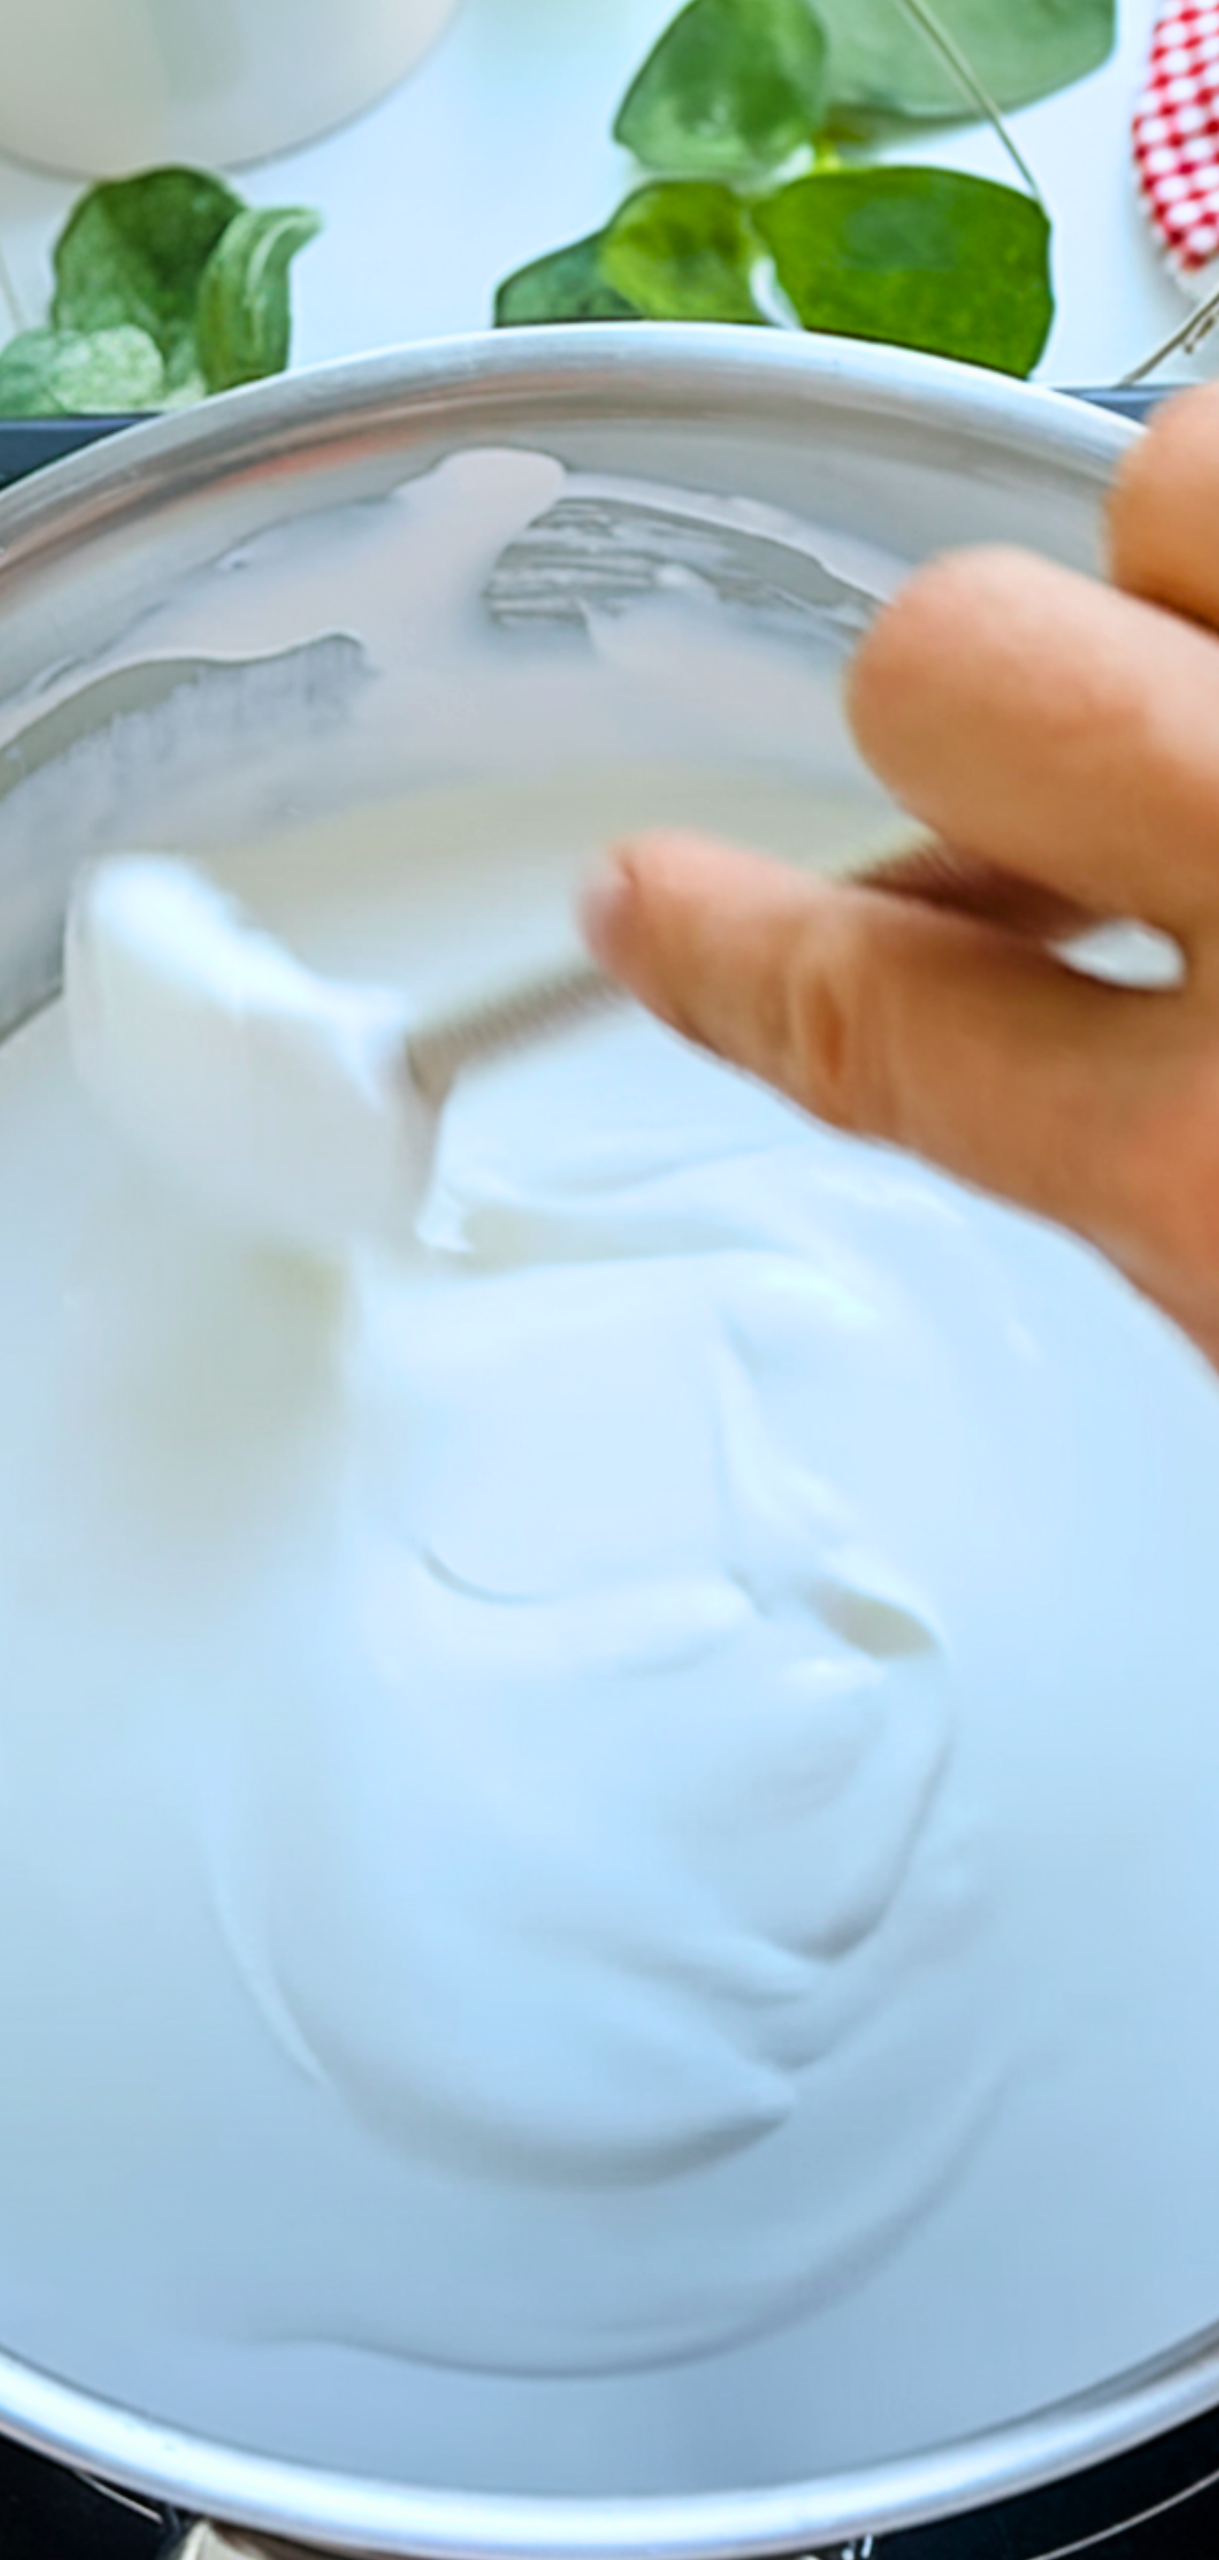
Step 3: Cool and Transfer

Spoon the warm clay dough into a bowl. Let it cool for 10–15 minutes until it’s safe to touch. It should still be soft but not hot.
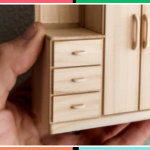
Step 4: Knead Until Smooth

Sprinkle cornstarch on a clean surface and begin kneading the dough. Do this for 2–3 minutes until it becomes smooth.
If it’s sticky, I add small pinches of cornstarch, but if it’s too dry, I will add a few drops of water and knead again to have the result you want.
Your air dry clay is now ready to use.
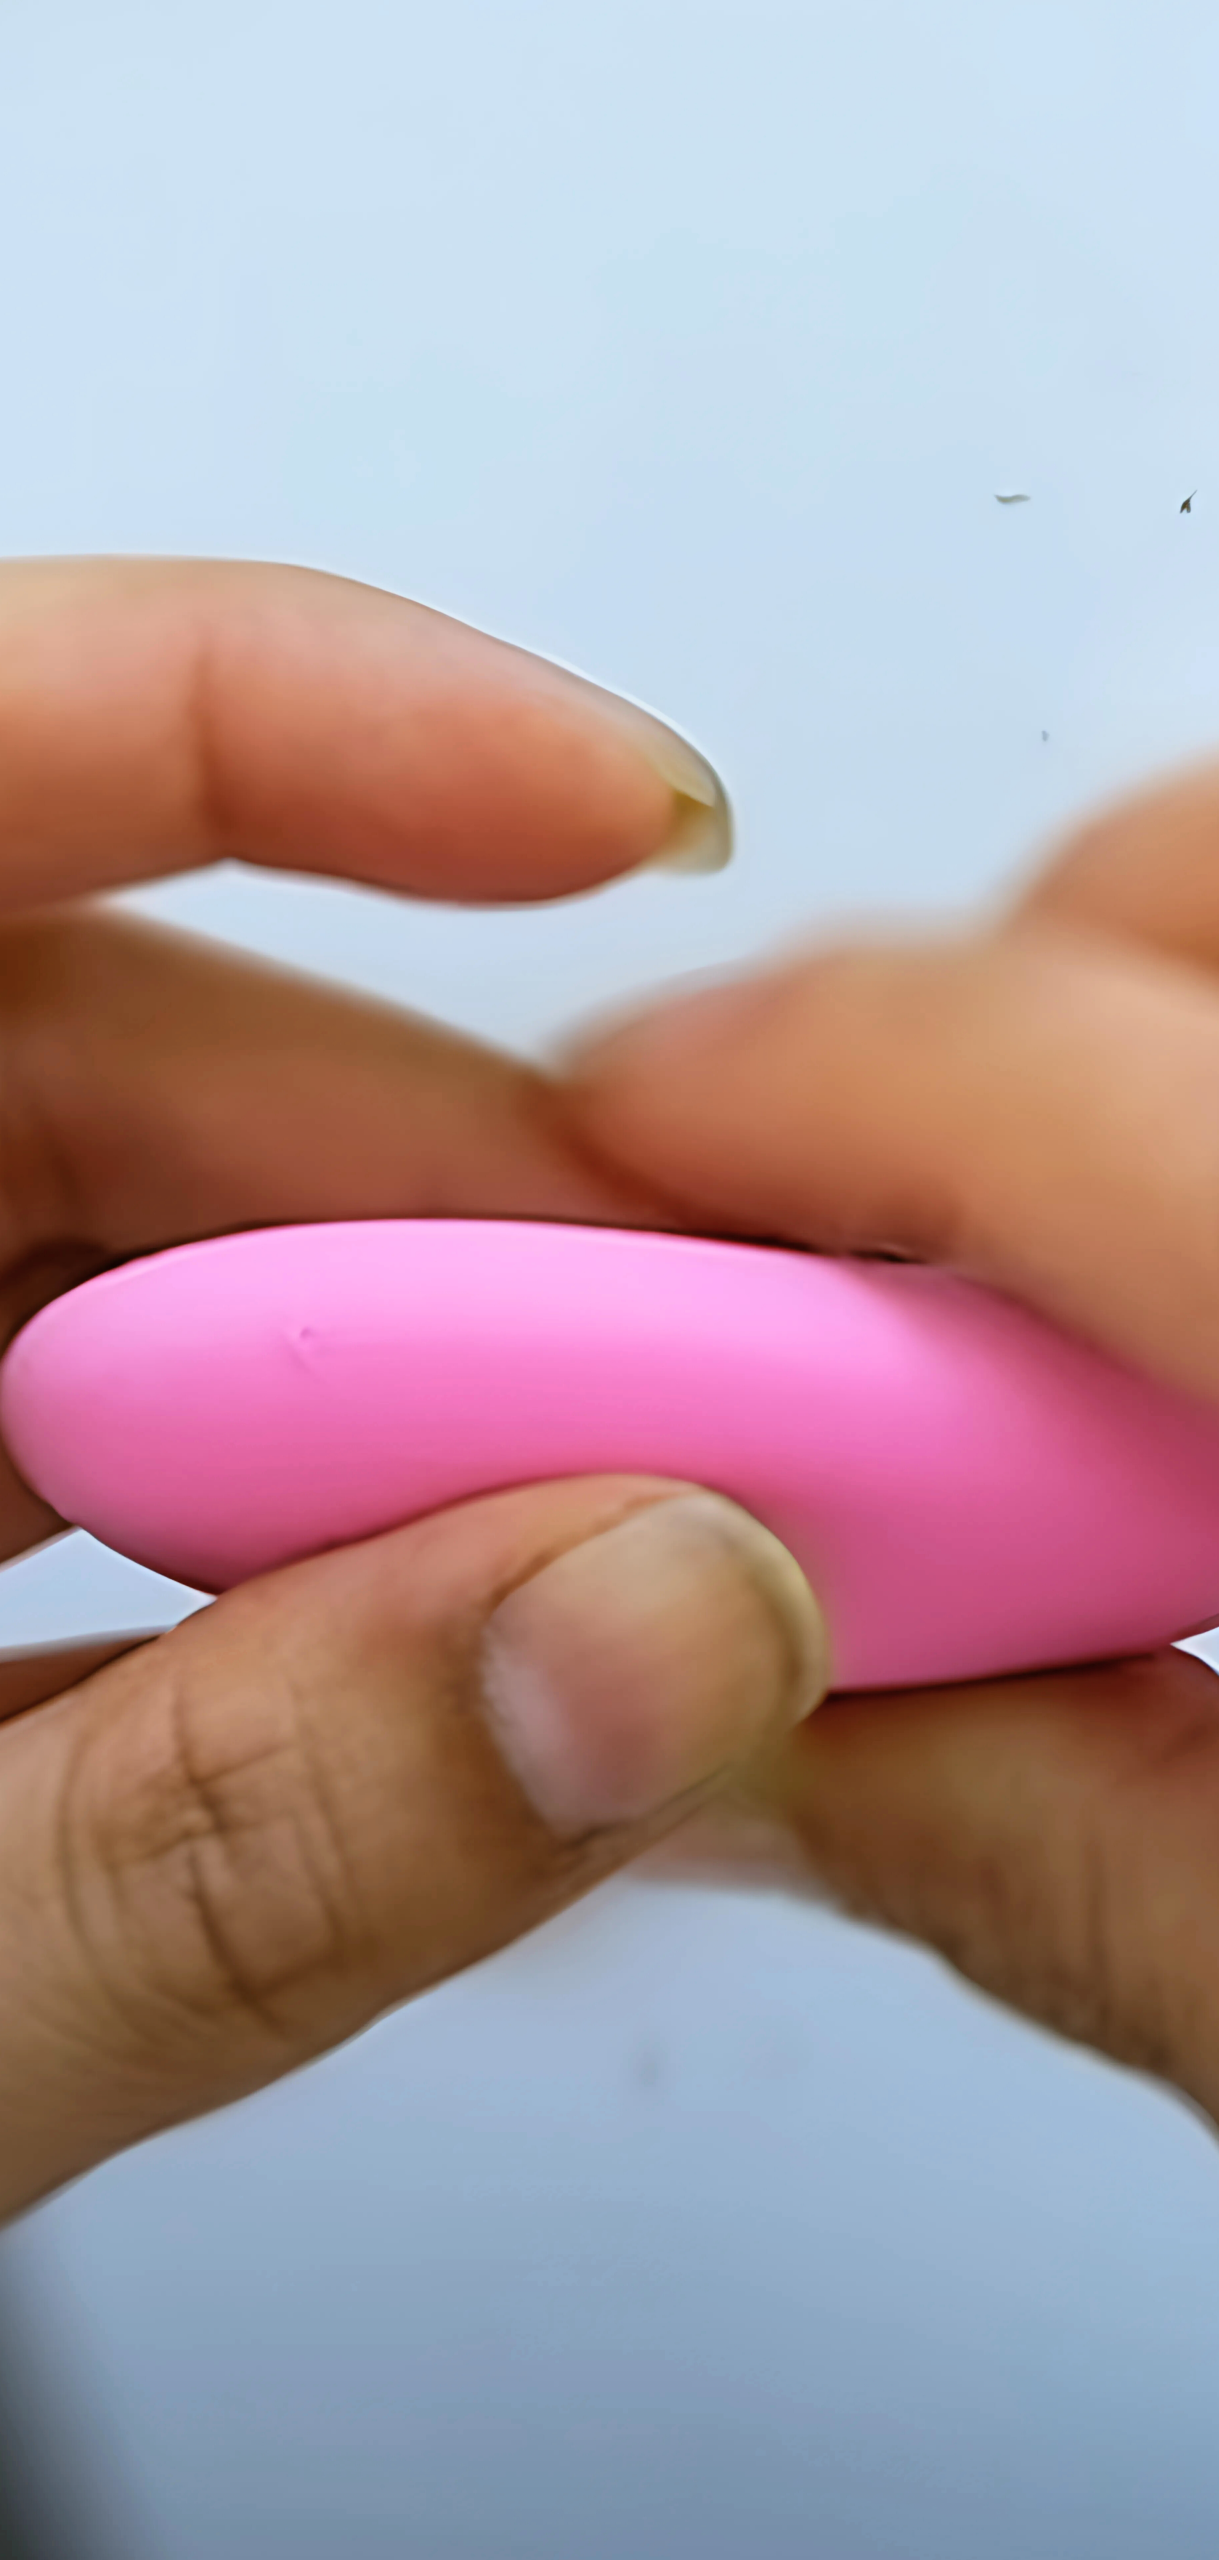
Step 5: Shape Your Creations
Use cookie cutters or tools to mold your clay. You can make anything you want, like ornaments, little animals, or even a gnome, like I did
Step 6: Let It Dry Naturally
Place your finished pieces on a flat surface. Let them air dry at room temperature for 24–48 hours, depending on the size and thickness of your clay.
Flip larger pieces halfway through drying to prevent warping. I suggest avoiding fans or direct sun to keep your clay from drying too fast; they may crack.
Optional: Decorate & Seal
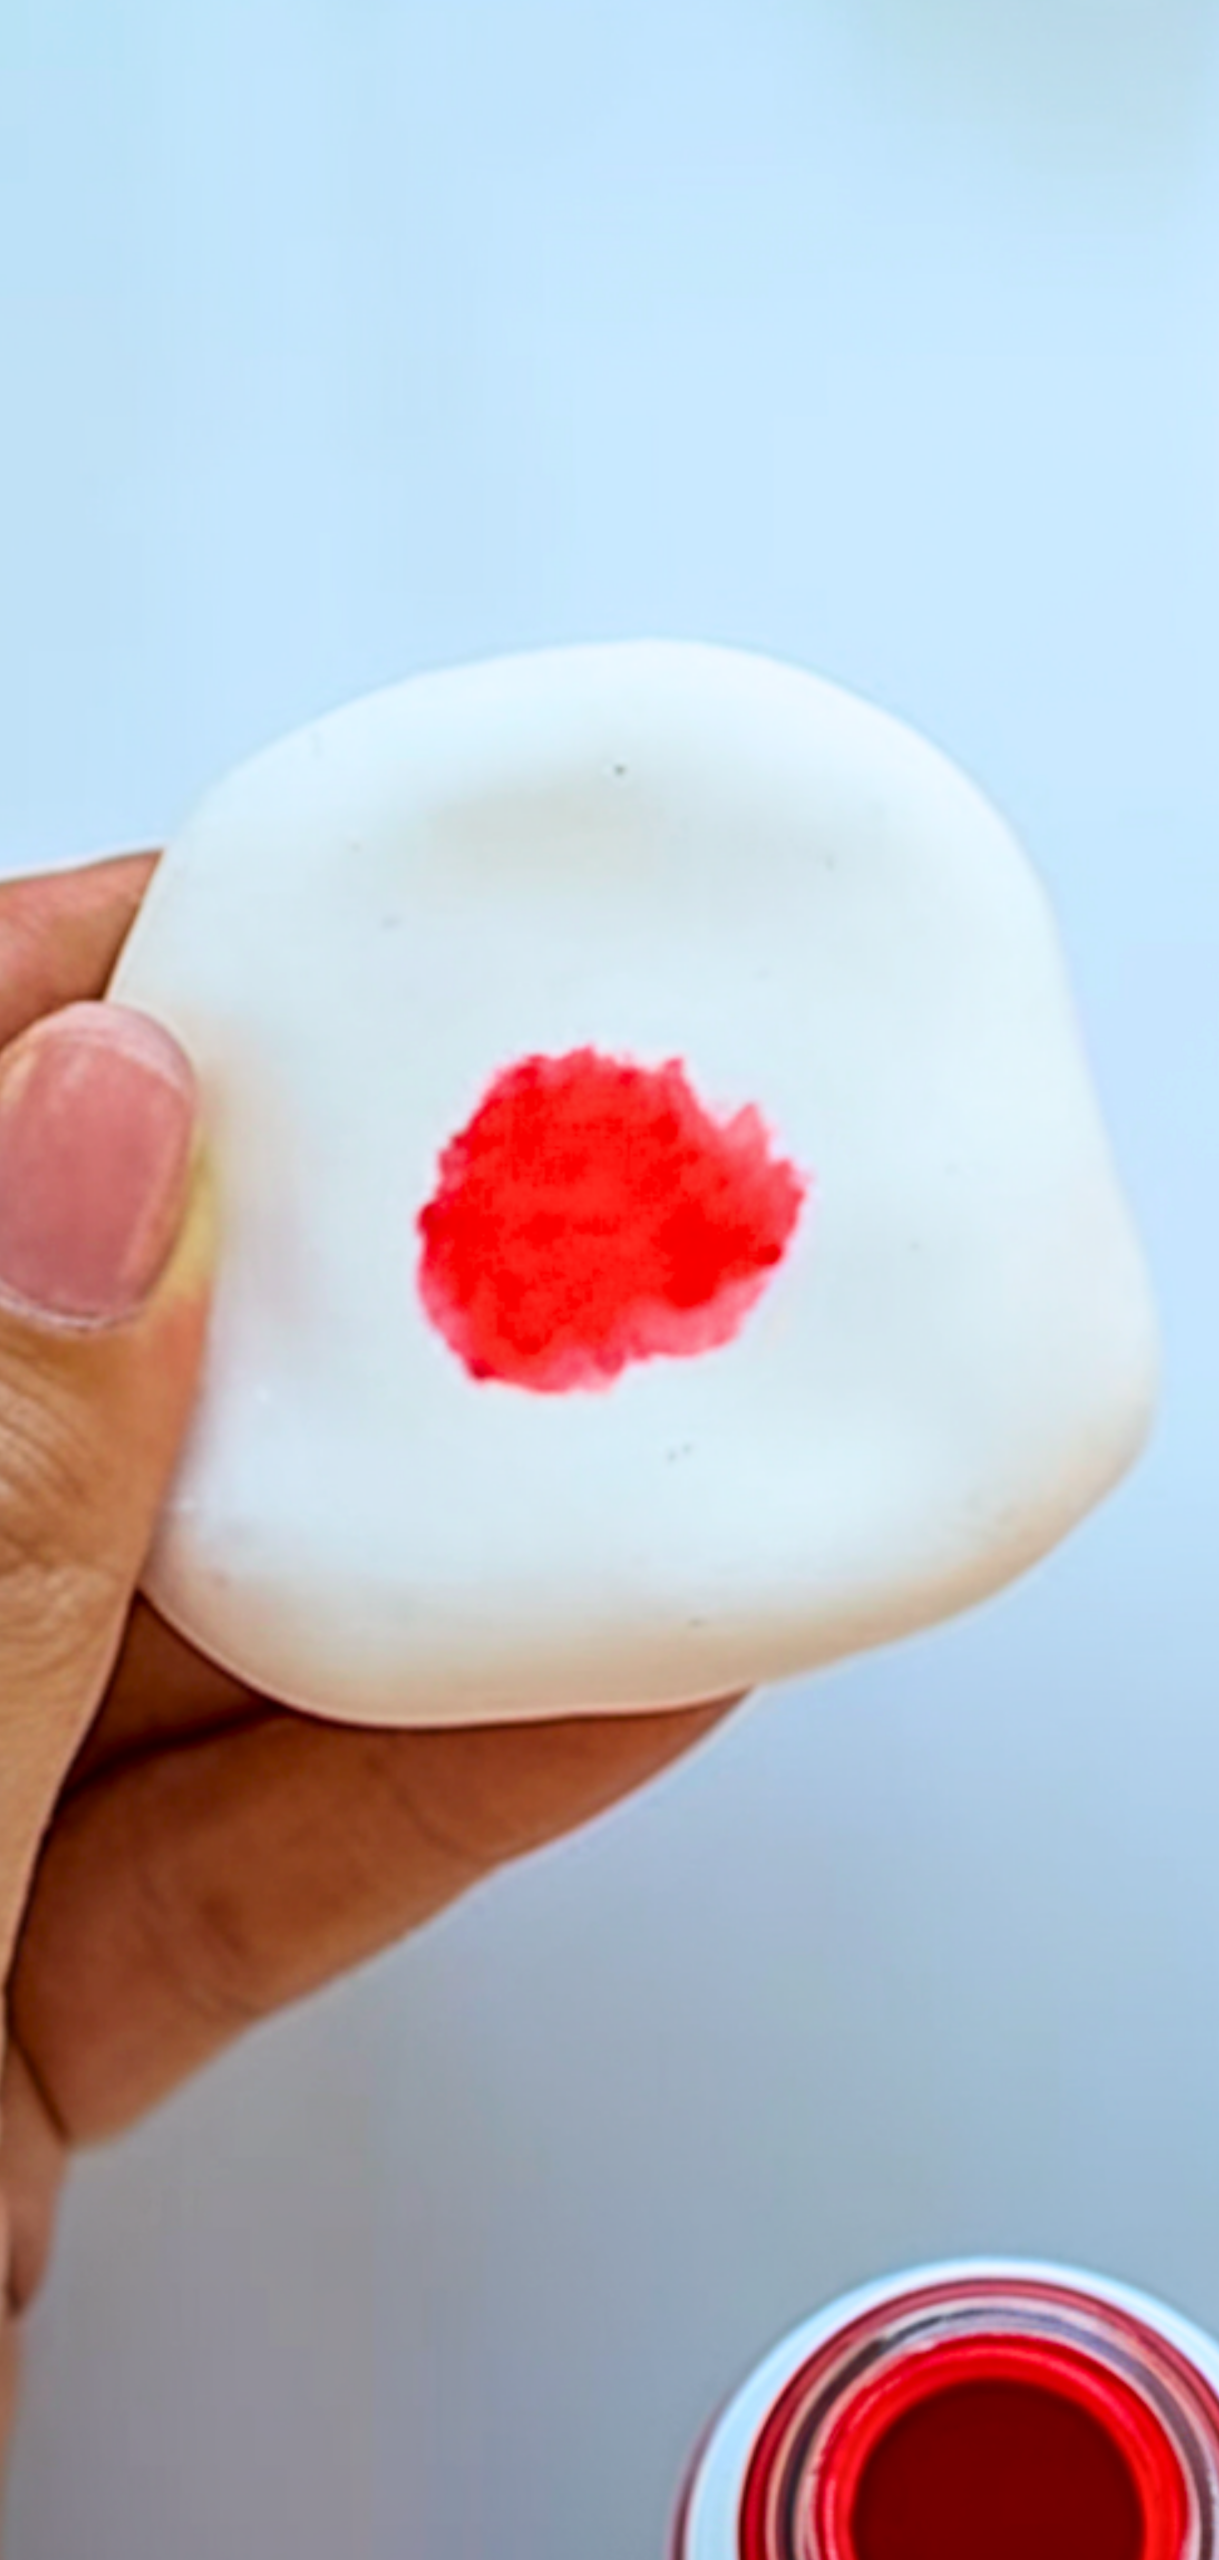
Once dry:
- Paint with acrylics
- Add glitter, stickers, or stamps
- Seal with Mod Podge or clear varnish to protect
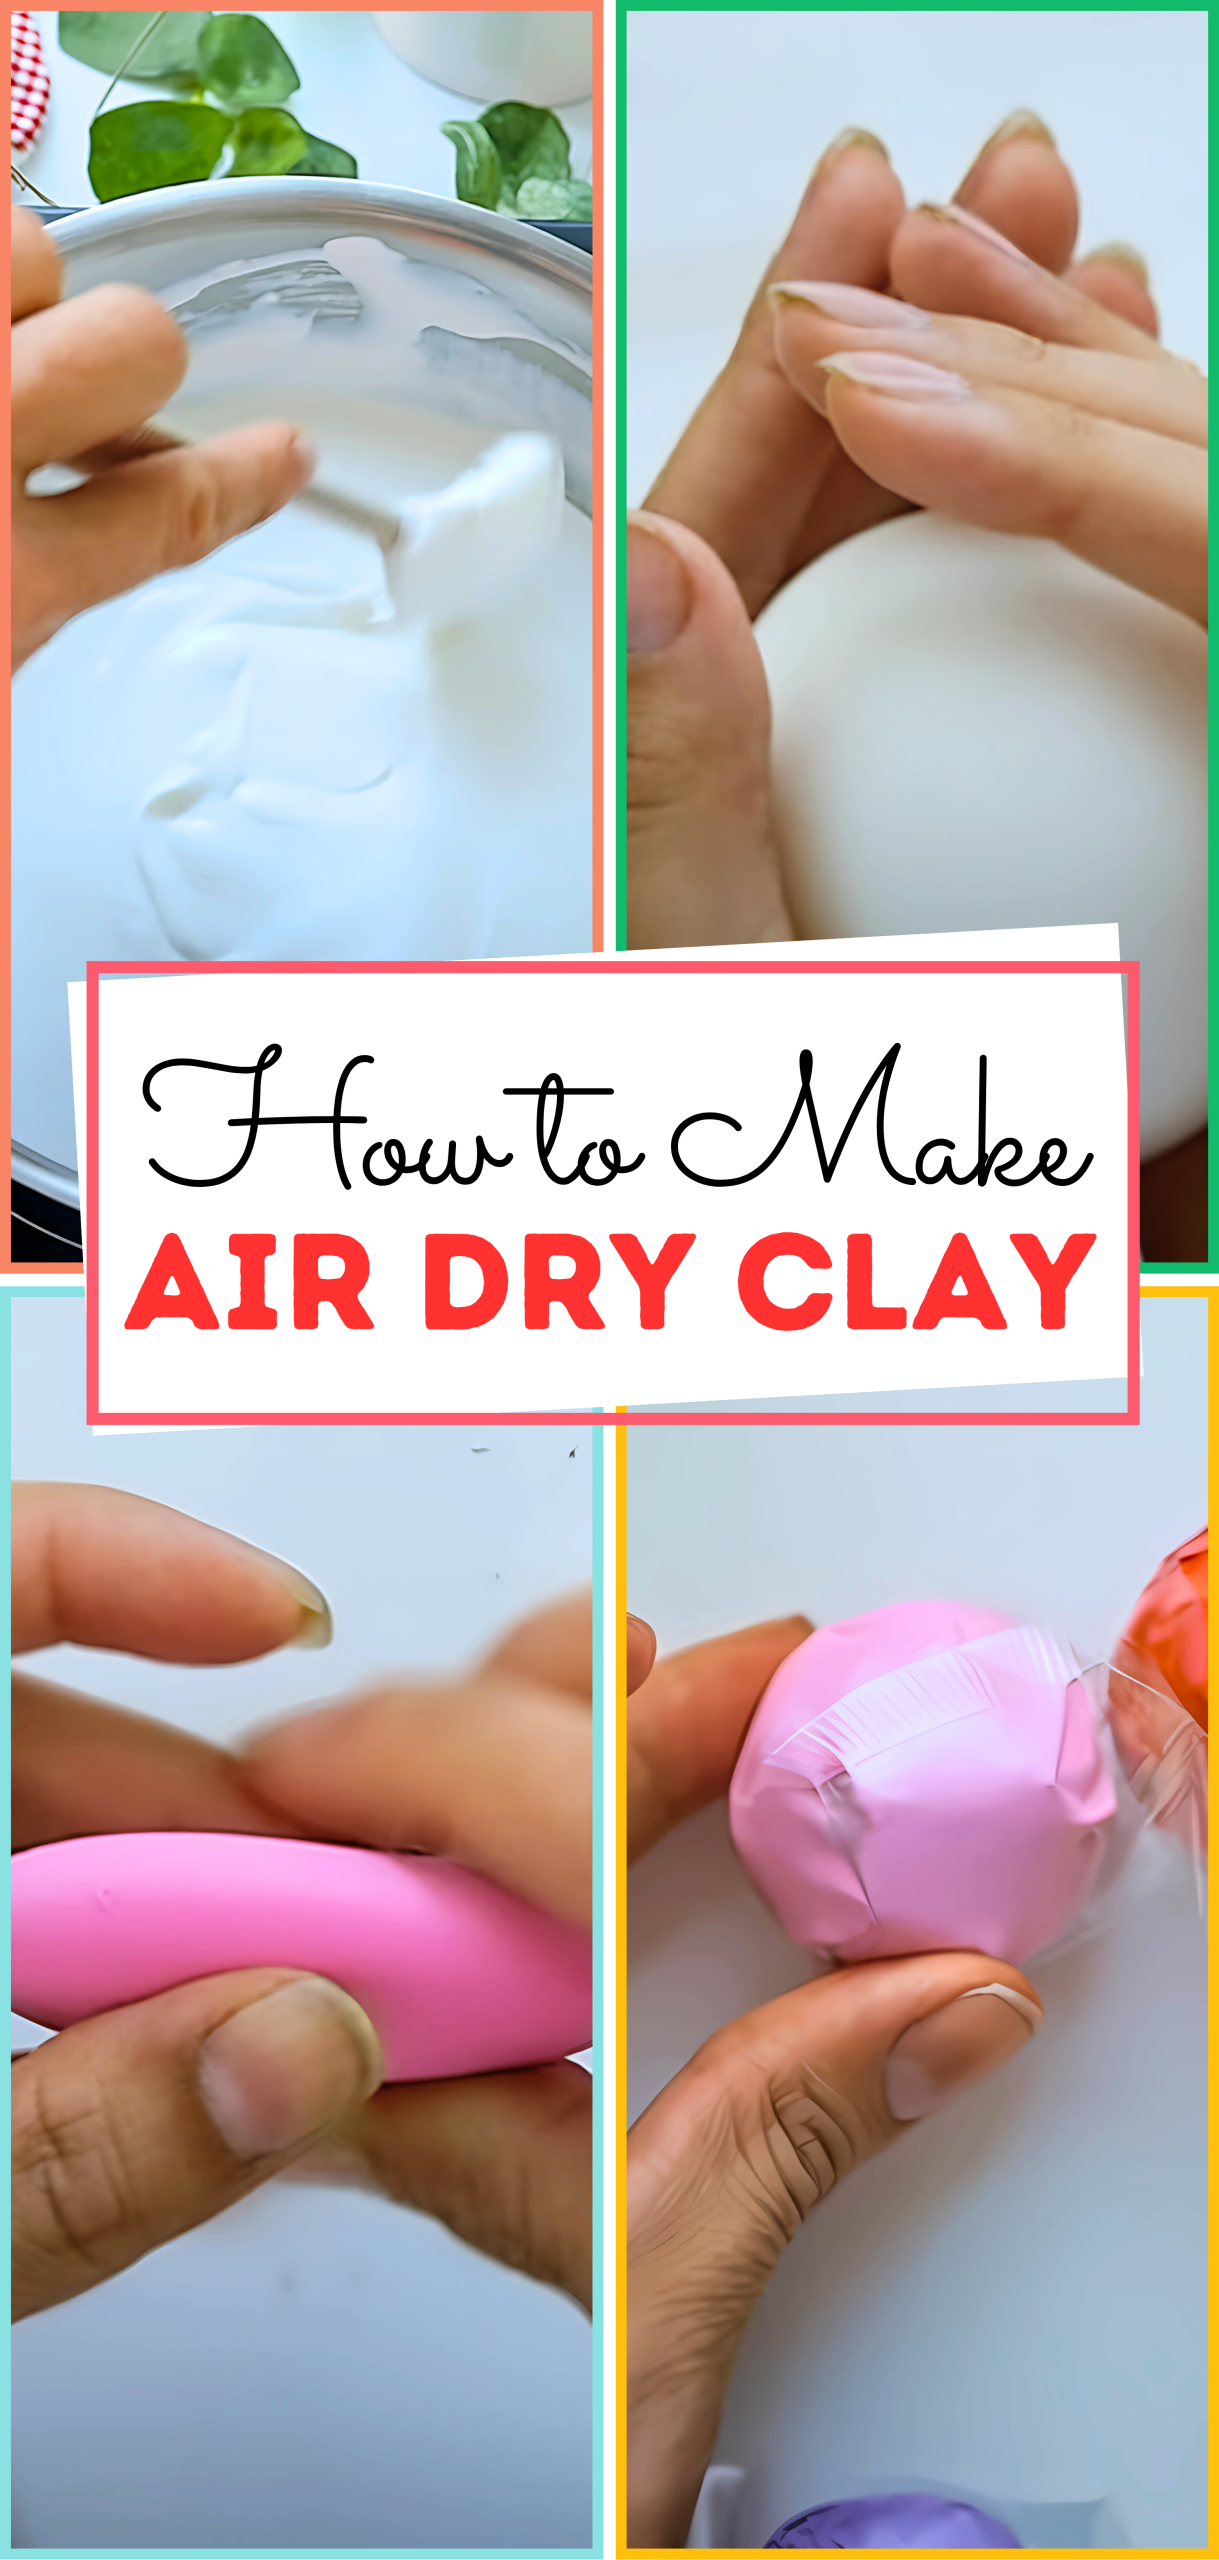
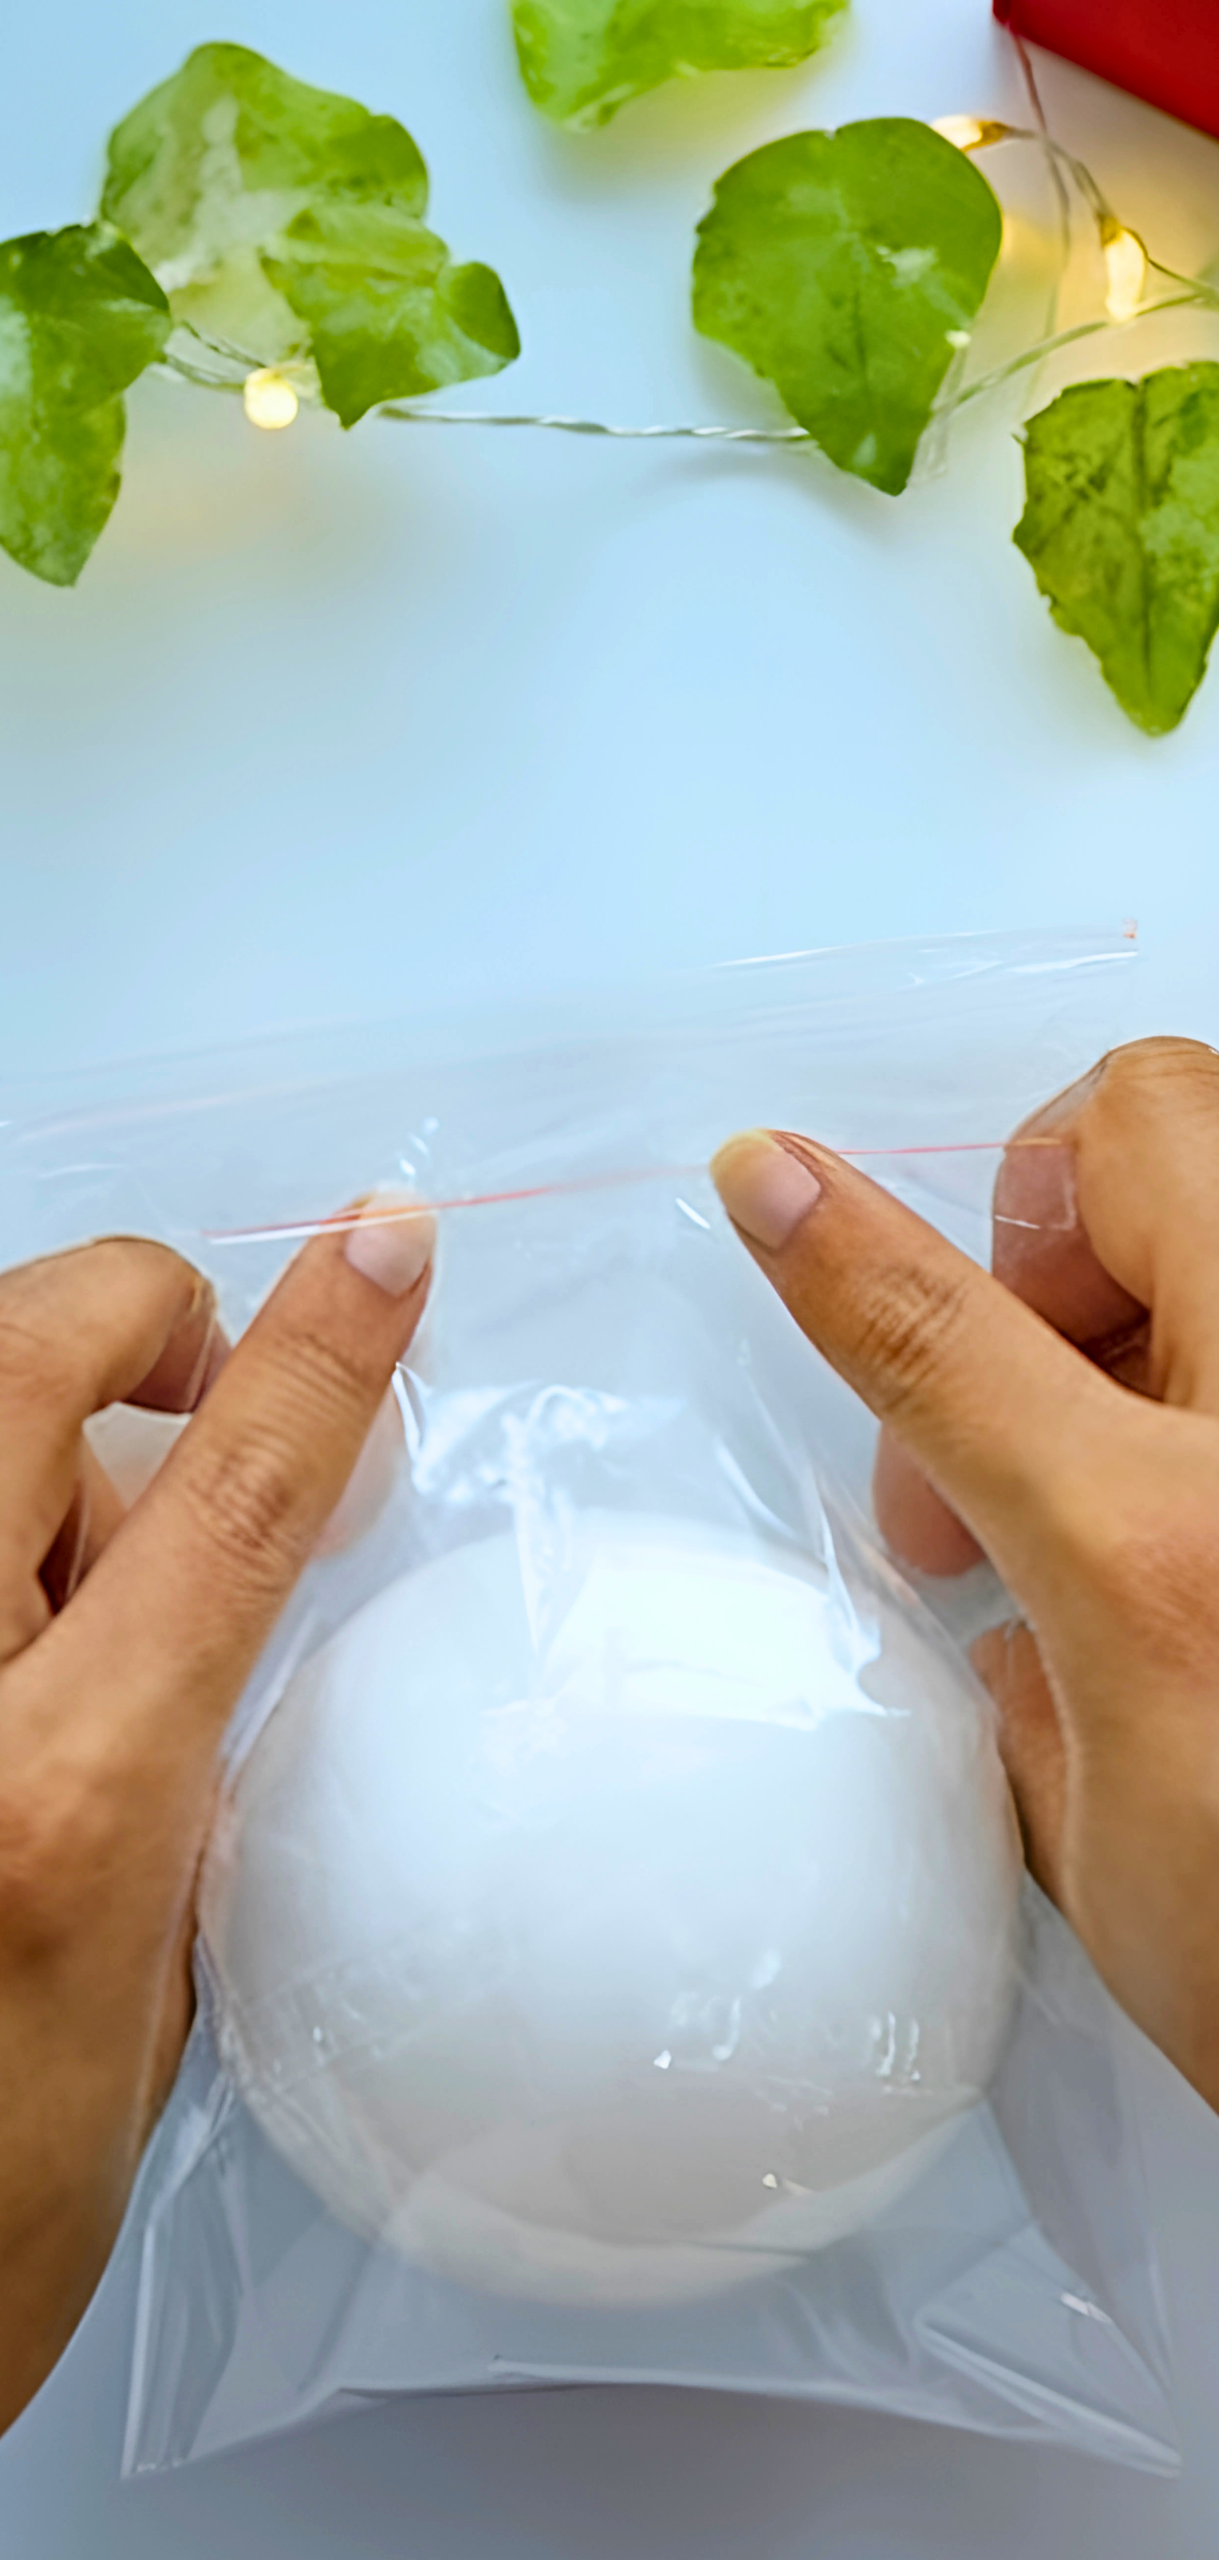
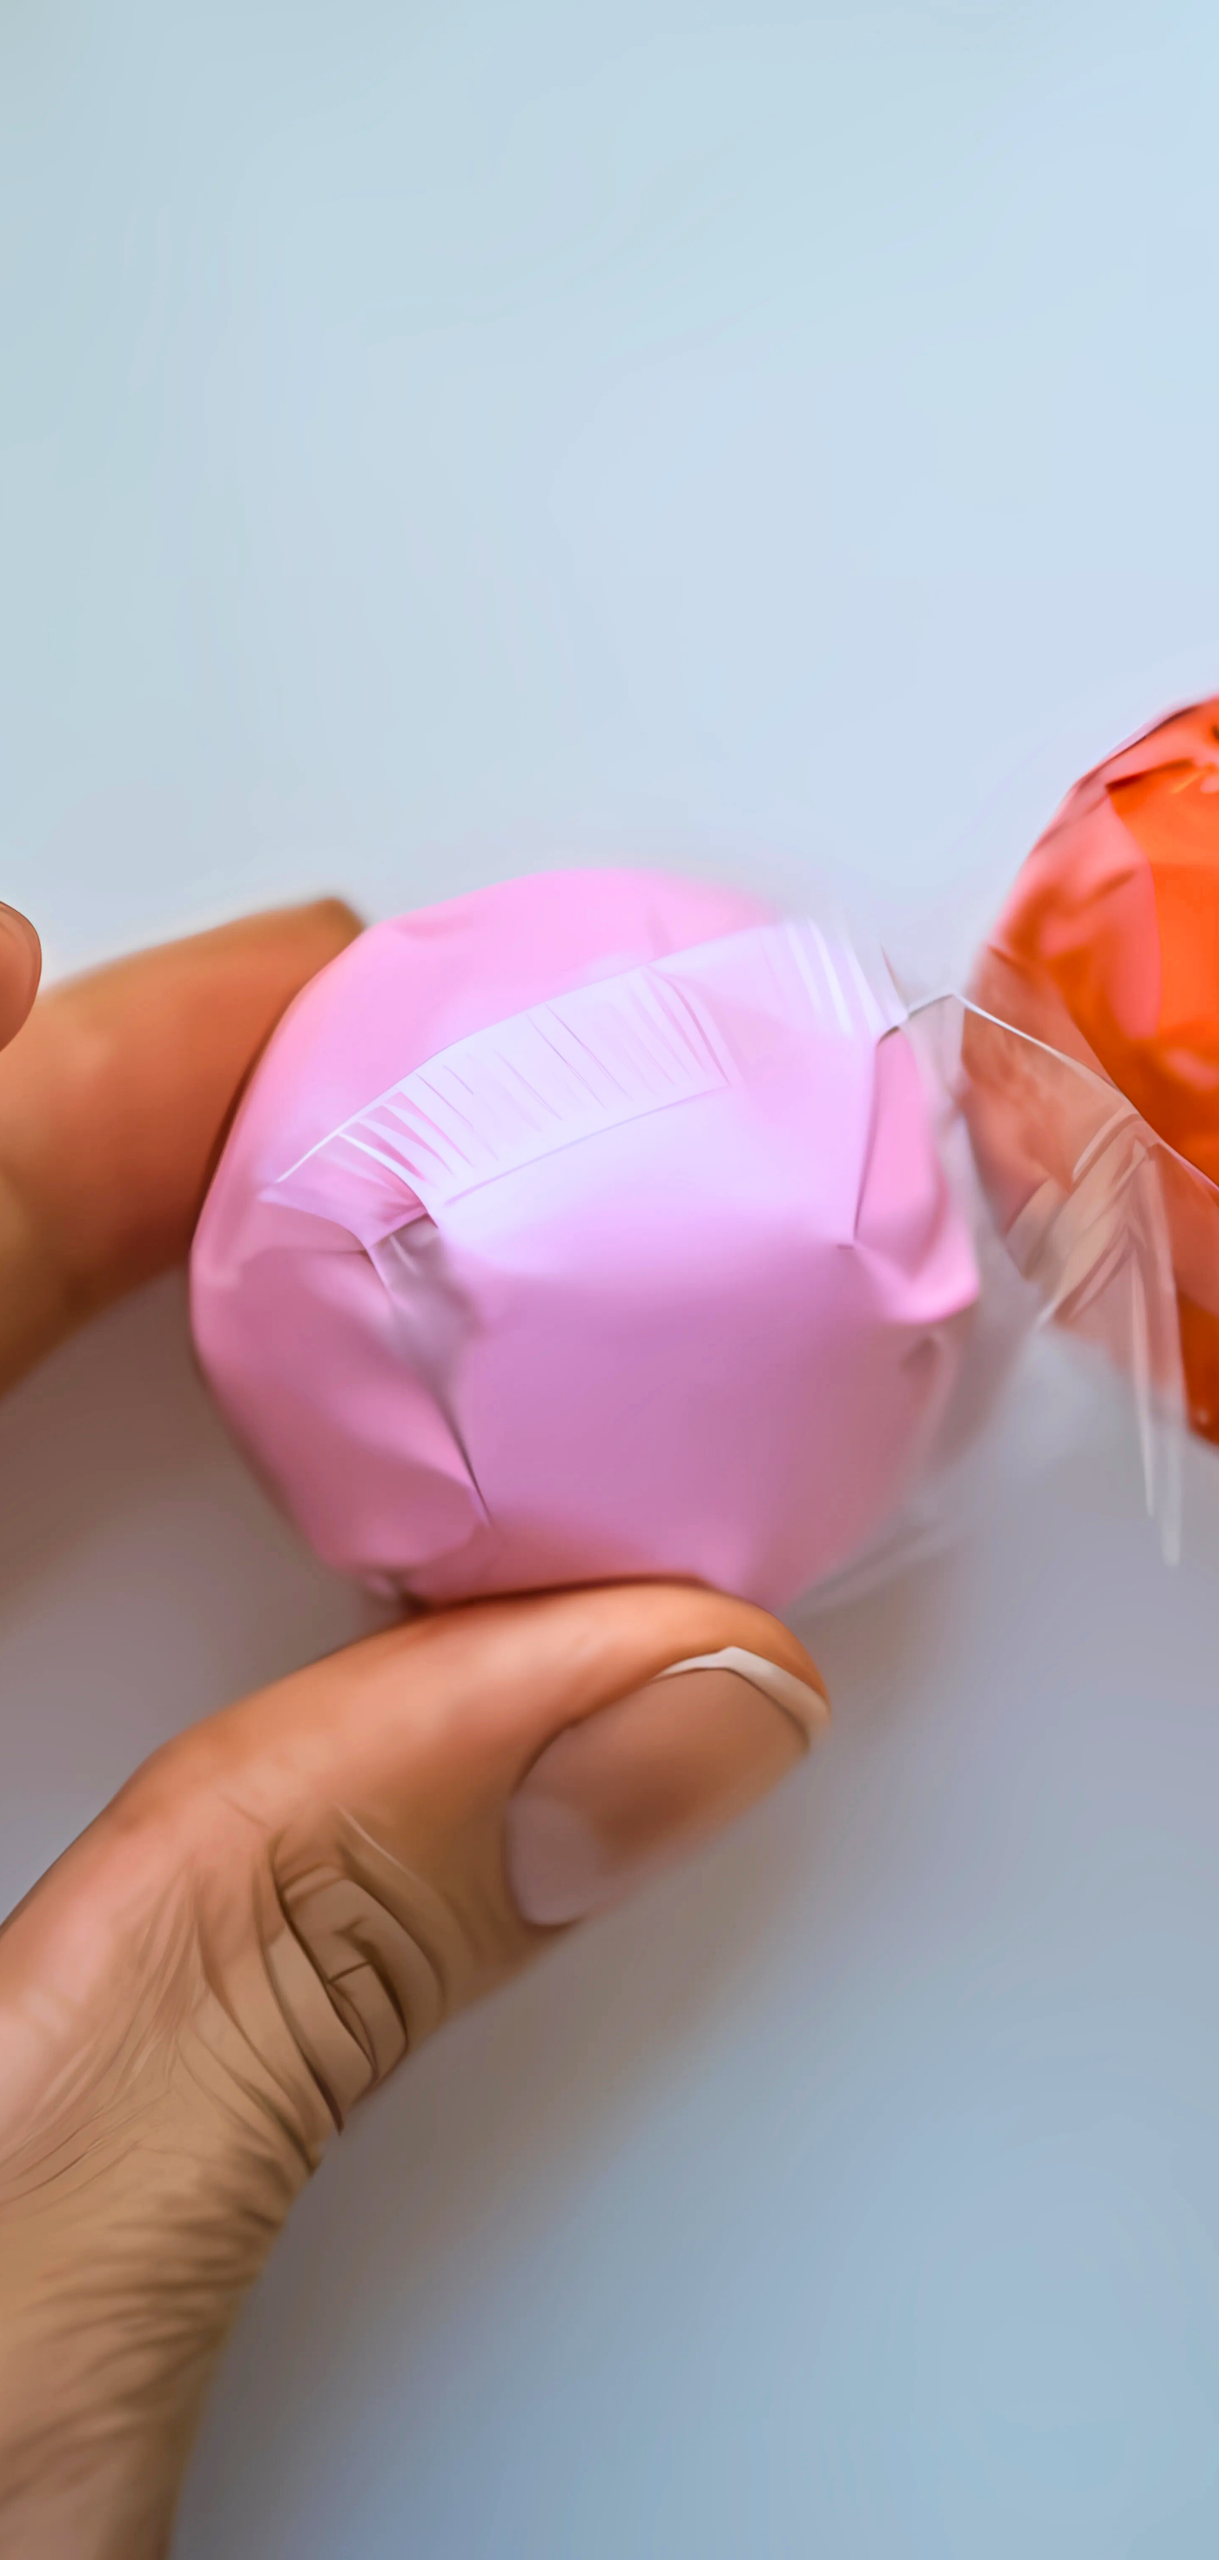
Storage Tips:
- Wrap leftover clay in a zip-top bag to protect your clay like I did.
- Keeps well for 1–2 weeks in the fridge. Let it return to room temp before using again.
FAQs
Which recipe is best for kids?
The stovetop cornstarch/baking soda formula is easy for young crafters.
Does it really hold detail?
Yes, cold porcelain clay holds fine details and becomes very strong once dry.
How to prevent cracking?
Avoid thick layers and smooth seams, let items dry slowly, and consider gluing figures after drying.
Can I bake it?
Yes, air dry clay can be gently oven-cured at low temps to speed hardening.
Will it stay fresh?
It can be fresh for up to 2 weeks if it is in sealed plastic.
Is it waterproof?
Not fully.
Conclusion
Now you know how to make your own air dry clay using baking soda and cornstarch. It’s cheap and a great base for many craft projects, from ornaments to keepsakes.