Join the fastest growing Craft community on Pinterest!
After spending a cozy afternoon helping my sister craft a gorgeous fall burlap wreath for her front door, I looked at my own mantel and felt a little pang of envy. It looked bare, empty of the handmade charm that fall decor is supposed to bring.
I didn’t want to spend a fortune on store-bought pieces, and I also didn’t have the space to store bulky pumpkins once the season passed. That’s when I came across a nice idea that solved it all: yarn pumpkins made with balloons and a few simple craft materials.
To make these magical little pumpkins, I gathered everything I needed: balloons (12-inch), orange yarn, white craft glue, pipe cleaners, wax paper, and a plastic fork to help with glue control.
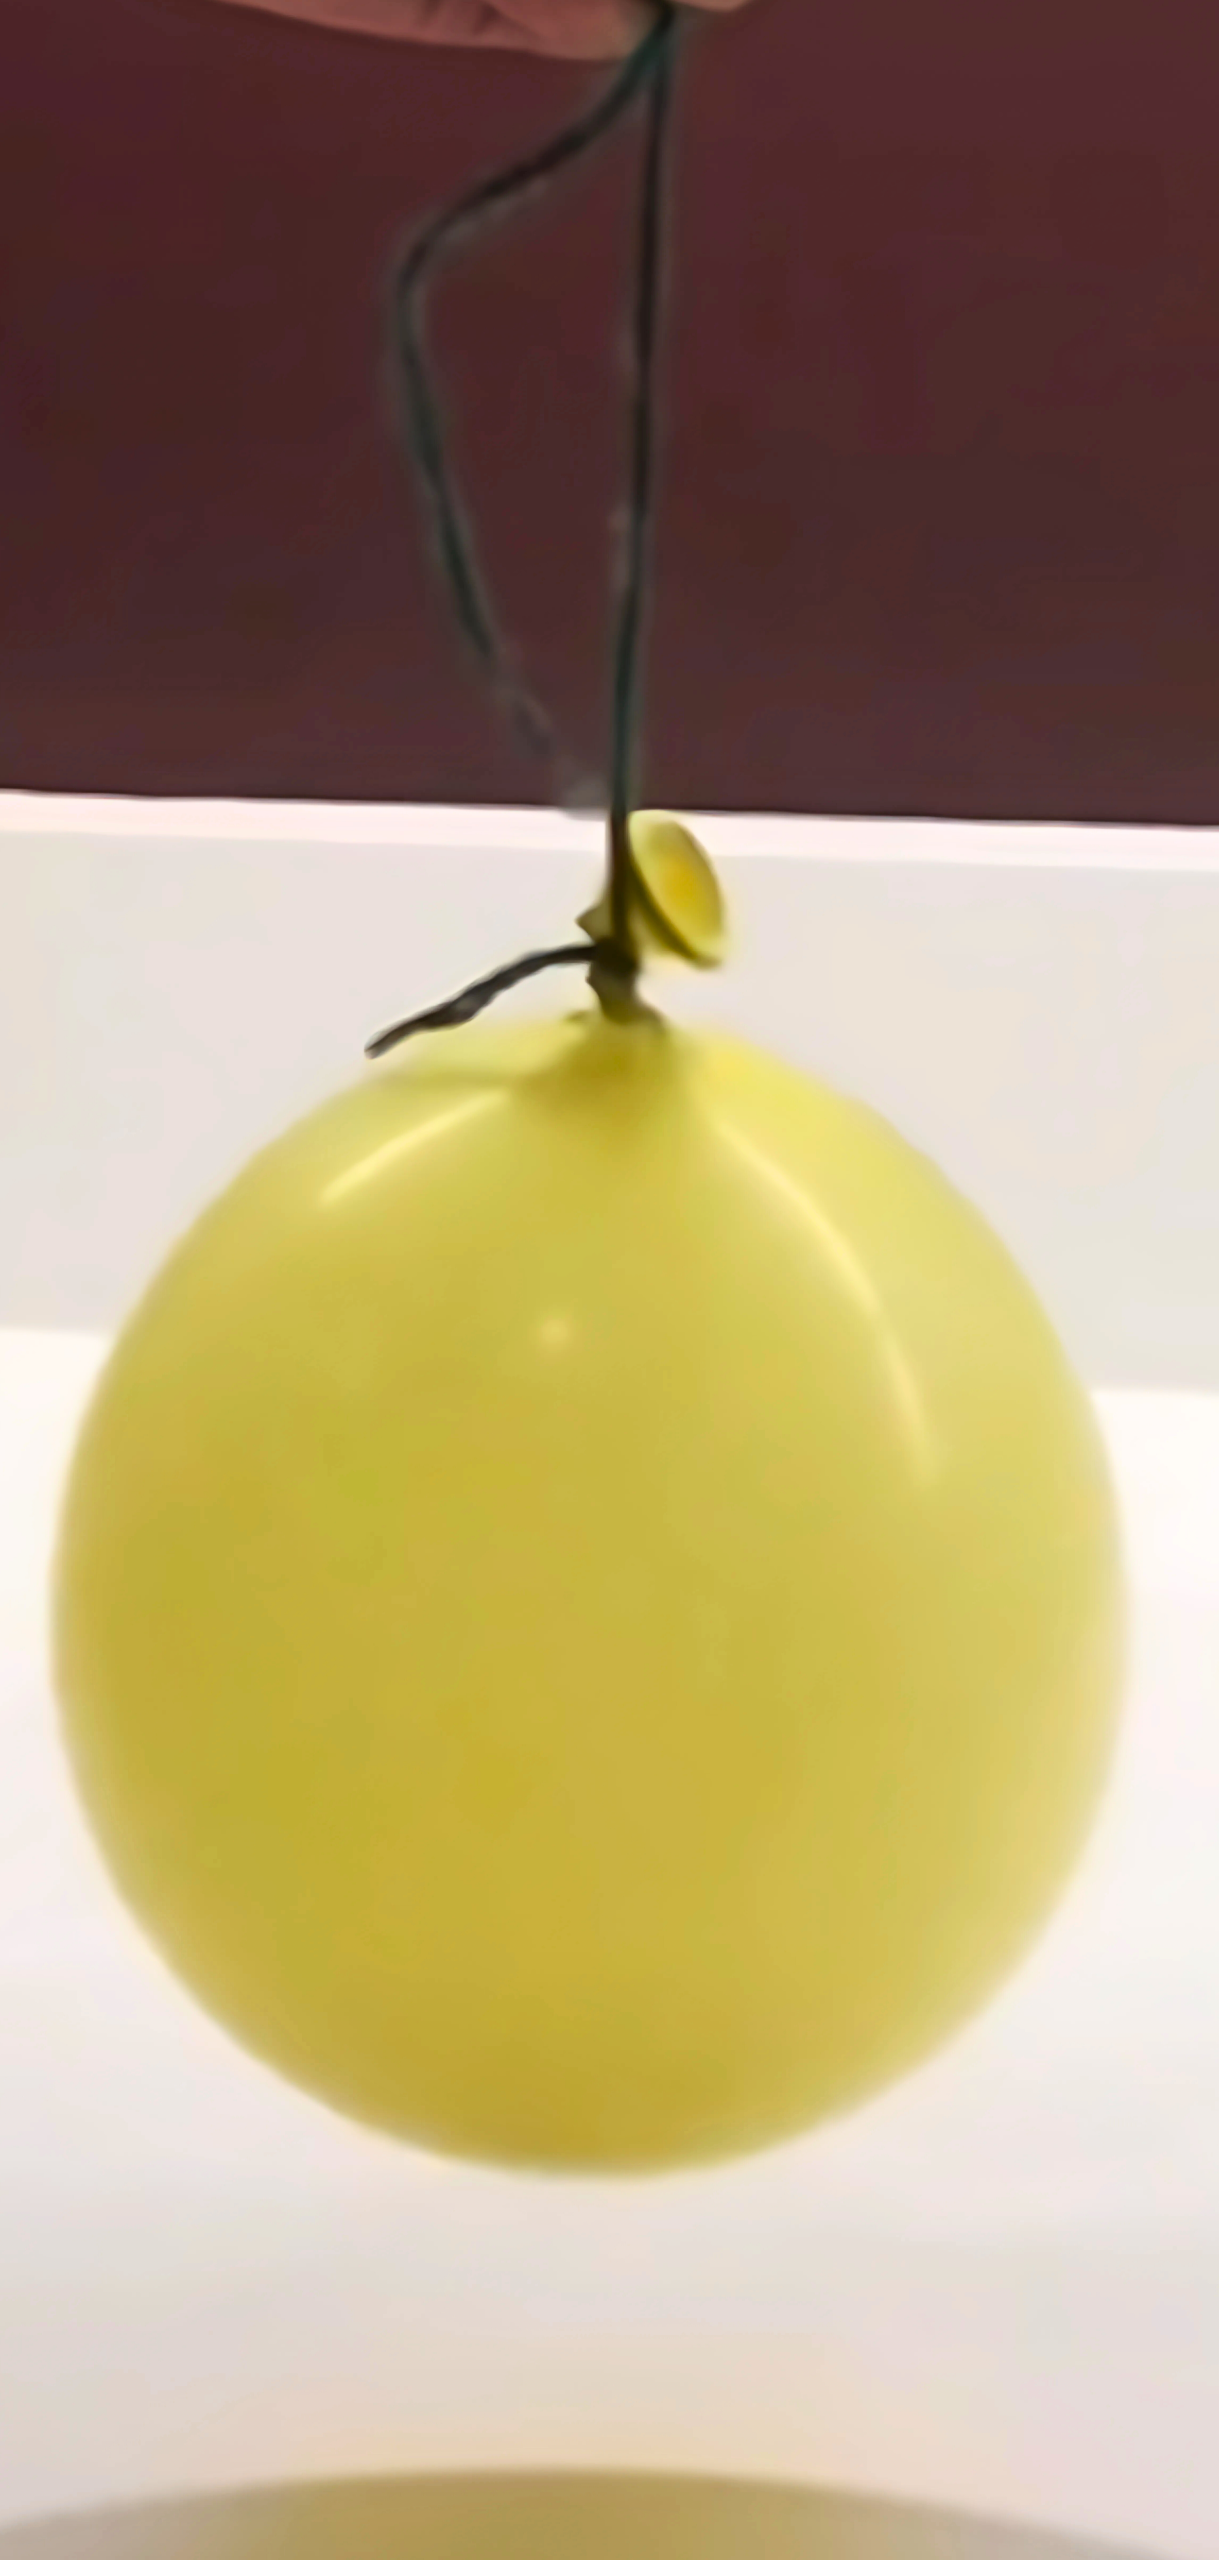
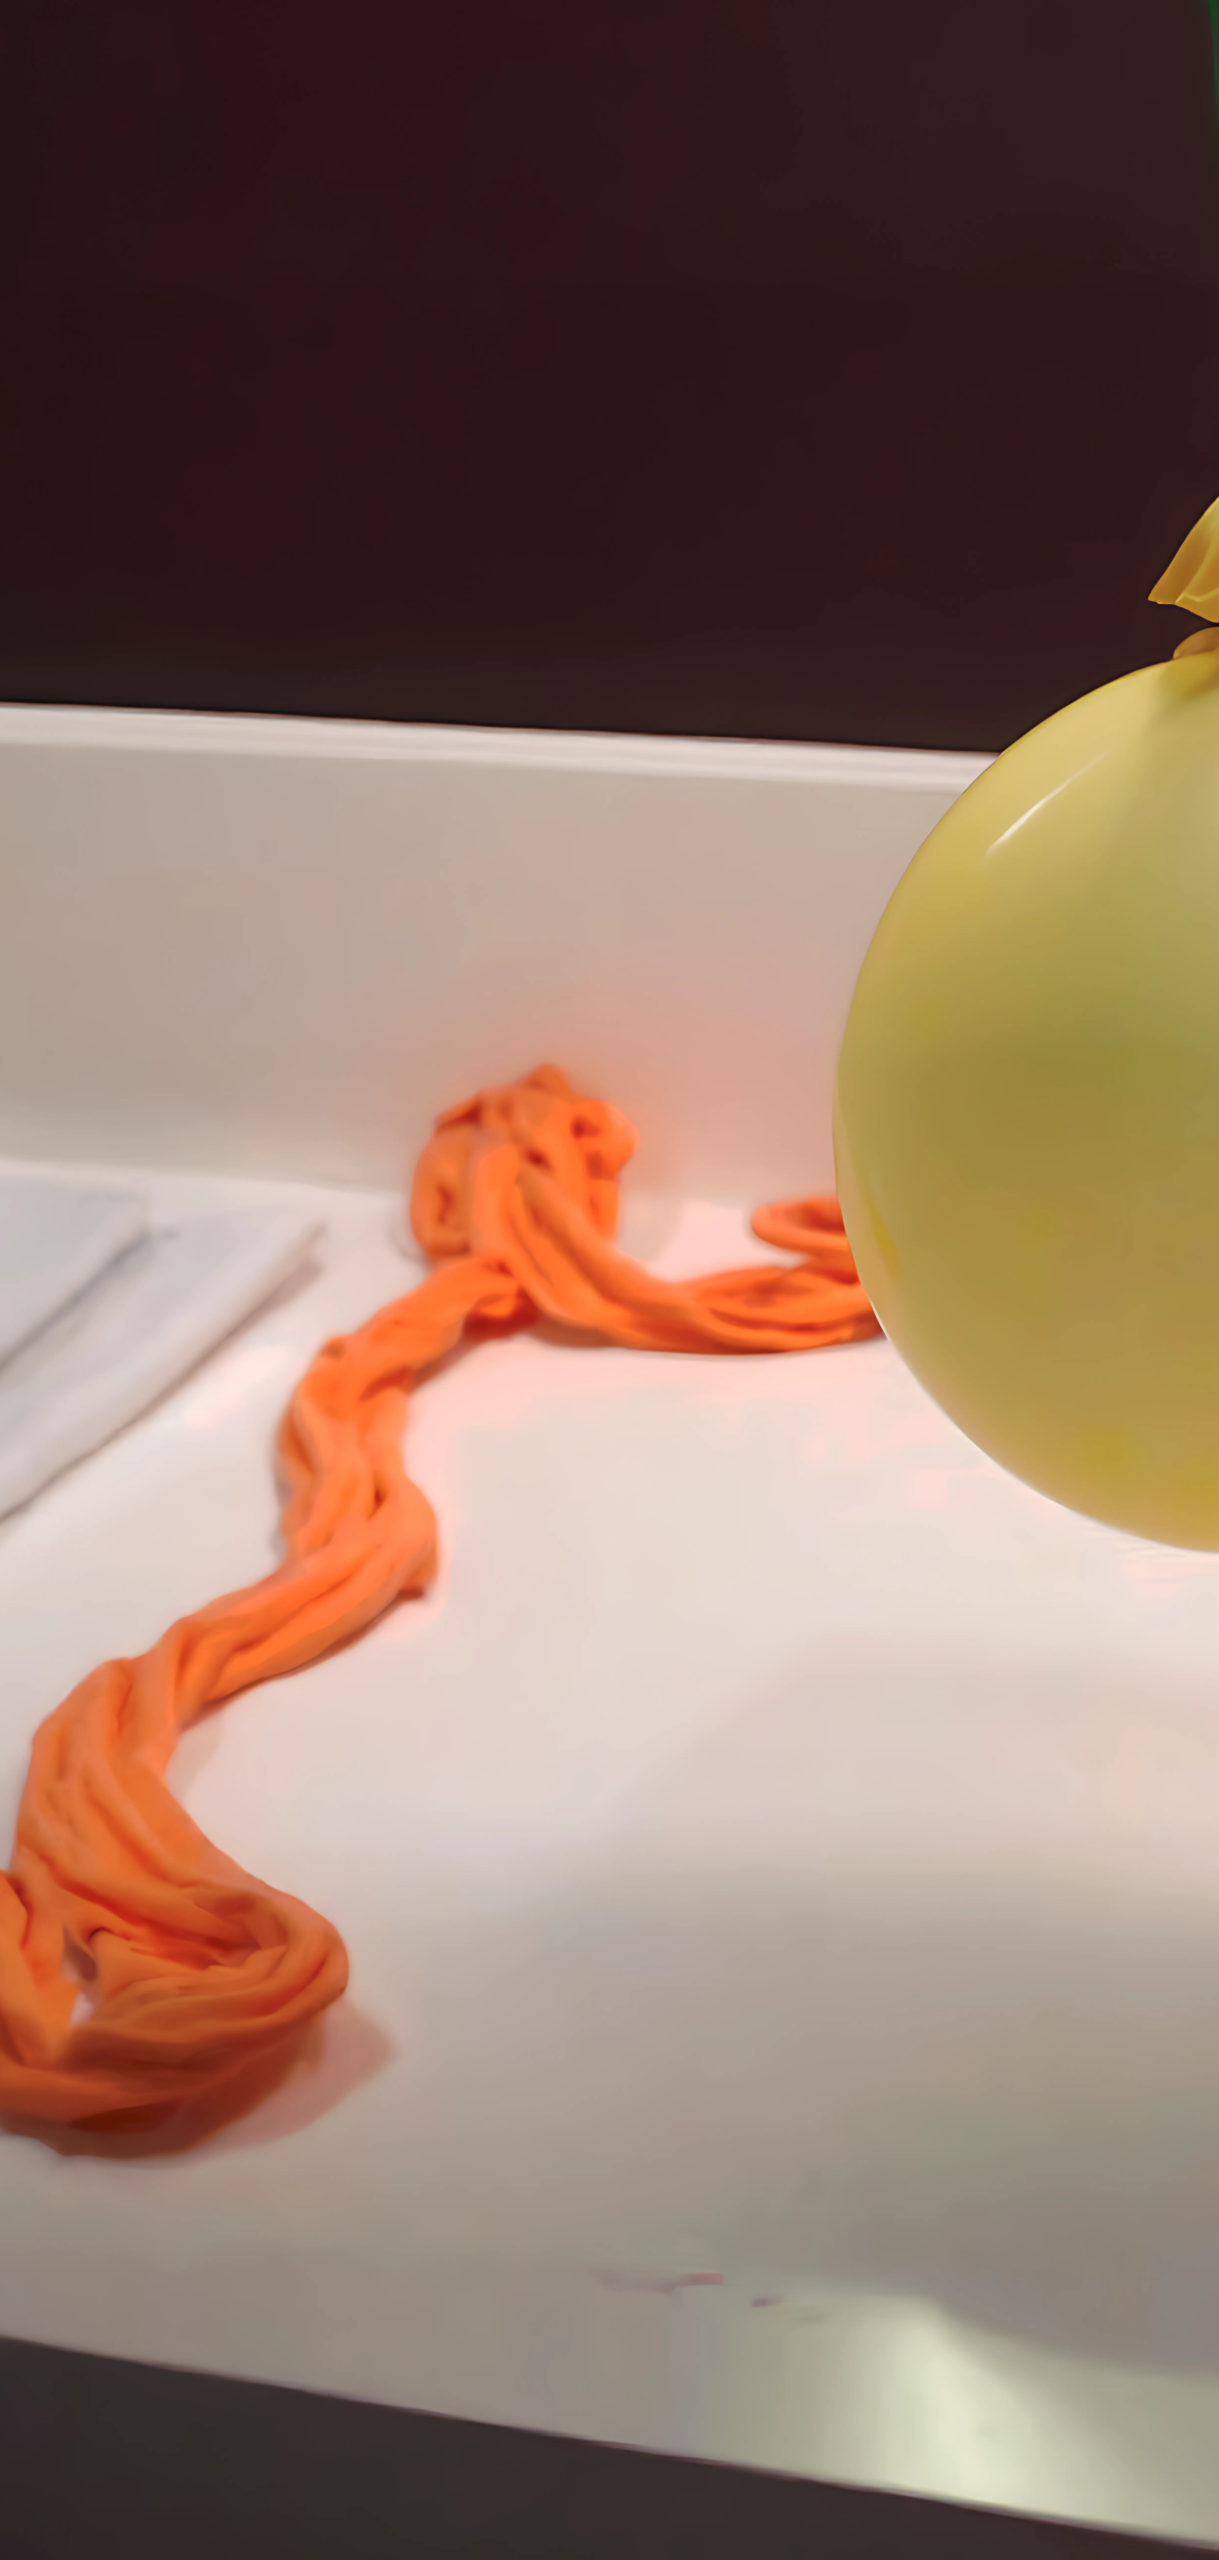
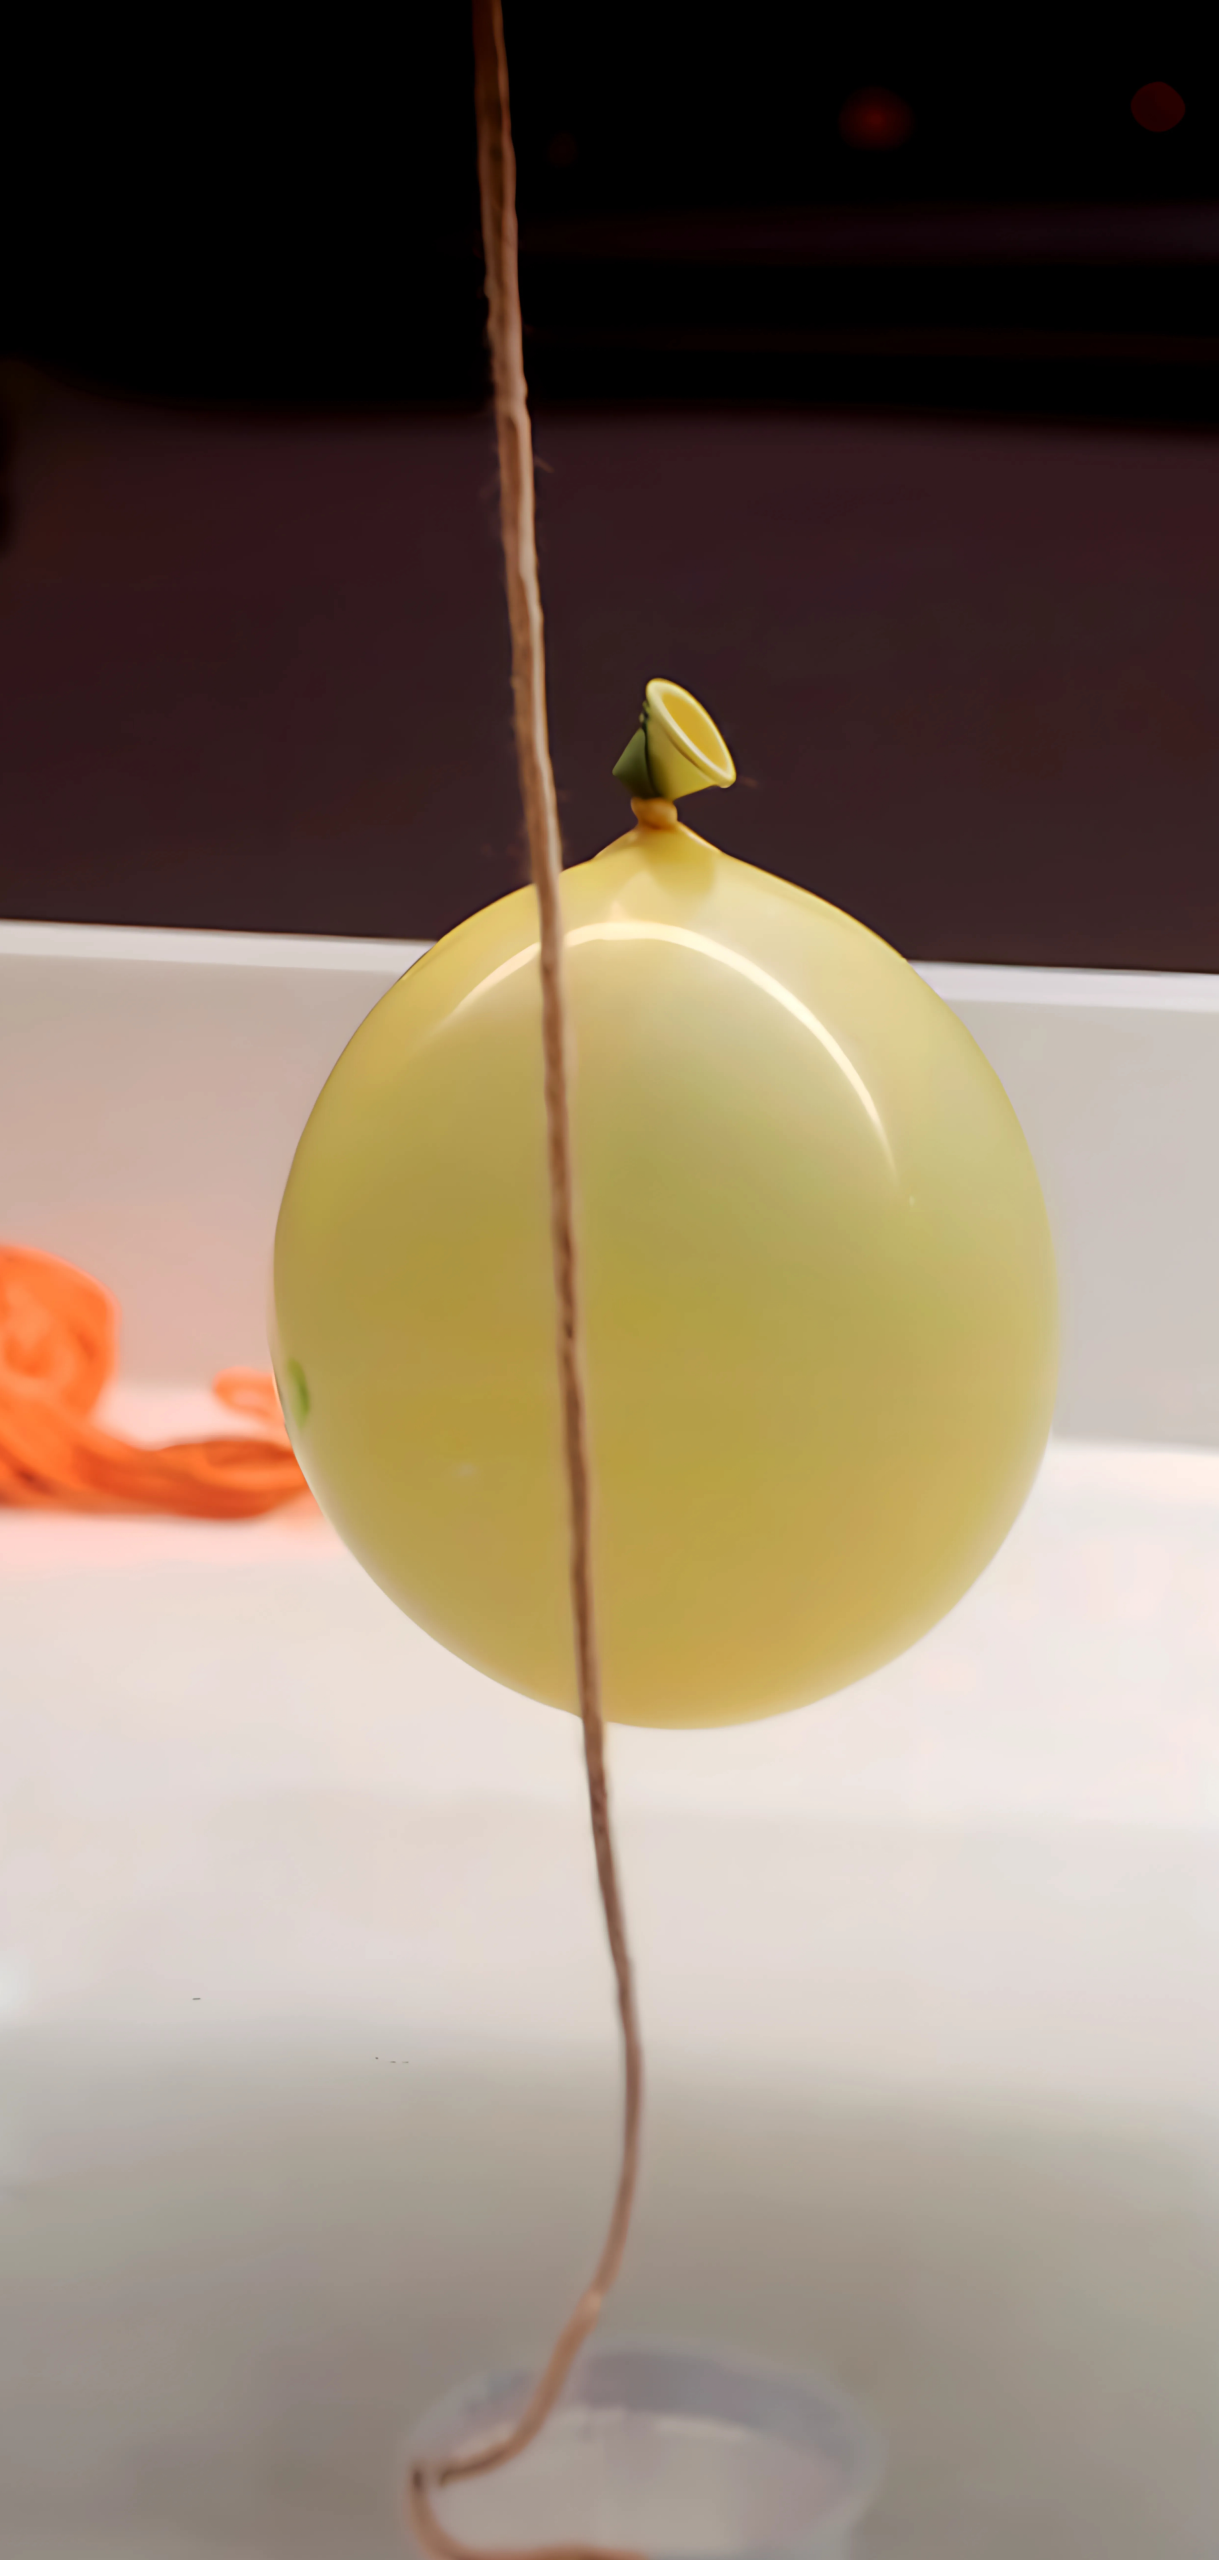
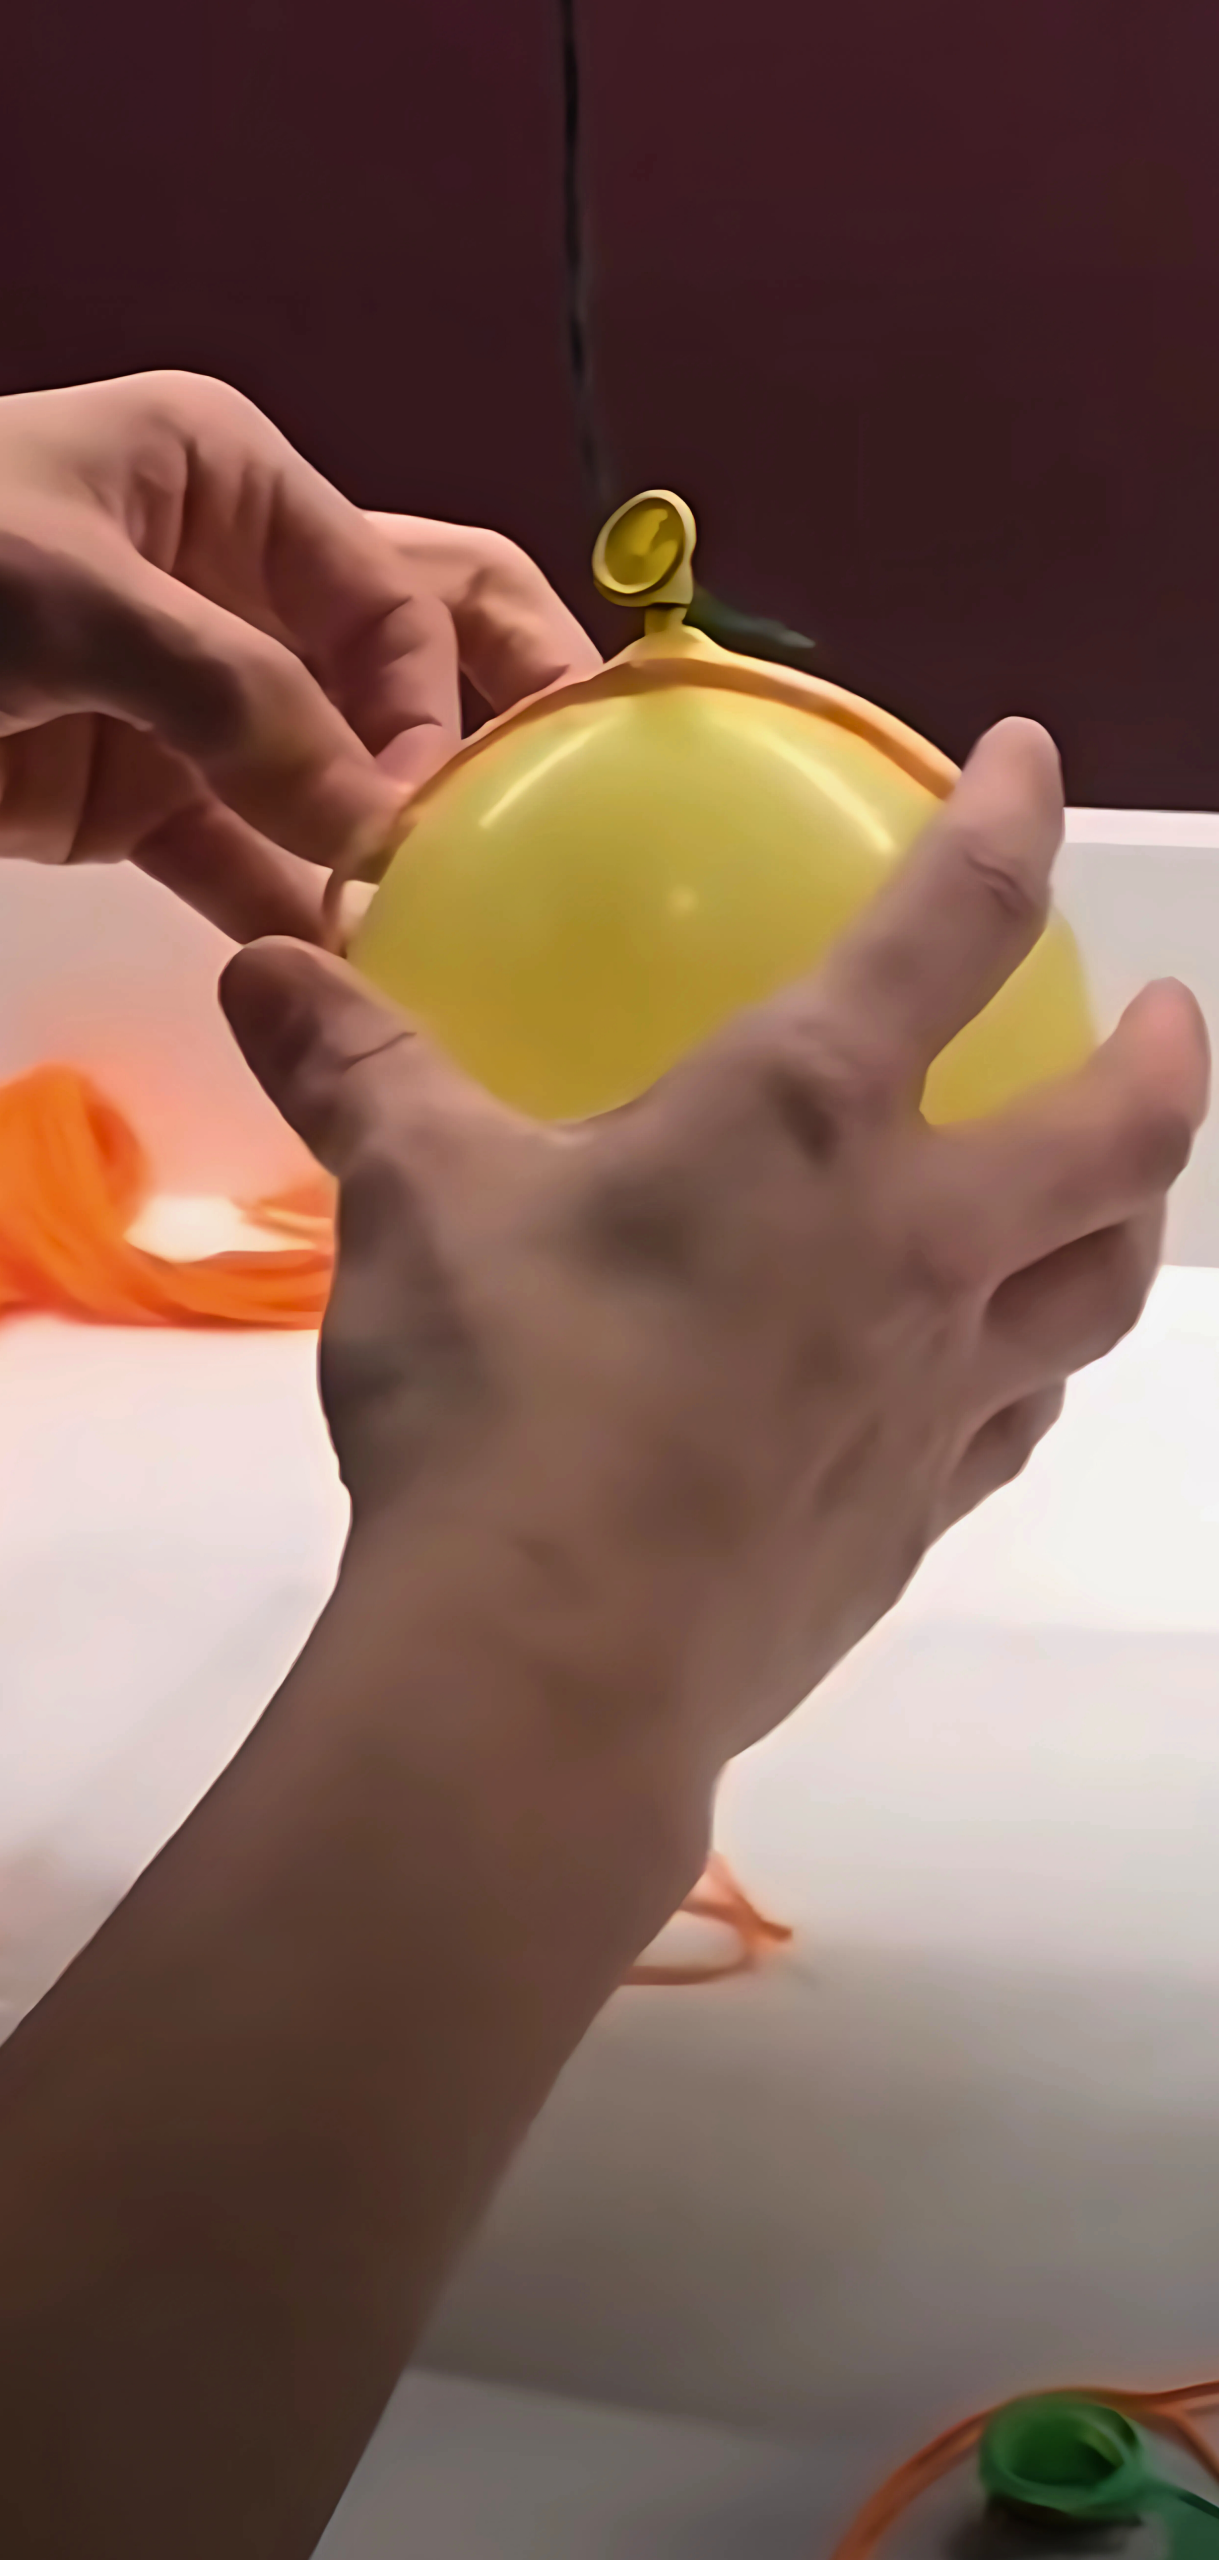
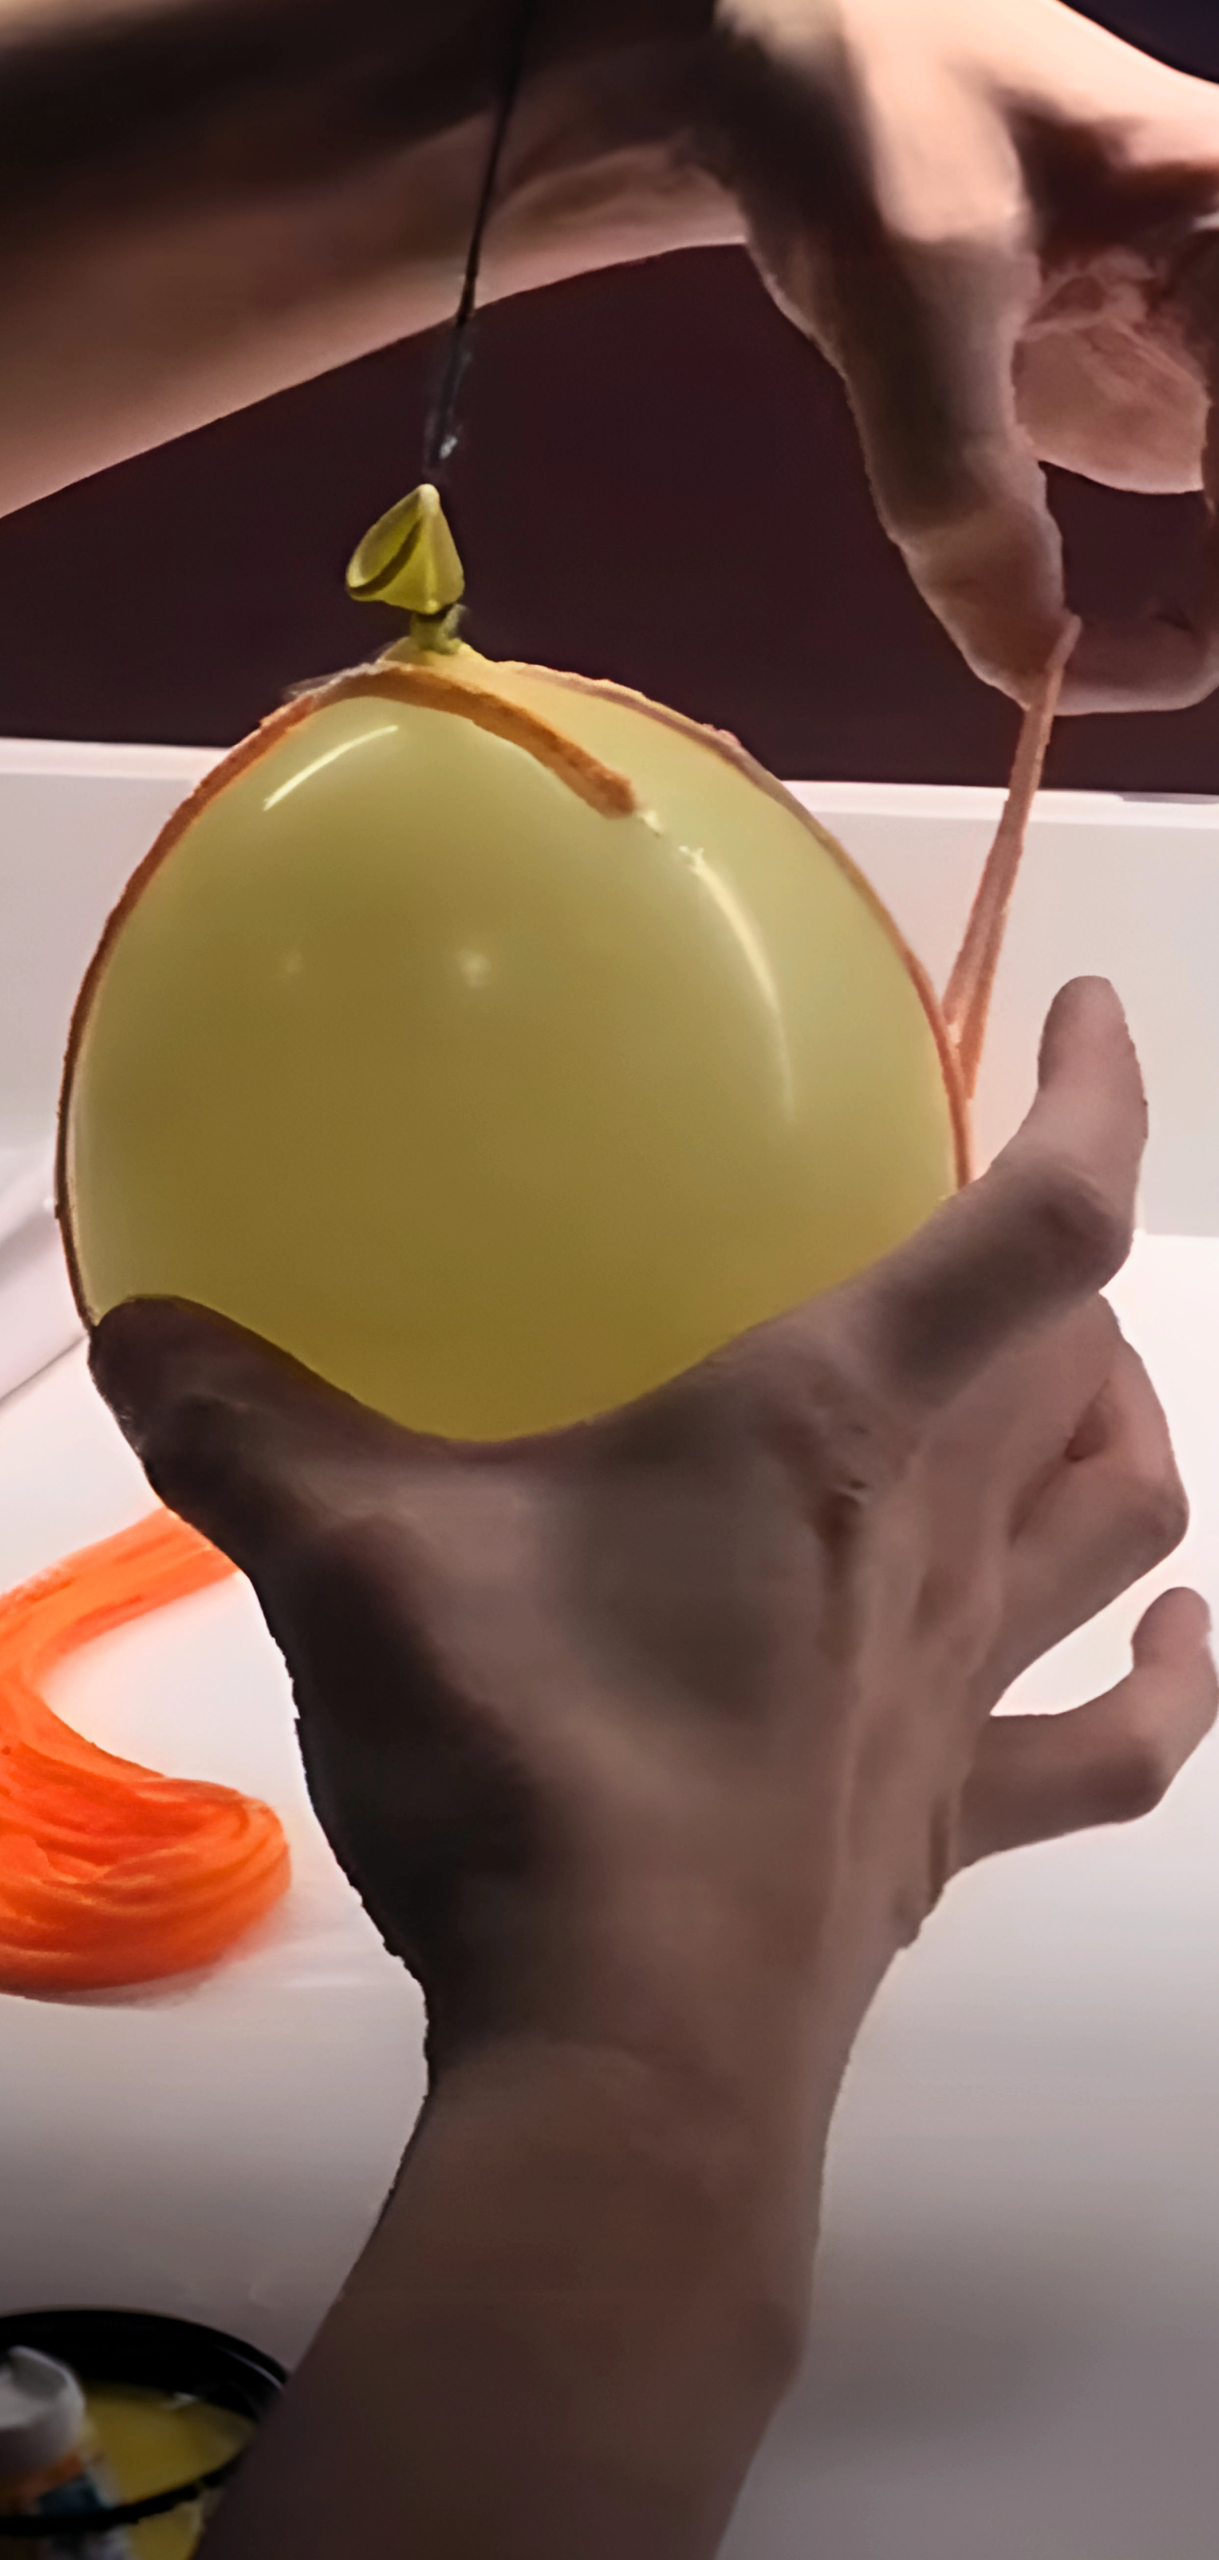
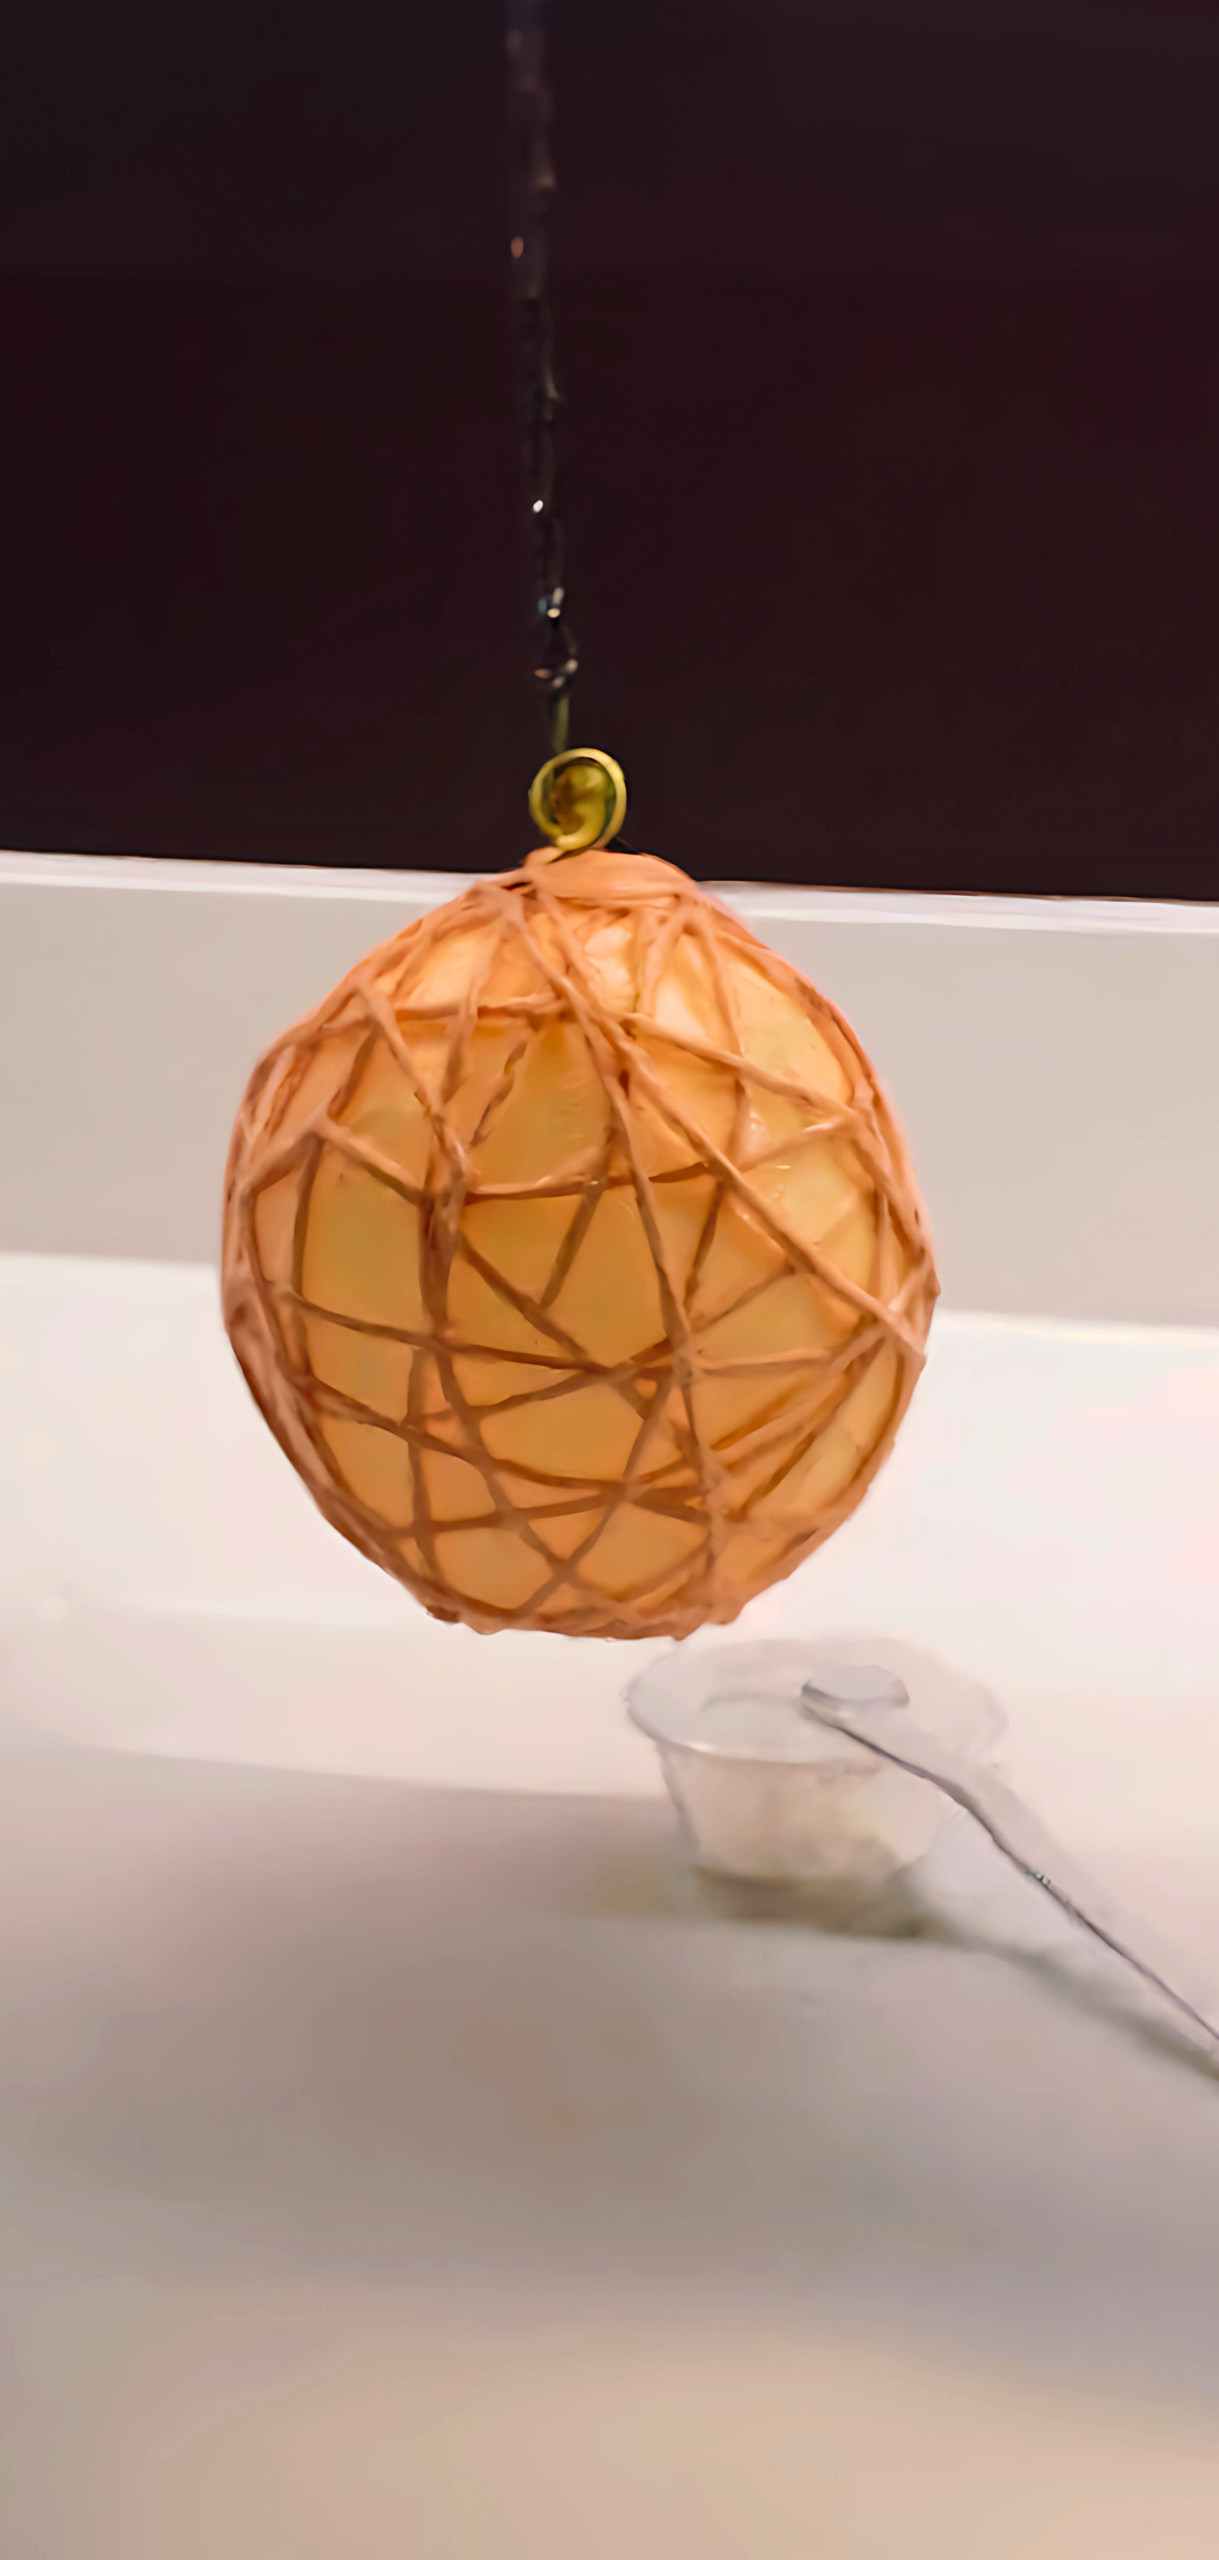
I started by inflating the balloon just past palm-size and tied a piece of green yarn to its knot. I taped that yarn to a cabinet handle so the balloon could hang freely over a sheet of wax paper.
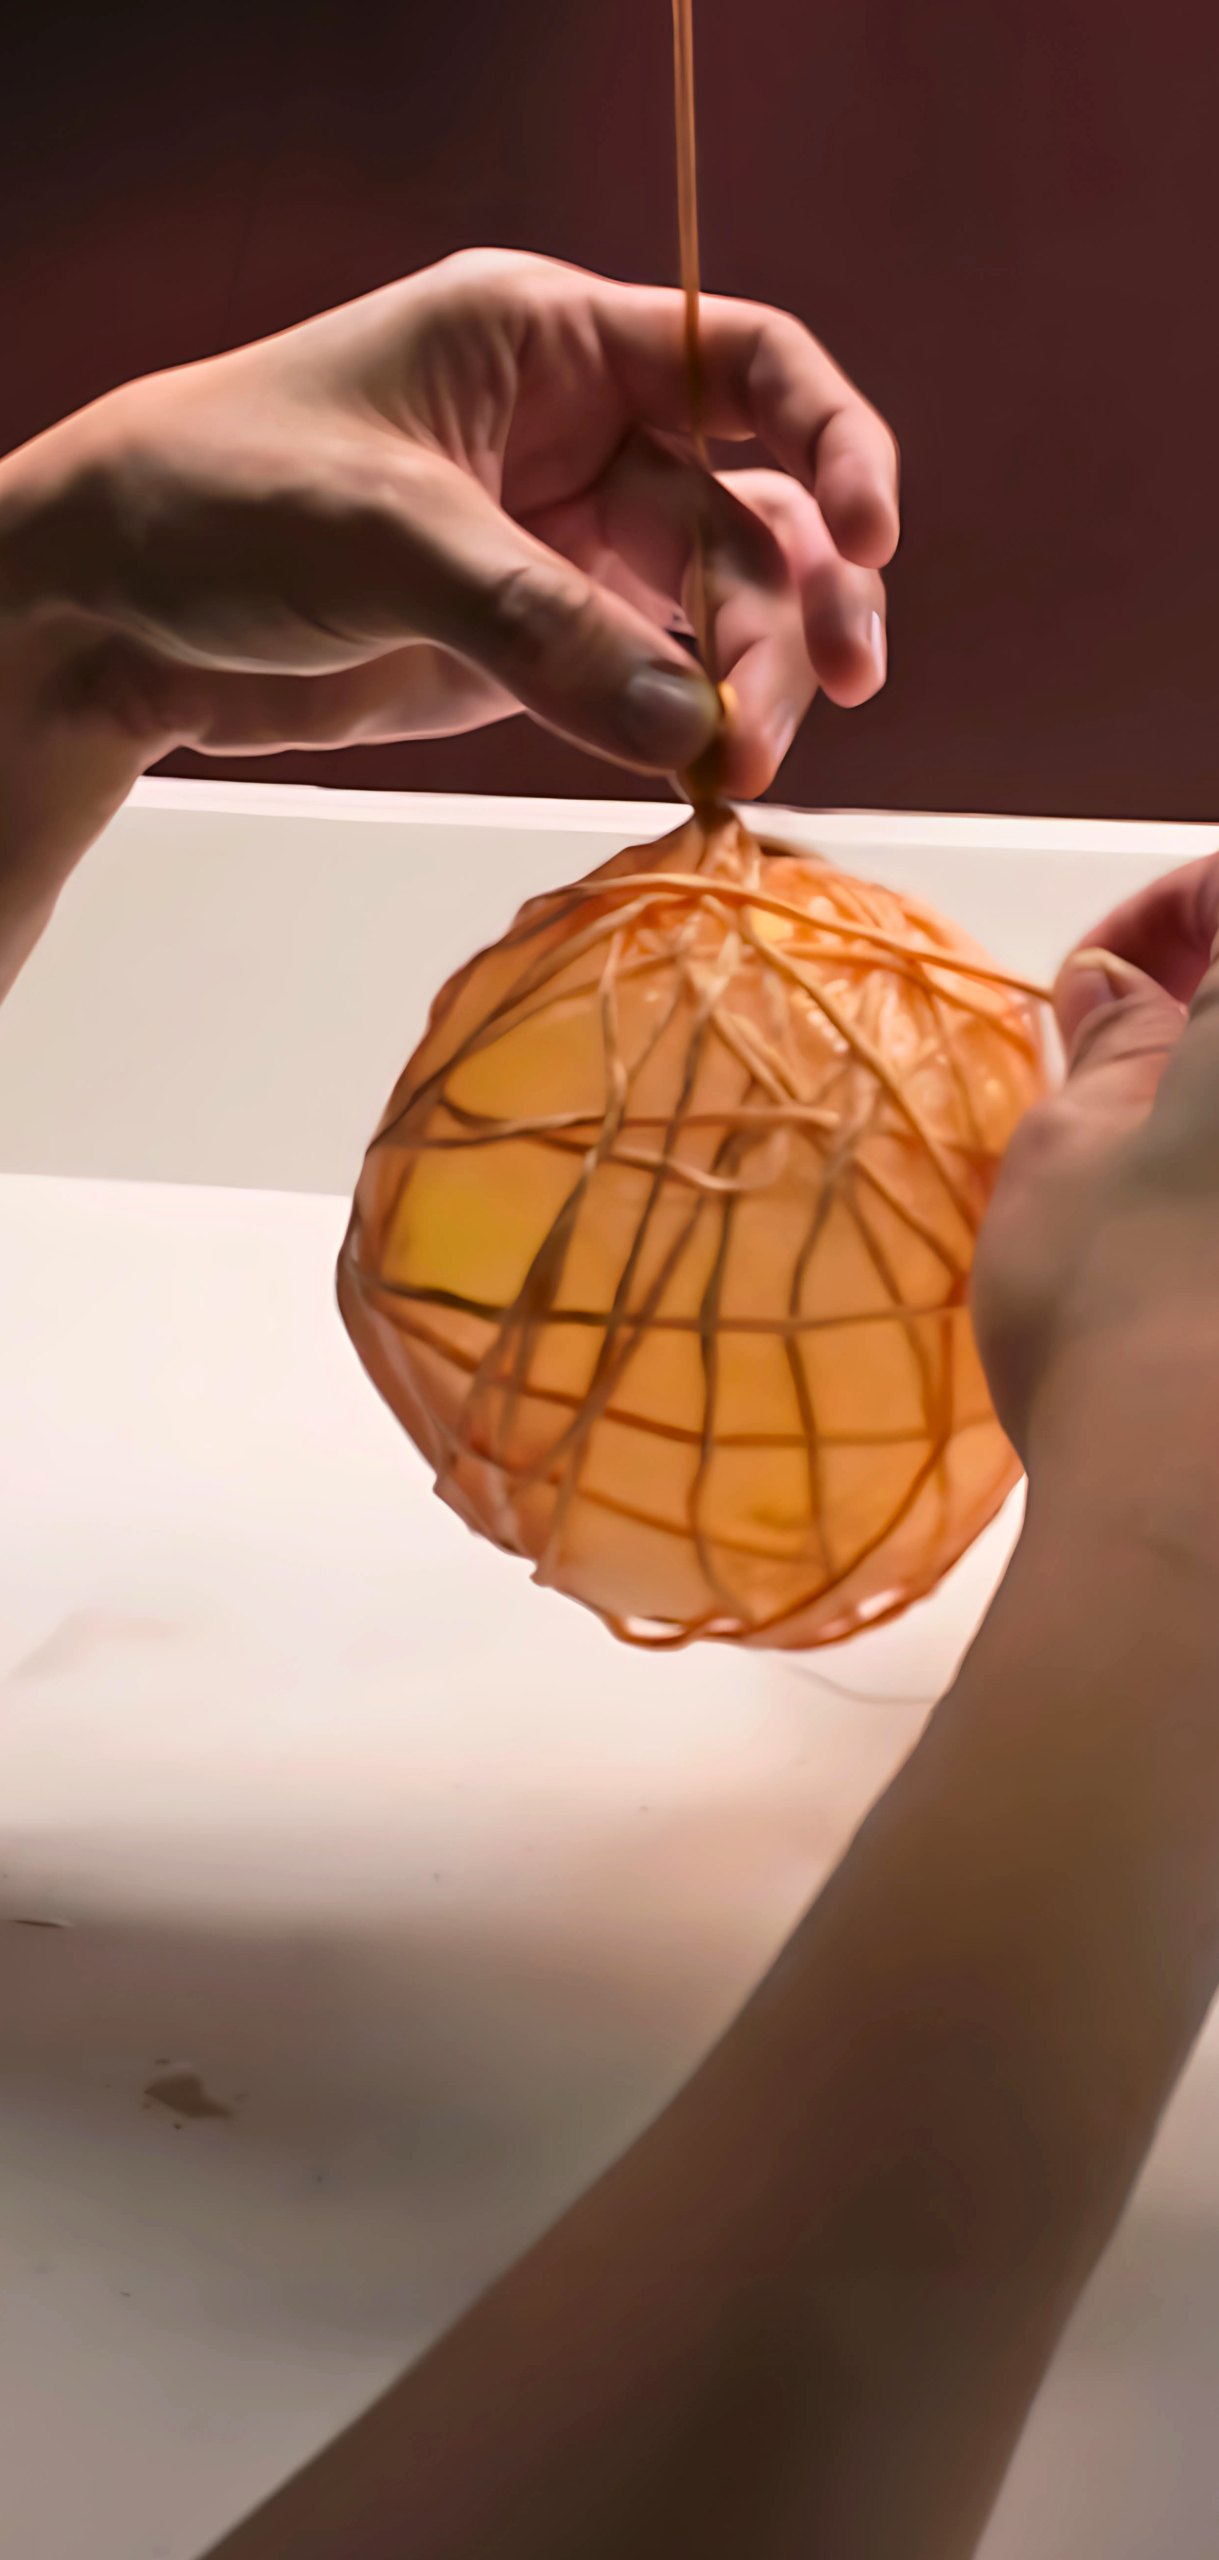
One by one, I soaked the orange yarn strands in glue, used the fork to scrape off the excess, and wrapped them around the balloon in zigzag patterns until it was mostly covered.
After 24 hours of drying, I carefully separated the balloon from the hardened yarn, popped it, and gently removed it from inside the pumpkin shell.
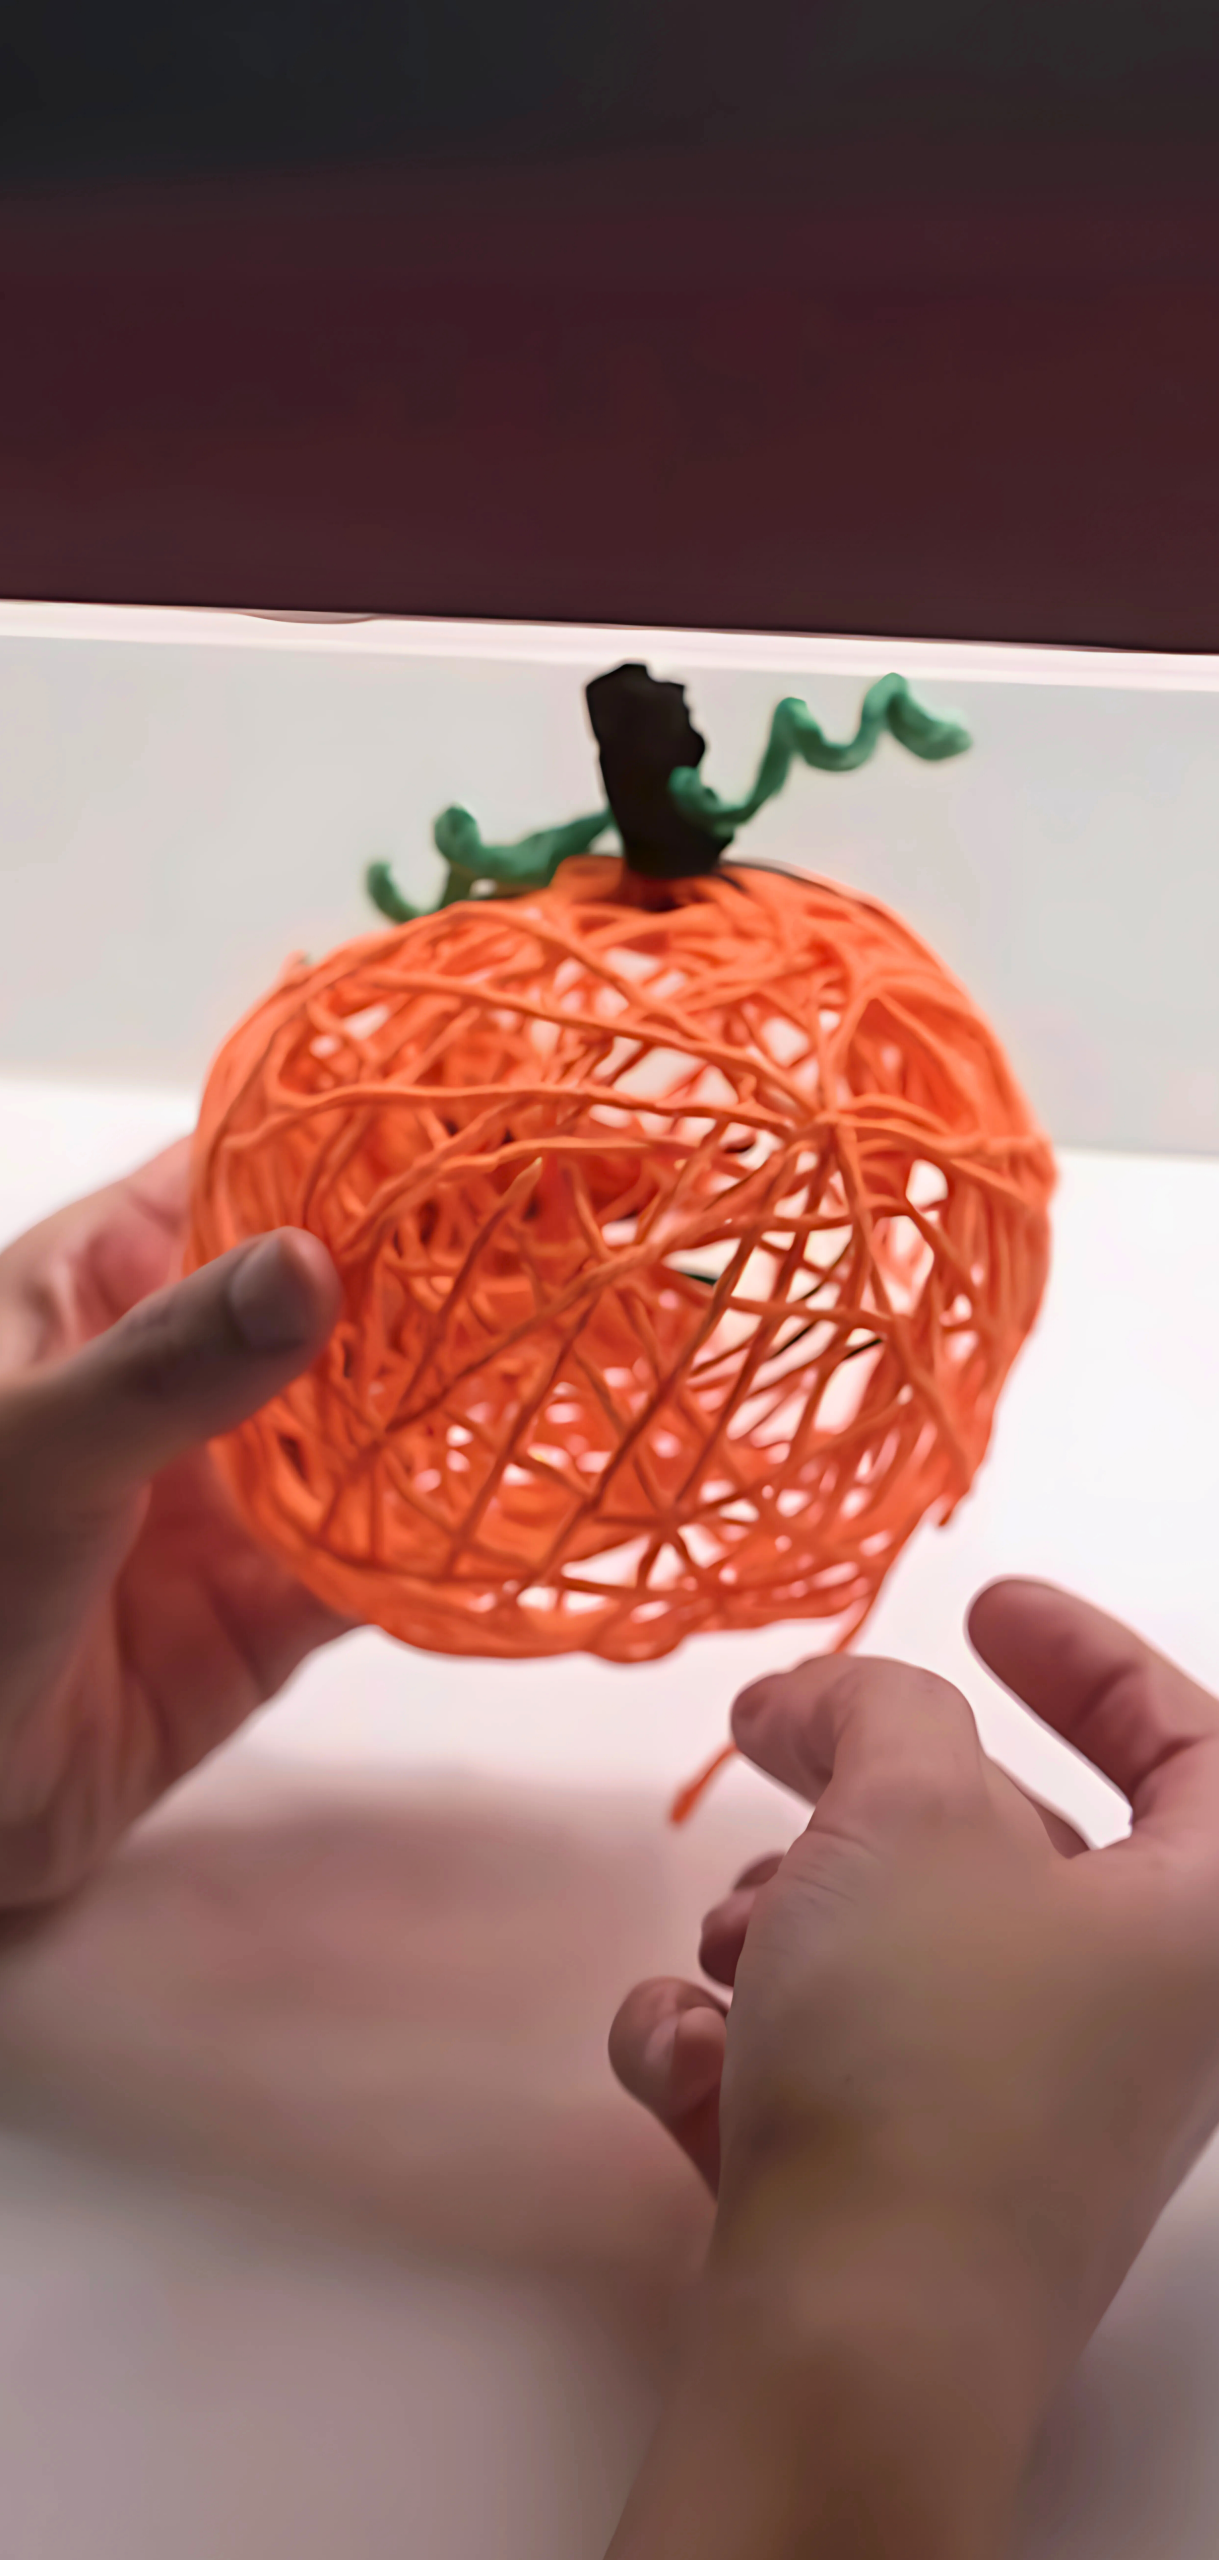
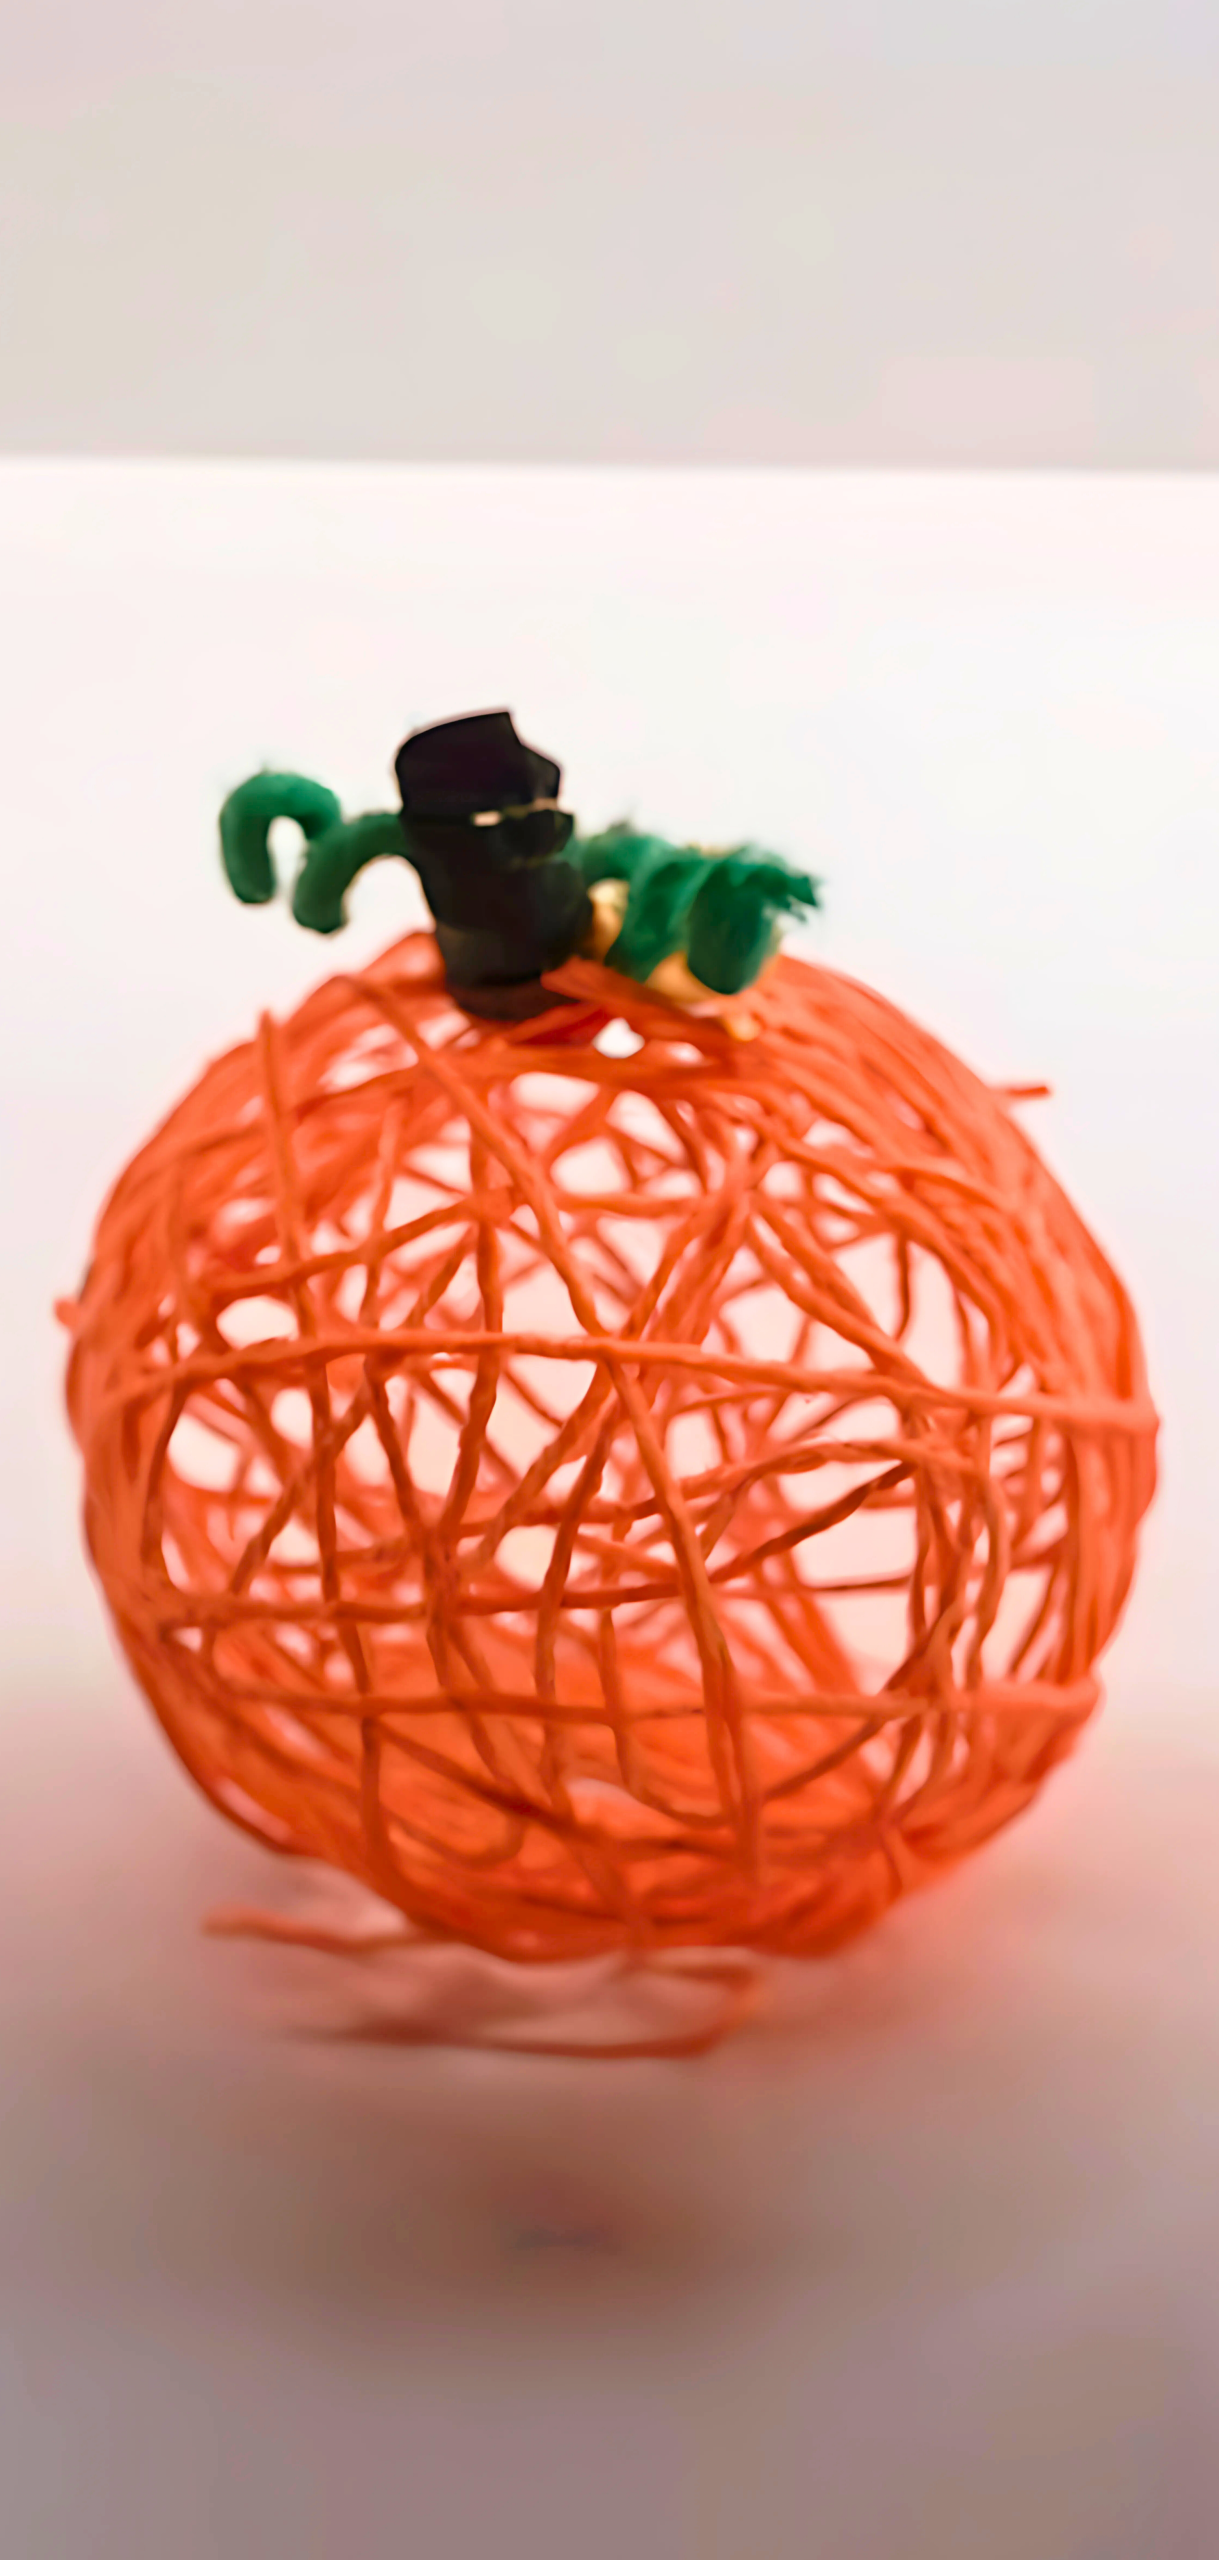
To finish, I twisted a green pipe cleaner into a curling vine, securing it at the top of my new yarn pumpkin. I trimmed any stray yarn bits, fluffed the shape a little, and proudly placed my first one on the mantel next to a few candles.
It looked so handmade, like it belonged there all along. In less than a day, I turned a bland space into a fall focal point. These yarn pumpkins not only gave my mantel personality, but they also gave me that satisfying feeling of creating something beautiful with my own hands.
What you will need
Gather everything you’ll need before you begin:
- Balloons (12-inch size recommended, any color)
- Orange yarn (cotton or acrylic)
- White craft glue (Aleene’s Tacky Glue or Elmer’s, possibly mixed with water)
- Plastic fork (optional, for removing excess glue)
- Pipe cleaners (brown and green) for stems and tendrils
- Wax paper or plastic sheet to protect your surface
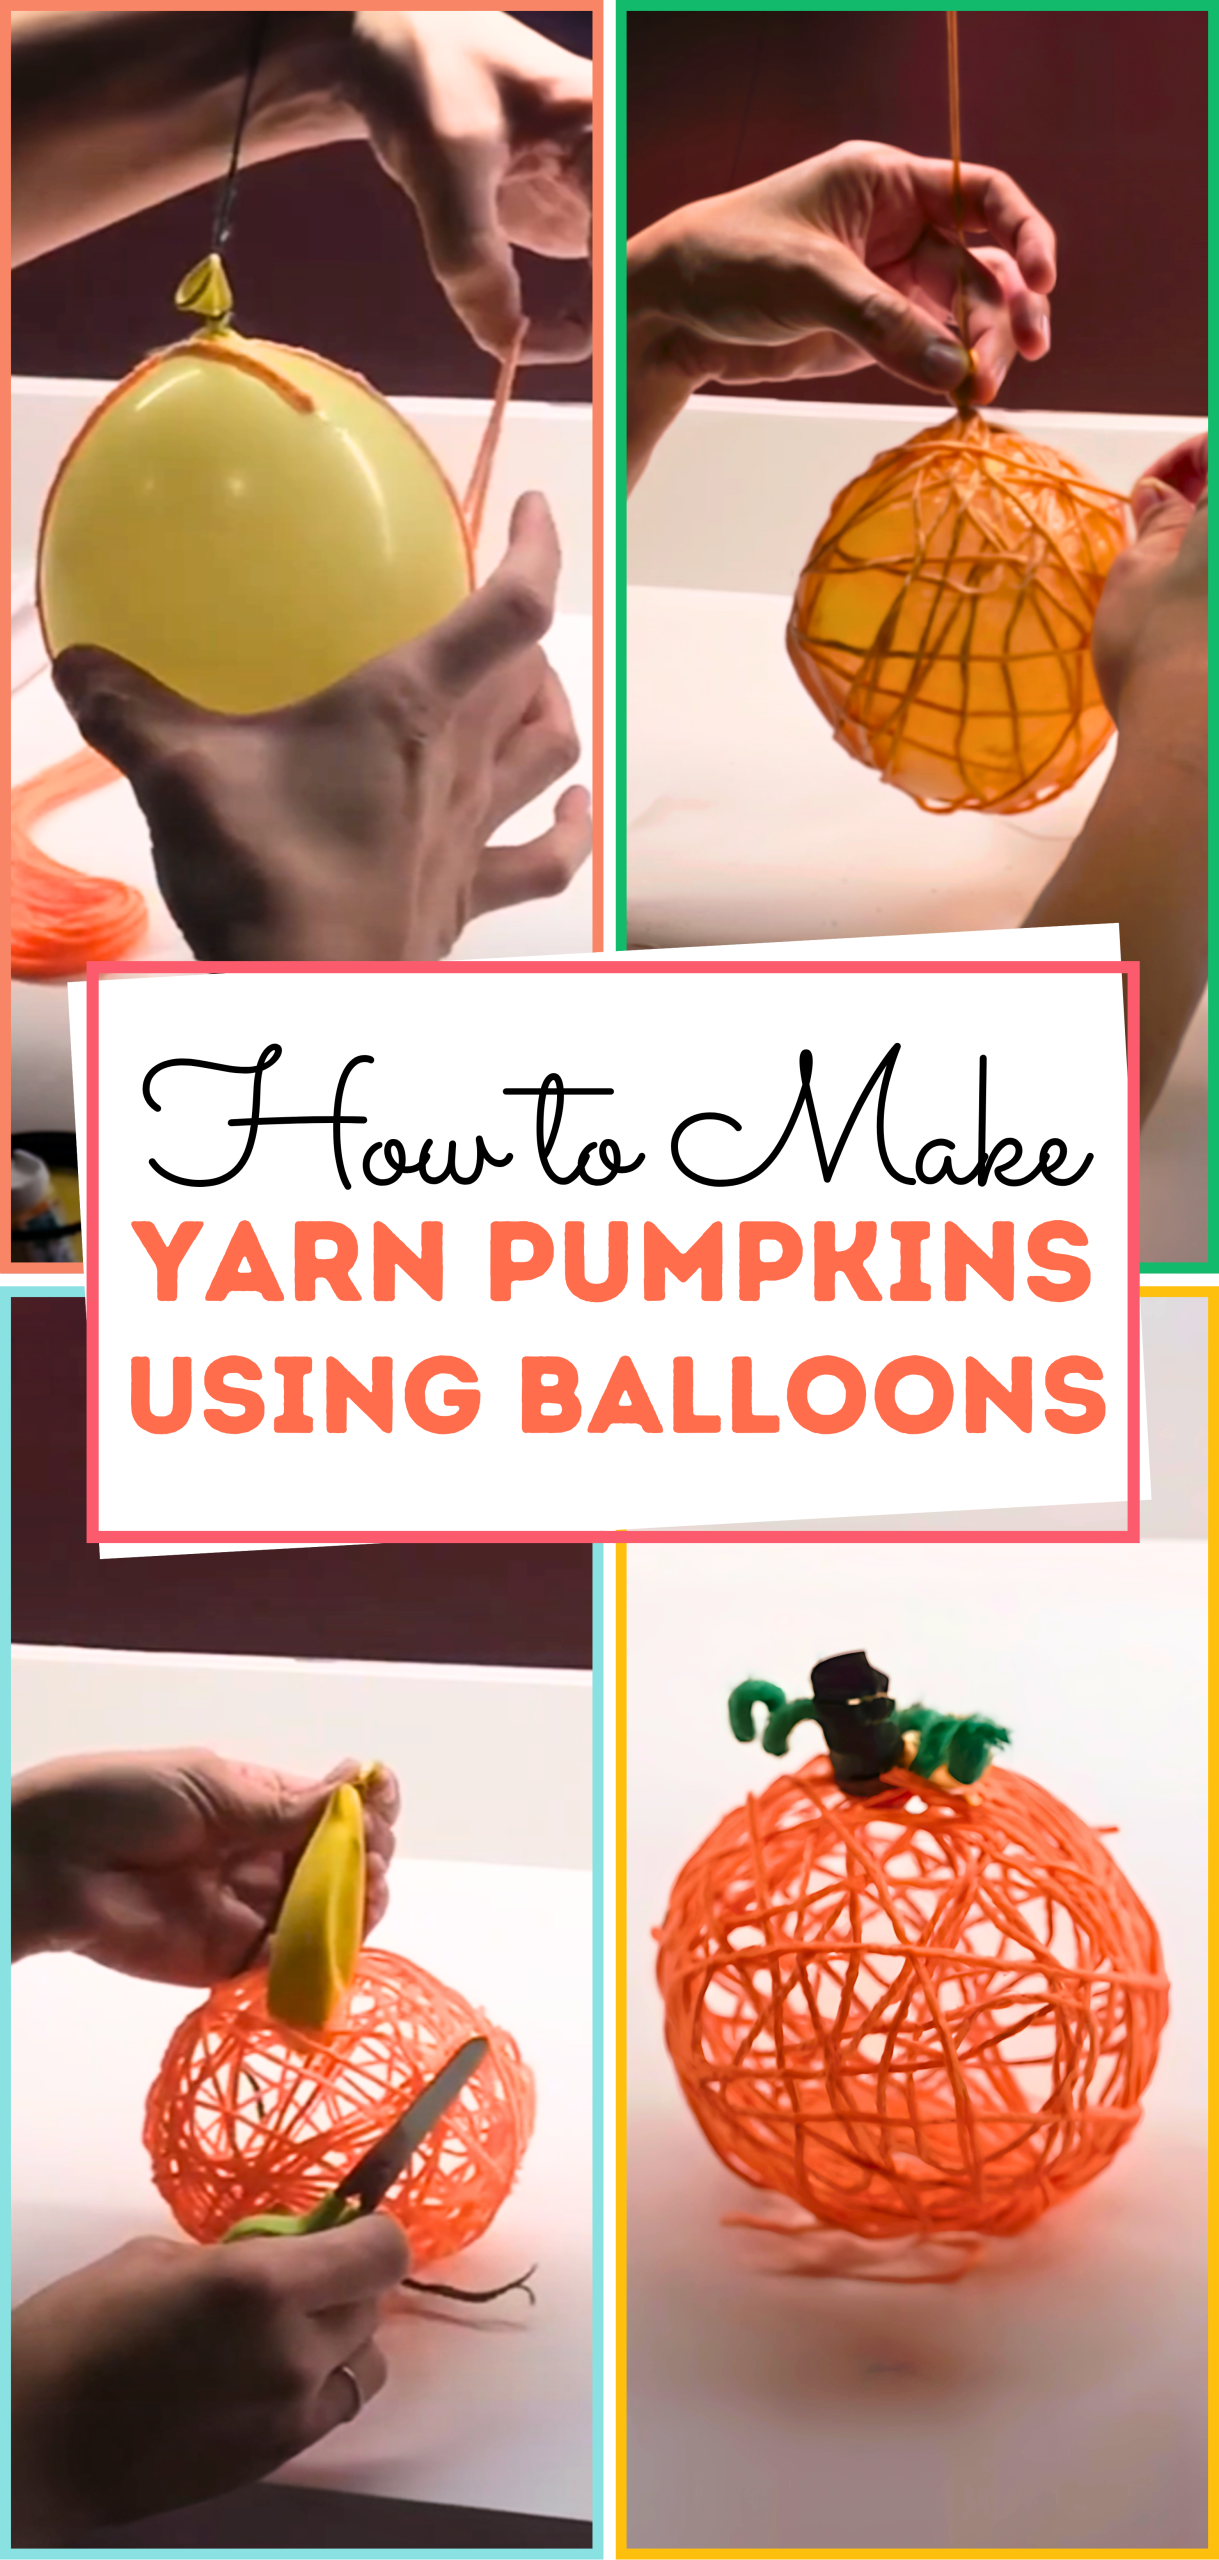
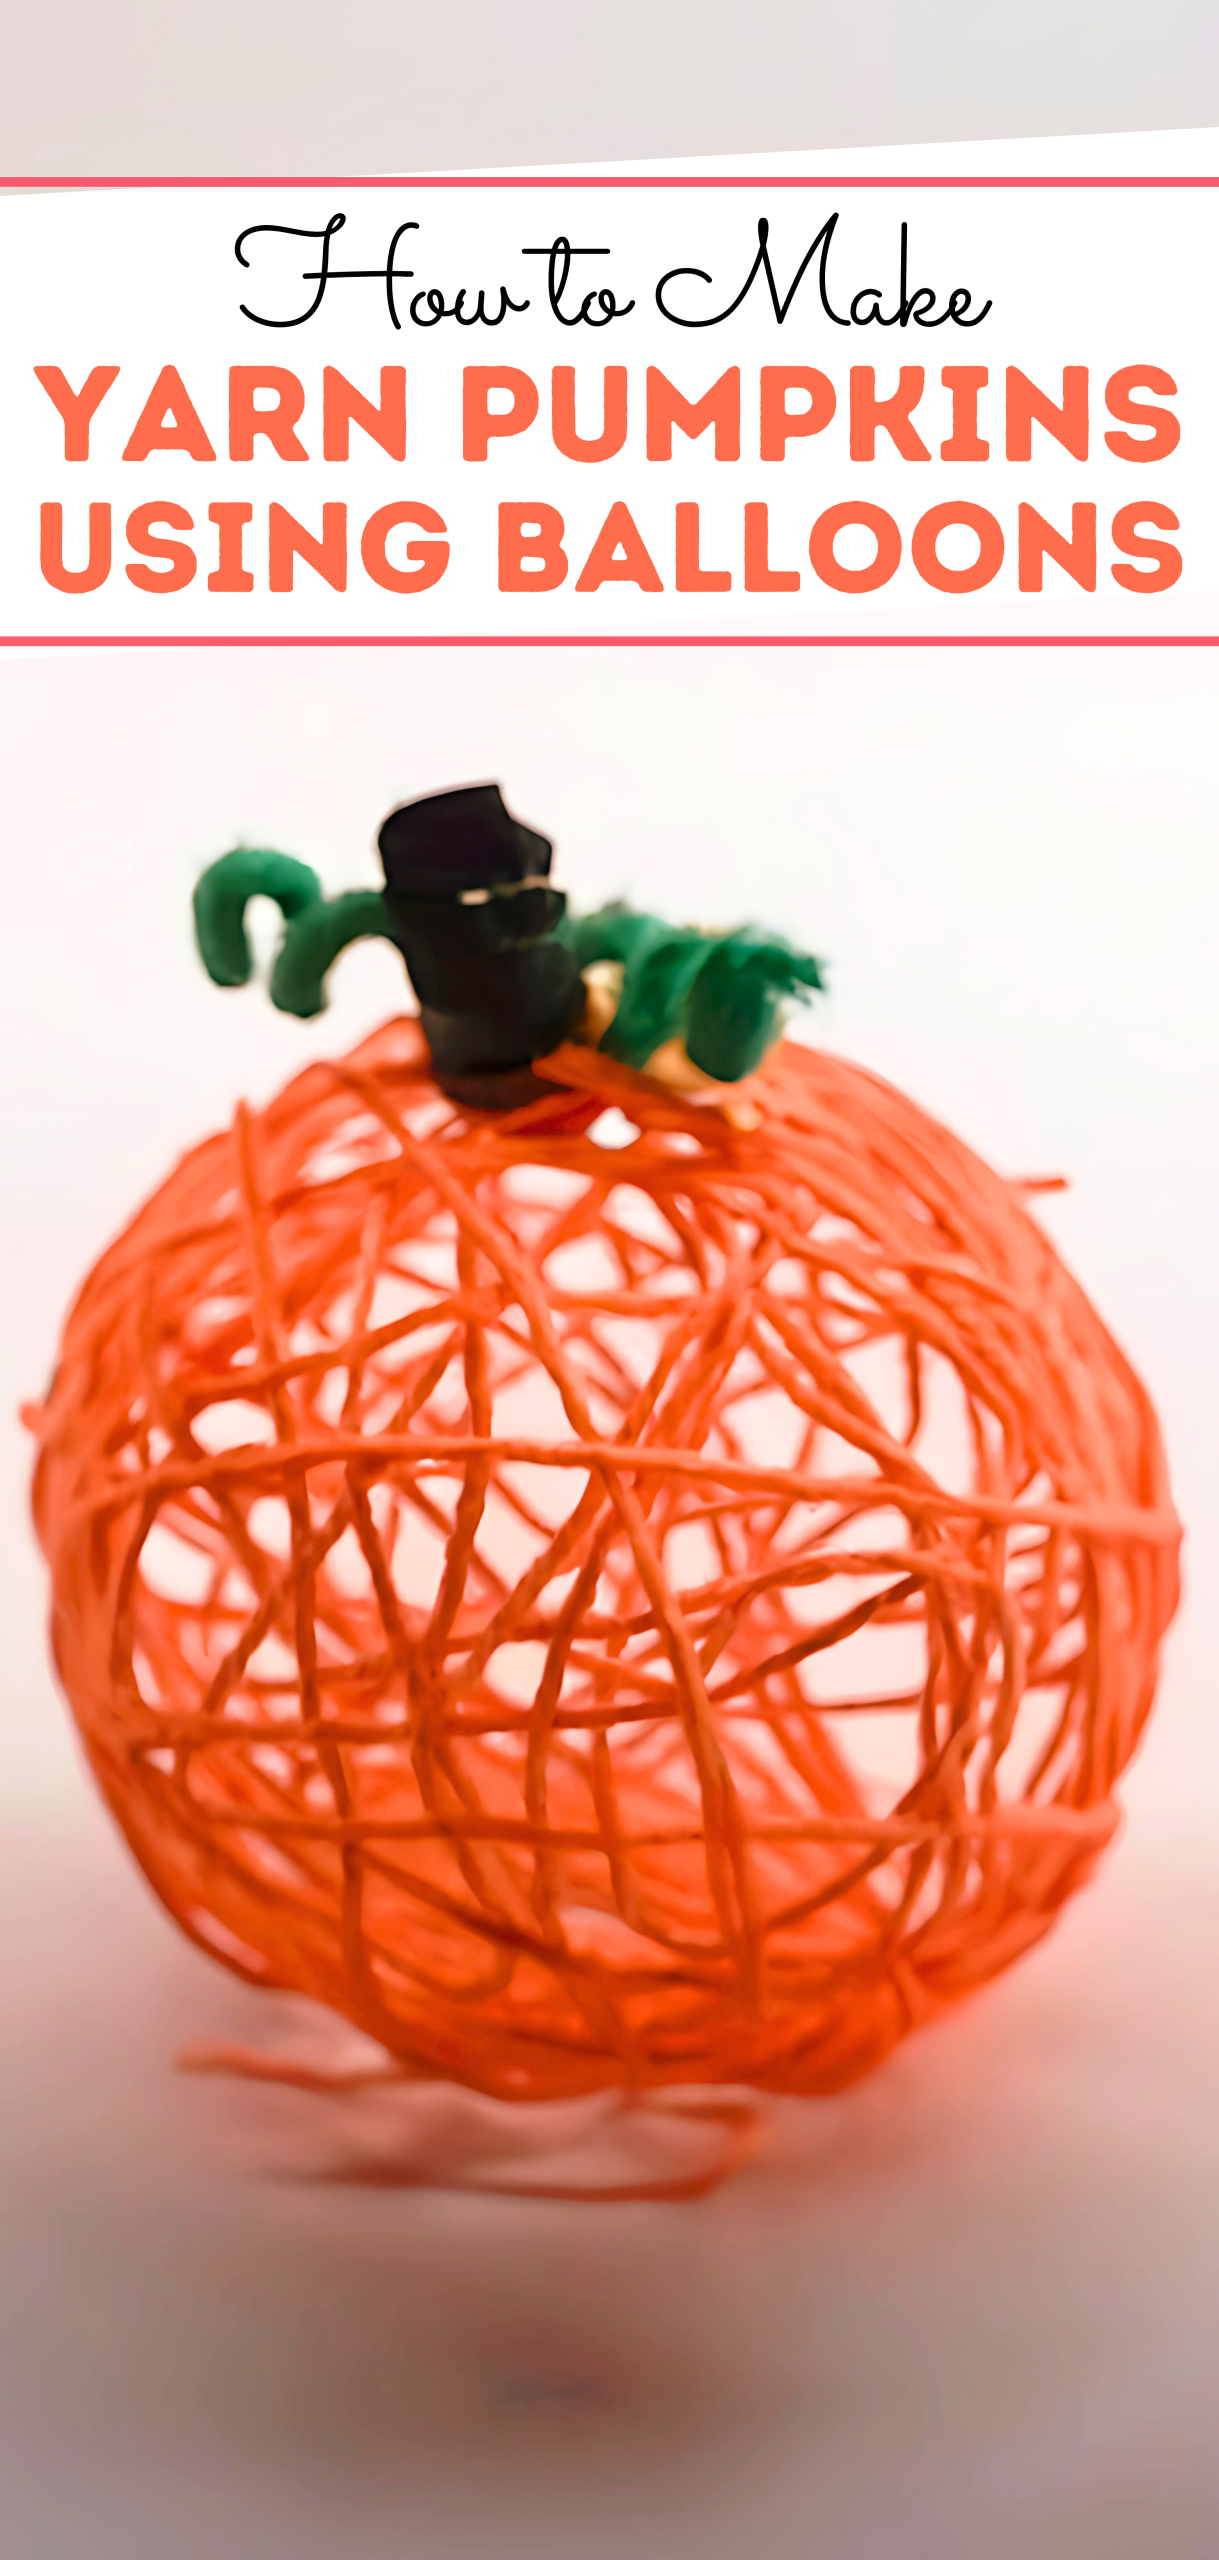
how to make Yarn Pumpkins Using Balloons
Step 1: Inflate the Balloon
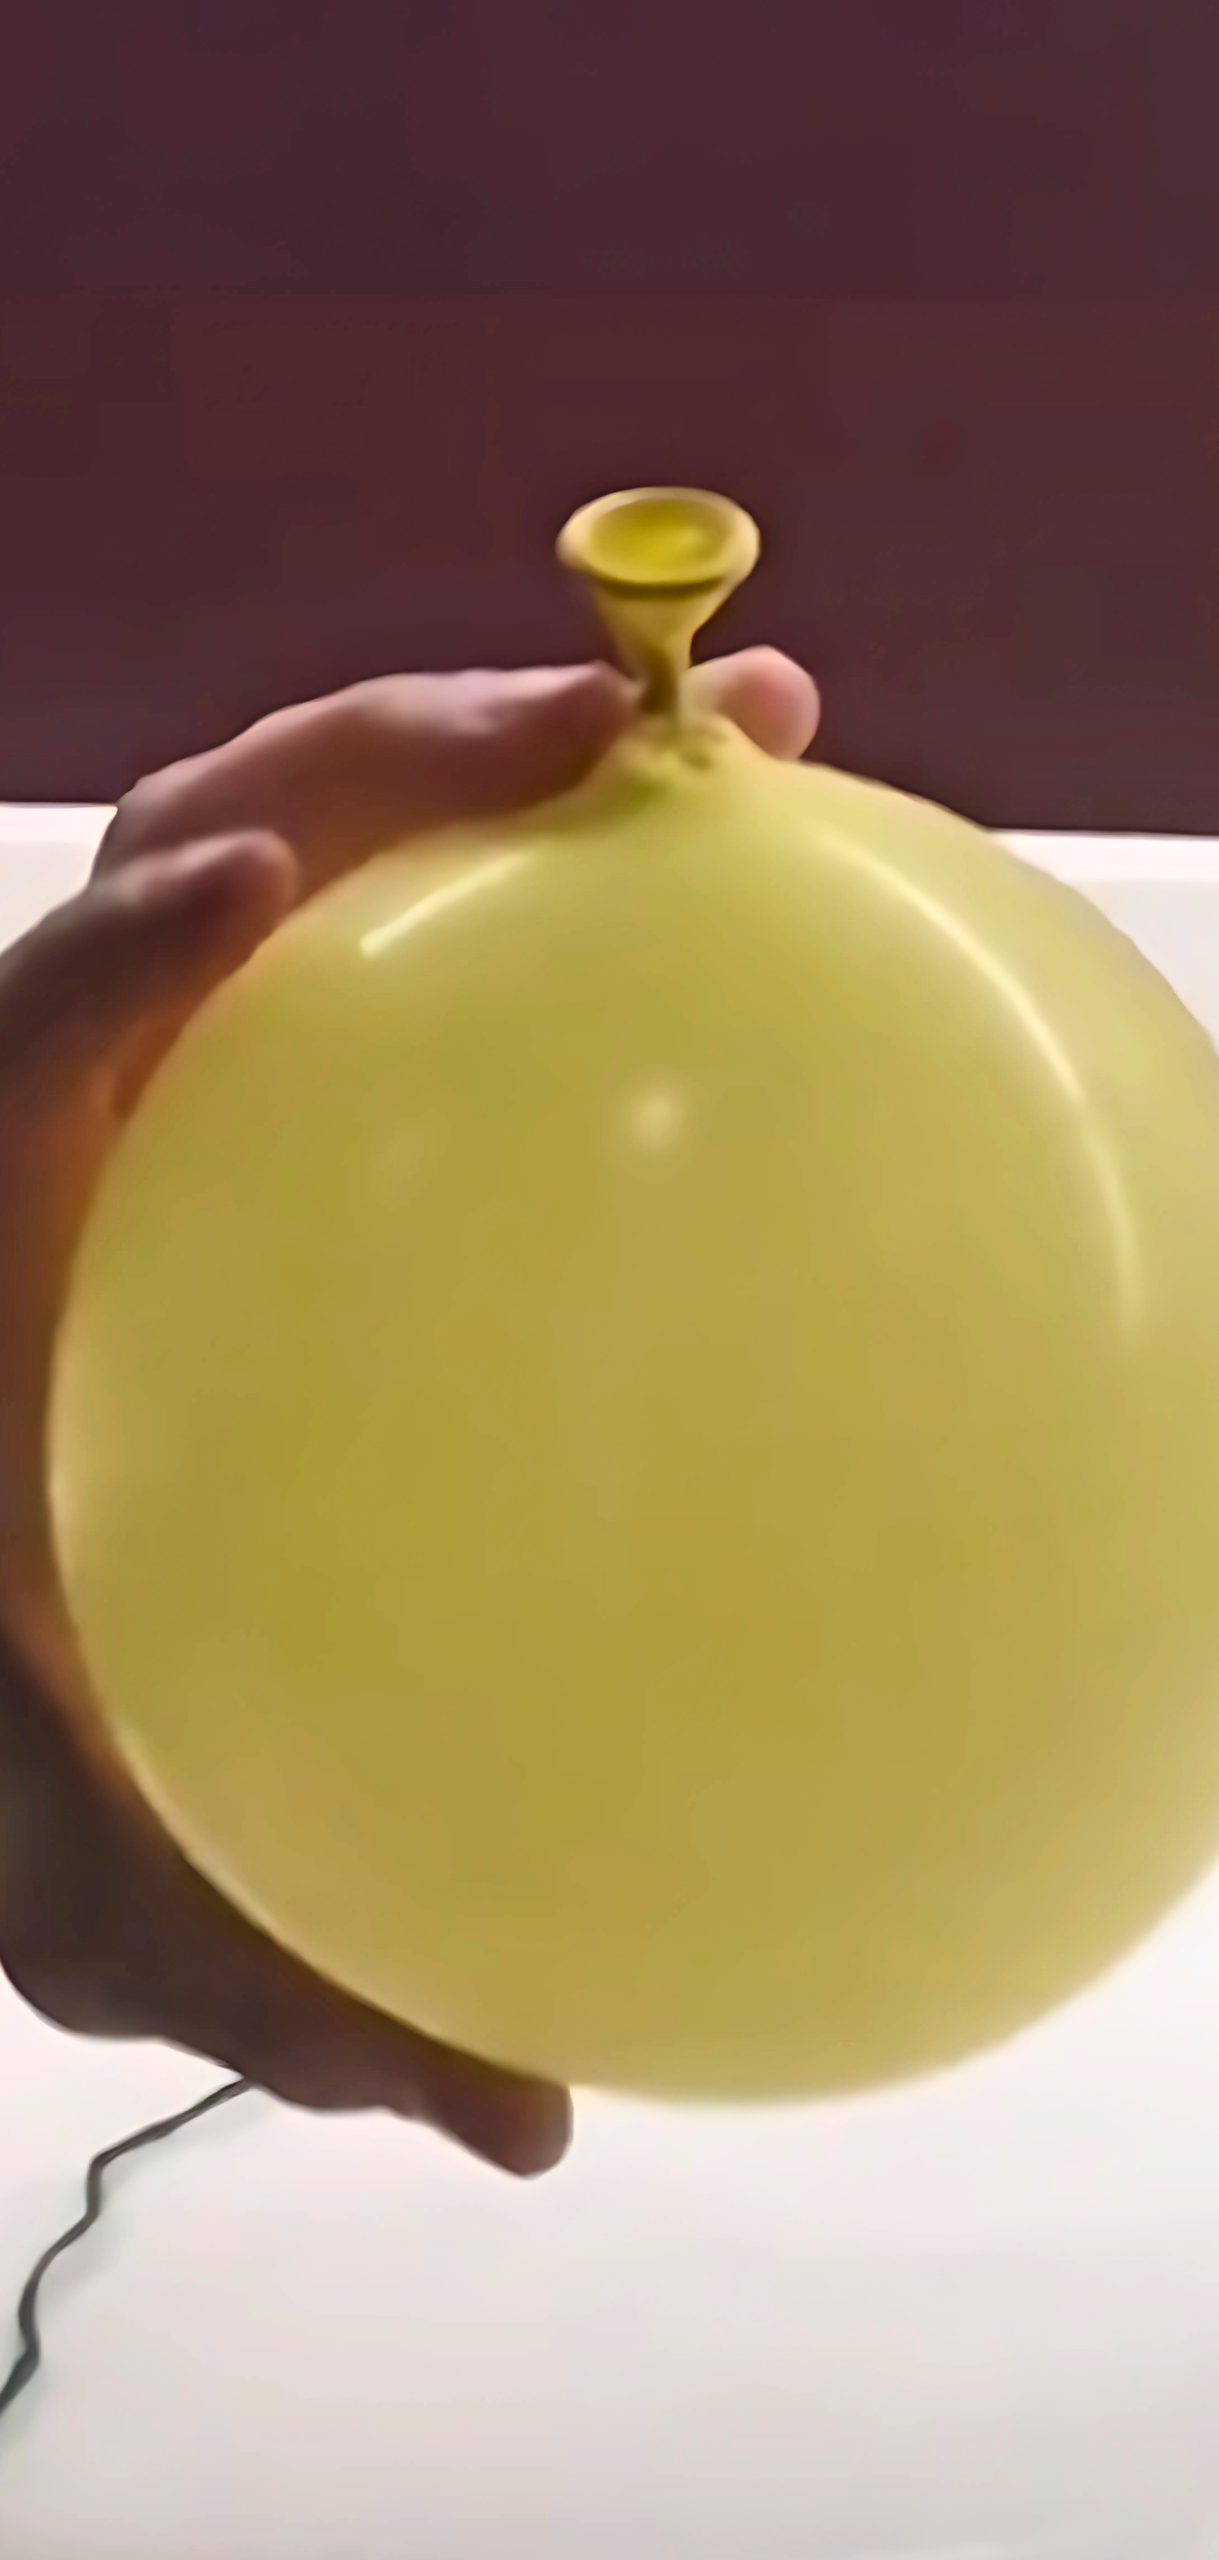
Blow up your balloon to about half of its full capacity, approximately 12 inches. This size gives your pumpkin an appealing round shape without making the yarn too long to manage. Tie off the end securely.
Step 2: Prepare Yarn Lengths
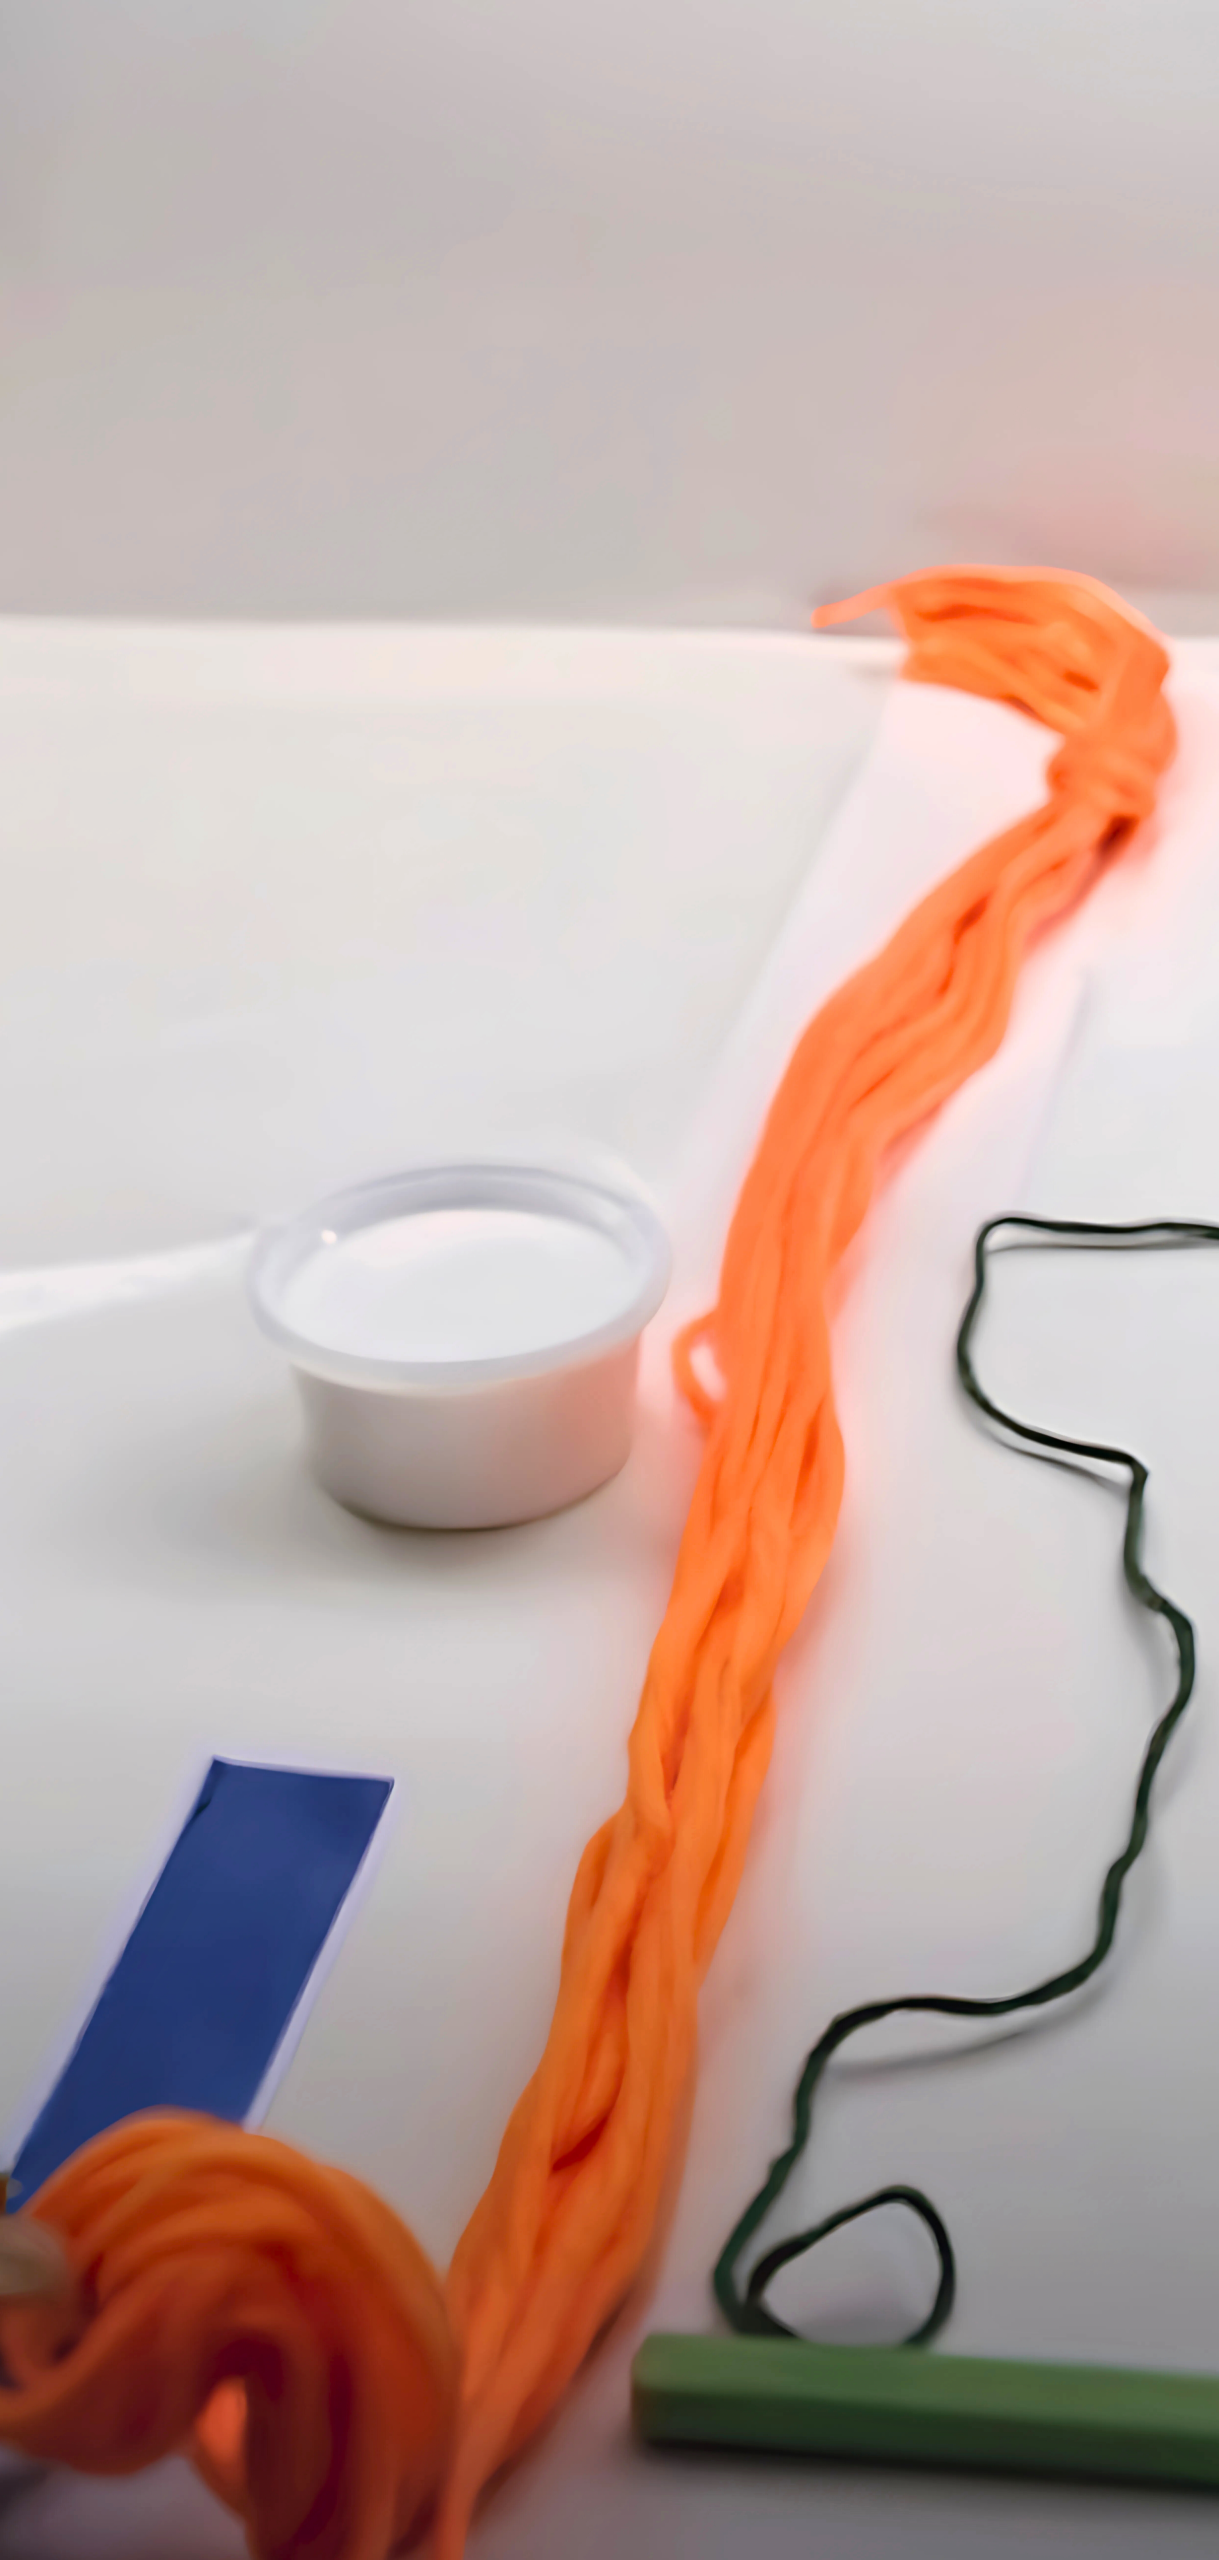
Cut about 20 strands of orange yarn, each roughly 36 inches long (use your arm span for a quick measure). Having pre-cut lengths saves tangling and speeds up the messy dipping process.
Step 3: Mix the Glue
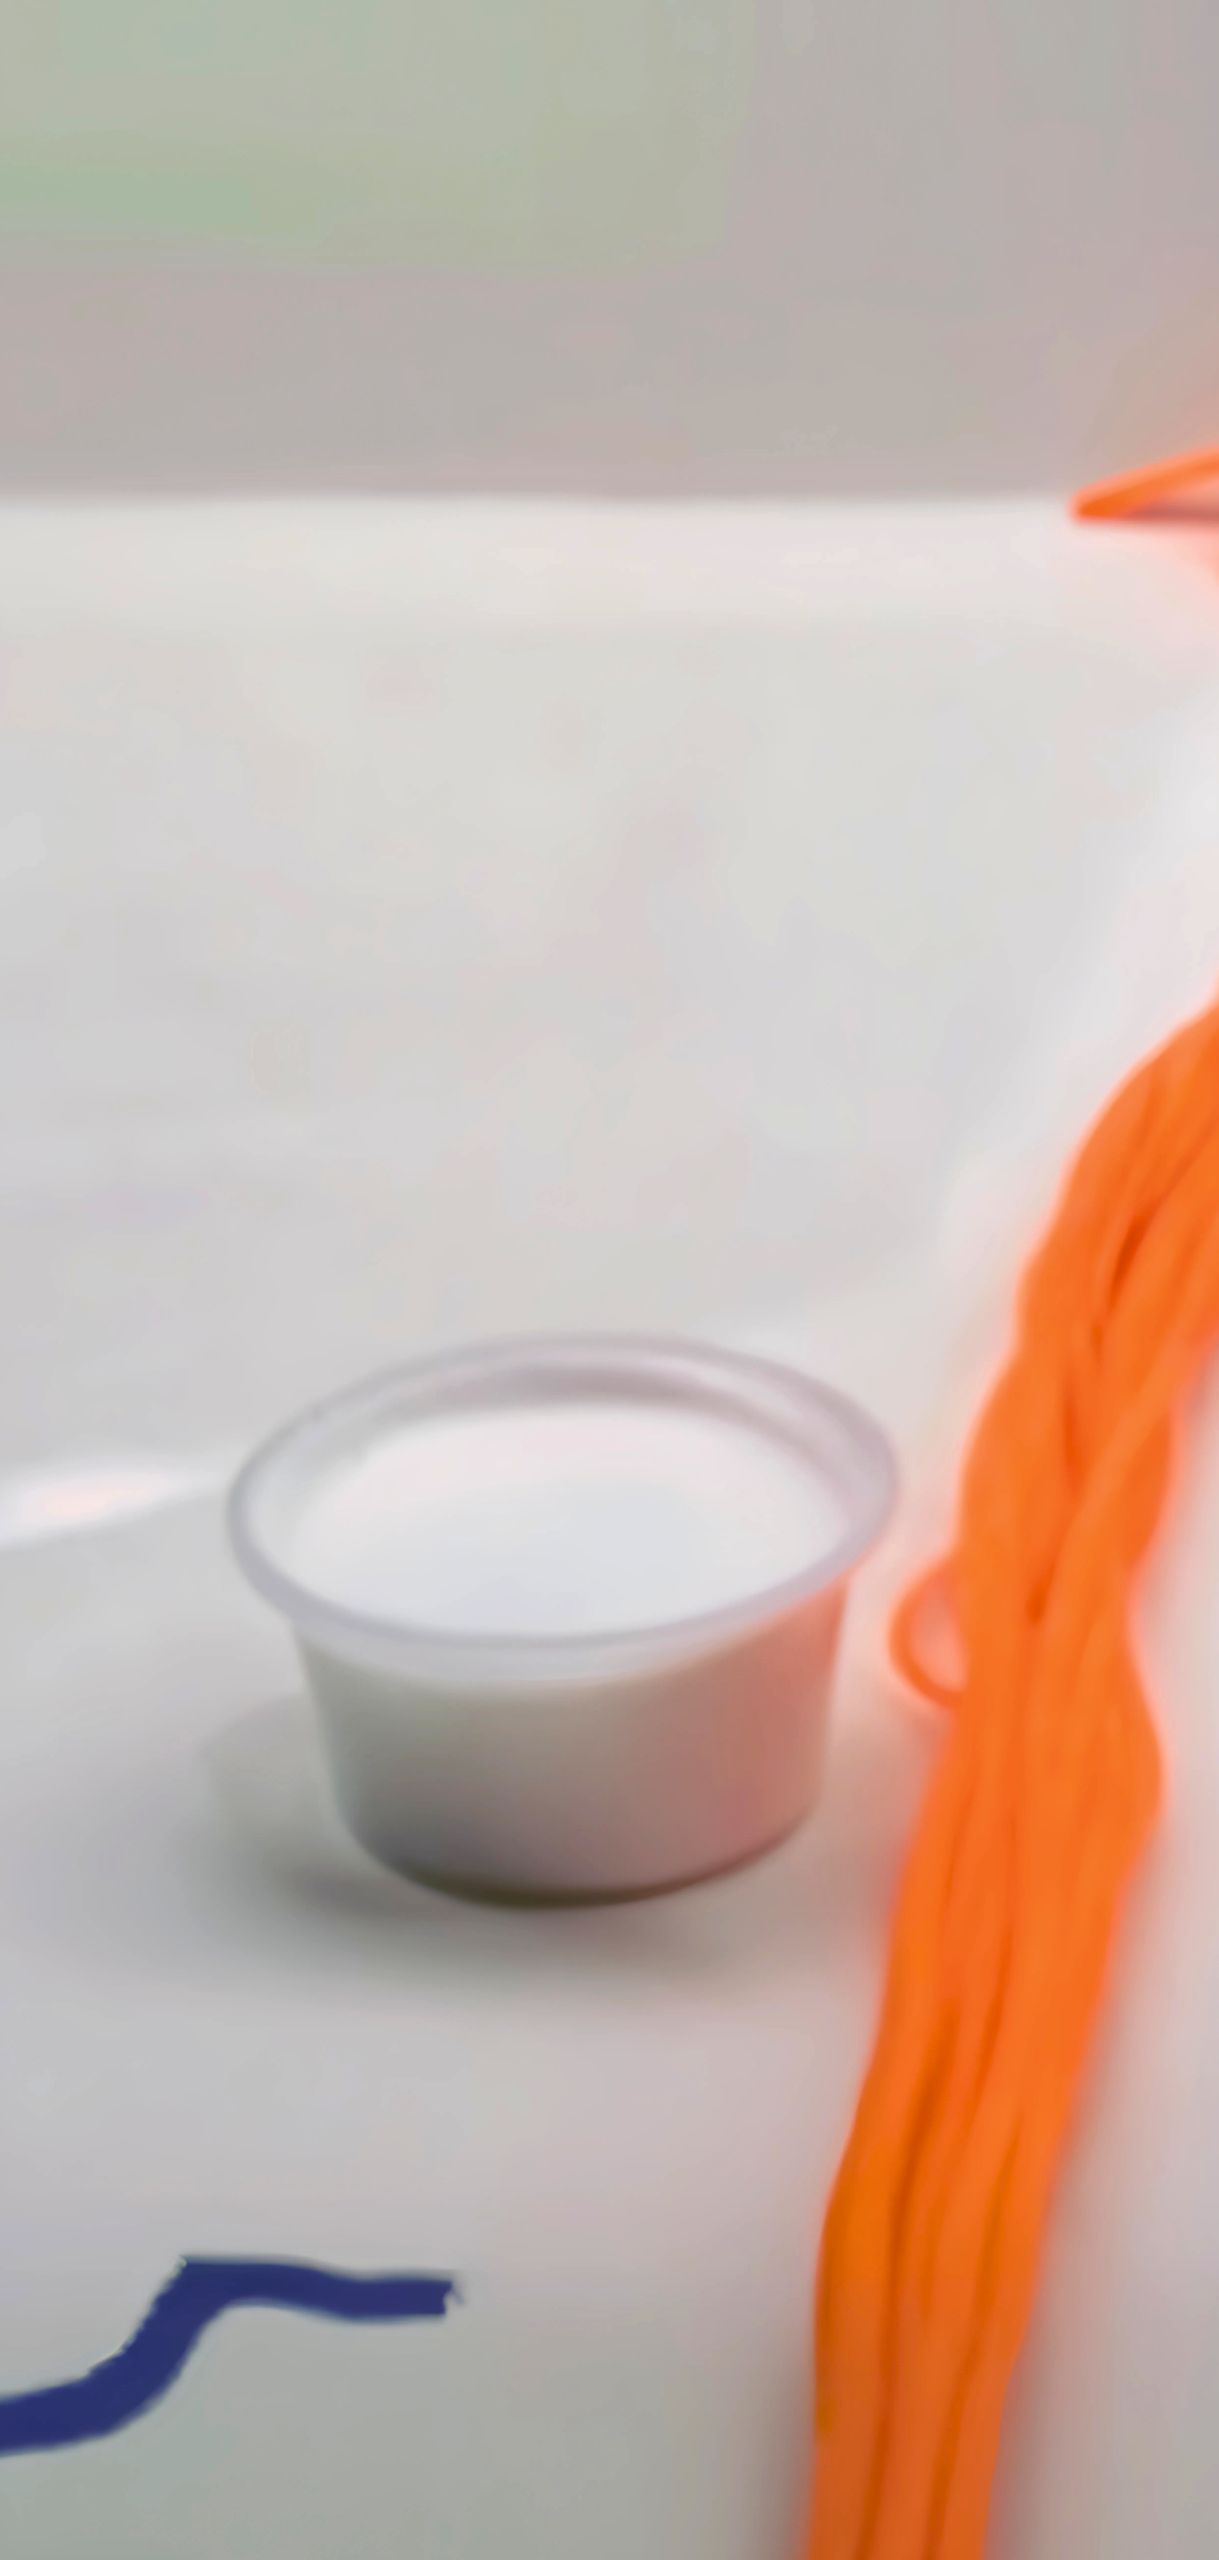
Pour white glue into a bowl, about a 2-ounce bottle per pumpkin. For a sturdier structure, mix half Aleene’s Tacky Glue with half water.
Step 4: Soak Yarn in Glue
One strand at a time, fully submerge yarn in the glue. Swirl using a fork to coat it completely and remove drips. Hold the yarn between your fingers or fork tines to squeeze out excess glue; enough remains to help the yarn hold its shape.
Step 5: Wrap the Balloon
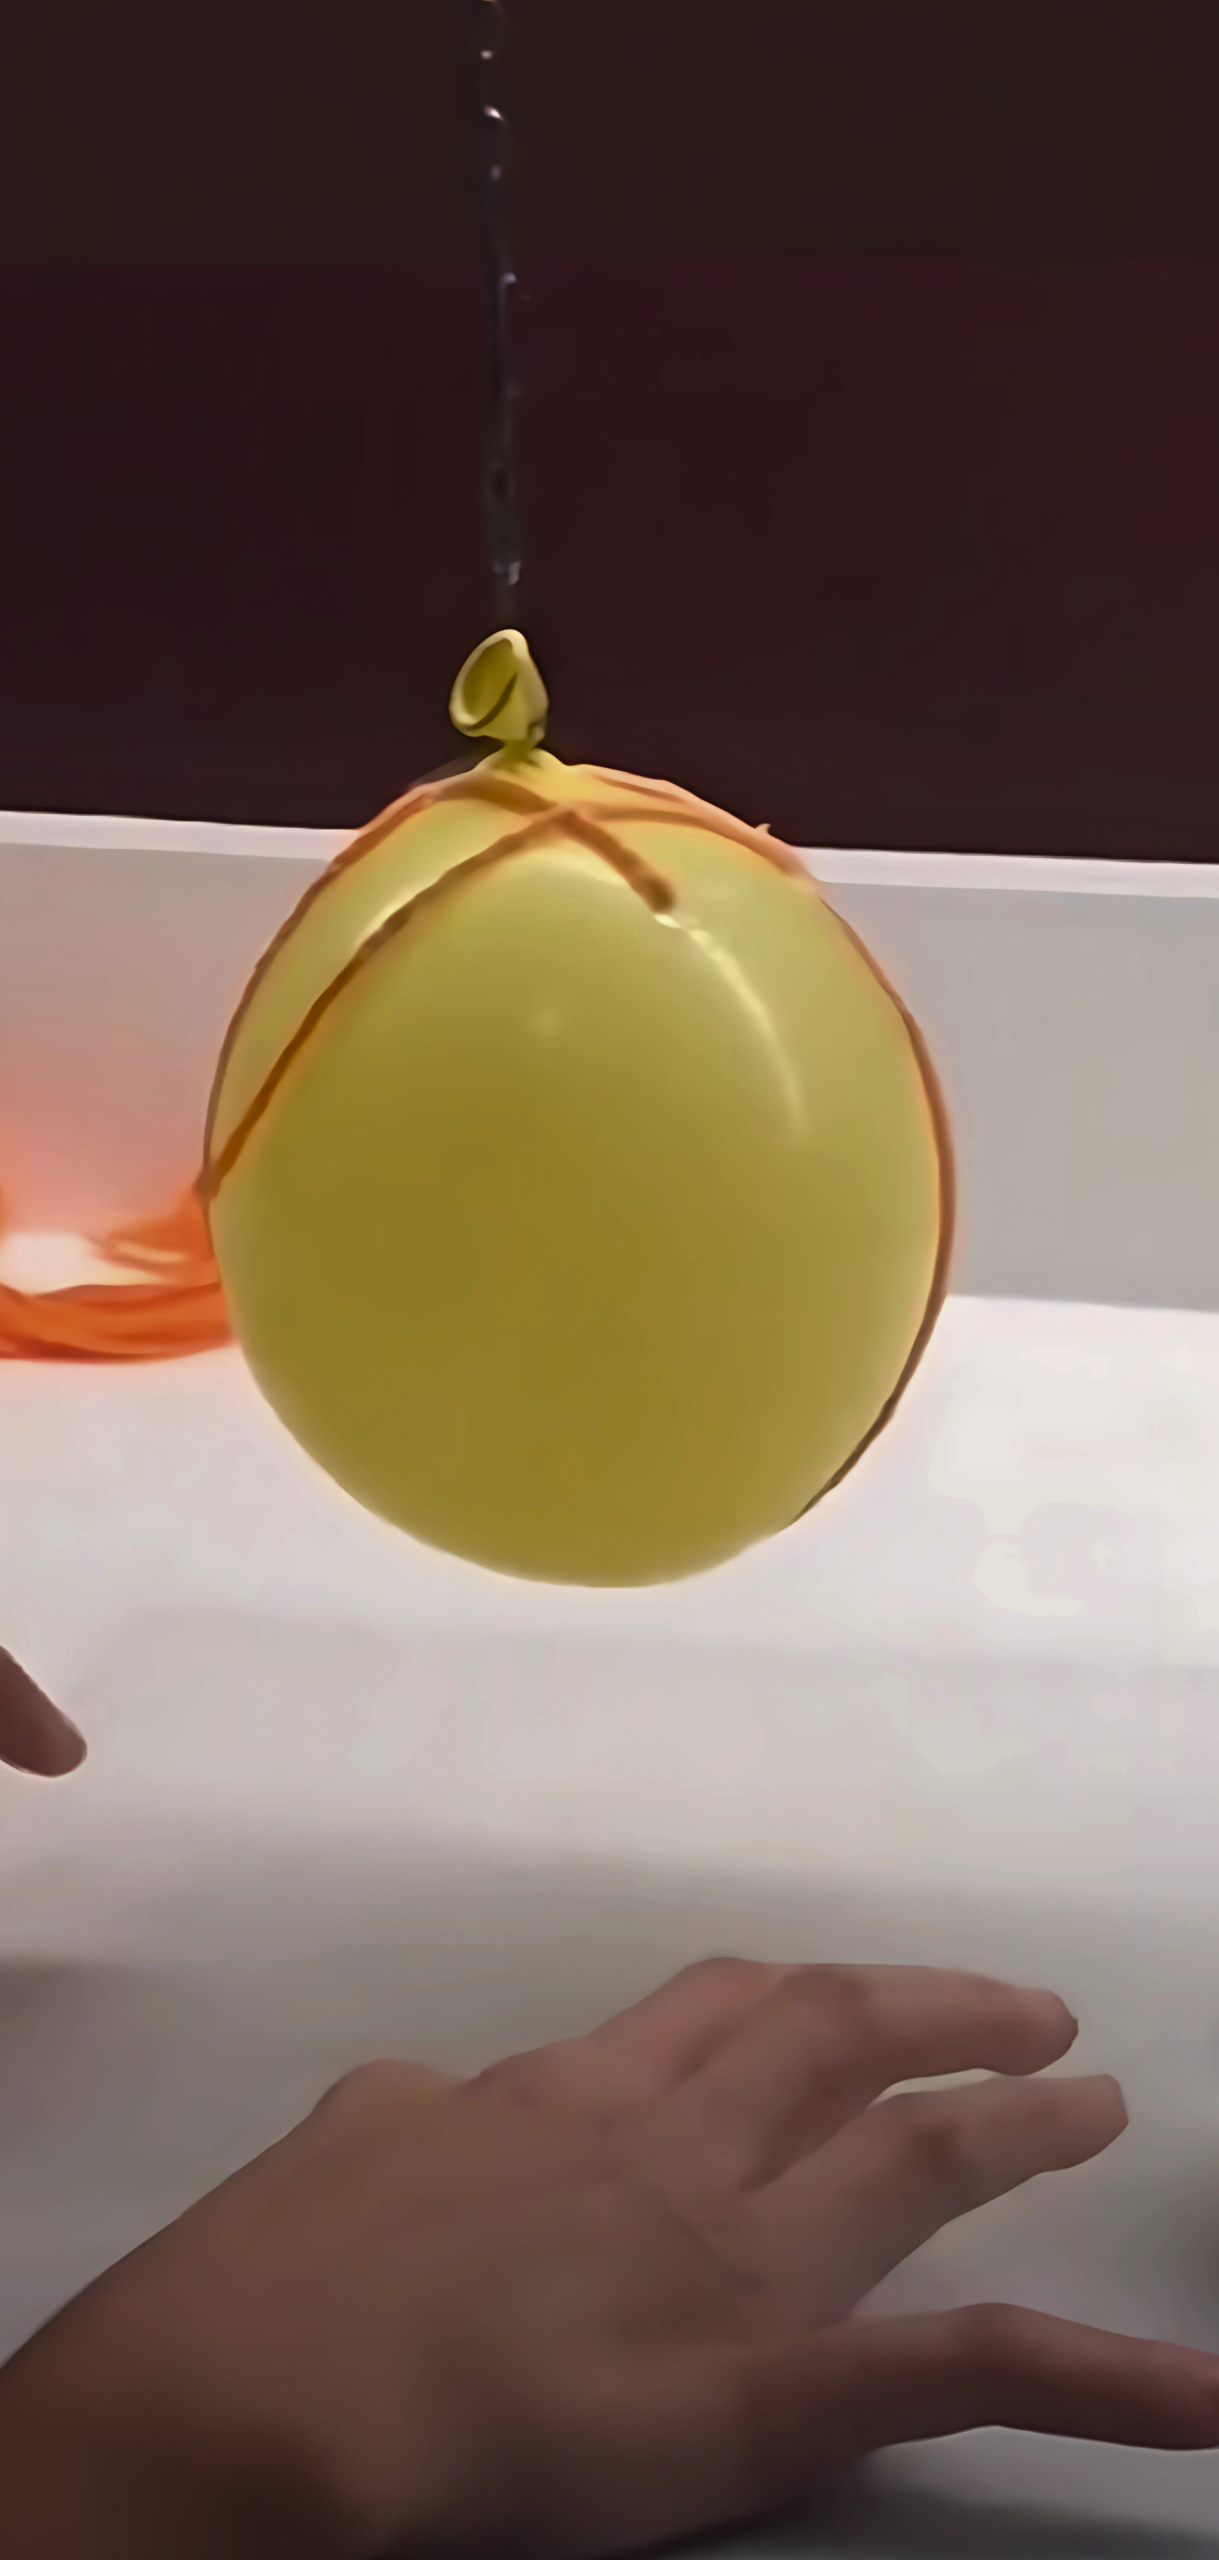
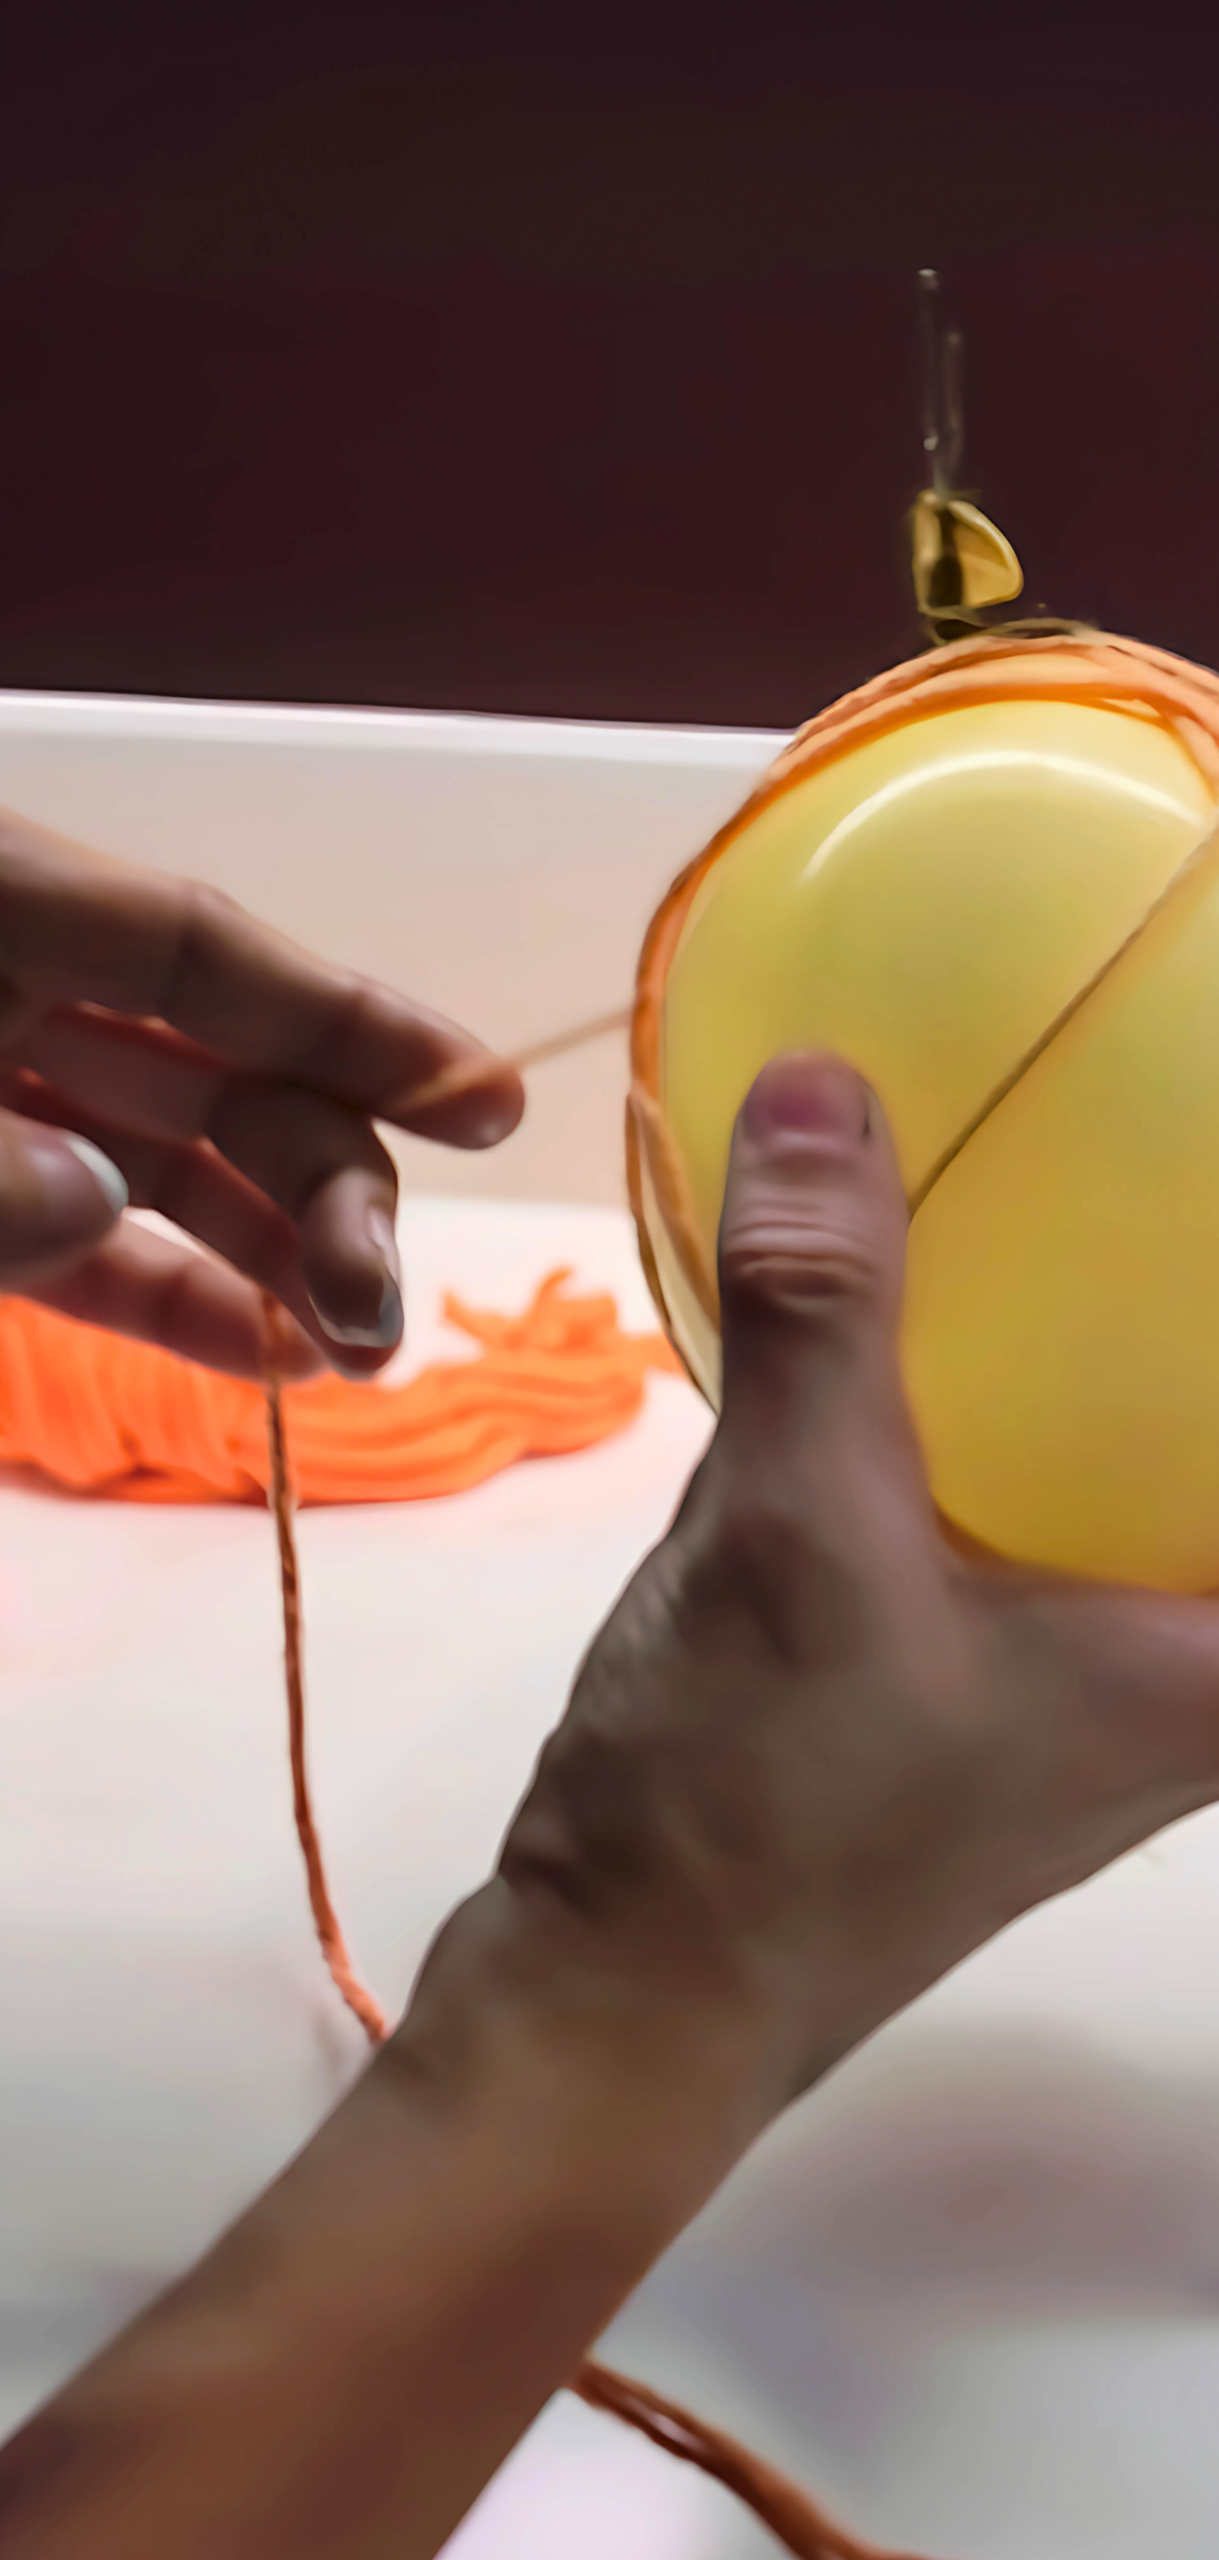
I tied one end of my yarn to the knot of the balloon, then I started wrapping the covered strands around it in a crisscross. I kept adding more yarn until I was comfortable with the covering.
Step 6: Hang or Place to Dry
Set your pumpkin on a bowl or hang it by the knot to drain. Let it fully dry over 24 hours; drying time may vary based on humidity and glue type. Avoid premature deflation to maintain shape.
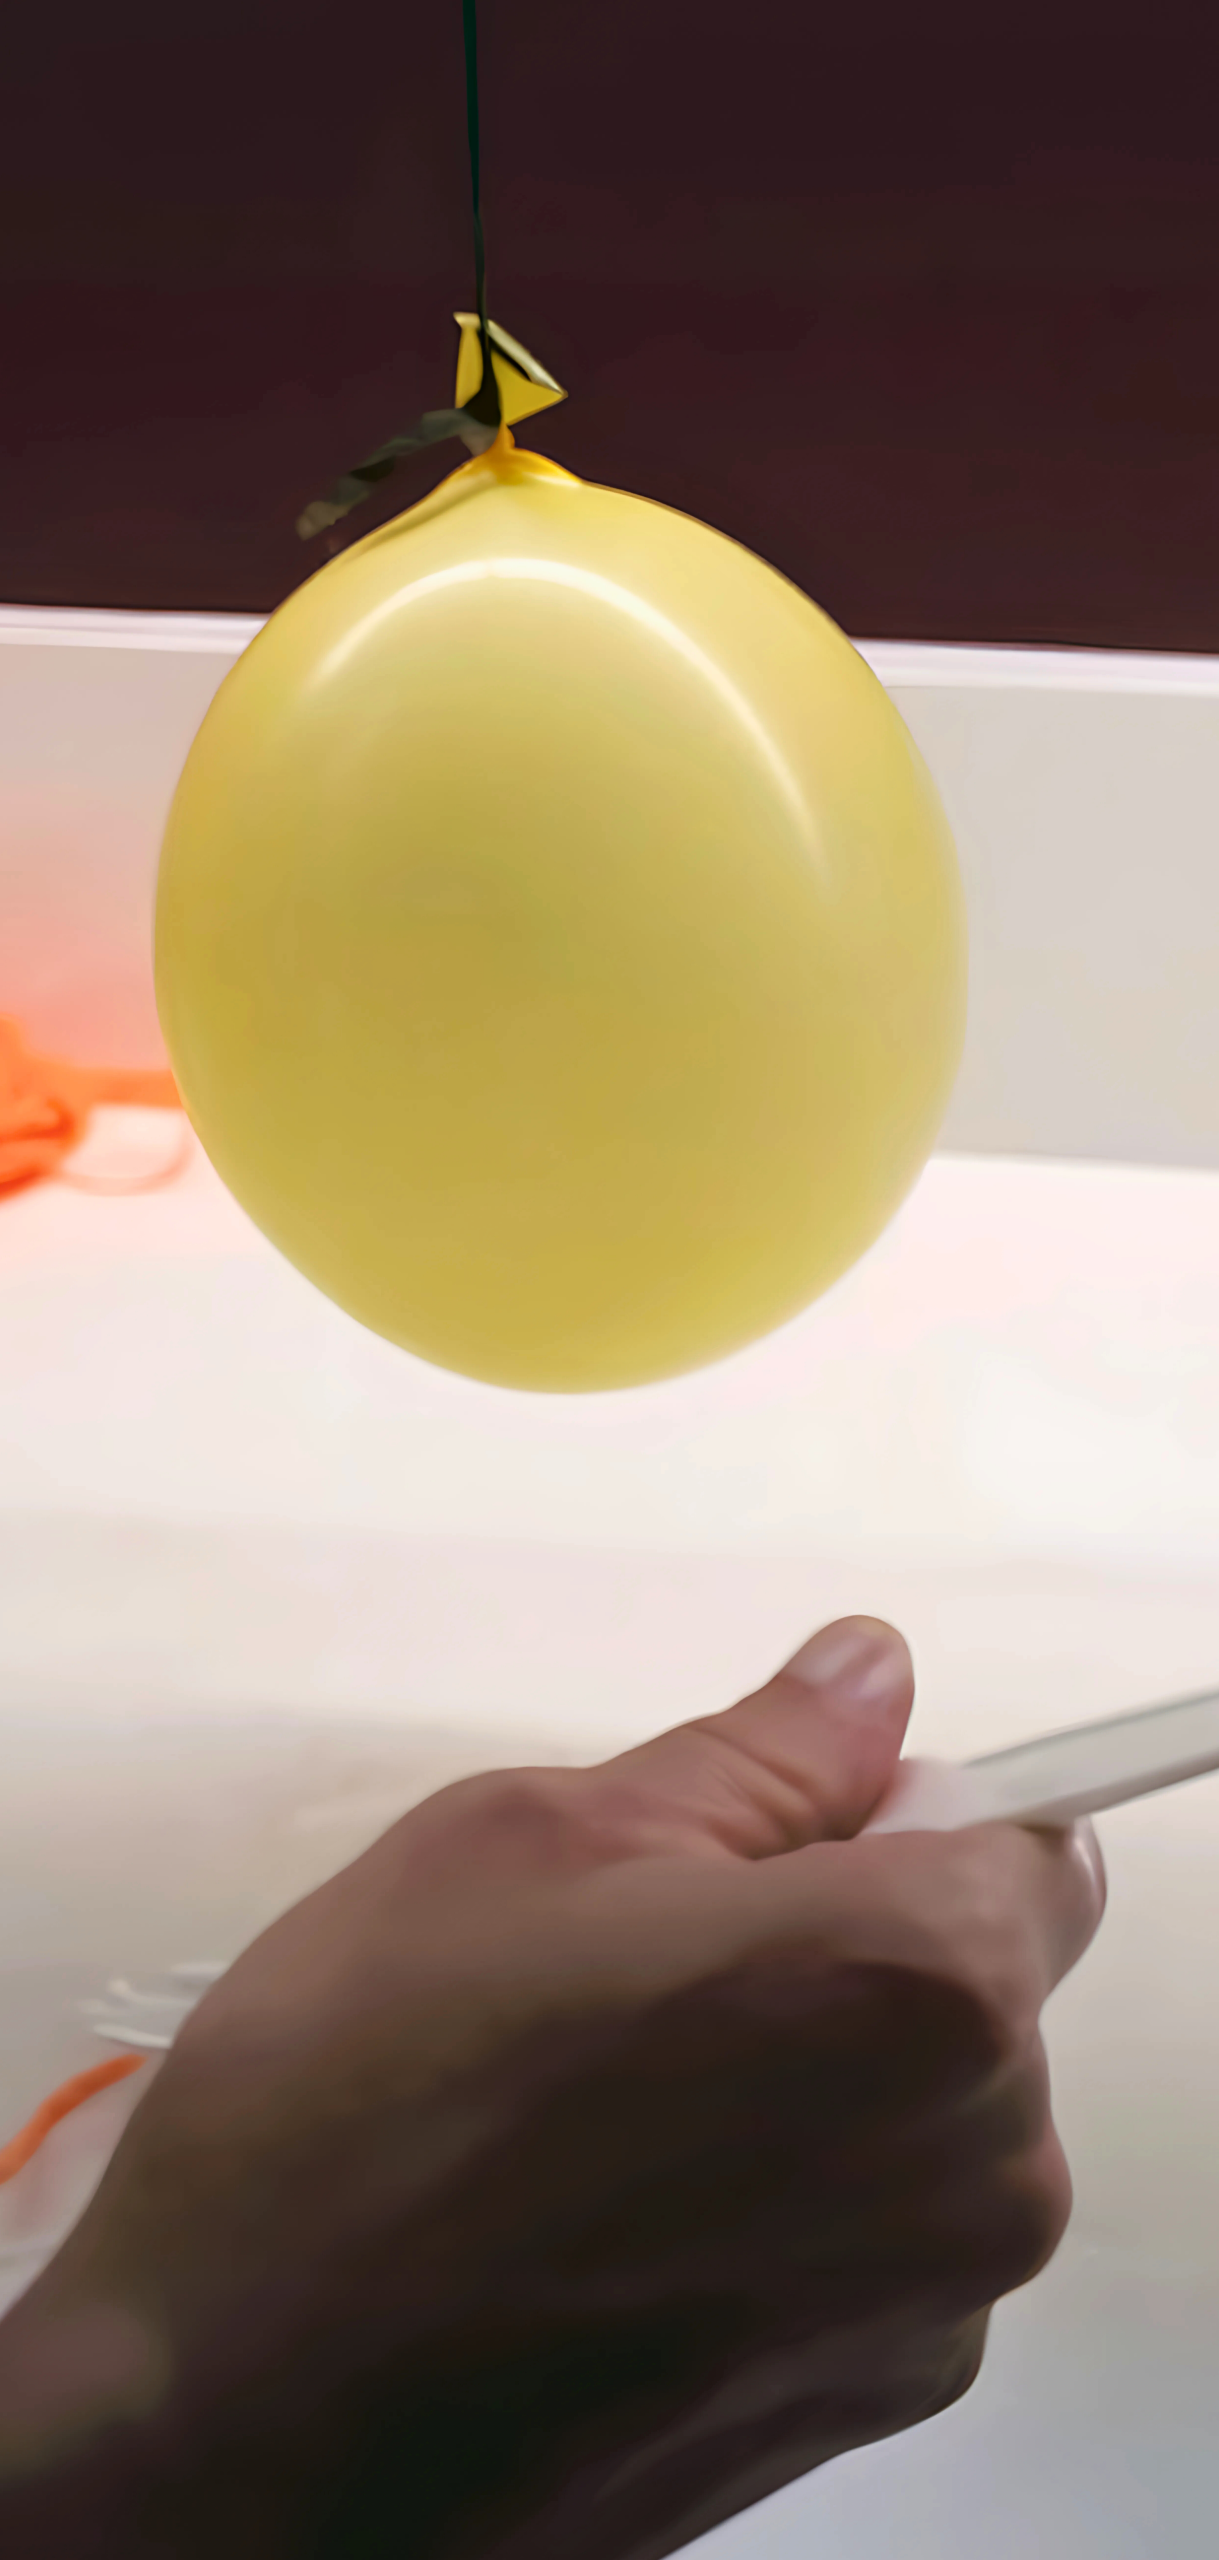
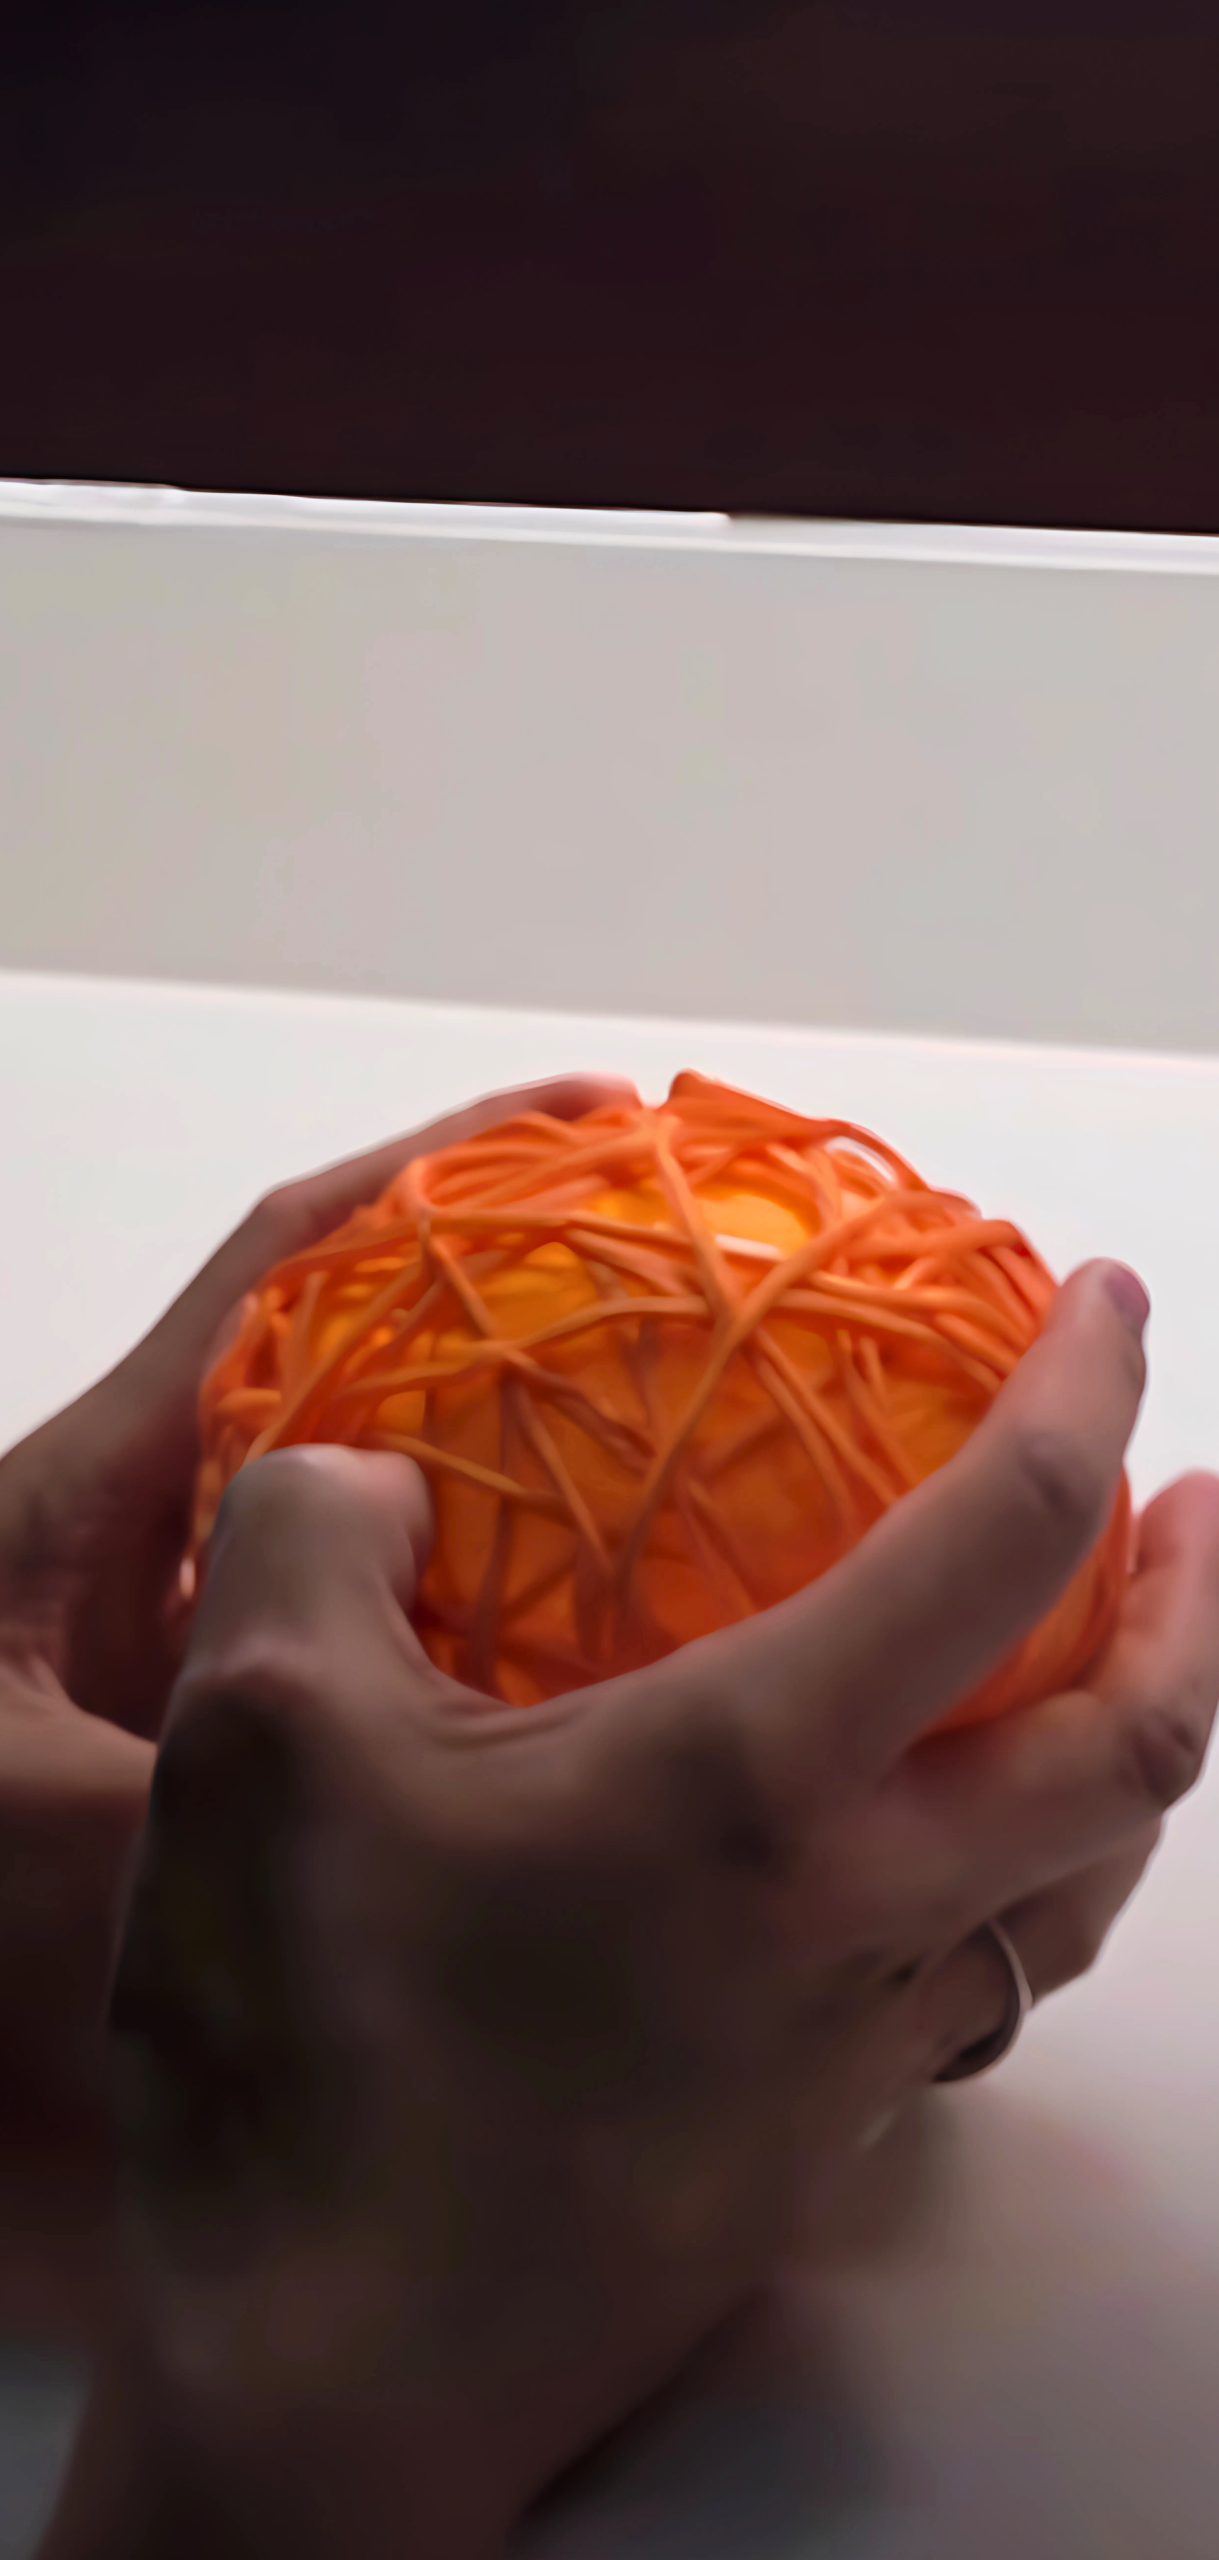
Step 7: Remove the Balloon
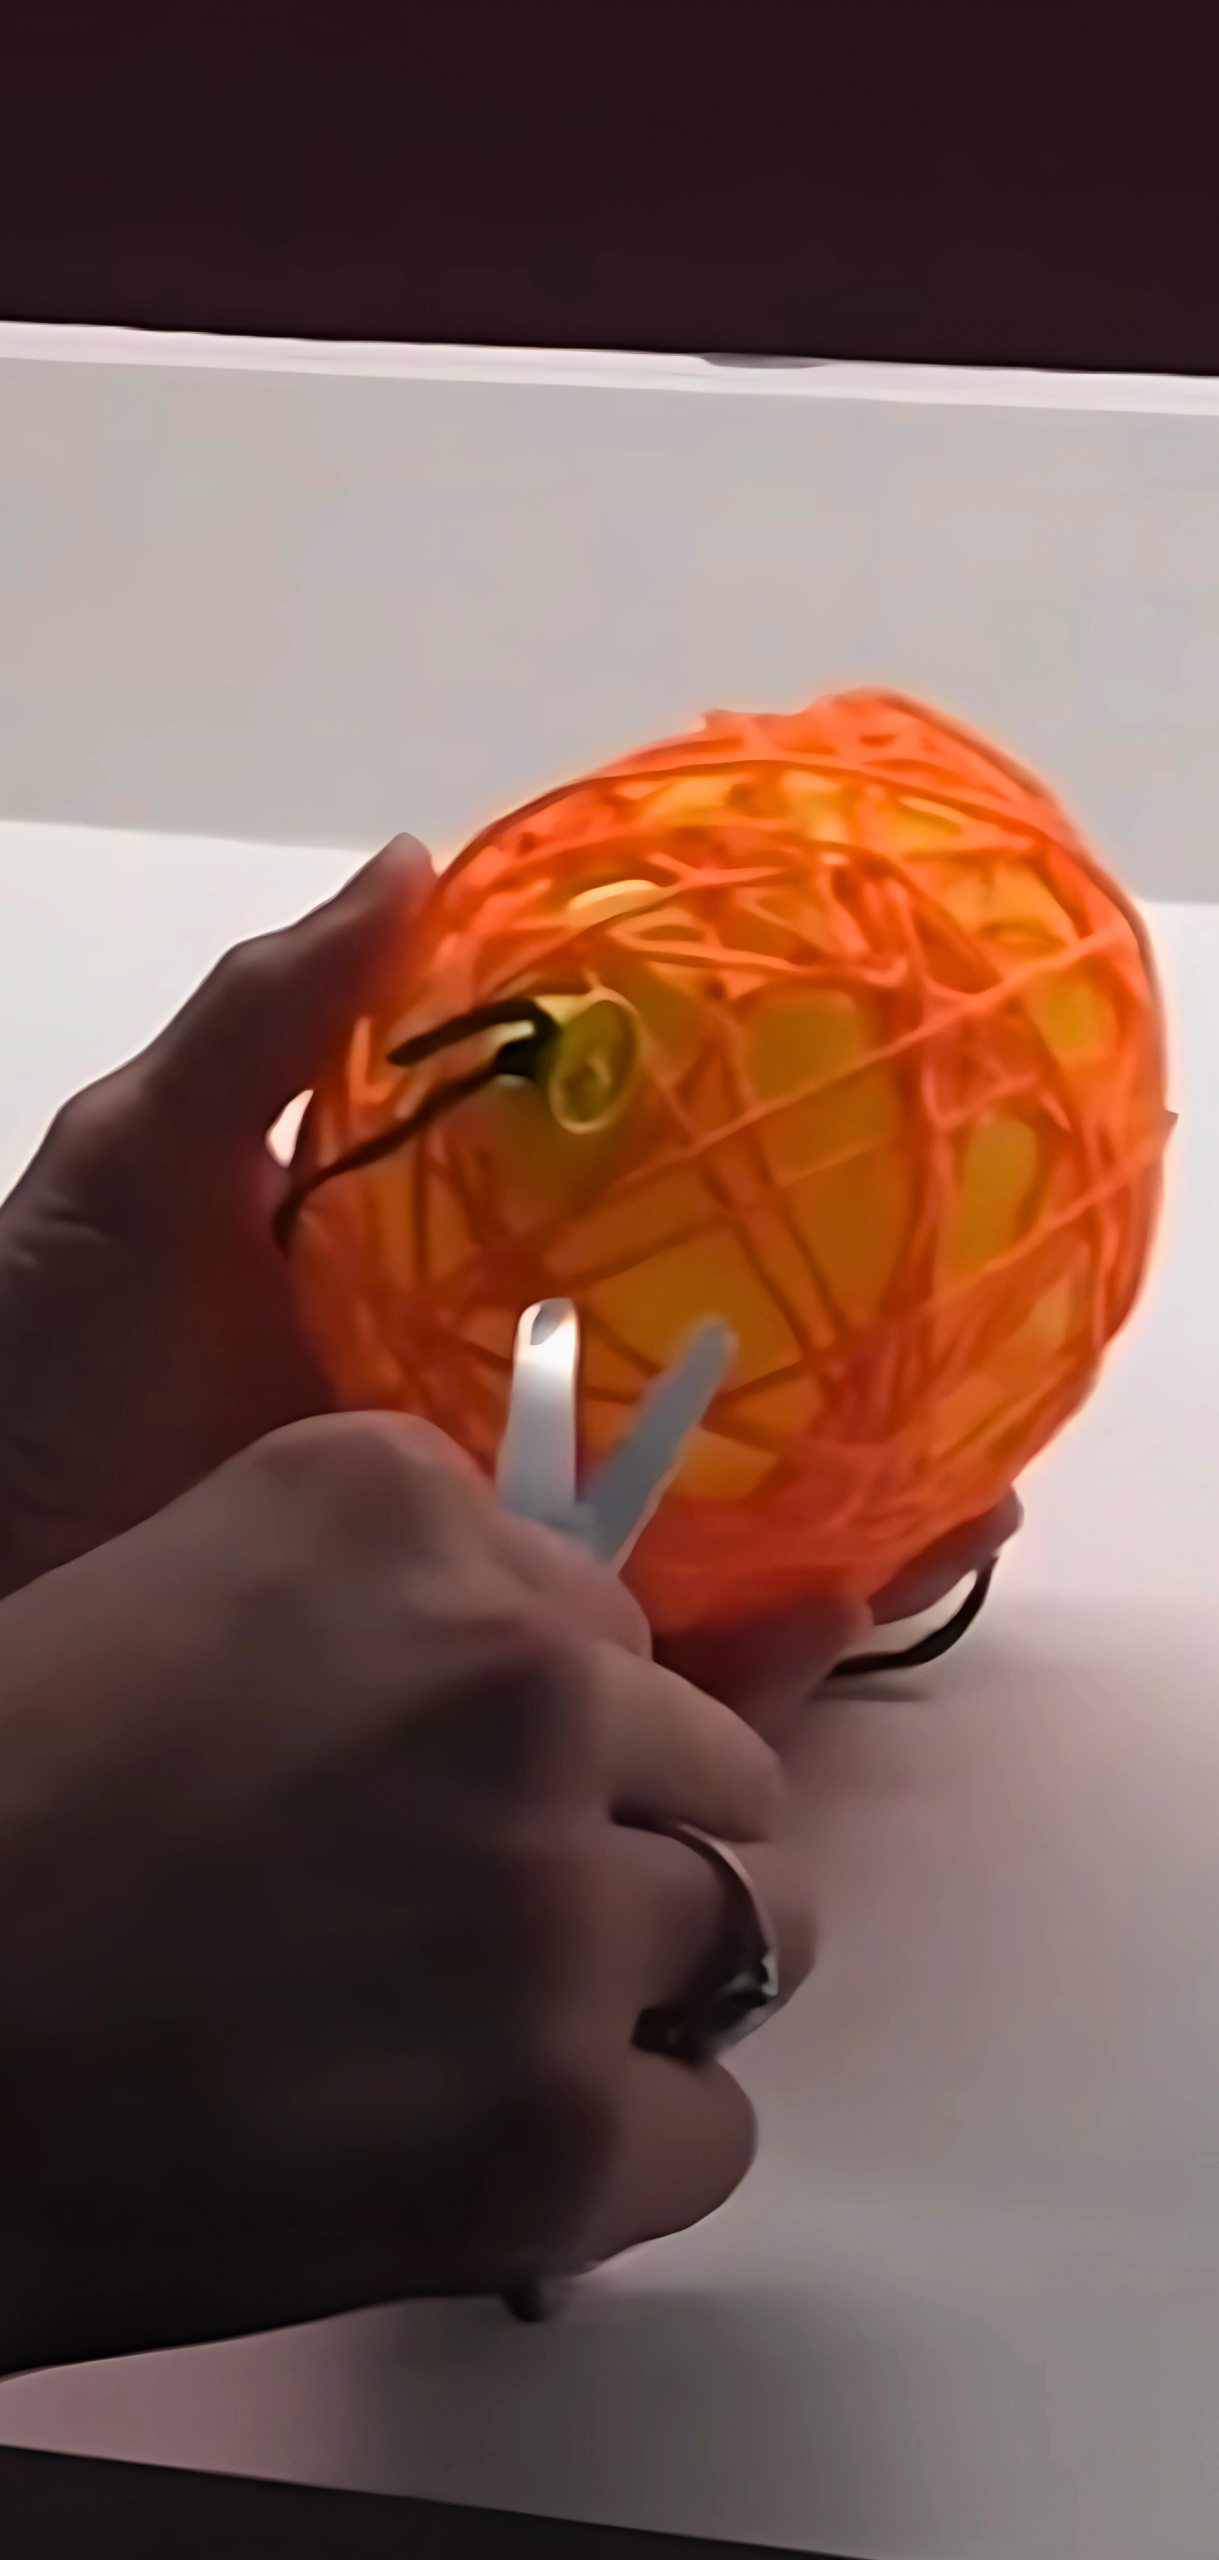
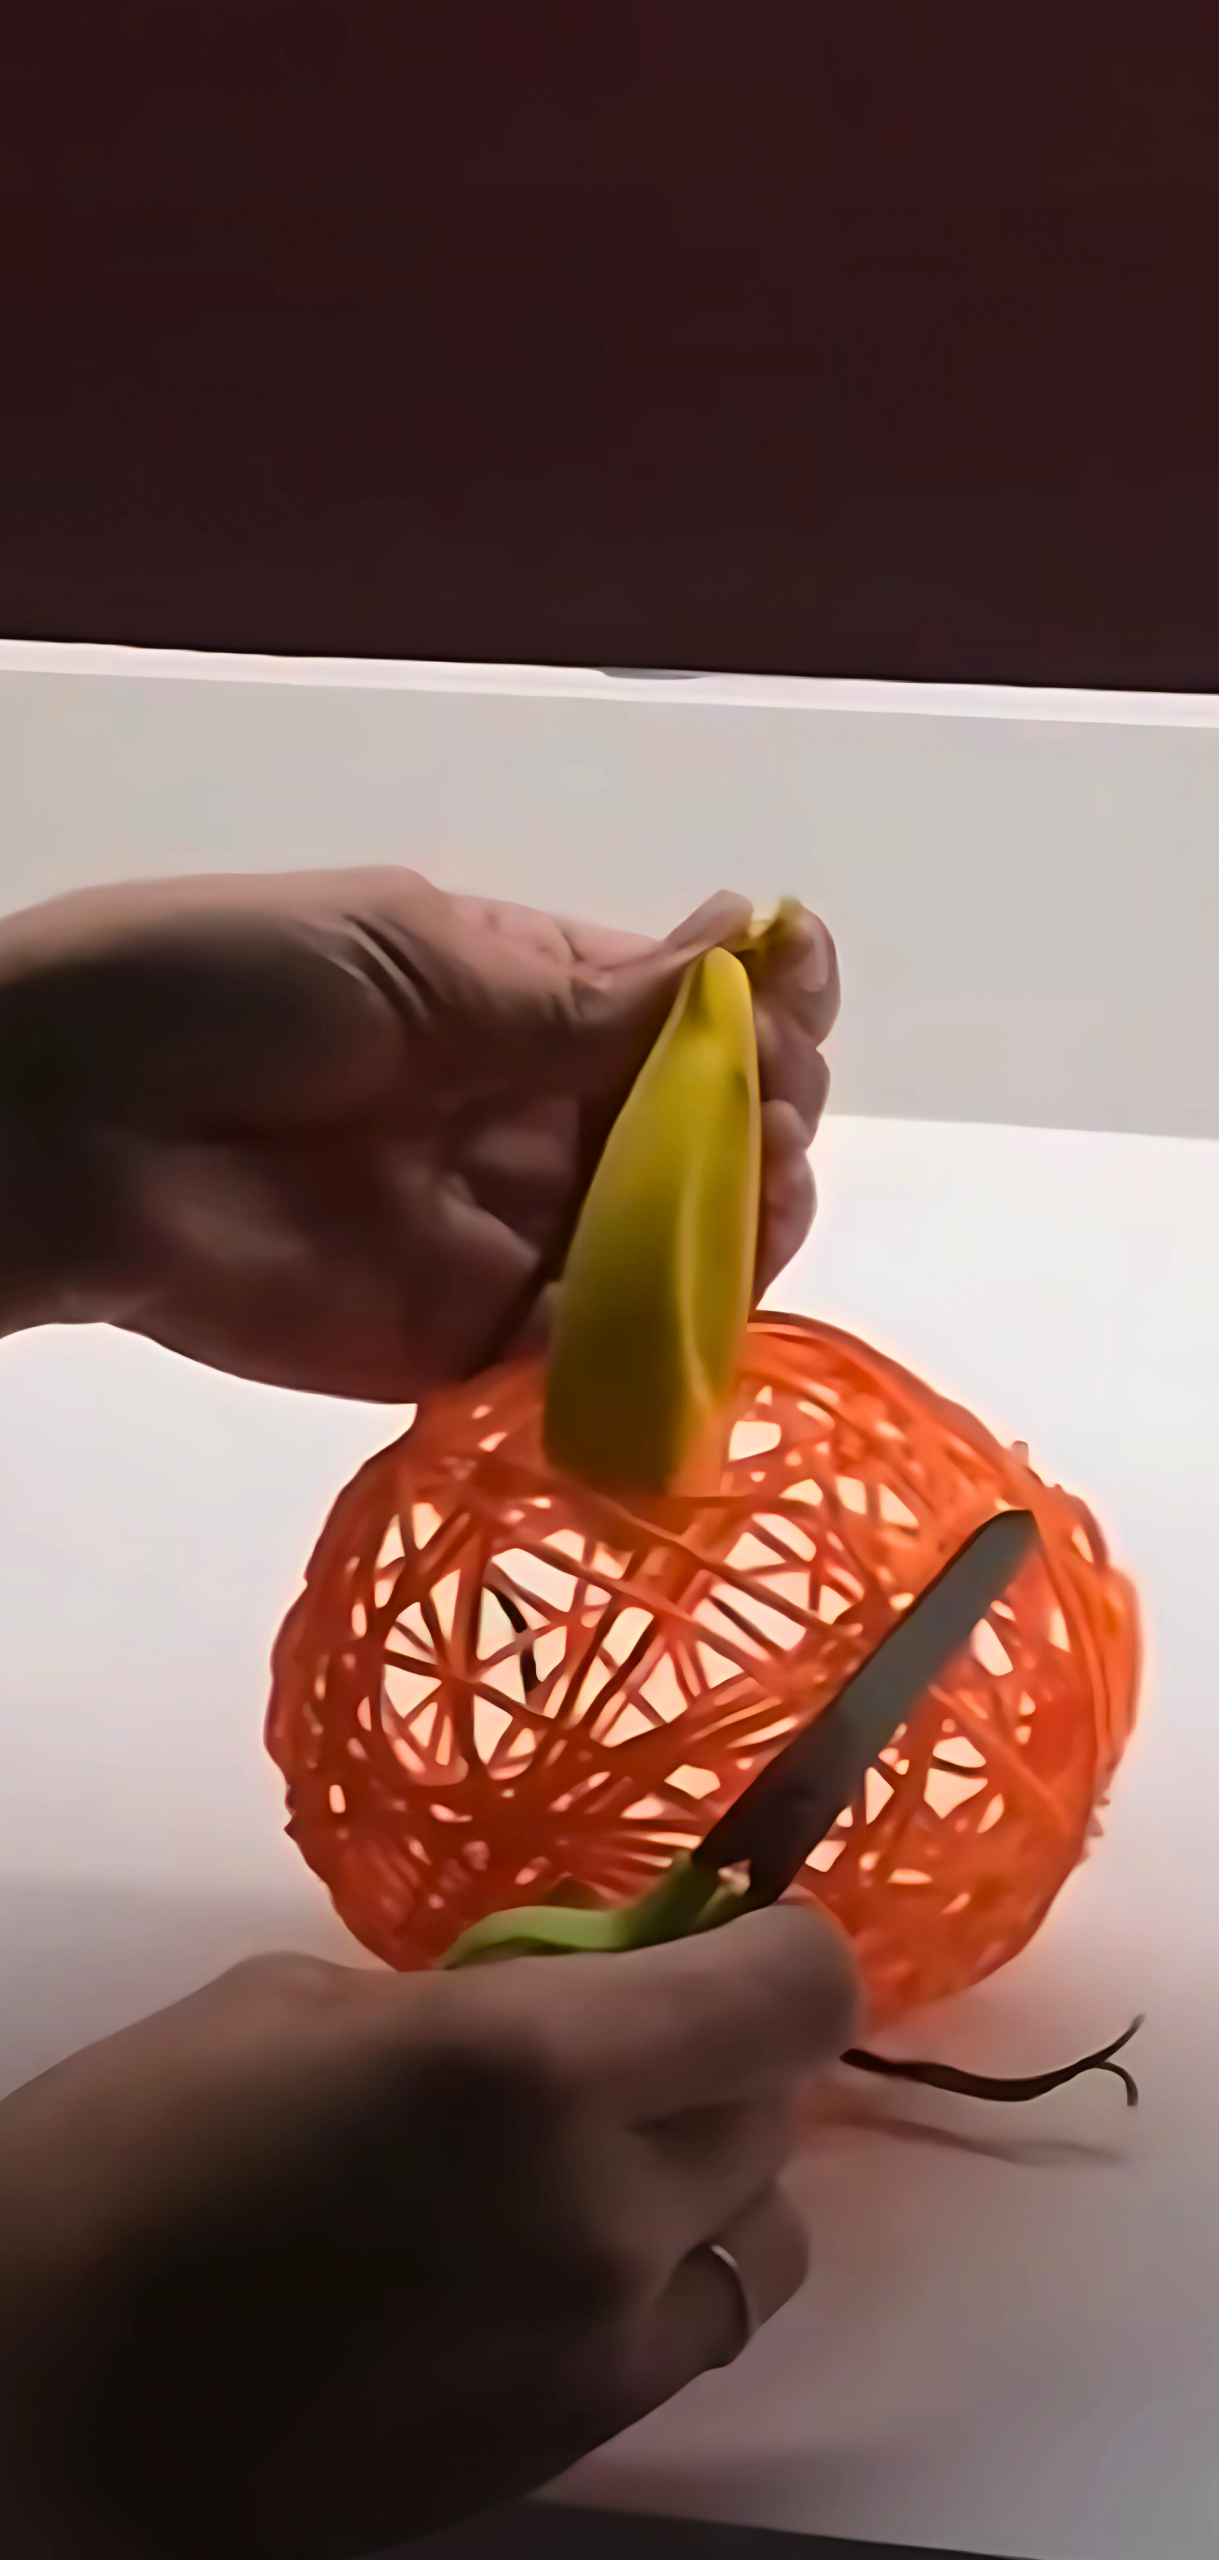
To release the dried yarn from the balloon’s interior, I applied light pressure to the outside. Then, I popped the balloon near the knot to let it deflate slowly and pulled it out through the openings.
Step 8: Create the Stem & Tendrils
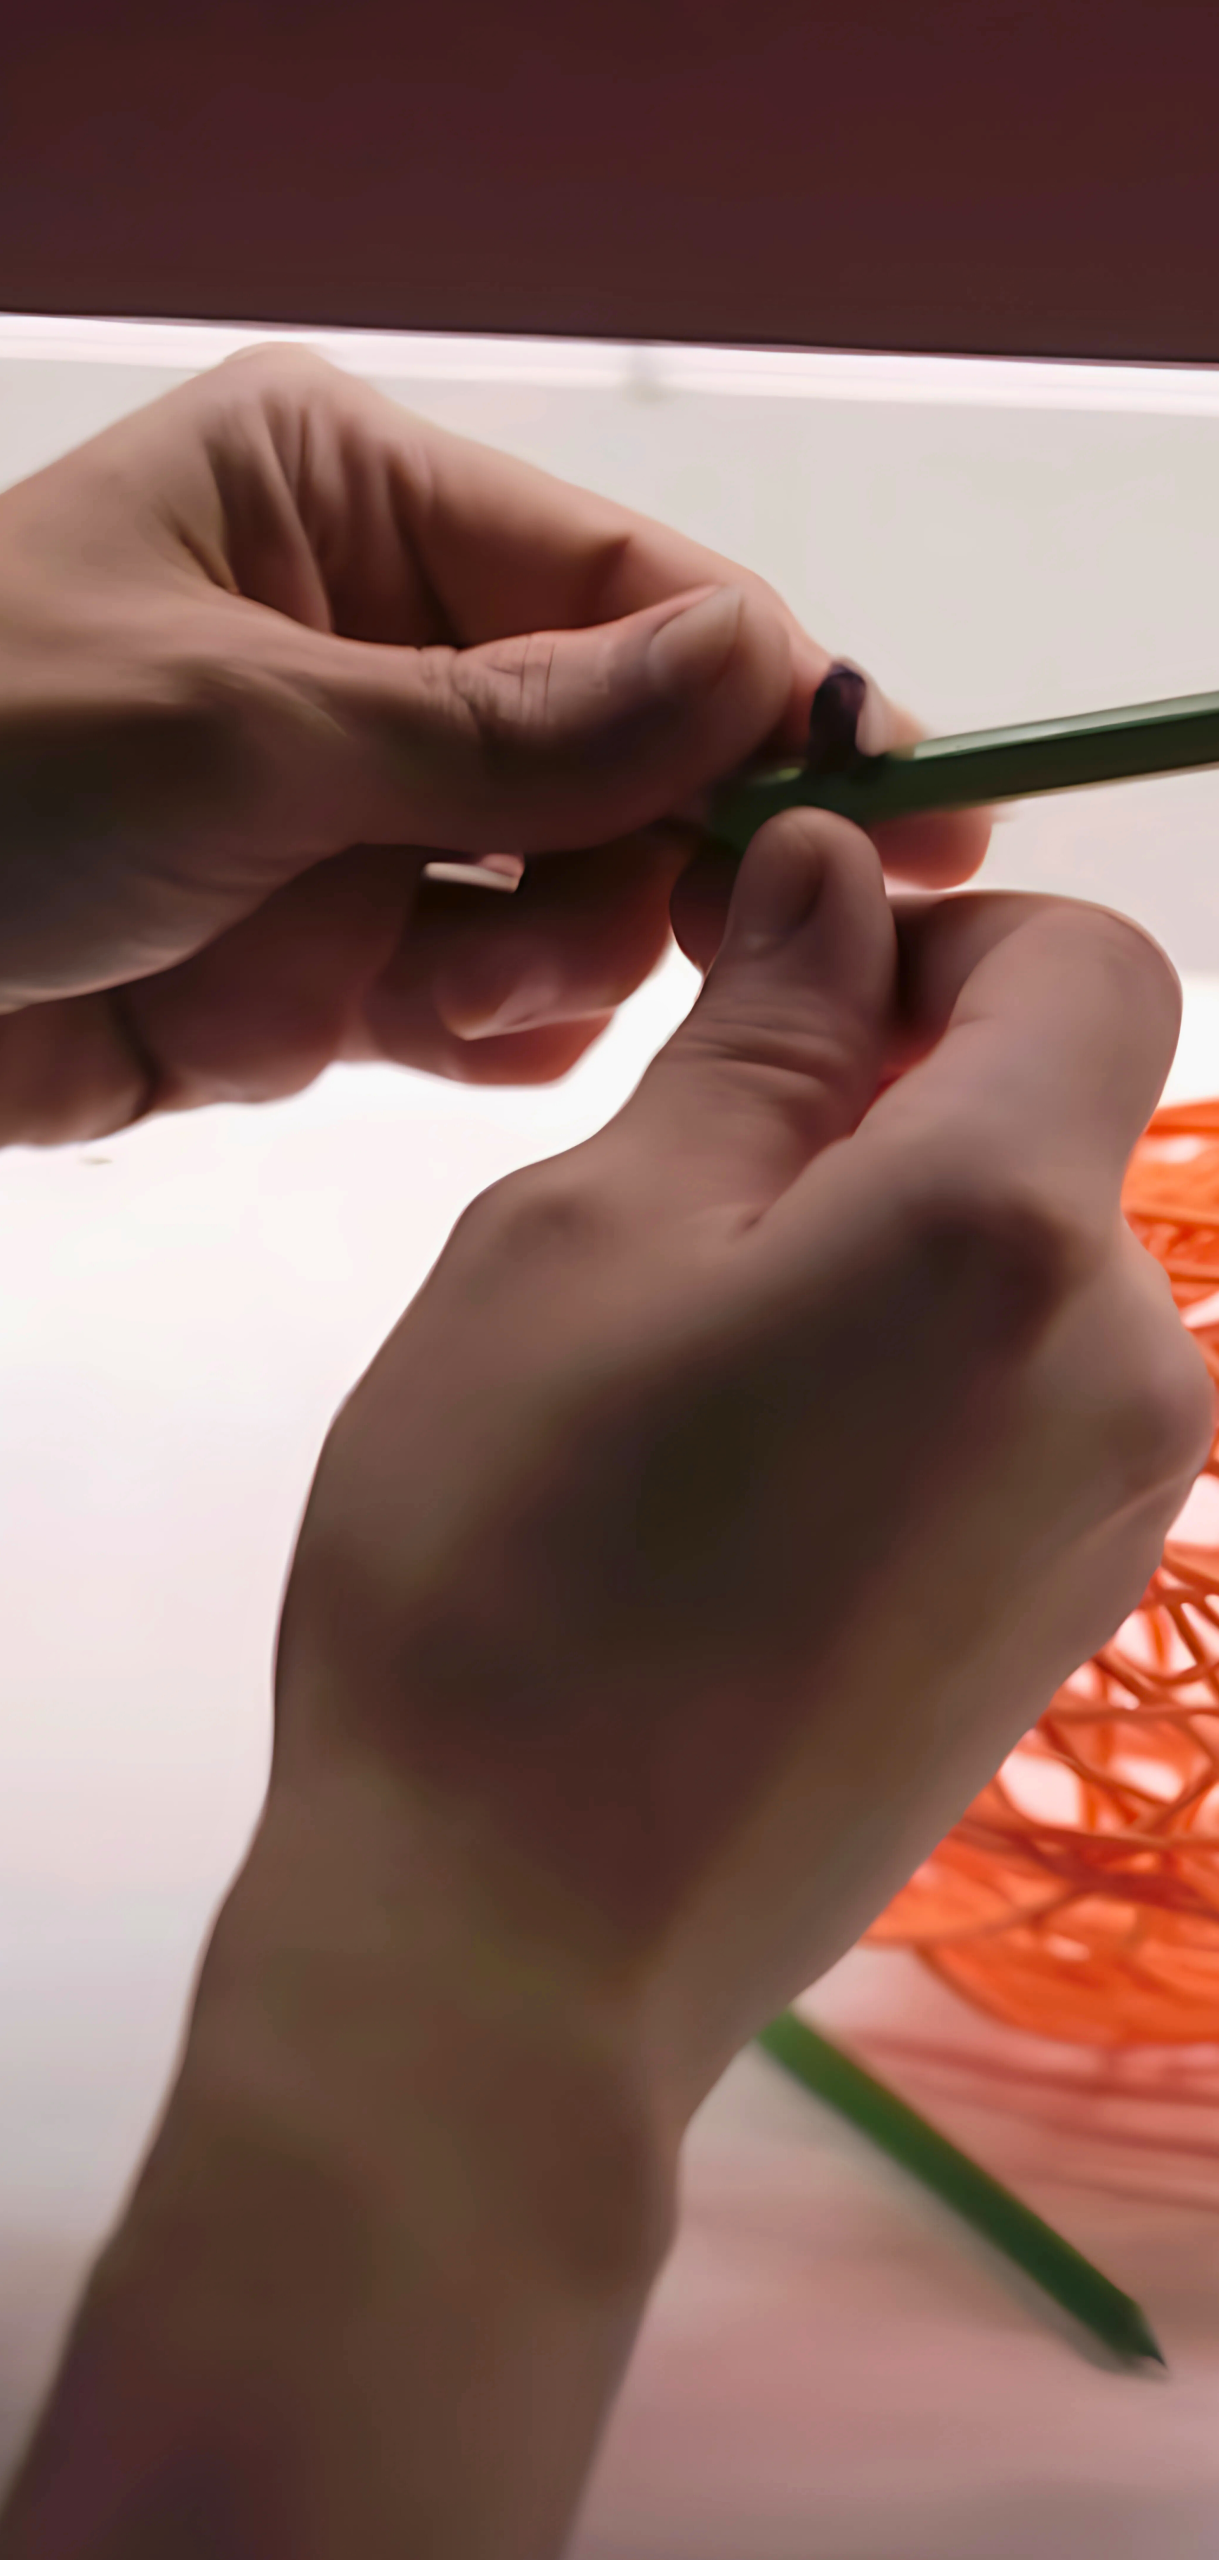
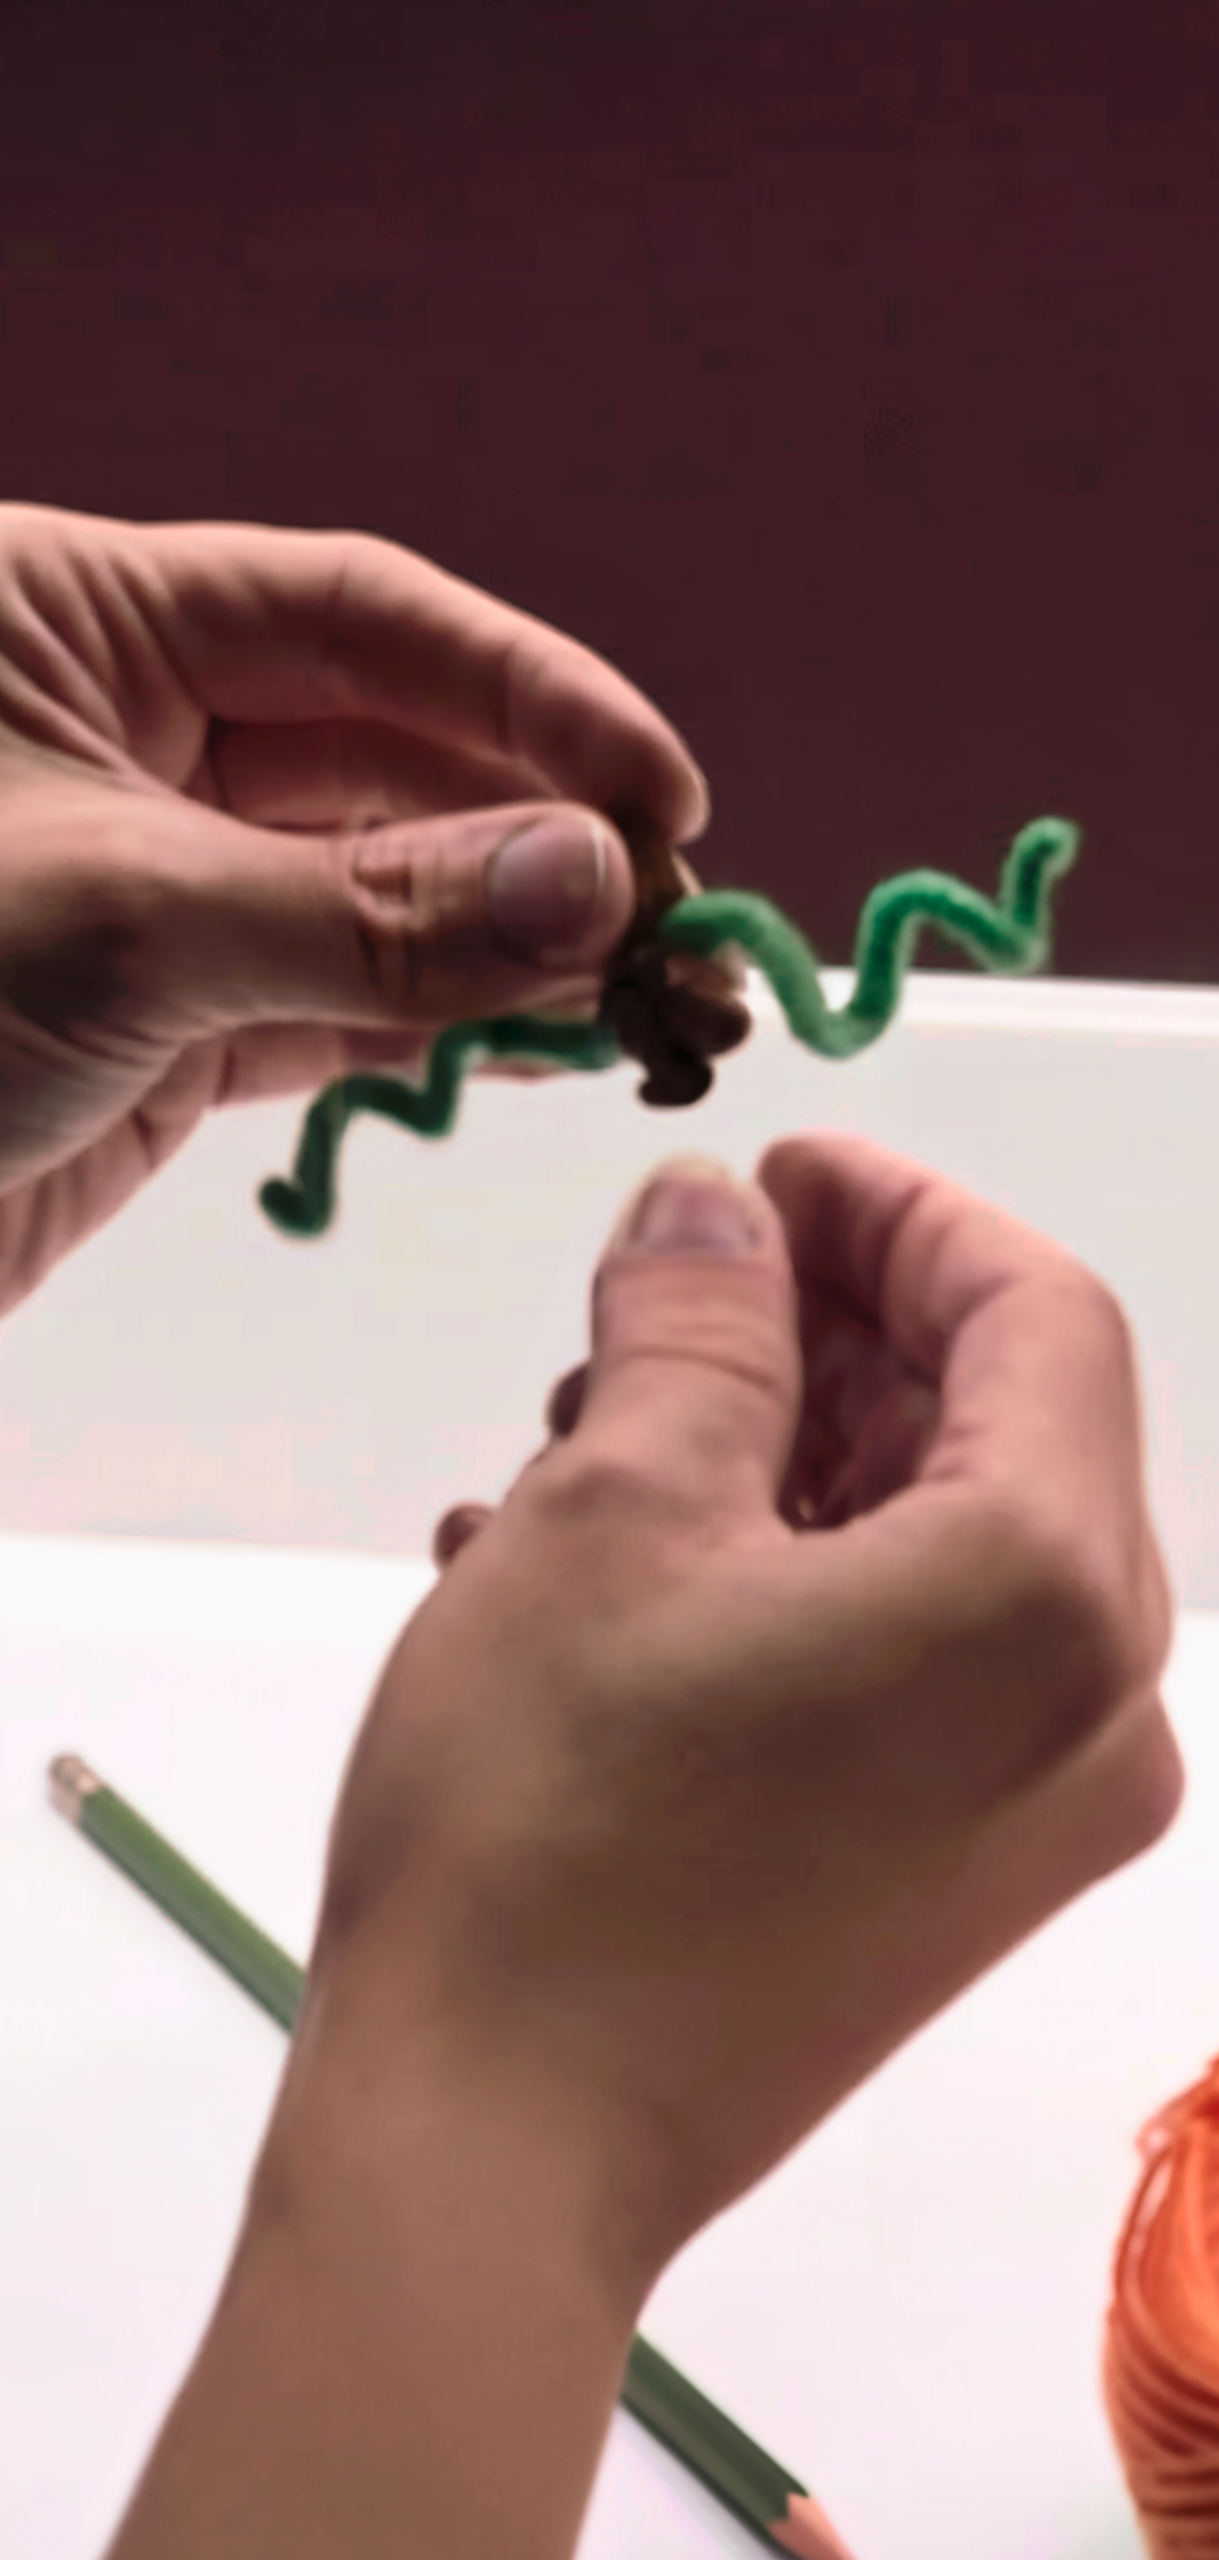
I use a green pipe cleaner to twist around a pencil into a spiral vine. I insert one end into the top of the yarn pumpkin and twist to secure. Optionally, I add leaves and additional pipe cleaners as tendrils.
Step 9: Display Your Creation
I place my yarn pumpkin on a mantel with several sizes of yarn pumpkins together. They’re perfect for enjoying your autumn season and surprising your guests.
Yarn Pumpkins Pro Tips
- Wrap your balloon in plastic to make balloon removal easier.
- I suggest choosing tacky glue over basic white glue for sturdier pumpkins that hold their shape better.
- Air-dry fully before popping; partially set yarn will collapse.
- Vary pumpkin sizes using smaller balloons for visual interest.
FAQs
Can these yarn pumpkins be used outdoors?
Yes, they can resist humidity and rain; just try sealing them with clear craft spray before.
Can I reuse the balloon?
No, I usually tear the balloon during removal. Consider using just one for each pumpkin.
How do I get the balloon out easily?
Press yarn away from balloon sides, deflate slowly, and gently extract it from the yarn shell.
Can kids help with these yarn pumpkins?
Absolutely, With supervision during glue use, it’s a great test of creativity and motor skills. Just prep extra workspace as it’s a little messy.
What glue works best for my yarn pumpkins?
A mix of tacky glue and water yields the best results, but it is still flexible.
Conclusion
You’ve crafted beautiful yarn pumpkins that gather the spirit of autumn. Lightweight and unique, these yarn pumpkins are perfect for internal decor or gentle outdoor use. Enjoy the process, experiment with sizes, and show off your creations this season.