Join the fastest growing Craft community on Pinterest!
When I finished my latest batch of ceramic pieces, one thing kept annoying me: none of them felt personal. I had just wrapped up a few experimental bowls and dishes, but something was missing.
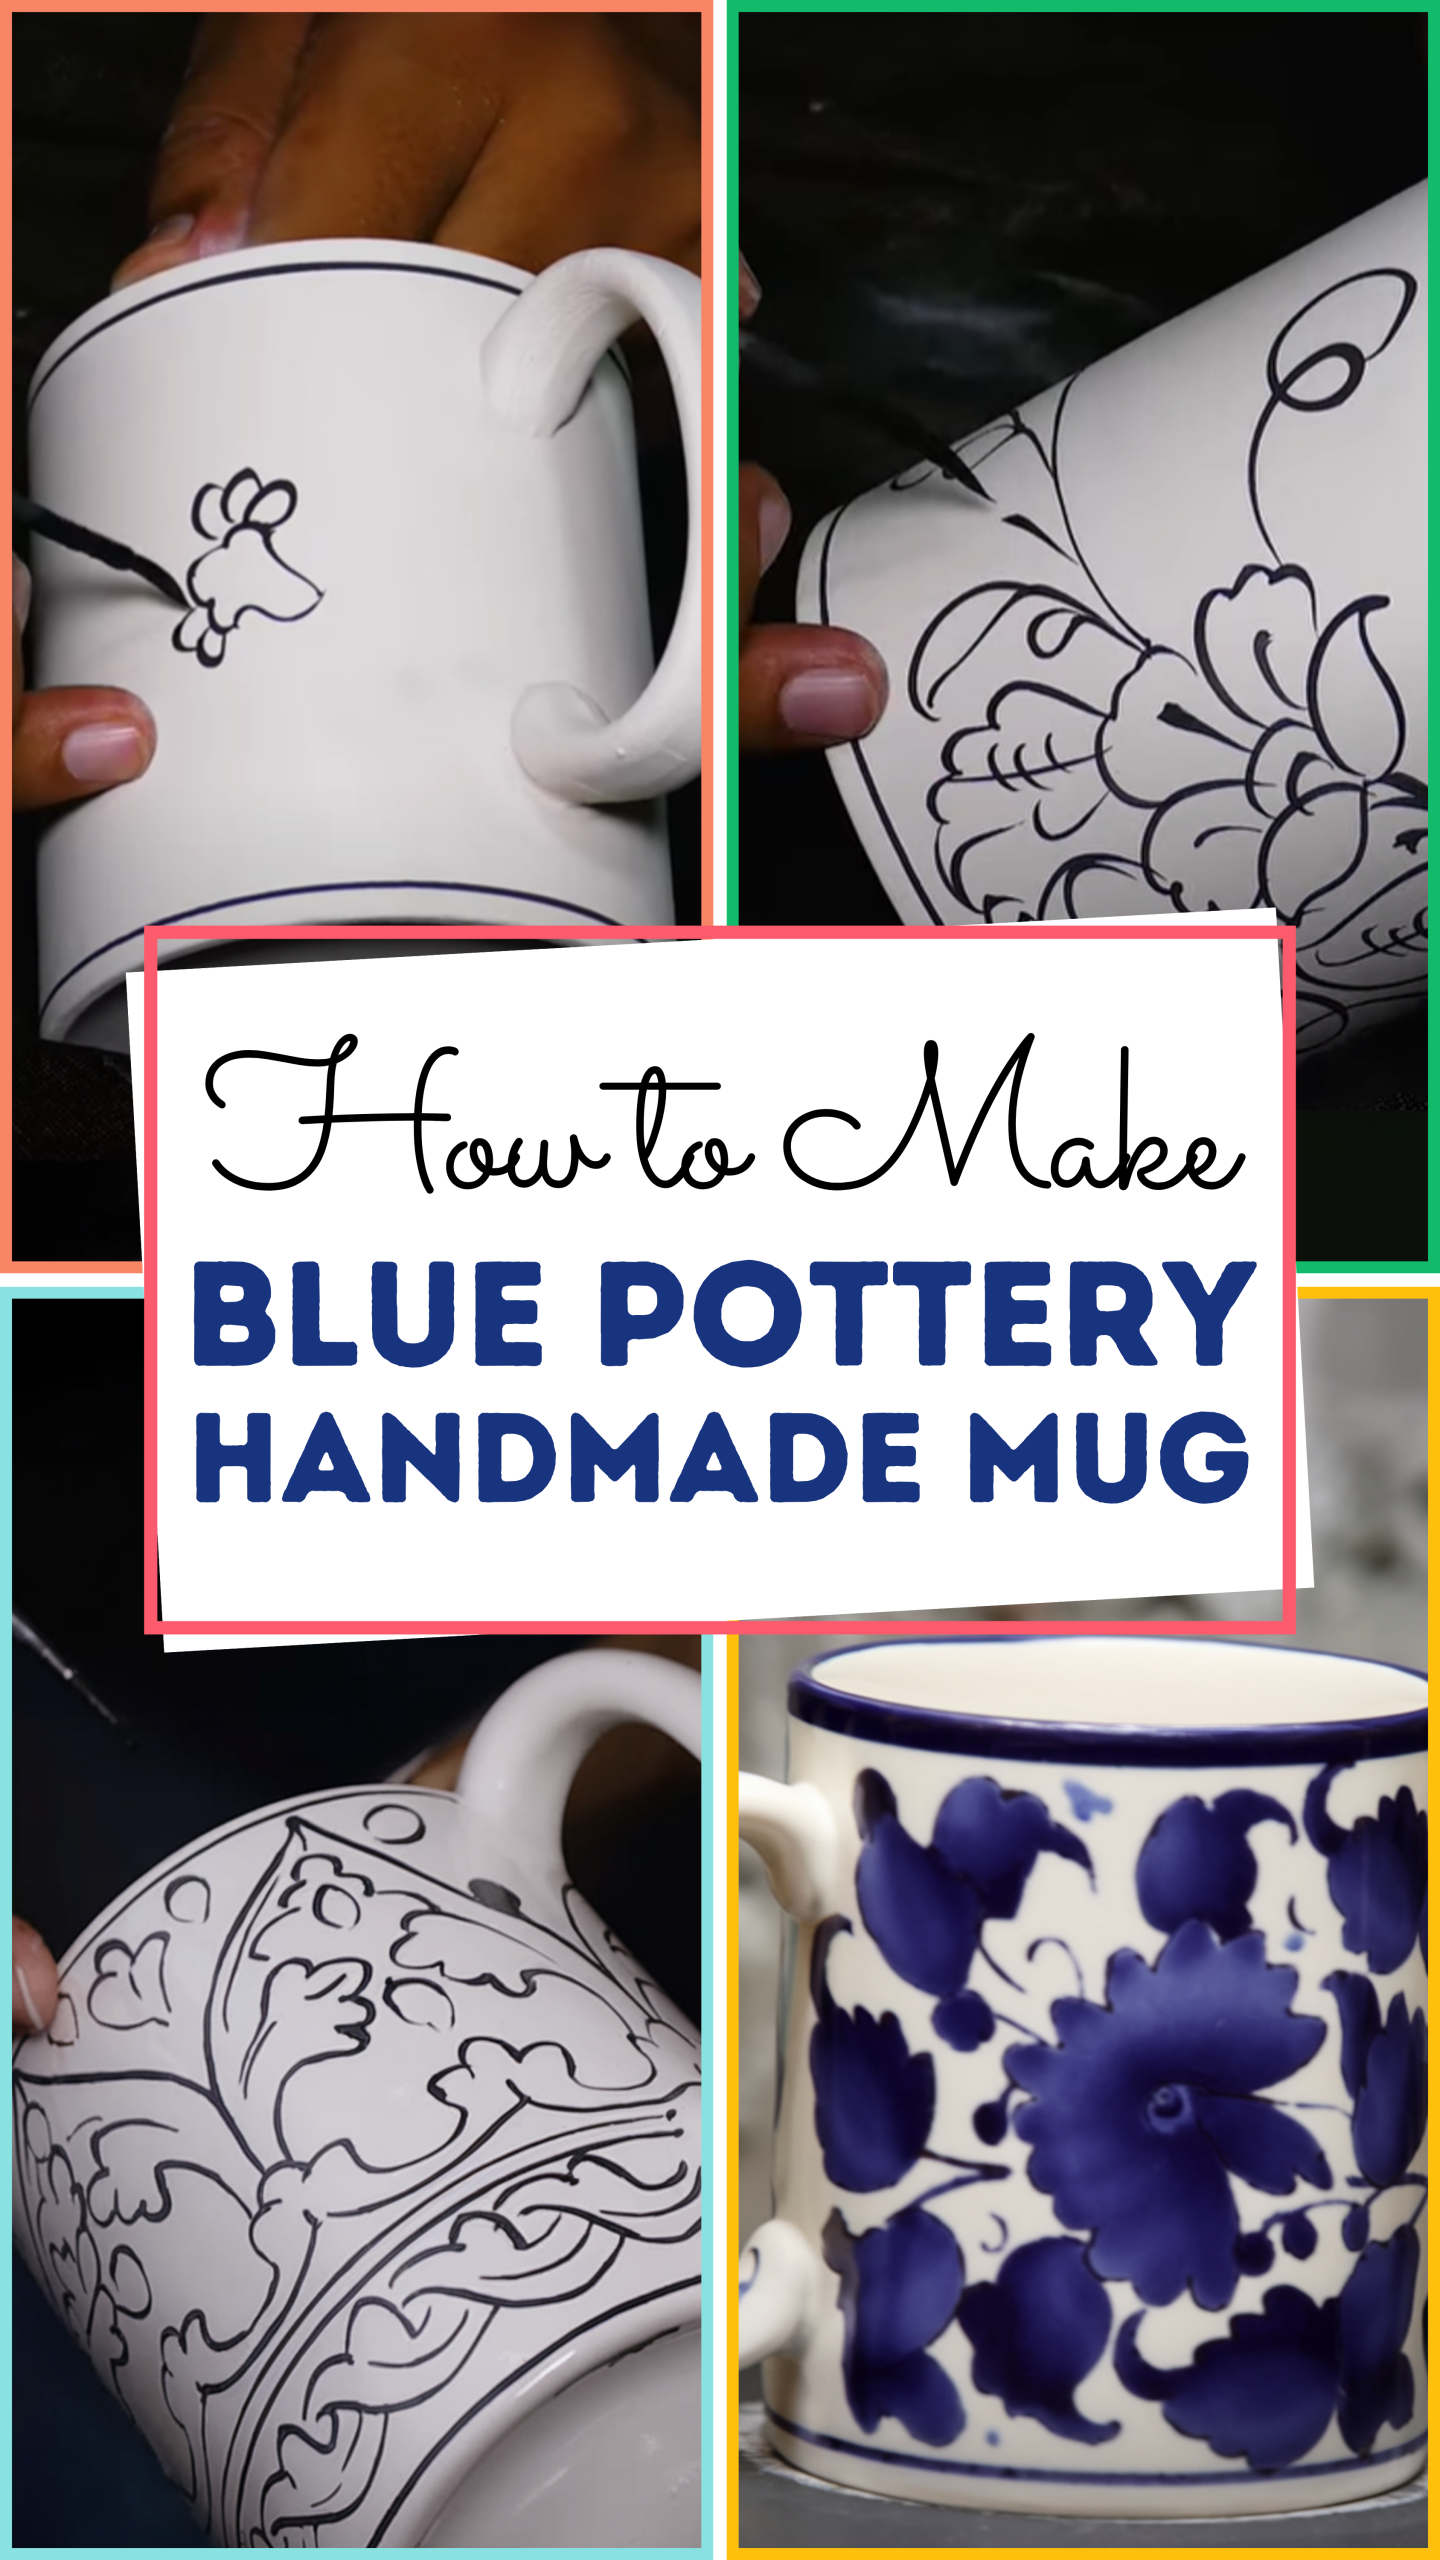
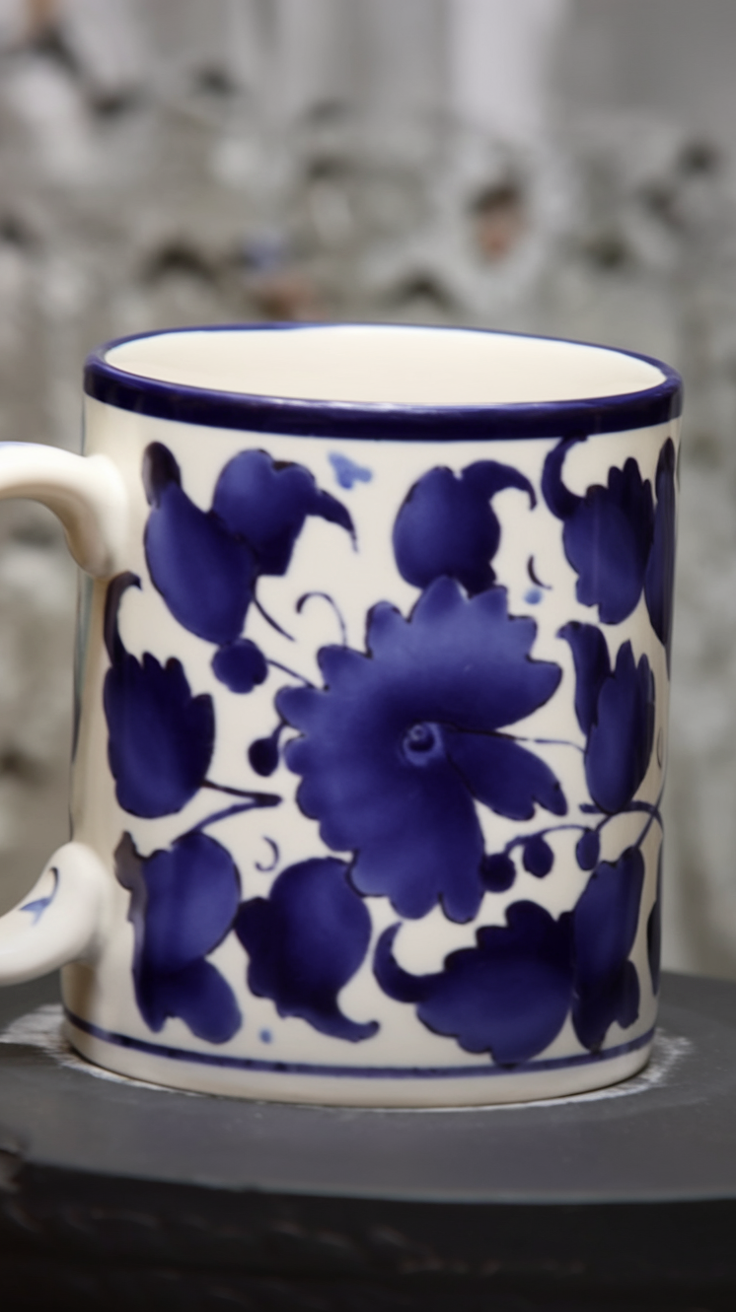
That’s when I remembered my inspiration: a perfect blue pottery handmade mug, something that could wrap around both hands on a cold morning.
After weeks of experimenting with glaze combos and trying to impress my very judgmental cat (spoiler: she still only likes the water bowls I made for her), I finally decided to paint my own.
I wanted the colors to evoke something natural, like a watercolor pine forest wrapped around a lake, and match the mellow blues and earthy tones I love.
I gathered my tools: a plain white ceramic mug, blue ceramic paint, fine-tip paintbrushes, and a palette for mixing. Before I started, I cleaned the surface with rubbing alcohol and let it dry completely.
Then, I lightly sketched my design with pencil: a landscape, soft brush strokes blending into each other. I mixed my base layer using Honey Flux and Iron Luster with a touch of B mix; it gave me that “almost teal” shade I was looking for on the inside.
Layering was key. I went slow, using thin coats, letting each one dry before adding the next. The result? A balanced mug with a soft, nice finish, sealed with a food-safe gloss so it’s ready for coffee, tea, or just shelf-styling.
Now every time I reach for that blue pottery handmade mug, I smile. It’s far from perfect, but it’s mine. The colors run like water over a mountain ridge, and the handle, somehow, is the most comfortable one I’ve made.
Best of all? It fits right into my shelf of seasonal handmade decor and this mug felt like the missing piece to complete the cozy theme for the rest of the season.
Materials Needed
Before you begin, gather the following materials:
- A plain ceramic mug (white or light-colored works best)
- Blue ceramic paint (or multi-surface acrylic paint)
- Fine-tip paintbrushes
- Pencil (optional for sketching your design)
- Rubbing alcohol and cotton pads (for cleaning the mug surface)
- Clear gloss sealant (food-safe if you plan to use it for drinking)
- Paper towel or rag
- Palette or plate for mixing
Step-by-Step Guide
Step 1: Prep Your Mug
Start by cleaning the surface of your mug with rubbing alcohol. This removes any dust and helps the paint adhere better. Dry completely with a cloth or paper towel.
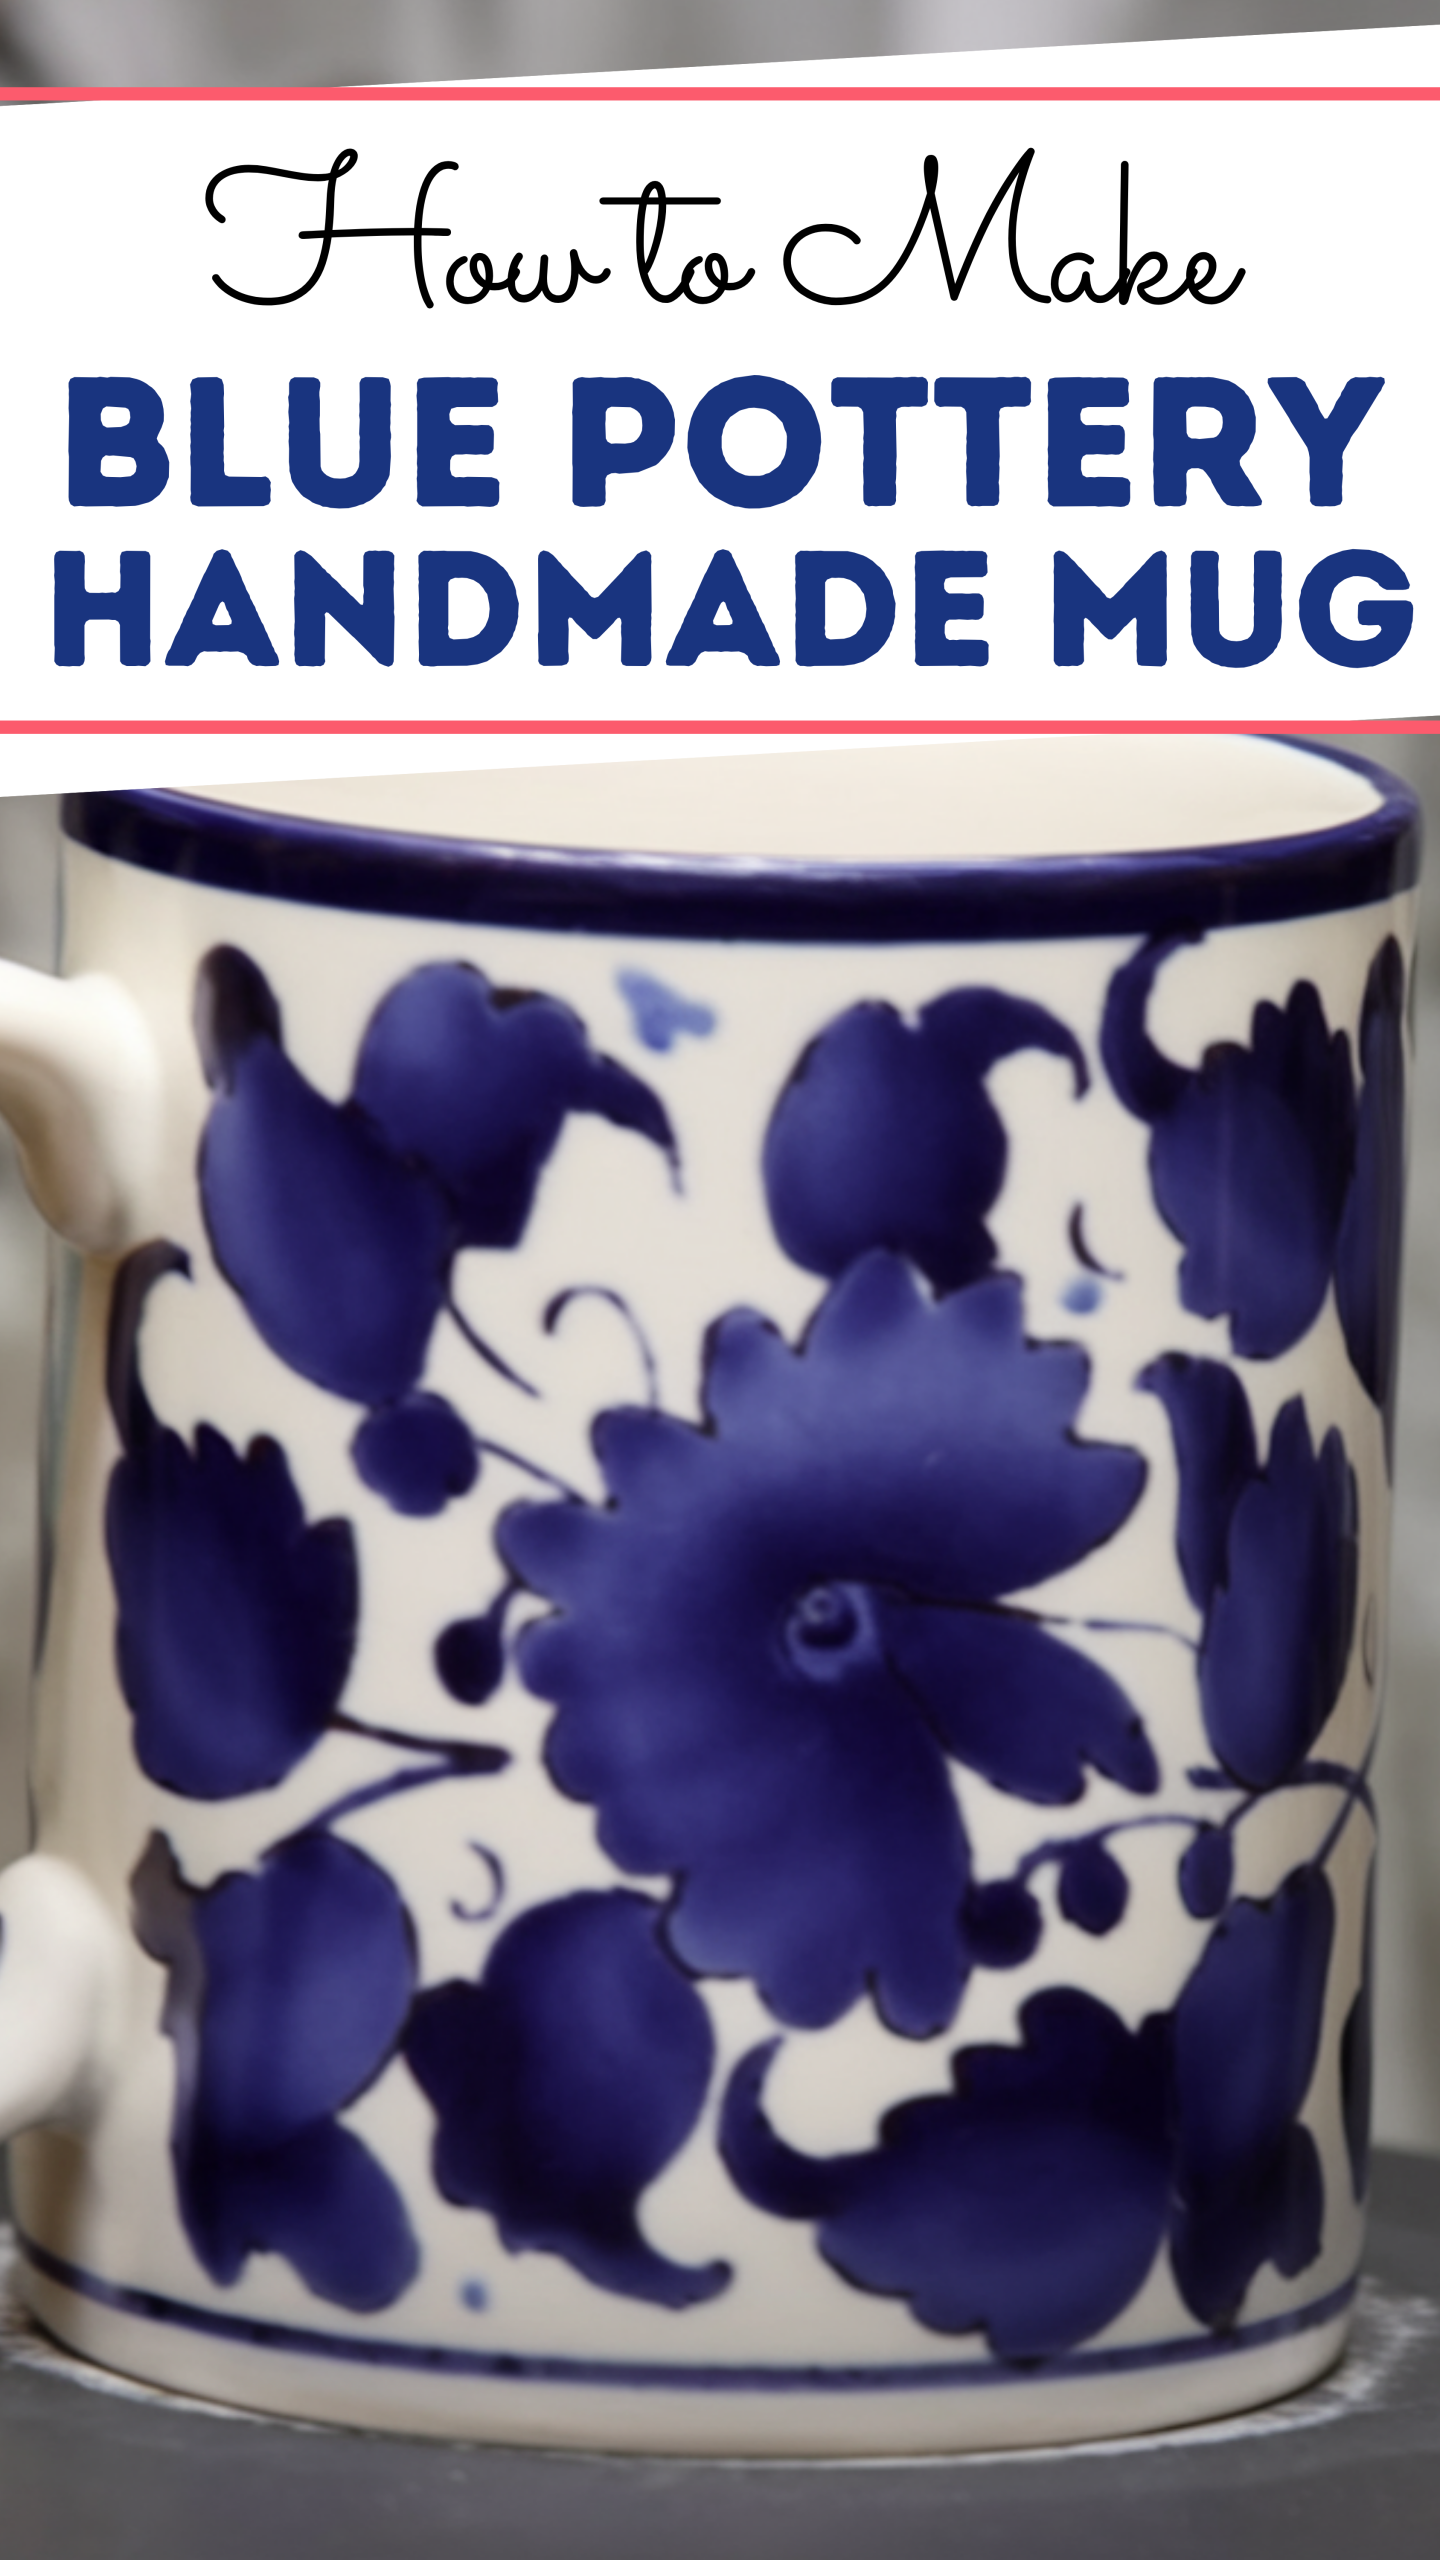
Step 2: Choose Your Design
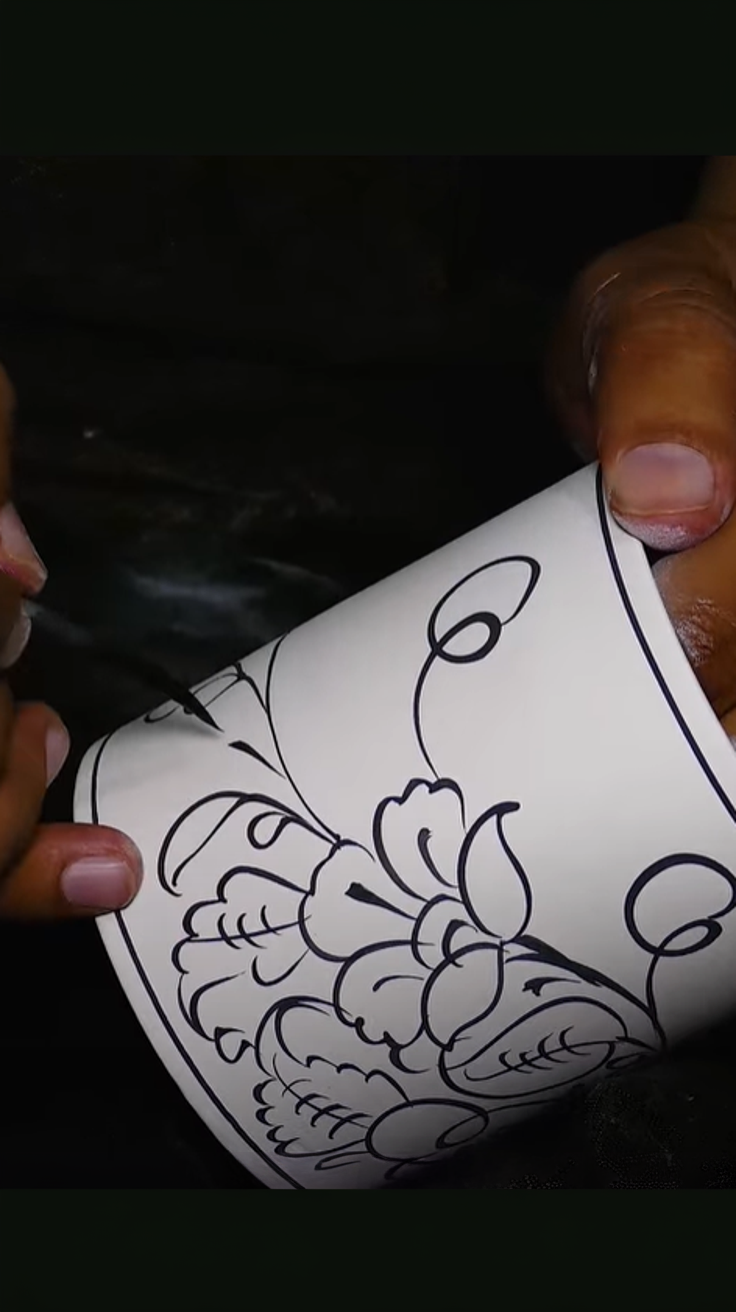
Traditional blue pottery patterns often feature
- Floral motifs (like tulips, vines, and leaves)
- Geometric shapes
- Repeating borders or circles
You can freehand your design or lightly sketch it on the mug with a pencil.
Pro Tip: Search “blue pottery designs” online and keep a few references nearby for inspiration.
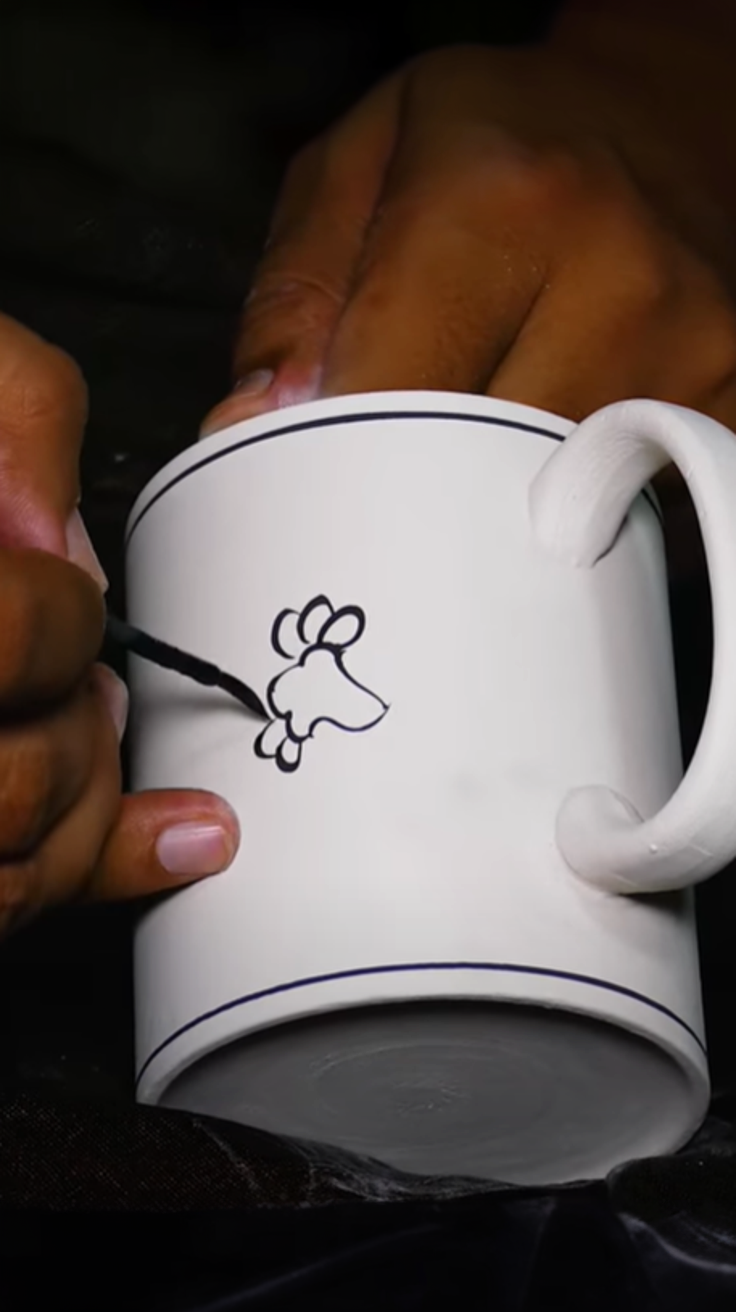
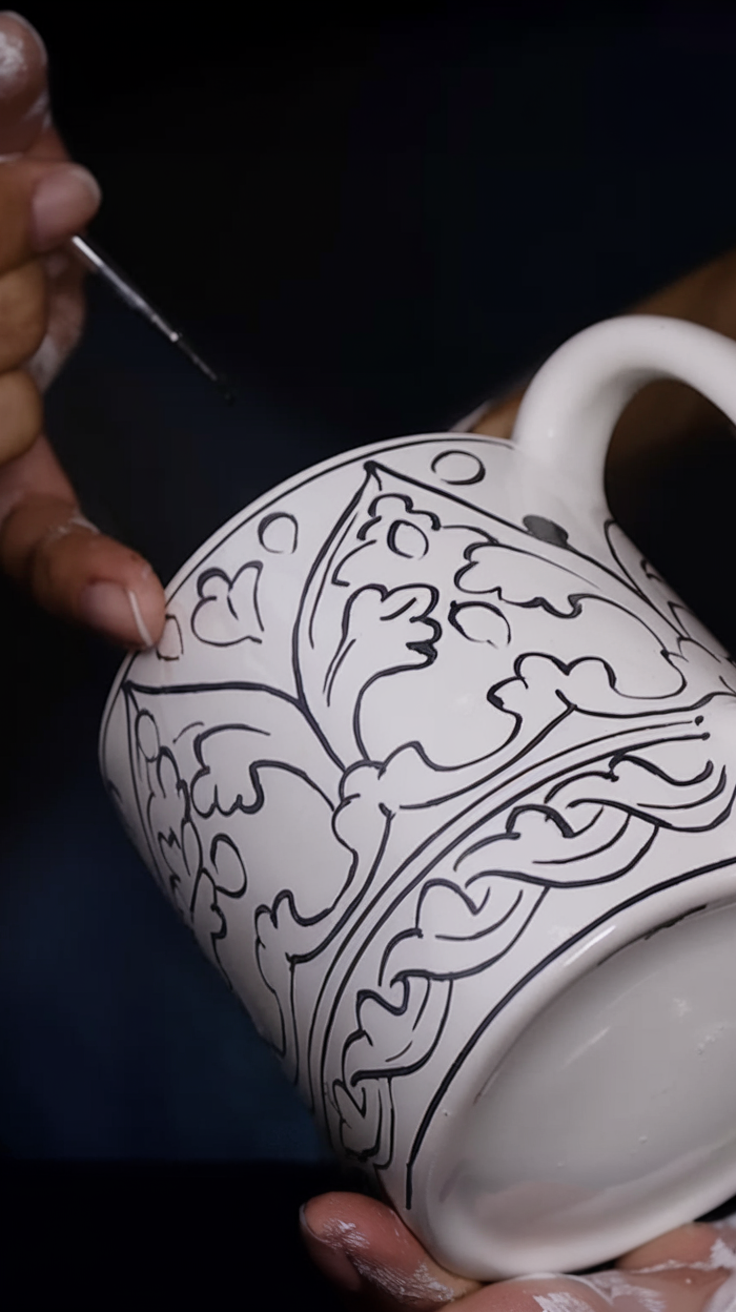
Step 3: Start Painting
Dip your fine-tip brush into the blue paint and begin outlining your shapes. Work slowly and with care; think of it as a meditation.
You can fill in the spaces with lighter or darker tones of blue to create depth. Keep a steady hand and rotate the mug as you go. Don’t worry about perfection, part of the charm of handmade art is its organic feel.
Let each section dry before moving to the next to avoid smudging.
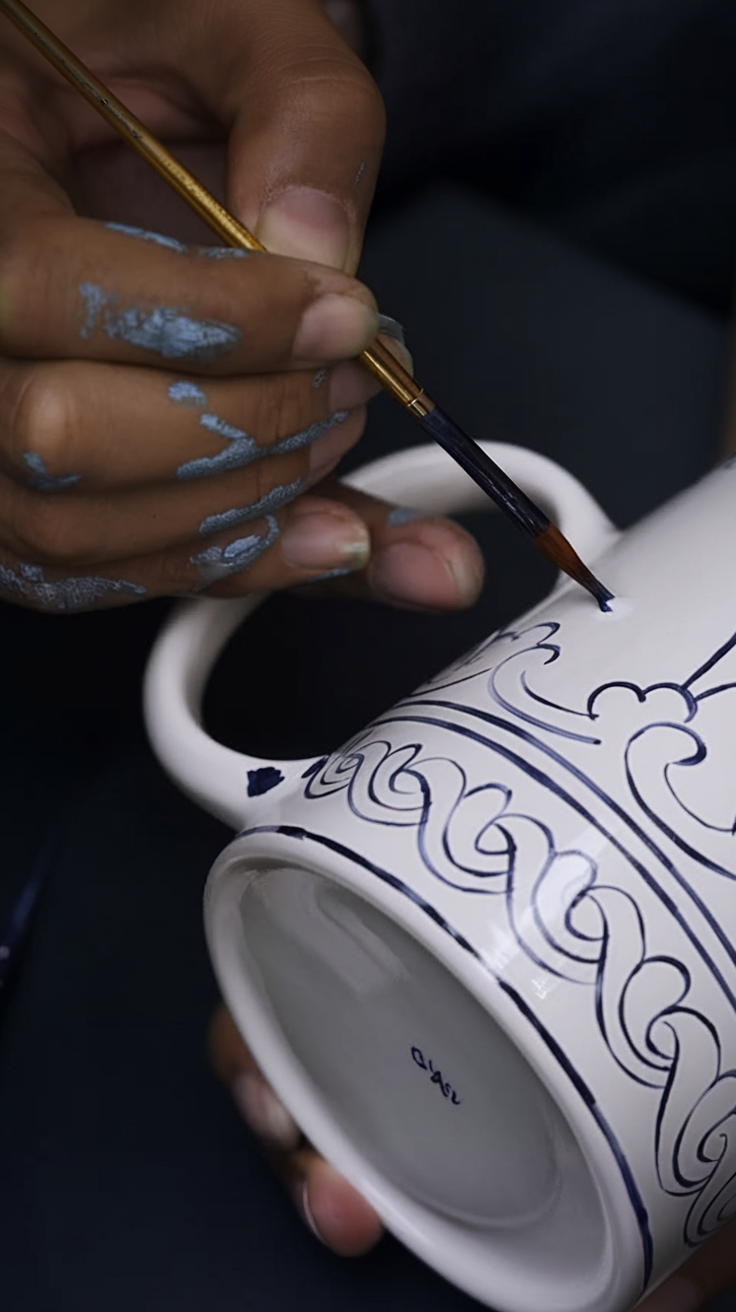
Step 4: Add Details
Once your base design is dry, go back and add small accents, dots, mini leaves, or thin outlines. These subtle touches bring your mug to life and give it that authentic blue pottery charm.
Step 5: Let It Dry
After finishing your painting, let the mug air dry for at least 24 hours. This ensures the paint is fully cured before sealing.
Step 6: Seal It
Apply a clear, food-safe sealant according to the instructions on the bottle. This step makes your mug water-resistant and safe to use.
Let the sealant dry fully. Some sealants also recommend oven-curing; follow instructions carefully.
Extra Tips
- Practice first on paper or a spare tile.
- If you make a mistake, you can gently wipe it away with a damp cotton swab before it dries.
- Add initials or a date to the bottom of the mug for a personal touch.
- Pair this project with soft music and tea for a relaxing afternoon craft session.
FAQs
1. Can I use regular acrylic paint on a ceramic mug?
Yes, but make sure it’s multi-surface or ceramic-safe.
2. Do I need to bake the handmade mug in an oven?
Some paints or sealants require oven-curing. Always check the label.
3. Is this handmade mug dishwasher safe?
Handwashing is highly recommended.
4. What type of brush should I use?
Use fine-tip brushes for outlining your handmade mug and small detail brushes for filling in designs.
5. Can I use other colors besides blue?
Absolutely. you can ue any color you want for your handmade mug.
6. Where can I find handmade mug design inspiration?
Search Pinterest or Instagram using keywords like “blue pottery pattern”, “Jaipur pottery”, or “Handmade mug painting ideas” to find beautiful reference ideas.
Conclusion
Painting a blue pottery aesthetic handmade mug is a creative way to express yourself, and it makes a stunning addition to your kitchen or coffee table.